
In this guide, I will explain how to disassemble the Dell XPS 13 9343 to remove the bottom cover, battery, SSD, wireless card, heat sink, cooling fan, and motherboard.
Want to keep in touch with us? Follow us on Facebook for more repair news.
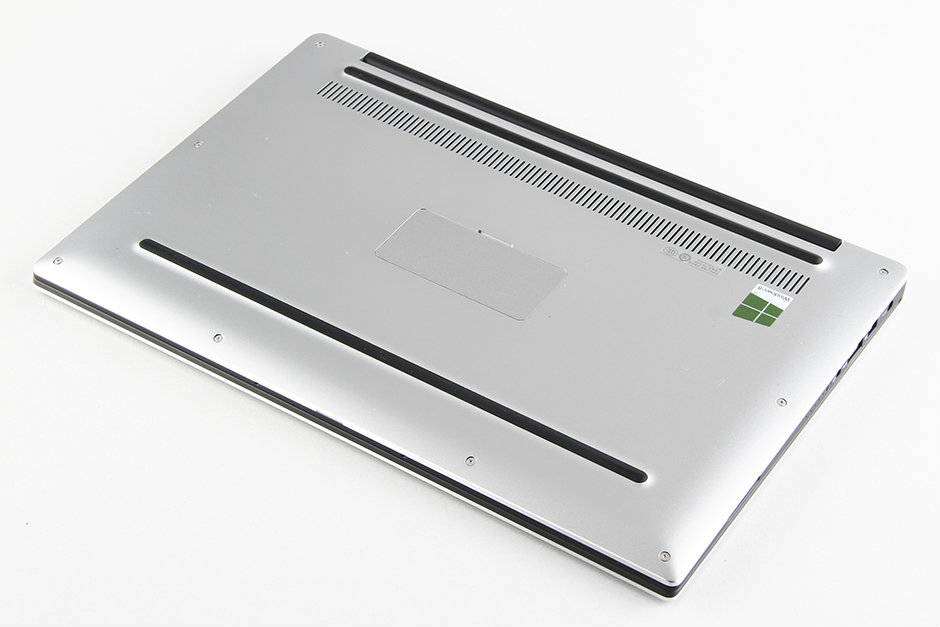
Remove the eight screws securing the bottom cover.
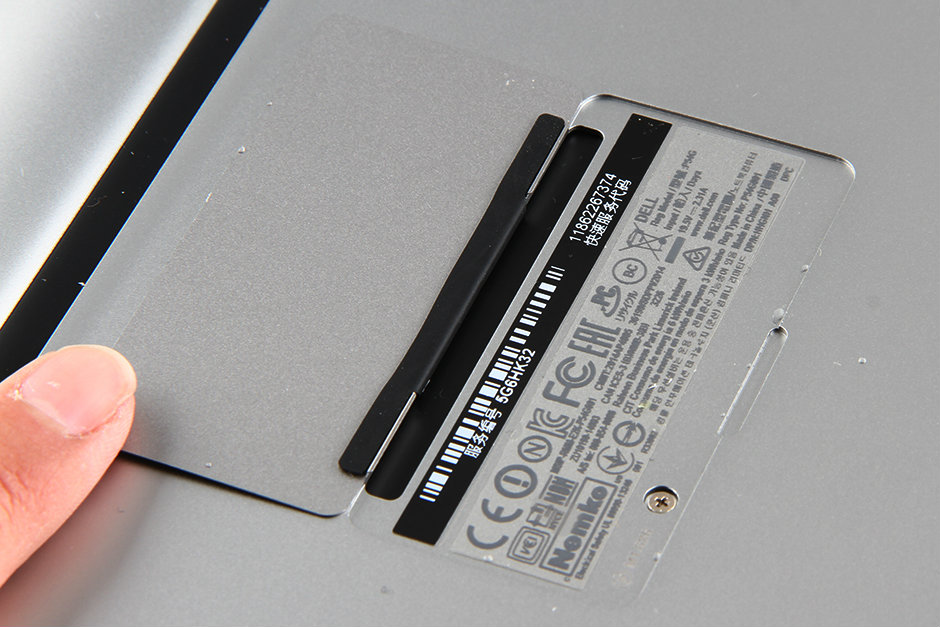
Open the XPS nameplate.
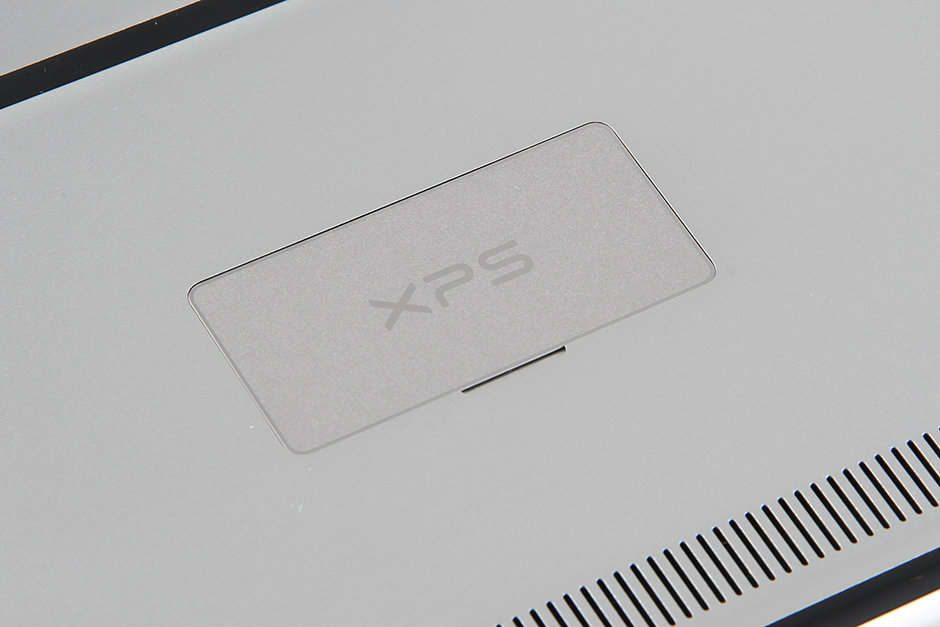
Under the XPS nameplate, you can find a hidden screw. Remove the screw.
Insert a plastic pry tool near the hinge between the bottom cover and palm rest. Slide the pry tool until the bottom cover is completely detached from the laptop.
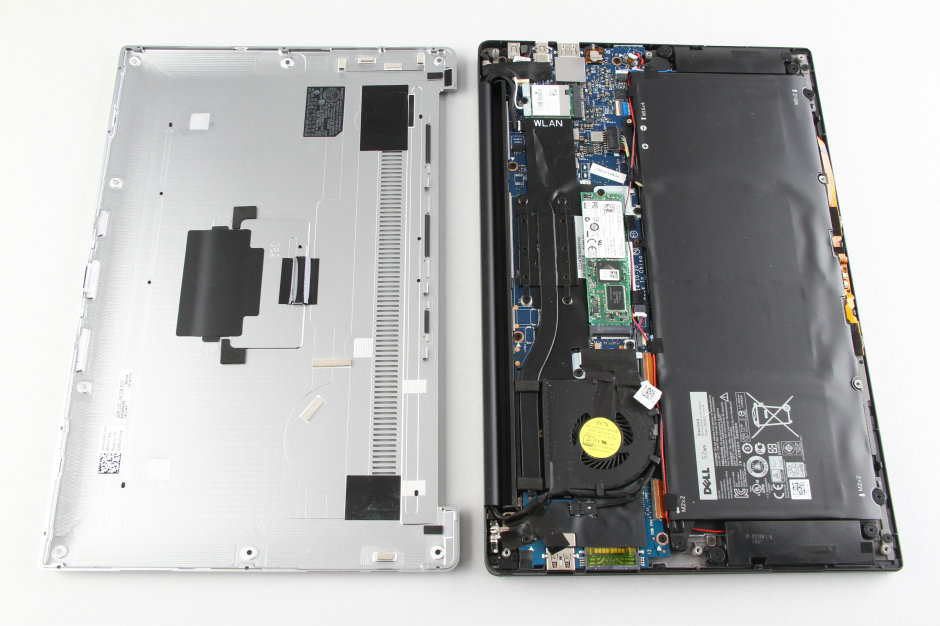
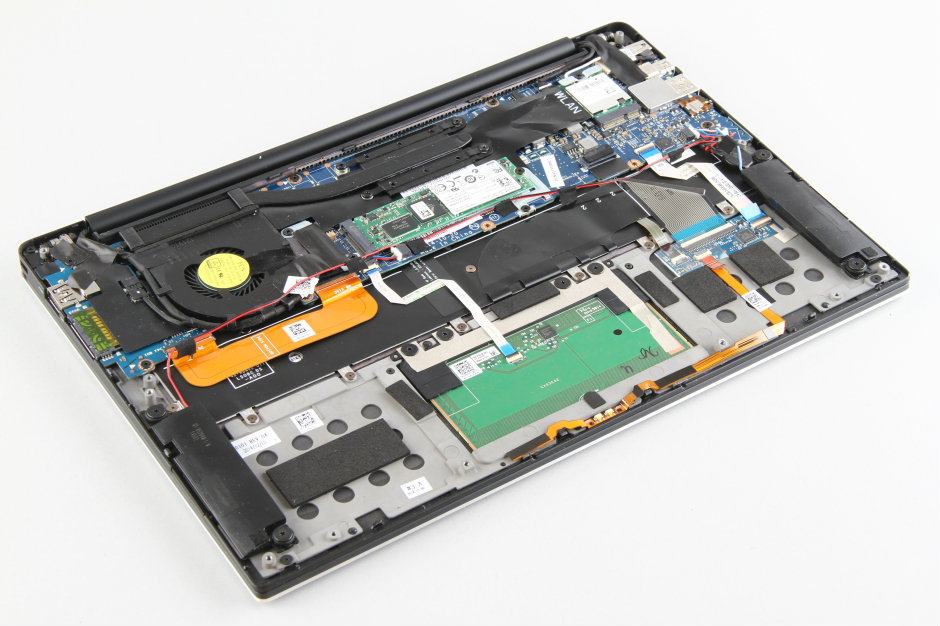
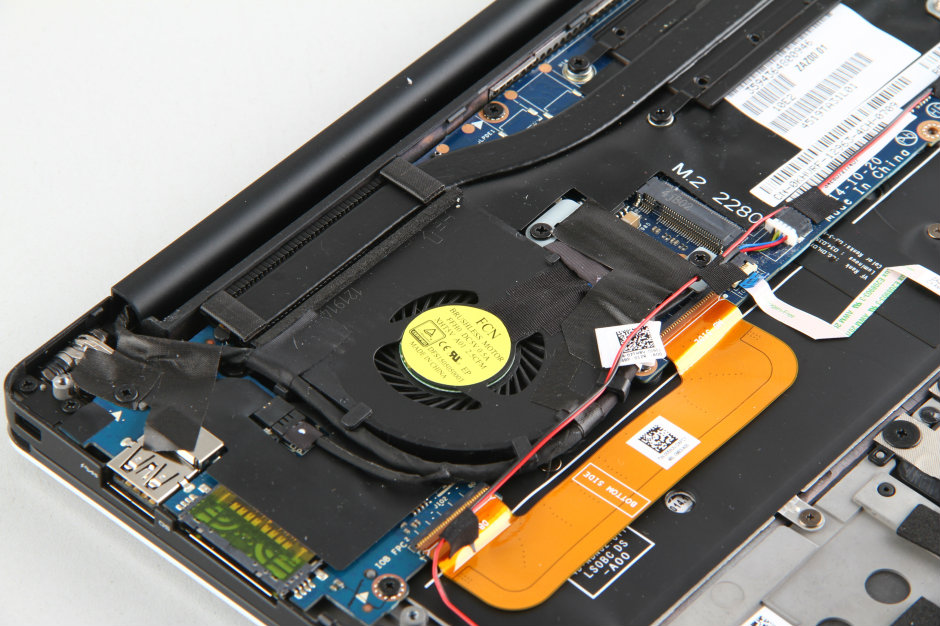
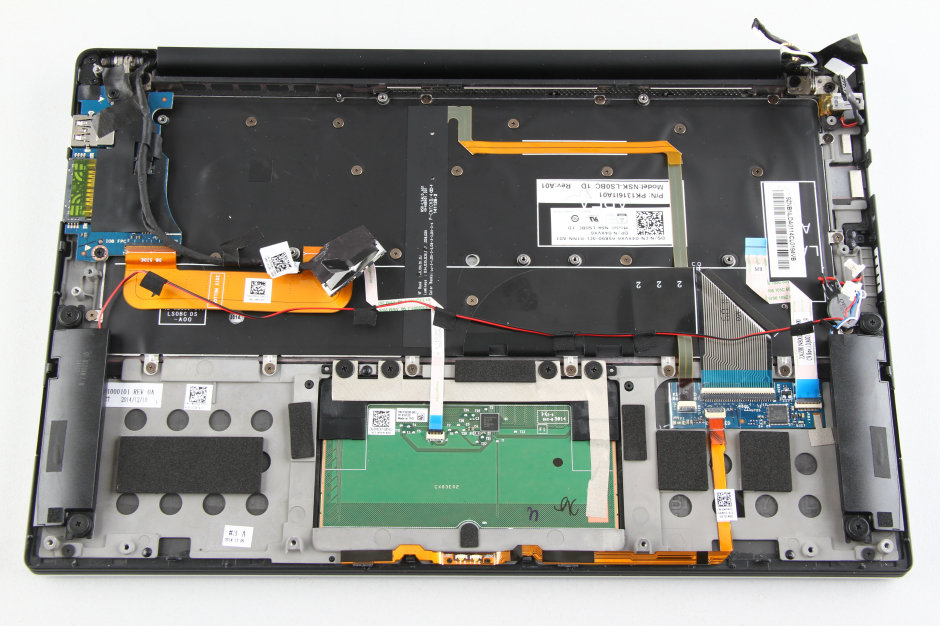
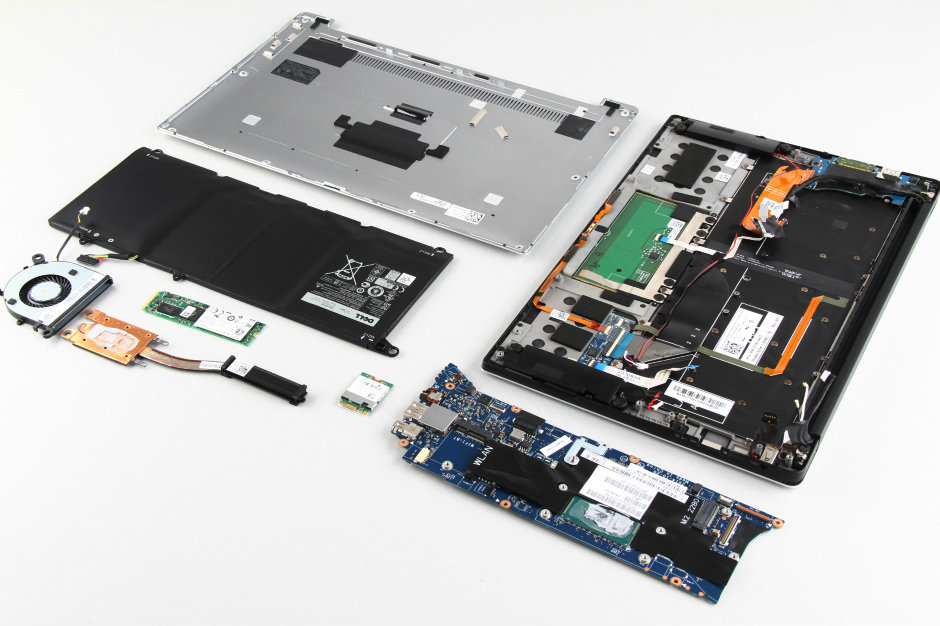
Under the bottom cover, you can access the battery, wireless card, SSD, speakers, heat sink, and cooling fan.
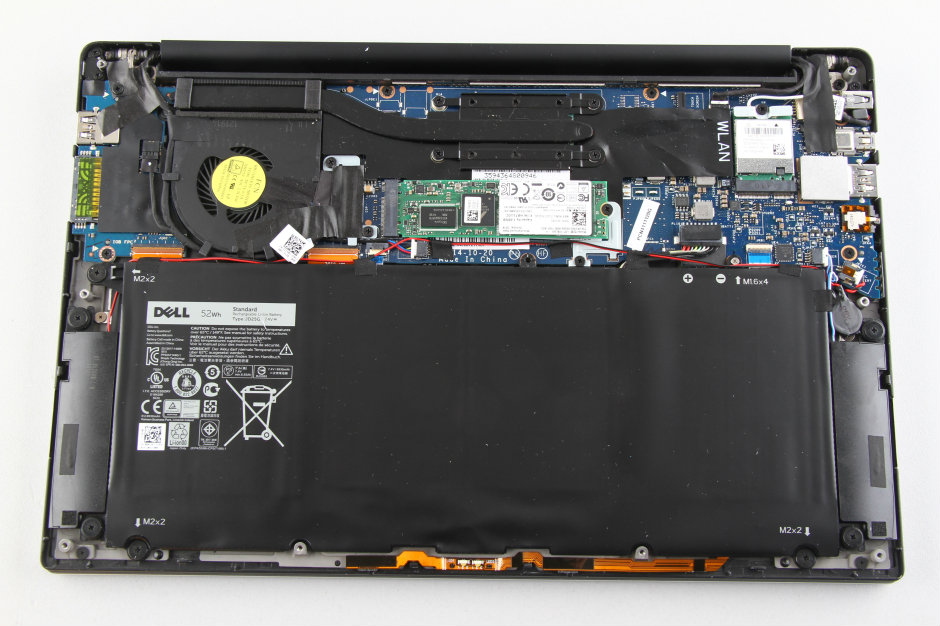
Remove all screws securing the battery.
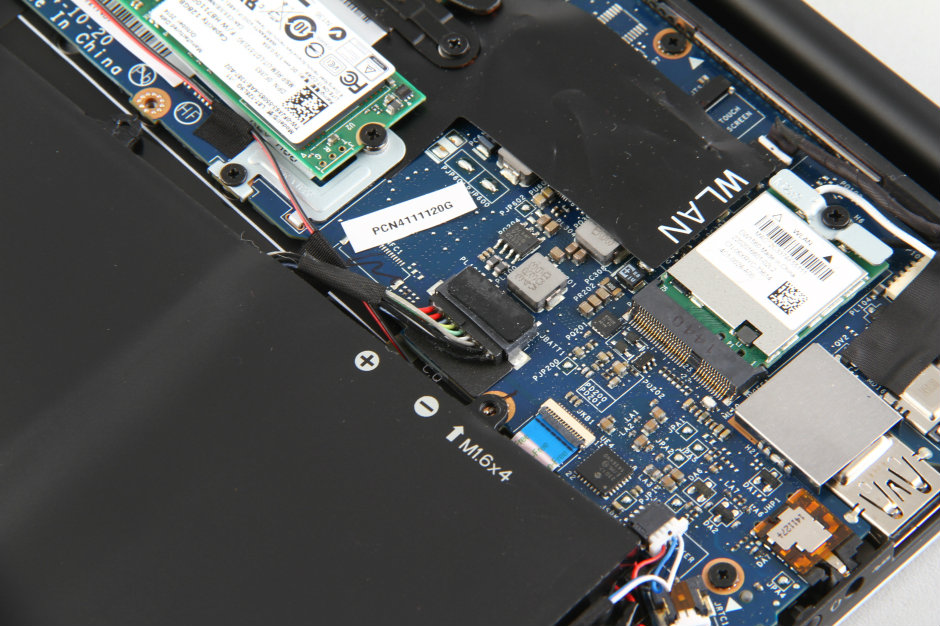
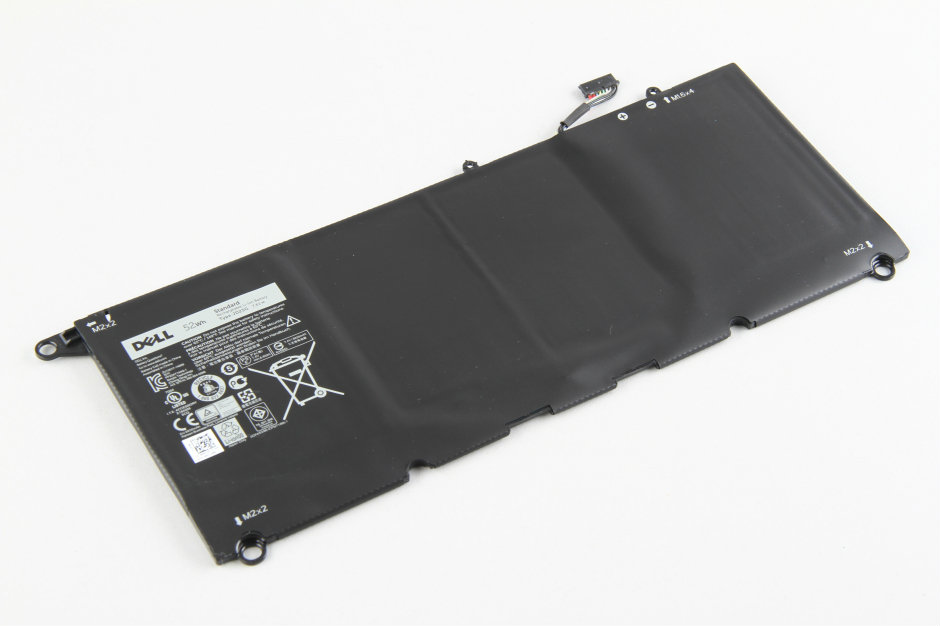
Disconnect the battery power cable from the motherboard.
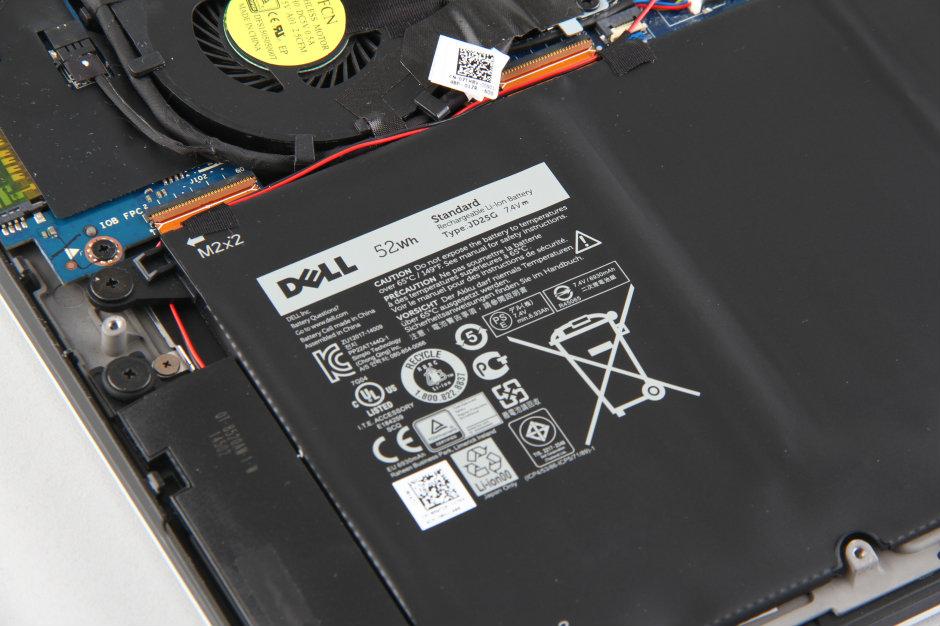
The Dell XPS 13 9343 comes with a 52Wh Li-ion battery, and its Dell part number is JD2SG.
After removing the battery, you can access the touchpad assembly, which is connected to the motherboard via a white cable.
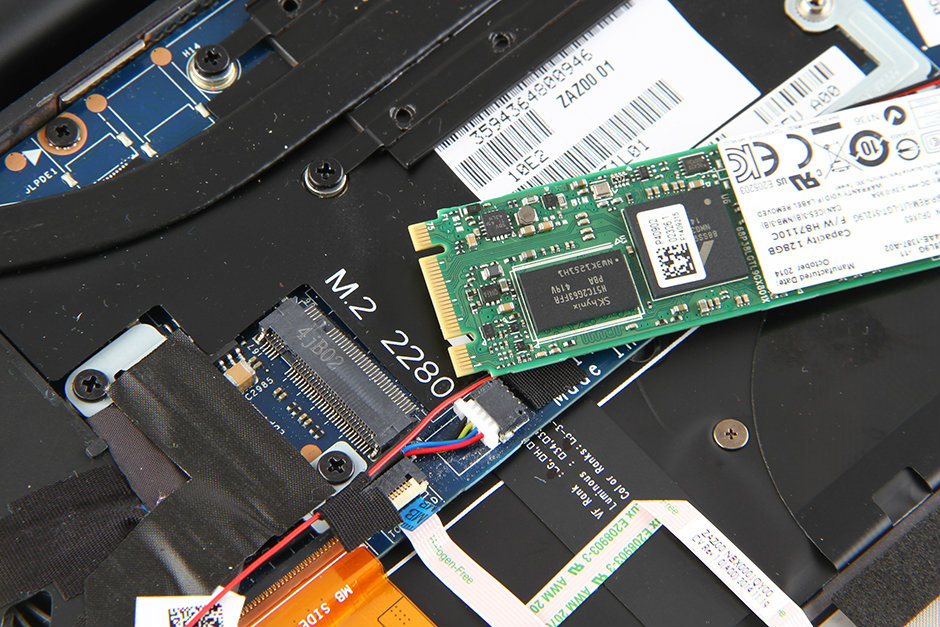
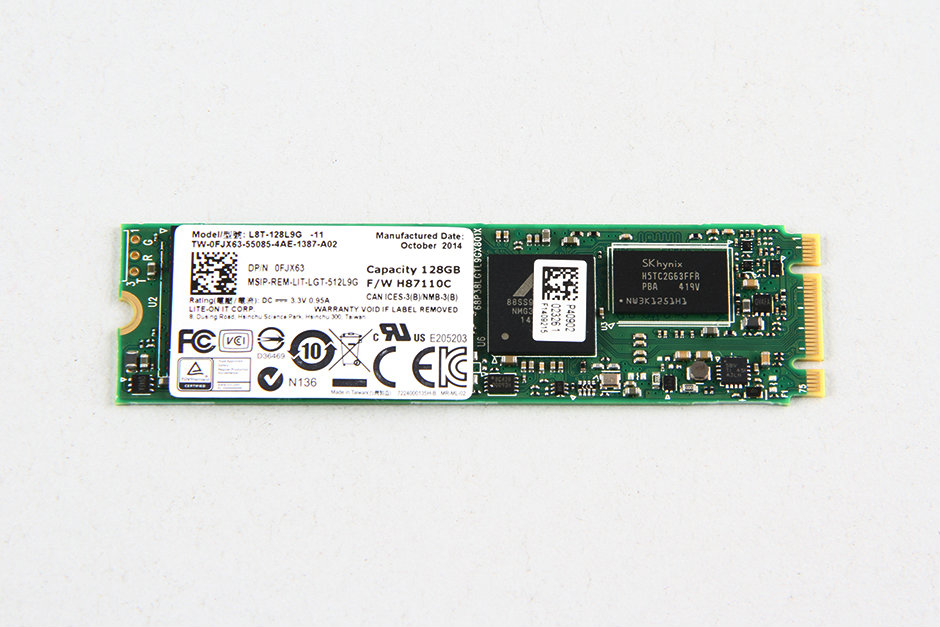
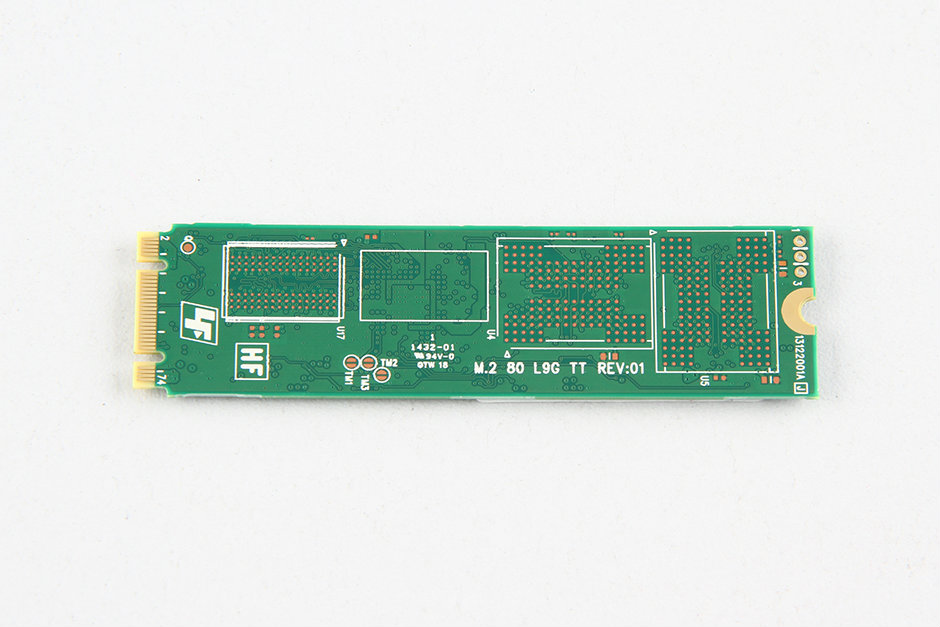
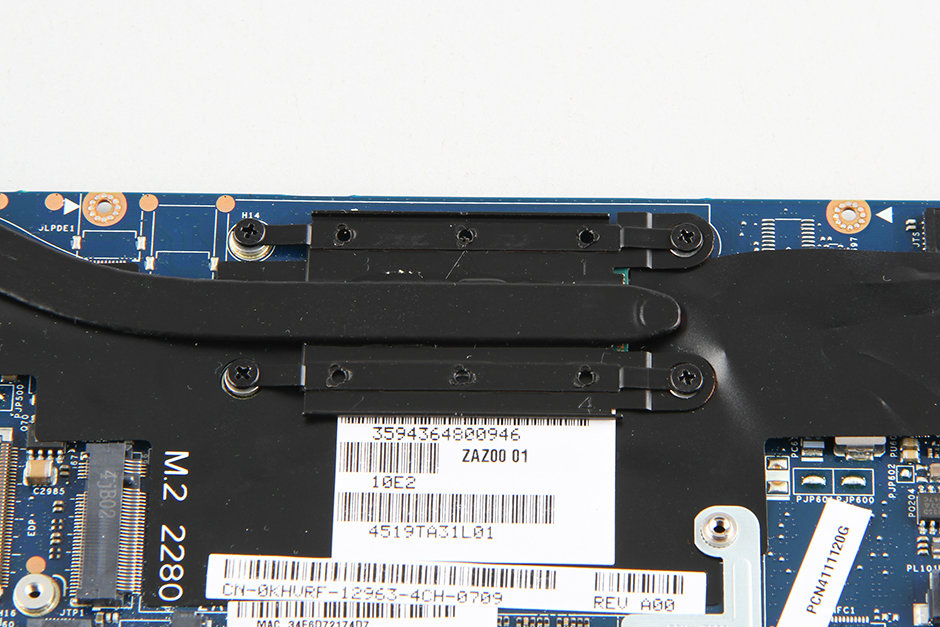
Remove the screws securing the SSD and pull the SSD out of the M.2 slot.
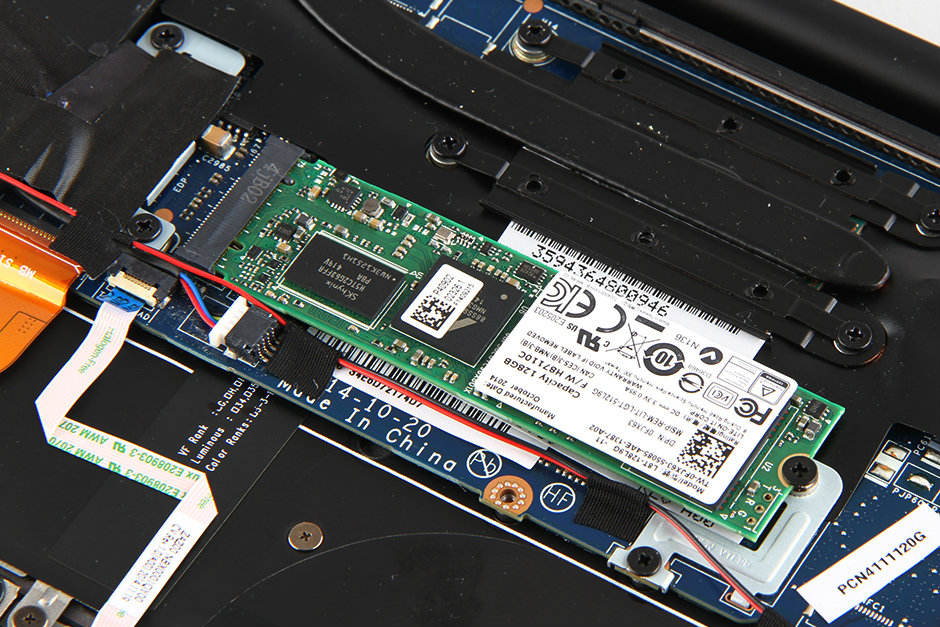
The SSD slot type is M.2 NGFF, and the SSD size is 2280.
The Dell XPS 13 9343 comes with a 128GB M.2 SSD, and its part number is 0FJX63.
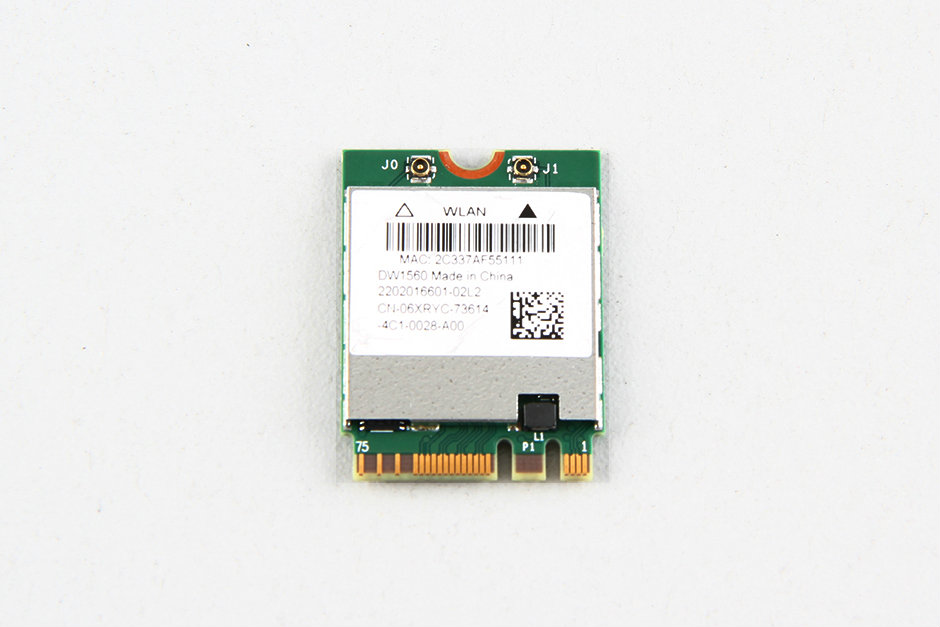
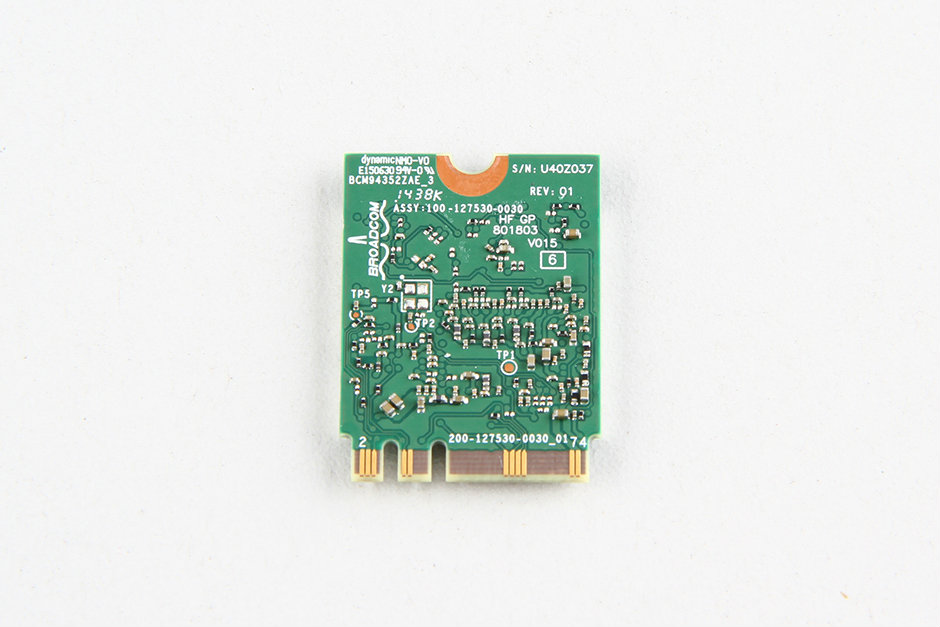
Remove the screw securing the wireless card and disconnect the two antenna cables. Then pull the card out of the slot.
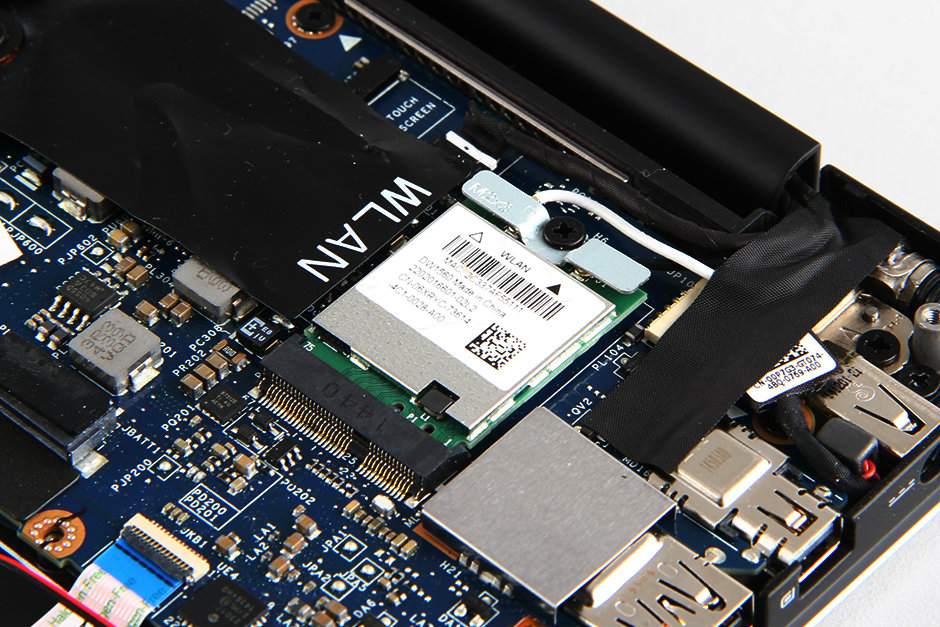
The laptop features a Broadcom DW1560 wireless card.
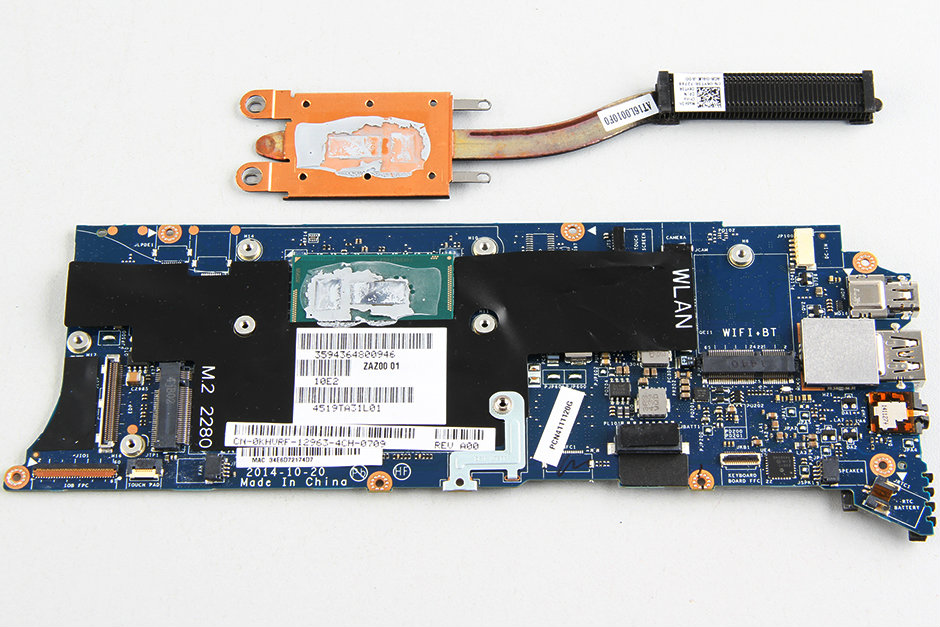
Remove all screws securing the motherboard. Disconnect the cooling fan cable, LCD cable, touchpad cable, and speaker cable from the motherboard.
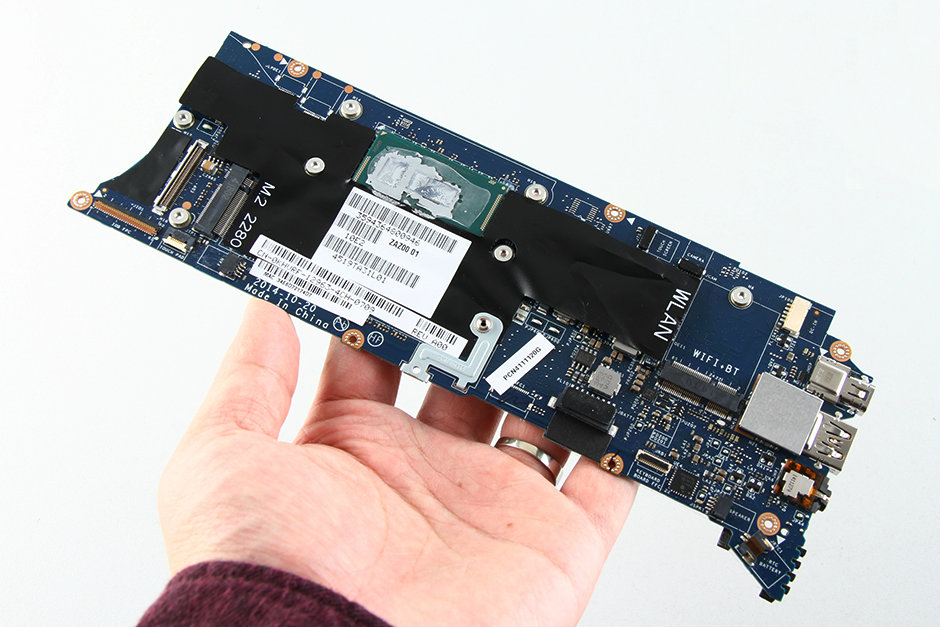
Lift the motherboard from one side with your hand and wiggle it until it completely detaches from the palm rest.

Dell XPS 13 9343 cooling fan

On the back of the motherboard, you can access the memory chips. They are soldered directly onto the motherboard, and since this laptop does not provide any spare memory slots, its memory cannot be upgraded.
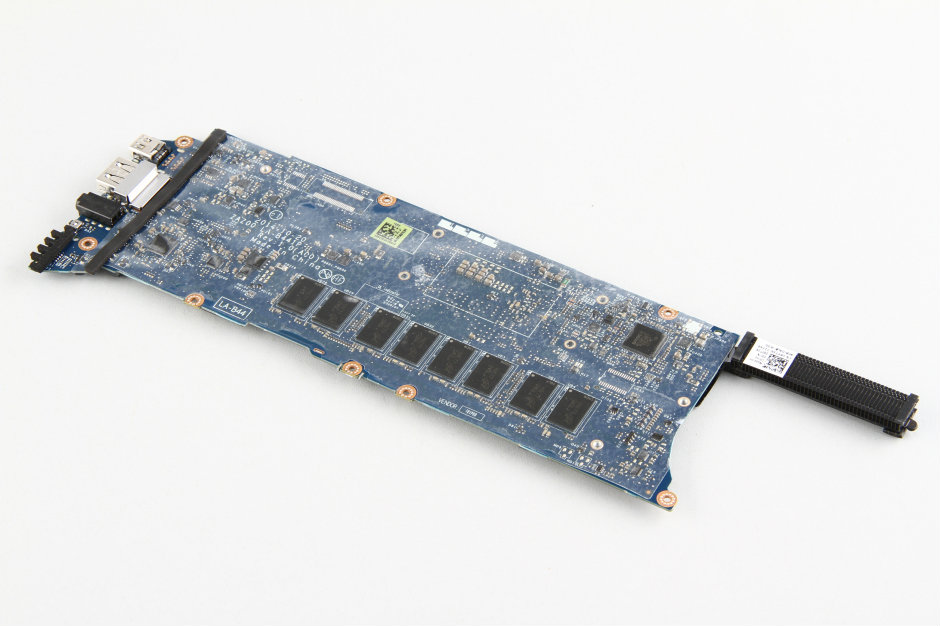
Micron RAM chips

Remove the four screws securing the heat sink.
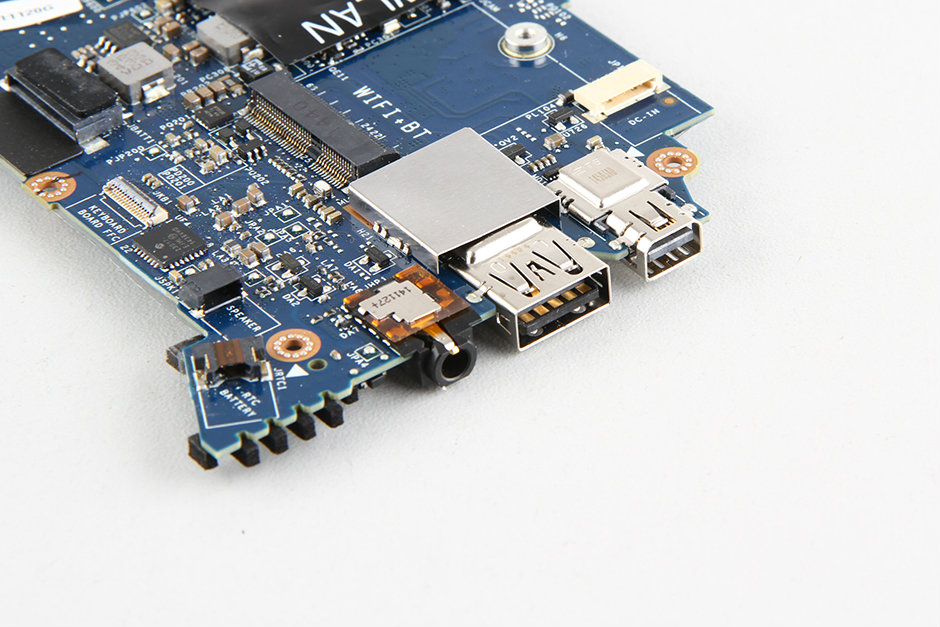
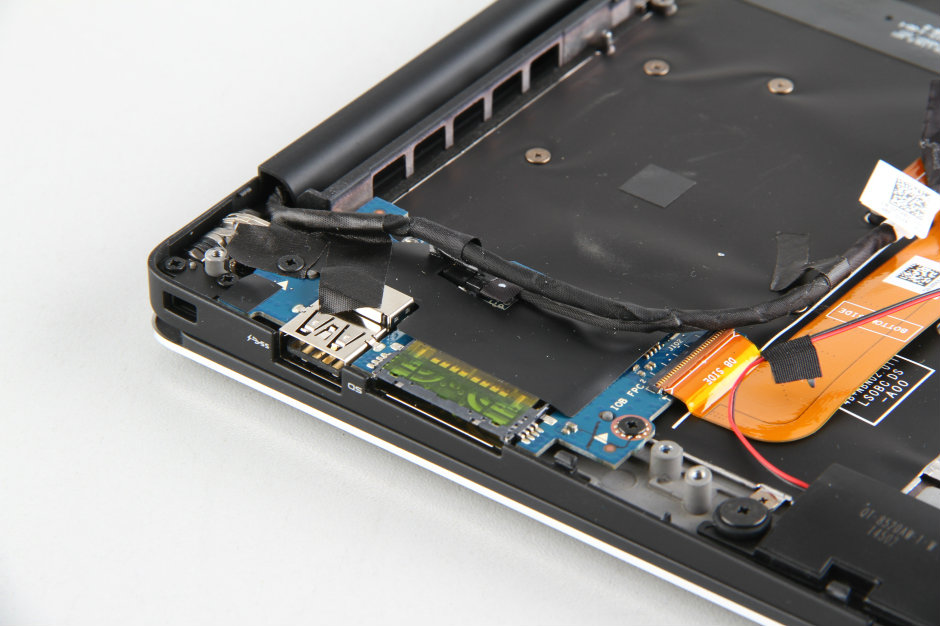
3.5mm headphone jack, USB port, and HDMI port
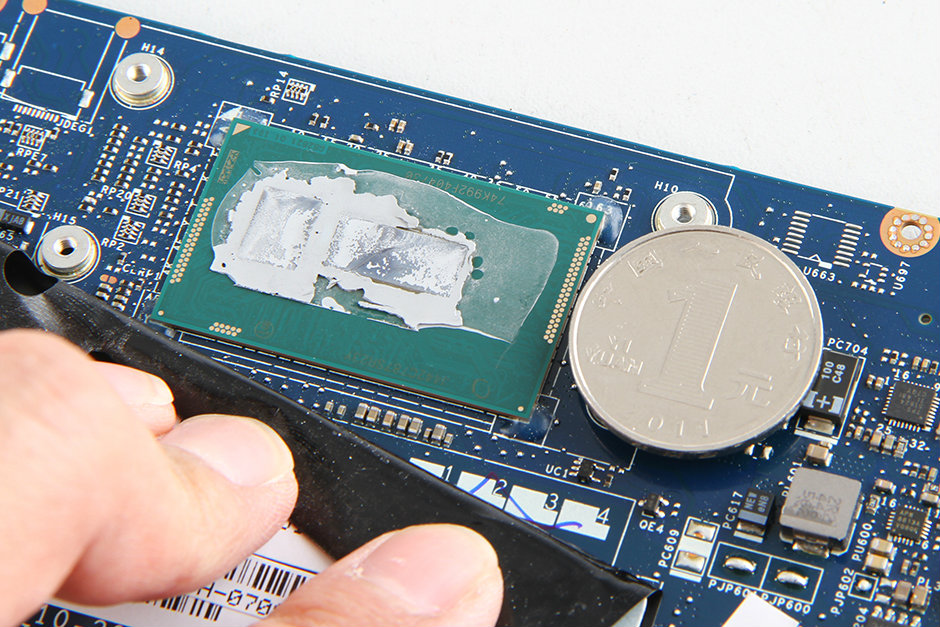
The processor of the Dell XPS 13 9343 is also soldered onto the motherboard, so it cannot be upgraded.
After removing the motherboard, you still cannot fully access the keyboard. If you need to replace the keyboard, you must also remove the USB board.
USB port and card reader
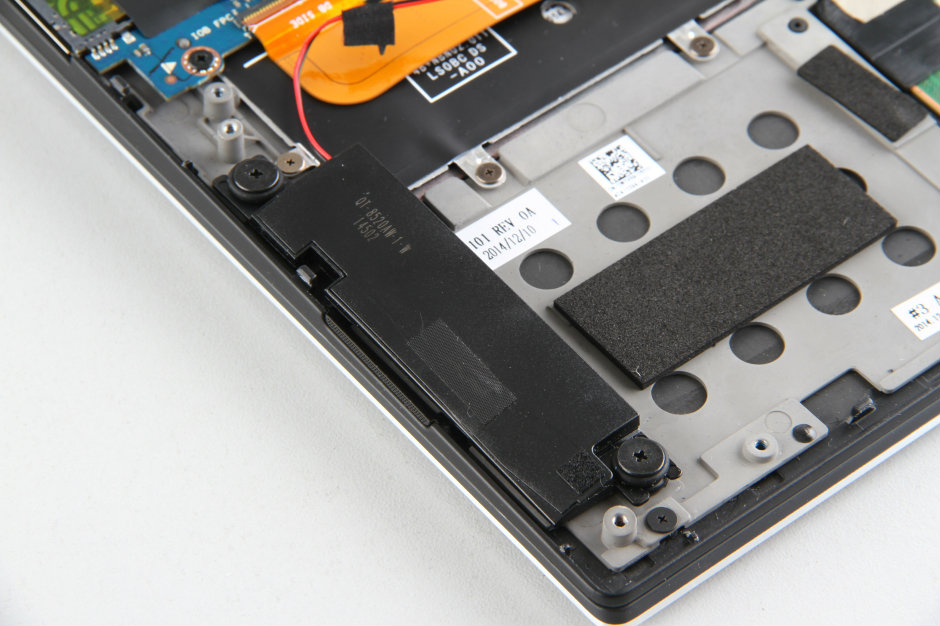
Left speaker
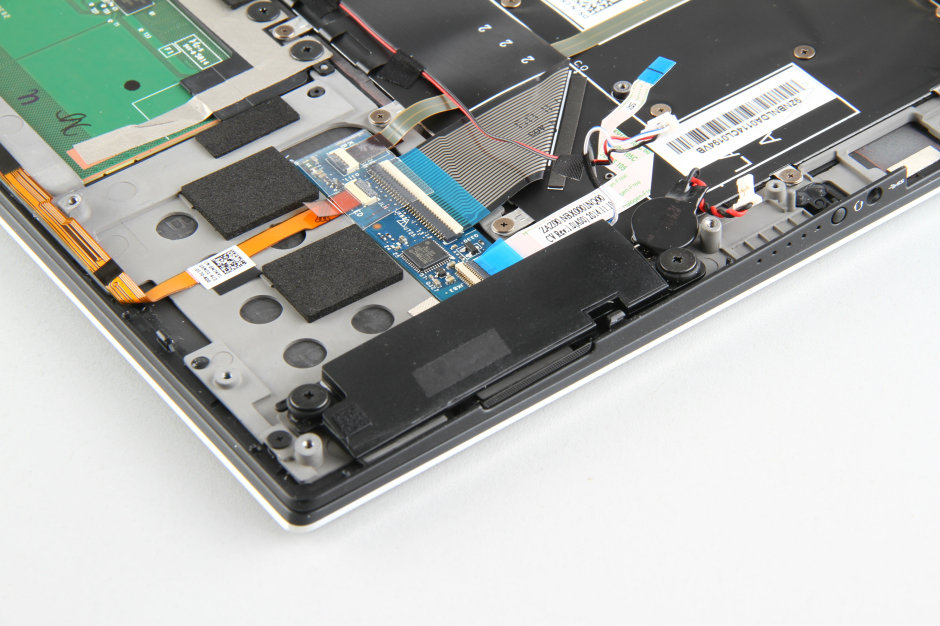
Right speaker
Dell XPS 13 9343 internal parts
Regarding the HDMI port, I thought you would like to know that it is a DisplayPort rather than an HDMI port. Thanks for the website. It truly helps all of us Dell XPS fanatics. Mine is in production right at this moment.
You did such a great job on the teardown, but you didn’t say which tools you used. For example, I need to know which size and type of screwdriver to buy for the back screws. Could you list all the tools and sizes you used to do the teardown? Thanks!
As an update, you will need a small Philips screwdriver, a T05 screwdriver and a small flat head to pry with. Good luck! 🙂
Thanks for the picture.
What about the screen? I have a broken FHD screen. I want to upgrade to QHD. Can the plastic frame of the FHD be taken out and replaced with the glass version of the QHD?
I think you may not be able to upgrade it to QHD; your LCD cable does not support QHD. However, you can contact Dell to confirm.
So the main concern is the cable. If the replacement QHD screen came with the appropriate cable, would that mean it is possible?
I think it can not, and the original may not support QHD.
Hi, David,
I am planning to remove the metal panel on my Dell XPS 13. Could you tell me what the size of the Torx screws on the Dell XPS 13 is?
1. What kind (or size) of screwdriver should I use for this? Thanks.
2. I am planning to upgrade to a 128GB SSD. What type (name or number) should I look for?
Appreciate your reply!
Thanks
Tom
Tom, as mentioned in my comment above, you will need a T05 screwdriver. 🙂 As for the upgrade on your SSD, you can throw in any SSD brand and size you’d like. I believe the supported SSD dimension size is 2.5″.
Not 2.5″. As noted earlier in the teardown, the SSD slot type is M.2 NGFF.
You said at the beginning that you would cover the cleaning of the XPS 13, but there’s nothing on that. Can you tell us the recommended method for cleaning this screen?
Thanks for the site!
To upgrade the SSD, what is the maximum SSD capacity supported by this laptop (XPS 13 9343)
Where can I find a list of compatible SSDs?
or
What is the recommended maximum capacity SSD, brand, model and capacity?
I was required to upgrade the RAM from 4GB to 8GB, but I didn’t realize that the RAM was integrated into the motherboard. How can I upgrade the RAM in my Dell XPS 13 9343?