
In this guide, I will explain how to disassemble the Lenovo IdeaPad U410 to remove the battery, hard drive, keyboard, palm rest, wireless card, RAM, heat sink, cooling fan, speaker, and motherboard.
Looking for more guides? Follow us on Facebook for all the latest repair news.
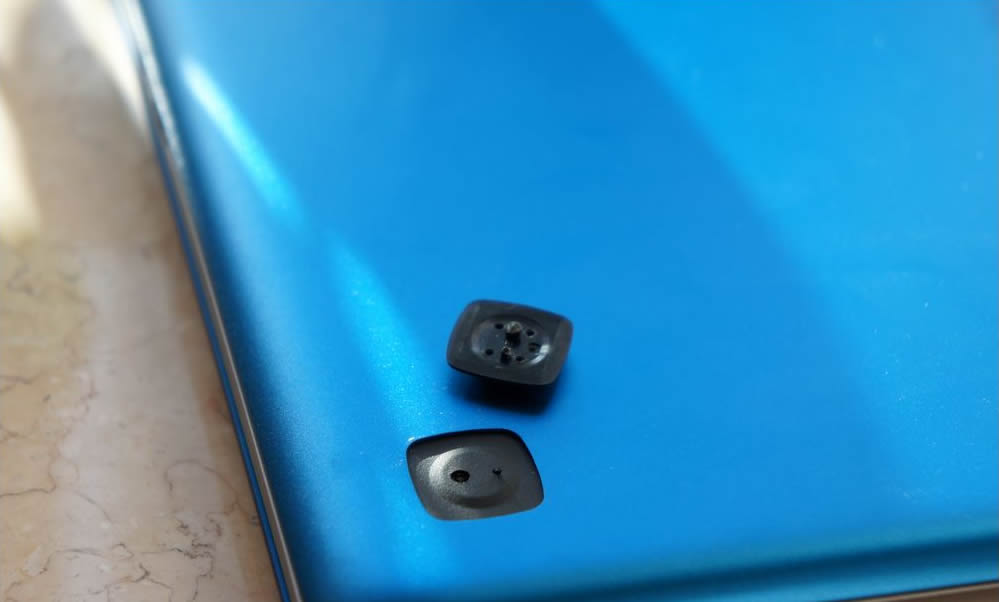
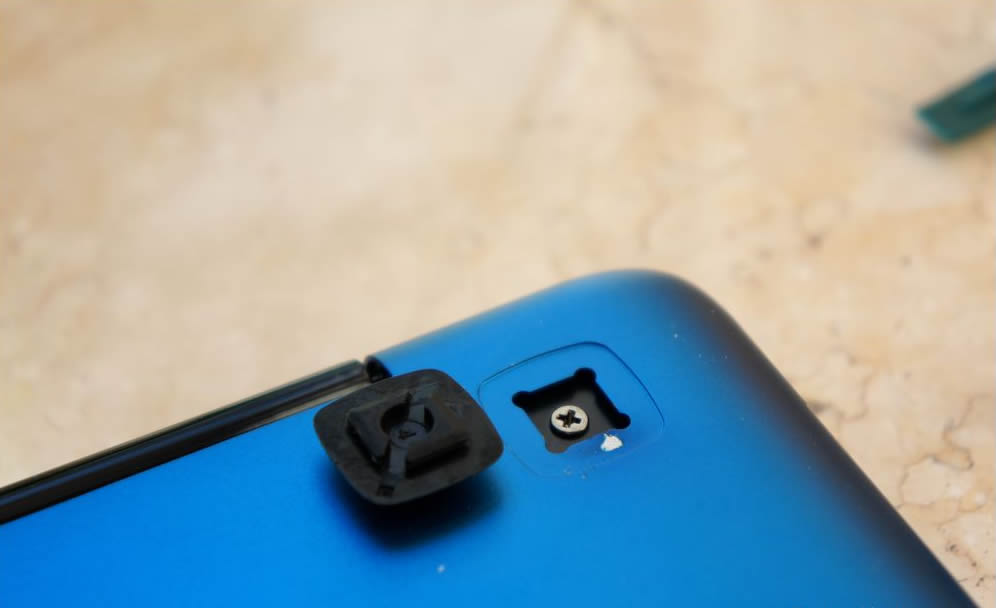
First, turn your laptop over. Remove the four rubber mats.
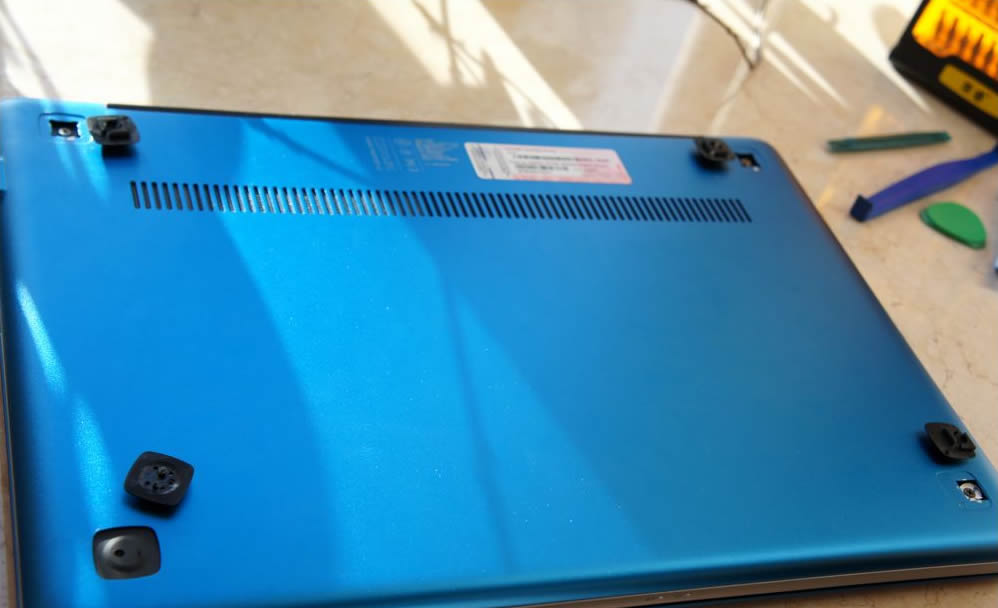
Note: There is no screw under the lower left corner of the mat.
Remove the three screws from the bottom cover.
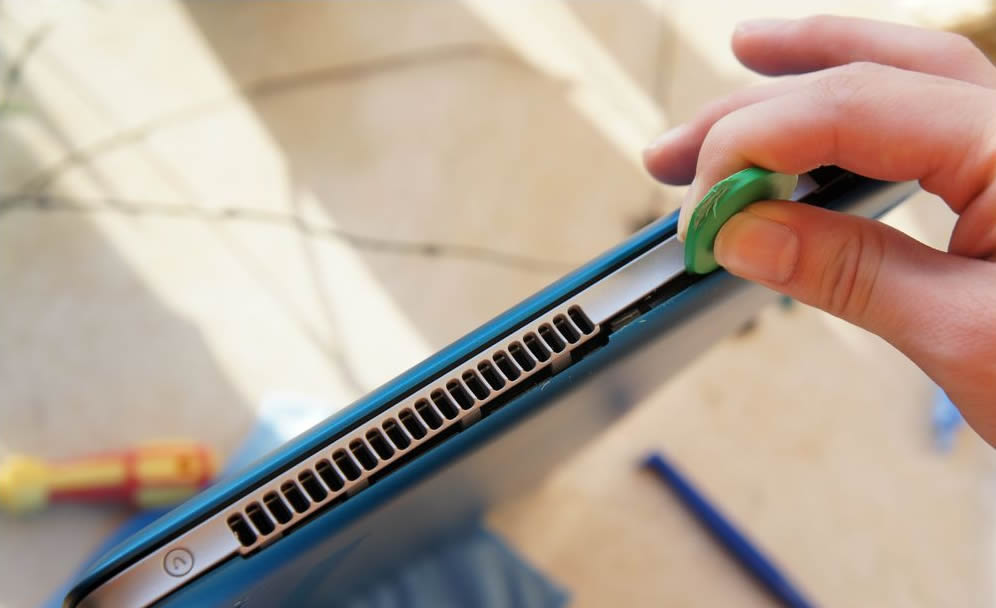
Insert a pry bar under the bottom cover and pry open a small gap between the bottom cover and the palm rest.
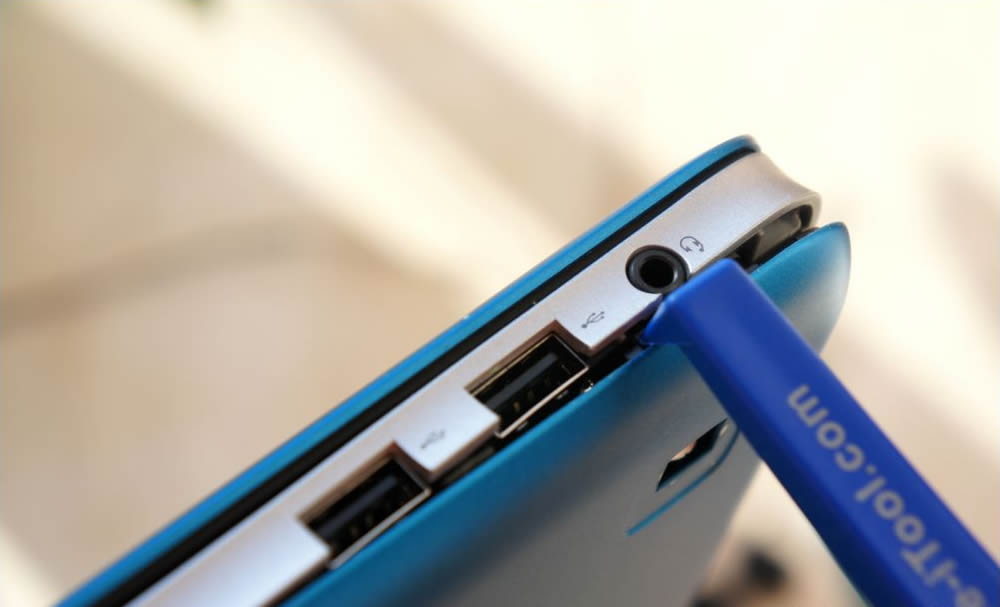
Then insert a pry tool under the bottom cover and slide it to completely separate the cover from the laptop.
The bottom cover has been removed.
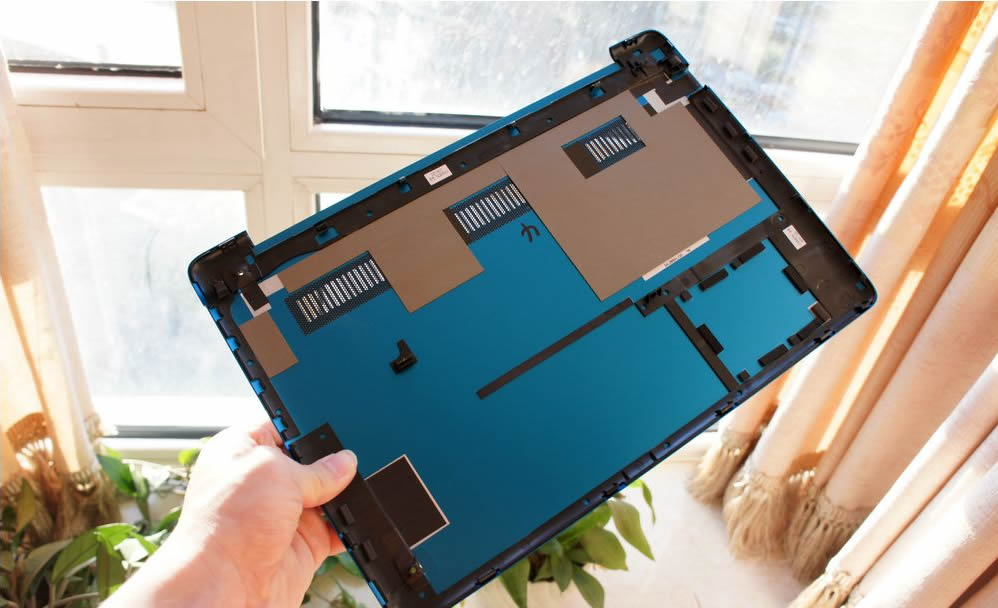
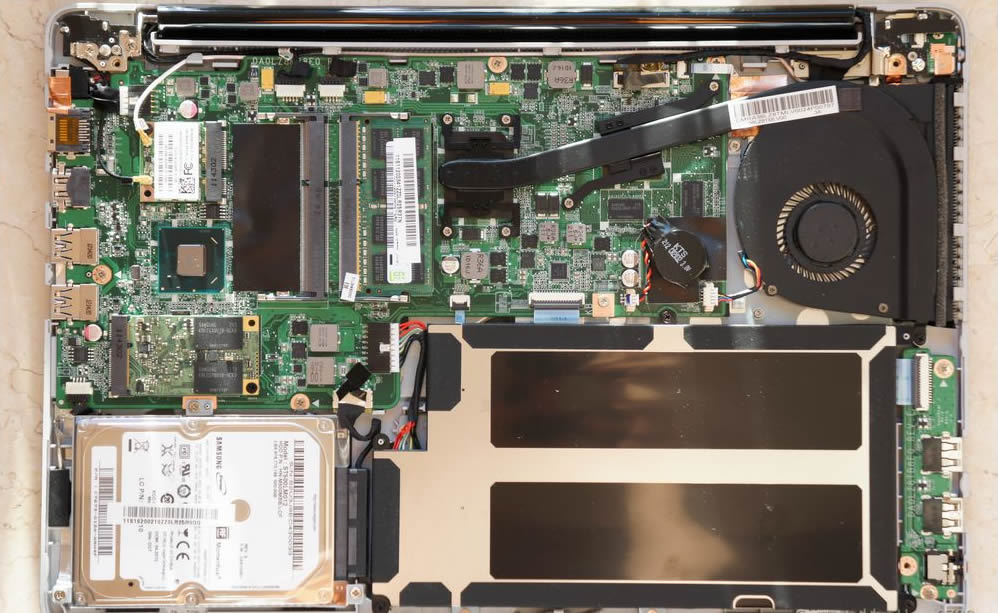
After removing the bottom cover, you can get access to the battery, wireless card, memory, heat sink, and cooling fan.
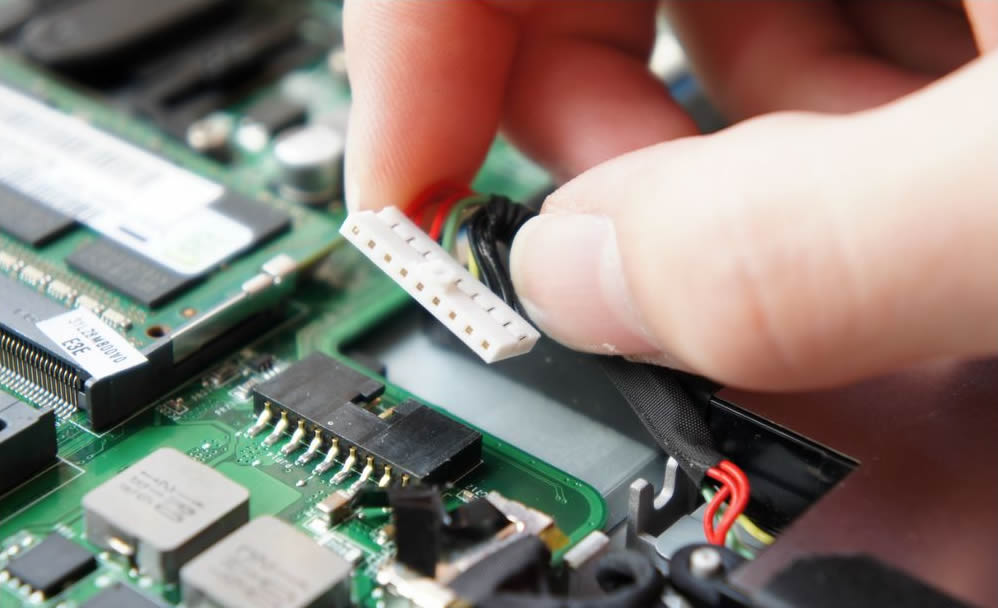
Disconnect the battery connector from the motherboard.
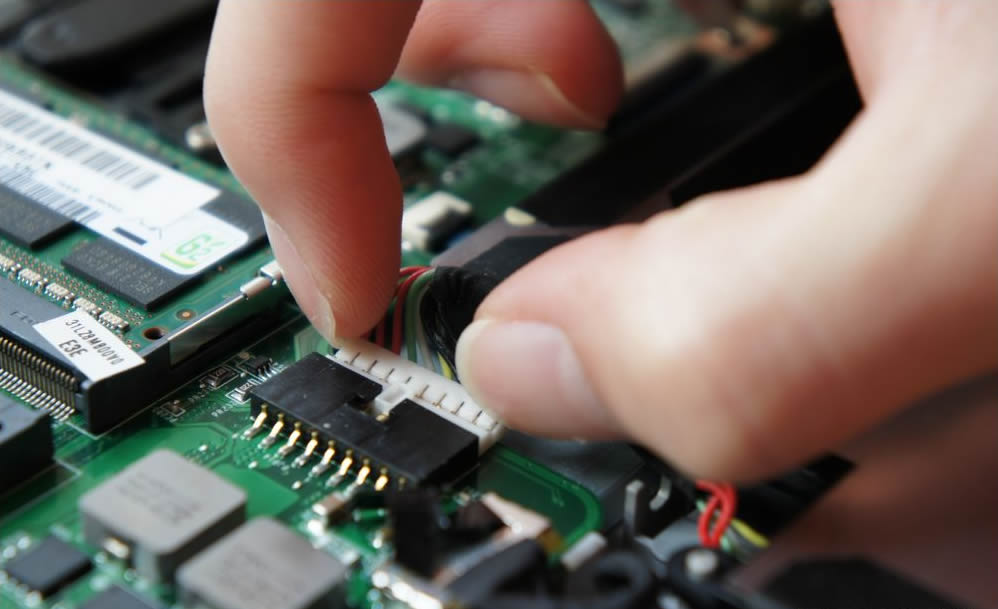
The battery power cable has been removed.
Remove the three screws securing the battery and remove it.
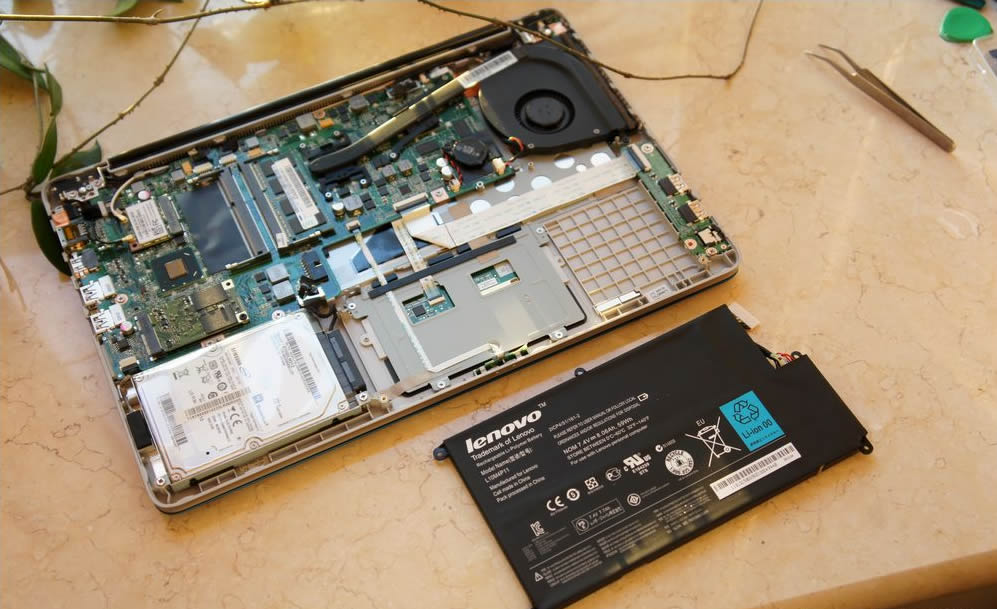
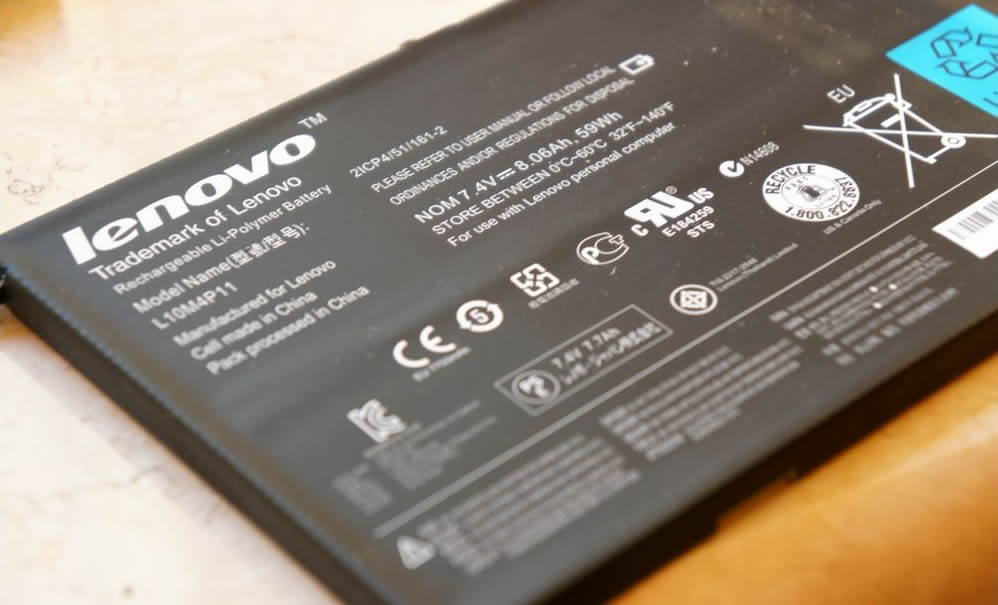
The Lenovo IdeaPad U410 comes with a 59Wh Li-polymer battery.
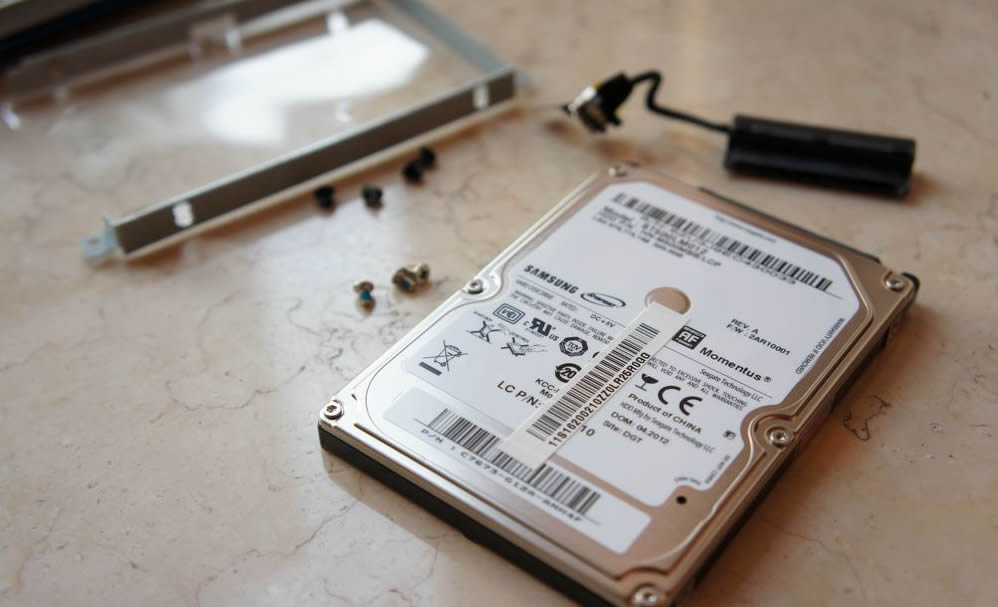
Unplug the hard drive cable from the motherboard.
Remove the three screws securing the hard drive assembly.

The hard drive assembly

If you want to replace or upgrade the hard drive, you need to remove four screws from the hard drive caddy.
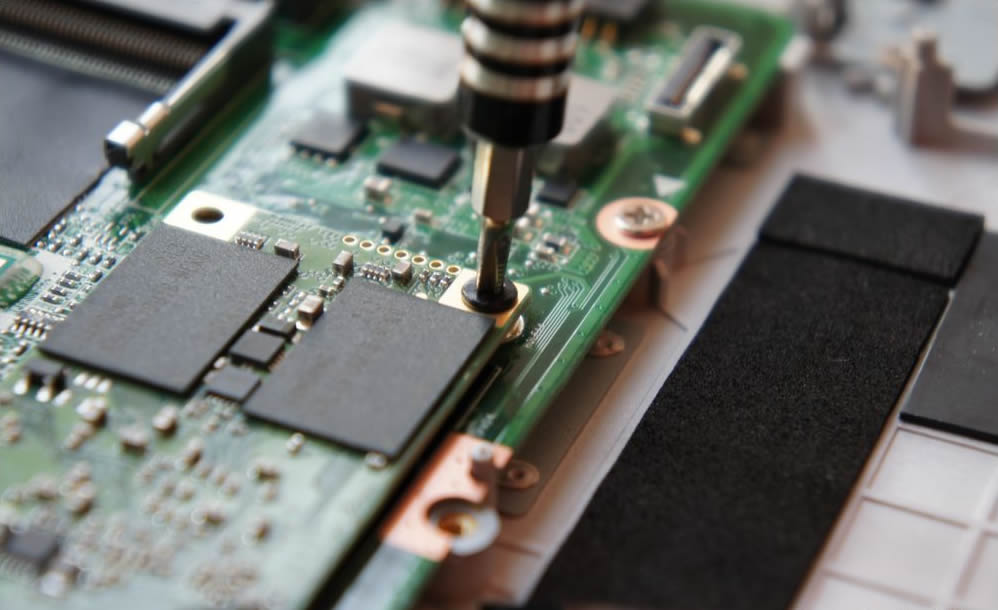
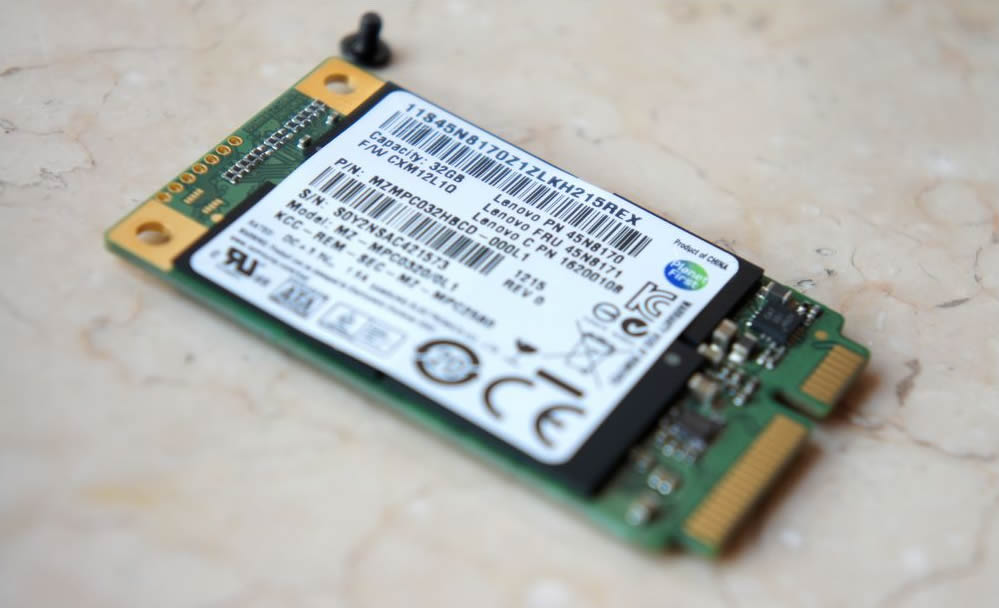
Remove the screw securing the SSD and remove it from the M.2 slot.
The laptop comes with a Samsung 32GB mSATA SSD.
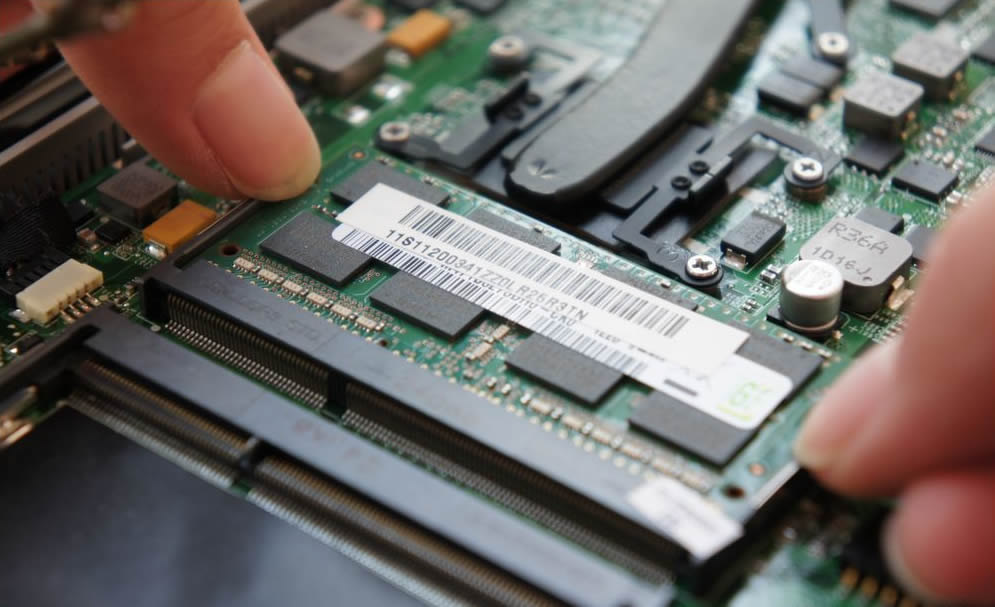
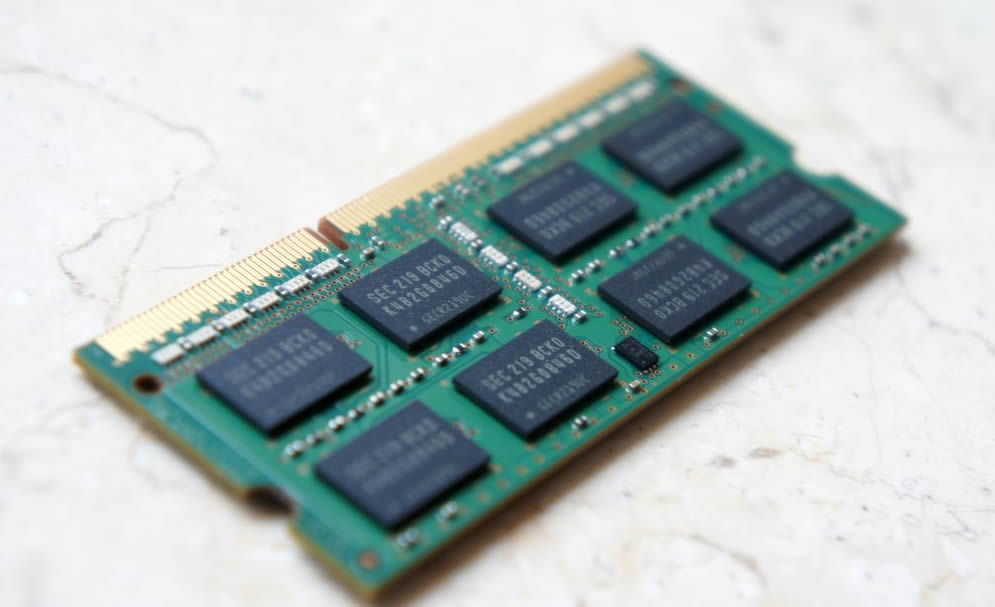
Use your fingernails to gently separate the clips on both sides of the memory module, and it will pop out automatically. This laptop has two memory slots, allowing you to add another memory module to upgrade the RAM.
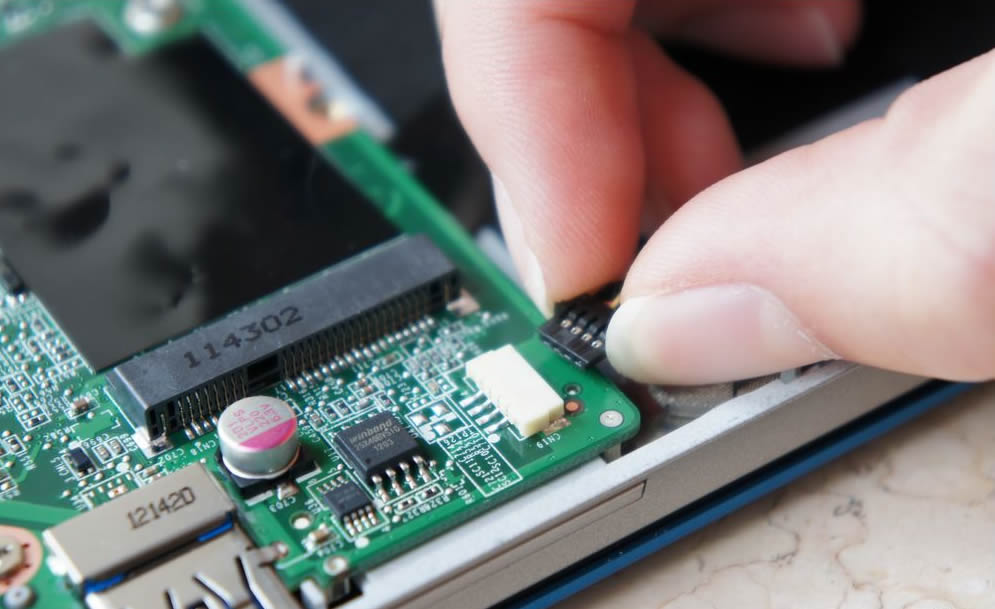
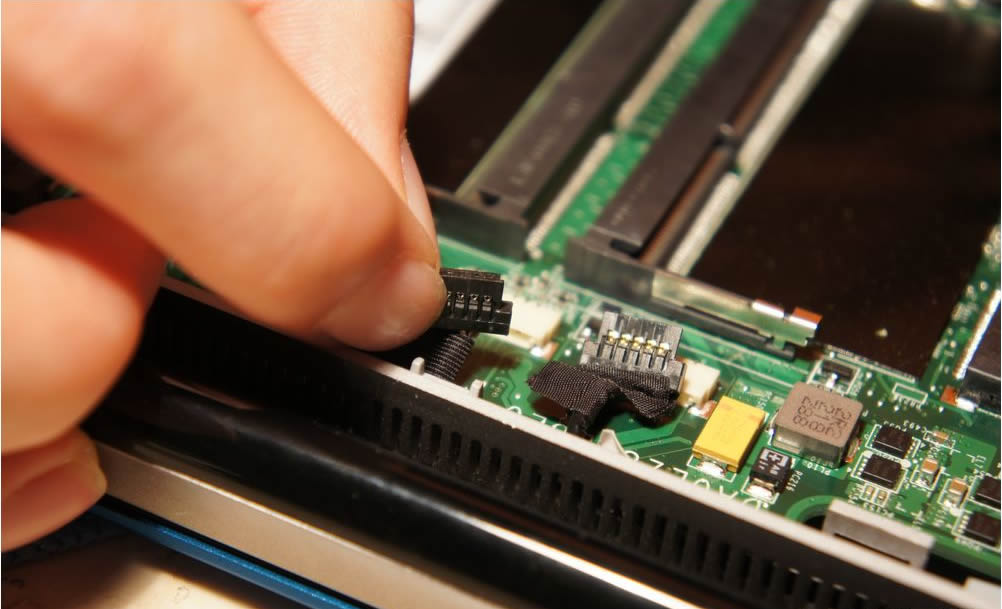
Disconnect the two antenna cables.
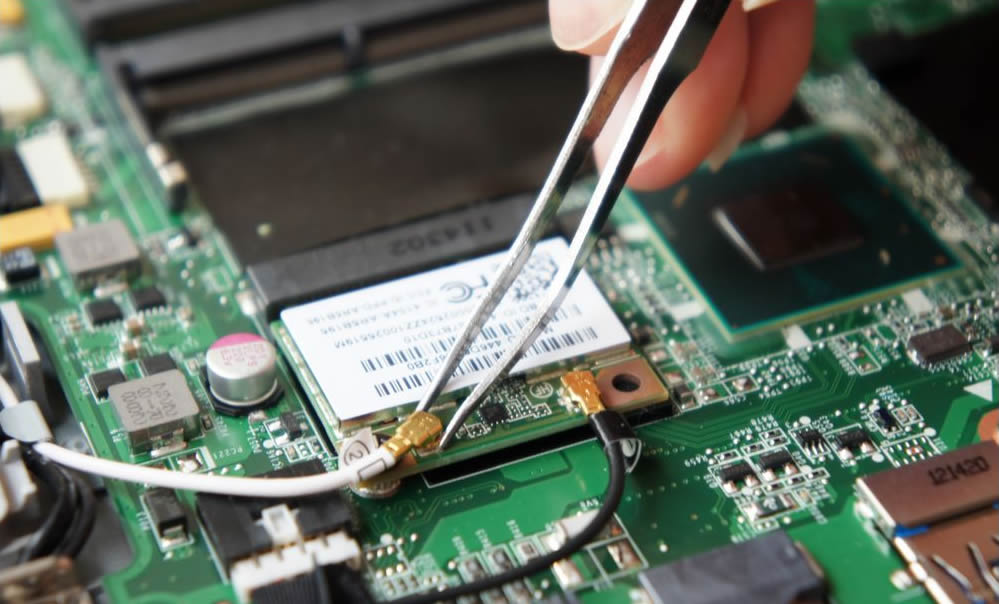
Remove the screw securing the wireless card.
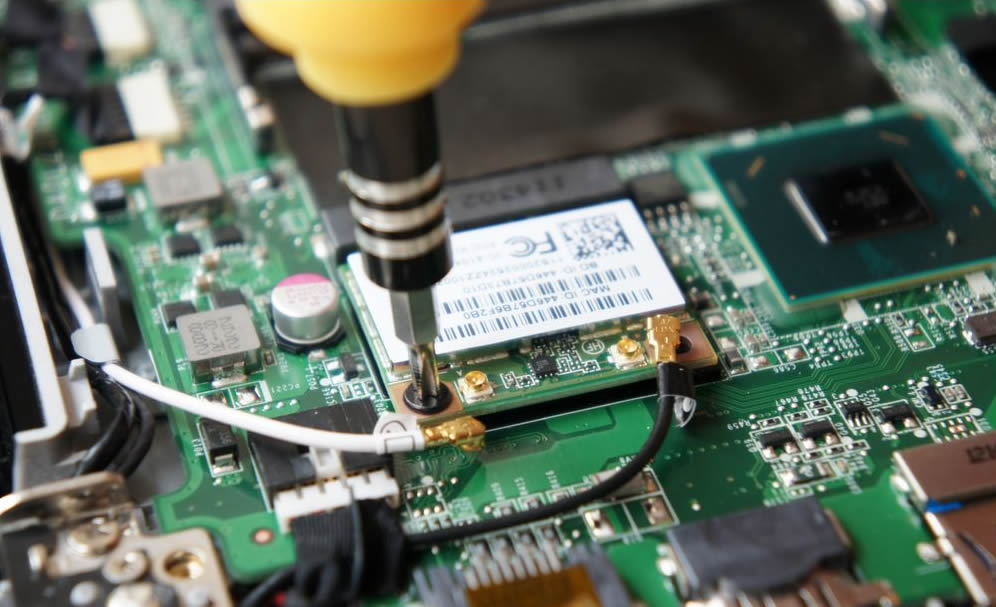
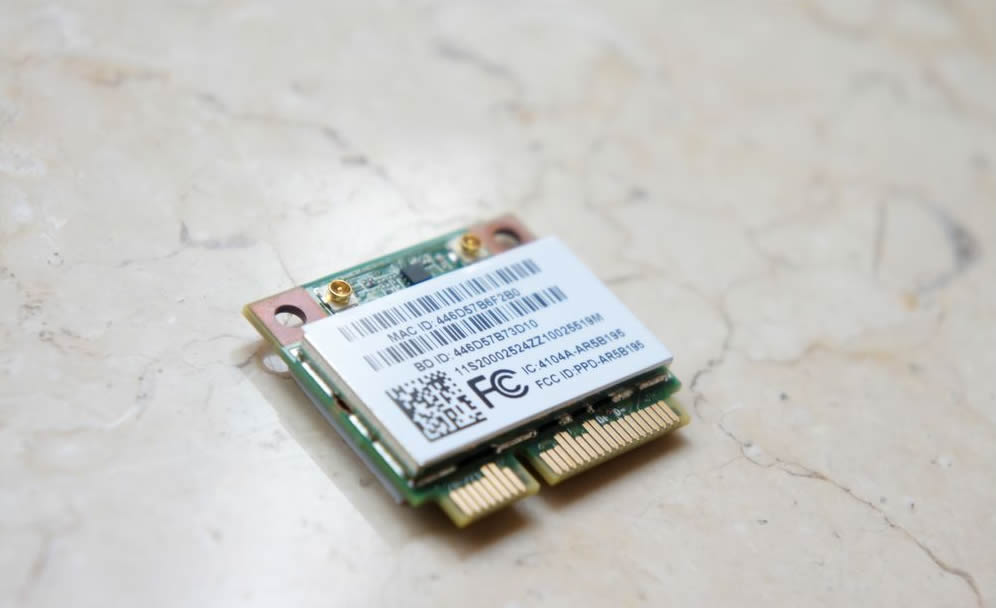
Wireless card
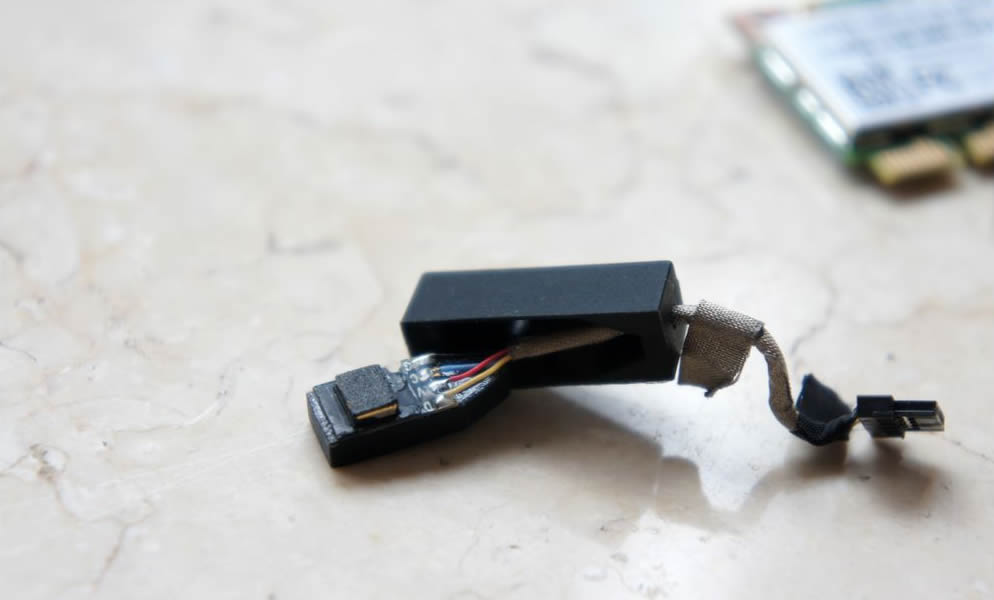
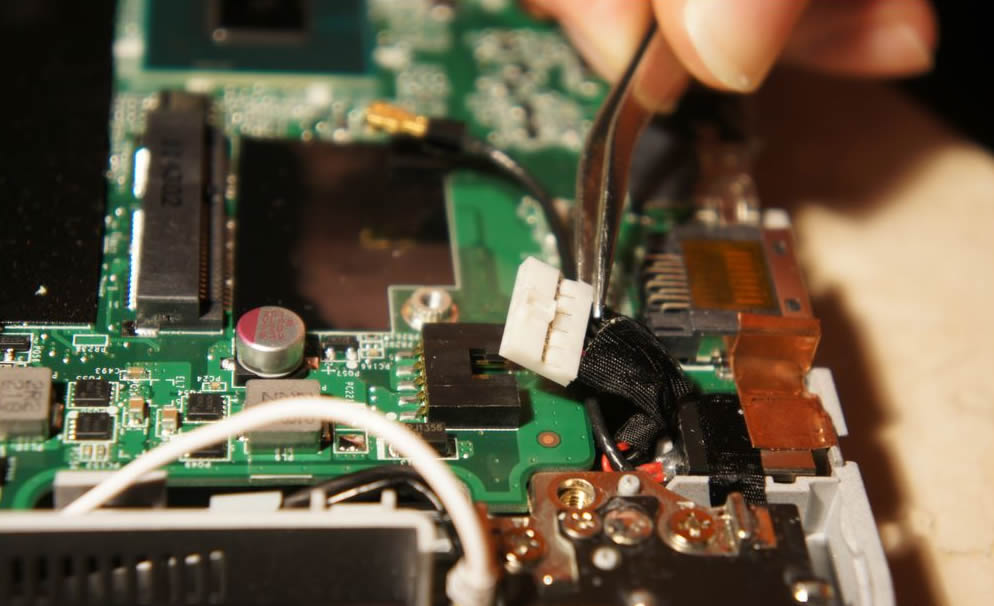
Disconnect the left speaker cable.
Left speaker
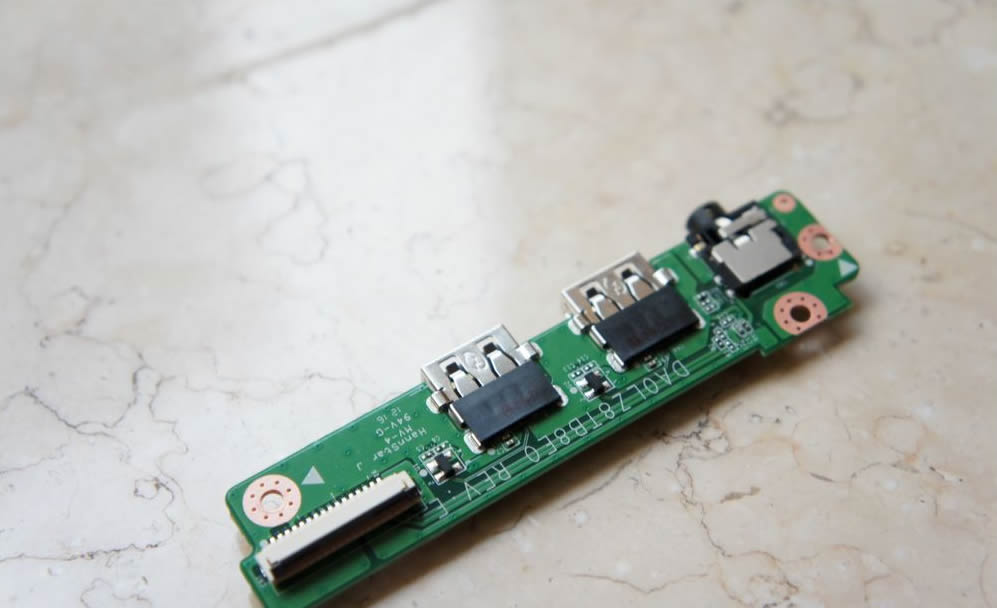
Now, we will remove the USB board and lift the black holder with your fingers.
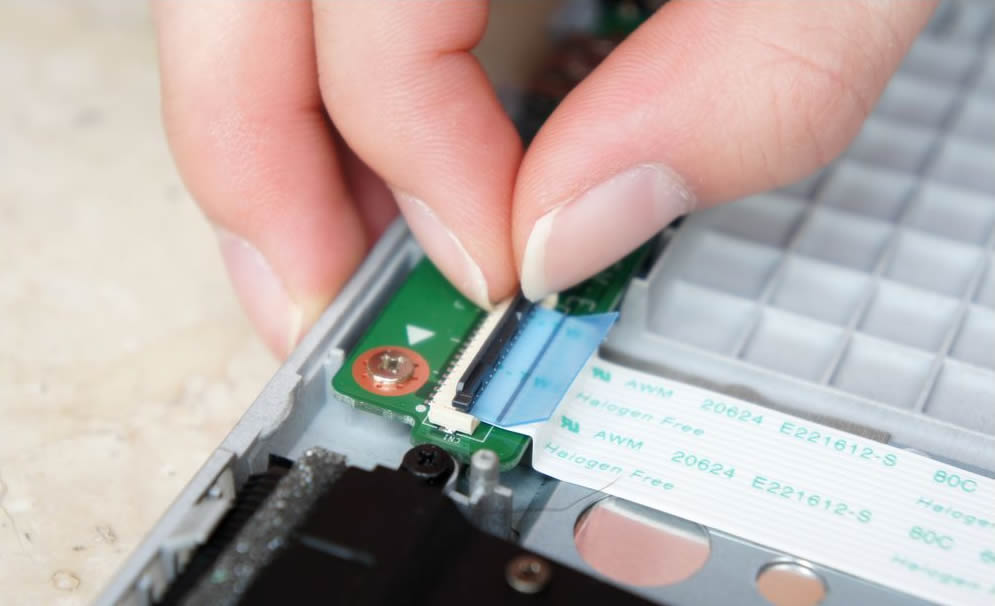
Pull out the cable.

Remove the two screws securing the USB board.
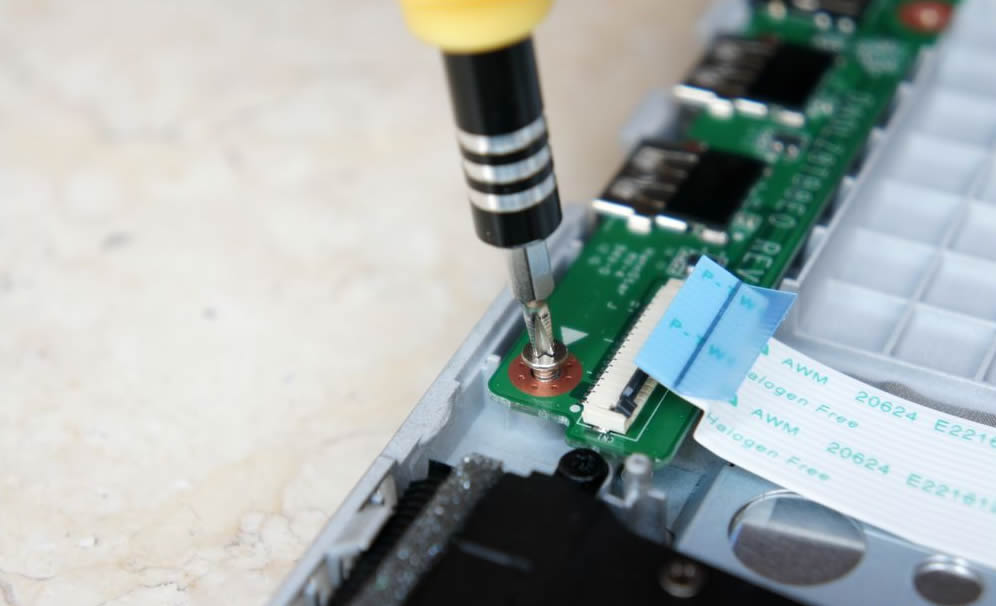
Now, you can remove the USB board.
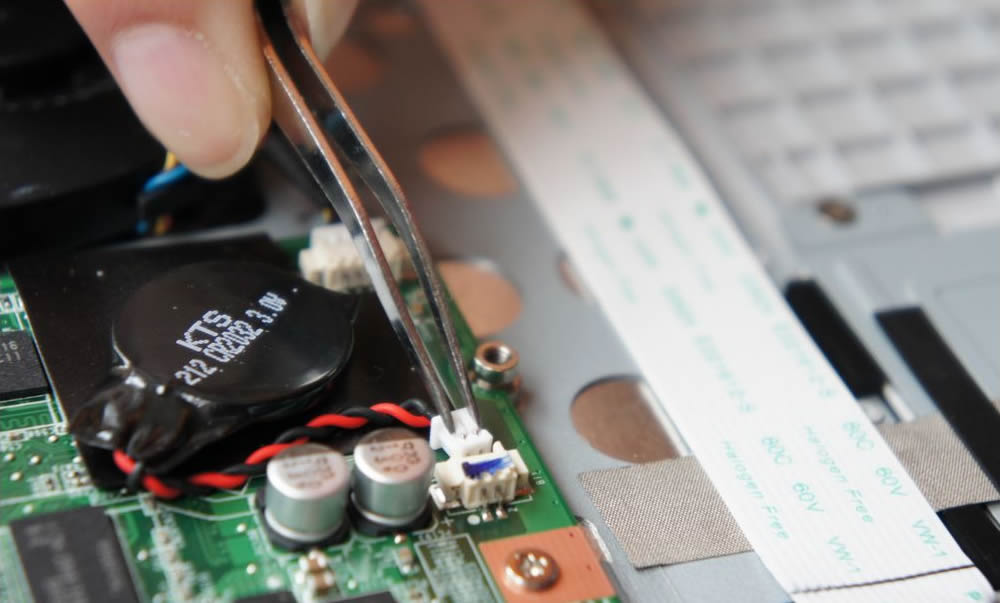
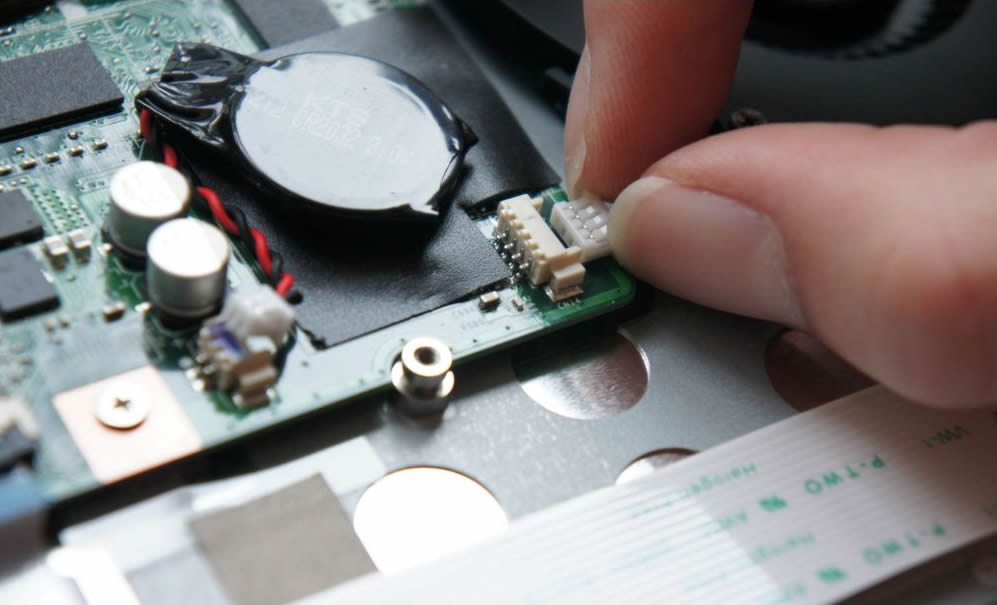
Disconnect the CMOS battery cable.
Disconnect the cooling fan cable.
Remove the screw securing the cooling fan. Loosen the six screws securing the heat sink. You can remove the heat sink and cooling fan.
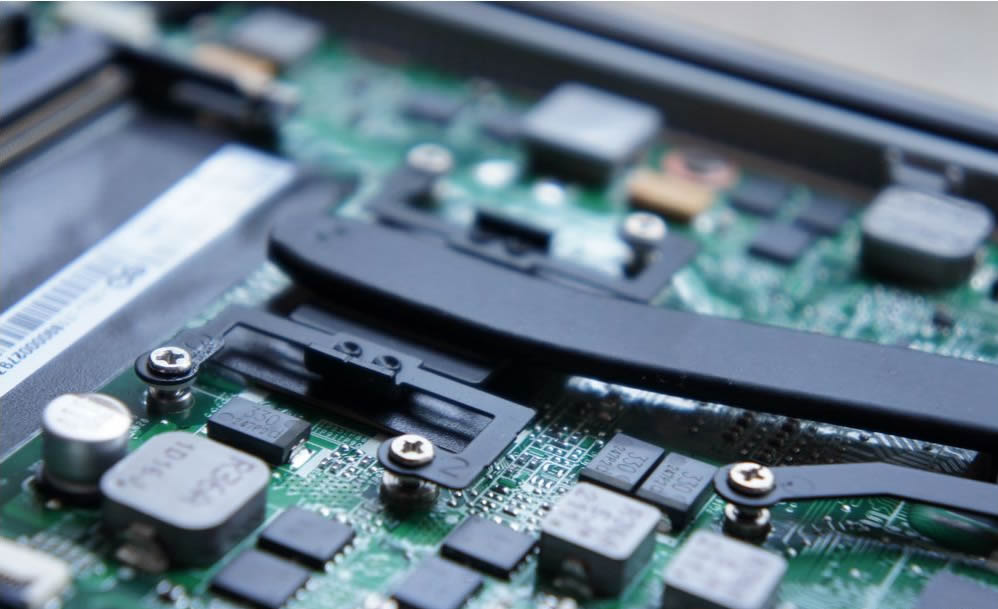
The heat sink and cooling fan
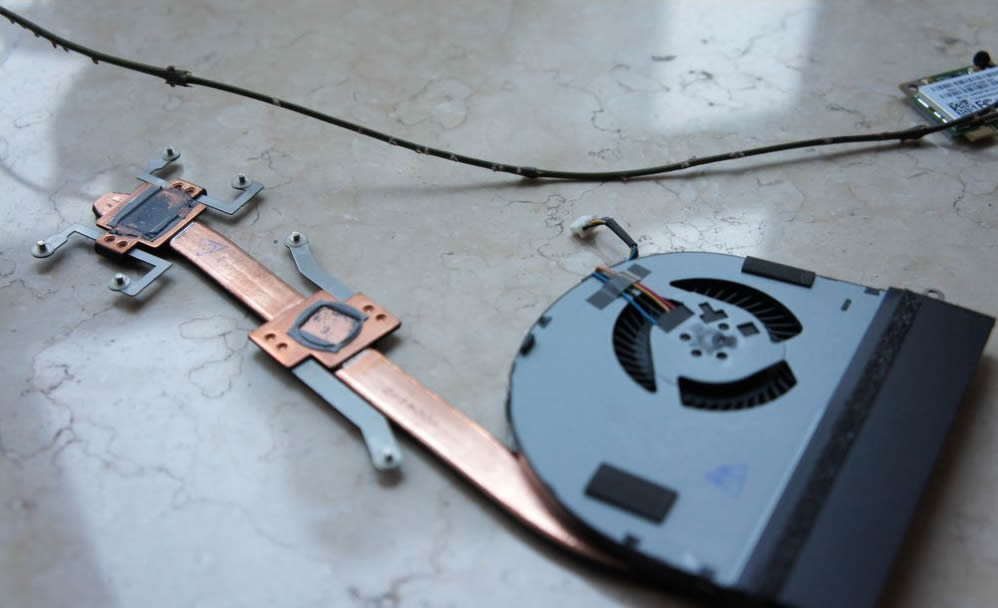
Remove the cooling fan from the cooling system. You can replace it with a new cooling fan.
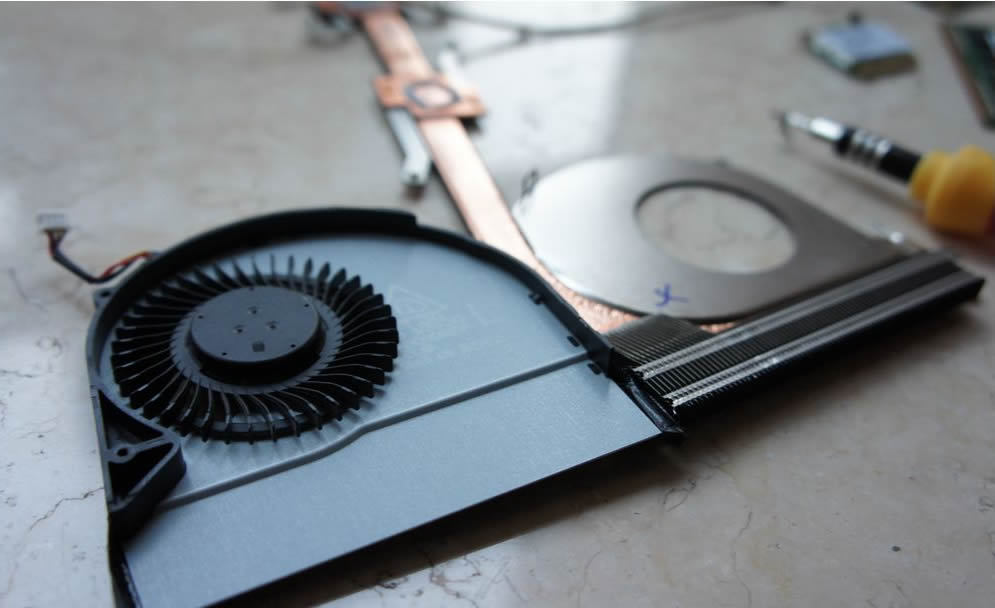
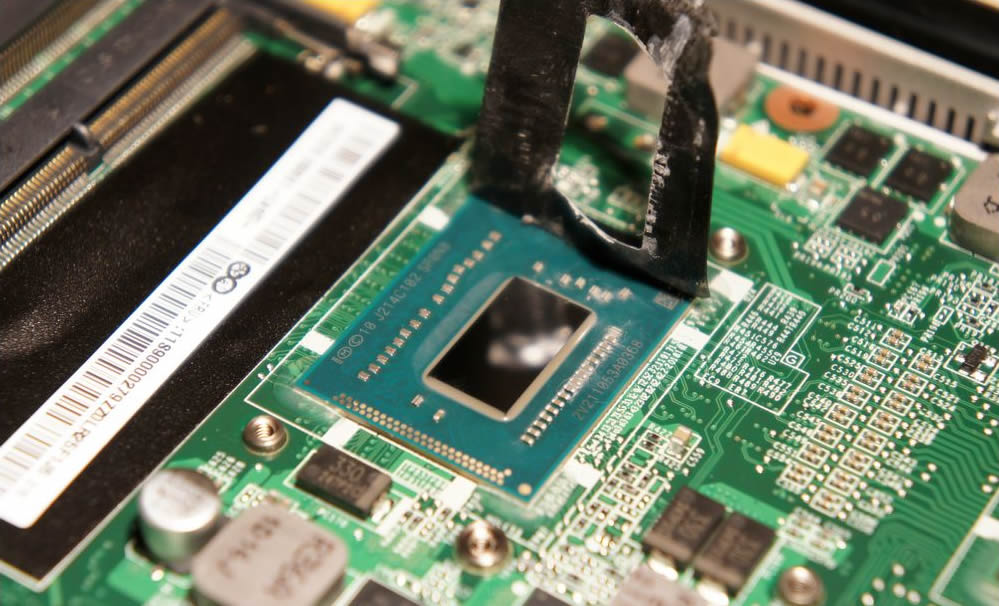
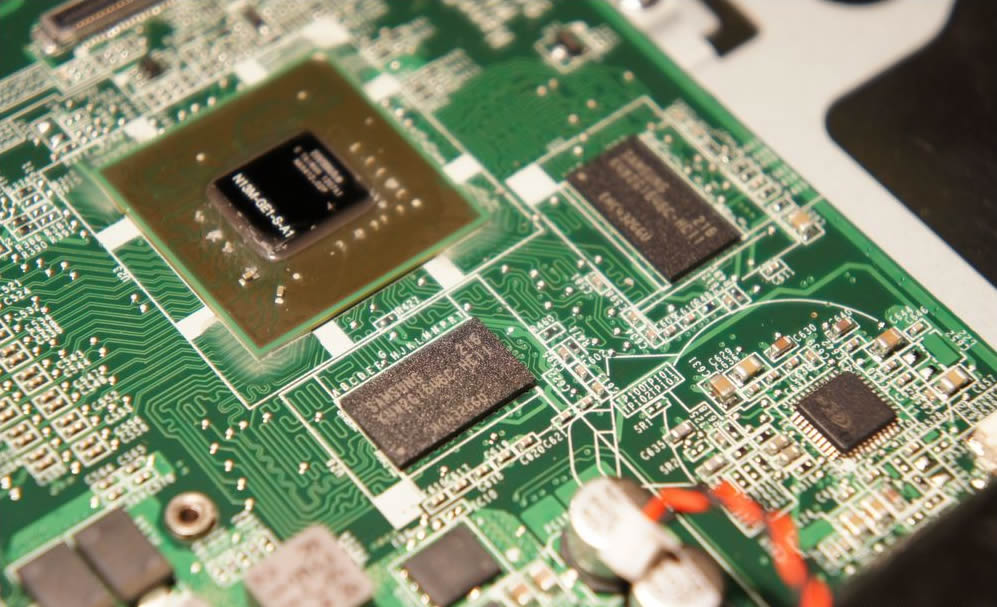
Now you can access the Ivy Bridge and GT610M graphics chip.
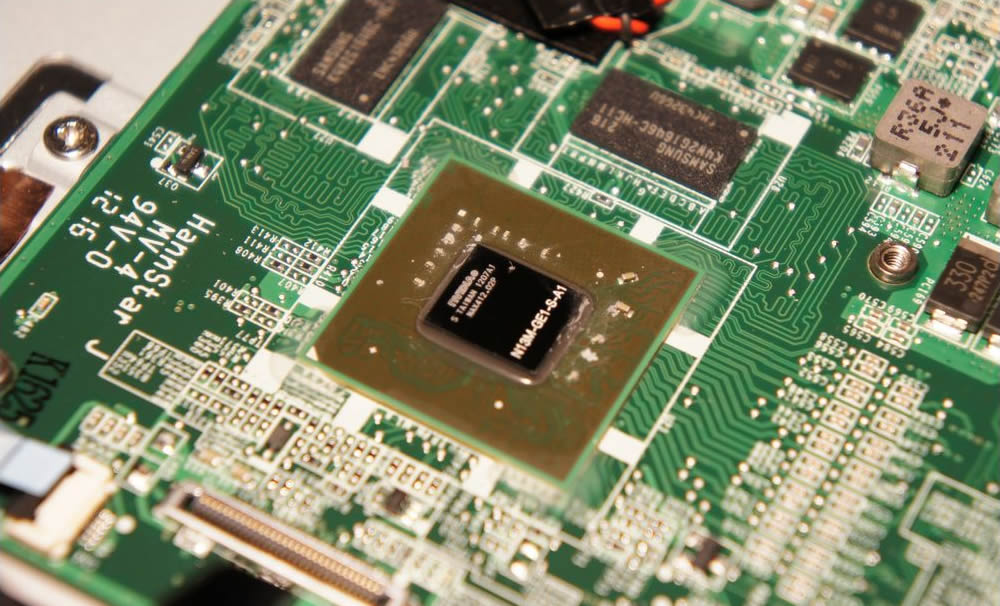
Three Samsung chips
Disconnect the touchpad cable and power indicator cable.
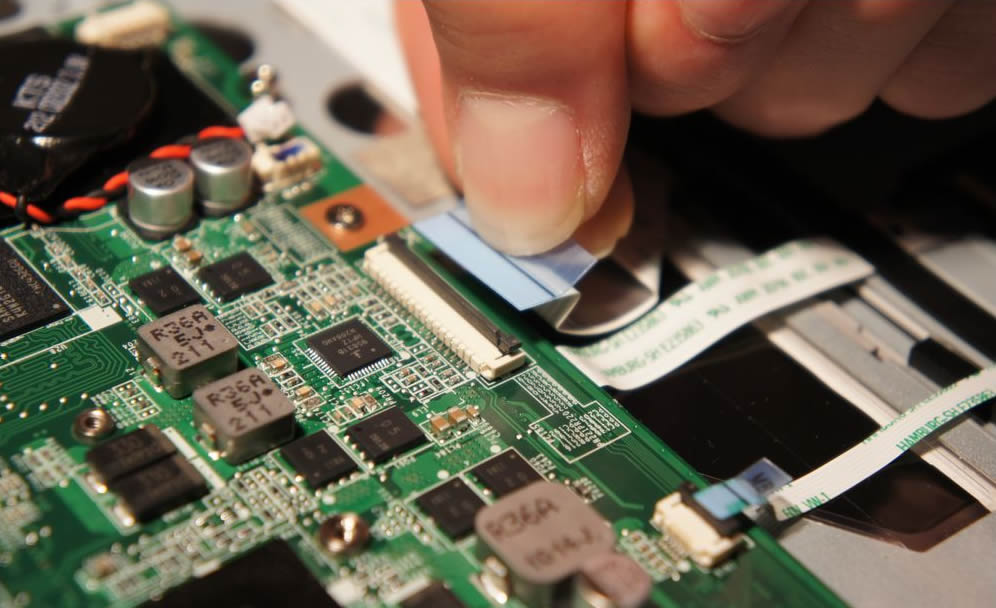
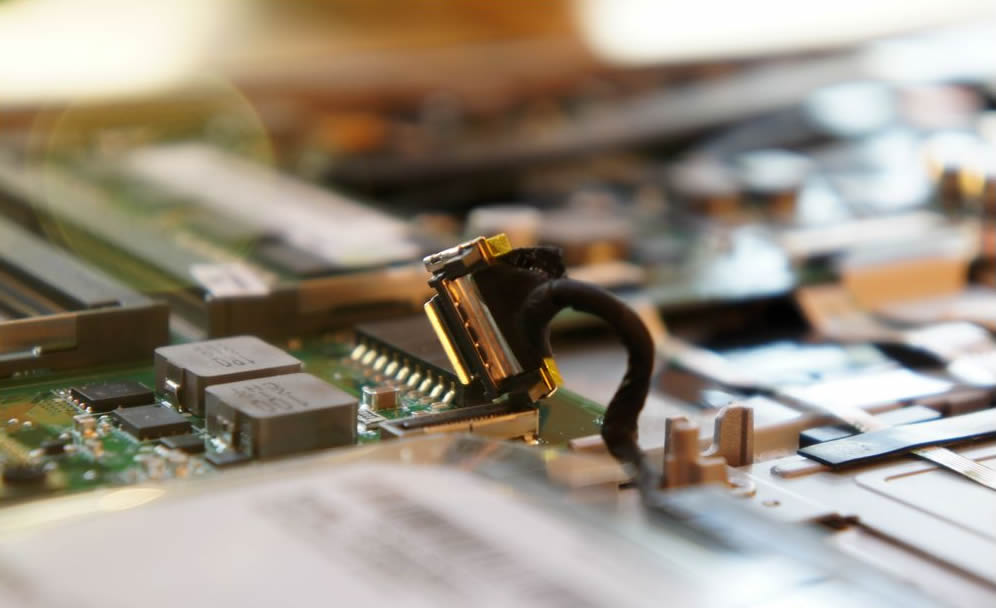
Disconnect the LCD cable.
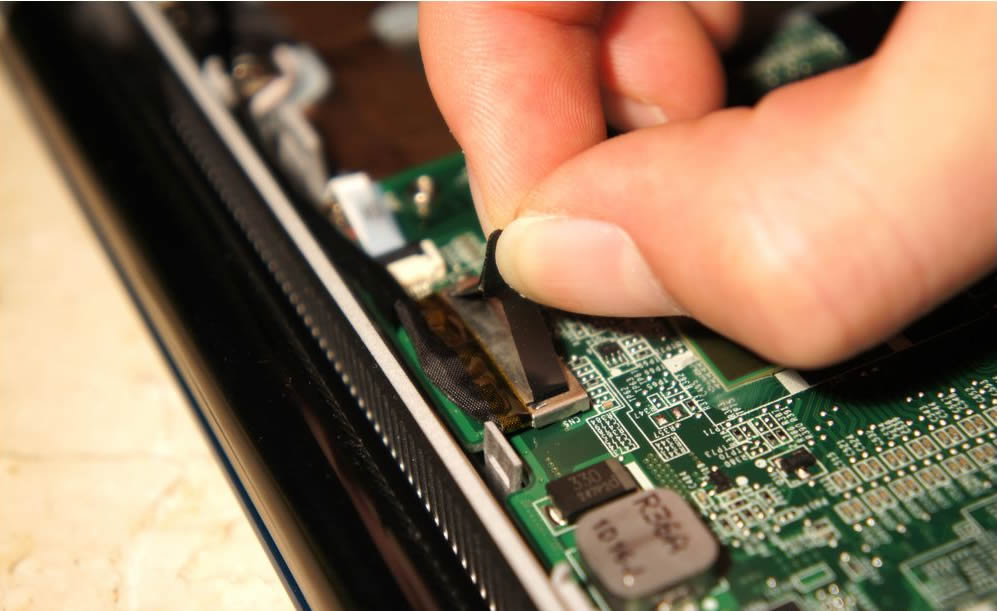
Disconnect the power button and the one-key restore module cable.
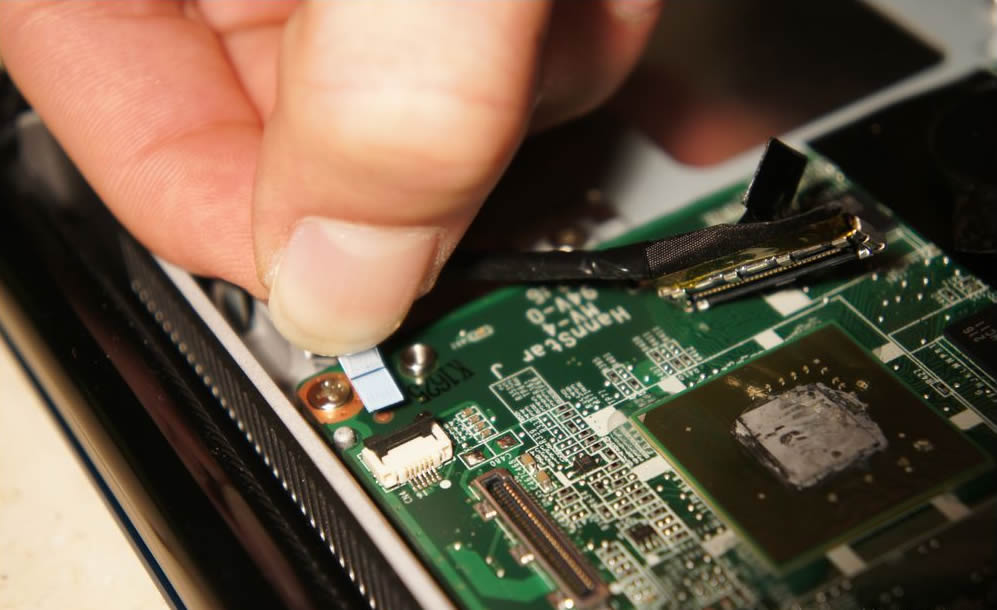
Unplug the speaker and camera module connector from the motherboard.
Disconnect the power cable.
Remove all screws securing the motherboard.

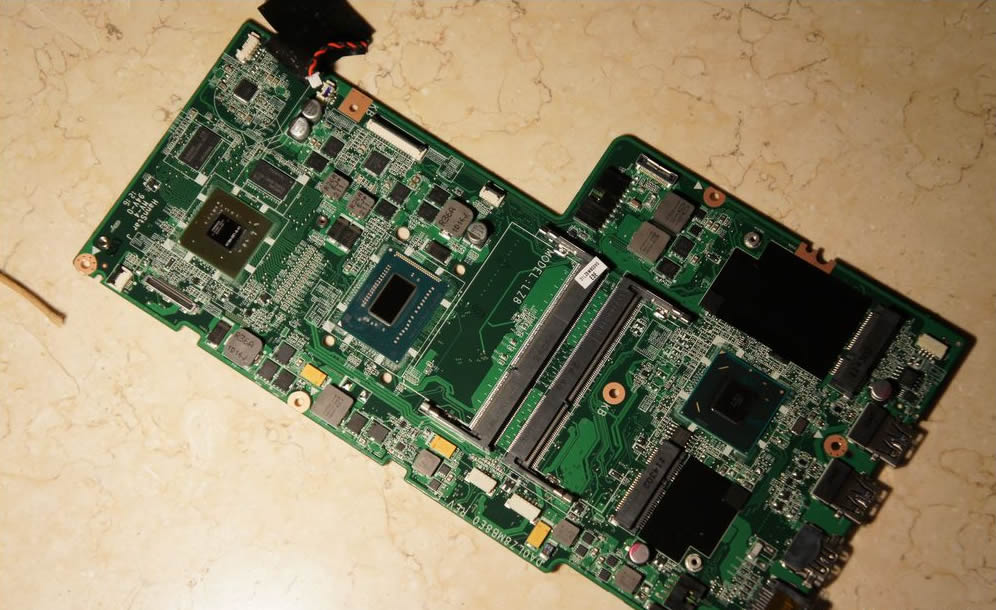
Lenovo IdeaPad U410 motherboard
I have a U410 Touch, and the plastic that supports the hinges to the top lid or the screen broke. I want to change the case, so I bought a new lid and everything, but I have not been able to remove the screen from the broken case.
1. Is it possible to remove the screen from the case? If it is, can you please tell me how I can avoid breaking it?
2. If it is not possible to take out the screen, what should I do? Just wait until Lenovo gets the parts to fix it because they are taking forever, or just try my luck?
You should remove the whole display assembly, then remove the screen, LCD cable, camera, and other parts from the old lid, and then install them on your new lid. I suggest going to the repair store.
The same problem happened to me. Can you tell me where to find plastic parts and hinges to fix mine? Please!
Very helpful guide. Thanks for posting this.
I tried to replace the hard drive with an SSD, but now the laptop won’t power on, even after replacing the original hard drive. I disconnected the battery and then replaced the hard drive. No response to the power button. No activity. Any ideas?
P.S. I have successfully replaced hard drives multiple times in the past without any problems.
Thanks for any help you can provide.
Whoever wrote that article, you are my hero; thank you so much! There is no YouTube video out there, and I was about to take out the keyboard (or try to do so).
I hope I get it right; I really need to clean that fan!
Thanks again!
There are no visual indications about how to remove the integrated laptop keyboard. Can the author update this guide for its usefulness abroad?
Thanks!