
In this post, I will explain how to disassemble the Lenovo IdeaPad Yoga 11S to remove the battery, SSD, RAM, cooling fan, speakers, palm rest, and motherboard.
Remove all screws from the bottom case.
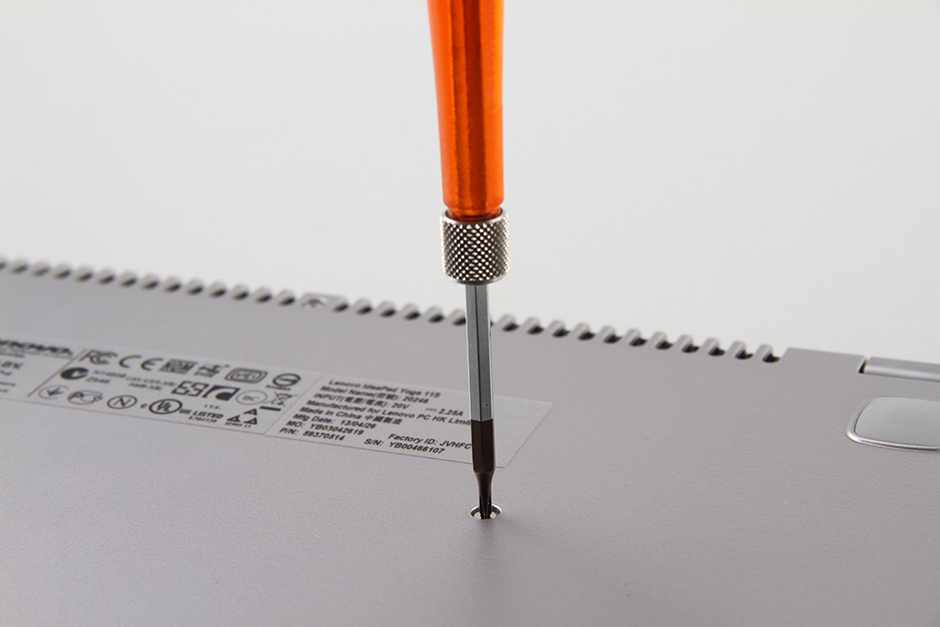
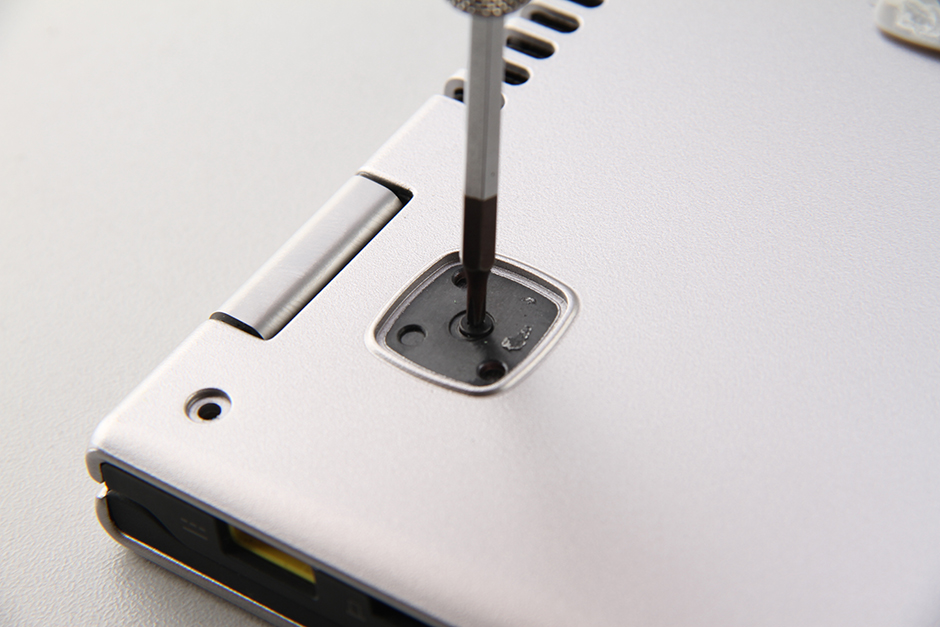
Remove the two rubber pads.
Under the rubber pads, you will find two hidden screws.
Remove these two screws.
Turn the laptop over, lift the keyboard slightly, disconnect the keyboard cable, and then remove the keyboard.
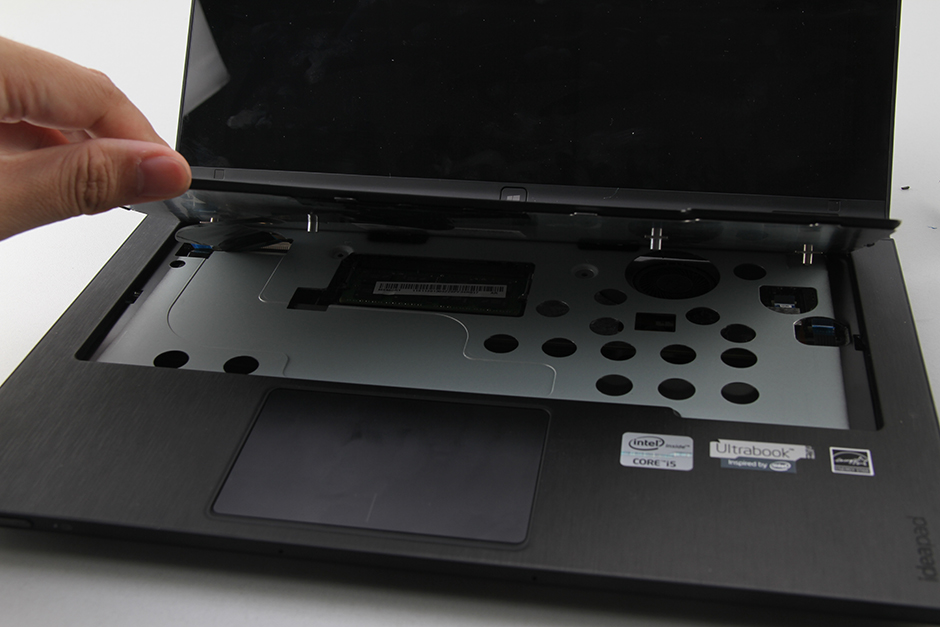
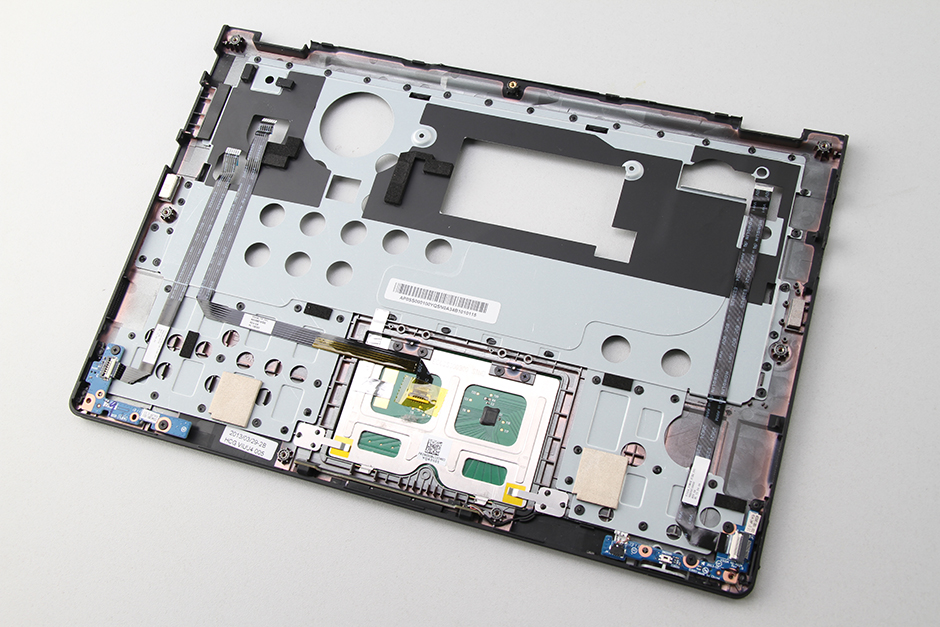
Remove the two screws securing the palm rest and unplug one cable. Insert a pry tool under the palm rest. Move the pry tool to completely detach the palm rest from the laptop.
Close-up of the Lenovo IdeaPad Yoga 11S palm rest. There are two little boards and a touchpad on the palm rest.
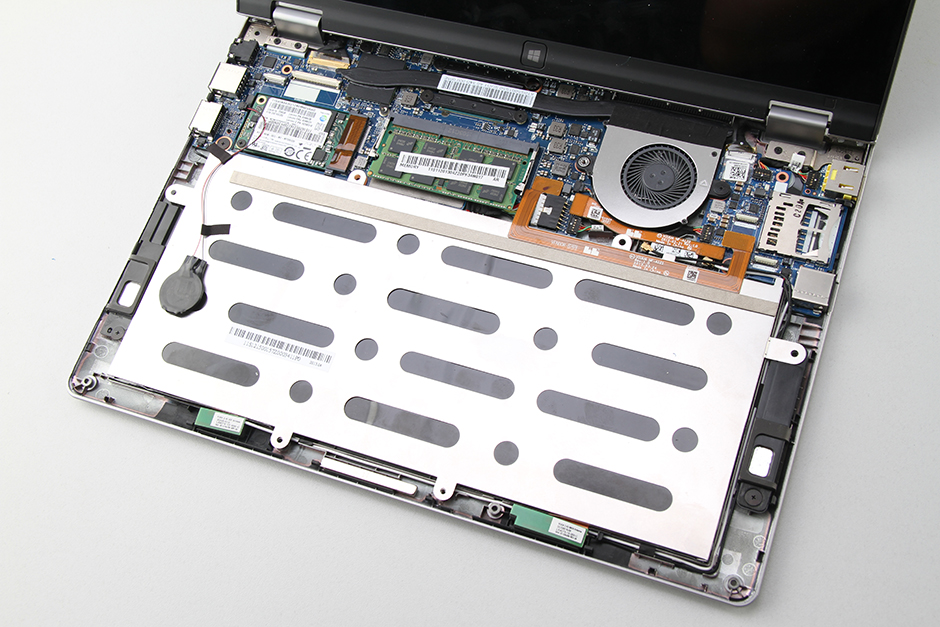
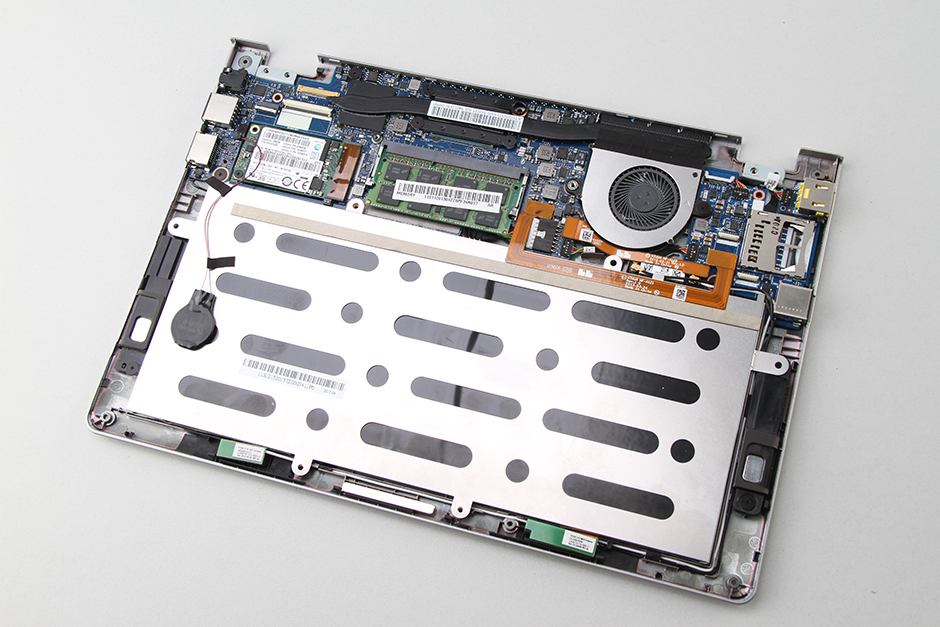
When the palm rest is removed, you can get access to the SSD, RAM, battery, speakers, CMOS battery, heat sink, cooling fan, and motherboard.
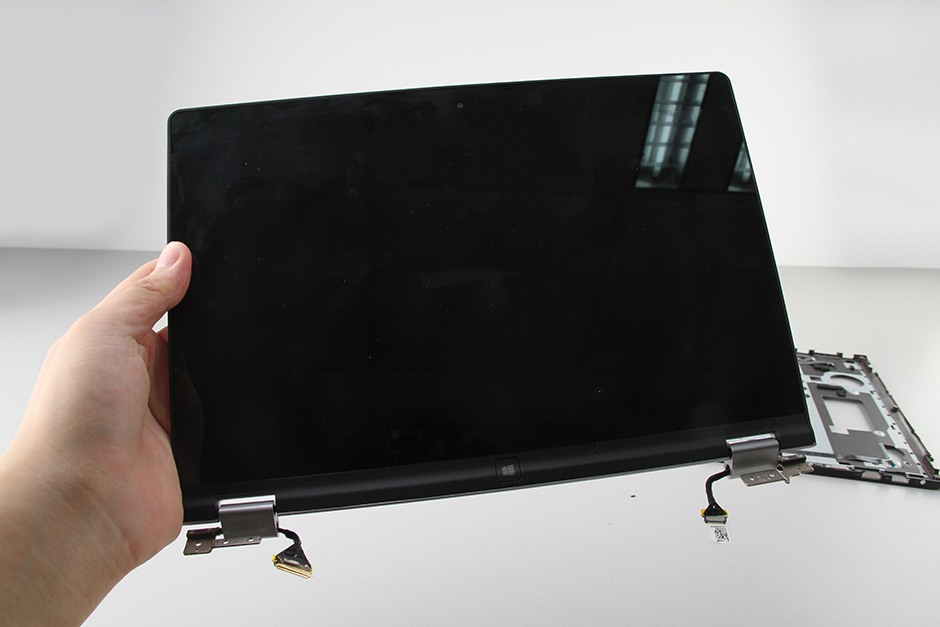
Remove the six screws securing the LCD display hinge and disconnect the LCD display cable. The LCD display module can now be removed.
Unplug the RTC battery cable from the motherboard. You can remove the RTC battery.
Remove the yellow IO board FPC.
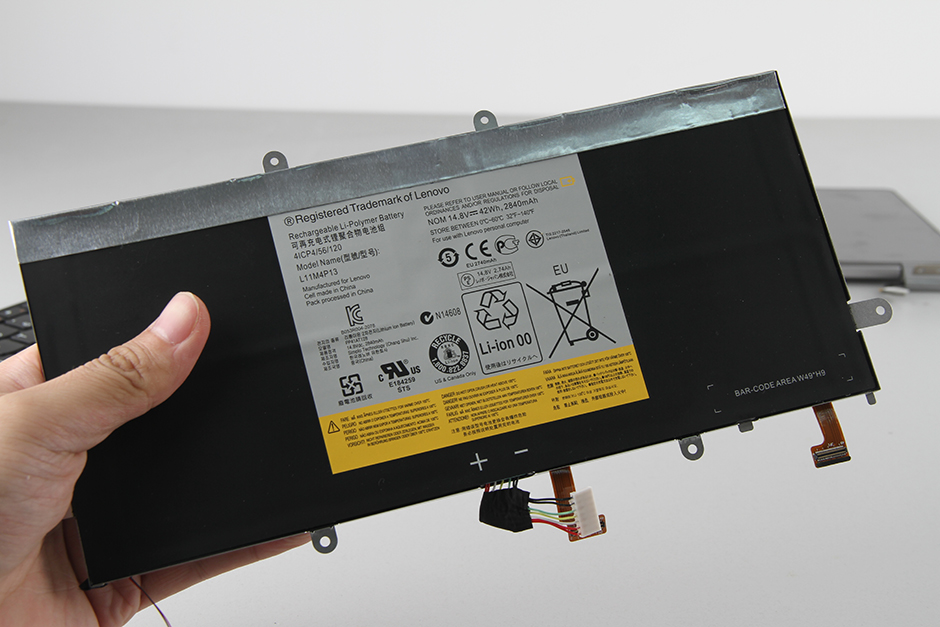
Remove the screw securing the battery and unplug the battery connector. You can remove the battery.
The laptop comes with a 14.8V, 42Wh Li-polymer battery, Lenovo P/N: L11M4P13.
Separate the clips on both sides, and the memory module will pop out automatically.
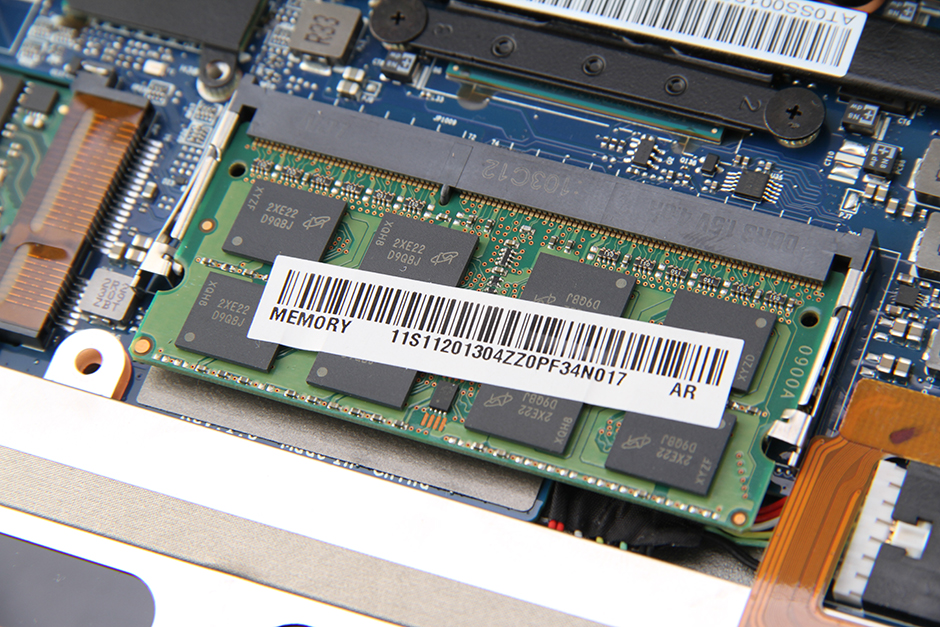
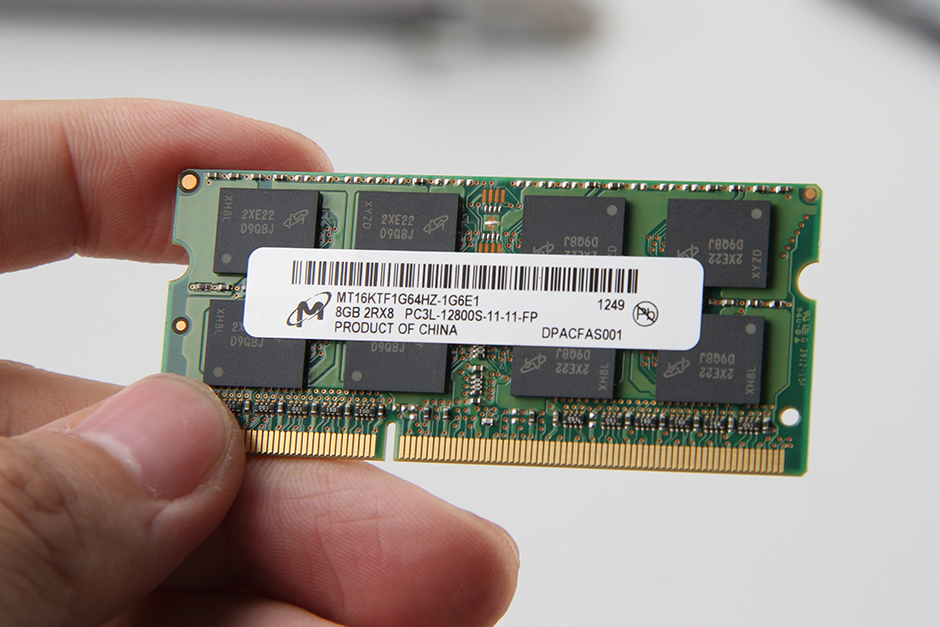
The laptop comes with an 8GB PC3L-12800S memory. This laptop has only one memory slot. If you need to upgrade the memory, you will need to replace the existing memory module.
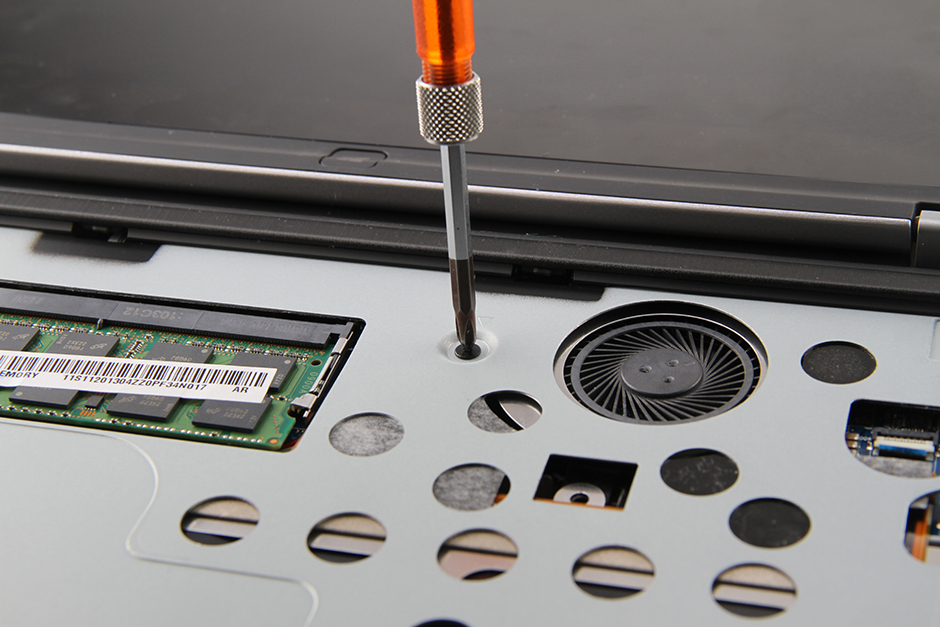
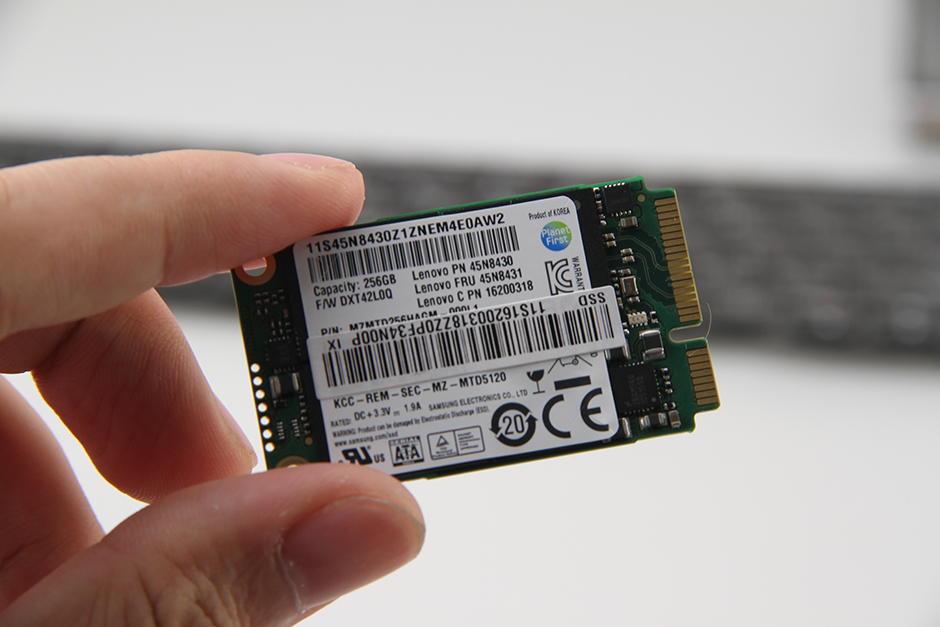
Remove the screw securing the SSD and carefully remove it from the mSATA slot.
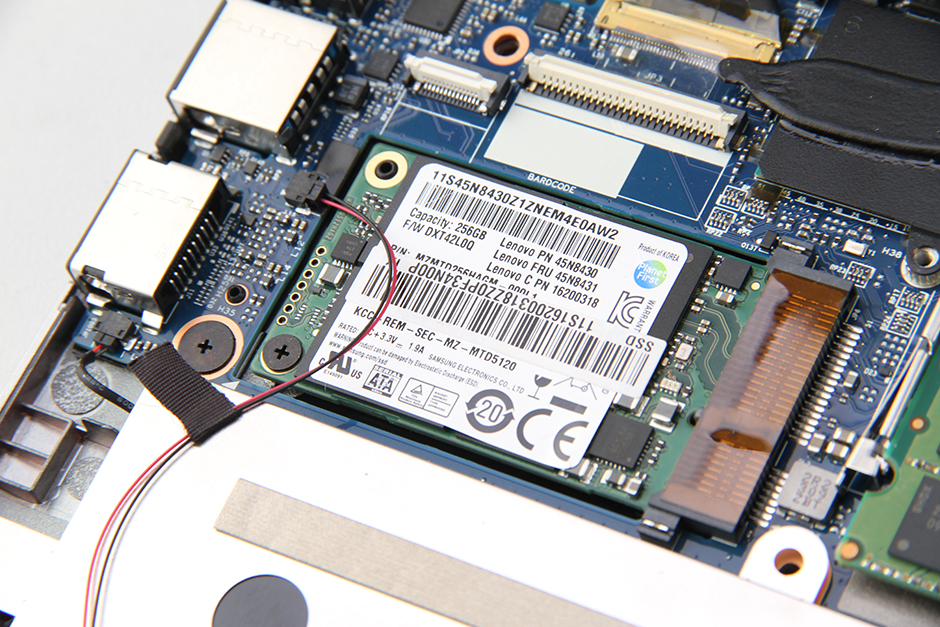
The Lenovo IdeaPad Yoga 11S comes with a 256GB SSD. The Lenovo part numbers are 45N8430 and 45N8431.
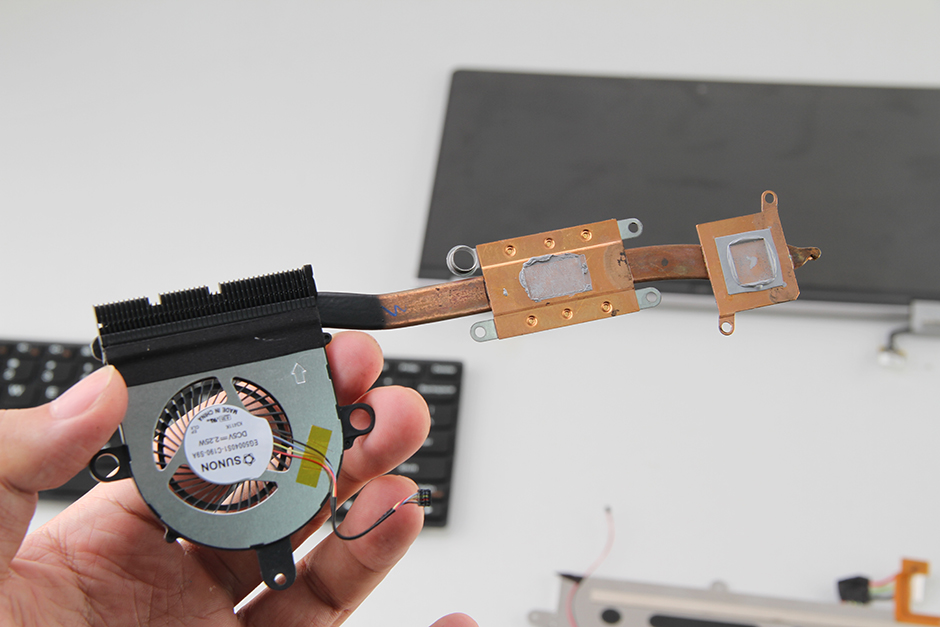
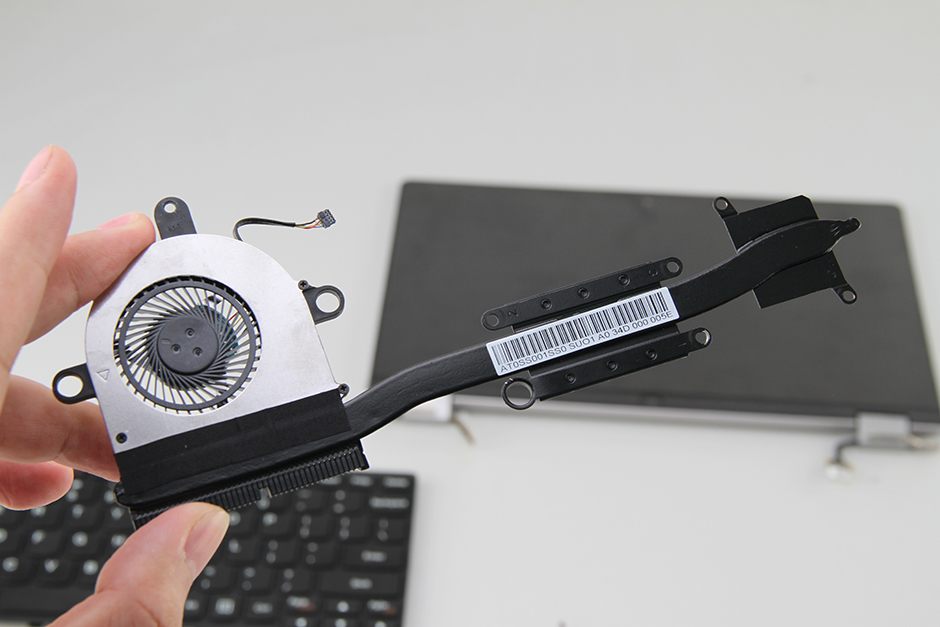
Remove all screws securing the heat sink.
Remove the three screws securing the cooling fan and disconnect the fan cable from the motherboard. You can remove the heat sink and cooling fan.
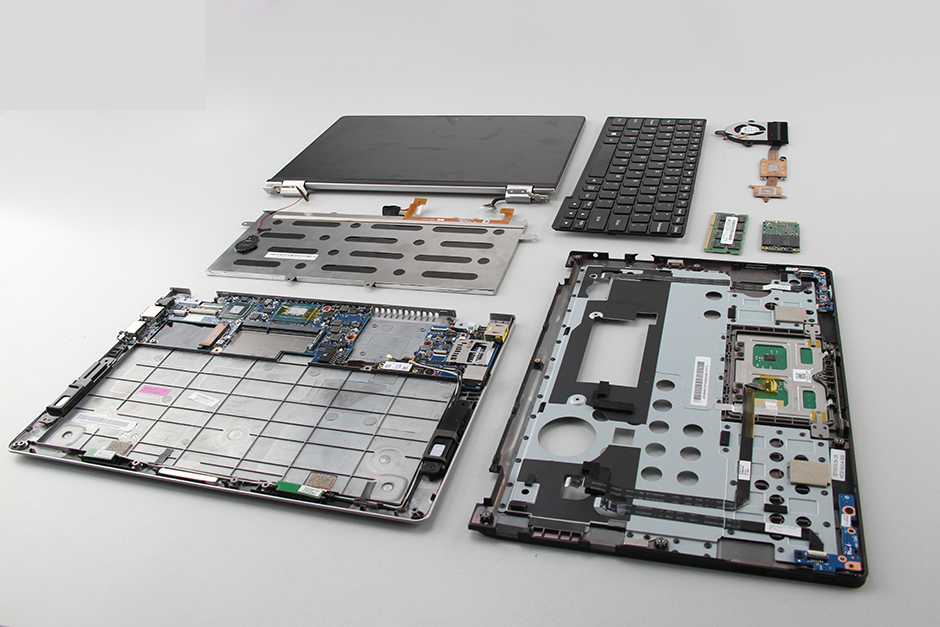
Lenovo IdeaPad Yoga 11S internal parts
Hello.
Great step-by-step instructions! I haven’t gotten my Yoga 11s yet. I just ordered it. I plan to upgrade to 8 GB as soon as I get it. I have a few questions. How did you re-affix the plastic caps/feet after re-assembly? Is it necessary to completely remove the keyboard to do a simple memory upgrade, or can I just carefully lift up the keyboard enough to swap the module? Thanks again for the great info!
Mike: I haven’t upgraded the RAM on my Yoga 11s yet, but from the pictures, it looks like you can swap out the RAM chip without disconnecting the keyboard (as you say, you’ll want to lift it up gently so as not to pull on the connector).
Cheers,
Ben
So, just to be clear, can you swap out the memory and/or SSD without removing the battery first? It seems risky.
I’m trying to open mine up to take out my hard drive. What size screwdriver do you need for this? I got a Starbit T6, but that seems to be too big. I haven’t been able to find anything helpful on their site. What did you use?
I was told it was a Torx 5
Very useful instructions, thank you. My Lenovo died, and I’d like to know if I could still use the SSD as an external drive. Could we use an external reader to read/write the content on the SSD? If yes, could you give any recommendations? Thank you.
Lift the keyboard from the back, not from the front like in the picture.
How can I get a motherboard for the Lenovo Ideapad Yoga 11S 20246?
You can contact Lenovo or search for it on eBay.com