
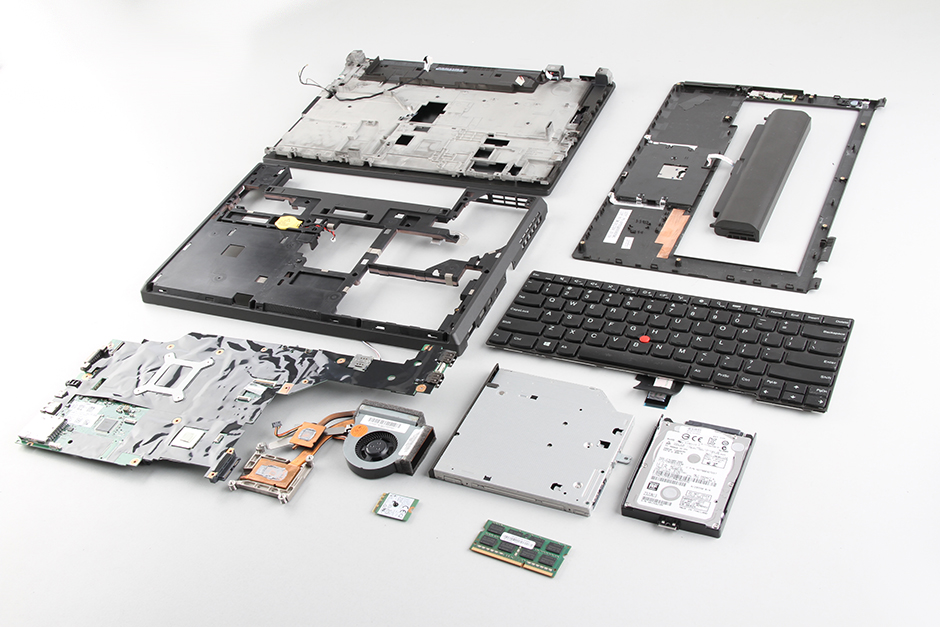
In this guide, I’ll explain how to disassemble the Lenovo ThinkPad T440p to remove and replace the hard drive, keyboard, palm rest, wireless card, RAM, heatsink and cooling fan, speakers, and motherboard.
Follow us on Facebook for the latest updates from MyFixGuide.com.
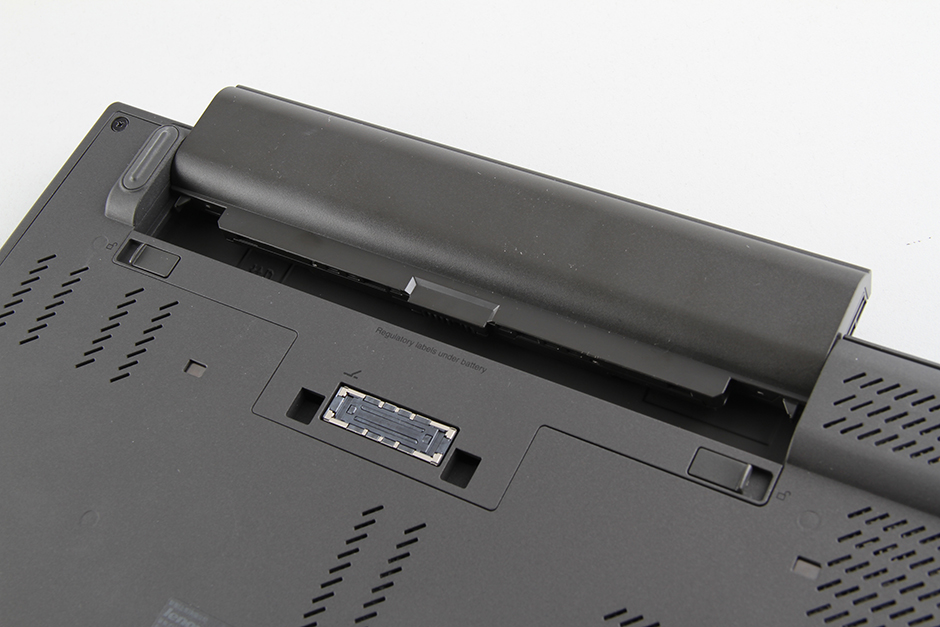
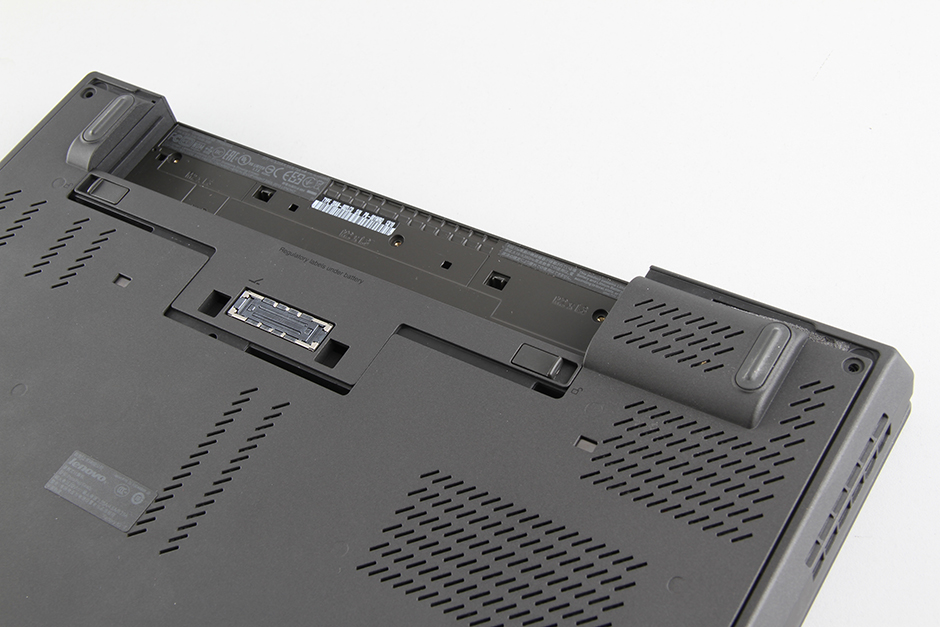
Unlock and remove the battery.
Remove the two screws securing the service cover.
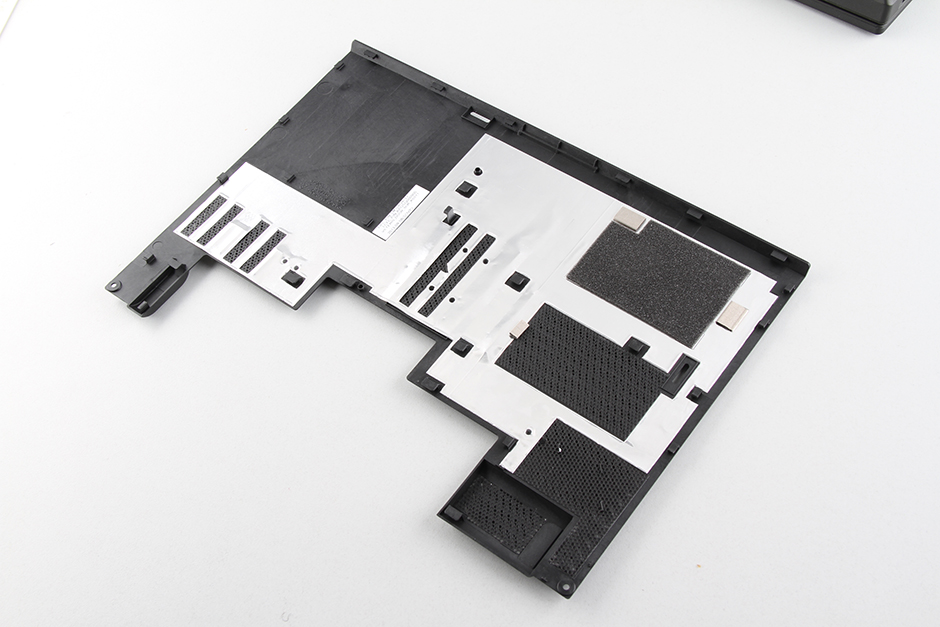
Pry up and remove the service cover.
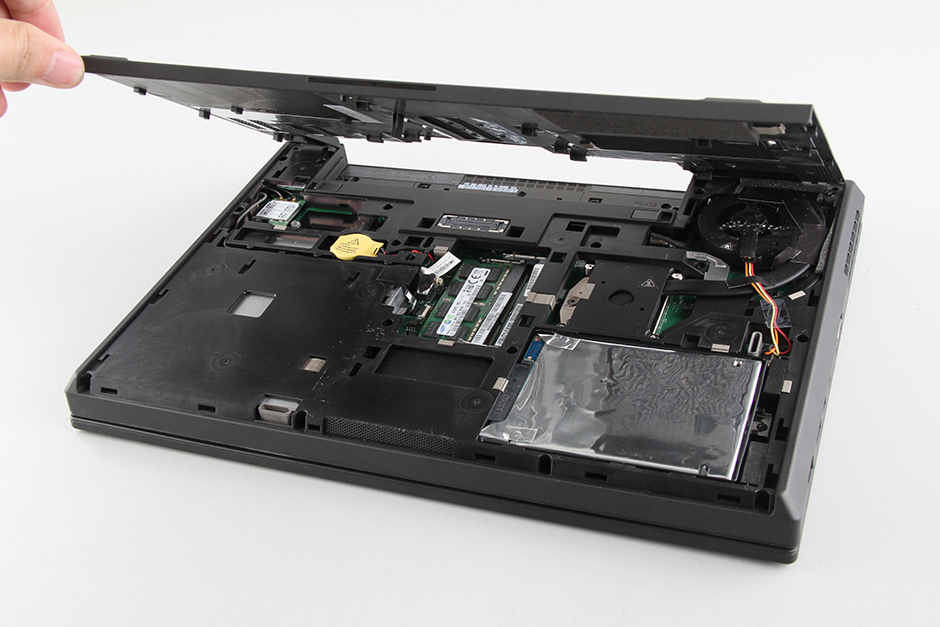
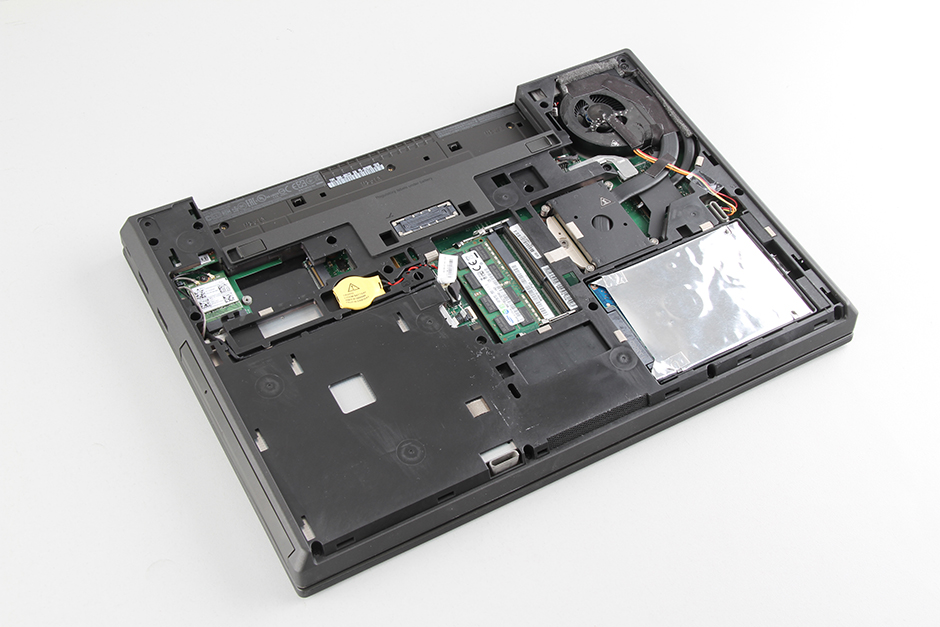
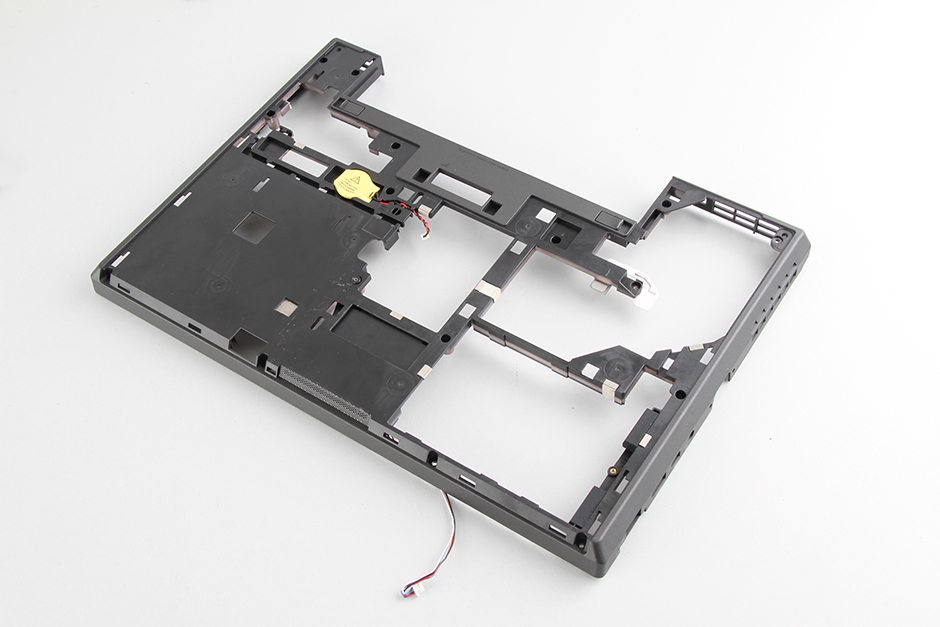
Under the service cover, you can access the hard drive, RAM, wireless card, CMOS battery, heat sink, and cooling fan.
The Lenovo ThinkPad T440p has two memory slots. You can upgrade the memory simply.
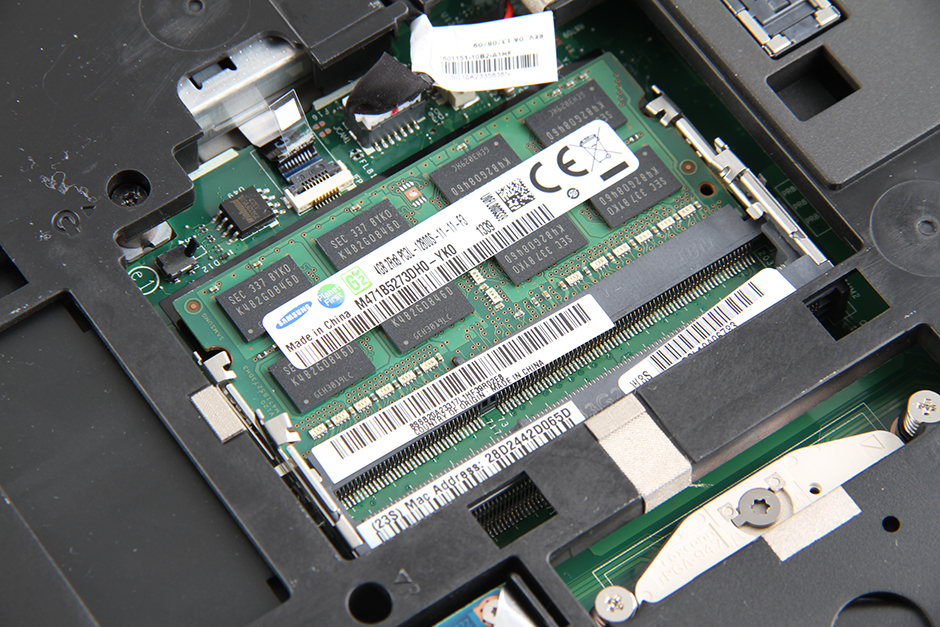
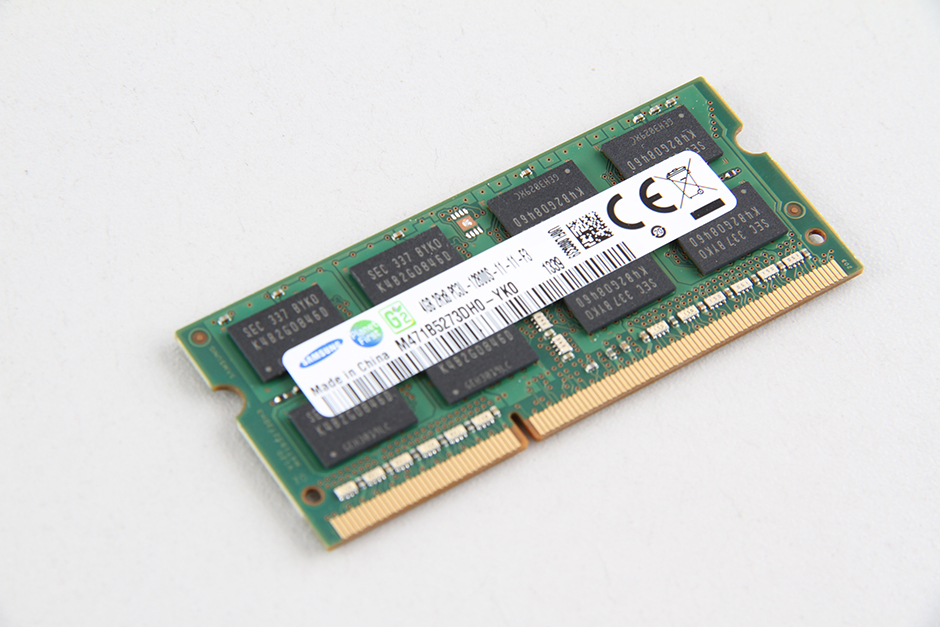
The Lenovo ThinkPad T440p comes with a 4GB DDR3L-1600MHz memory module from Samsung.
Disconnect the two antennas and remove the screw securing the wireless card. You can remove it.
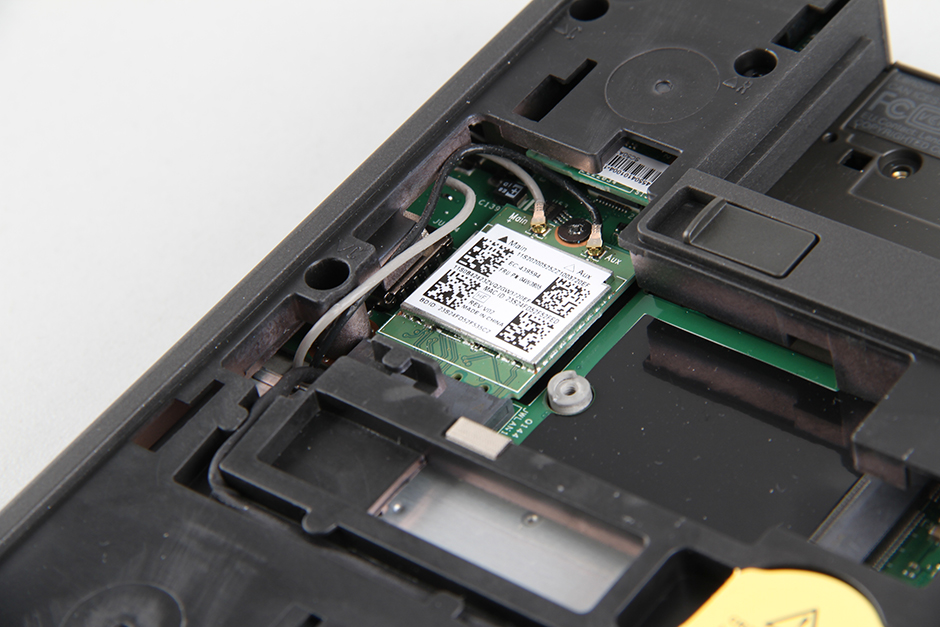
Lenovo ThinkPad T440p wireless card, Lenovo P/N: 04W3805.

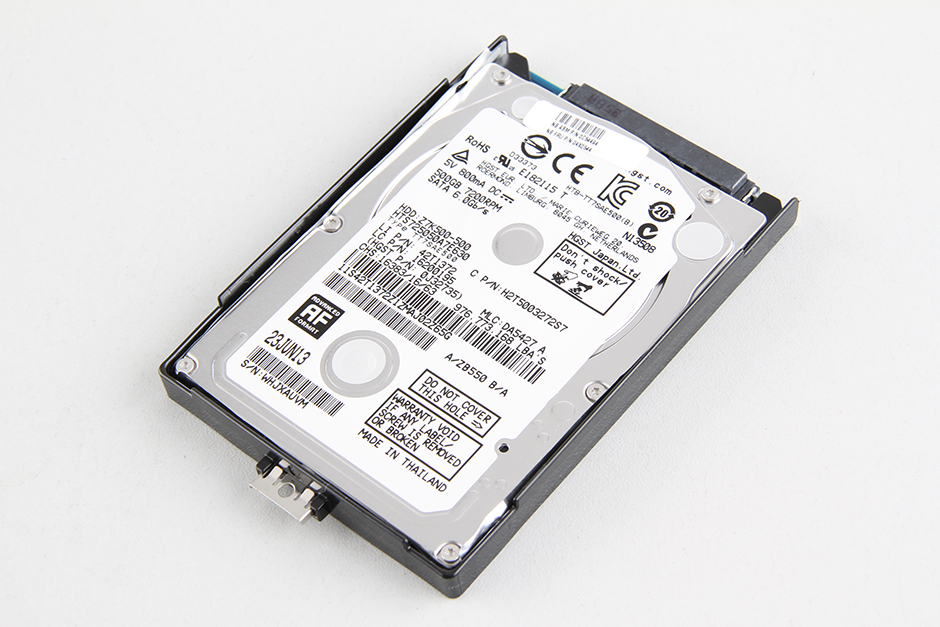
Remove the screw securing the hard drive, then remove the hard drive.
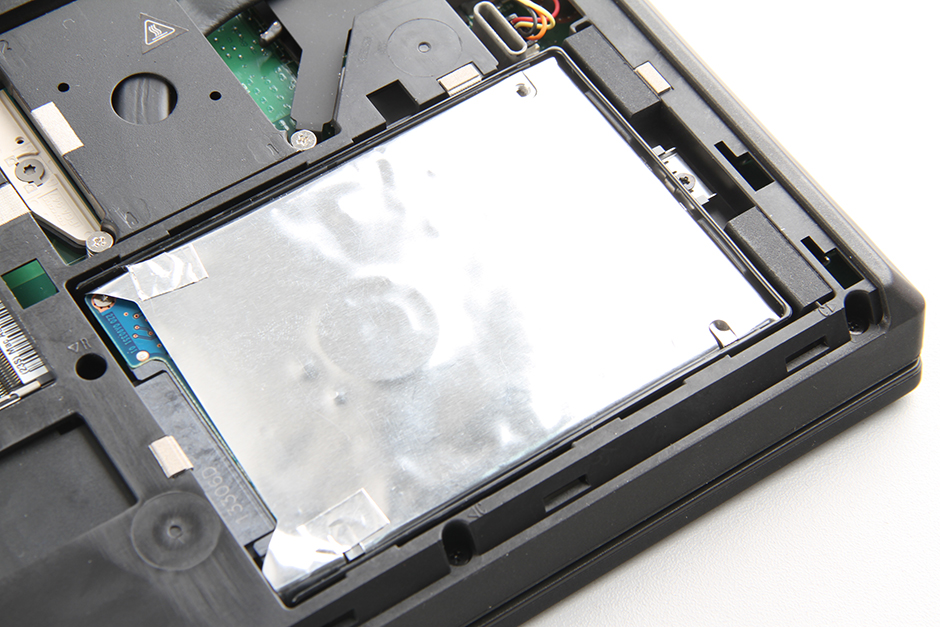
The Lenovo ThinkPad T440p features an HGST 500GB 5400rpm hard drive.
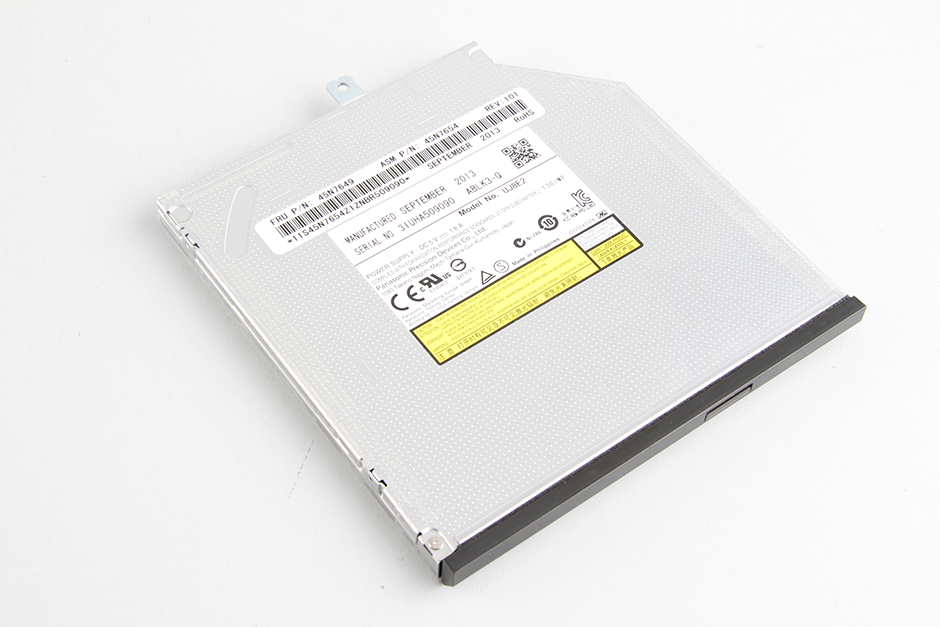
Remove the screw securing the DVD drive, then pull the DVD drive out.
The Lenovo ThinkPad T440p uses a Panasonic UJ8E2 DVD drive.
Remove all screws from the bottom case.
Turn over the laptop.
Pry up the keyboard and place it on the palm rest.
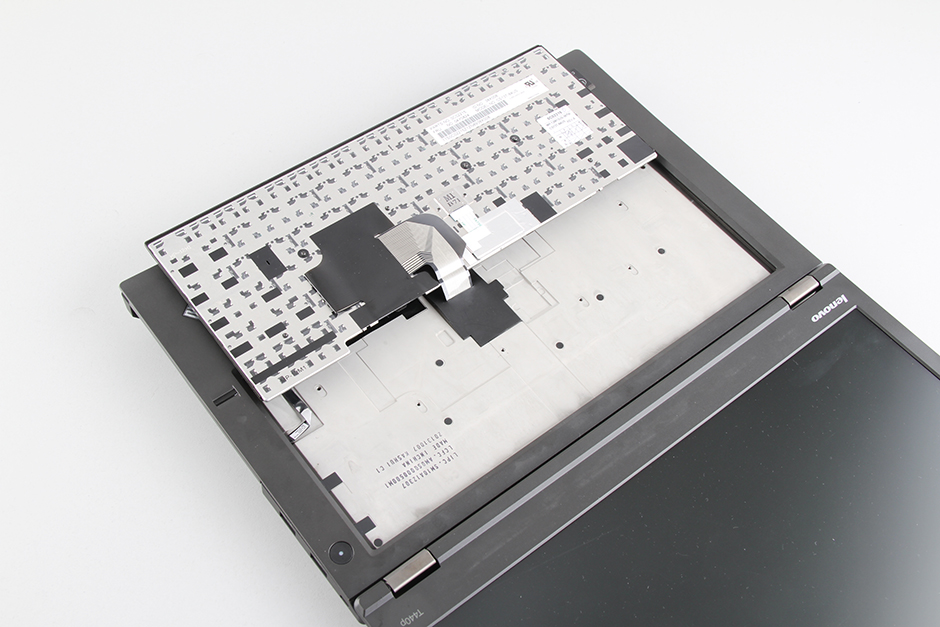
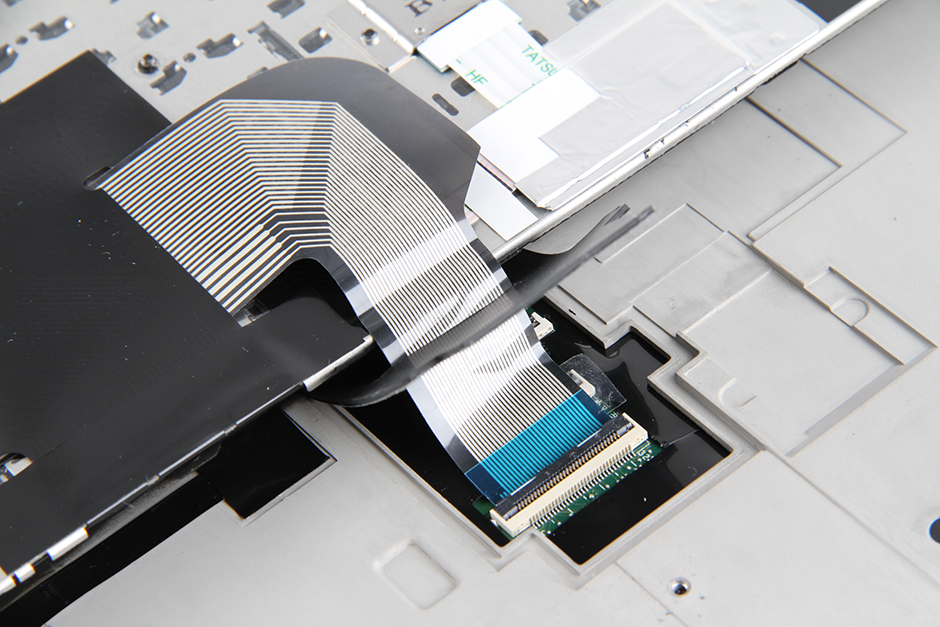
Unlock and disconnect the keyboard cable.
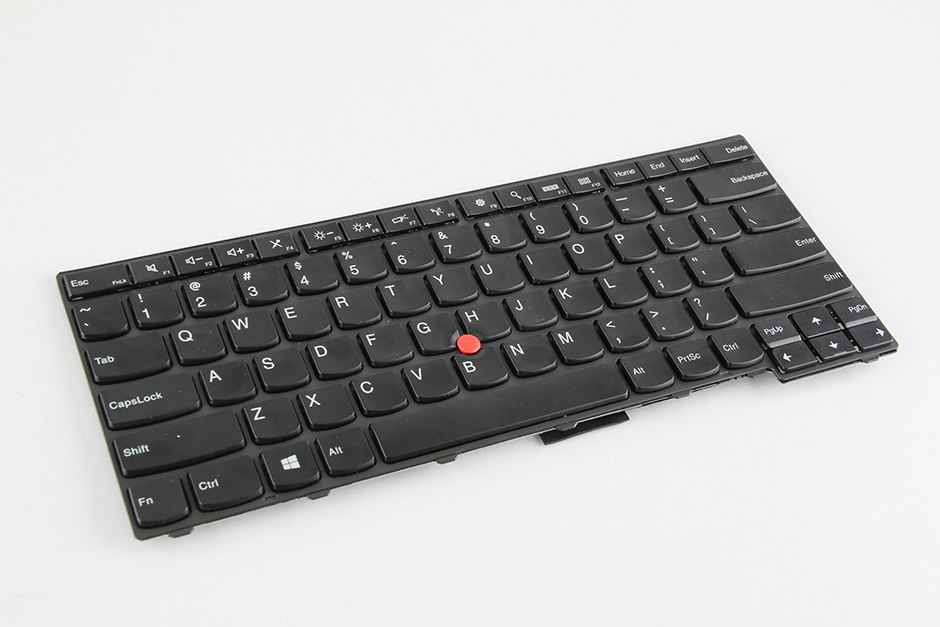
Close-up of the Lenovo ThinkPad T440p keyboard.
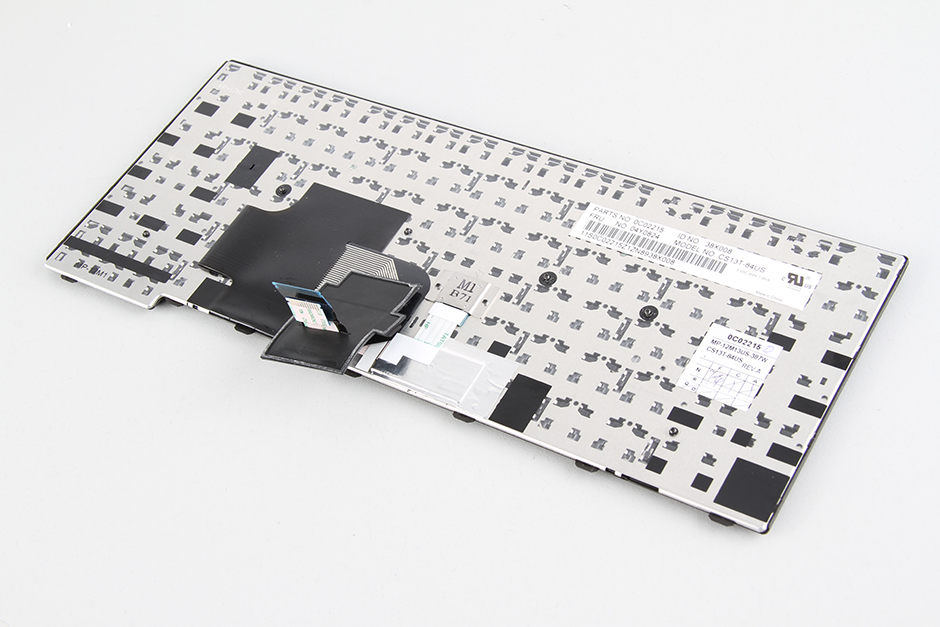
The back of the keyboard.
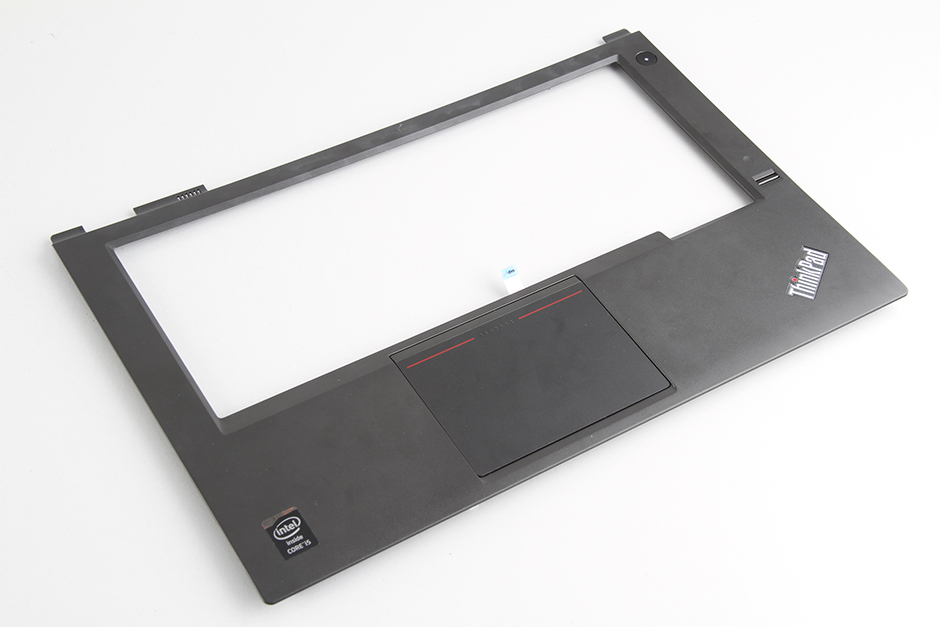
Close-up of the palm rest.
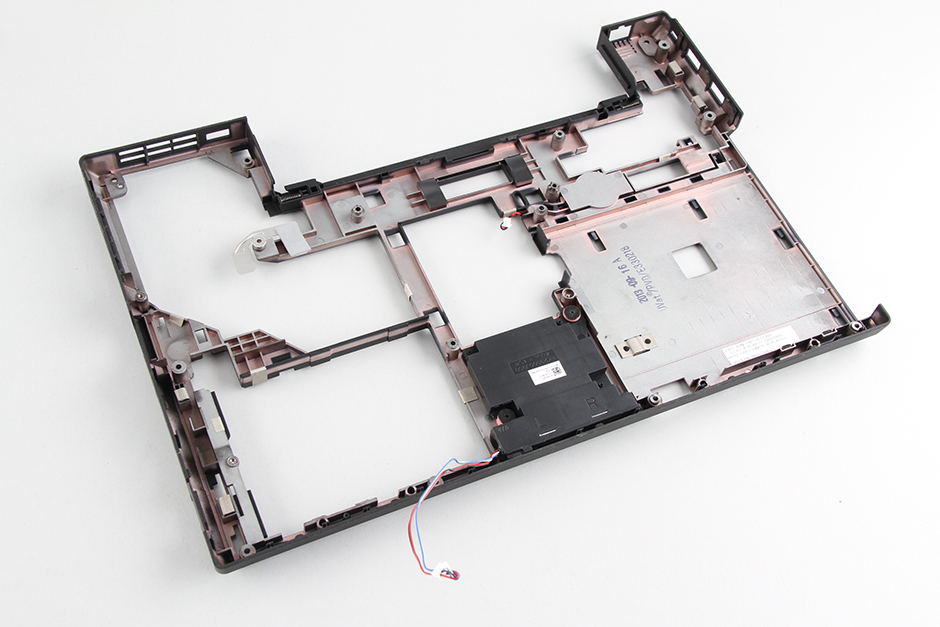
Close-up of the roll cage.
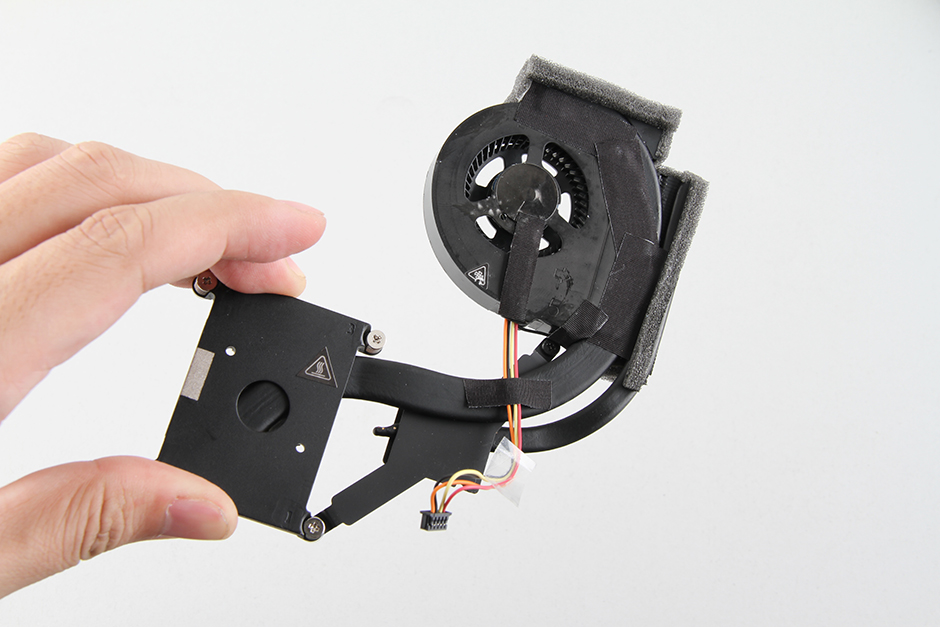
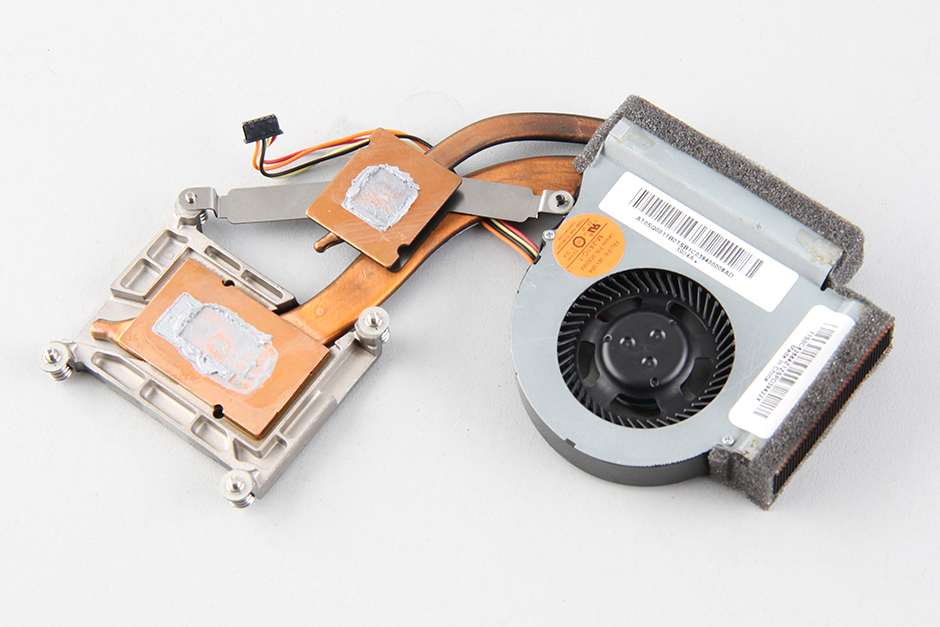
Loosen the five screws securing the heat sink and disconnect the fan cable. The heat sink can then be removed.
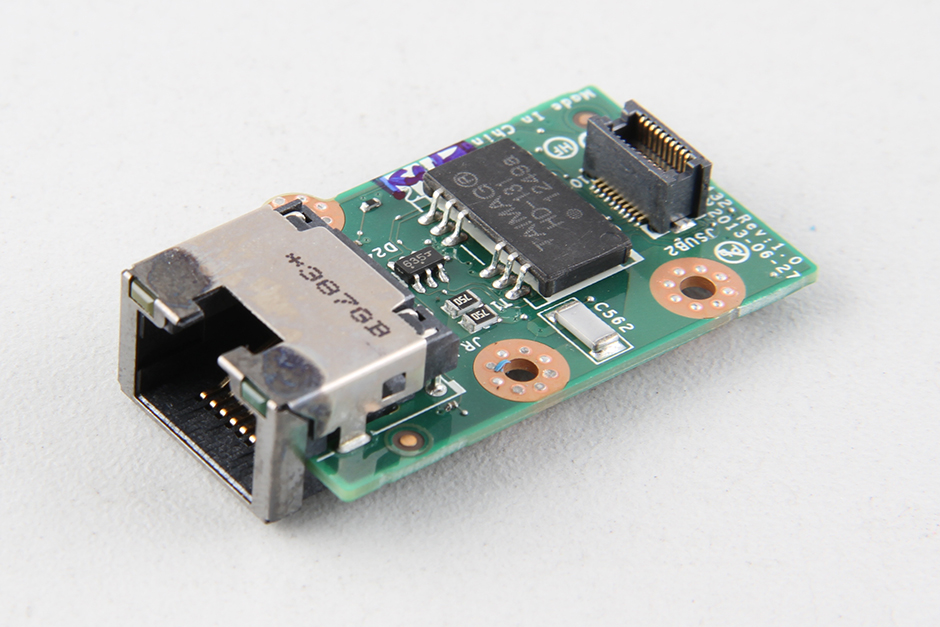
Close-up of the RJ45 board.
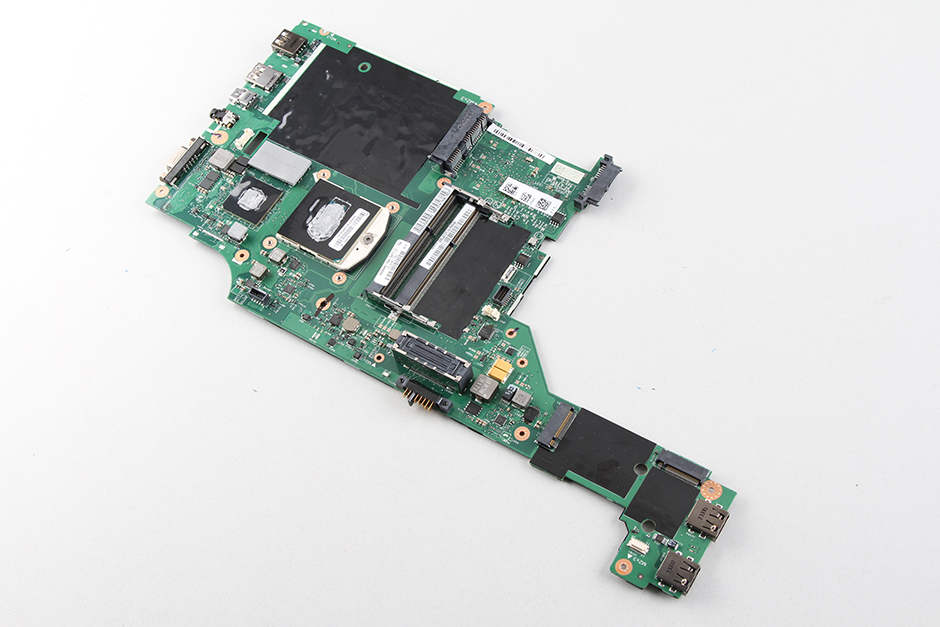
Close-up of the motherboard.
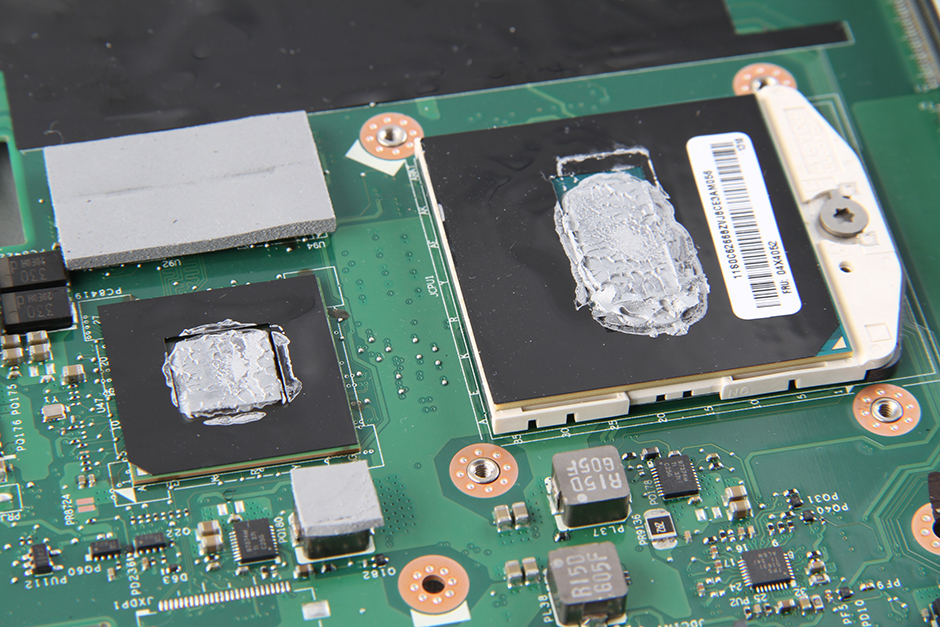
The Intel processor and graphics card.
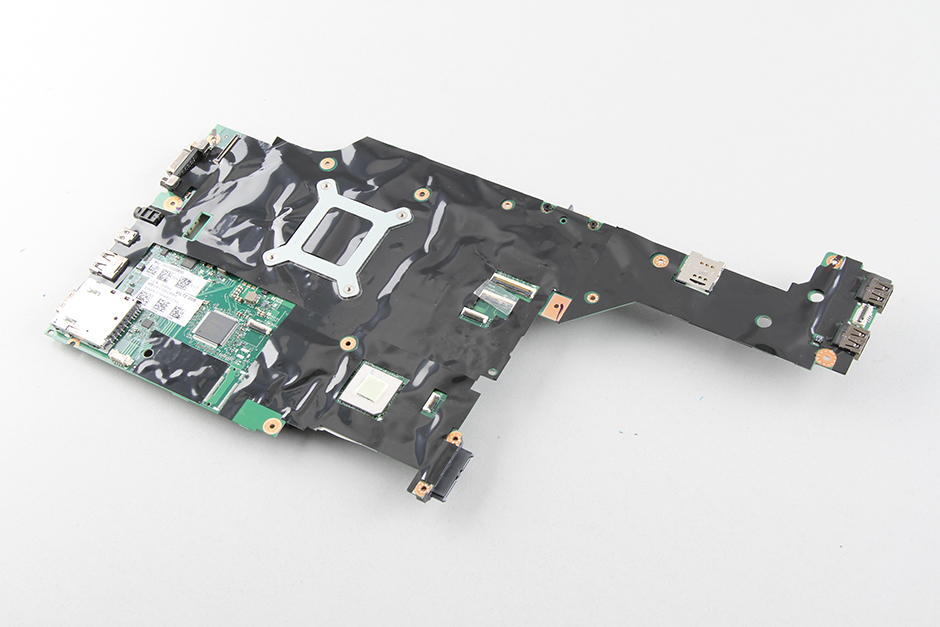
The back of the motherboard.
I only had two screws for the service cover.
I think it is super easy to disassemble, and the keyboard is exactly the same version as the P and the former W series, where you need to push up the keyboard before the screws appear.
The P model is also super easy to open up compared to the standard model – just two screws. The screen is much easier to replace than the normal or the S model.
I’m not sure what laptop some of the commentators on here are reporting to have more than two screws securing the big door, but it isn’t the T440p. Maybe they have the T440s? The t440p is the most hassle-free I’ve ever cracked open.