
In this guide, I will explain how to disassemble the MSI GT80 Titan to remove the bottom cover, battery, RAM, hard drive, SSD, GPU, heat sink, cooling fan, and motherboard.
Want to keep in touch with us? Follow us on Facebook for more repair news.
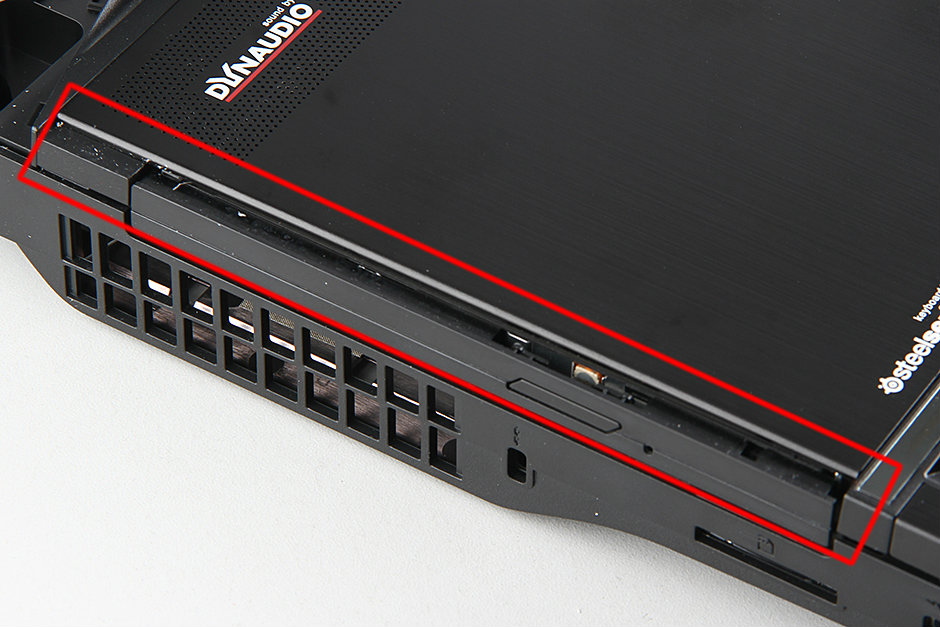
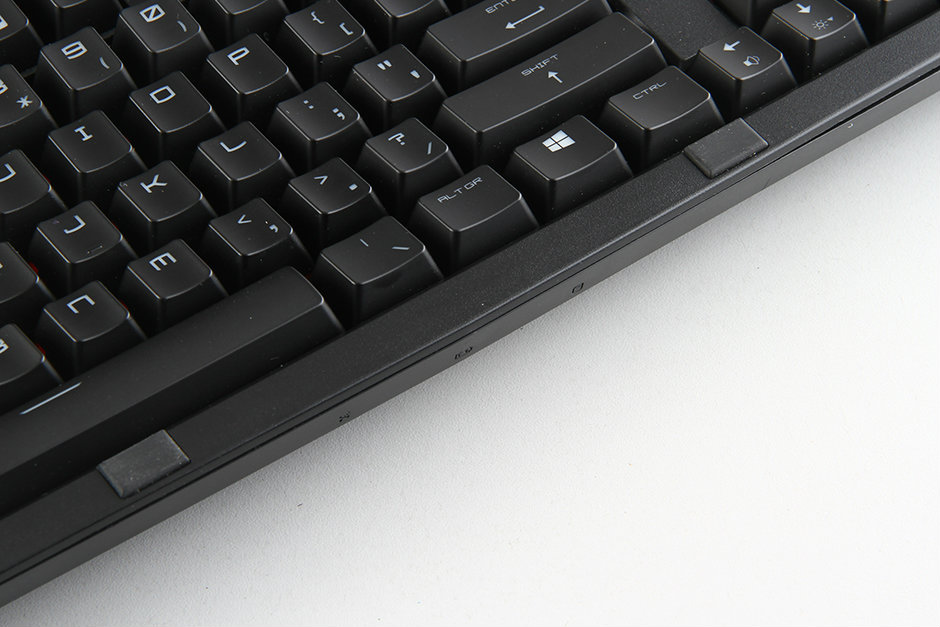
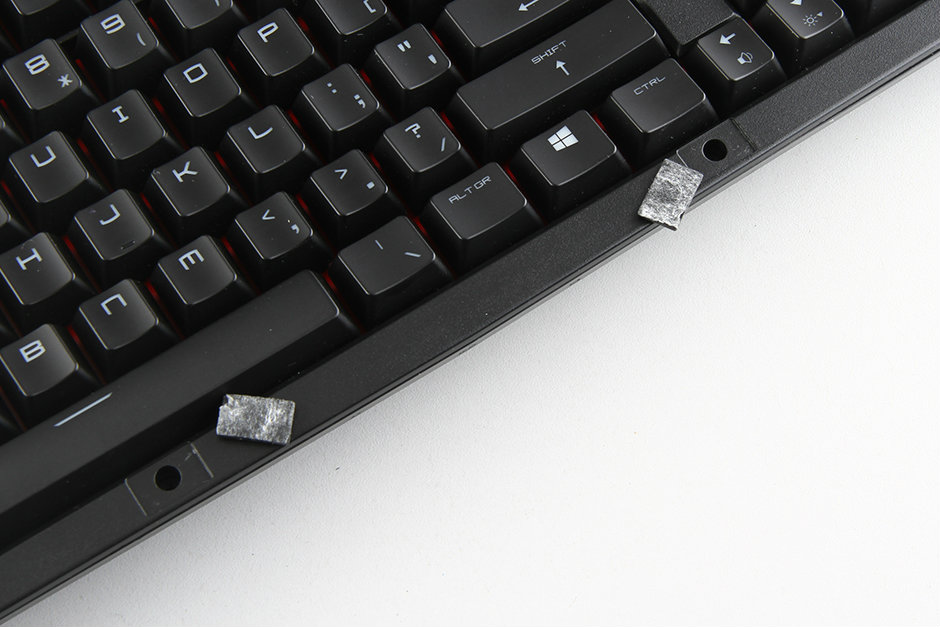
Remove all screws securing the service cover.
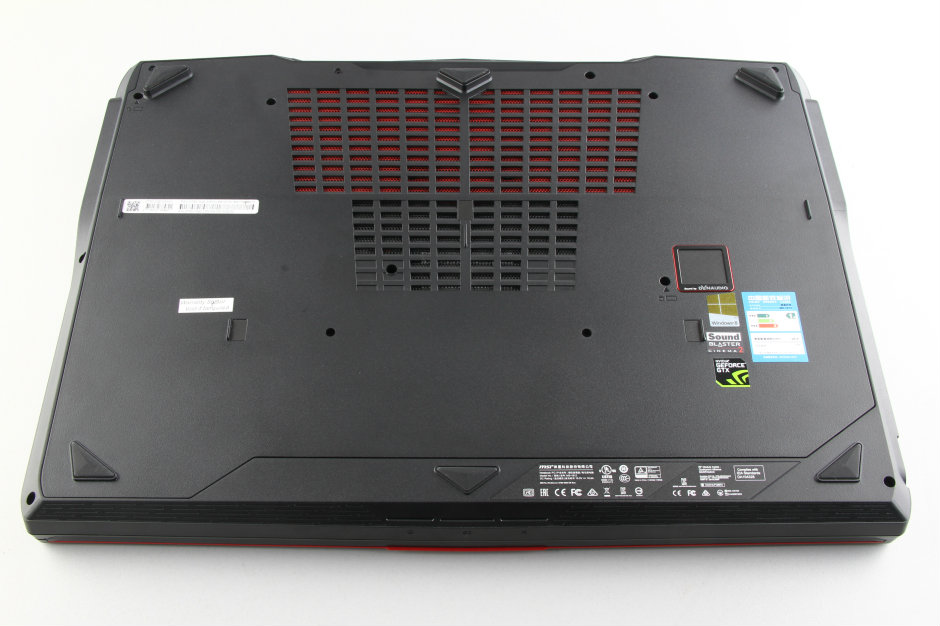
Insert a pry tool under the bottom cover. There are clips on the bottom cover that secure it to the laptop. You need to release all the clips to remove the bottom cover.
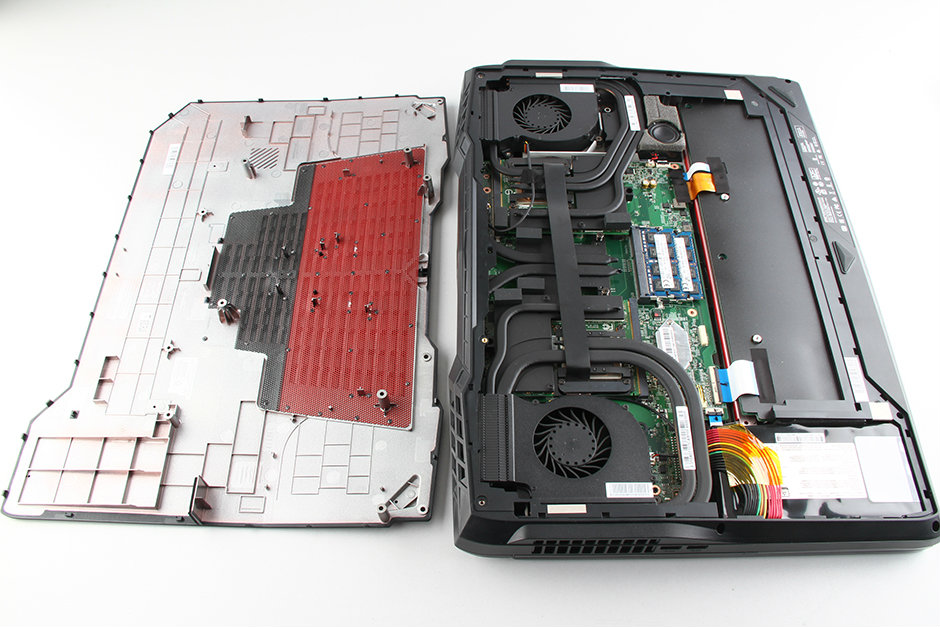
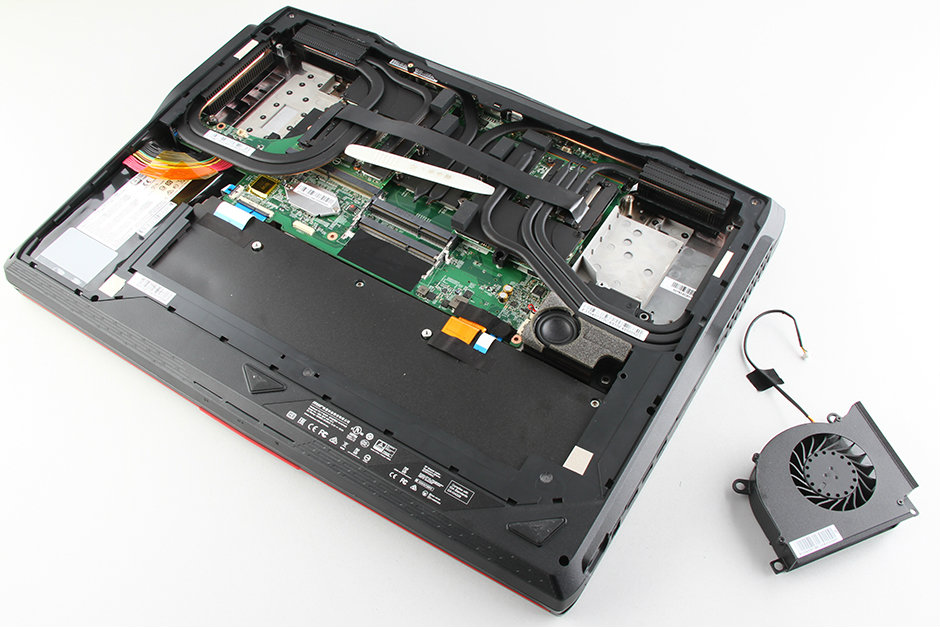
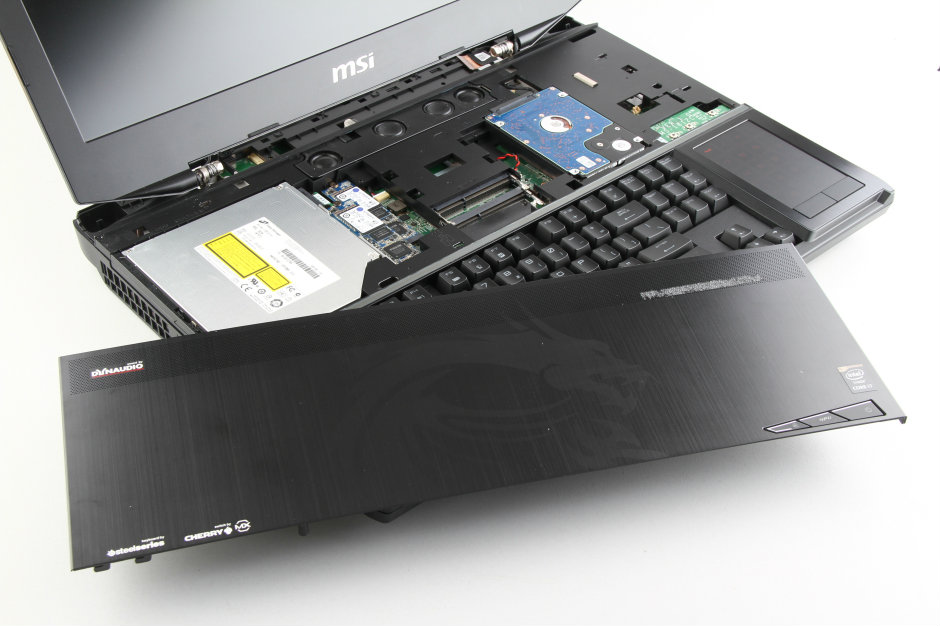
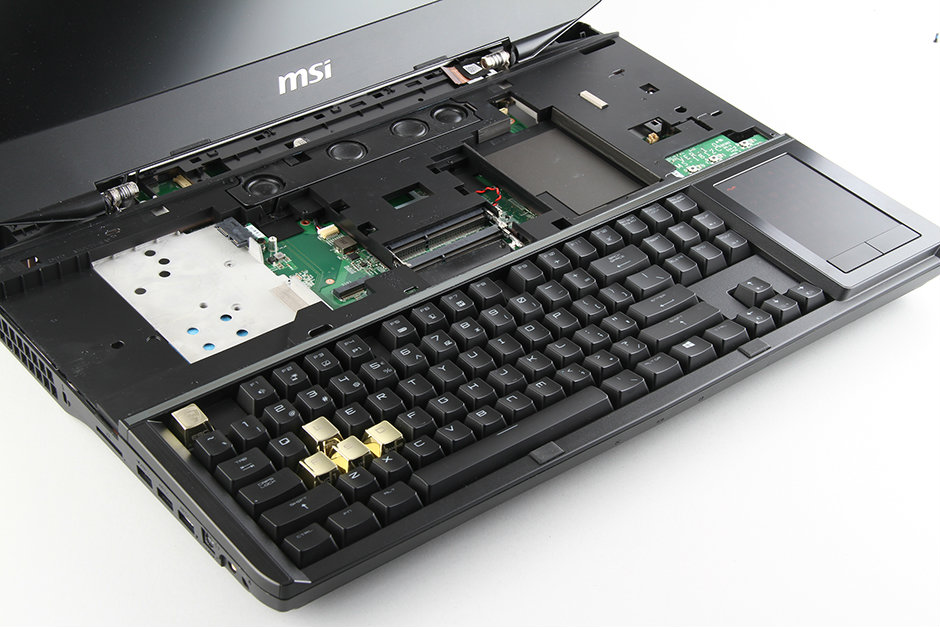
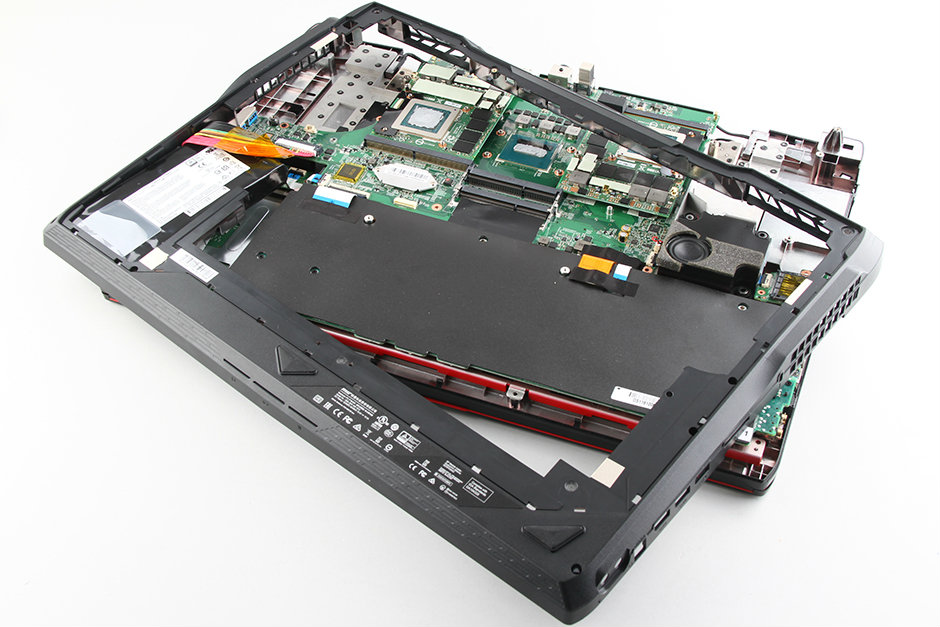
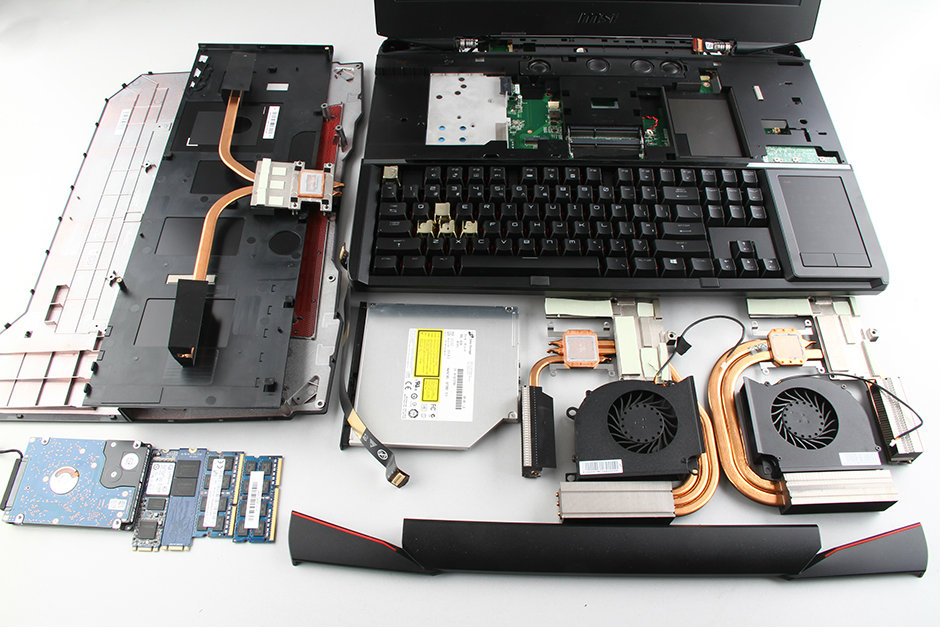
Under the cover, you can access the internal components, including the heat sink, cooling fan, two RAM modules, and more.
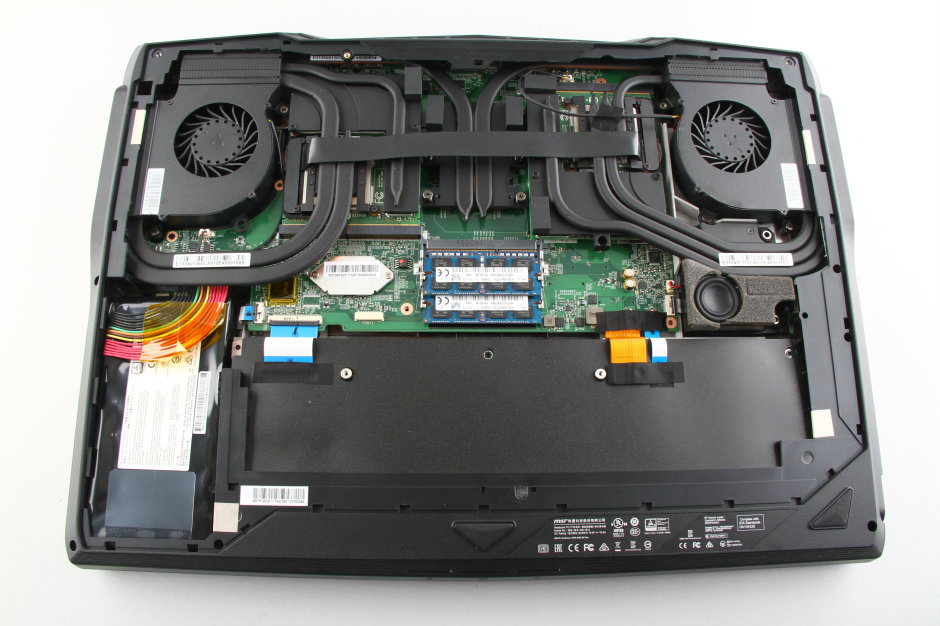
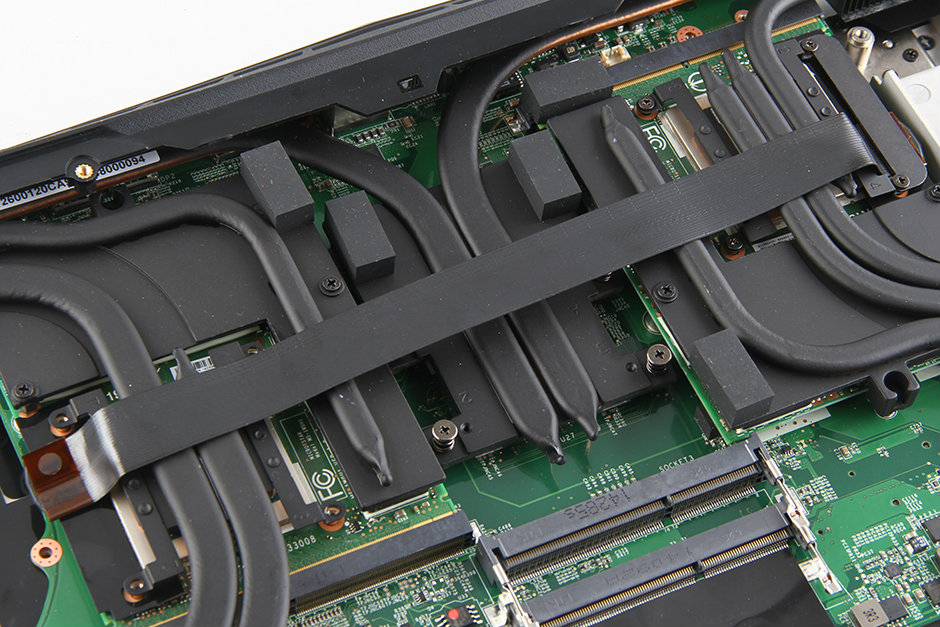
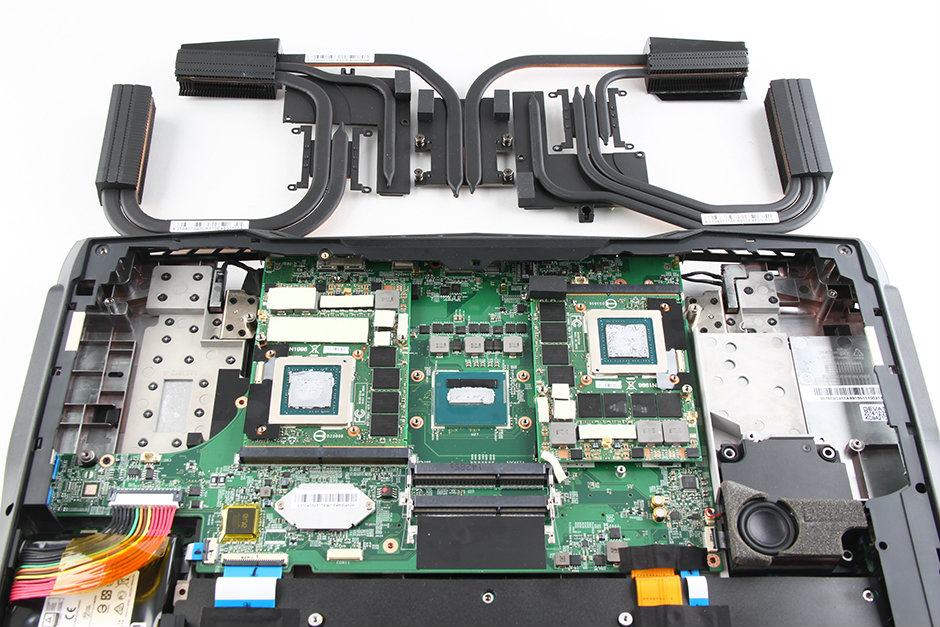
The heatsink of the MSI GT80 is large, and the two graphics cards are connected via a cable.
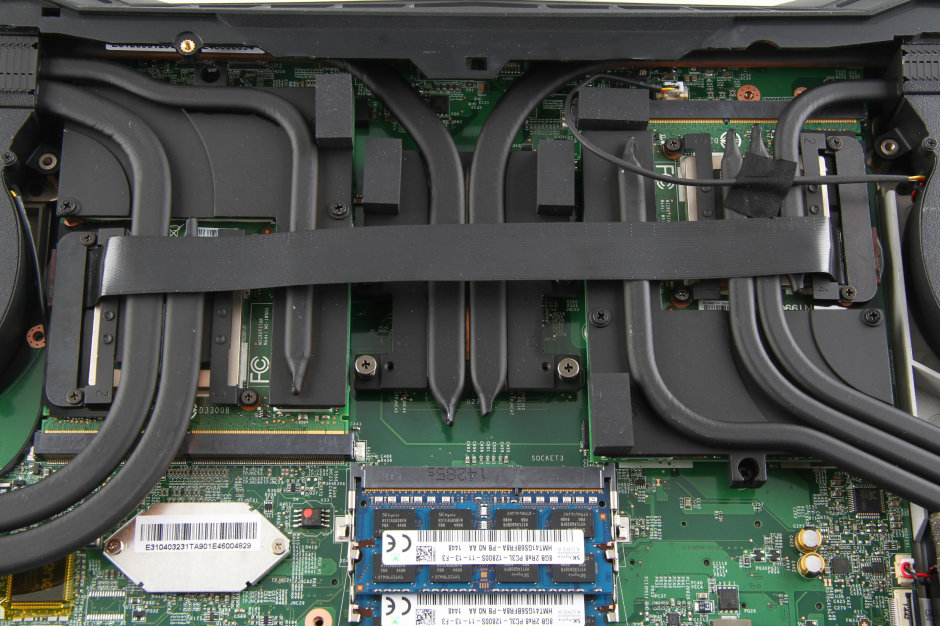
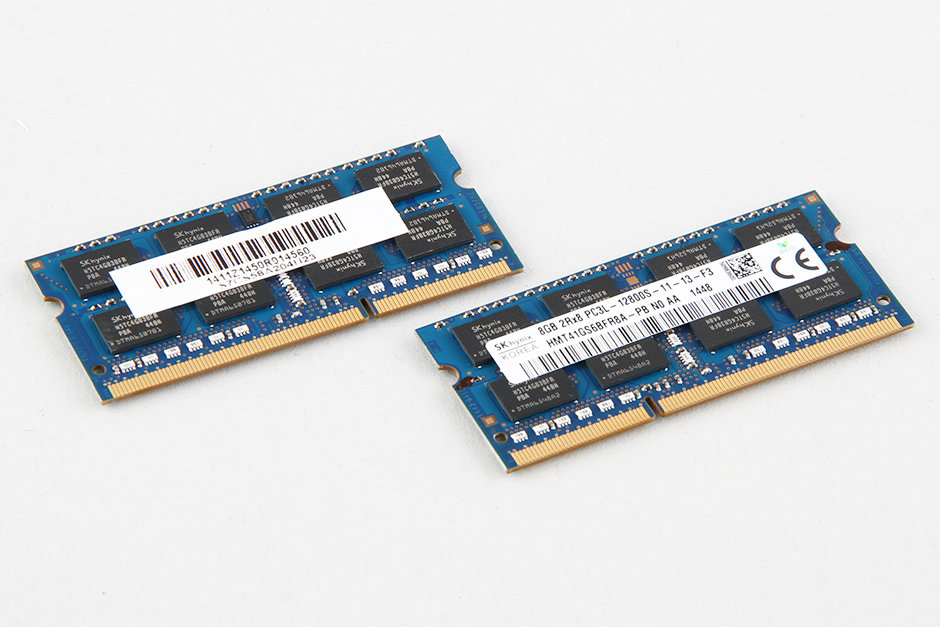
The MSI GT80 Titan has two memory slots and comes with two memory modules.
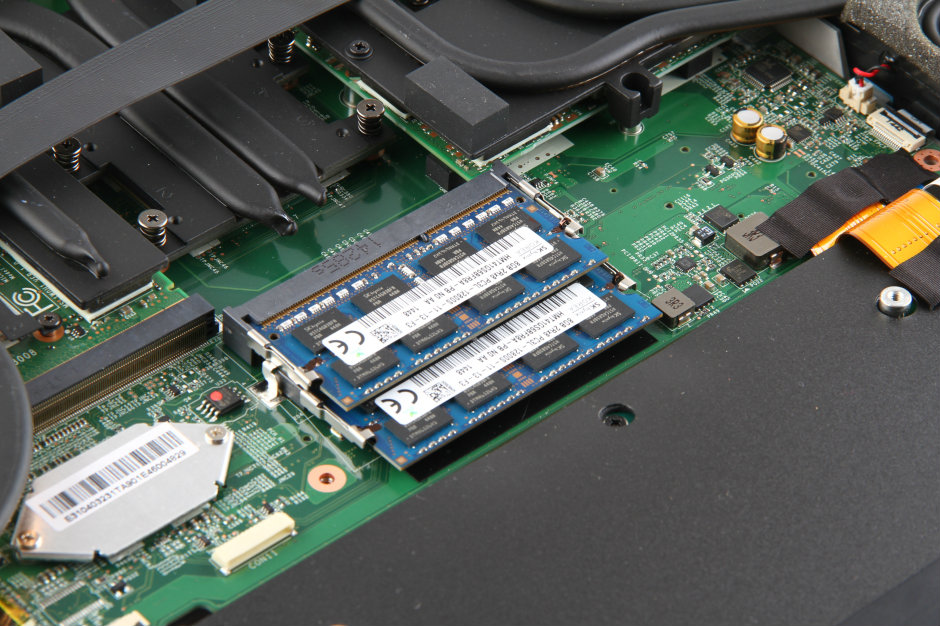
The MSI GT80 features two SK Hynix 8GB PC3L-12800S RAM modules. To upgrade your memory, you need to replace the existing memory modules.
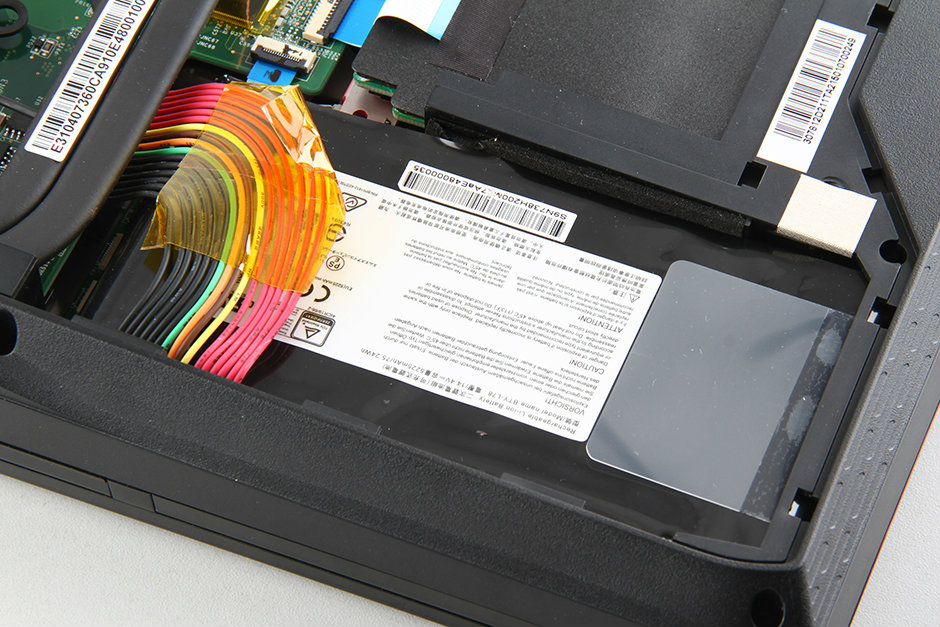
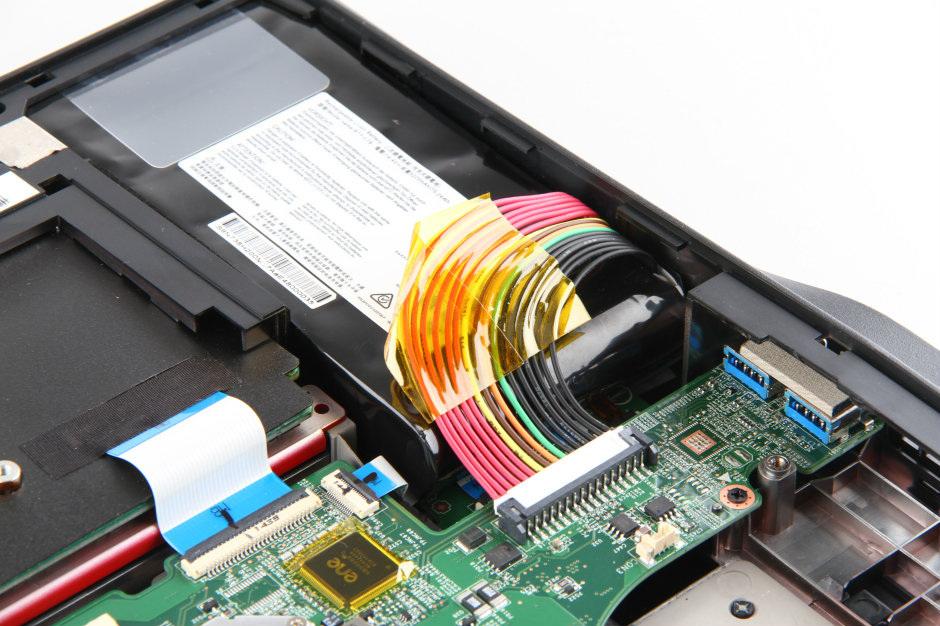
Even though the service cover has been removed, we still cannot access the battery.
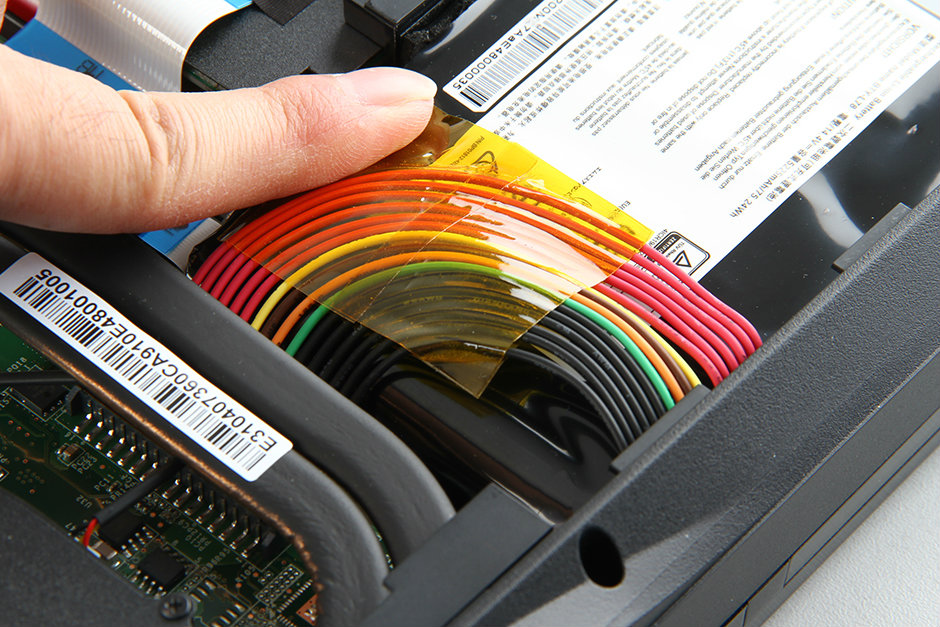
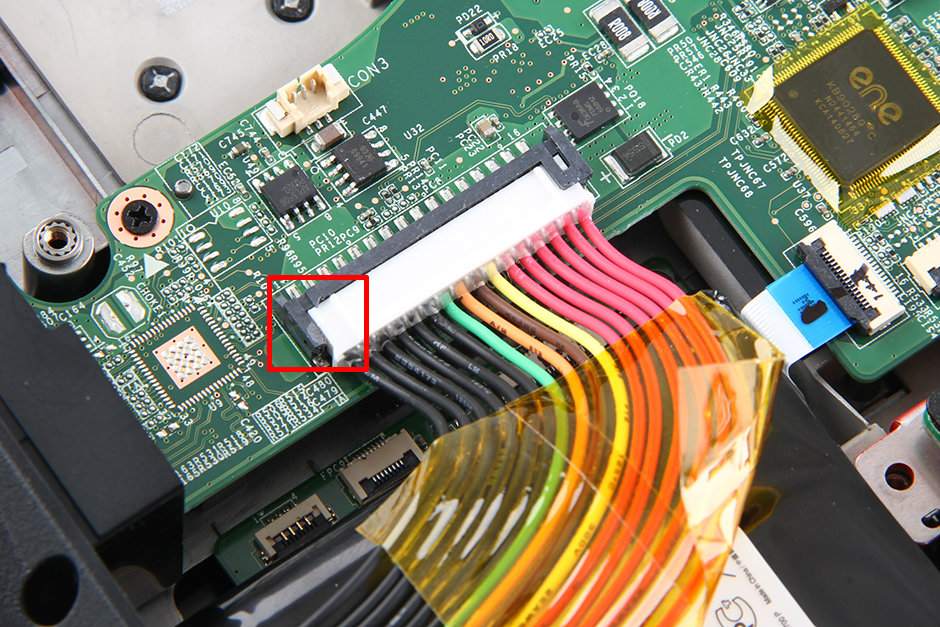
Battery power cable
Remove the left cooling fan.
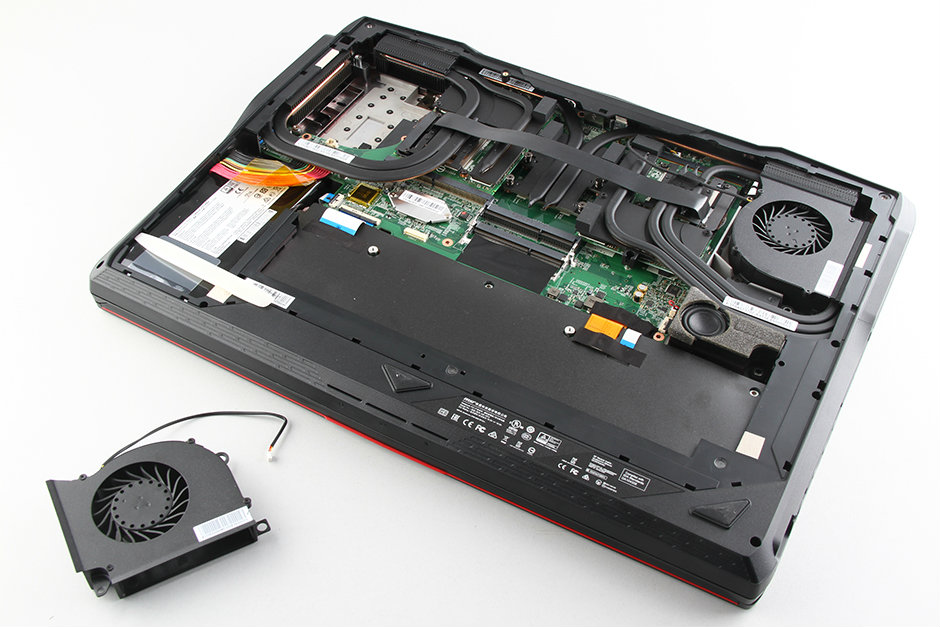
Remove the right cooling fan.
Remove all screws securing the heat sink.
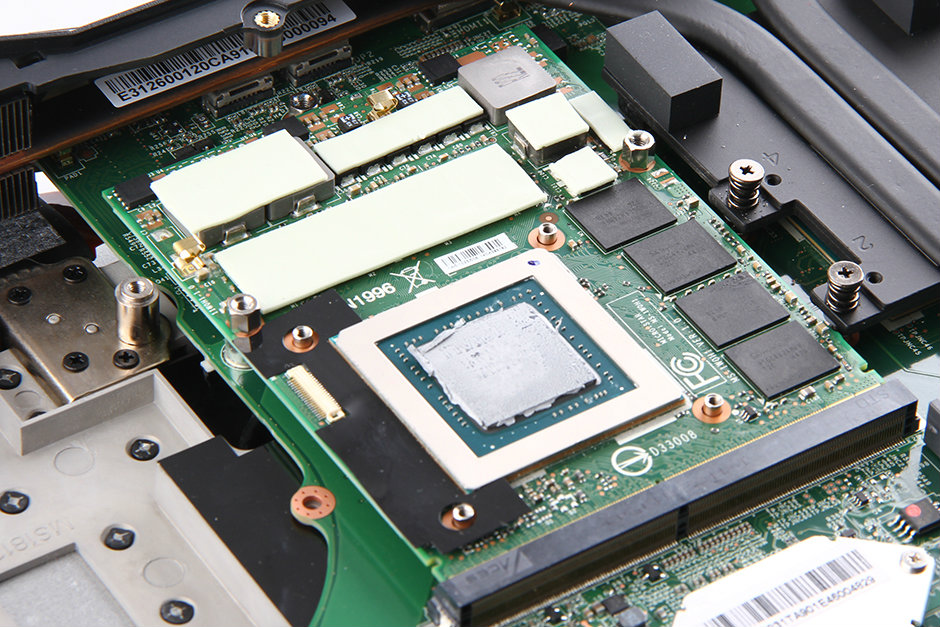
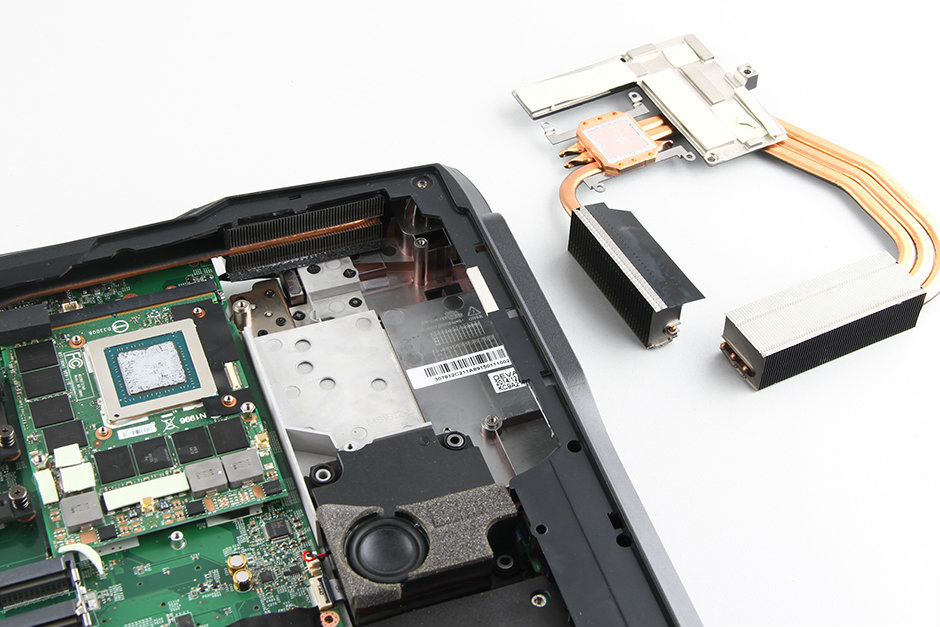
Remove the left GPU heat sink.
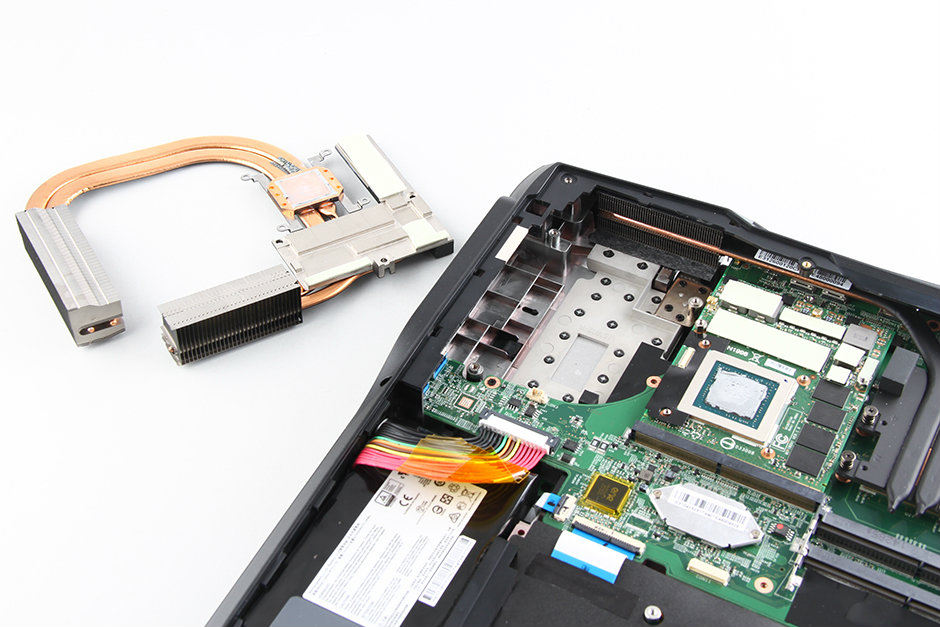
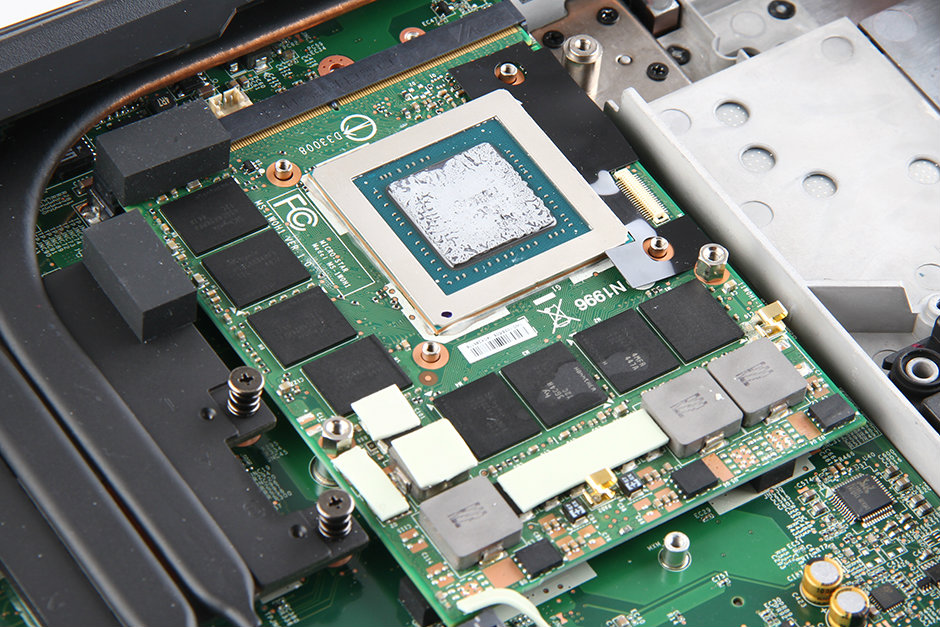
Close-up of the graphics card
Remove the right GPU heat sink.
We still cannot access the battery completely.
Our next target is removing the laptop frame.
Use a tool to pry up and remove the cover at the rear of the laptop.
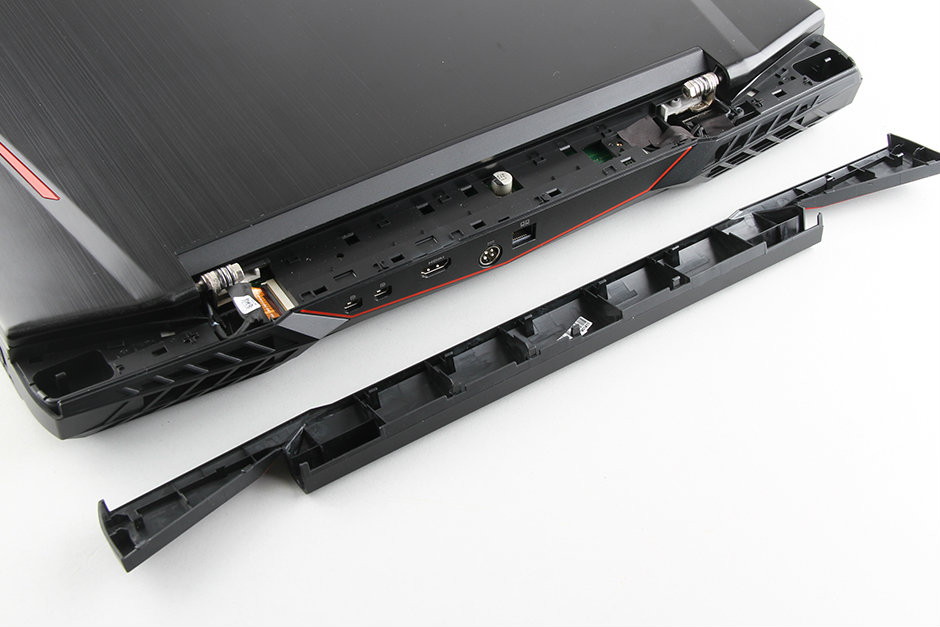
Remove the front cover.
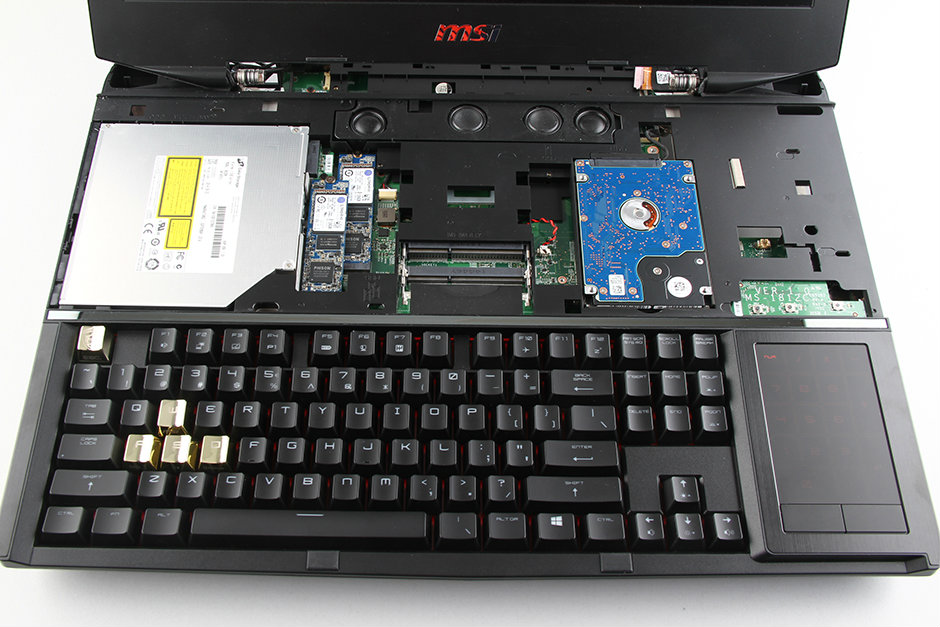
Now you can access the hard drive, SSD, and optical drive.
Remove the screws securing the SSD.
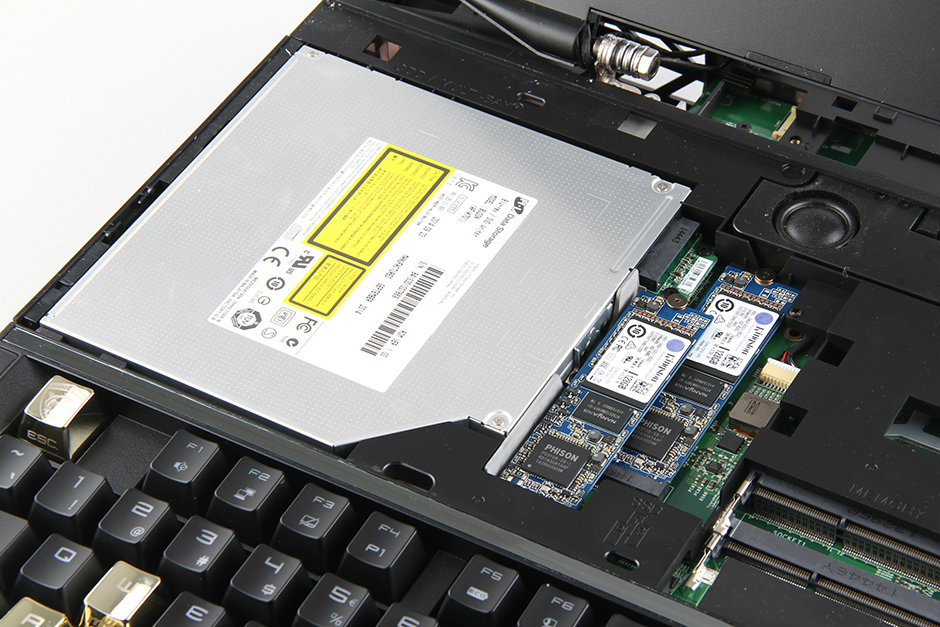
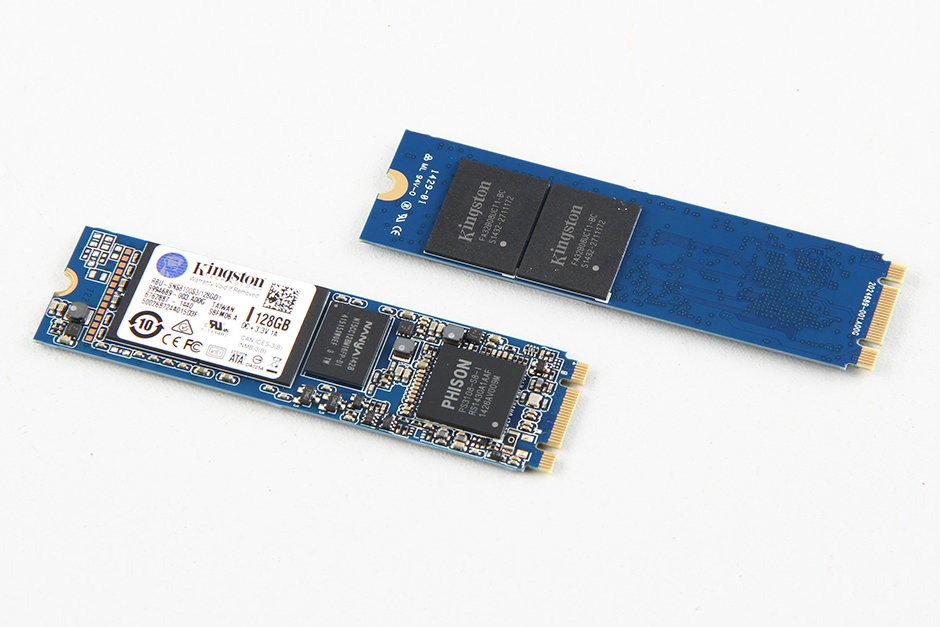
The MSI GT80 features two Kingston 128GB M.2 NGFF SSDs.
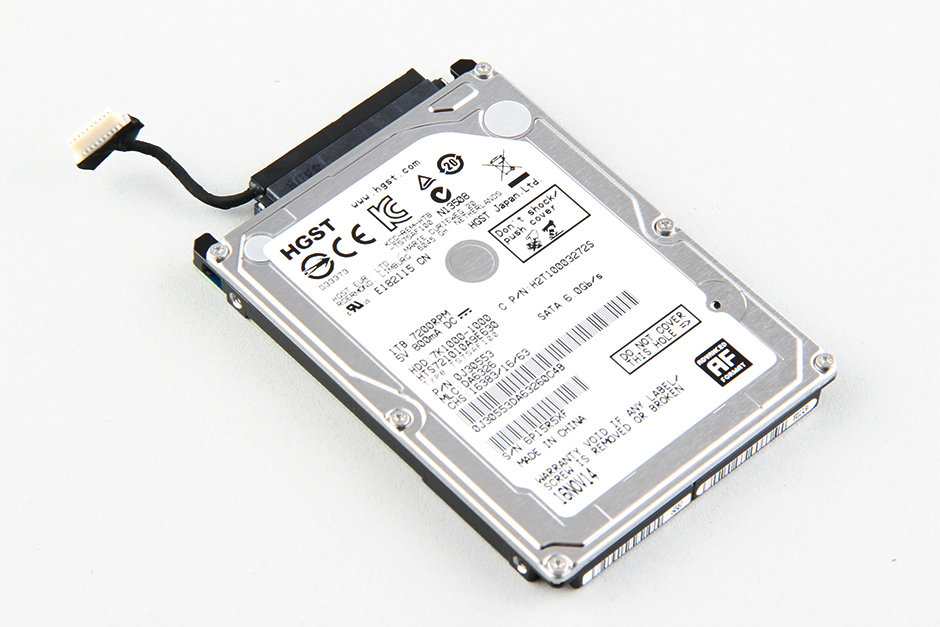
HGST 1TB 7200 RPM hard drive
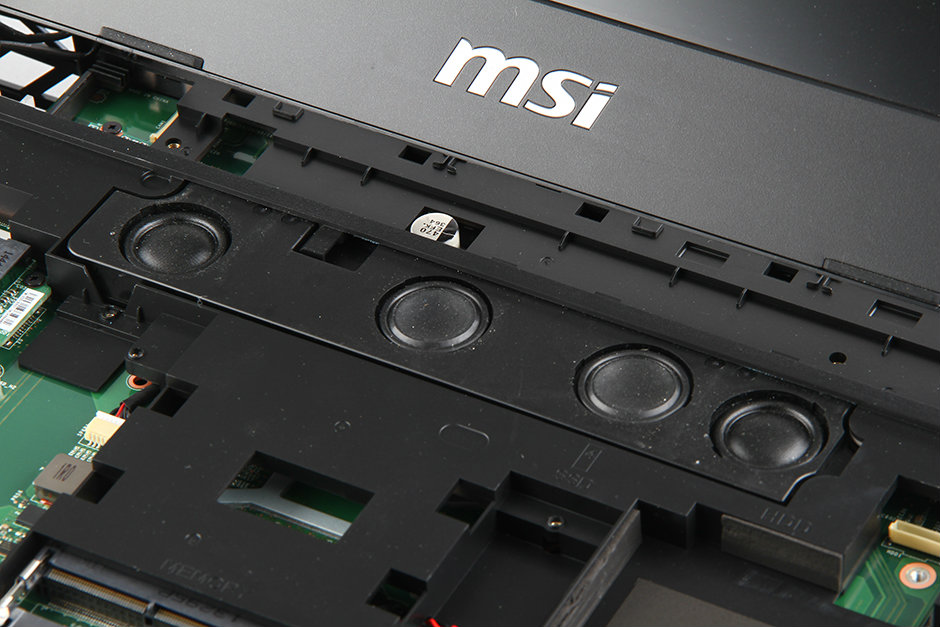
MSI GT80 speaker modules
Remove two rubber mats.
Remove the screws under the rubber mat.
Insert a plastic pry tool under the middle frame. Slide the pry tool and remove the middle frame.
Disconnect the battery connector from the motherboard.
MSI GT80 Titan internal parts

Thanks for the disassembly. Where is the wireless LAN card located? I wanted to upgrade mine. Is it under the motherboard, and does that mean the entire motherboard has to be removed to swap it out?
I do not suggest upgrading it. If you do it, you should disassemble the entire laptop.
I really wish you had shown me how to remove the LCD Bezel. You seem to ignore the upper half of the laptop completely. Would it be useful to fix the backlight bleeding?
For this problem, you should replace your screen.
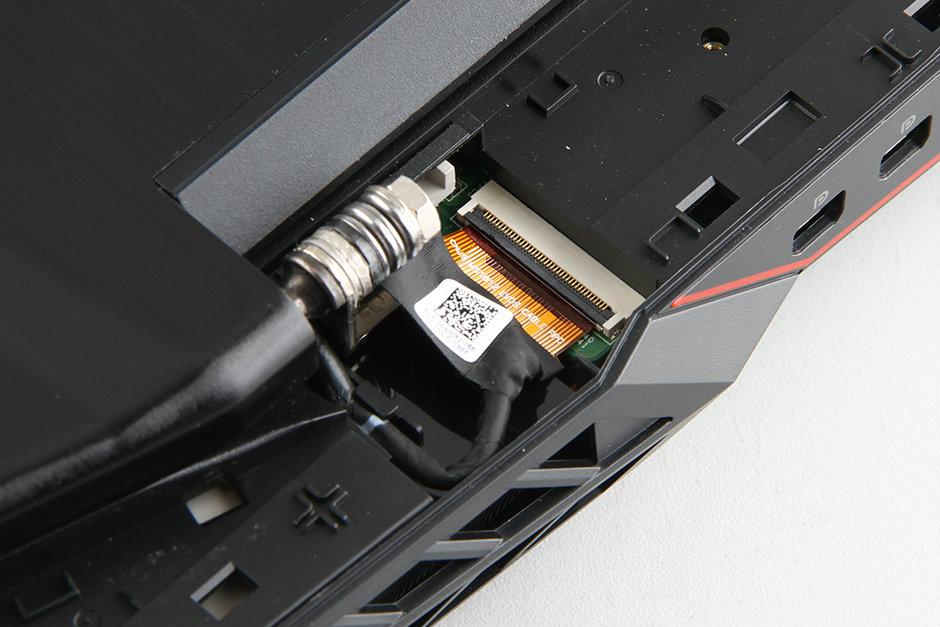
The Wi-Fi/Bluetooth card can be removed after removing the back plate/panel. It is covered by a piece of tape. It can be removed by removing a screw and two antenna cables. If that is your objective, most of the other disassembly steps can be skipped.
Is there a definite answer to removing the wireless card? I need to replace mine, and it would be excellent to know if only removing the hinge cover is enough or if complete disassembly is necessary. Many thanks.
Where’s the CMOS battery location?
Did either of you ever work out where it was?
Do you happen to know where to buy a replacement power jack port located on the back of the laptop? I’ve looked everywhere and cannot find it. The laptop has been a paper weight for a year because one of the four prongs melted off the last time I used it. I plugged it in, and it melted the power supply cord and prong due to an arc. It still worked on battery life until it ran out of juice. If not, what motherboard would I need to buy to replace this one?