
In this guide, I will explain how to disassemble the 2013 Apple MacBook Air 13″ A1466. I will remove the battery, RAM, SSD, wireless card, heat sink, cooling fan, and motherboard.
Looking for more funny teardowns? Follow us on Facebook for all the latest repair news.
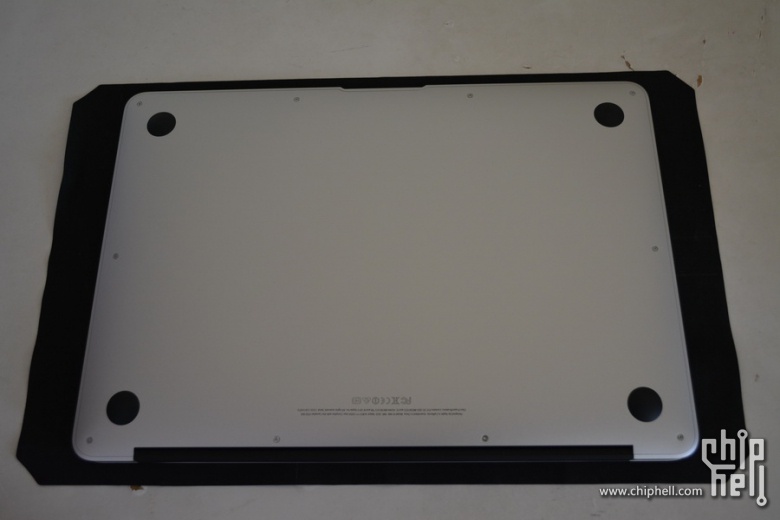
Remove all screws from the back cover.
After removing the back cover, you can access the battery, SSD, wireless card, speakers, heat sink, and cooling fan.
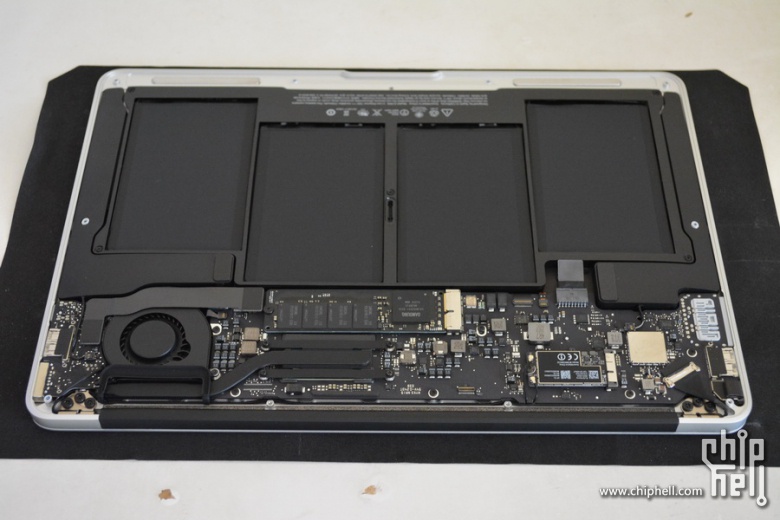
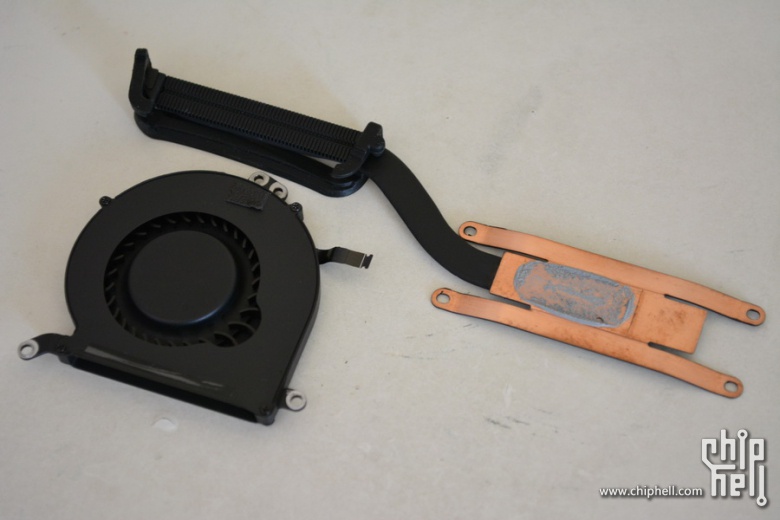
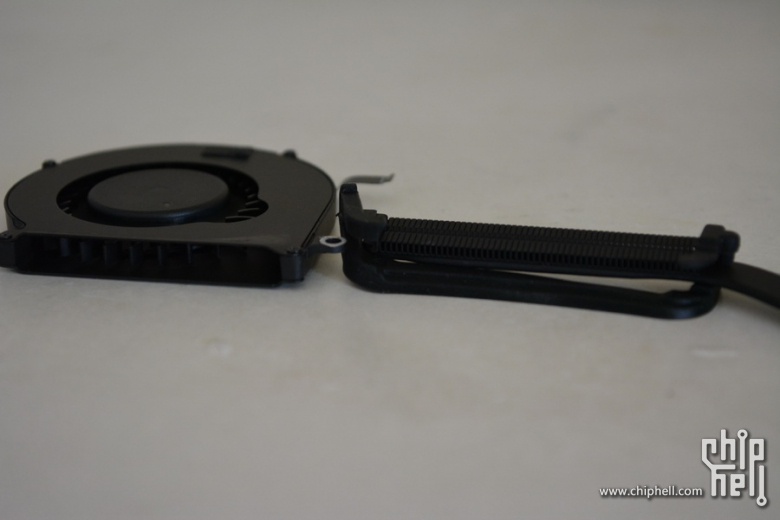
Cooling fan
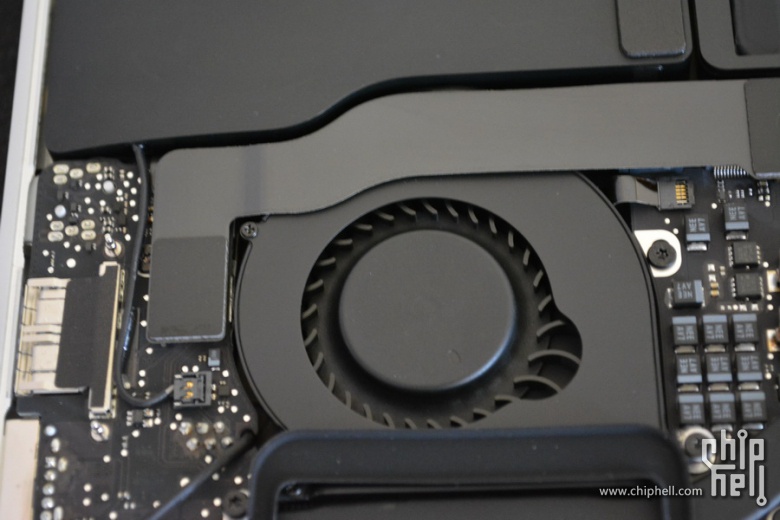
Heat sink
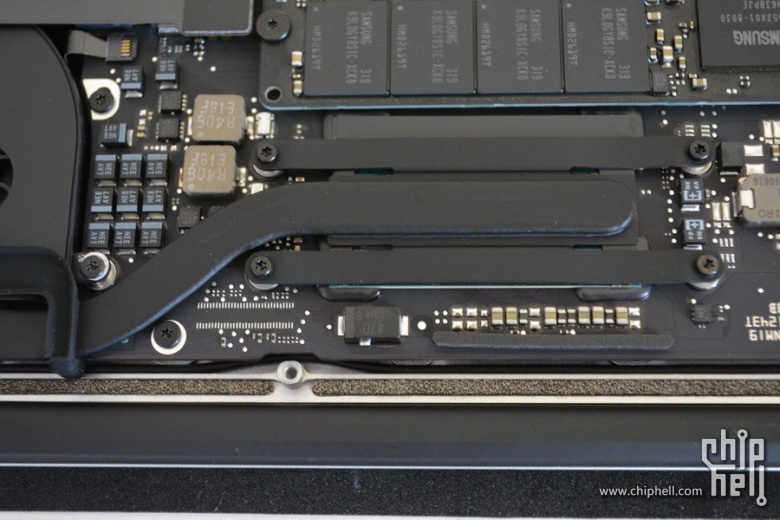
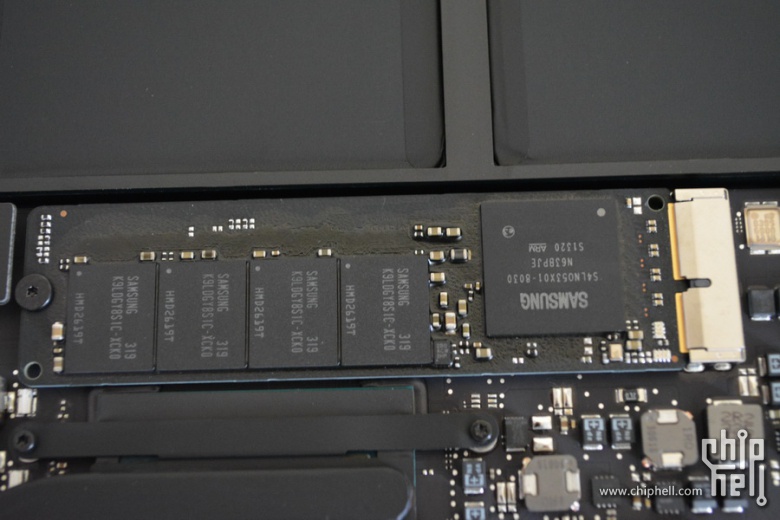
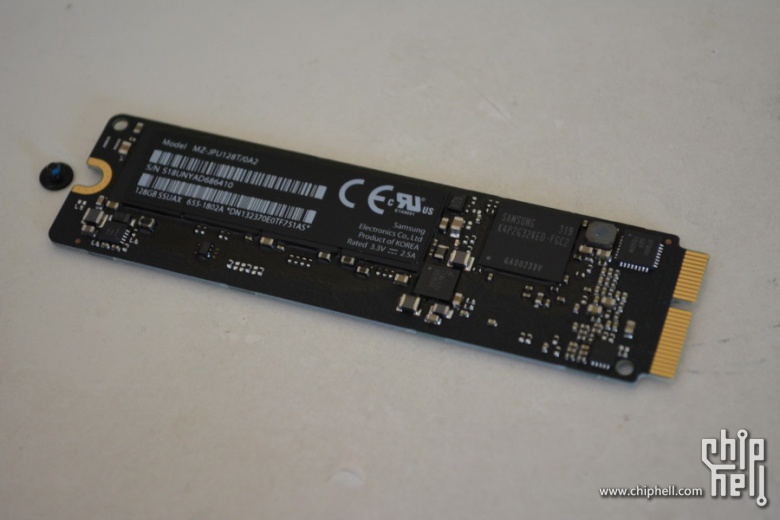
Samsung PCI-E SSD
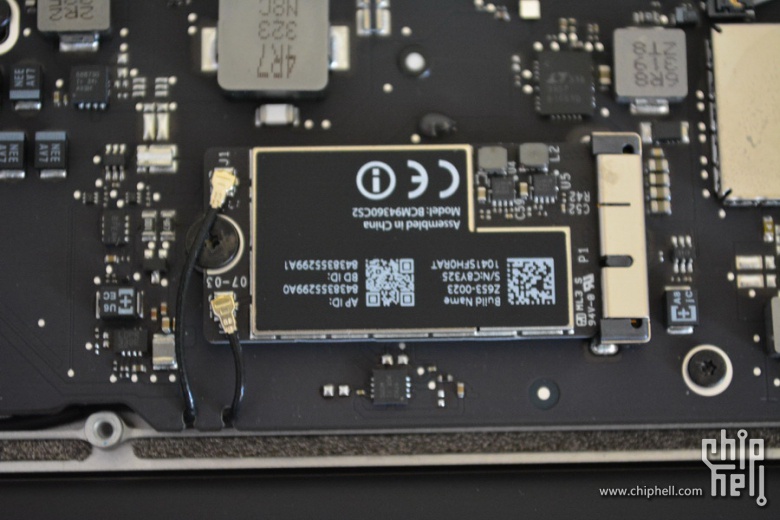
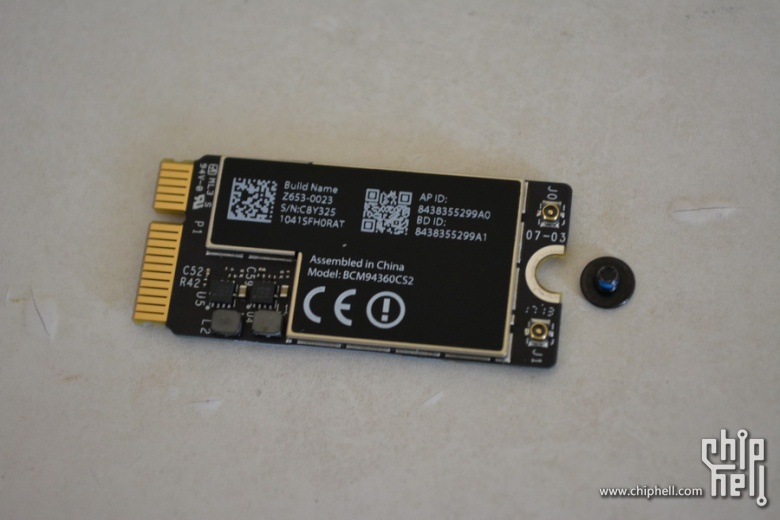
Wireless card
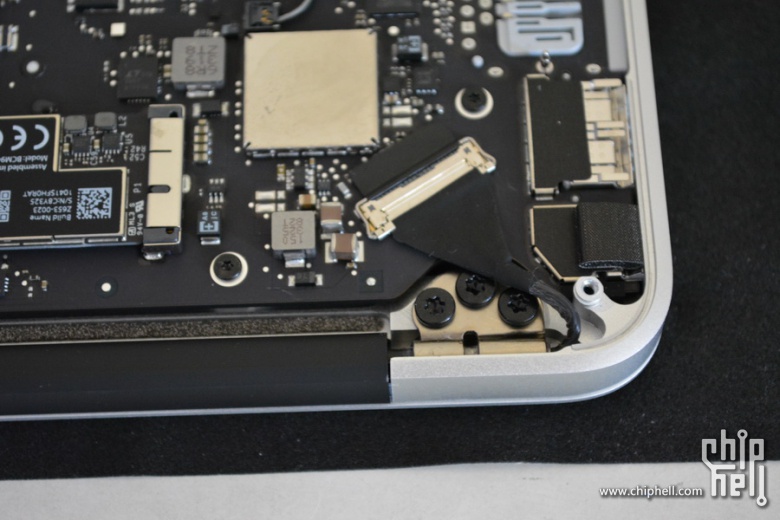
LCD cable
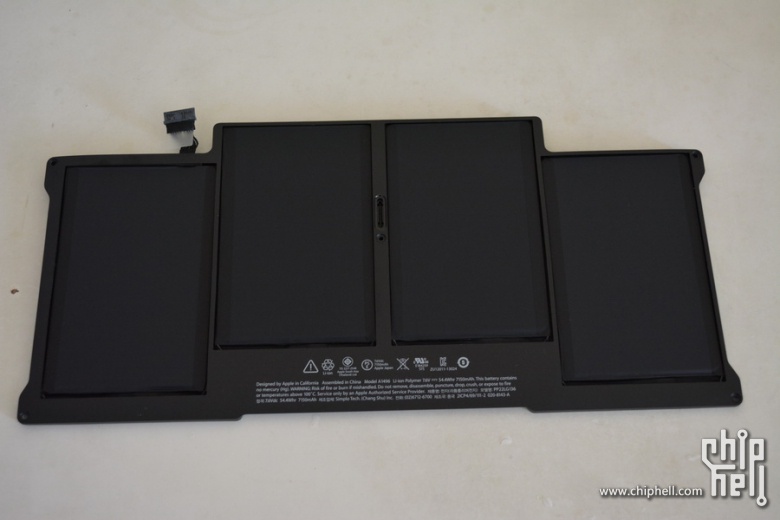
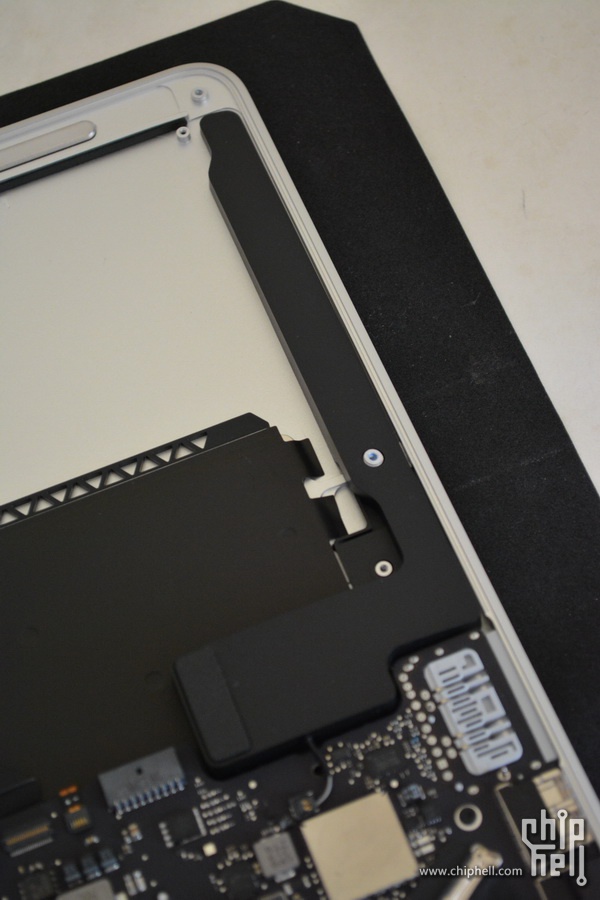
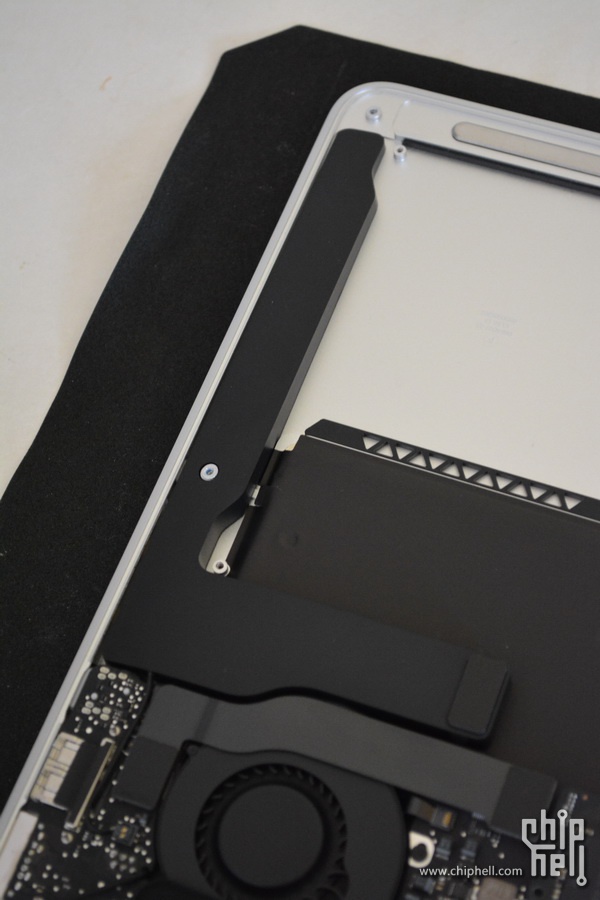
Remove the five screws securing the battery and disconnect the battery power cable.
Under the battery, you can find the touchpad.

Right speaker
Left speaker
Samsung 128GB SSD
Wireless card
Heat sink and cooling fan
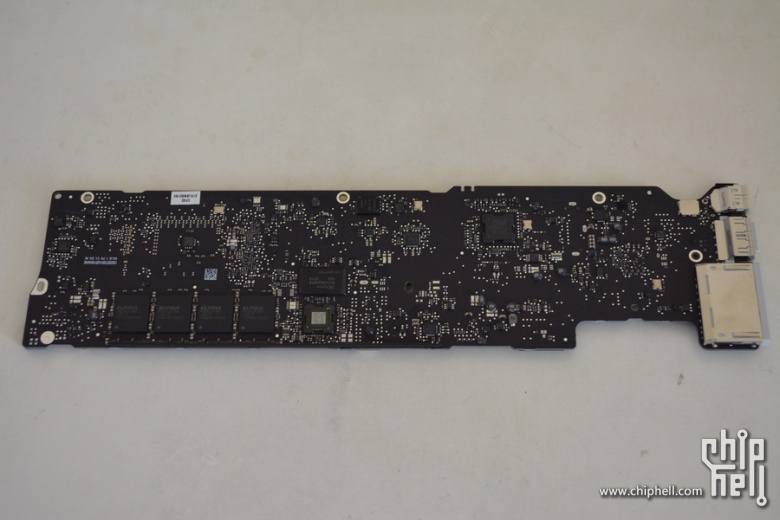
The Intel Core i5 processor integrates the Intel HD 5000 graphics card, which is directly soldered to the motherboard, making it impossible to upgrade.
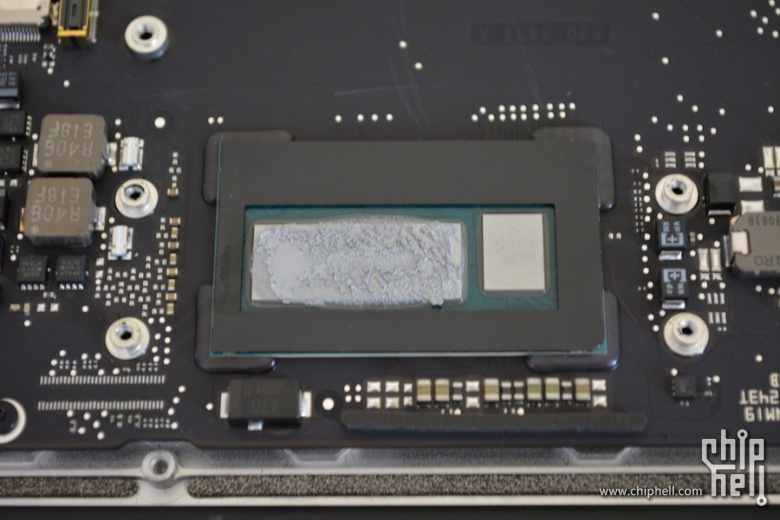
Apple MacBook Air 13″ A1466 motherboard
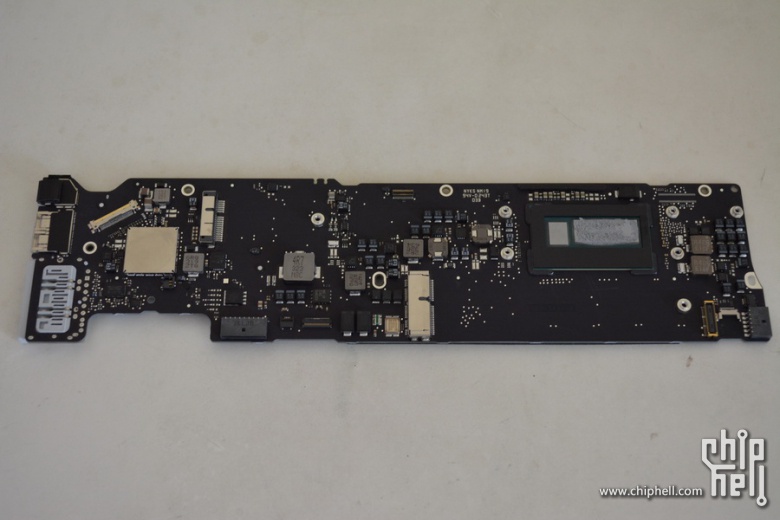
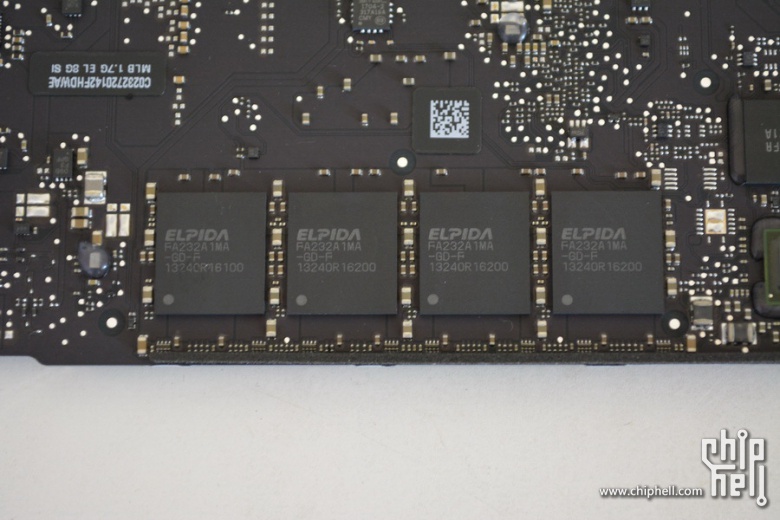
Elpida DDR3 RAM chips
Via chiphell.com