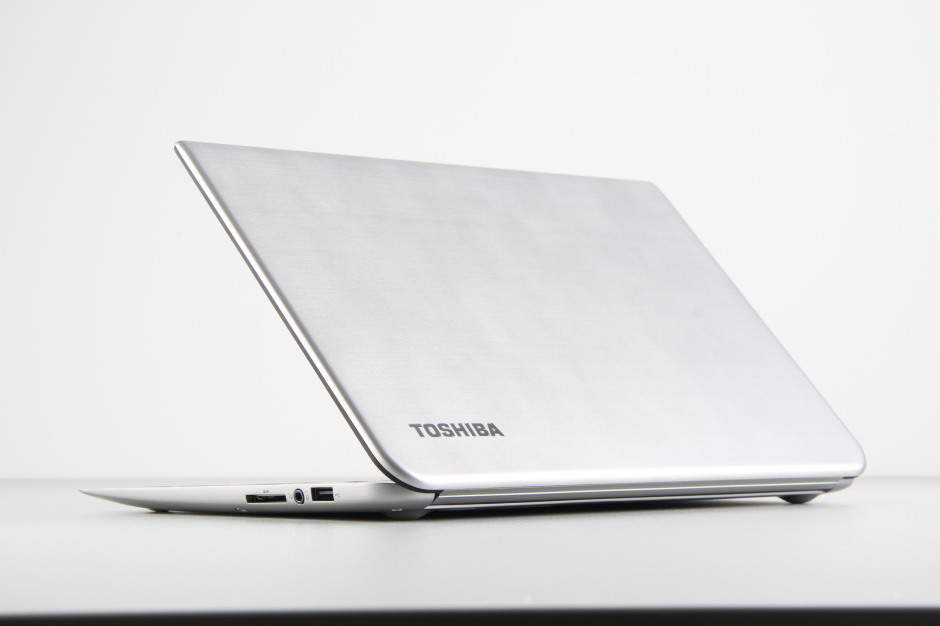
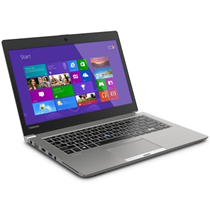
In the guide, I will show you how to disassemble the Toshiba Kira to remove and replace the keyboard, SSD, wireless card, cooling fan, bottom case, and motherboard.
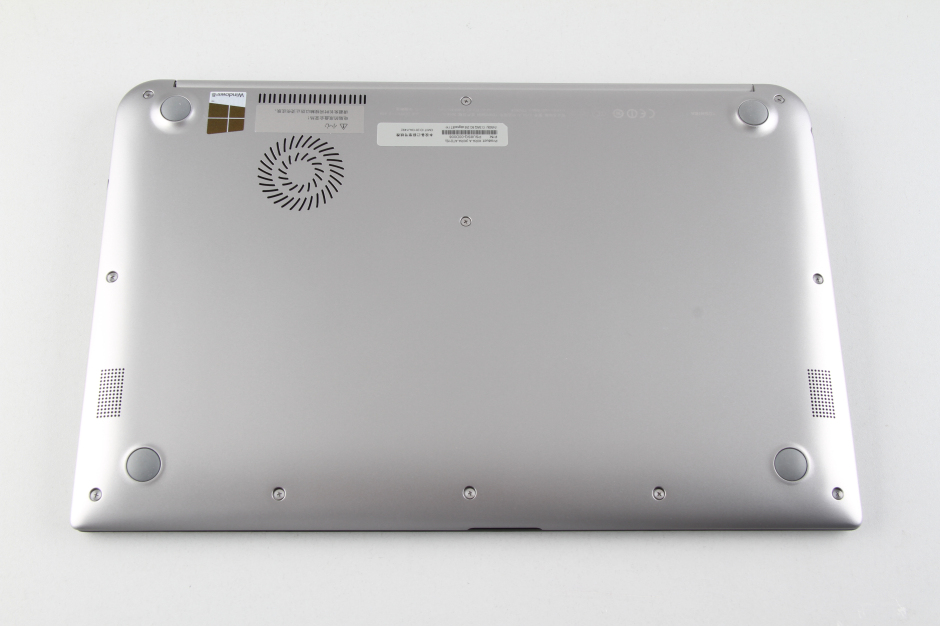
Remove all screws from the bottom case.
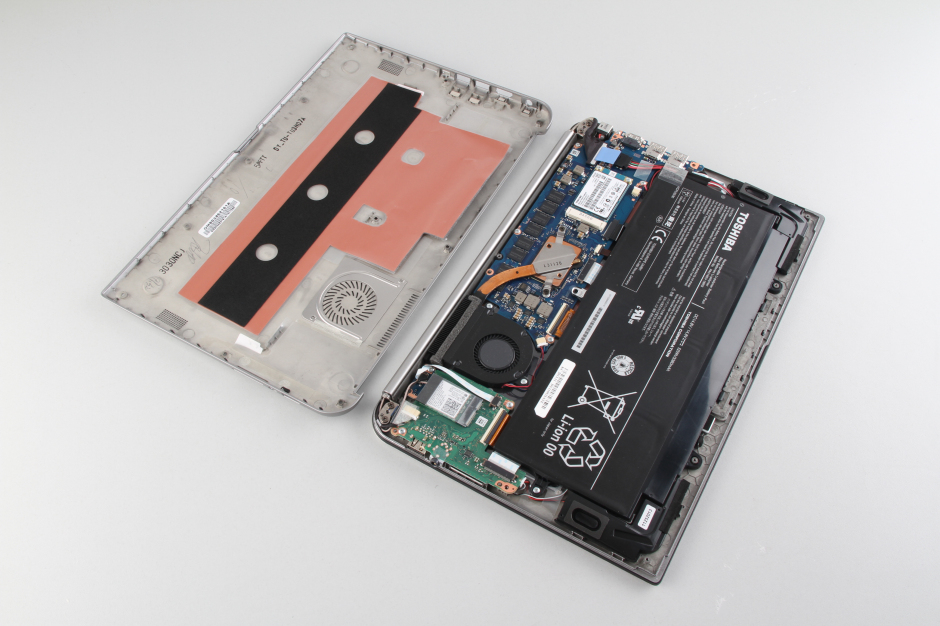
After removing all screws, insert a pry tool between the bottom cover and the palm rest, and carefully slide it to separate the bottom cover from the palm rest.
Please note that there are some clips on the bottom cover to secure it to the palm rest. Do not damage these clips. Otherwise, you may encounter difficulties when installing the bottom cover.
With the bottom cover removed, you can access the battery, cooling fan, speakers, heat sink, cooling fan, wireless card, SSD, and motherboard.
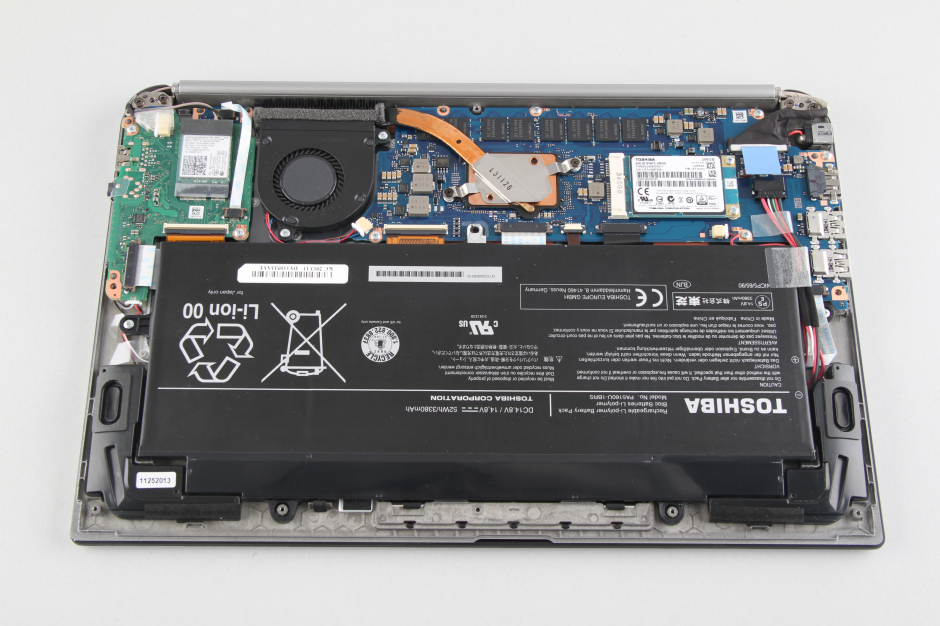
To protect the hardware, you should remove the battery first.
Remove all screws securing the battery.
Disconnect the battery connector from the motherboard.
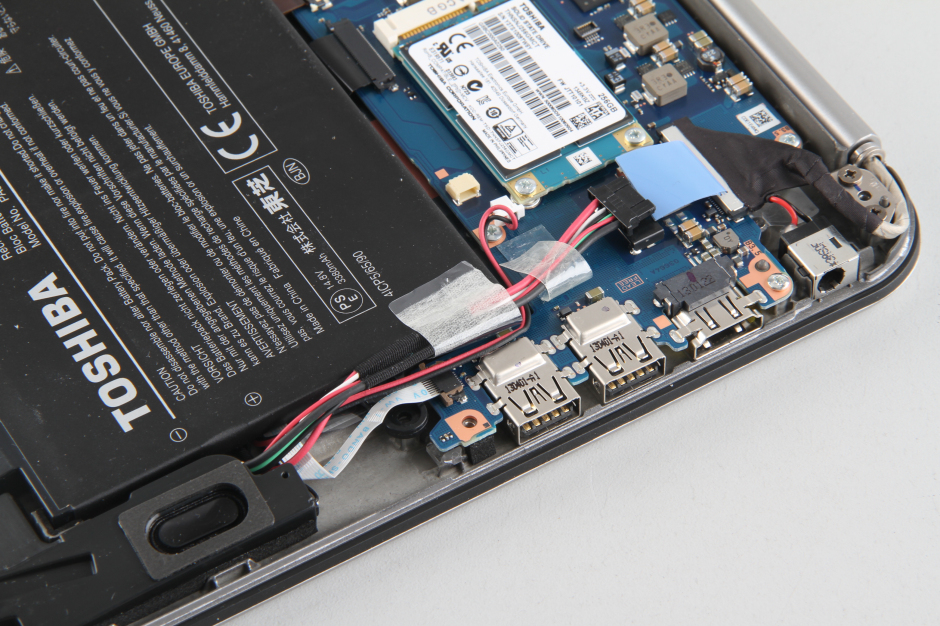
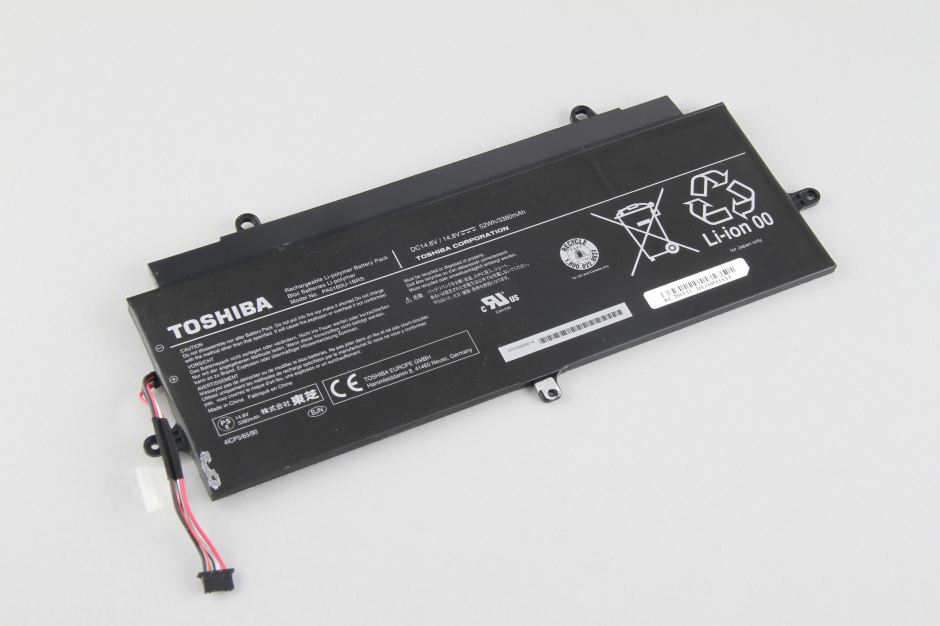
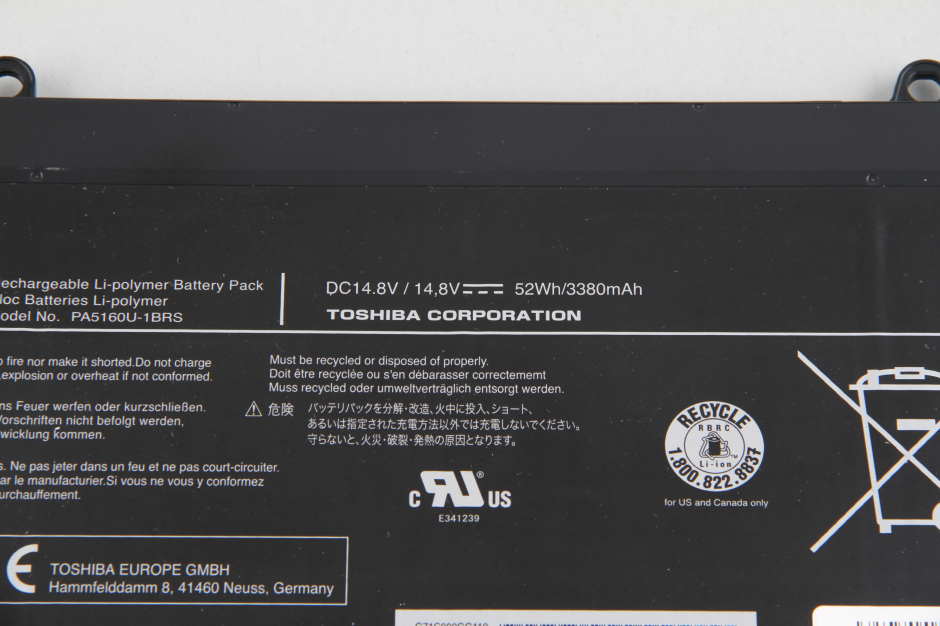
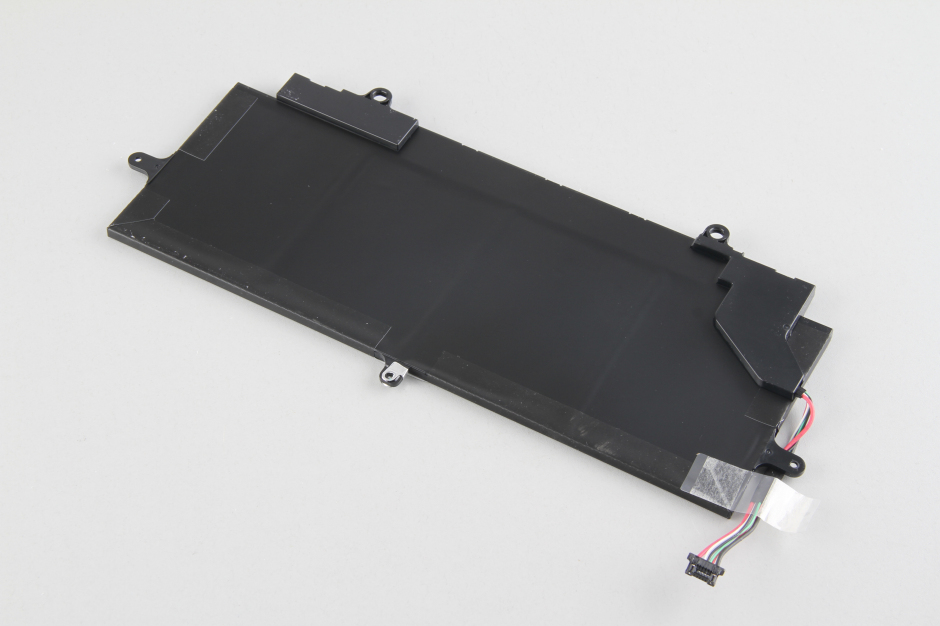
The Toshiba Kira comes with a 14.8V 3380mAh Li-polymer battery. Toshiba part number: PA5160U-1BRS.
Remove the two screws and take out the SSD.
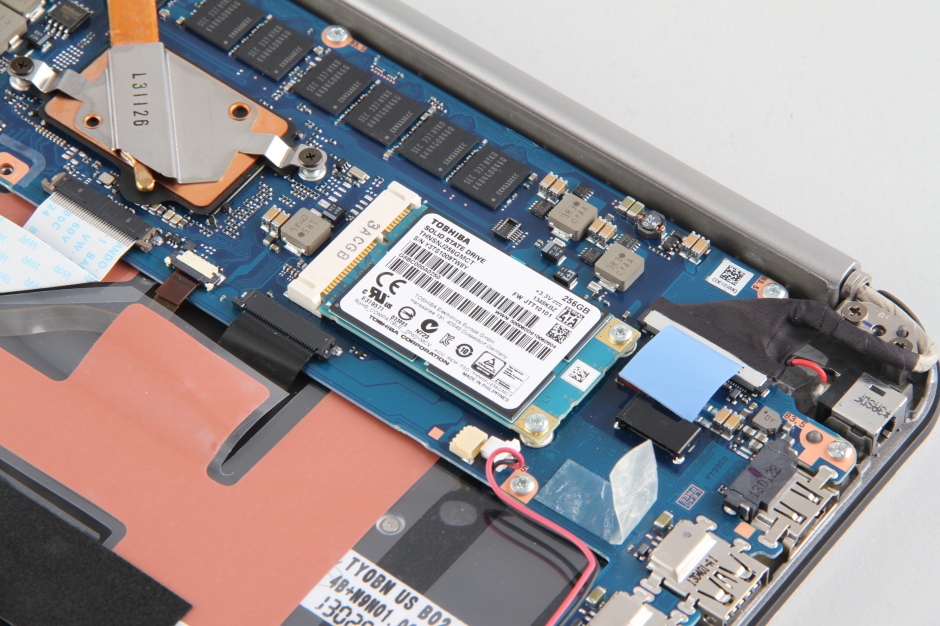
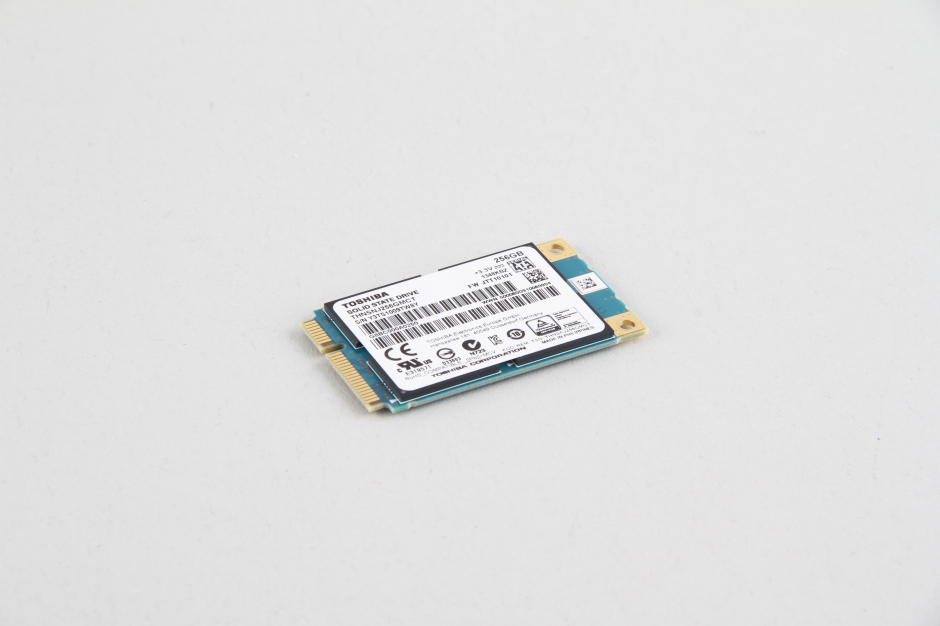
The Toshiba Kira features a Toshiba 256GB mSATA SSD.
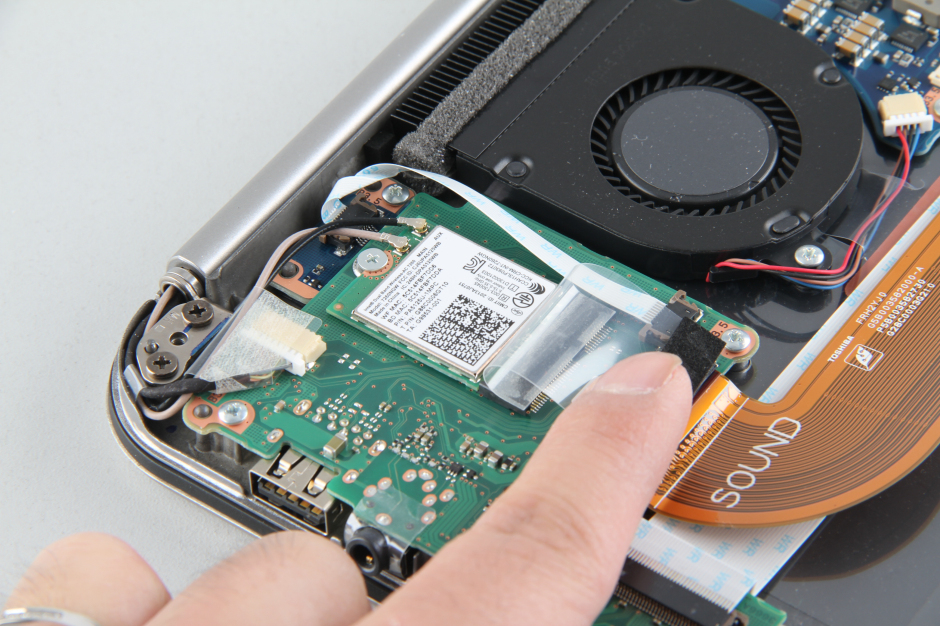
Remove the screw and unplug the two wireless antenna cables. You can remove the wireless card.
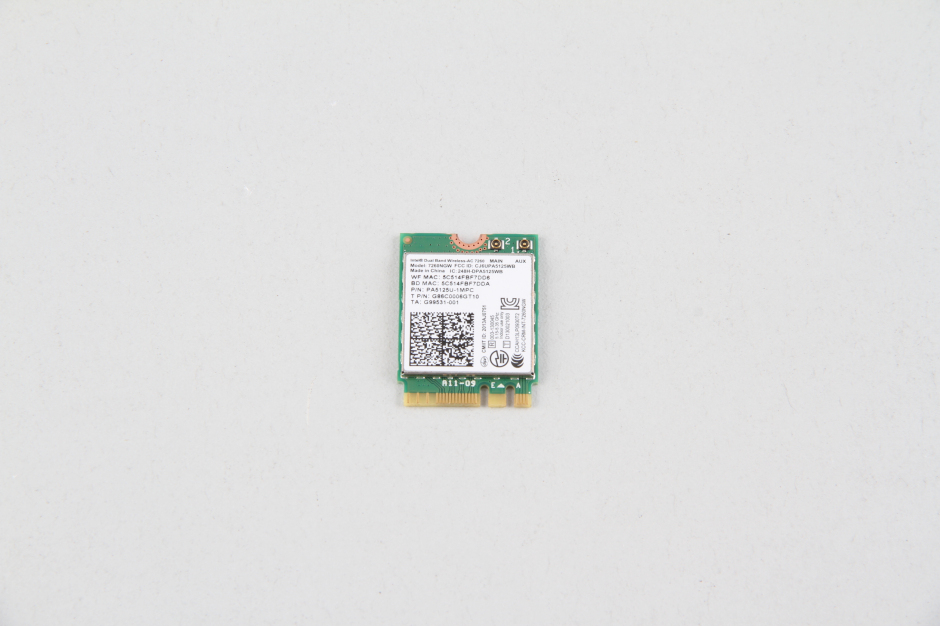
Wireless card
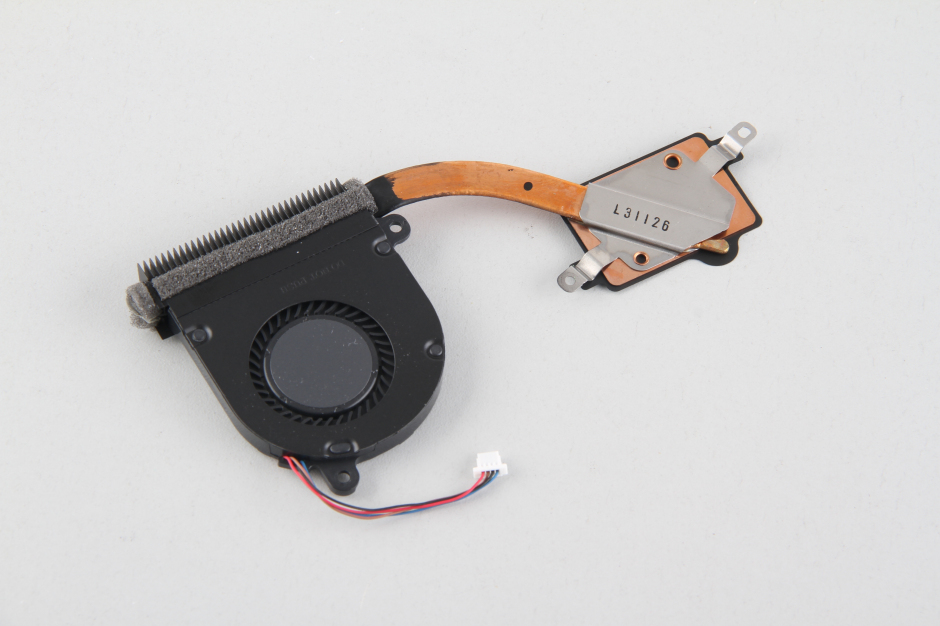
Remove the four screws securing the heat sink and cooling fan.
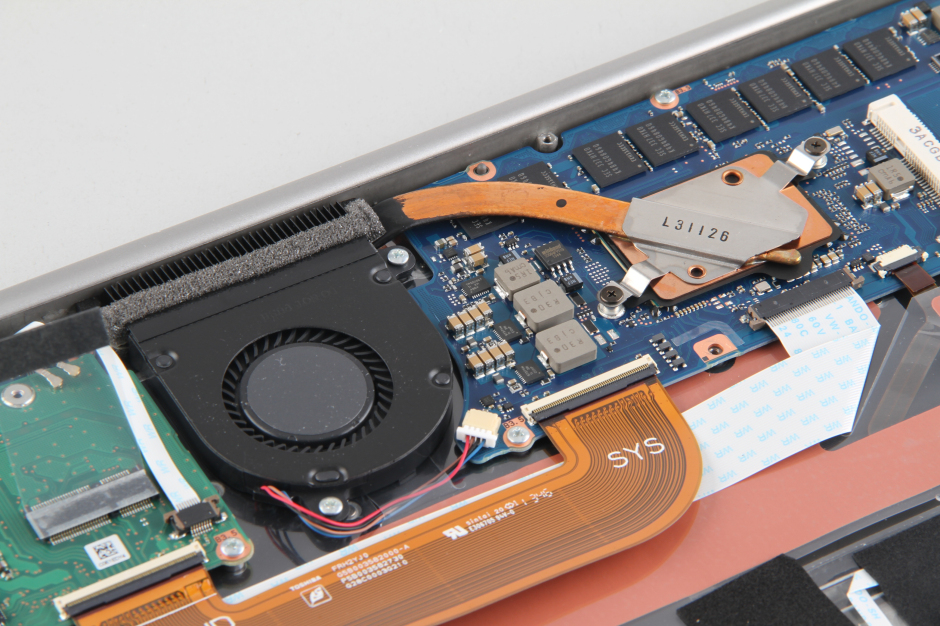
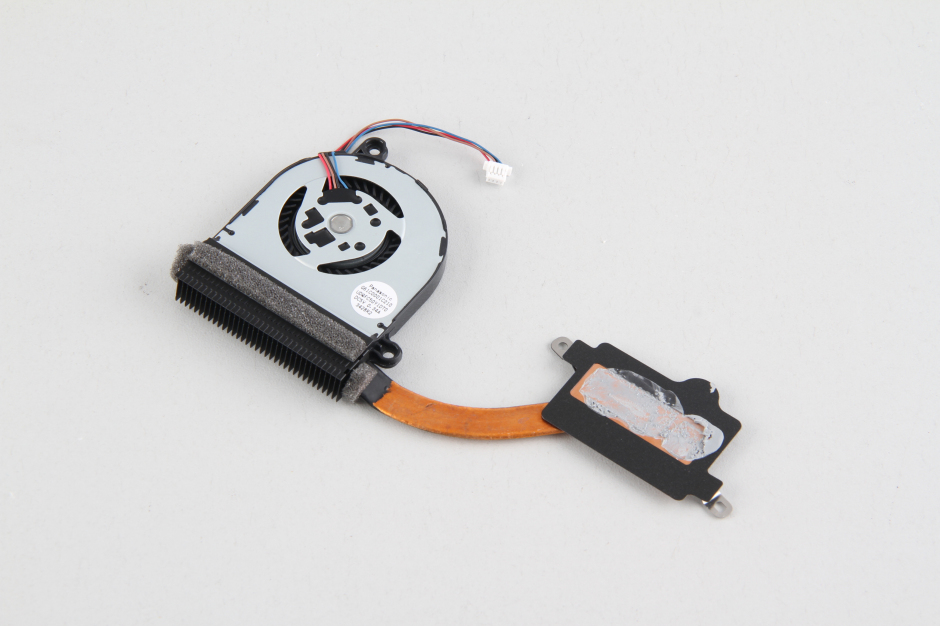
Toshiba Kira heat sink and cooling fan module
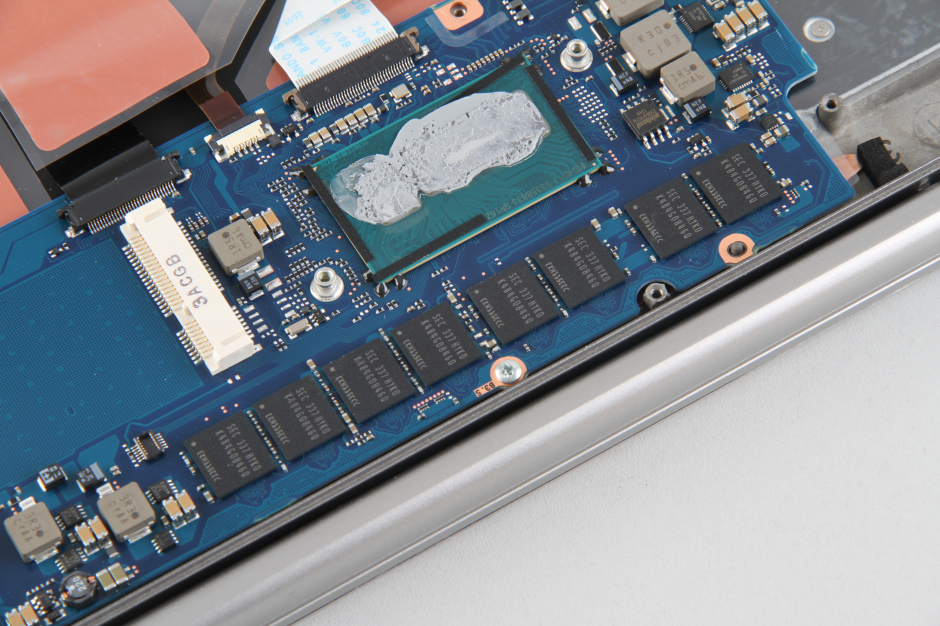
The Intel processor and RAM chips were soldered to the motherboard, so they can not be upgraded.
Disconnect the speaker cable, yellow cable, keyboard cable, touchpad cable, backlight cable, and LCD cable from the motherboard.
Remove all screws securing the motherboard.
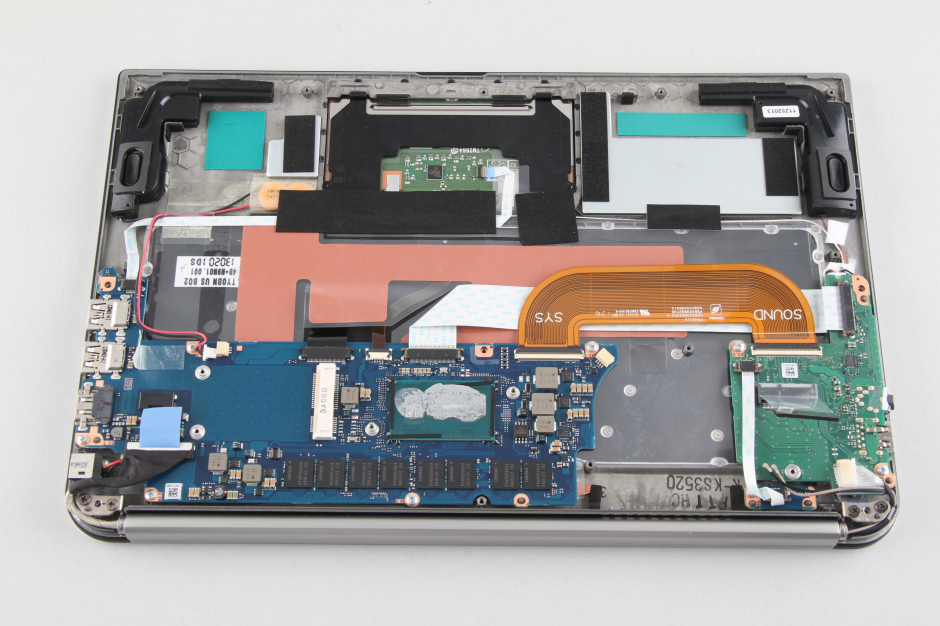
Toshiba Kira motherboard
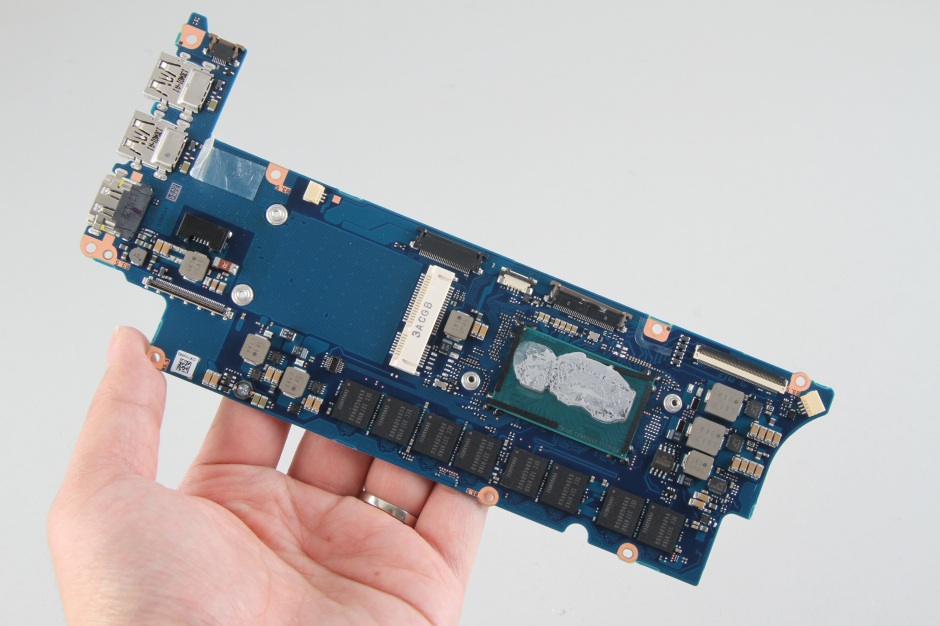
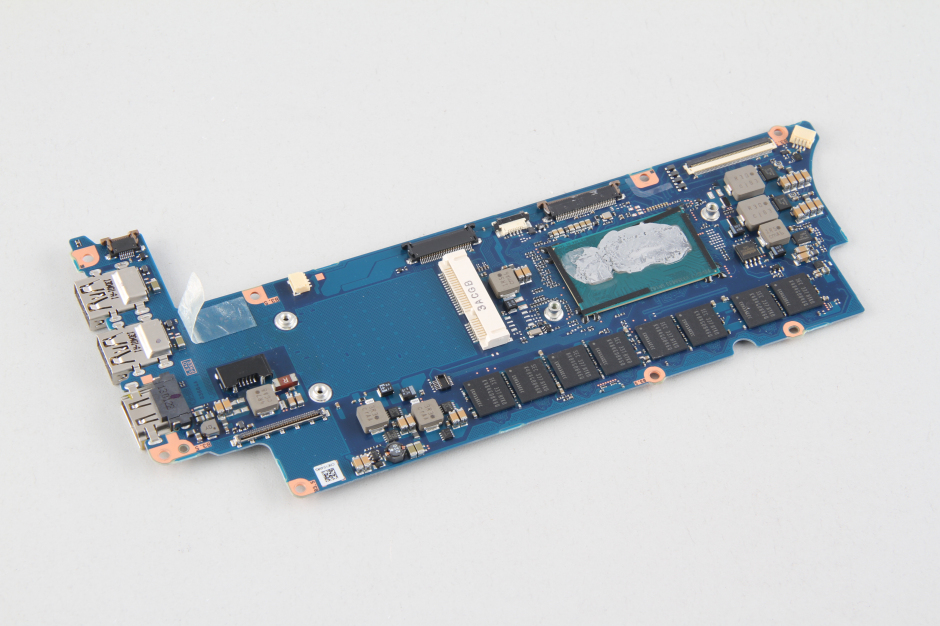
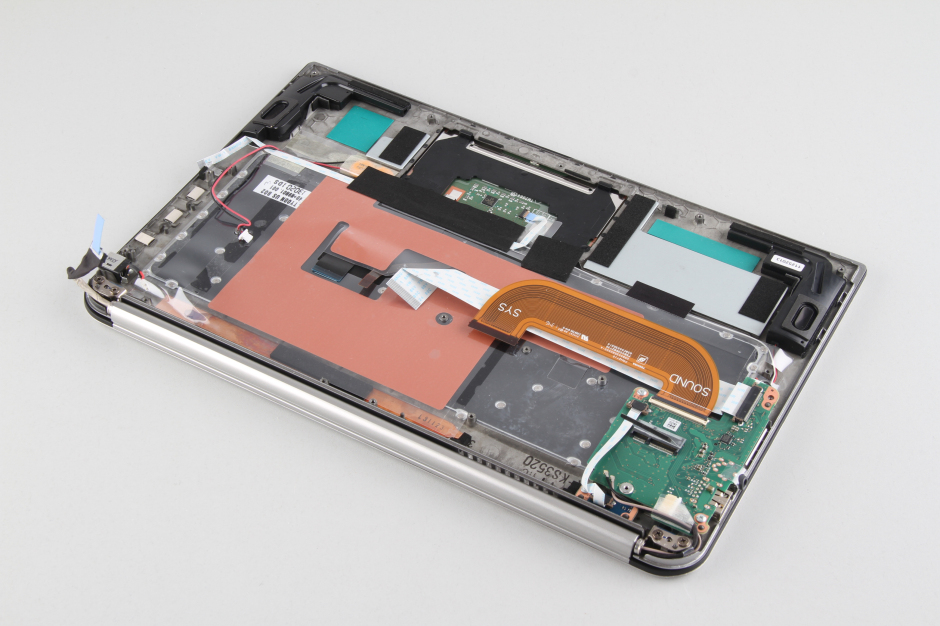
When the motherboard is removed, you can get access to the keyboard and touchpad.


I need to buy the battery cover and the keyboard.
Where could I buy it?
You should look at eBay. I found many replacements for this computer there.
Looking for speakers for Kira 101
I can’t find it.
Anybody can help?