
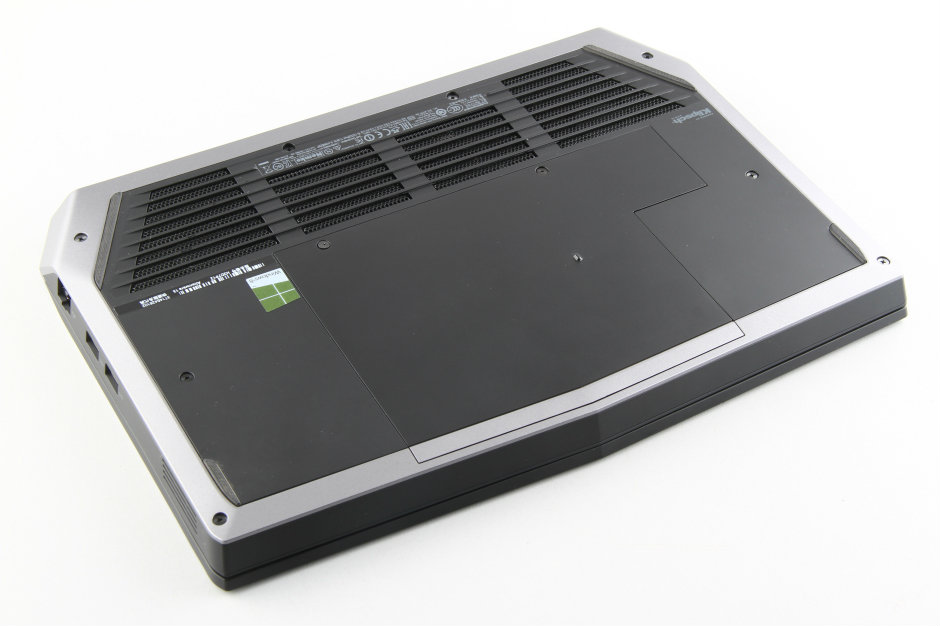
In this guide, I will explain how to disassemble the Dell Alienware 13 to remove the bottom cover, battery, RAM, hard drive, SSD, heat sink, cooling fan, and motherboard.
Want to keep in touch with us? Follow us on Facebook for more repair news.
Other Alienware teardowns
Remove two screws securing the service cover.
Use a screwdriver to pry open the service cover and remove it. Under the cover, you can access two RAM and a hard drive.
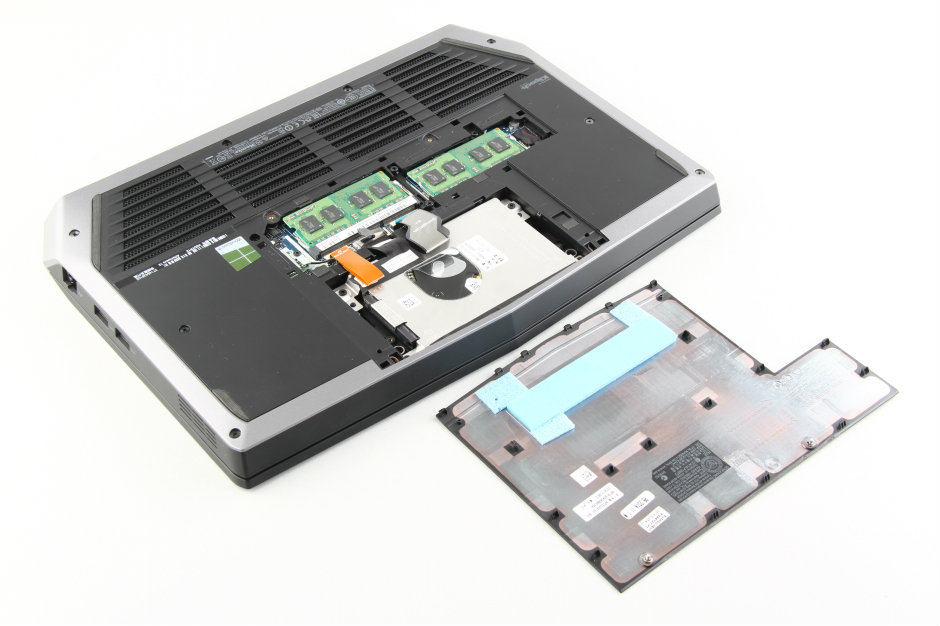
This Alienware 13 has two RAM slots and an HDD slot. If you need to upgrade your memory, you will need to replace your current memory modules.
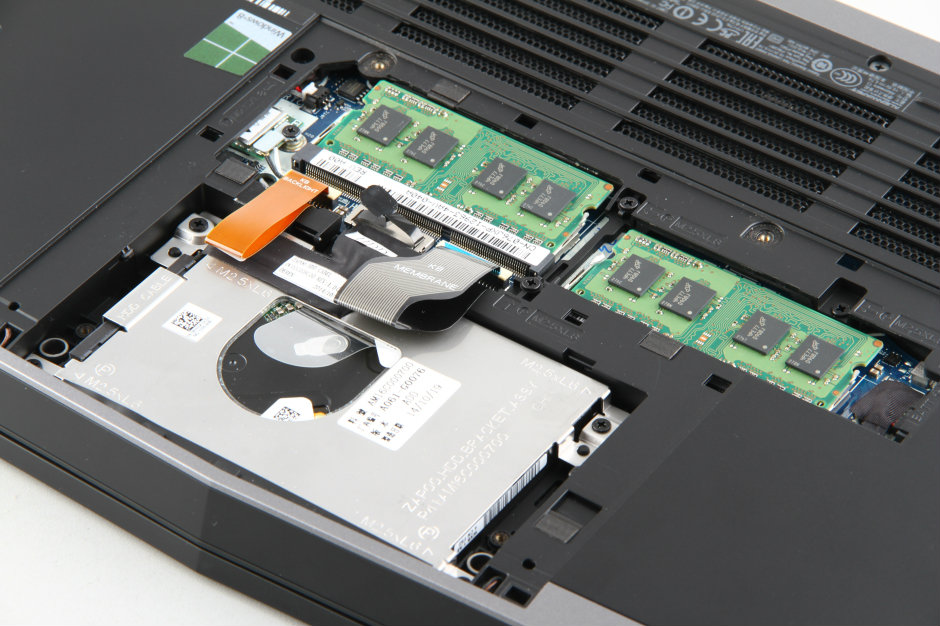
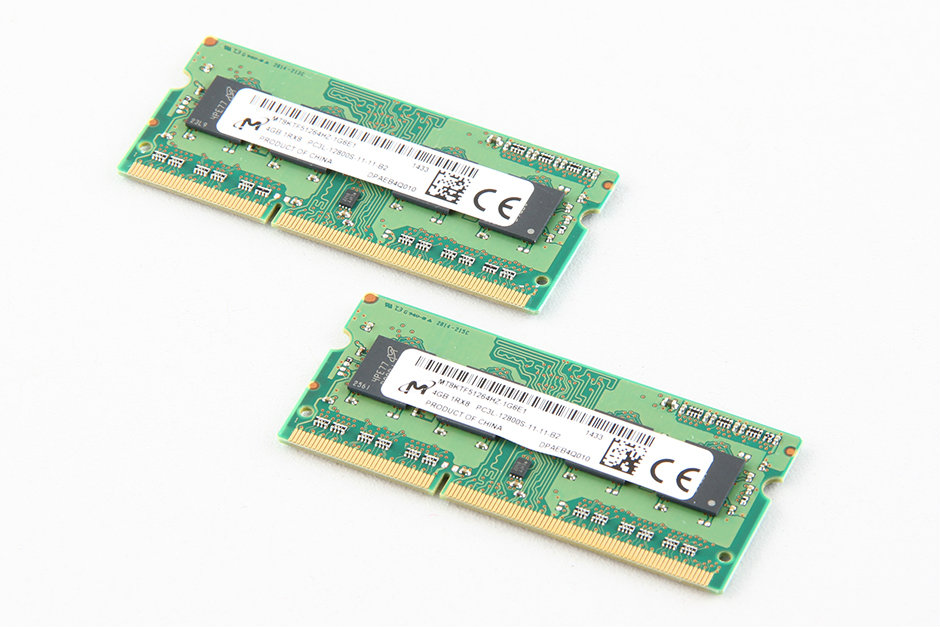
This Alienware 13 comes with two 4GB PC3L-12800S Micron RAM modules.
Remove the four screws securing the hard drive and disconnect the HDD cable from the motherboard.
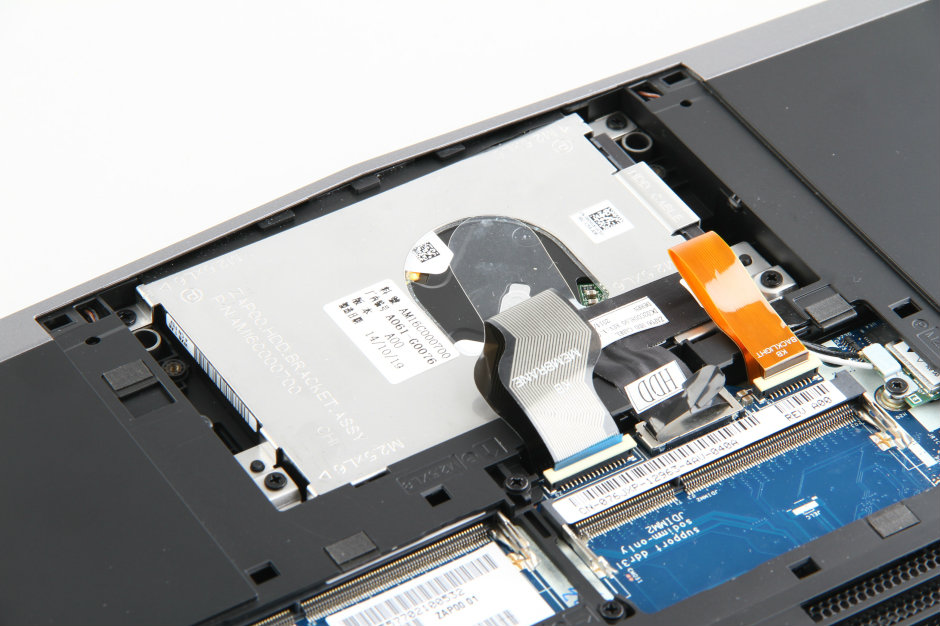
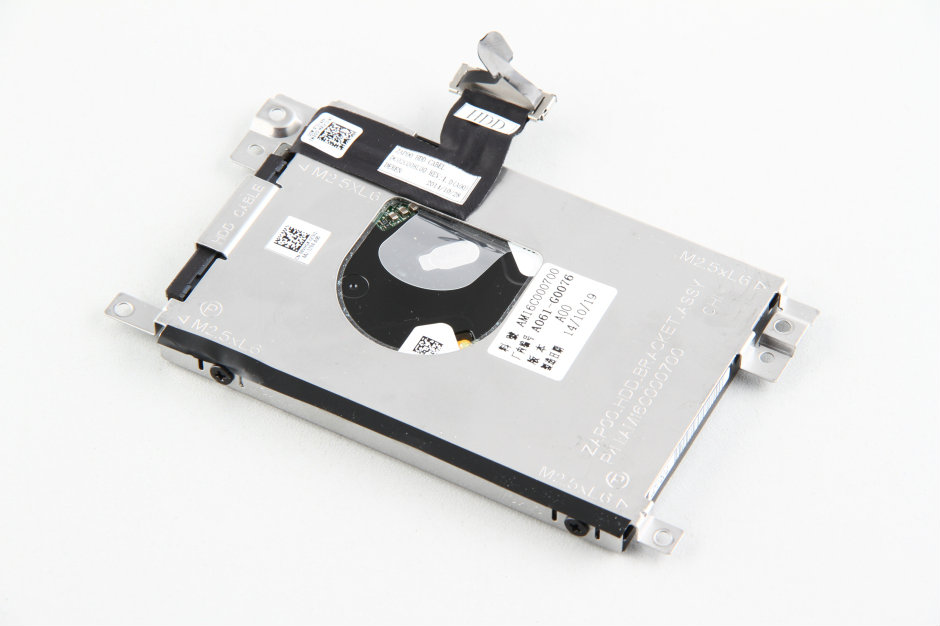
The hard drive of the Dell Alienware 13 is installed in an HDD caddy. If you need to replace the hard drive, you need to remove the HDD caddy and install it on the new hard drive.
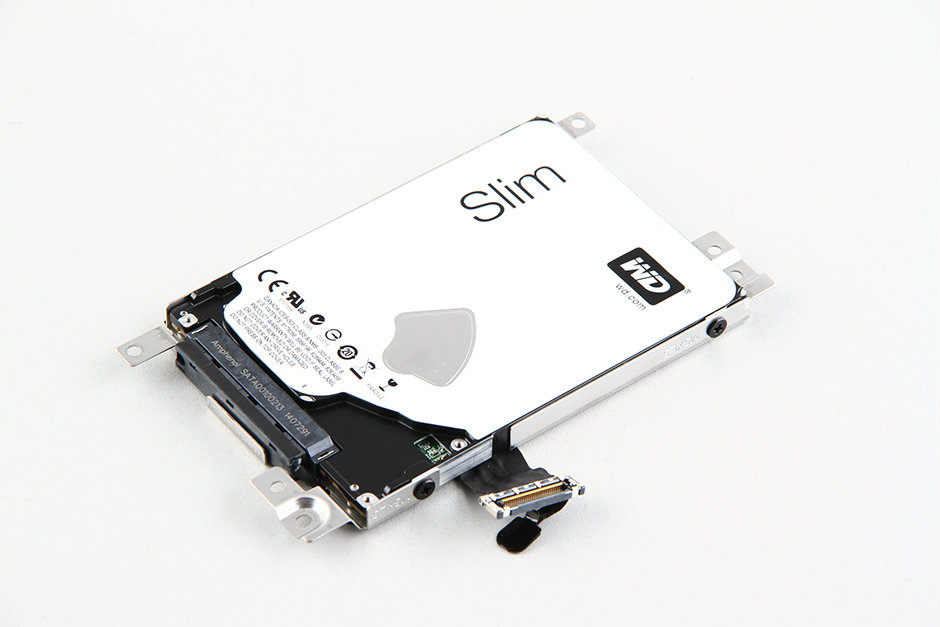
The laptop comes with a Western Digital slim hard drive.
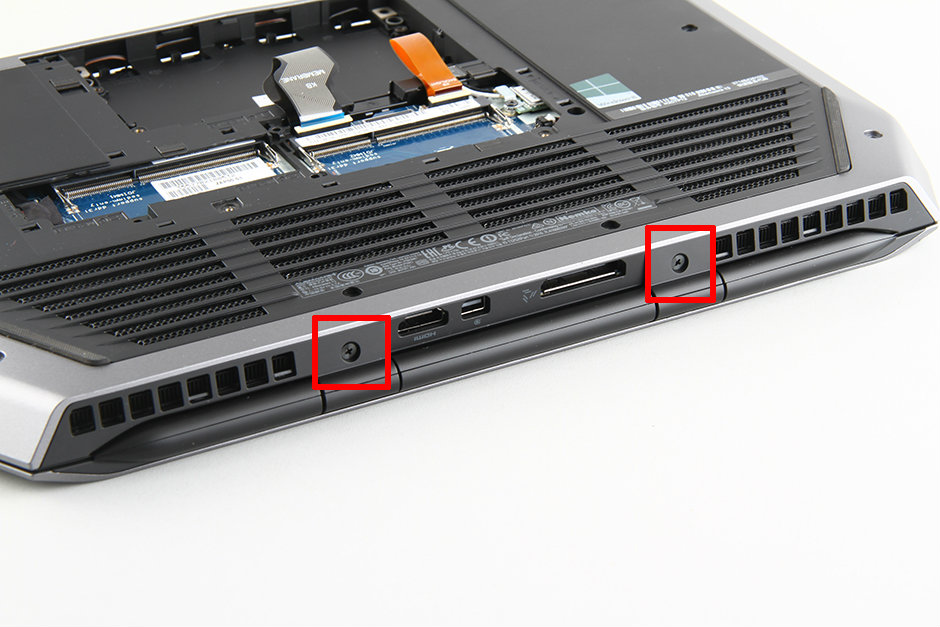
Remove all screws securing the bottom case, then remove the two screws on the rear of the laptop.
Insert a pry tool between the palm rest and the bottom cover. There are latches on the palm rest designed to secure it to the bottom cover. You must unlock all these latches to separate the palm rest from the laptop completely.
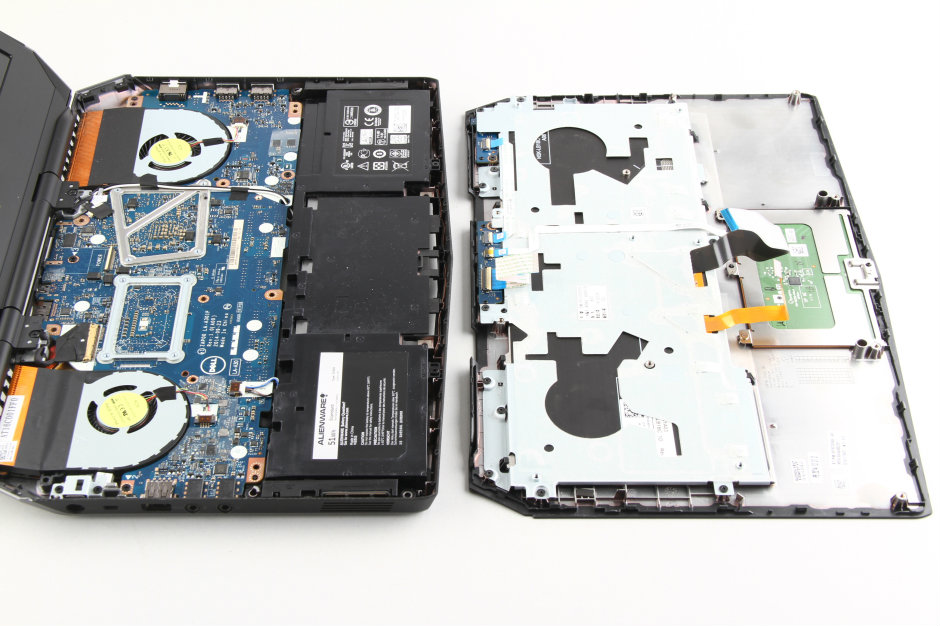
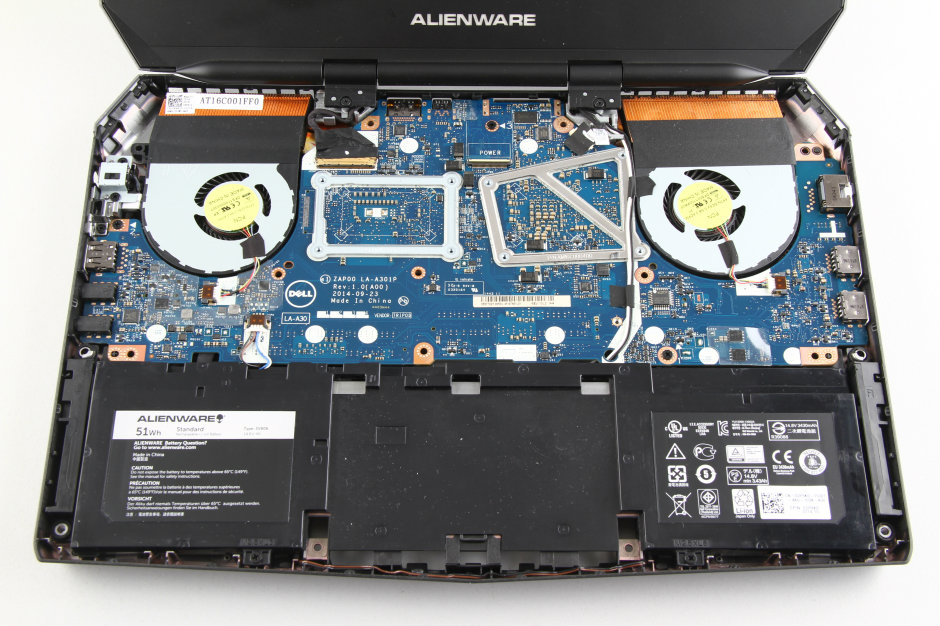
Under the palm rest, you can access the battery, speakers, cooling fan, and motherboard.
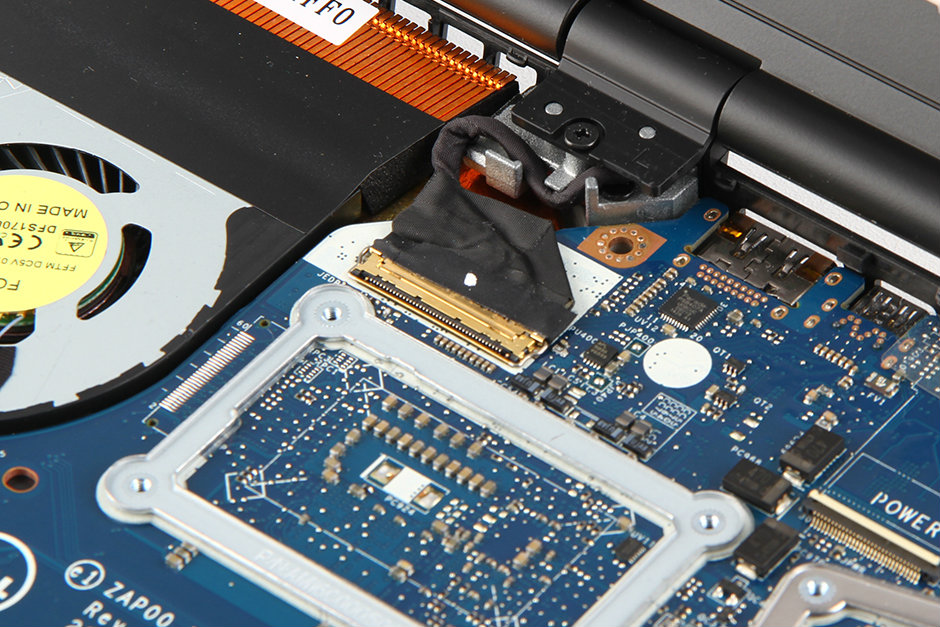
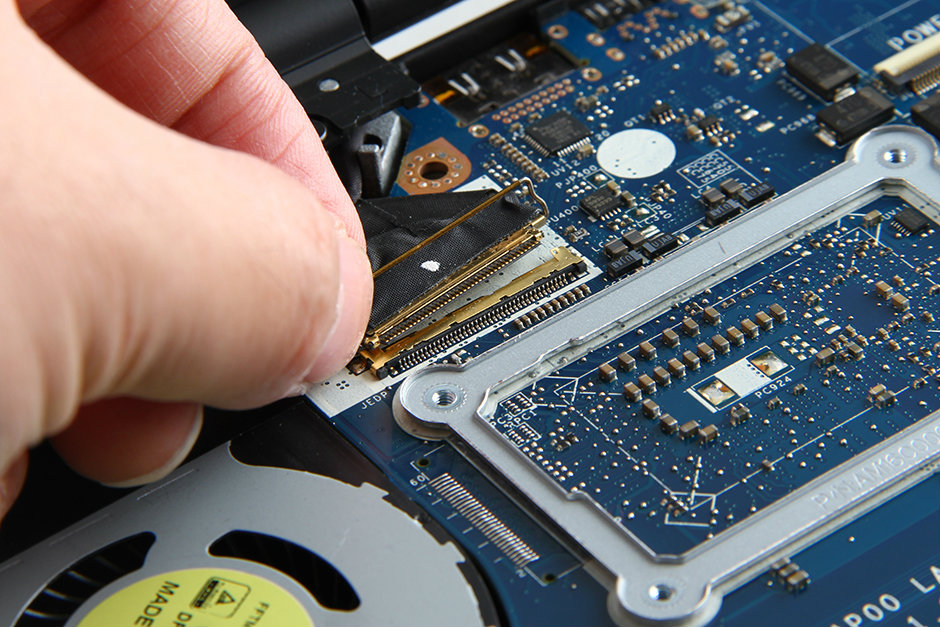
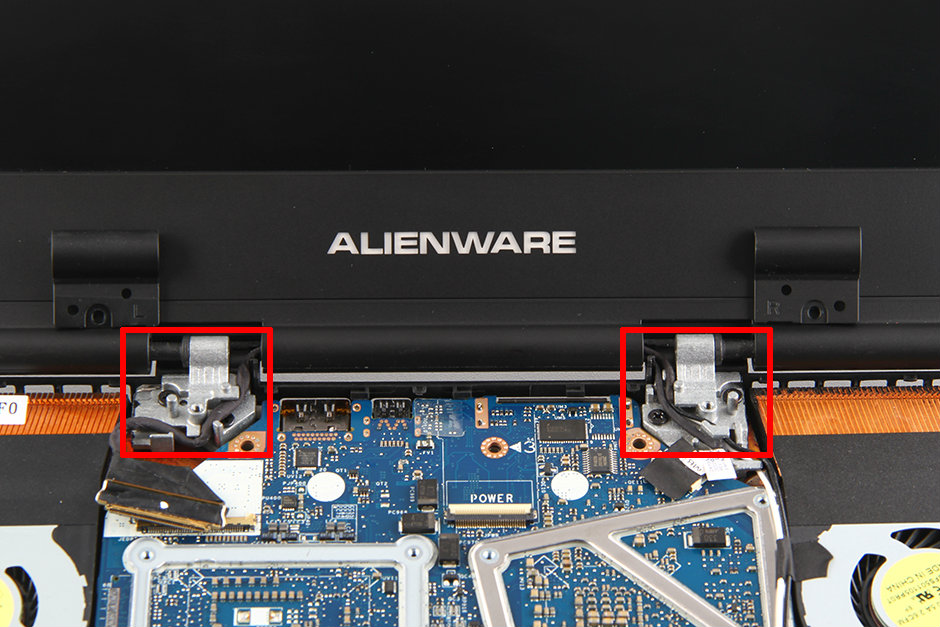
Disconnect the LCD cable from the motherboard.
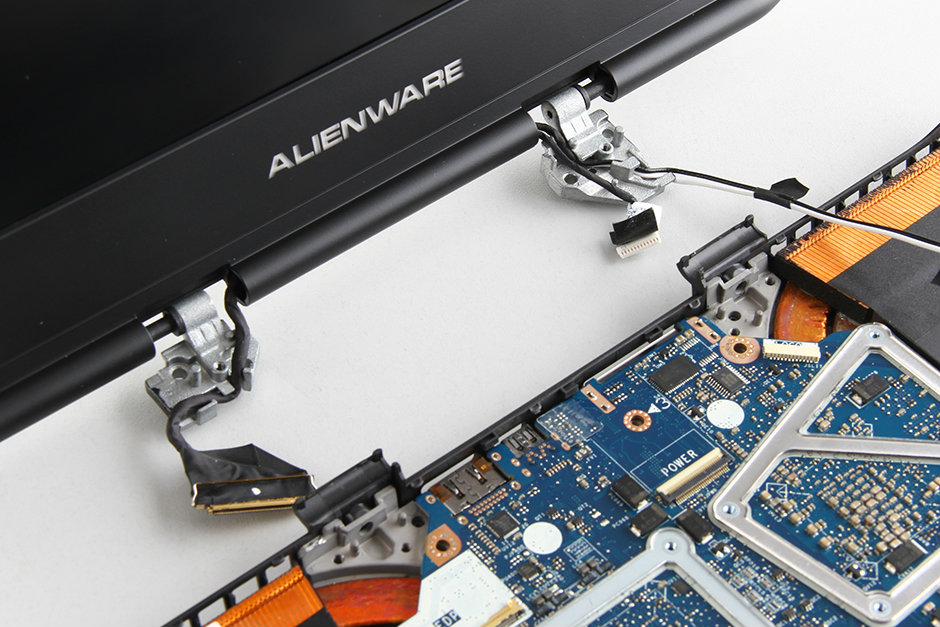
Remove the screws securing the LCD hinges (left and right).
Now remove the LCD screen assembly.
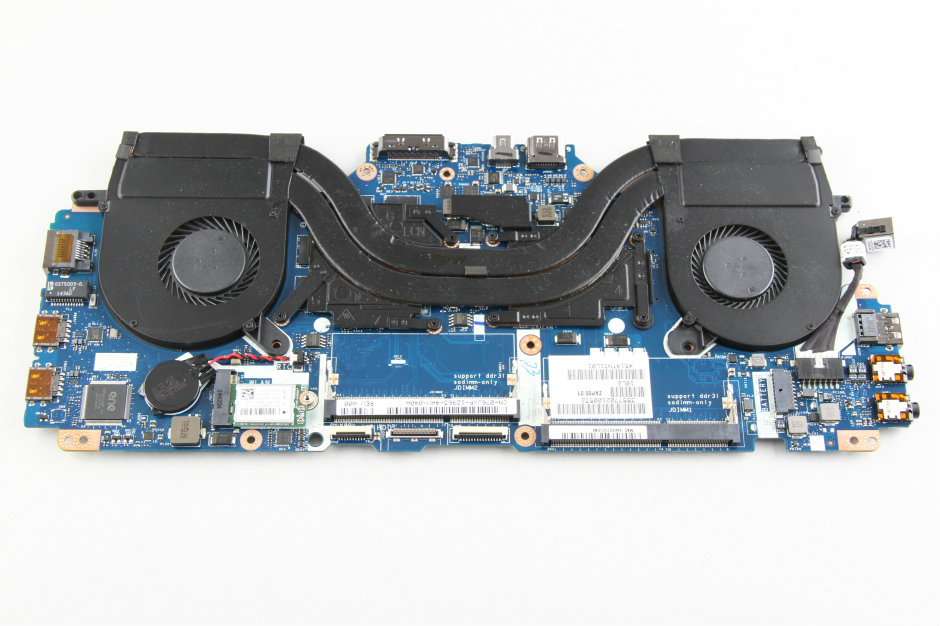
Remove all screws securing the motherboard and disconnect all cables from the motherboard.
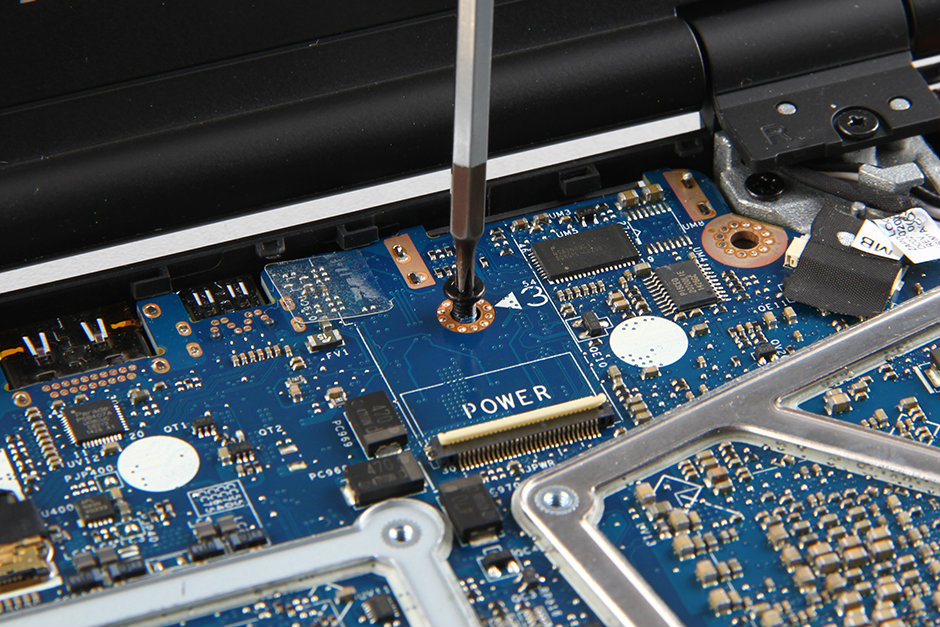
Lift the motherboard from one side with your hand, then wiggle it until it completely separates from the laptop.
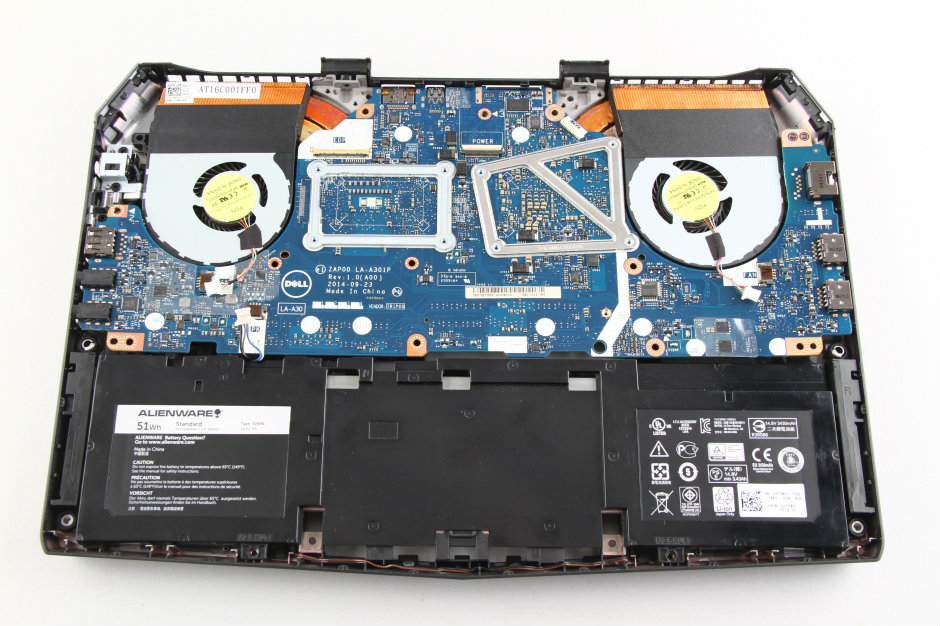
The Alienware 13 motherboard has been removed.
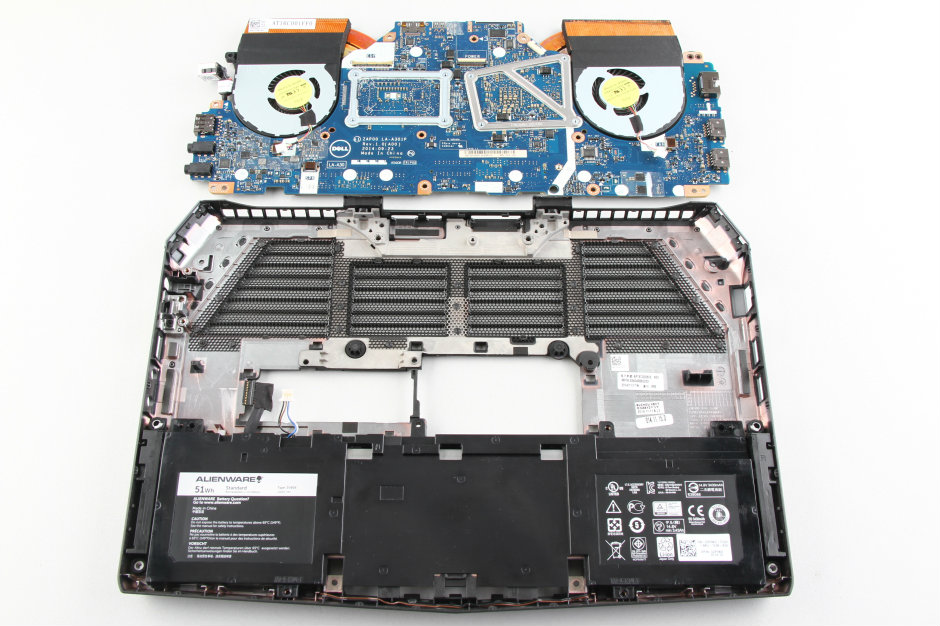
Remove the screws securing the battery. The battery can be removed.
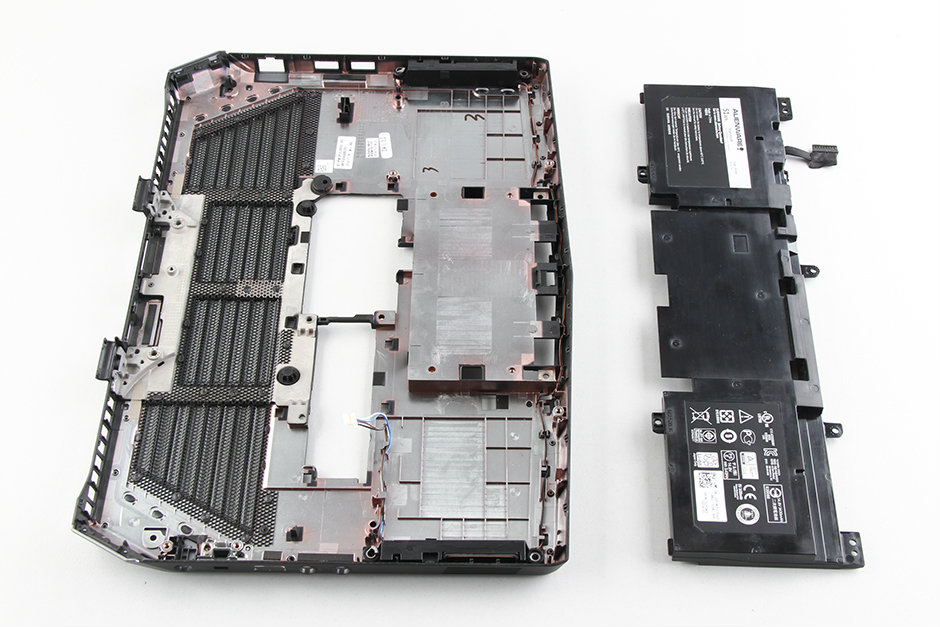
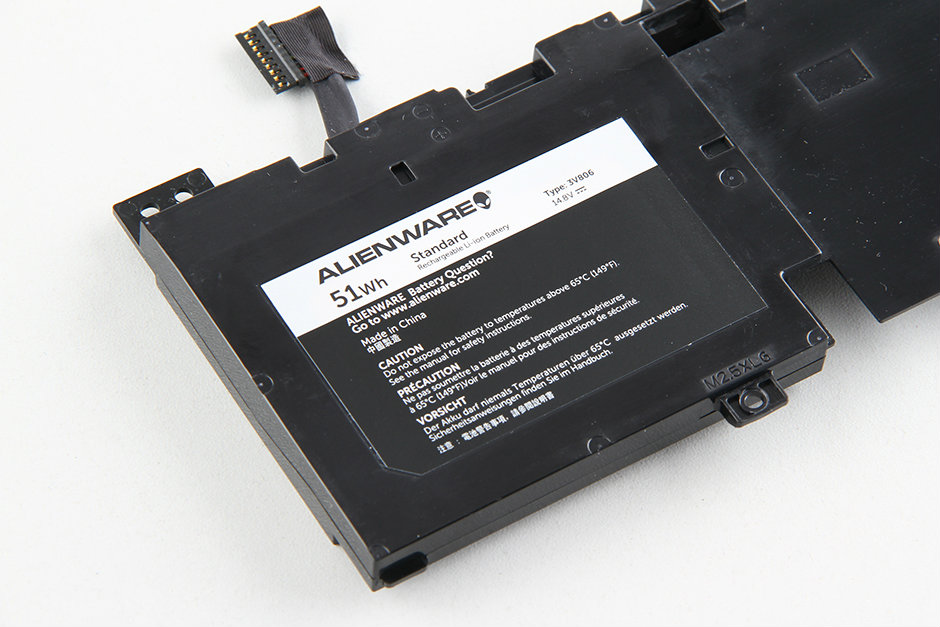
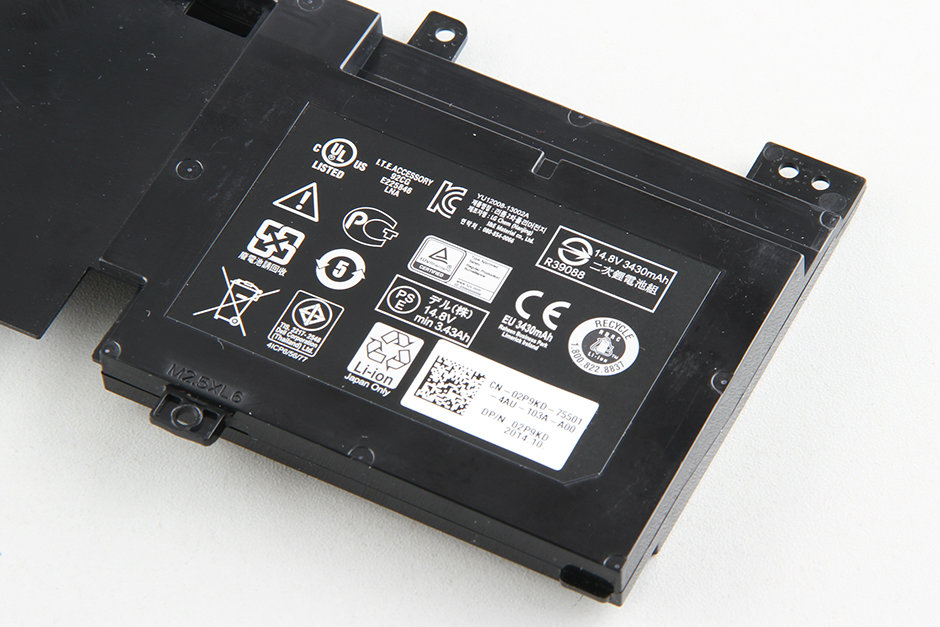
The Alienware 13 comes with a 14.8V, 51Wh Li-ion battery, and the Dell part number is 3V806.
In the next step, we will remove the heat sink.
Remove all screws securing the heat sink and disconnect the fan cables.

The heat sink and cooling fan assembly have been removed. The wireless card and DC power jack can also be removed.
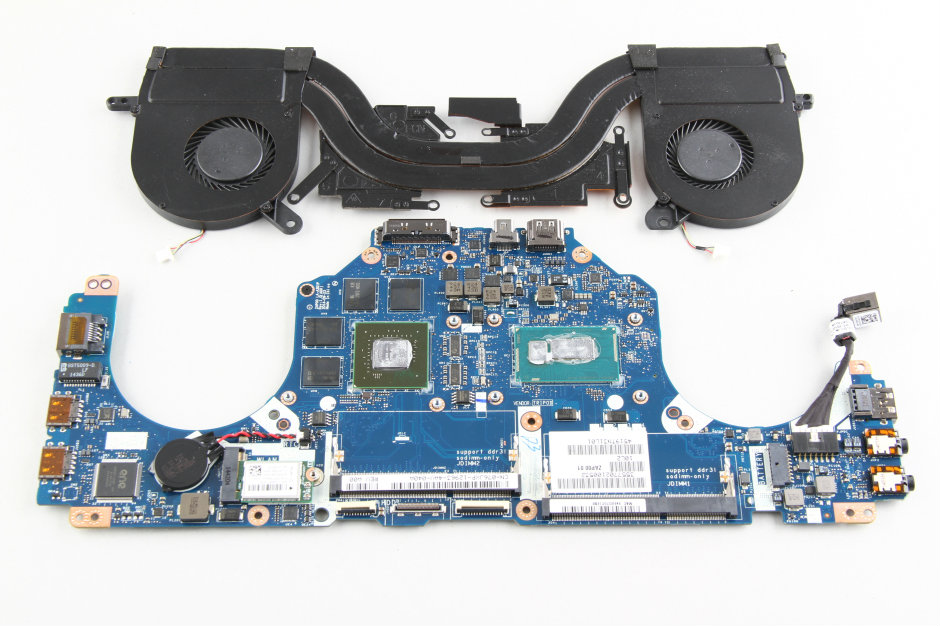
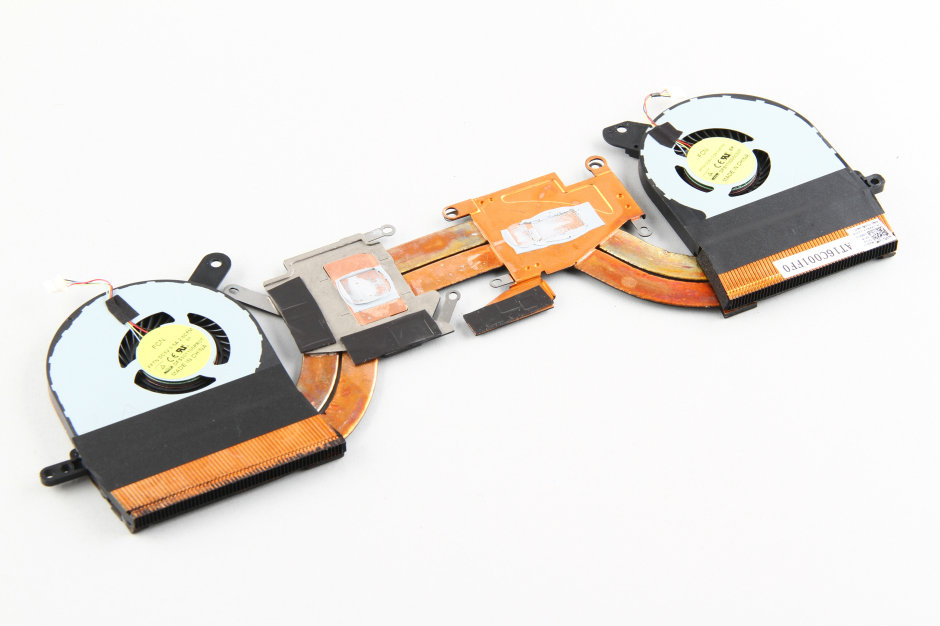
Heat sink and cooling fan assembly
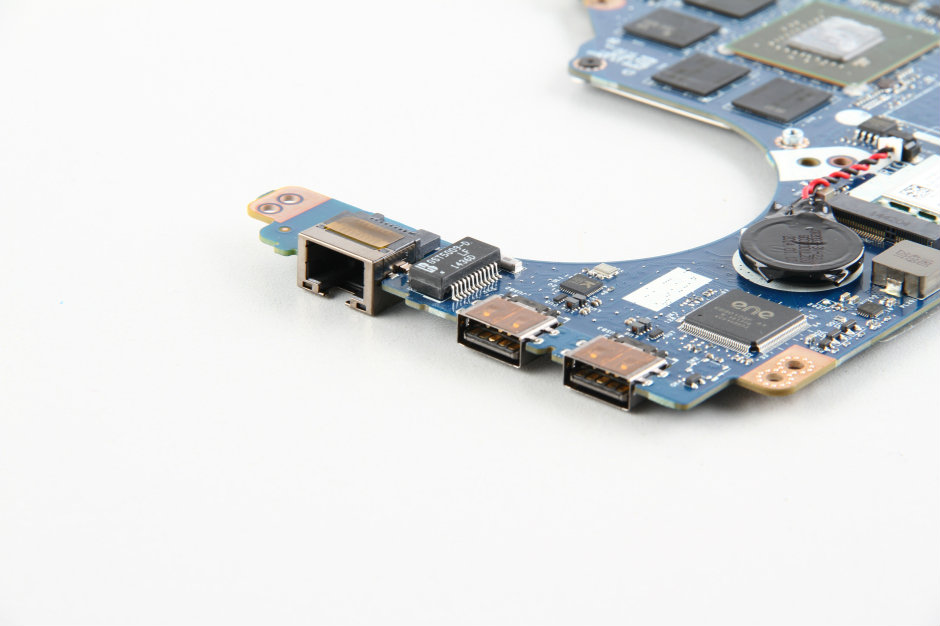
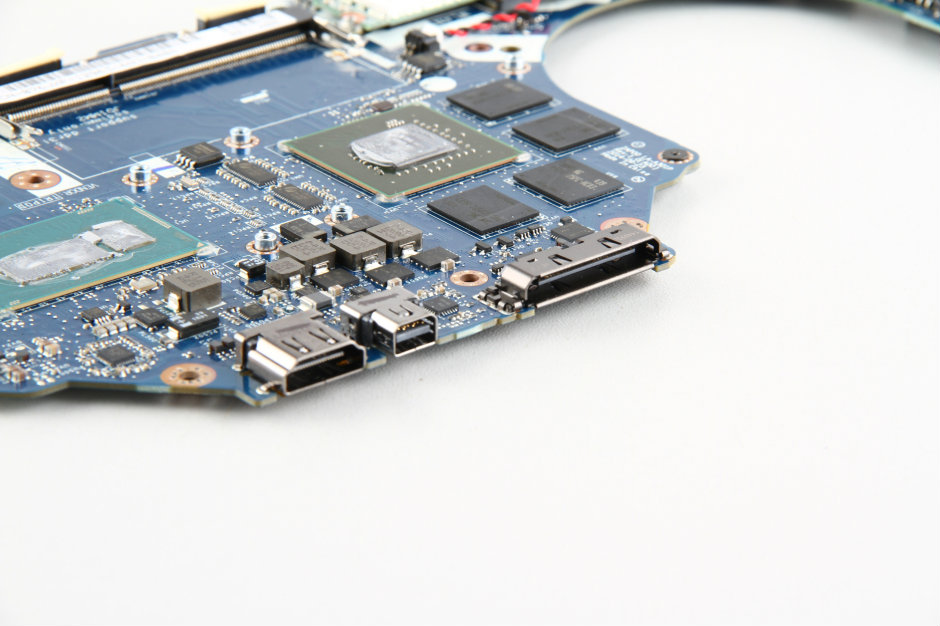
RJ45 port and USB port
DC power jack

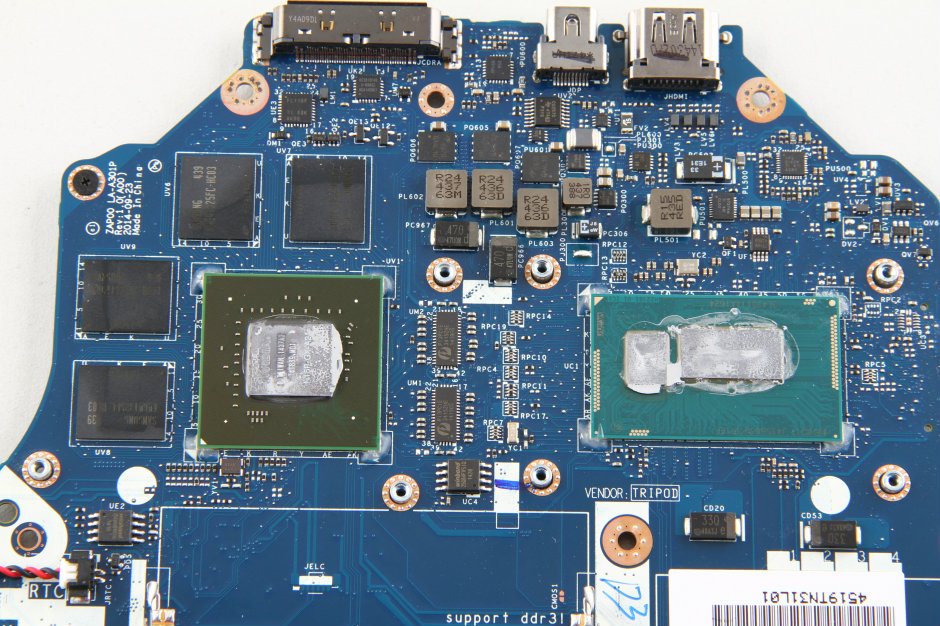
Close-up of the graphics card and Intel processor. The processor of the Dell Alienware 13 is soldered onto the motherboard, so its processor cannot be replaced.
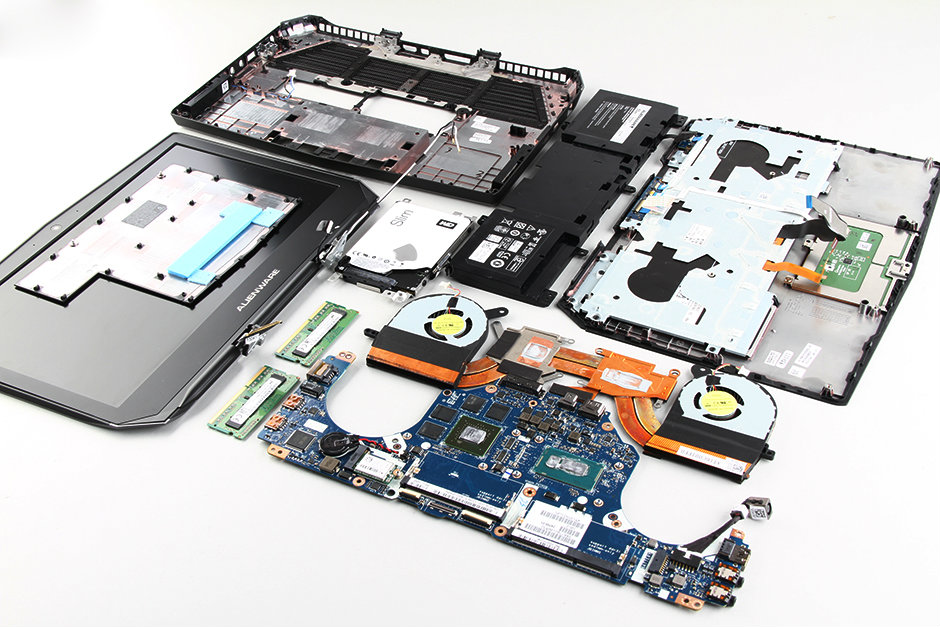
Dell Alienware 13 internal parts
How many SSDs can I fit in there?
It seems there is no spare SSD slot.
There are two different brackets: one type allows for only one SSD/HDD, and the second type allows for one or two M.2 (NGFF) modules. The brackets are very difficult to get from Dell. The best path is to get a configuration with one M.2 (Dell calls them confusingly “Mobility Solid State Drive”) and add a second M.2 in the future.
Could you write a guide for replacing the screen? I have a nasty scratch or crack on the top of the lid, so I am replacing the screen with a new lid. Thanks so much!
Hi, my right fan sometimes makes a loud noise.
Is it possible to replace the fan?
Or does the whole heat sink and cooling fan need to be replaced?
You just need to replace the cooling fan.
Loud fan: Also, check that you have the current Nvidia drivers installed. Older drivers (until around early 2016) did not slow down the fans after heavy load; the fans ran at full speed until the next reboot. Newer Nvidia drivers (released from mid-2016) fix this issue.