
Lenovo Laptop
Lenovo ThinkPad X240 Disassembly
At the IFA 2013 show in Berlin, Germany, Lenovo released new ThinkPad series laptops. The new laptops are primarily to upgrade the ThinkPad T, X, and S series. The specific models were T440s, T440, X240, S440, and S540. Now, we will disassemble the Lenovo ThinkPad X240 laptop.
From this post, you will learn how to take apart a Lenovo ThinkPad X240 laptop. You will know how to remove the SSD, keyboard, RAM module, CPU fan, heatsink, speakers, palm rest, bottom case, and motherboard of the Lenovo ThinkPad X240 laptop.
Join us on the social network! Follow us on Facebook for all the latest repair news.
Unlock and remove the battery first.
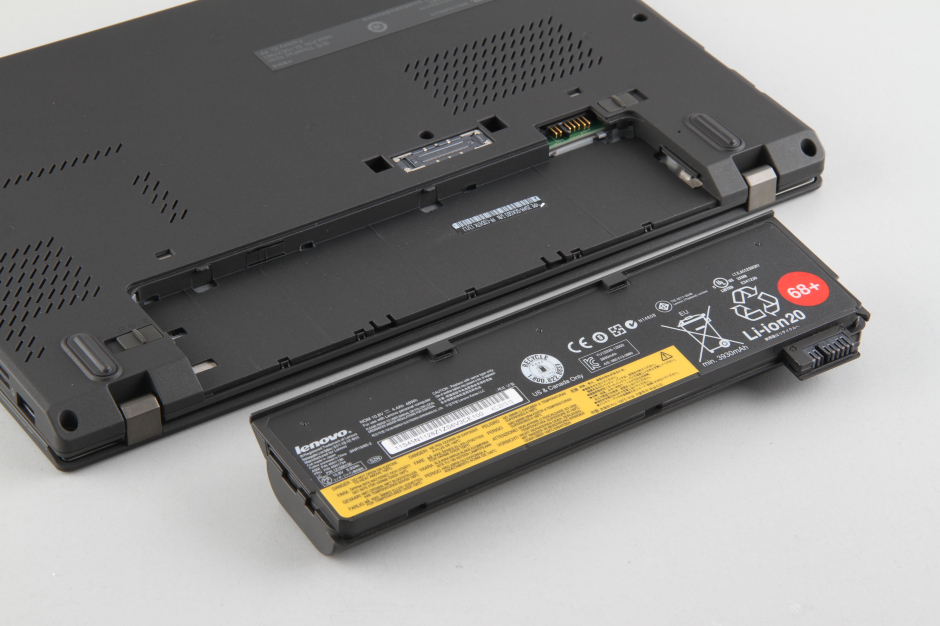
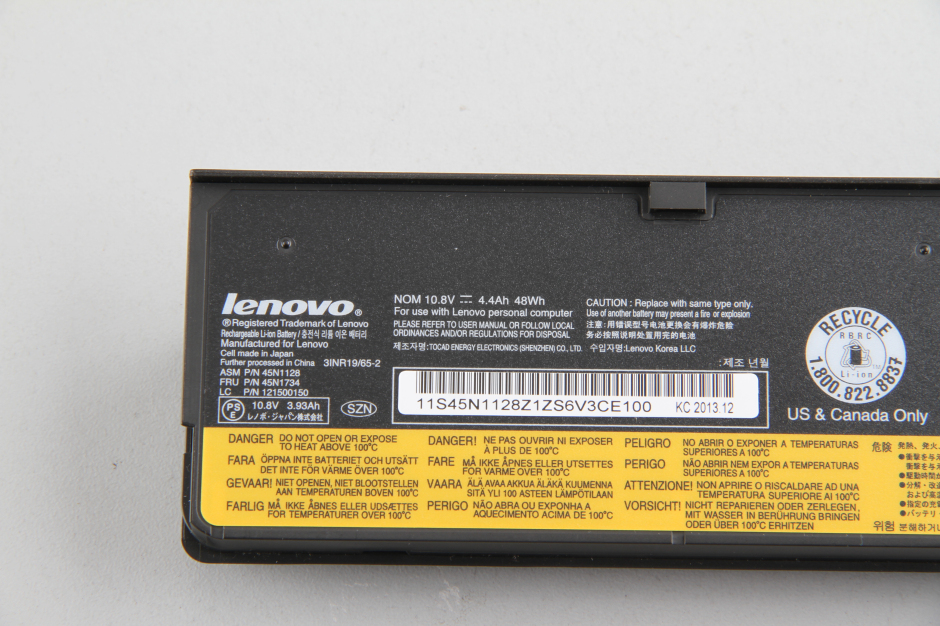
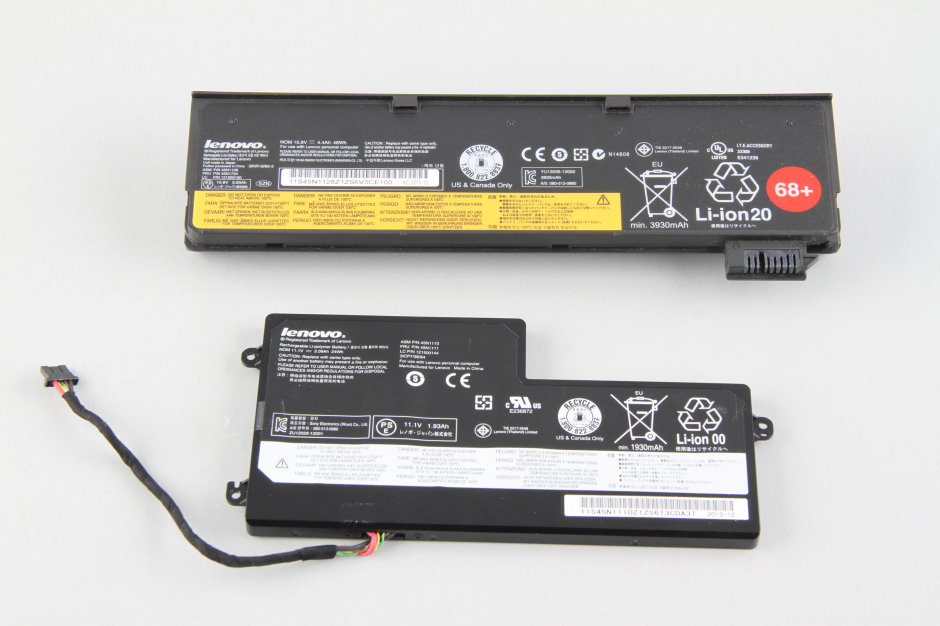
Lenovo ThinkPad X240 using a 48WH 6-cells Li-ion battery, Lenovo P/N: 45N1128, 45N1734.
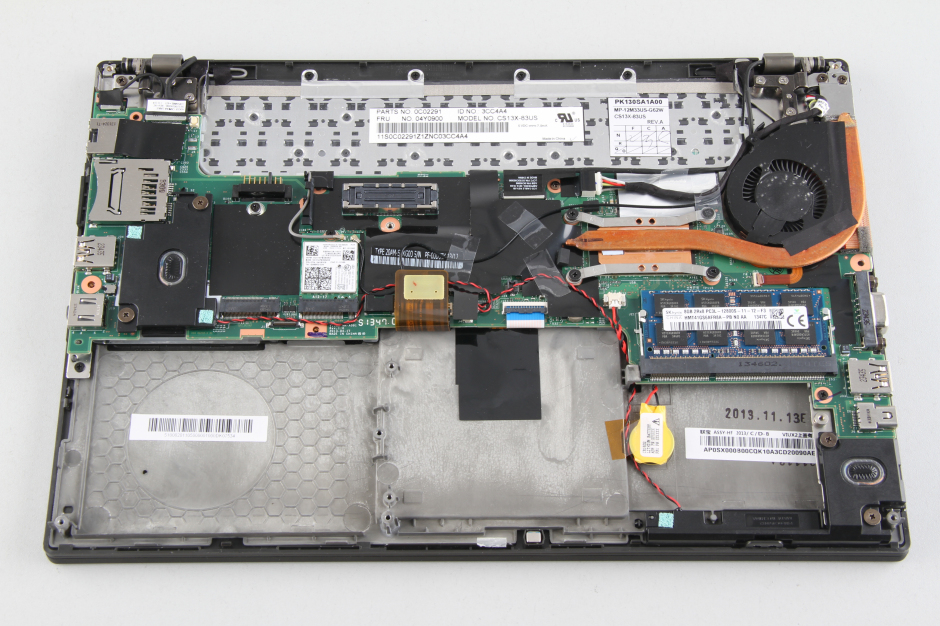
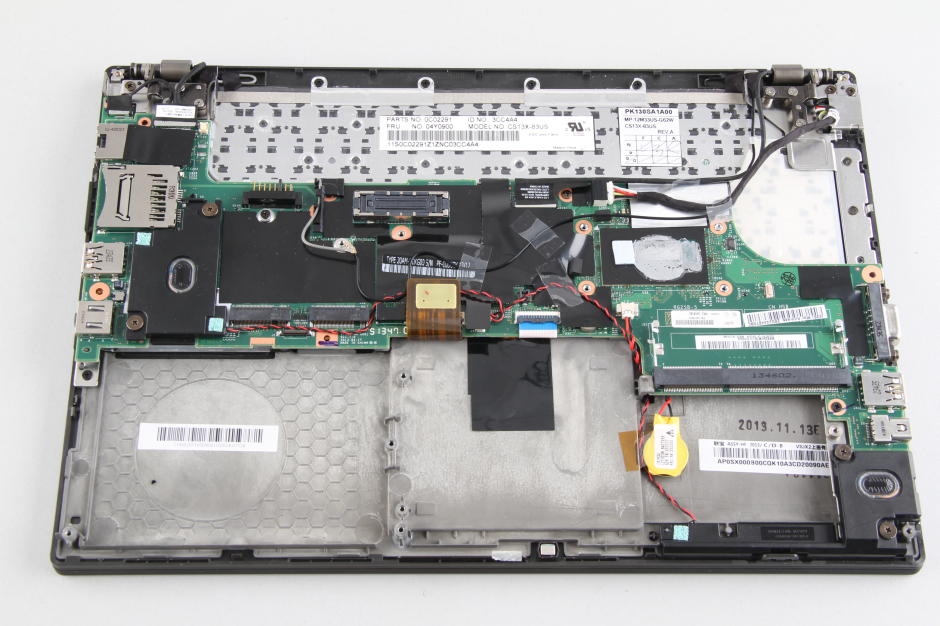
Unscrew all screws from the bottom case. You can remove the bottom case.
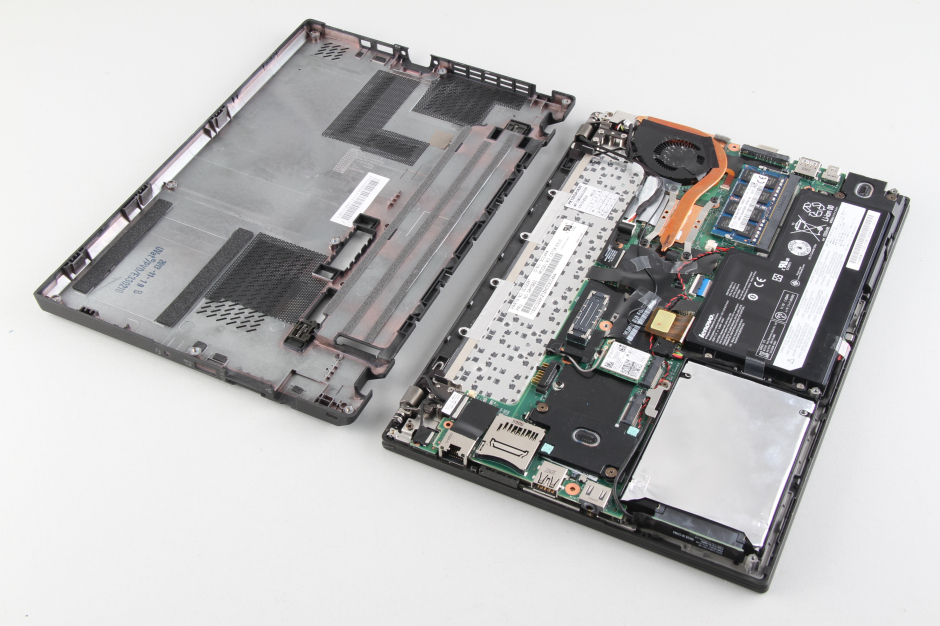

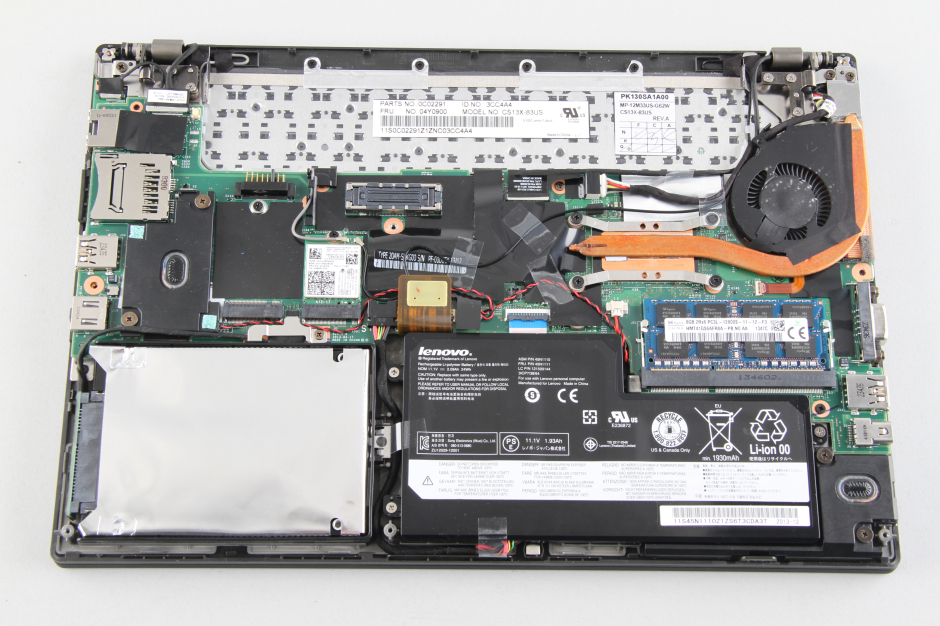
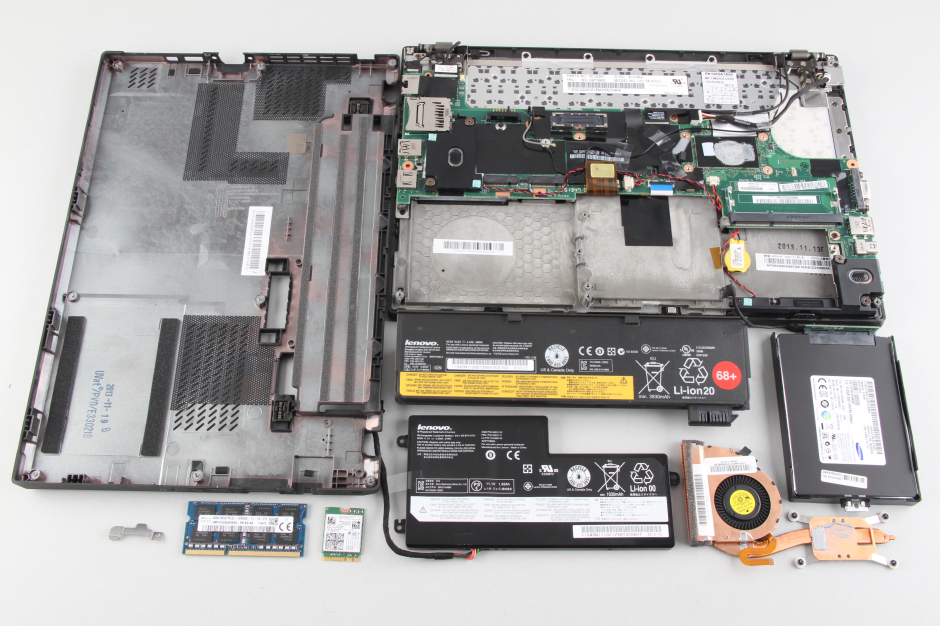
When the bottom case is removed, you can access the RAM, heat sink, cooling fan, SSD, wireless card, and built-in battery.
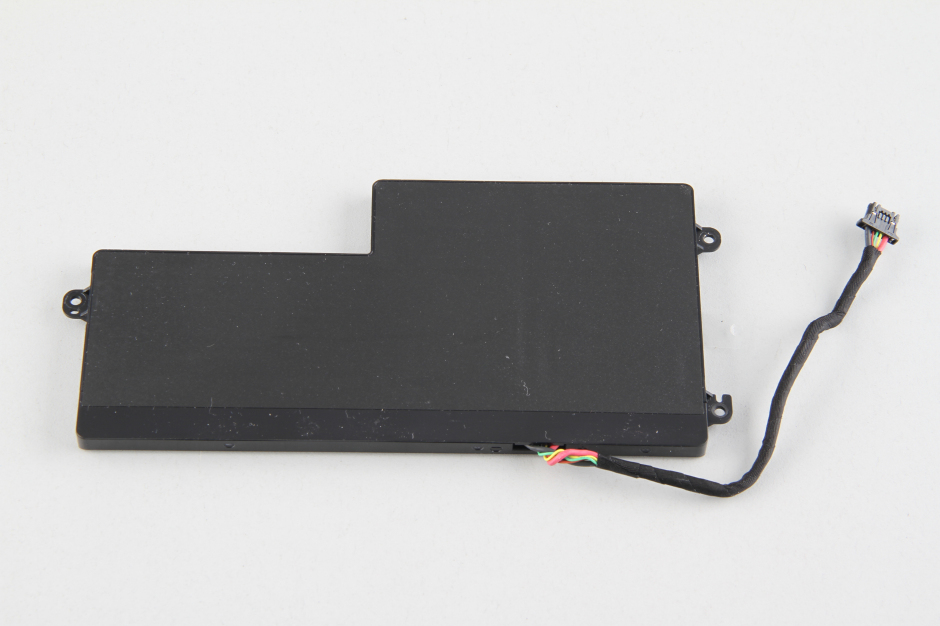
Remove three screws securing the battery.
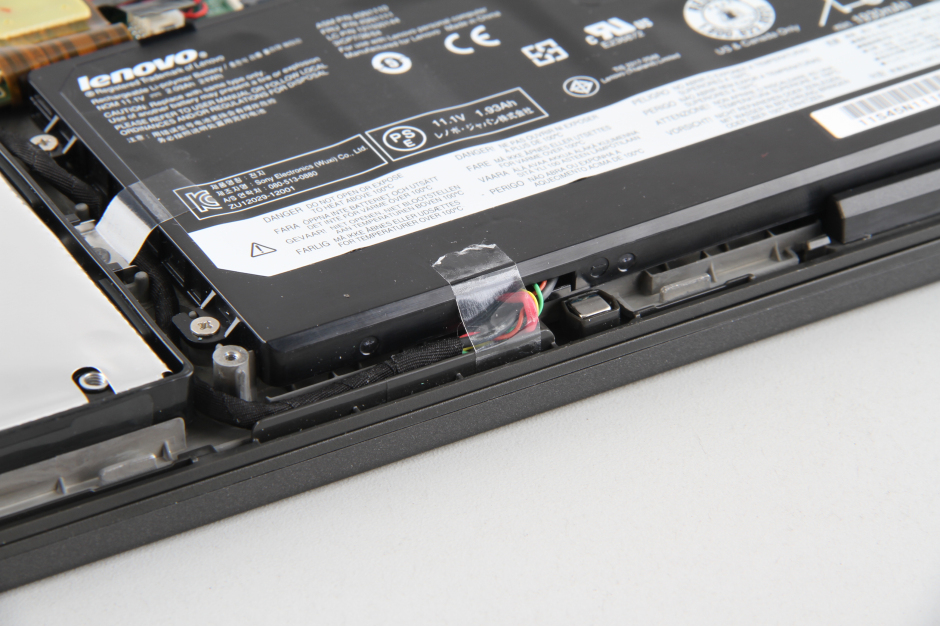
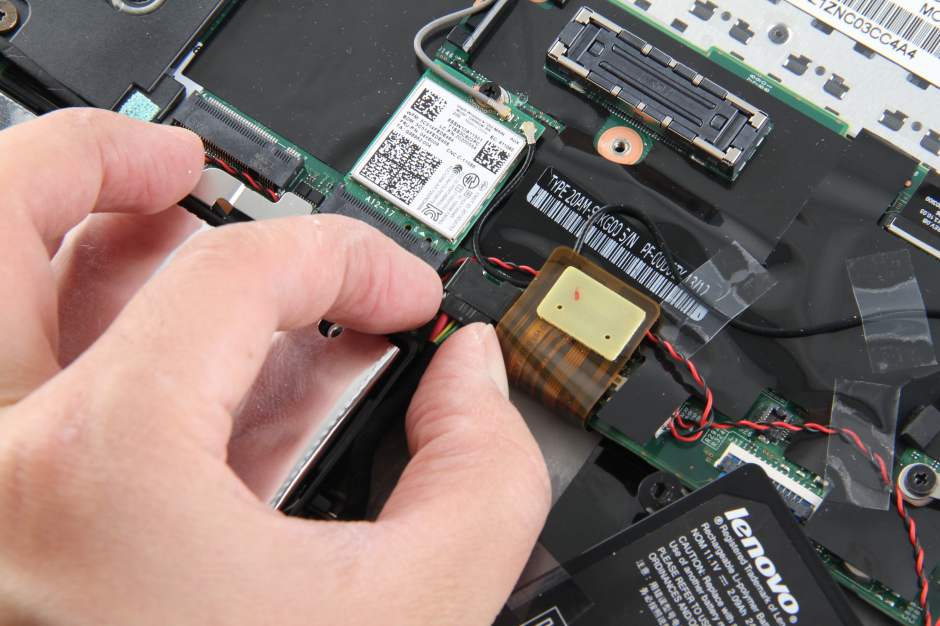
Unplug the battery power cable from the motherboard. You can remove the battery.
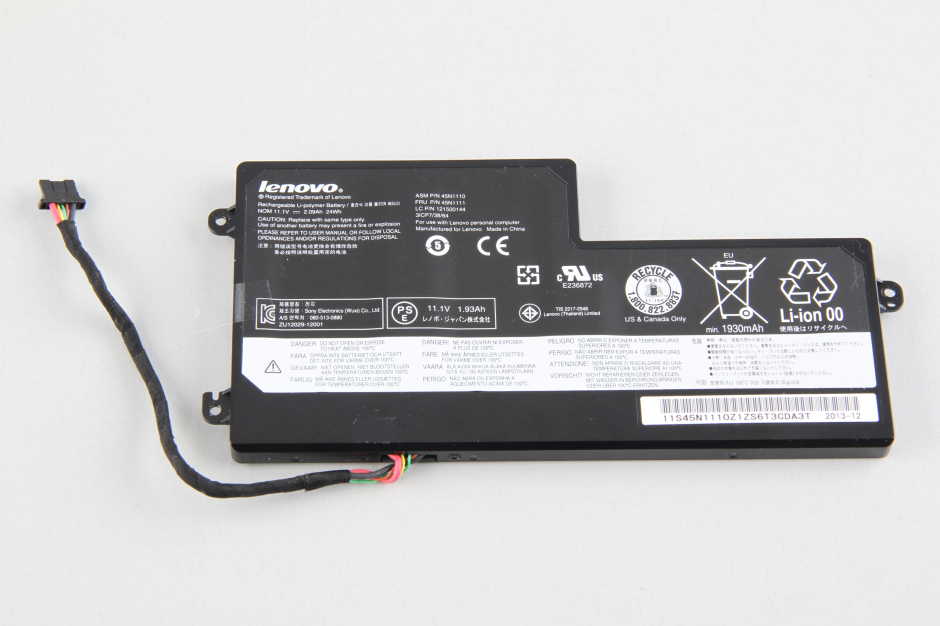
The Lenovo ThinkPad X240 comes with an 11.1V, 24Wh Li-polymer built-in battery.
Two batteries
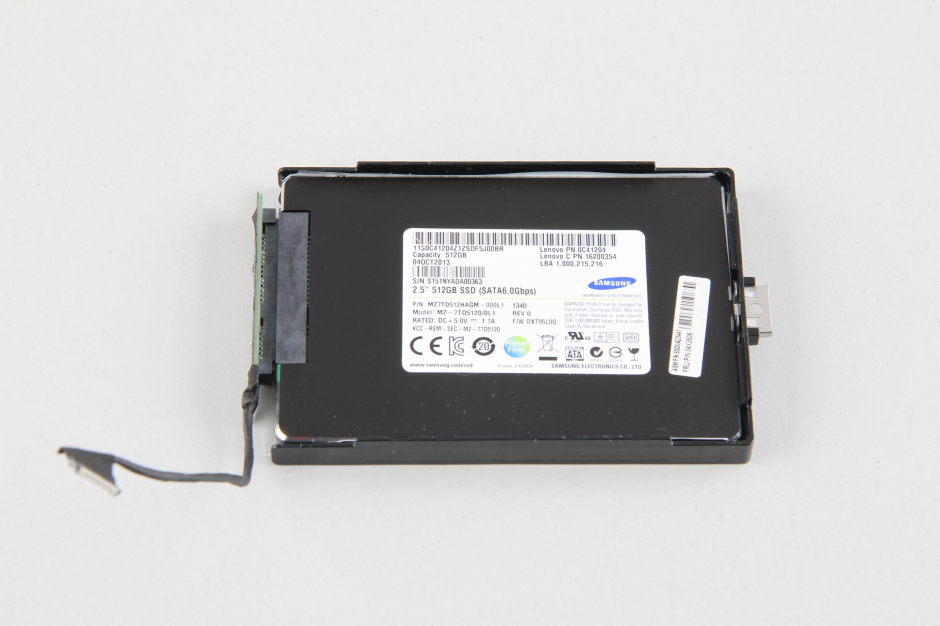
To remove the SSD, we first need to remove the screw securing the SSD, then disconnect the cable from the motherboard.

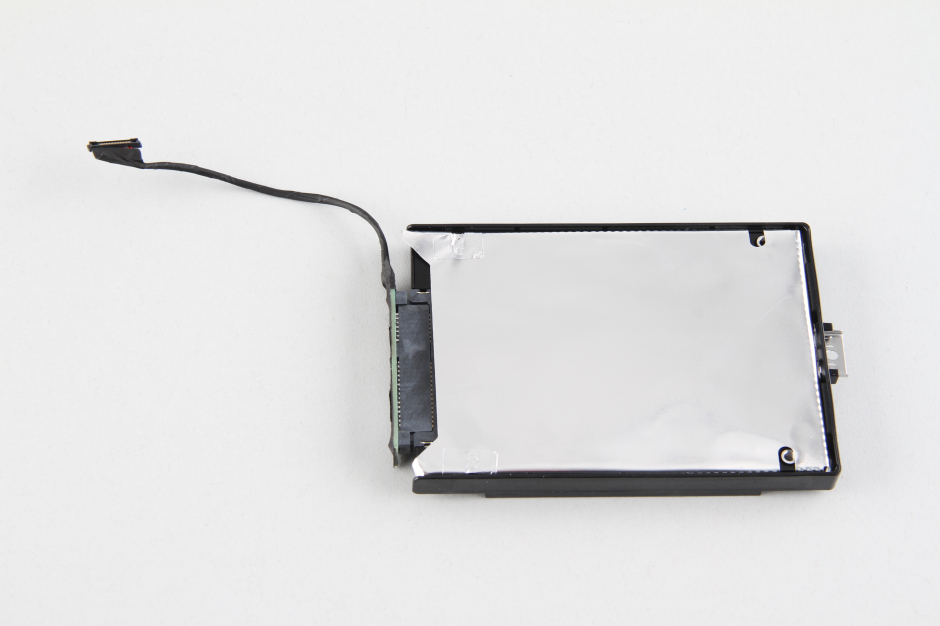
It comes with a Samsung 512GB SSD.
In the next step, we will remove the RAM.
Gently open the clips on both sides of the memory module, and it will pop up automatically.
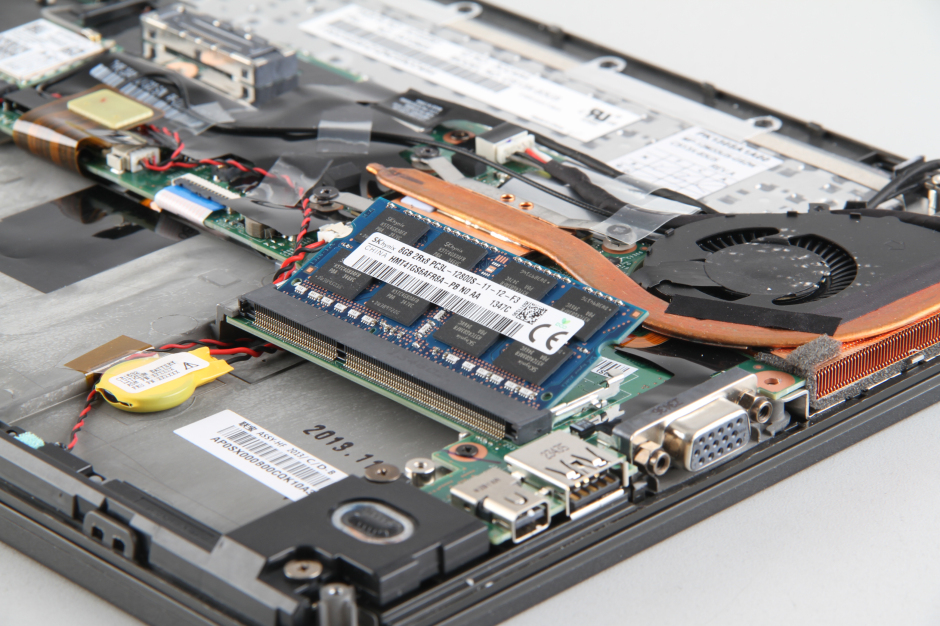
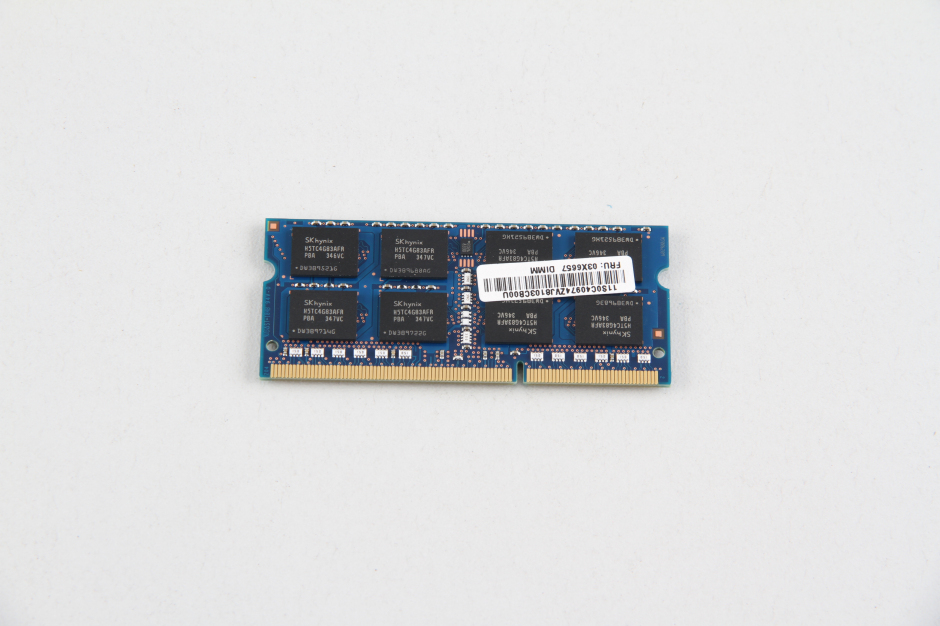
The laptop features an 8GB memory module from SK Hynix.
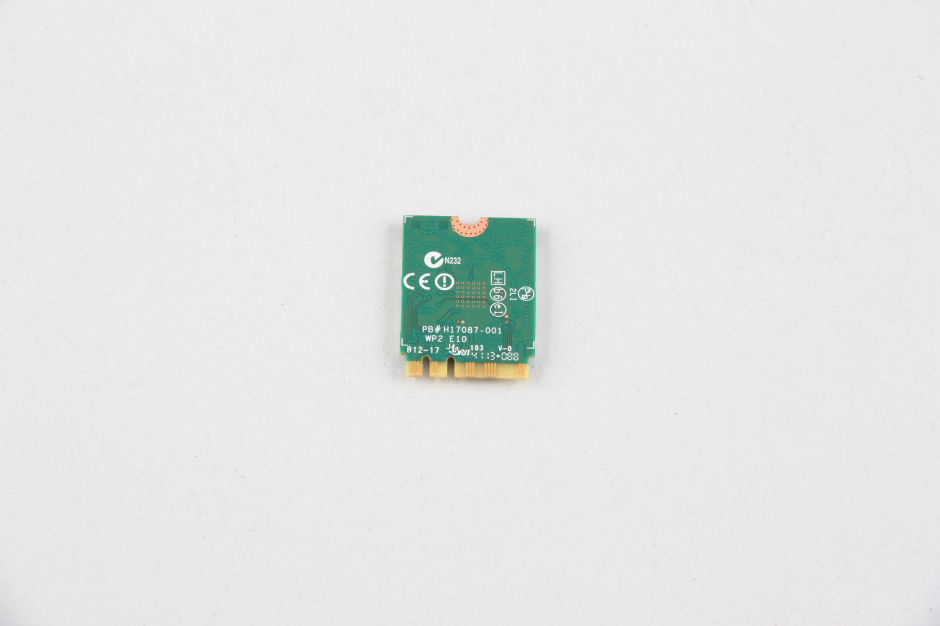
Disconnect two antennas and remove one screw; the wireless card can be removed.
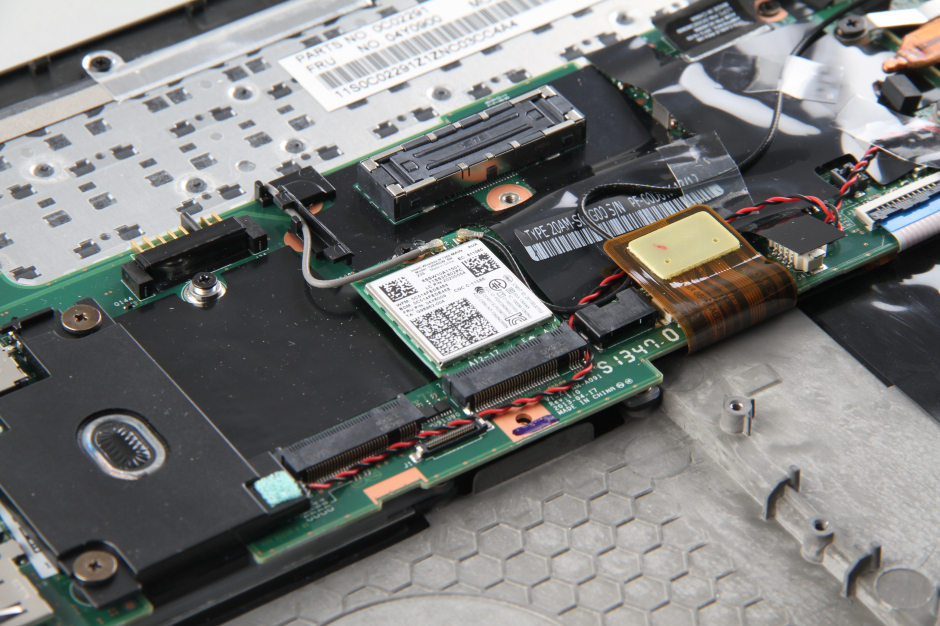
Close-up of the wireless network card.
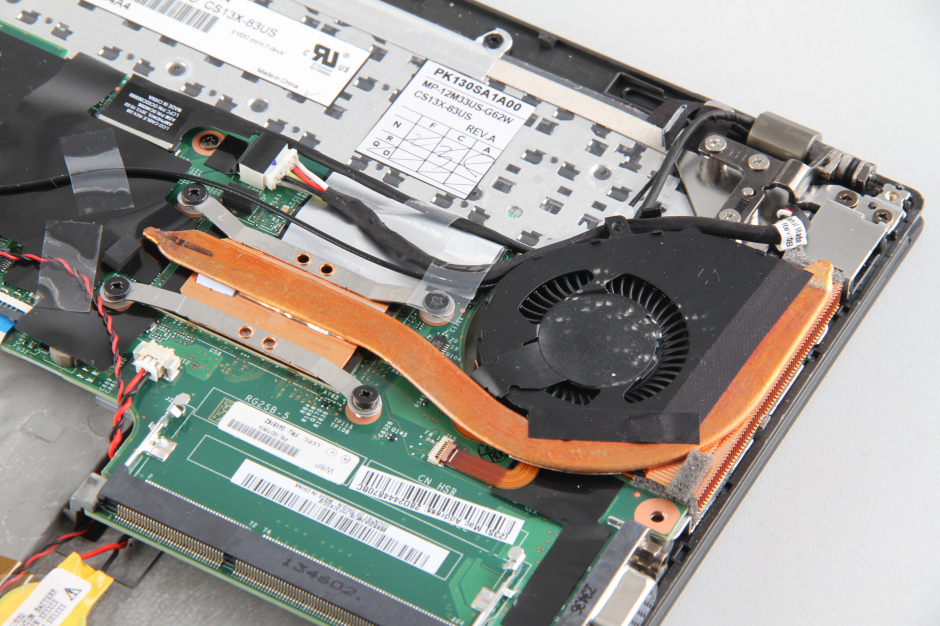
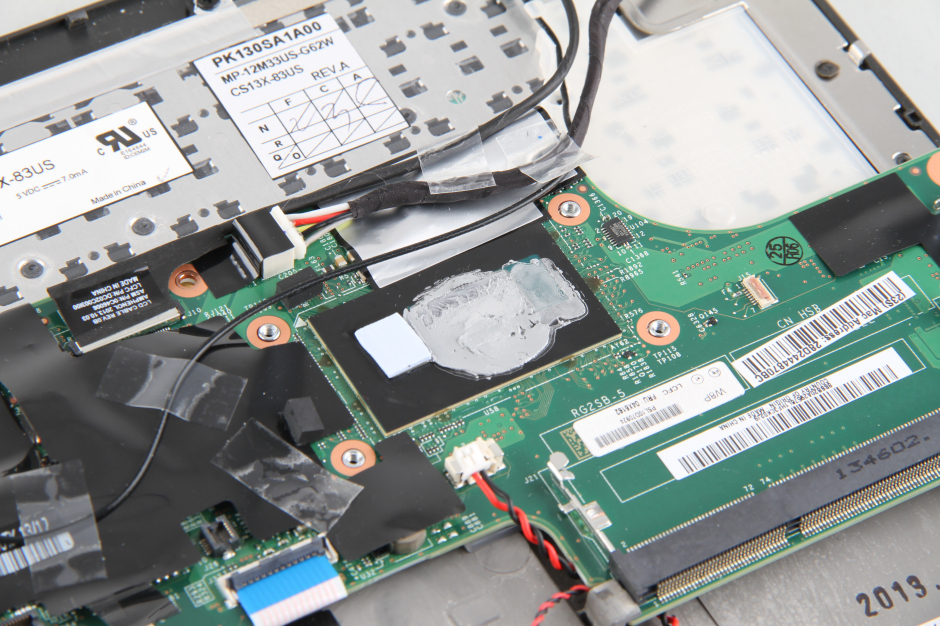
Loosen the four screws and disconnect the fan cable. The heat sink and cooling fan can be removed.
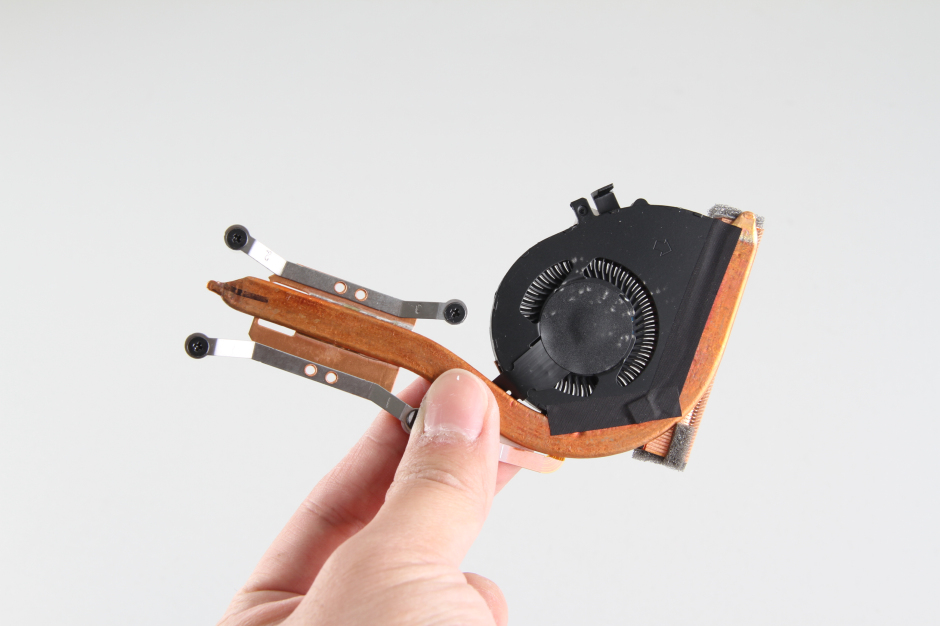
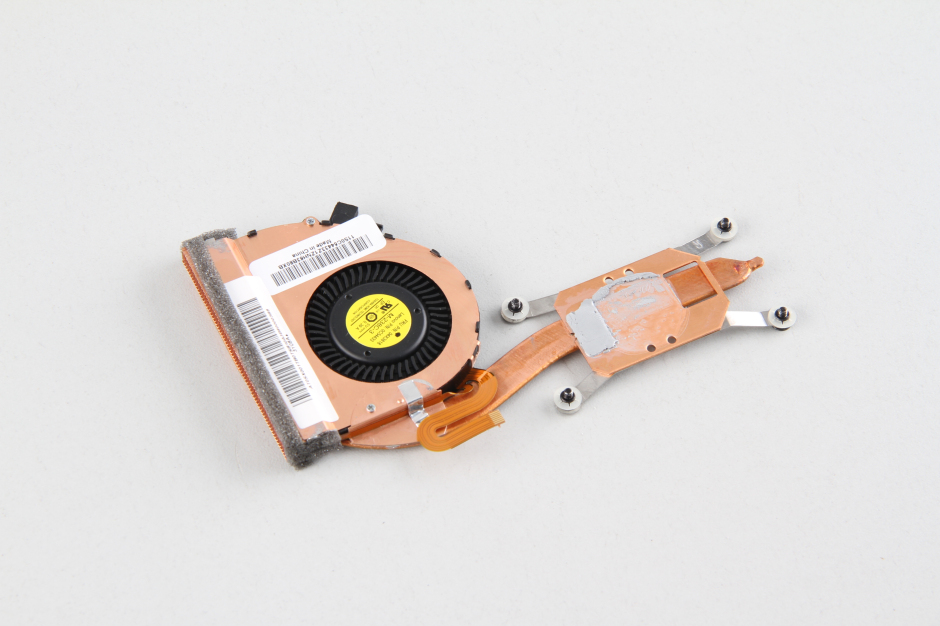
The heat sink and cooling fan module.
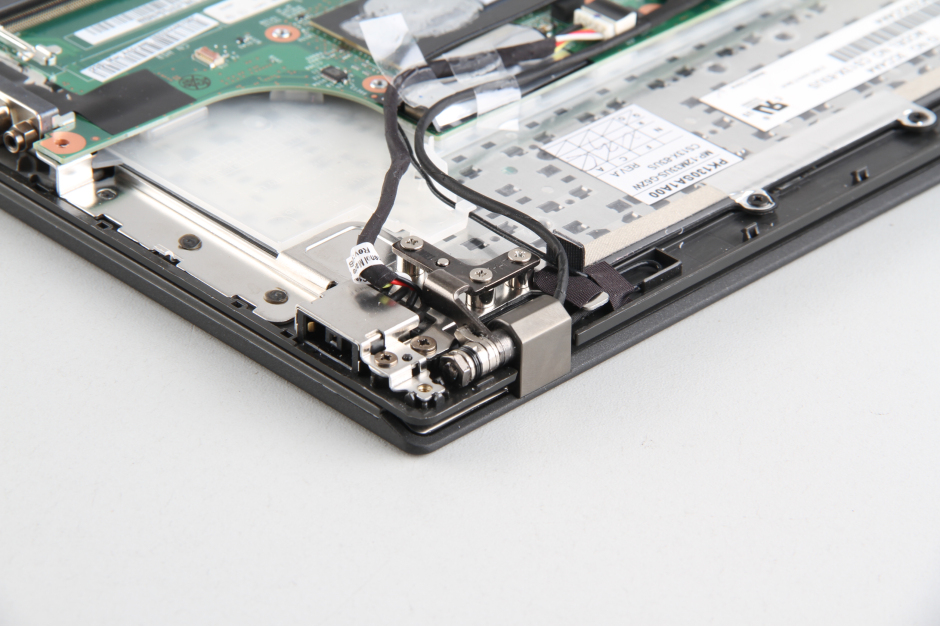
Now only the motherboard, speakers, and some small parts remain, but I don’t plan to remove them.
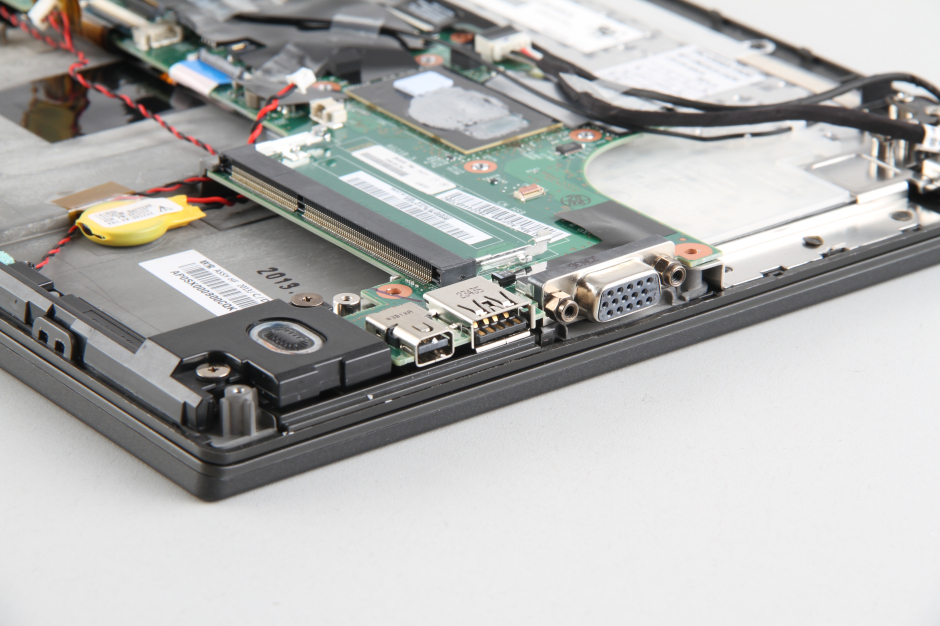
Close-up of the left speaker.
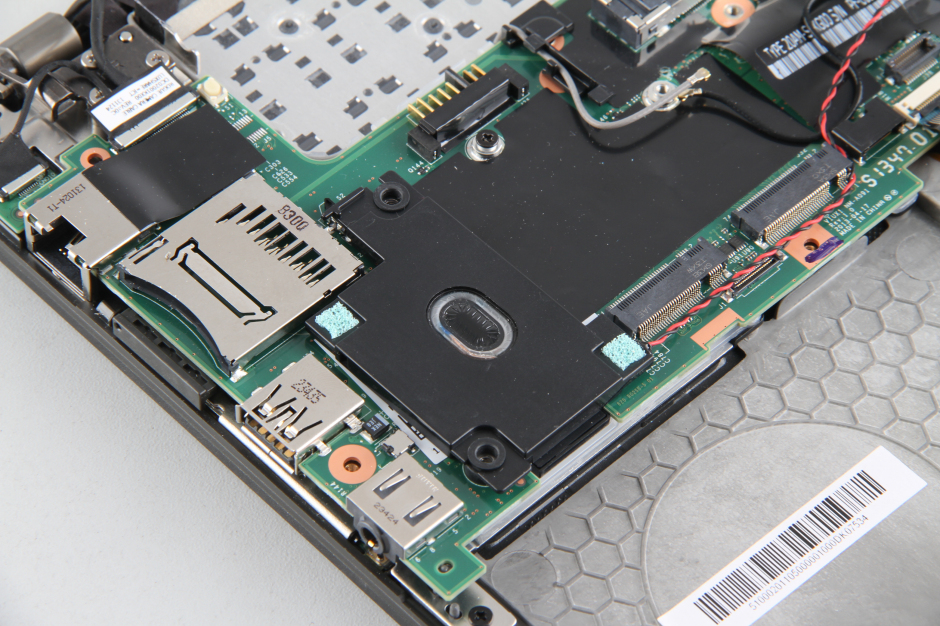
Close-up of the RJ45 port and card reader.

Excellent Review.
The pictures are of excellent quality!
Thanks!
Or just someone who isn’t fluent in English. You should be more gentle.
Good guide, but it’s not finished. The motherboard and palmrest are still there.
Nice guide and all, but I arrived here based on a search to remove/replace the keyboard. You promised to show that, but you did not deliver.