
In this guide, I will explain how to disassemble the Asus N56DY to remove the DVD drive, hard drive, keyboard, palm rest, wireless card, RAM, heat sink, cooling fan, speakers, and motherboard.
Looking for more guides? Follow us on Facebook for all the latest repair news.
Slide the battery switch to the left, then slide down the battery to remove it.
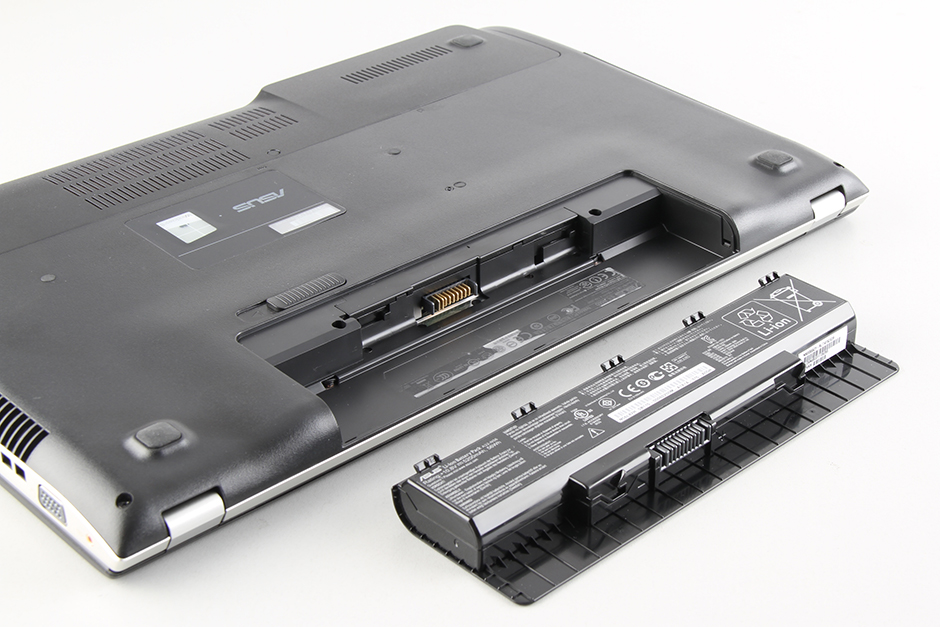
The Asus N56DY features a 10.8V, 5200mAh Li-ion battery, and the Asus part number is A32-N56.

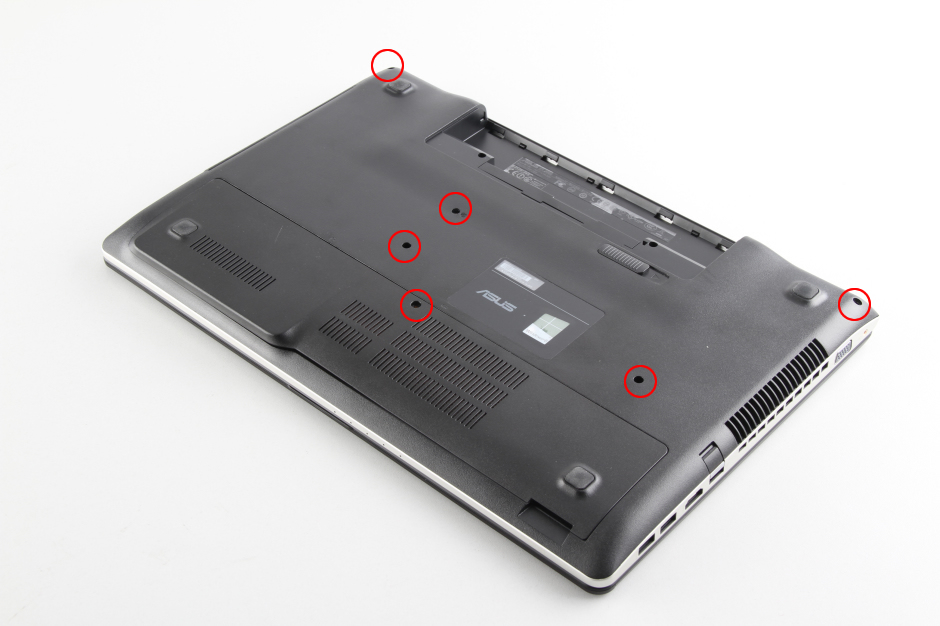
Remove the five screws from the bottom cover.
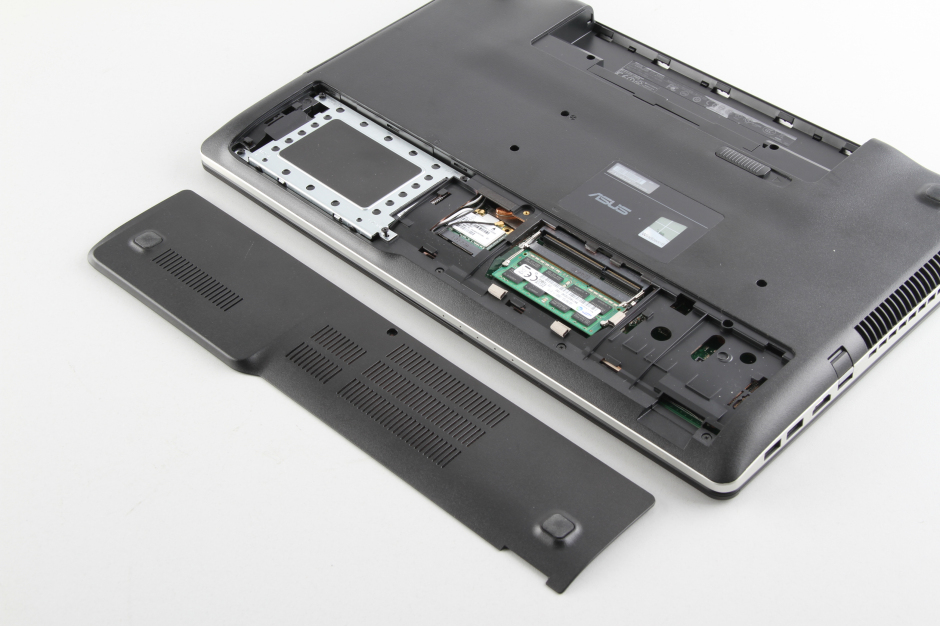
Insert a screwdriver into the groove on the service cover, pry it up, and remove the service cover.
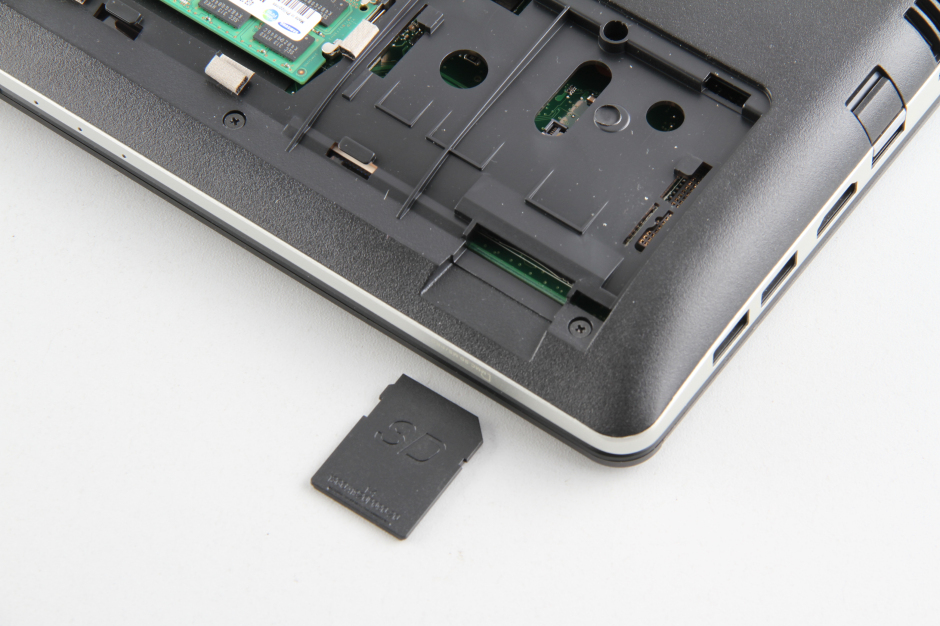
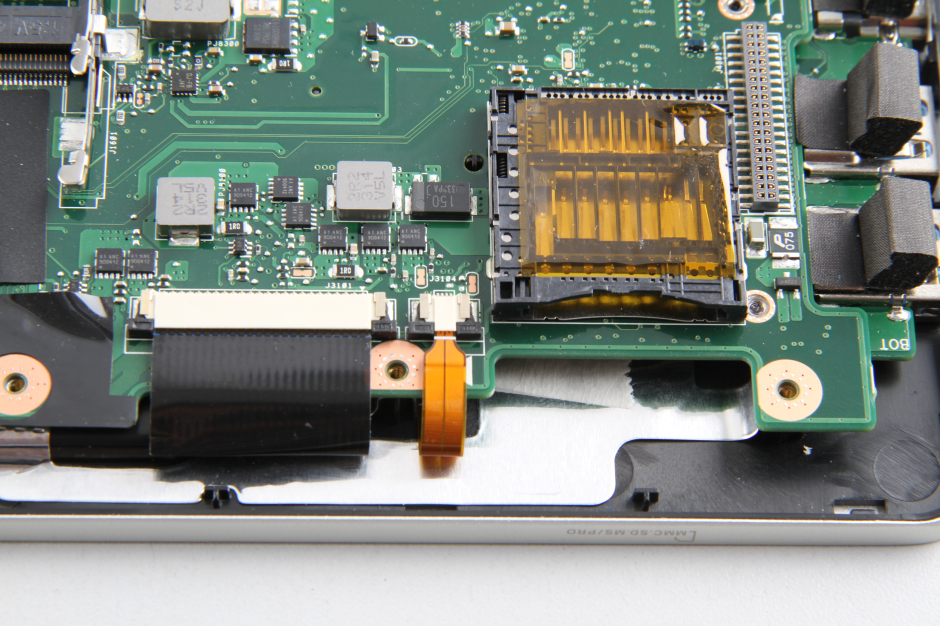
Pull out the SD card.
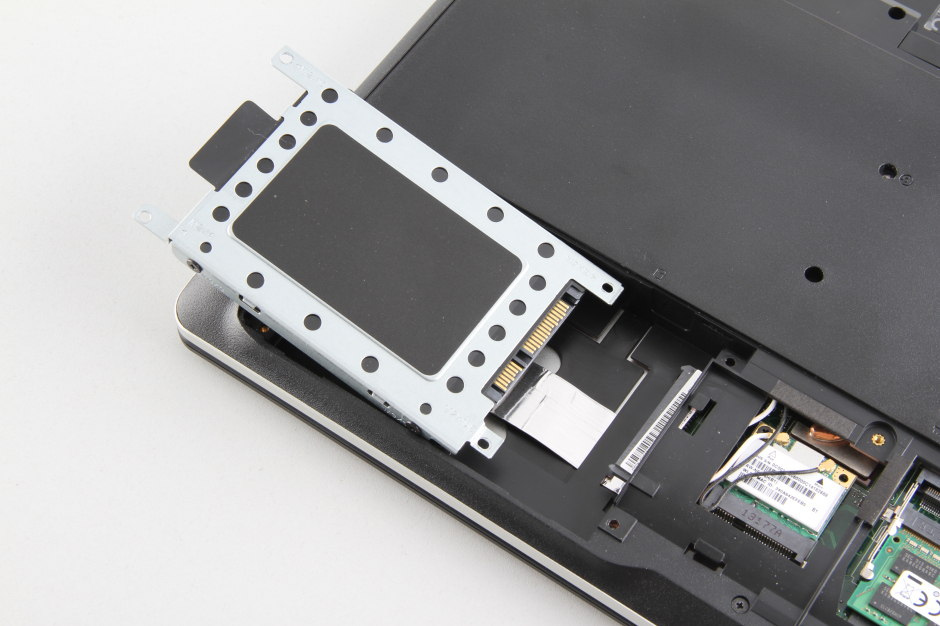
Remove the screws securing the hard drive assembly. Lift the black tab with your hand and pull the hard drive out to the left.
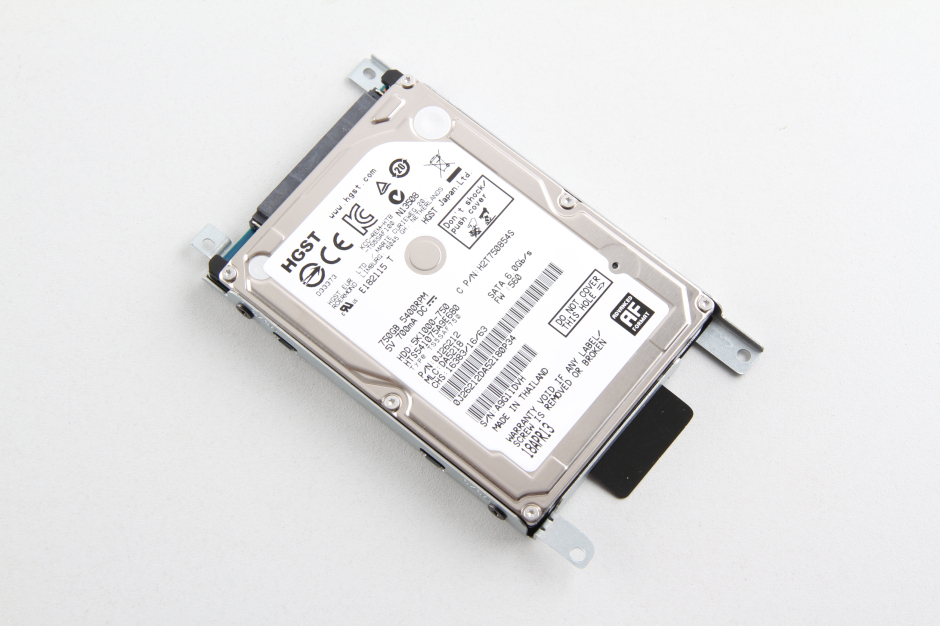
The laptop comes with an HGST 750GB 5400RPM hard drive.
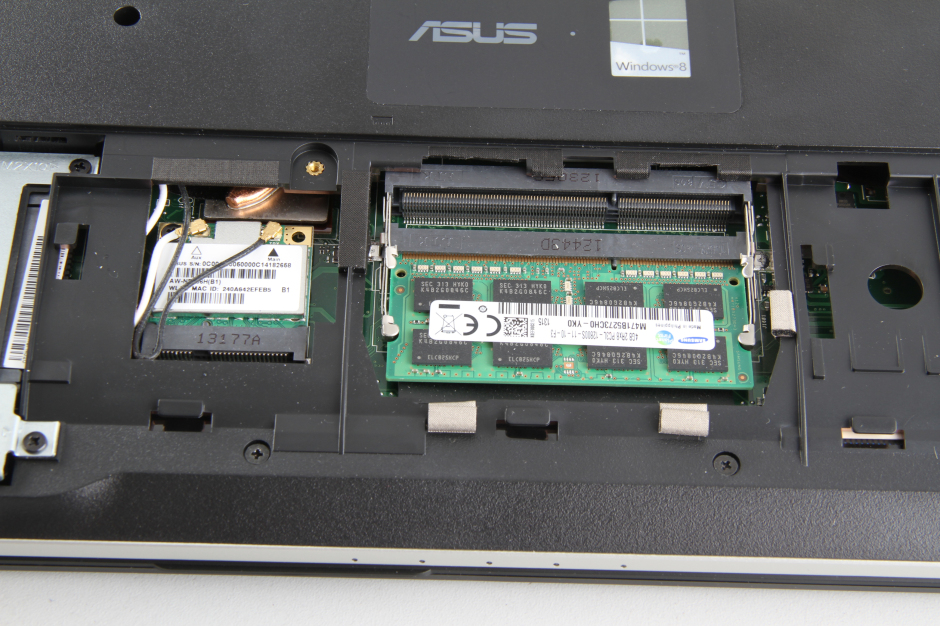
Use your nails to separate the clips on both sides of the memory module, and the memory module will pop out automatically. The Asus N56DY has two memory slots, but only one memory module was installed, so you can add another memory module to upgrade the memory.
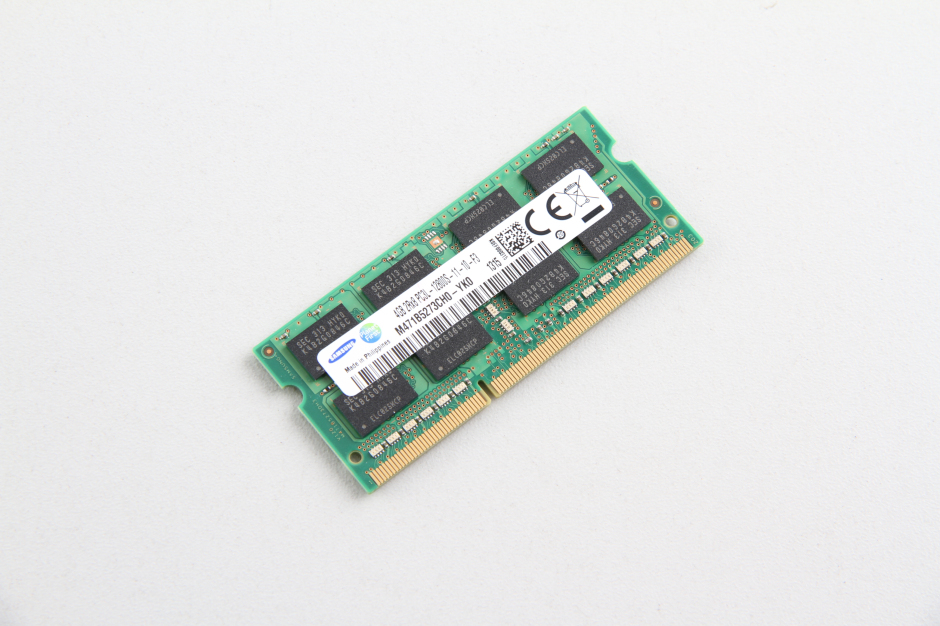
The laptop comes with a Samsung 4GB PC3L-12800S RAM module.
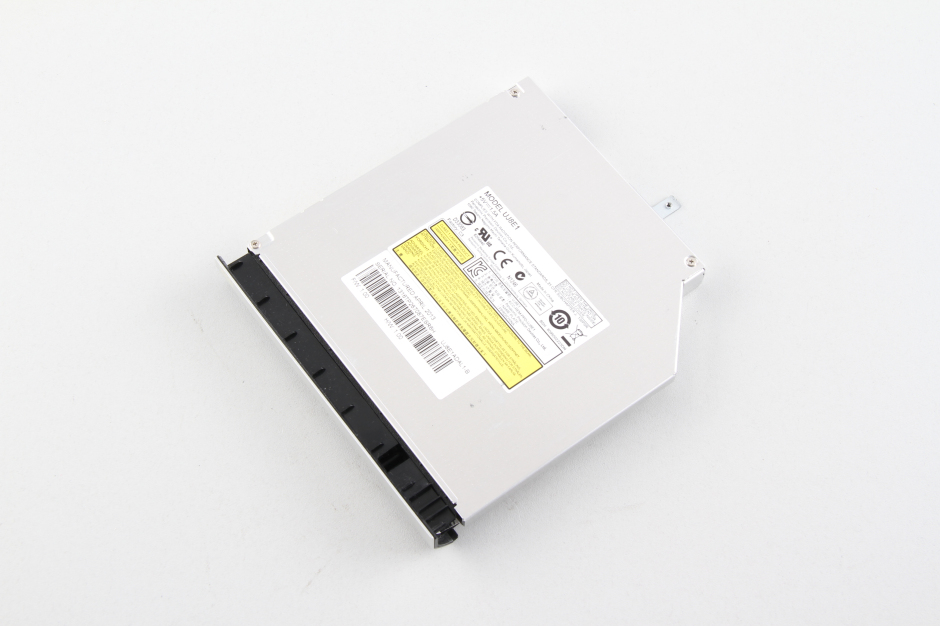
Pull out the DVD drive.
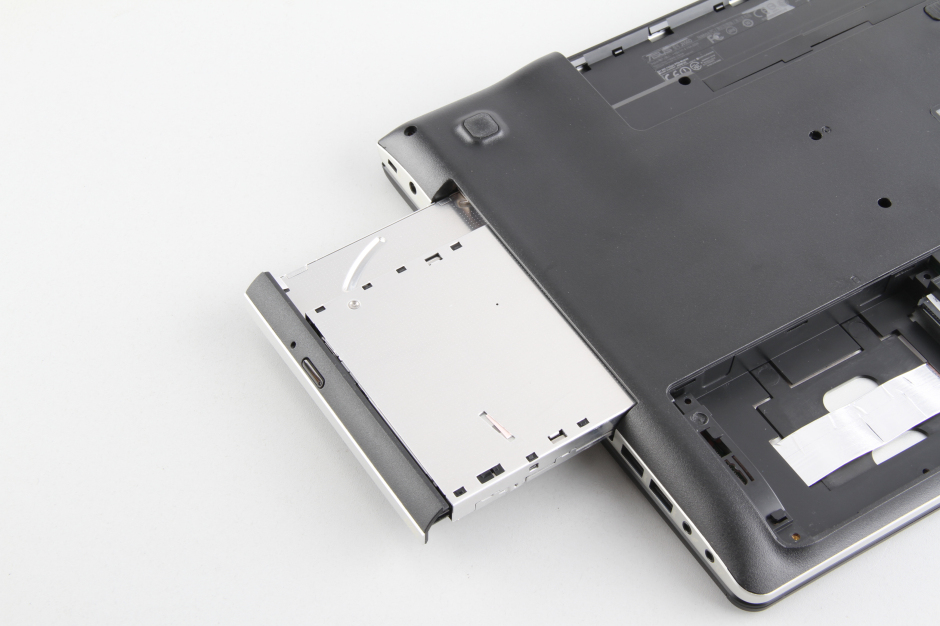
The Asus N56DY comes with a Panasonic UJ8E1 DVD drive.
Insert a plastic pry tool near the hinge between the bottom cover and palm rest. Move the pry tool to gradually separate the palm rest from the laptop.
Close-up of the palm rest
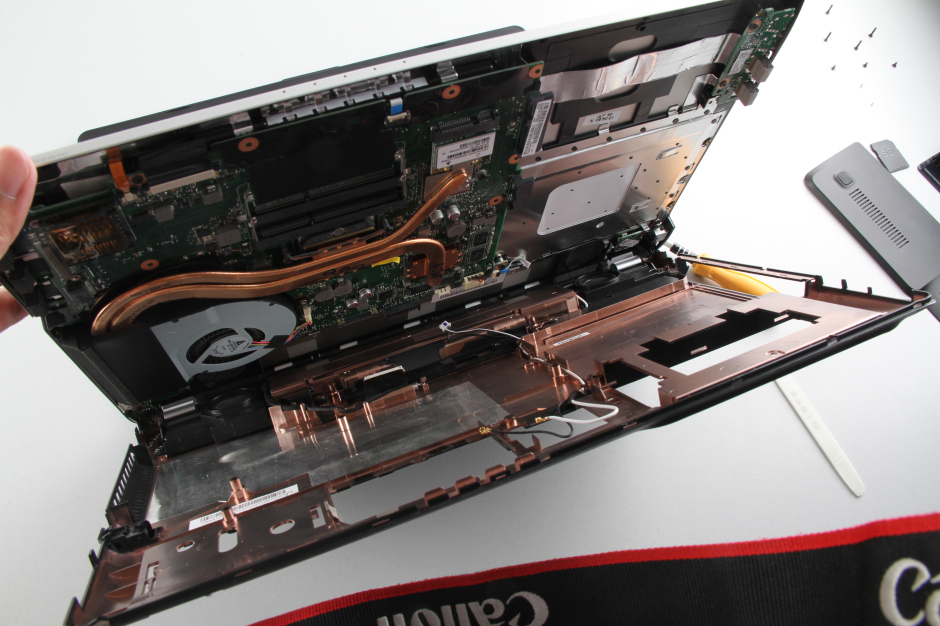
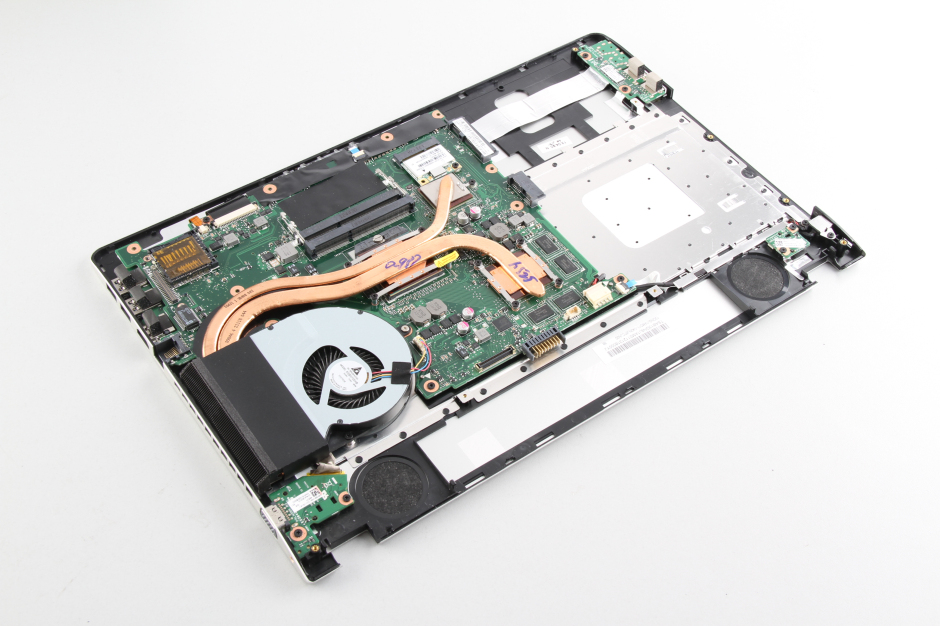
You can access the heat sink and cooling fan at the back of the keyboard assembly.
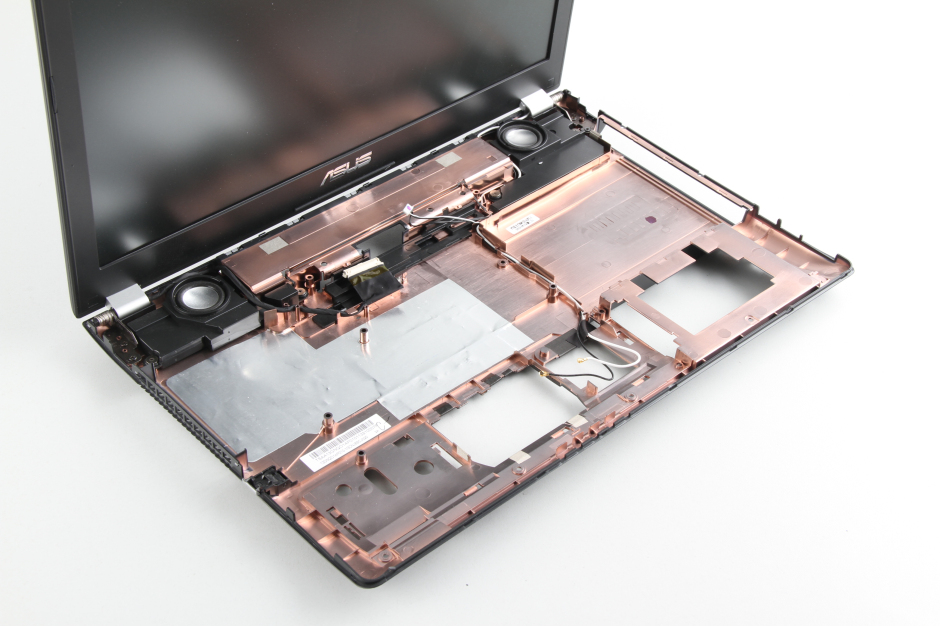
After removing the keyboard, there are only two speakers and two antennas on the bottom cover.
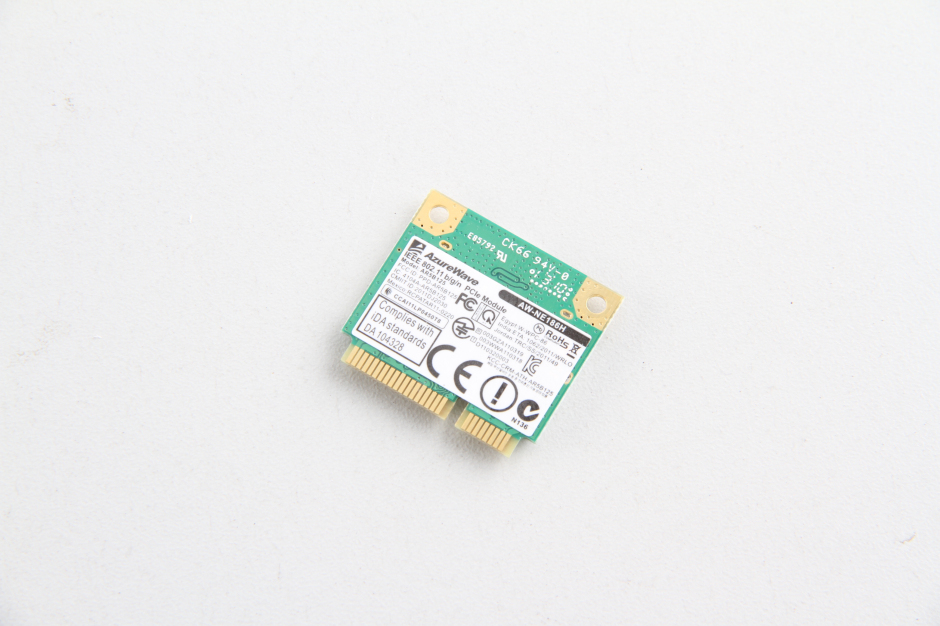
Remove the screw securing the wireless card and take it away from its slot.
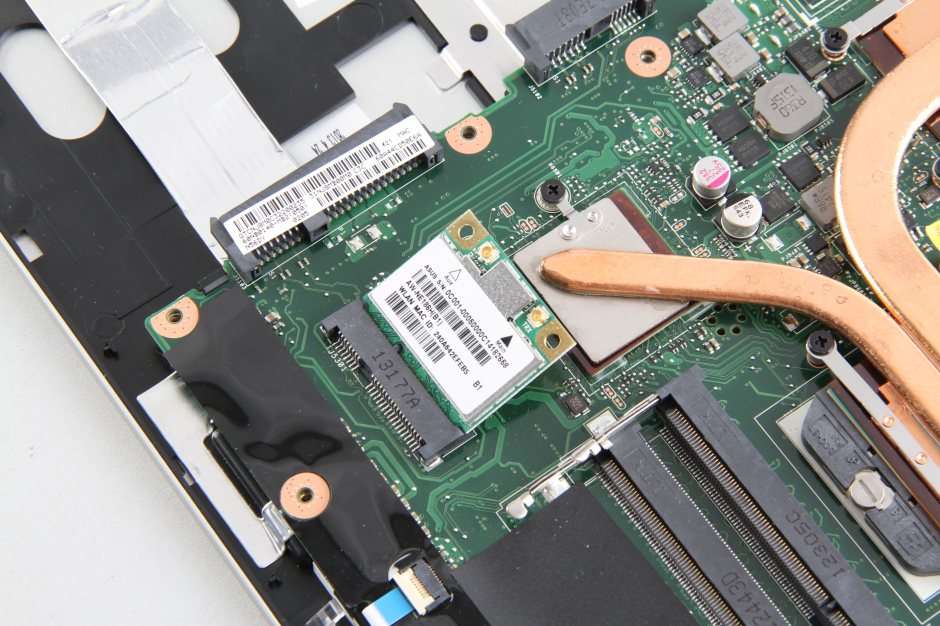
Wireless card
Disconnect the two cables from the motherboard.
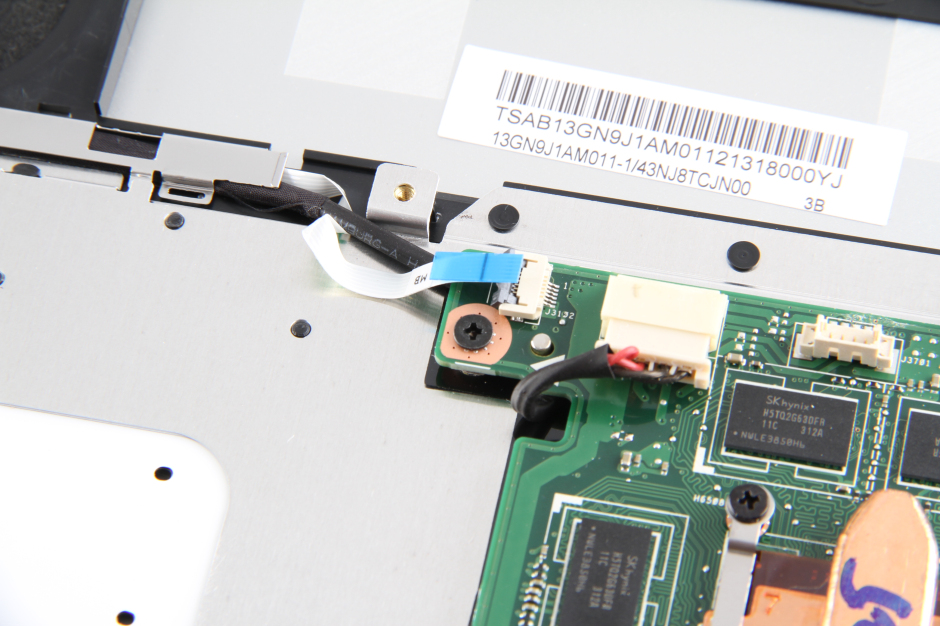
Disconnect the keyboard cable and backlit cable. You just need to lift the holder on the socket with your fingernail to pull out the cable.
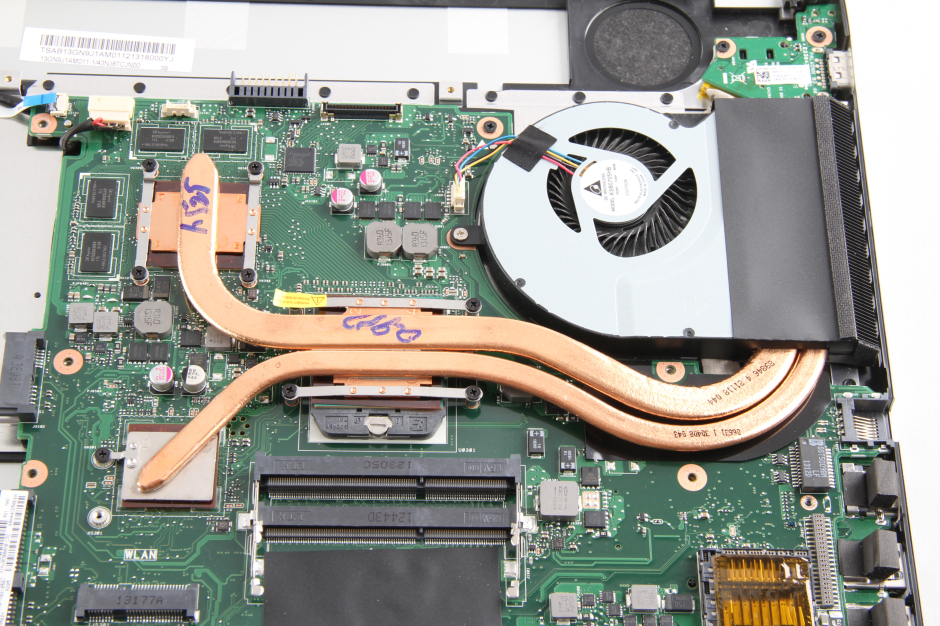
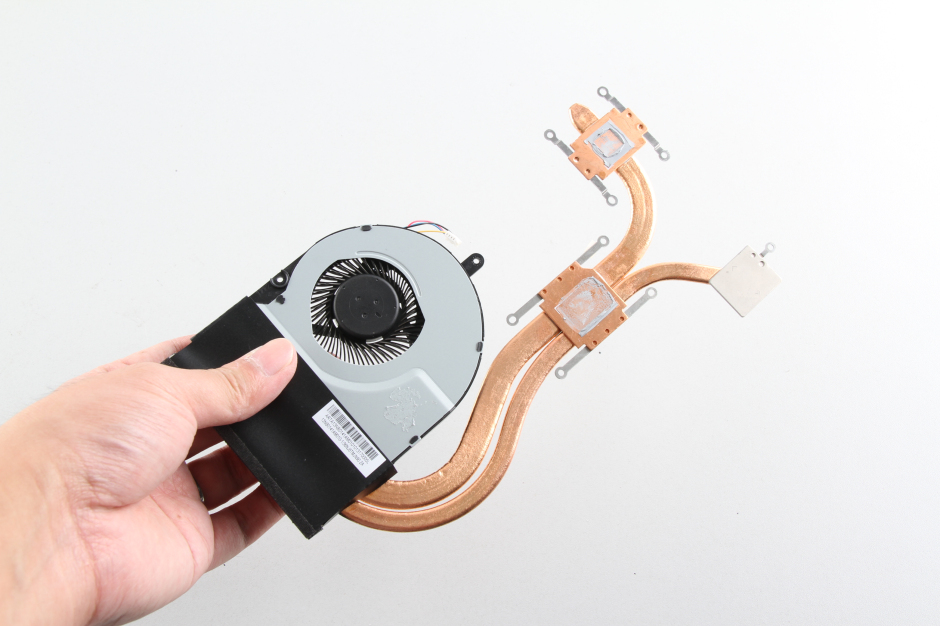
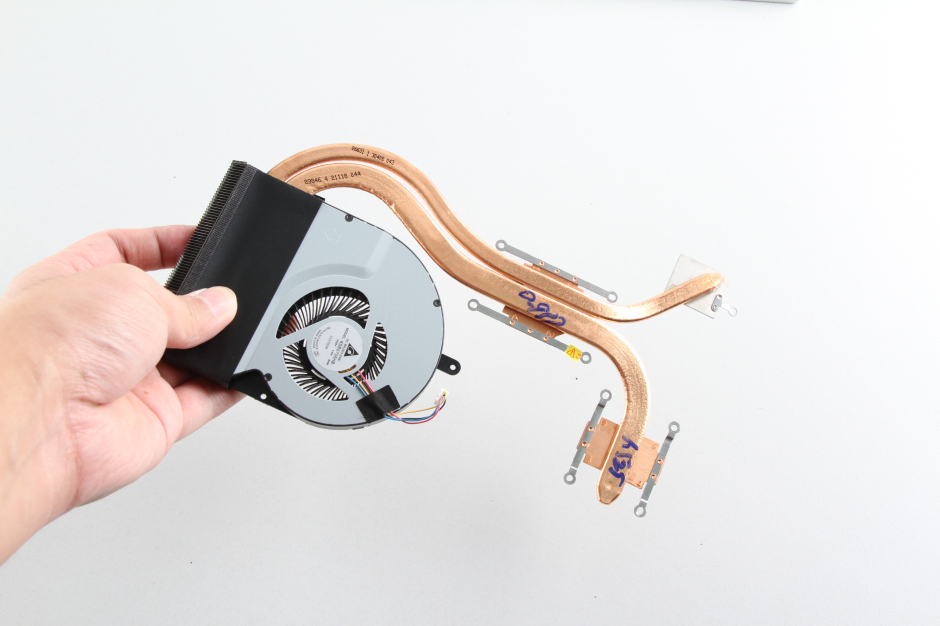
Remove the nine screws securing the heat sink, and remove the screw securing the cooling fan.
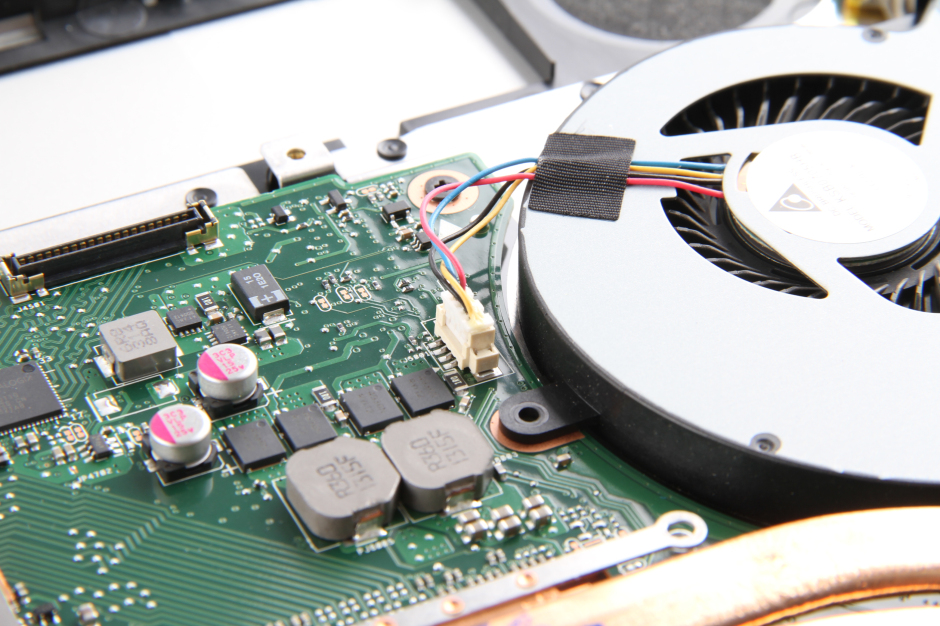
Unplug the cooling fan cable from the motherboard.
The cooling system of the Asus N56DY consists of one fan and two copper heat pipes.
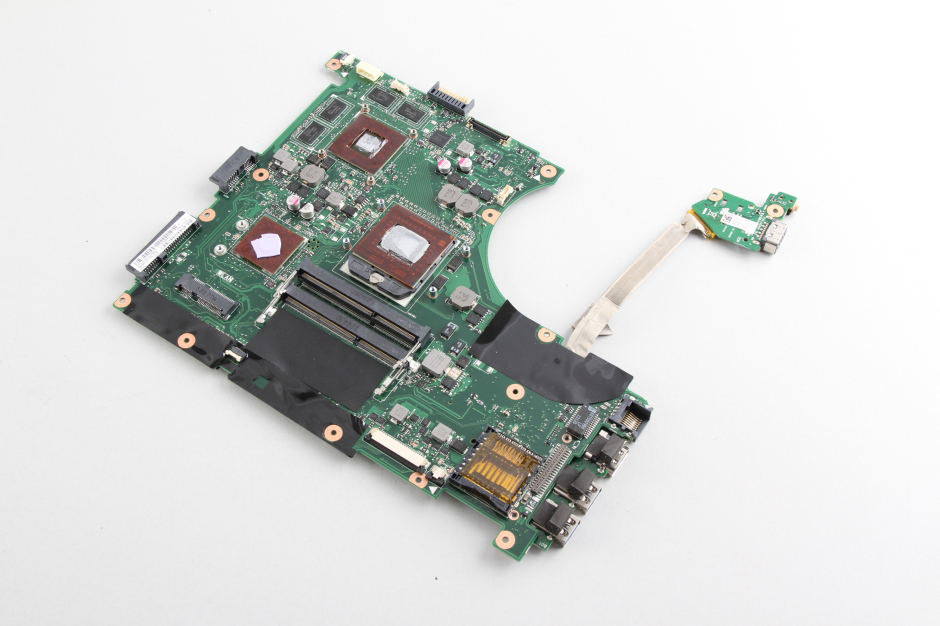
Remove all screws securing the motherboard. Lift the motherboard from one side with your hand and wiggle it until it completely detaches from the laptop.
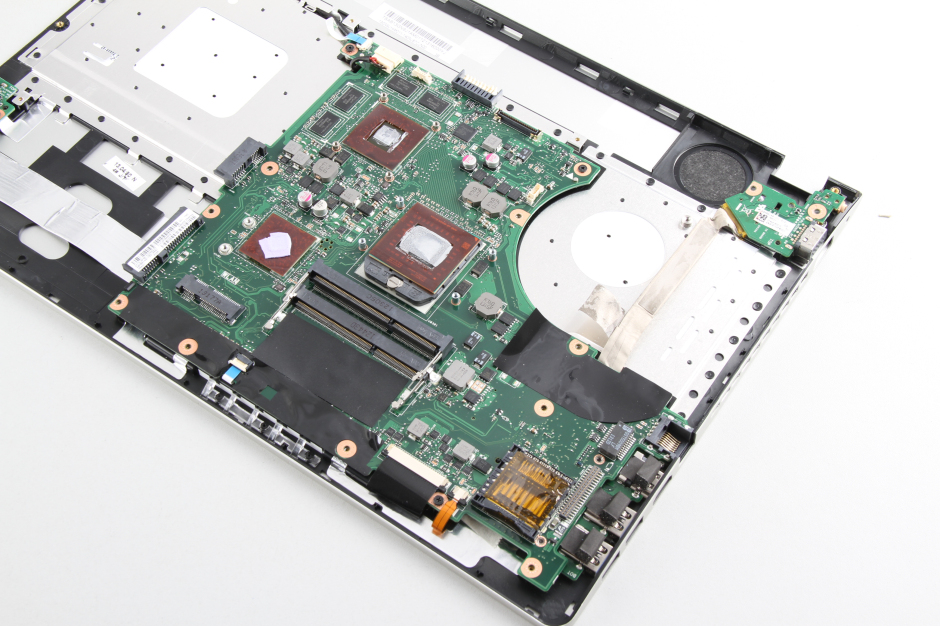
The processor of the Asus N56DY is removable, so you can replace or upgrade the processor if needed.
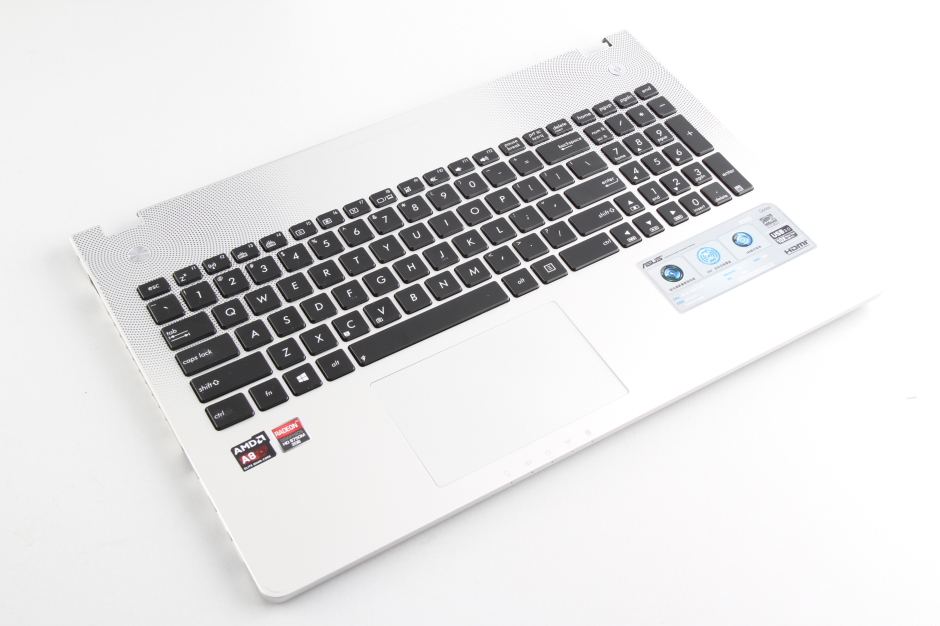
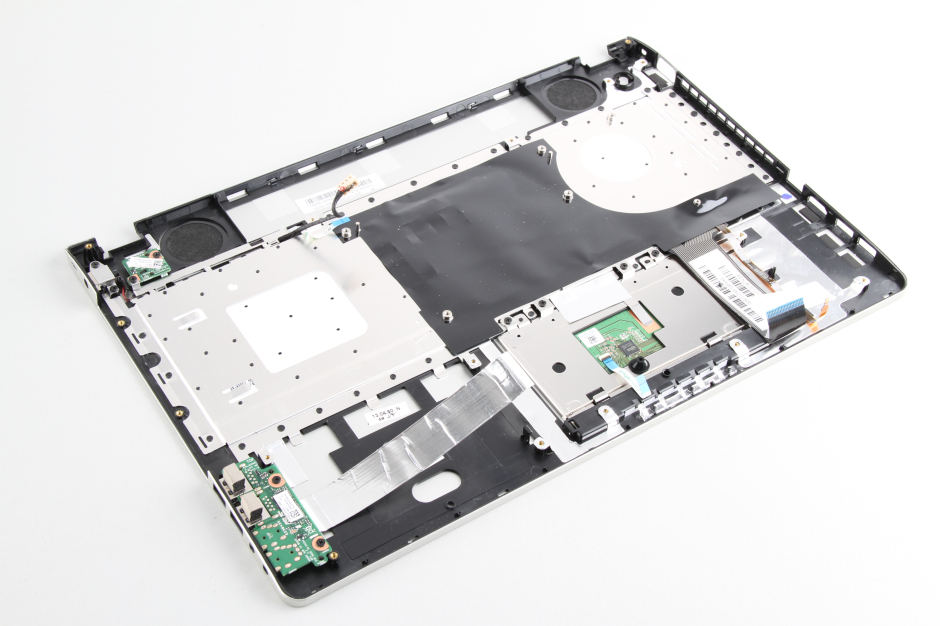
On the back of the palm rest, you can access the keyboard, USB board, and touchpad.
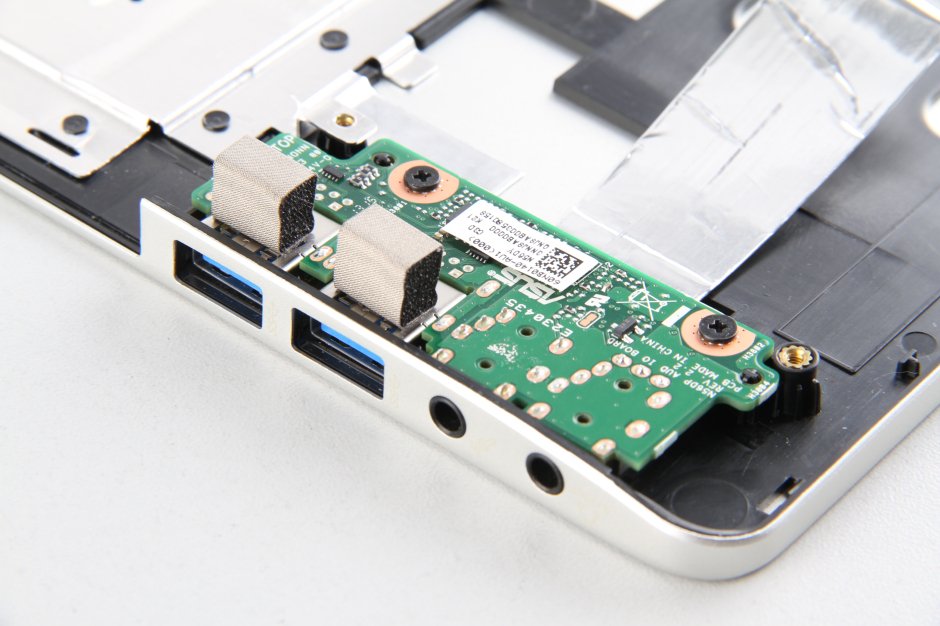
USB board
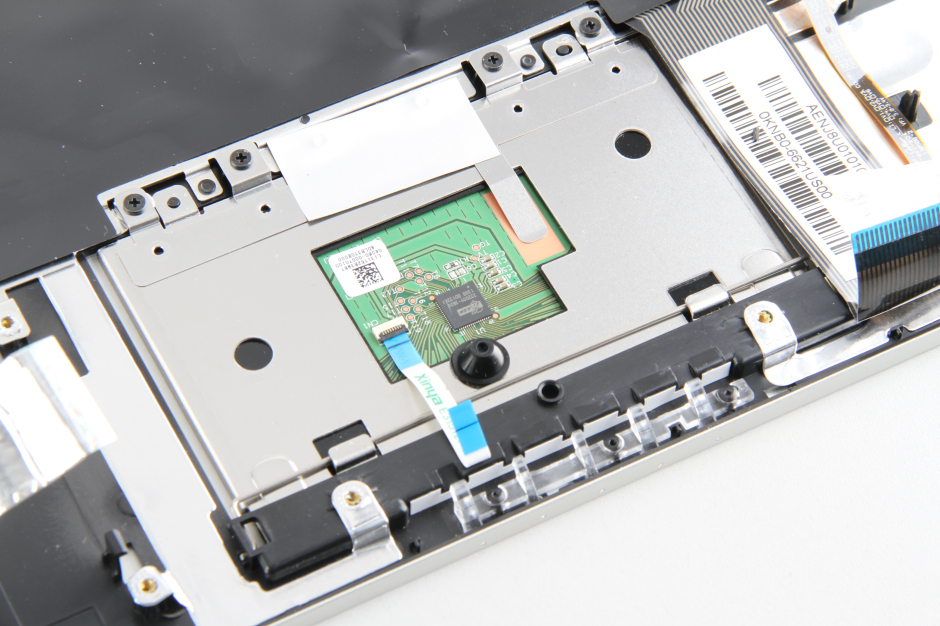
Touchpad
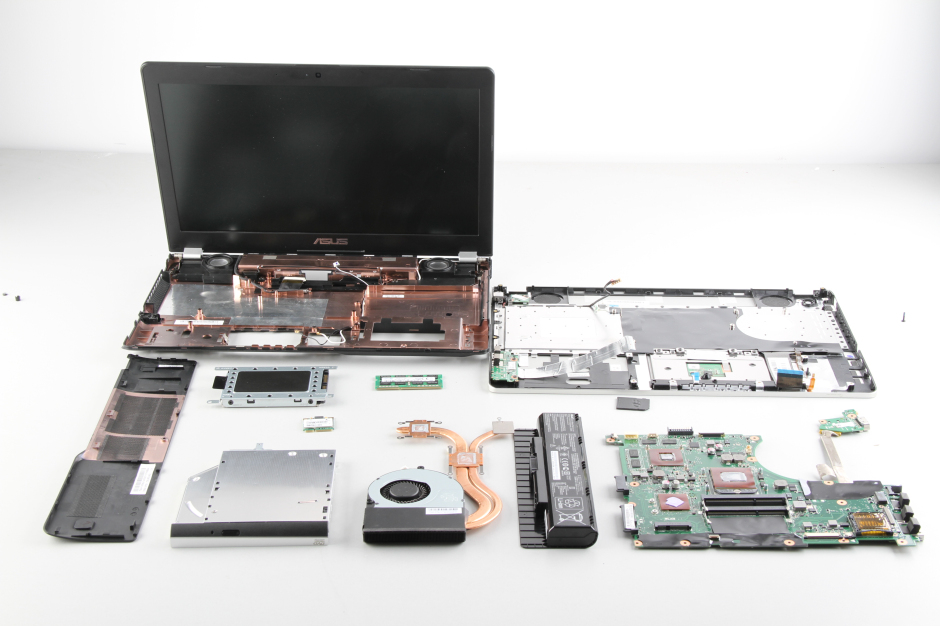
Asus N56DY internal parts
Good day, can I remove the speaker? Are there screws?
Regards
Yes! The speaker can be replaced.
Thank you very much, David.
Then I’m going to repair the bottom case. I wasn’t sure that I could replace the speaker. Have a great day!