
This article explains how to disassemble the ASUS VivoBook U38N laptop. By following the instructions in this article, you will learn how to remove and replace the battery, hard drive, memory, wireless network card, fan, speakers, and motherboard of this laptop.
Join us on the social network! Follow us on Facebook for all the latest repair news.
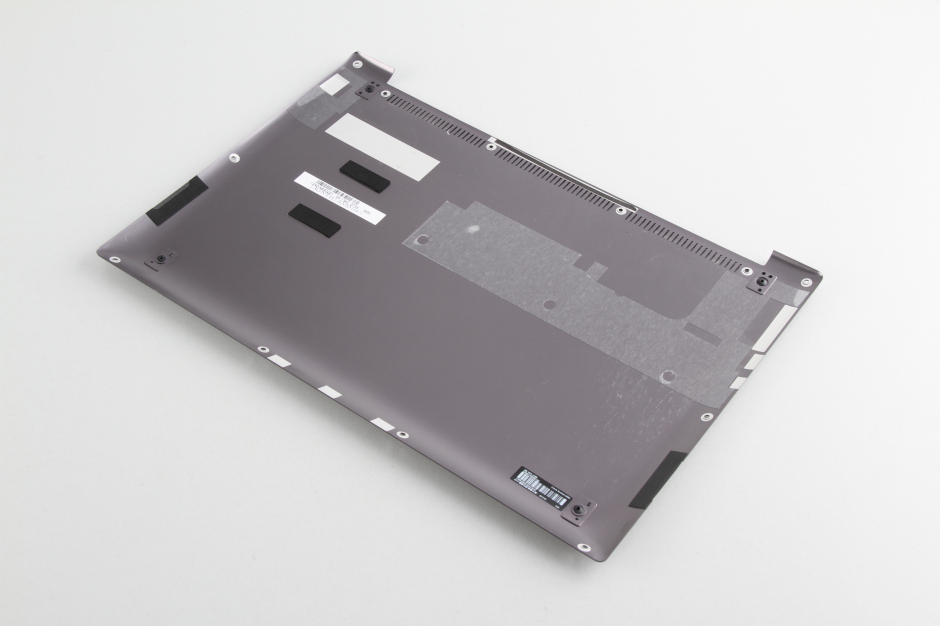
Remove all the screws from the bottom cover.
Remove the bottom cover.
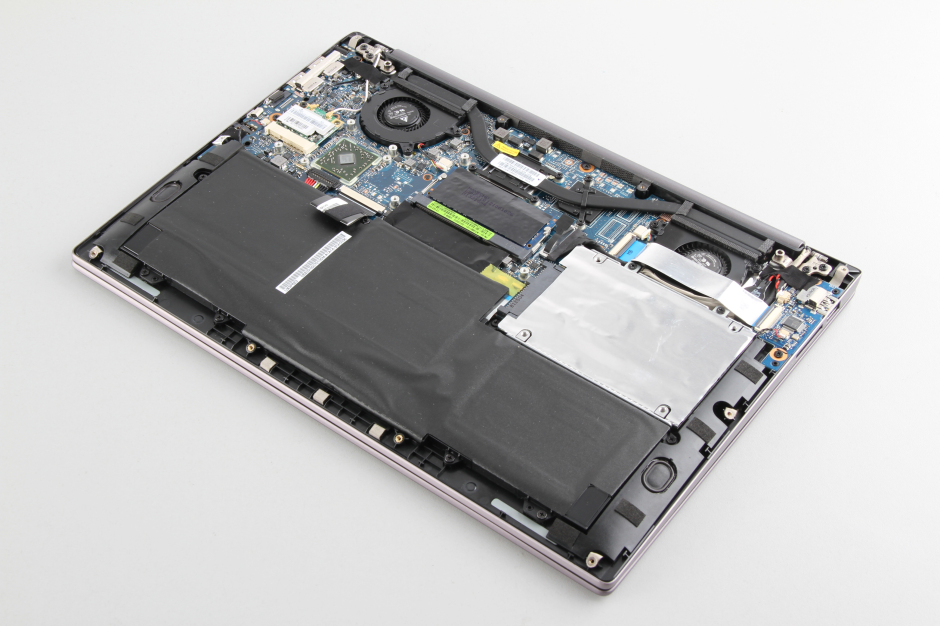
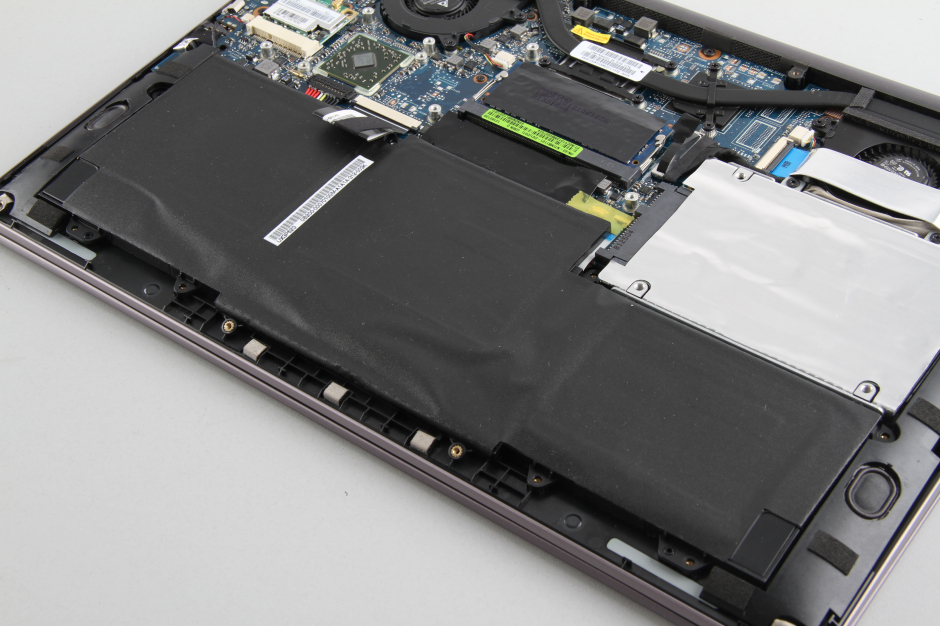
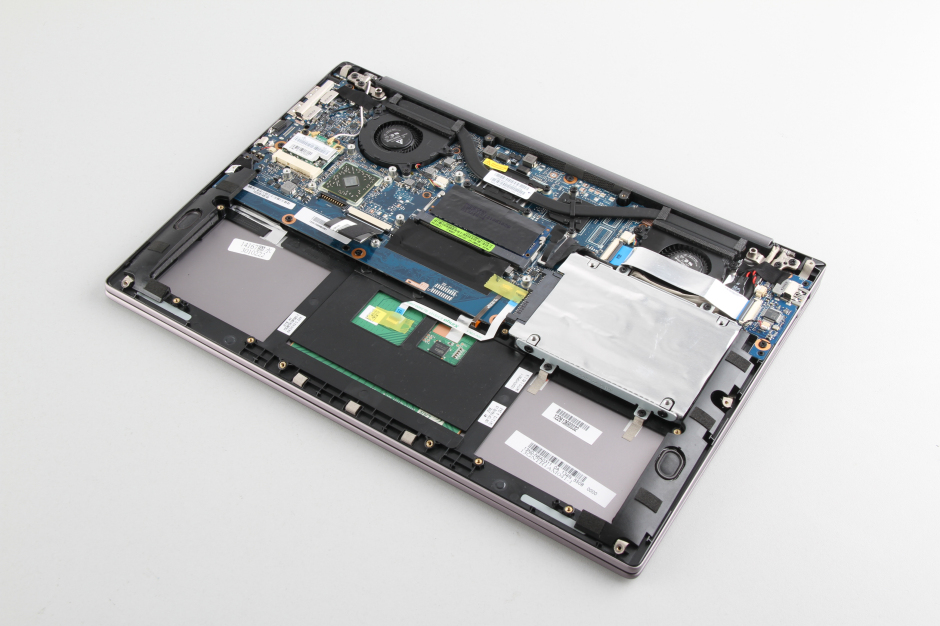
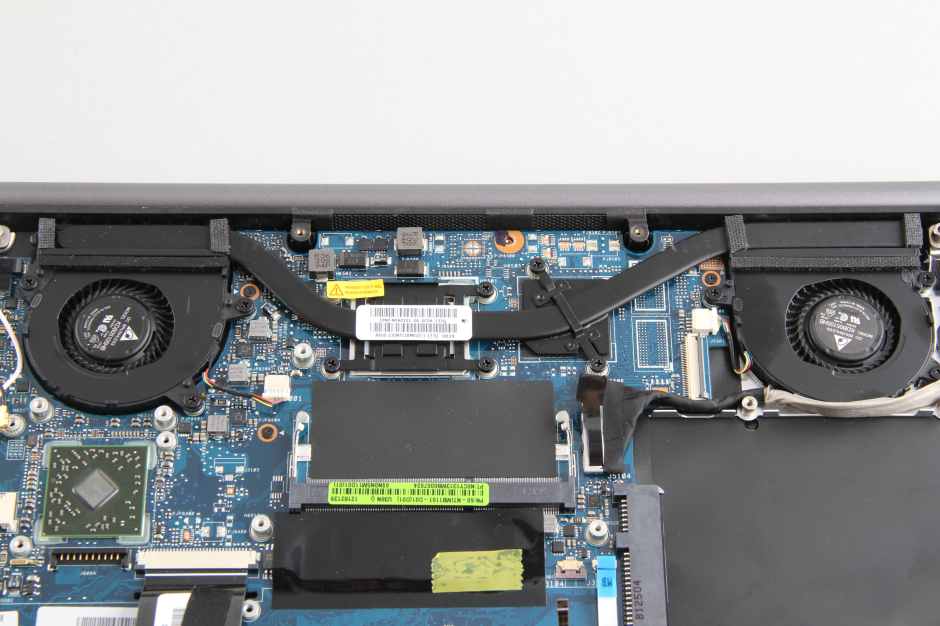
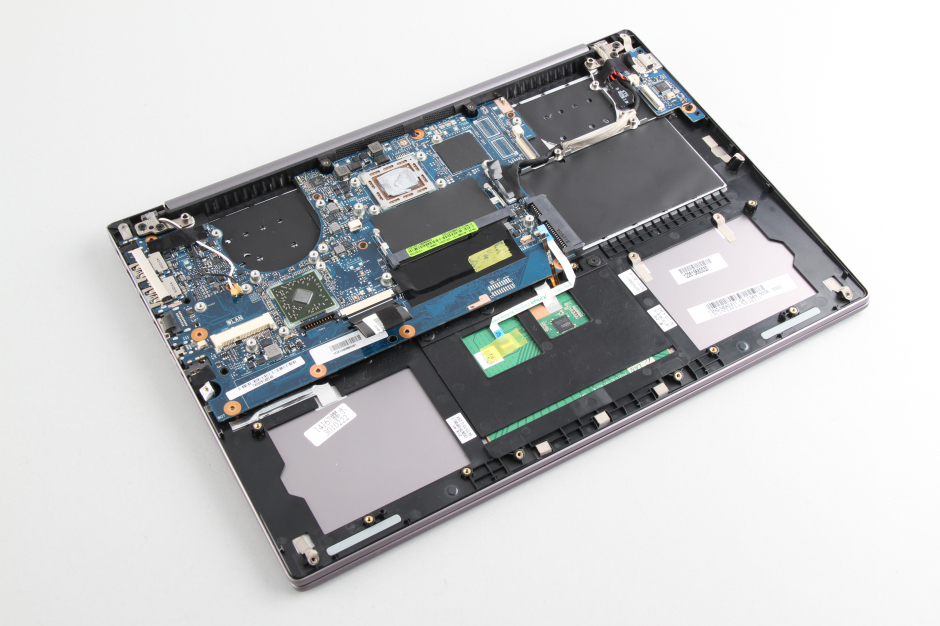
Once the bottom cover is removed, you can access the internal components, including the battery, memory, wireless card, heat sink, cooling fan, hard drive, speakers, and motherboard.
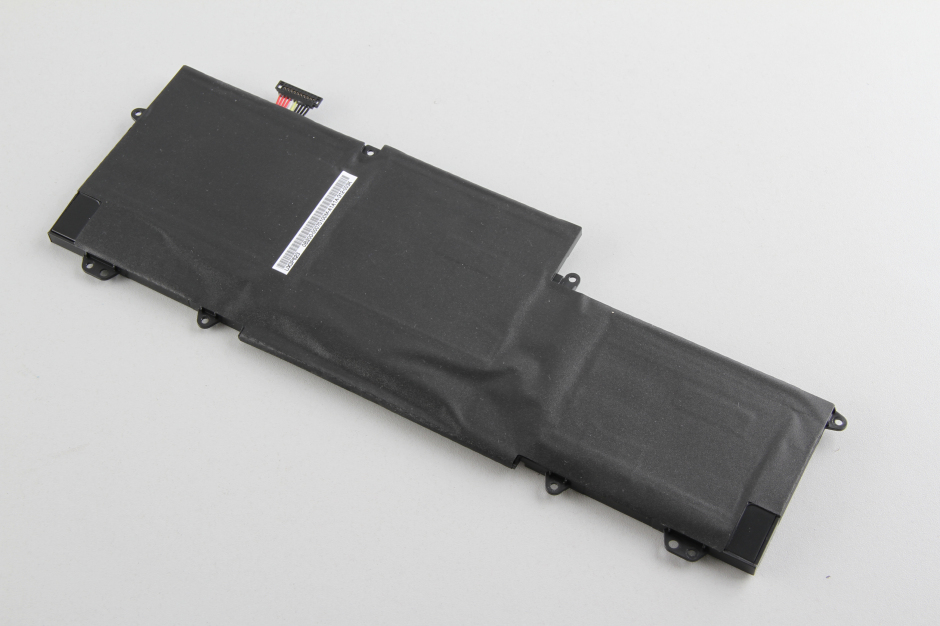
Remove all screws securing the battery.
Disconnect the battery connector from the motherboard. You can now remove the battery.
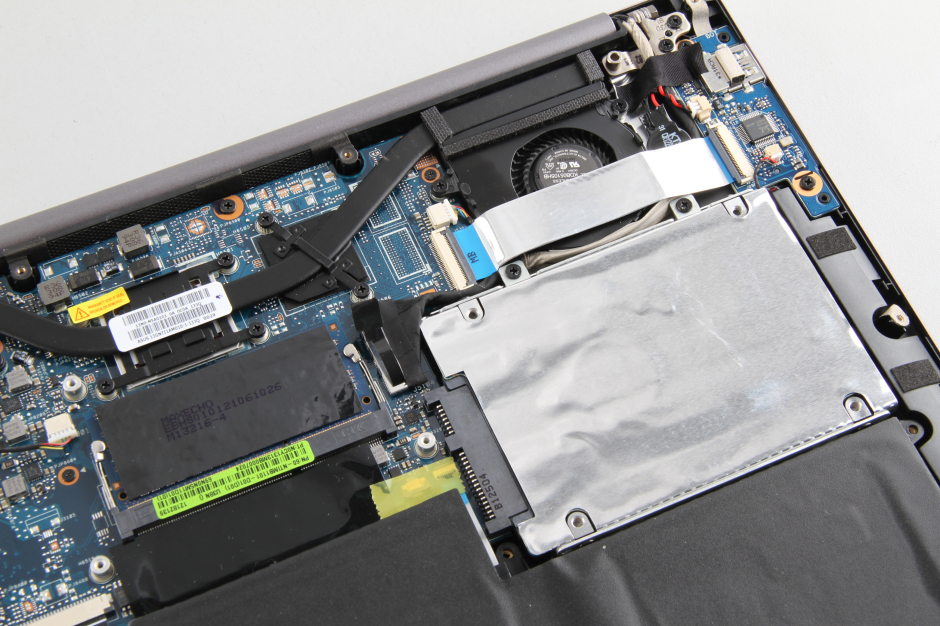
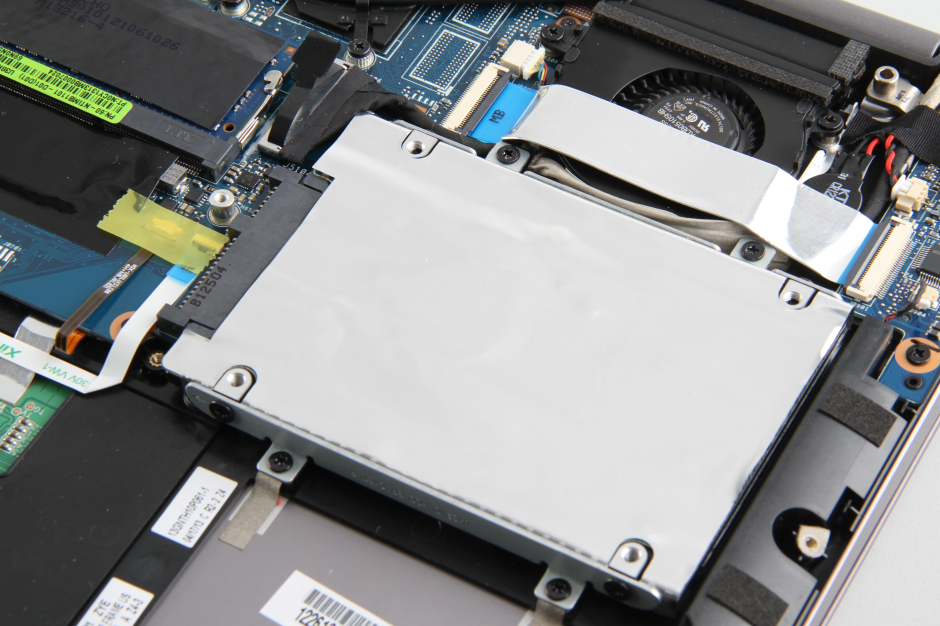
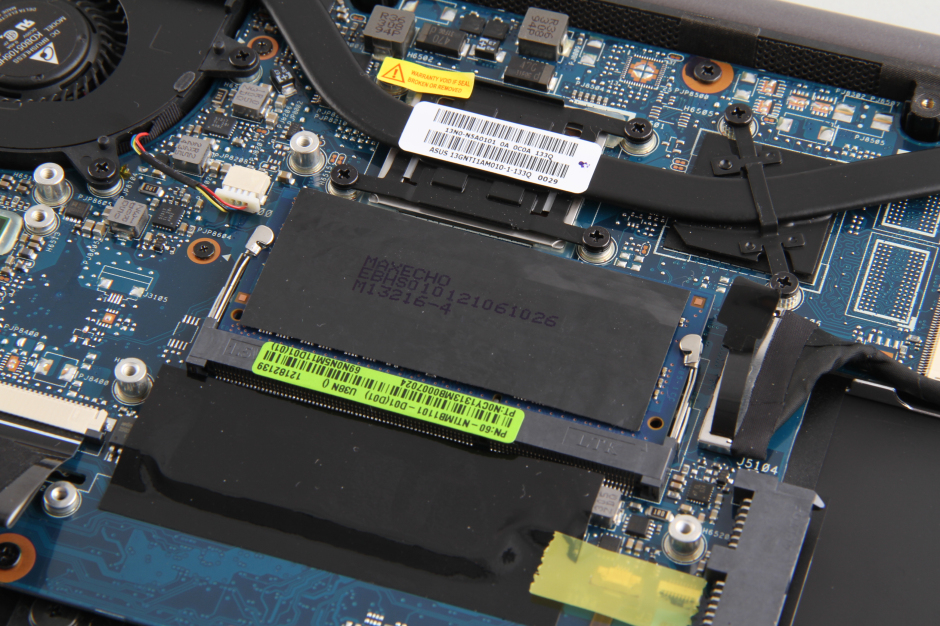
Remove the four screws securing the hard drive, then remove the hard drive.
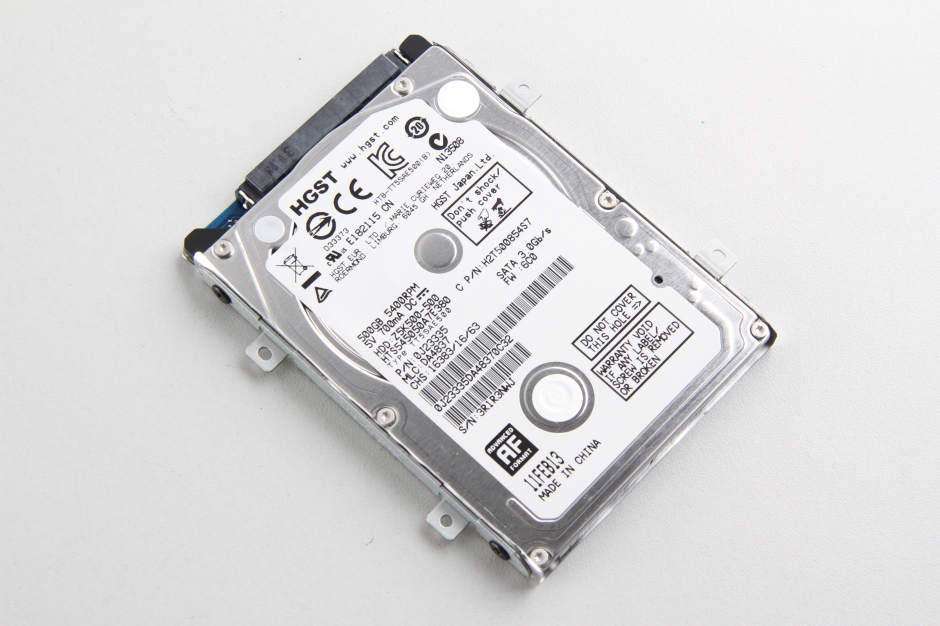
The ASUS VivoBook U38N comes with a 500GB HGST 5400 RPM hard drive.
Under the battery, you can access the touchpad.
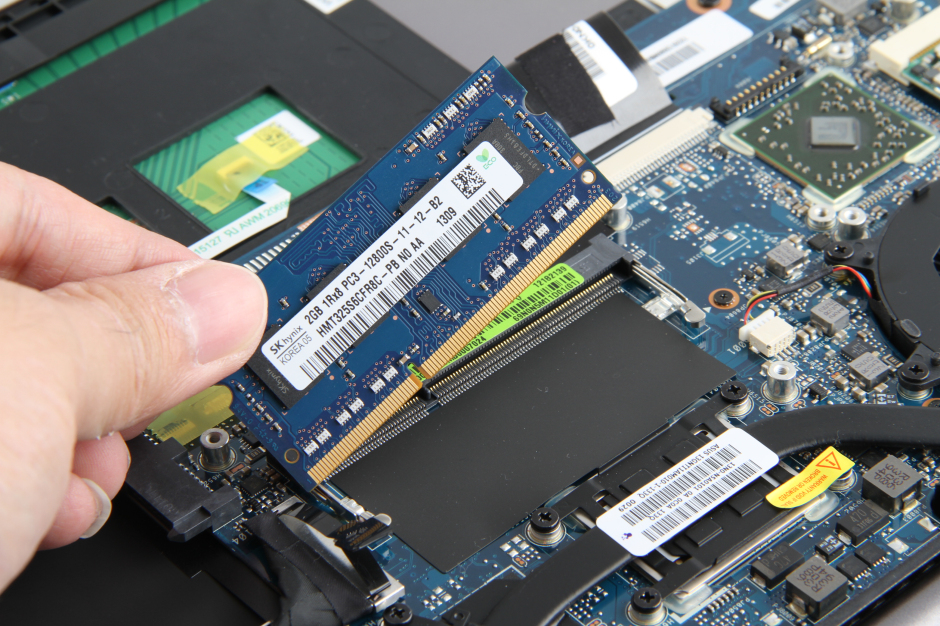
The memory is covered with heat dissipation tape.
Separate the clips and remove the memory.

The ASUS VivoBook U38N comes with 2GB of SK Hynix DDR3-1600MHz memory.
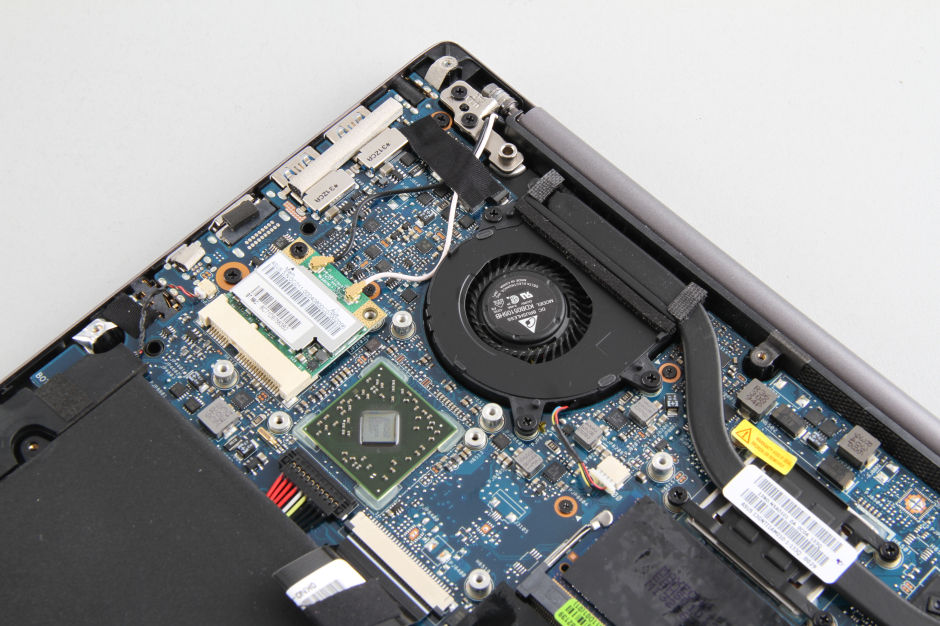
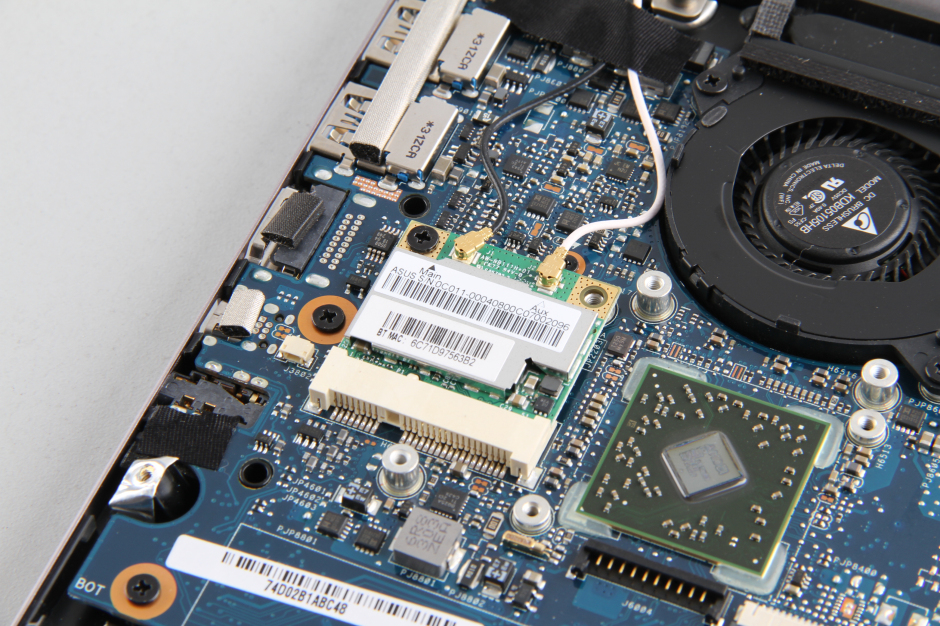
Remove the screw securing the wireless network card.
Disconnect two antenna cables. You can remove the wireless card.

Close-up of the CMOS battery.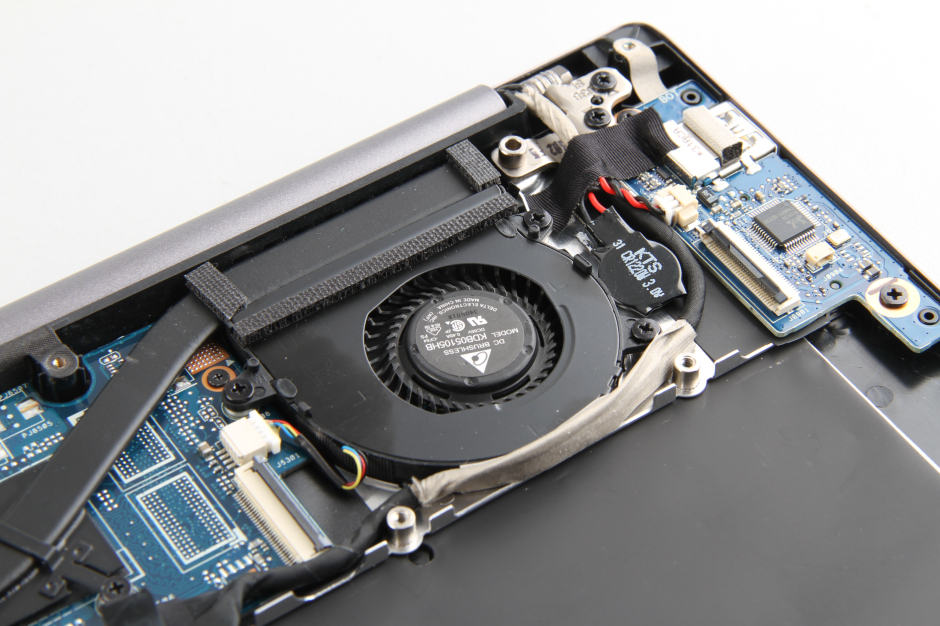
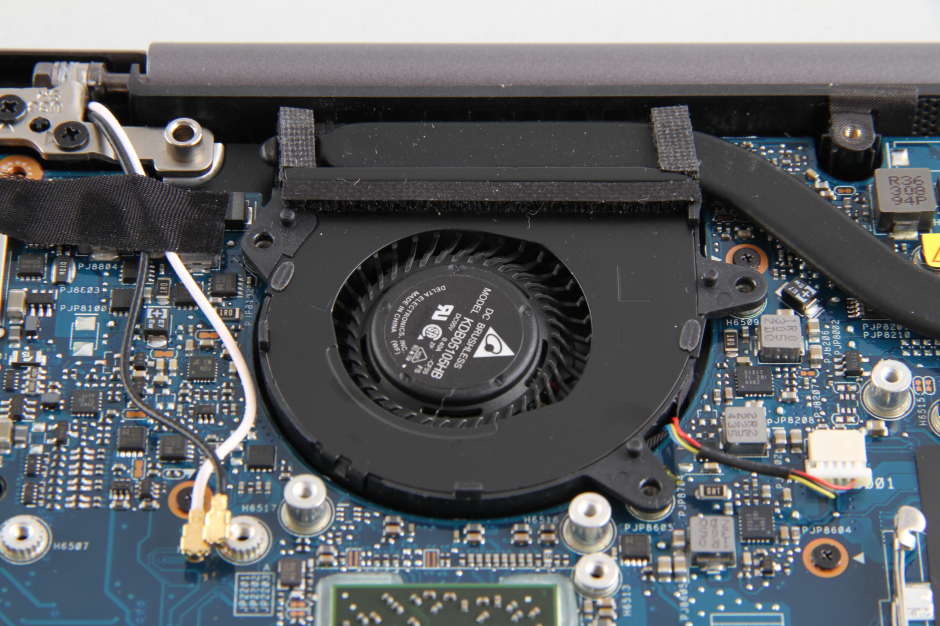
Unplug the fan cables and remove the screws to remove the two fans.
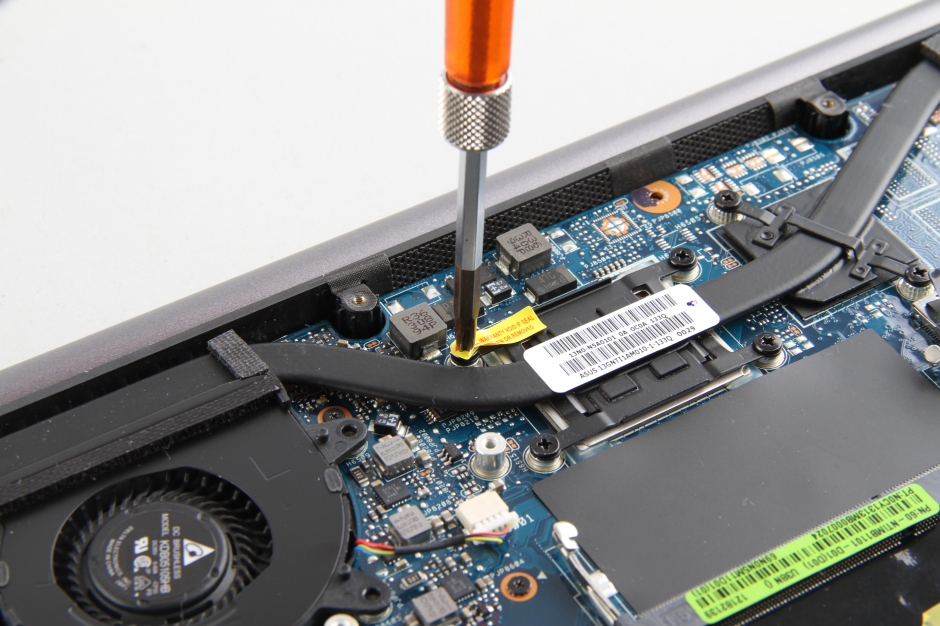
The screw was covered by the Asus label. If you damage it, you will void the warranty.

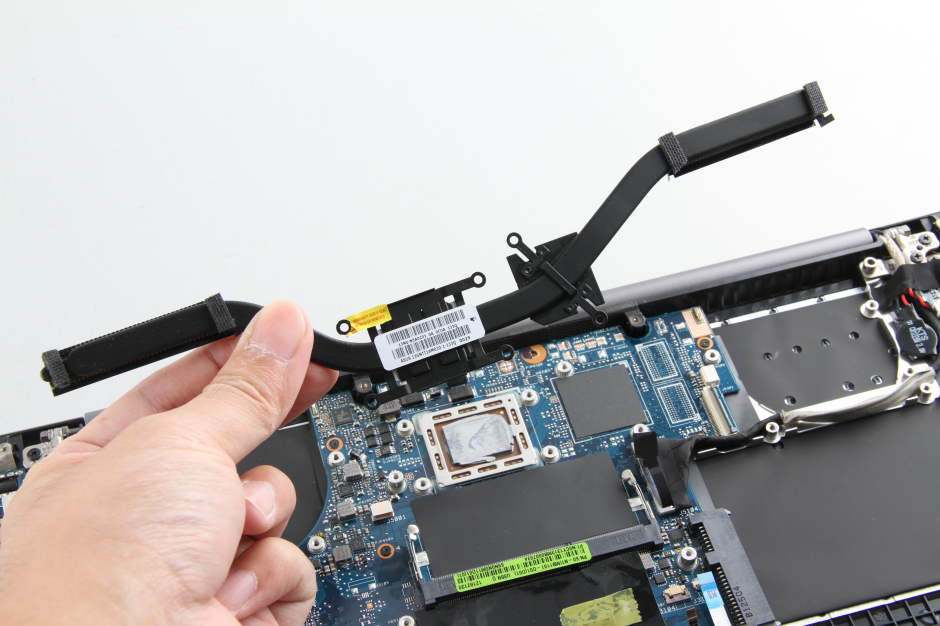
Remove all screws securing the heat sink.
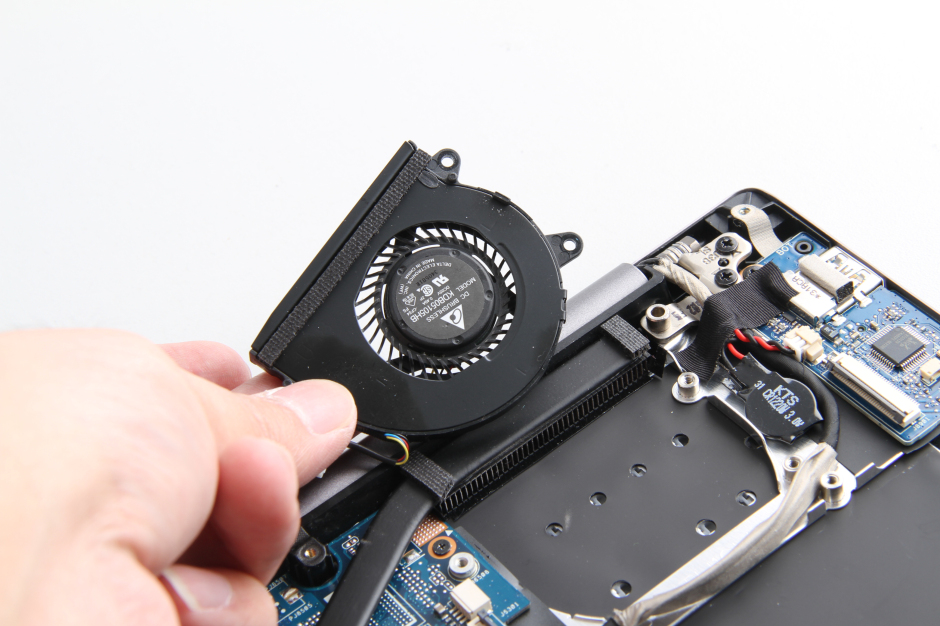

The CPU fan and the GPU fan are different, so please do not confuse them..
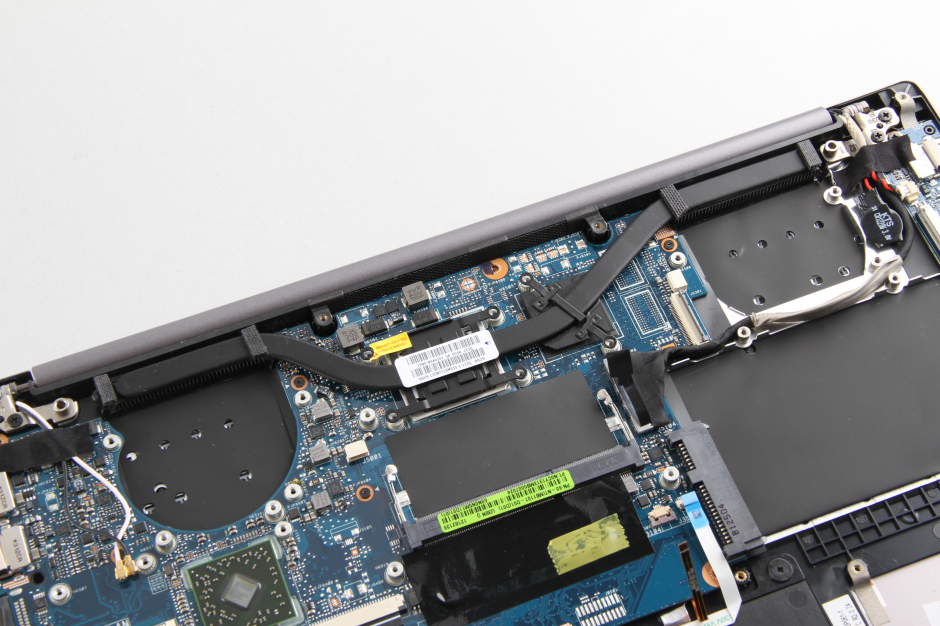
Close-up of the remaining parts.
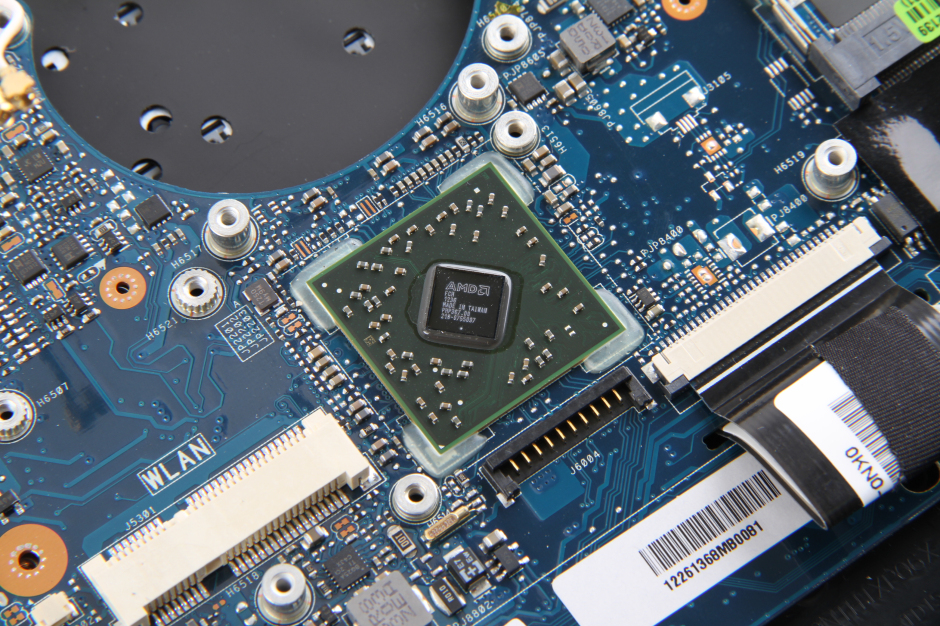
The South Bridge chip.
Close-up of the CPU.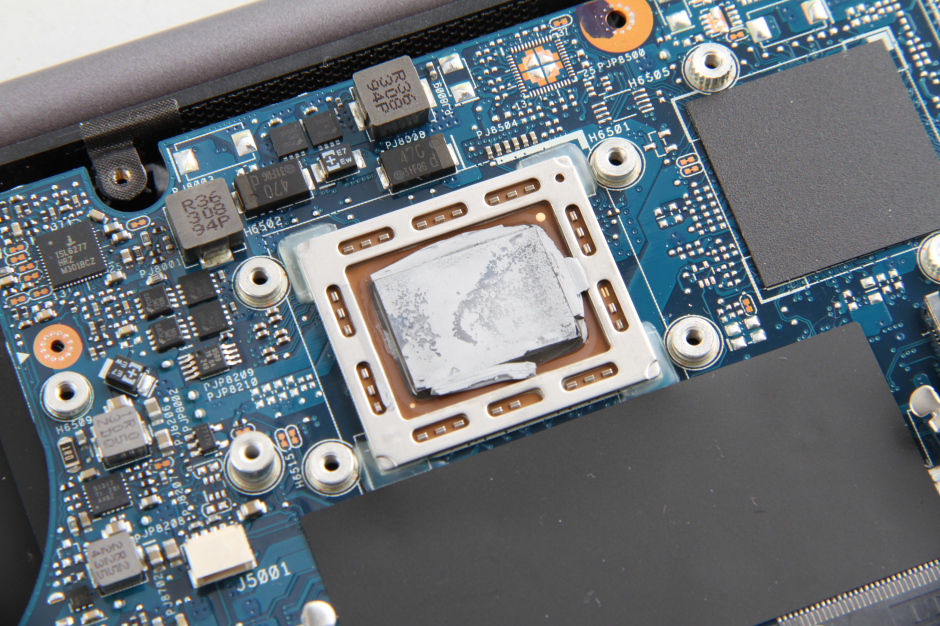
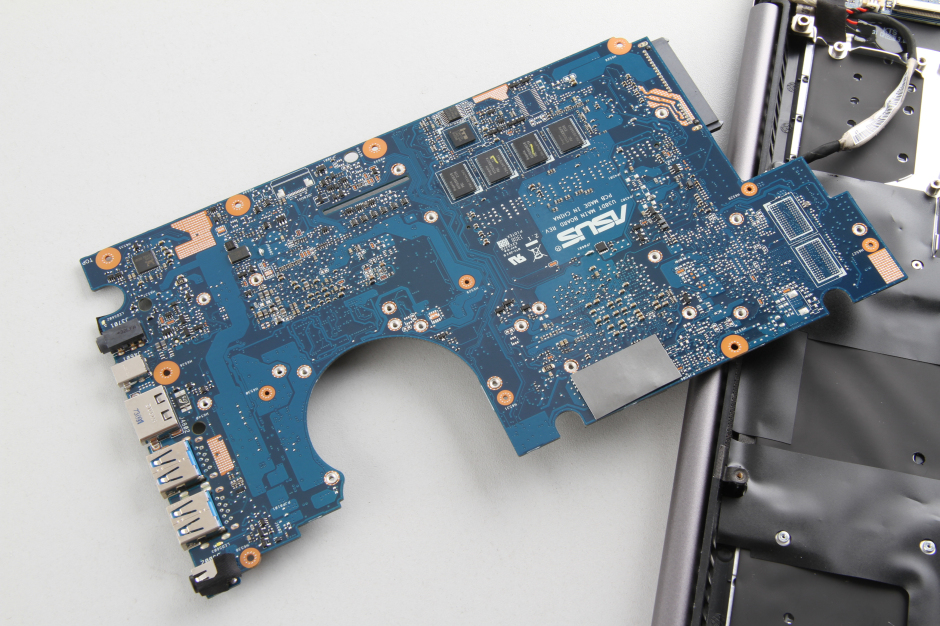
Remove all screws securing the motherboard, then lift the motherboard from one side and remove it.
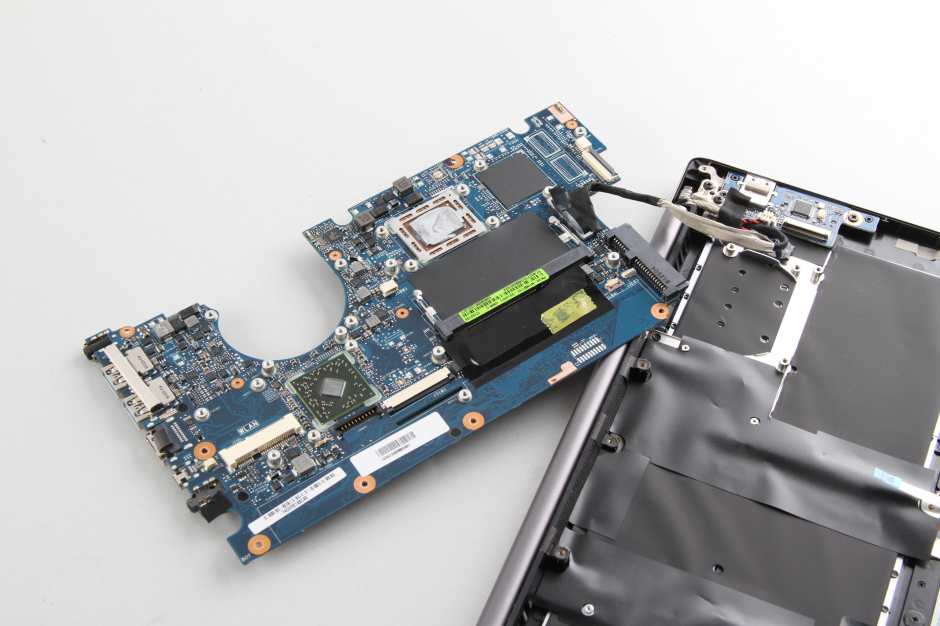
Close-up of all removed parts.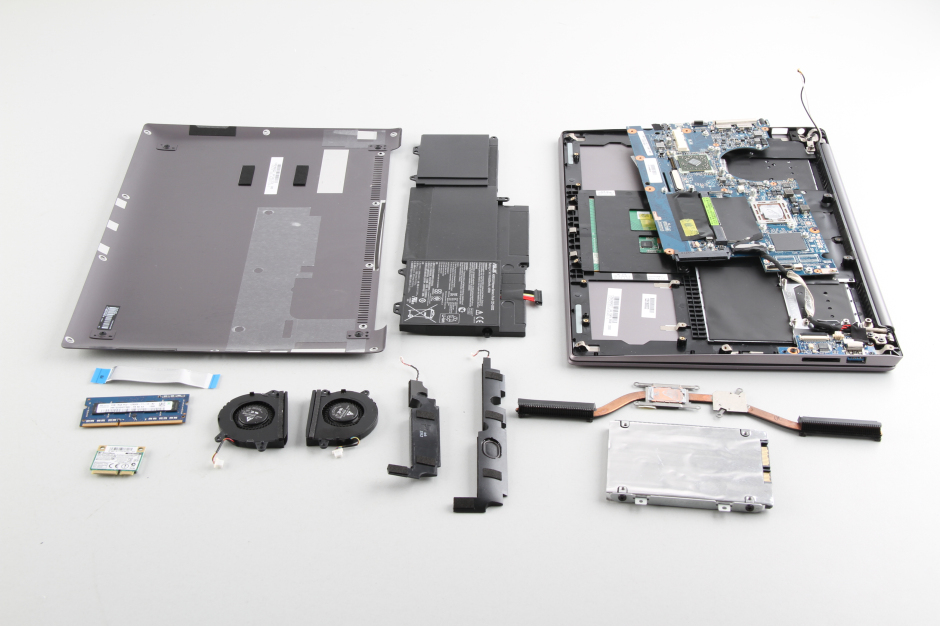

LOL, and the screen? What you showed is pretty straightforward, but the screen may require prying.
You can try to remove the screen and write a guide, or register a contributor account and publish your guides.
Is the chassis (black part) die-cast or plastic?
Thanks, very helpful.
What is the type and size of screws on the bottom case?
Hi, Adam, did you find the type and size of the screws?
Yep, Adam, Jose,
I am also interested because there are already four missing from my unit. 🙂
Also, I think the latest fall broke the heatpipe cooler (also known as Asus U38N THERMAL MODULE ASSY) because a simple loading of some page with FF brings the CPU to 90 degrees, and it immediately starts to throttle.
Anyway, thanks for the pictures. This is how I found the P/N of the heat pipe. 🙂