
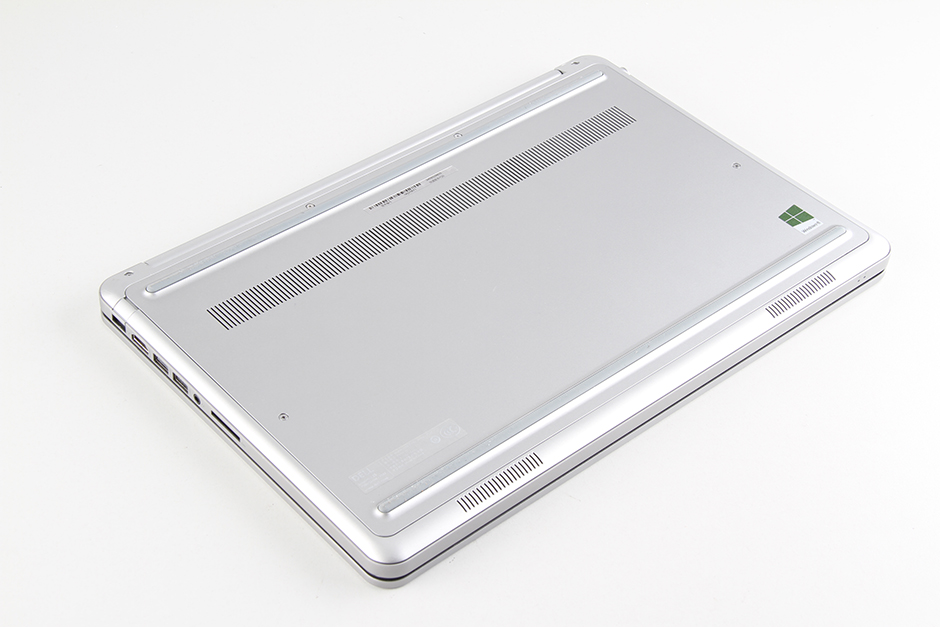
In this post, I will explain how to disassemble the Dell Inspiron 15 7537 to remove the keyboard, battery, hard drive, RAM, palm rest, wireless card, cooling fan, bottom case, and motherboard.
Want to be the first to see the latest smartphone and laptop inside? Follow us on Facebook for the latest teardown news.
Remove the six screws from the bottom cover.
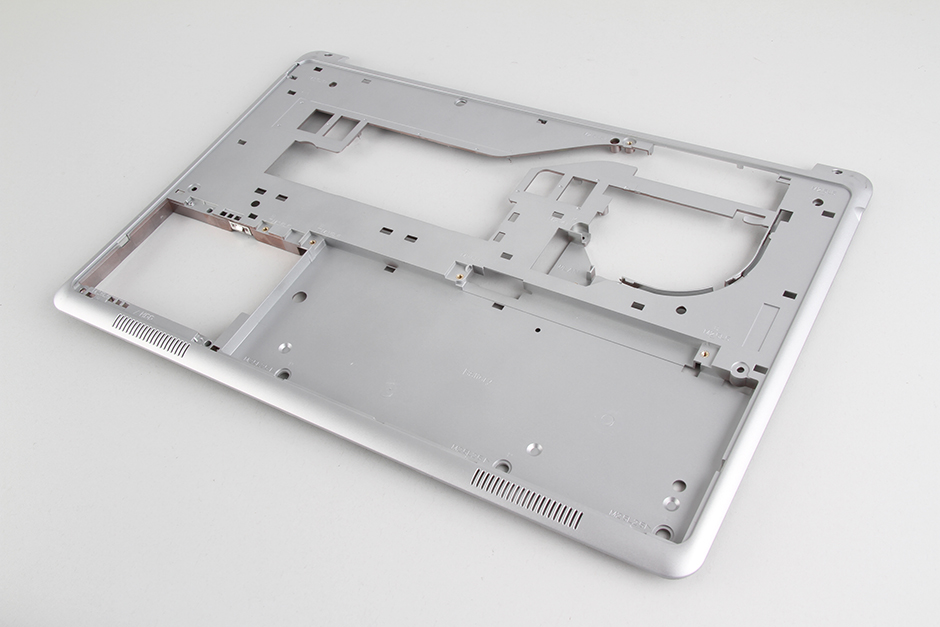
Insert a pry tool between the bottom cover and the palm rest, and carefully slide the pry tool to separate the bottom cover from the palm rest. We recommend starting from the LCD hinge, as this makes it easier to remove the bottom cover.
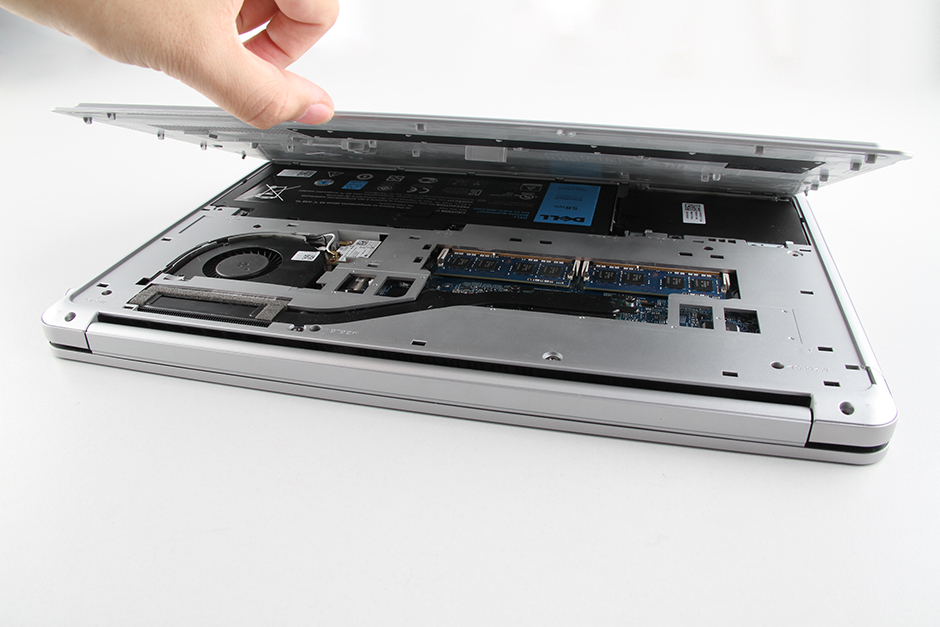
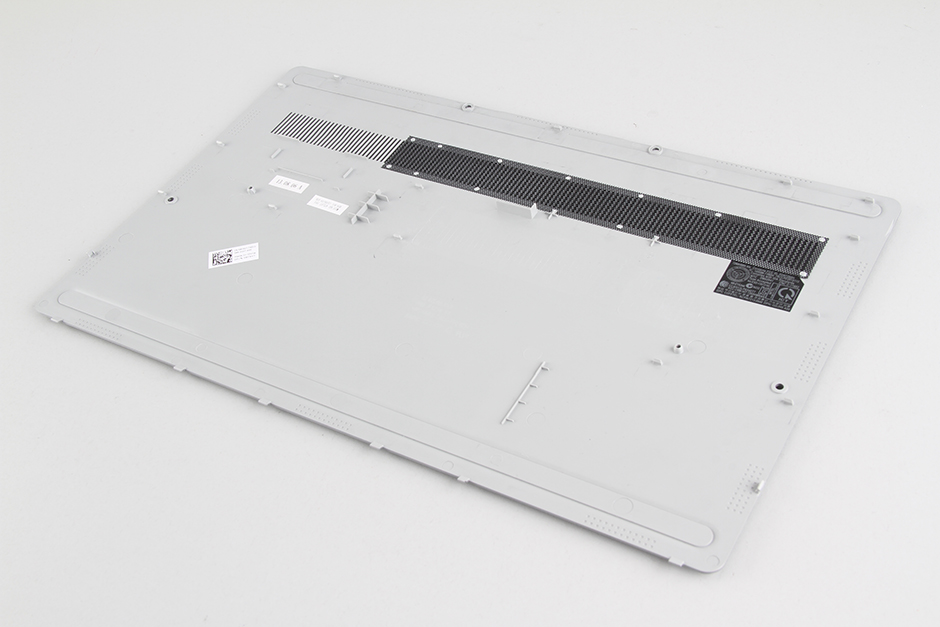
You can see that there are many clips on the edge of the bottom cover. They are used to secure the bottom cover to the palm rest. Be careful not to break the clips.
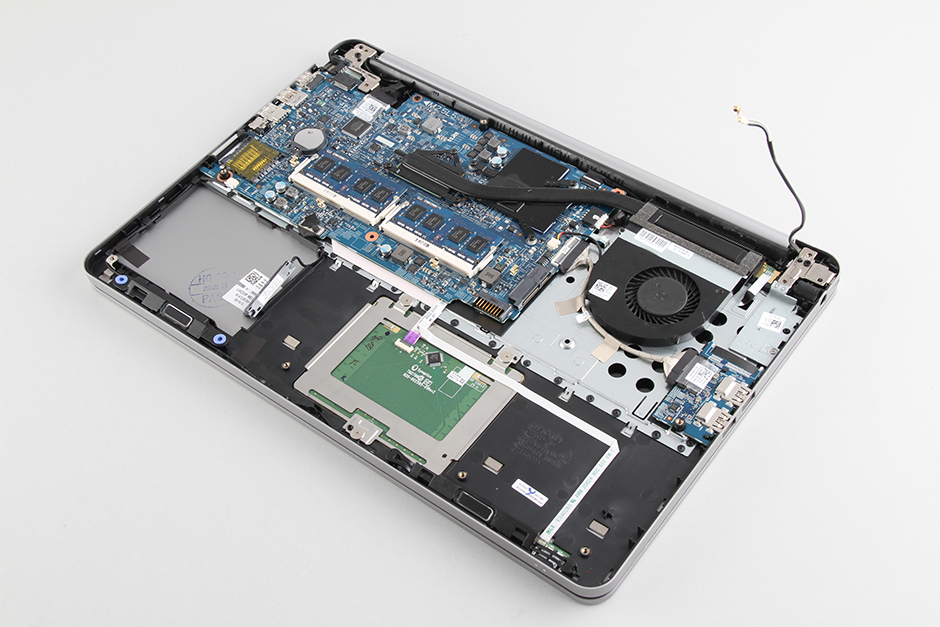
When the bottom case is removed, you can get access to the battery, hard drive, wireless card, and two RAM modules.
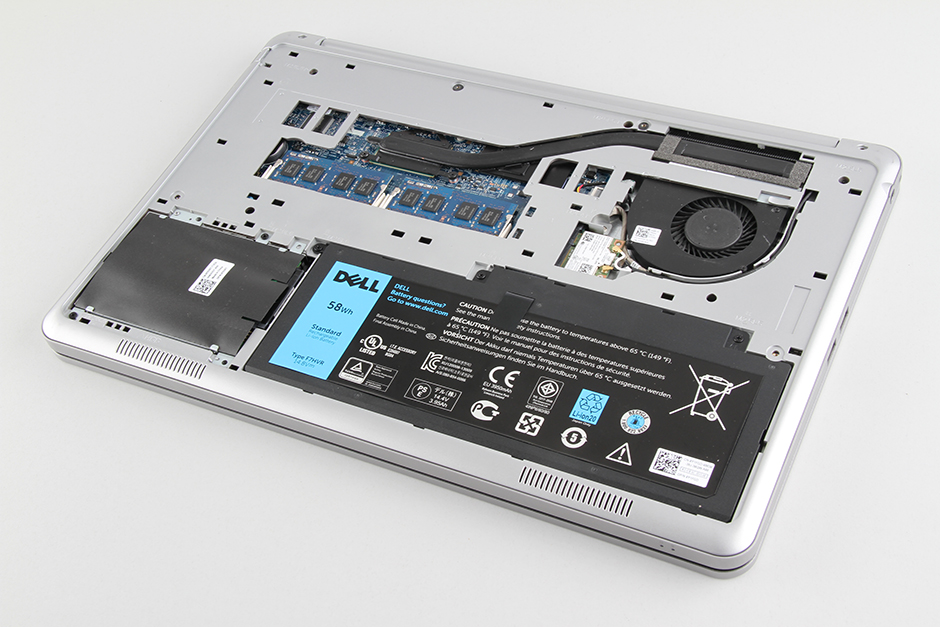
Remove the three screws securing the battery
Lift up the black tape and remove the battery.
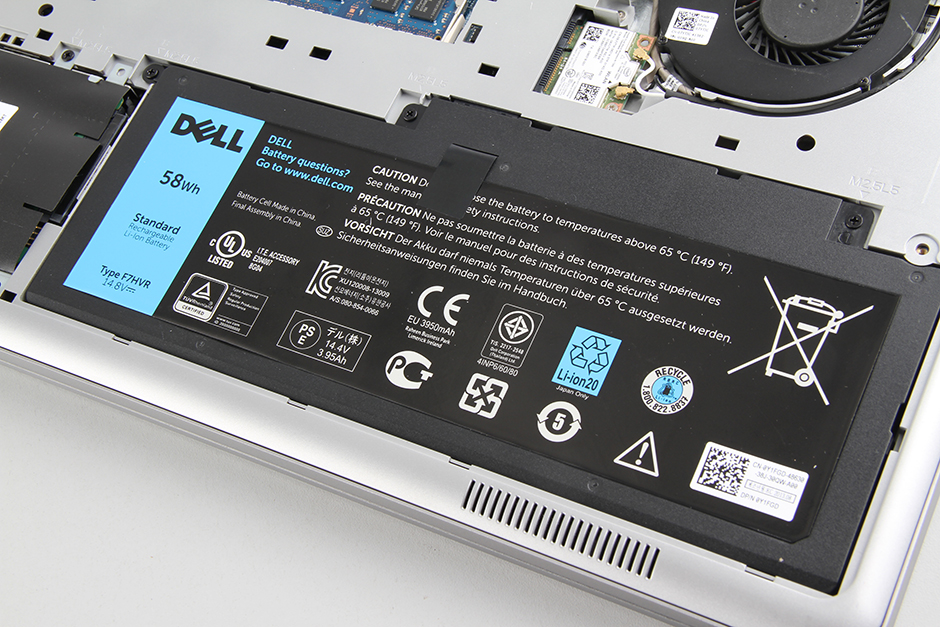
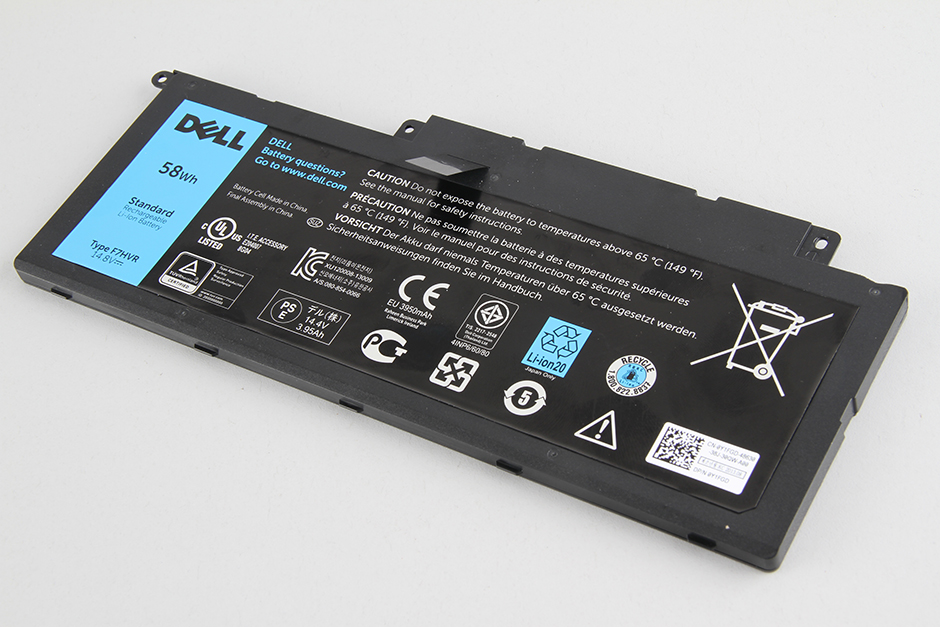
The Dell Inspiron 15 7537 comes with a 58Wh Li-ion battery, Dell part number: F7HVR.

Remove the two screws securing the hard drive.
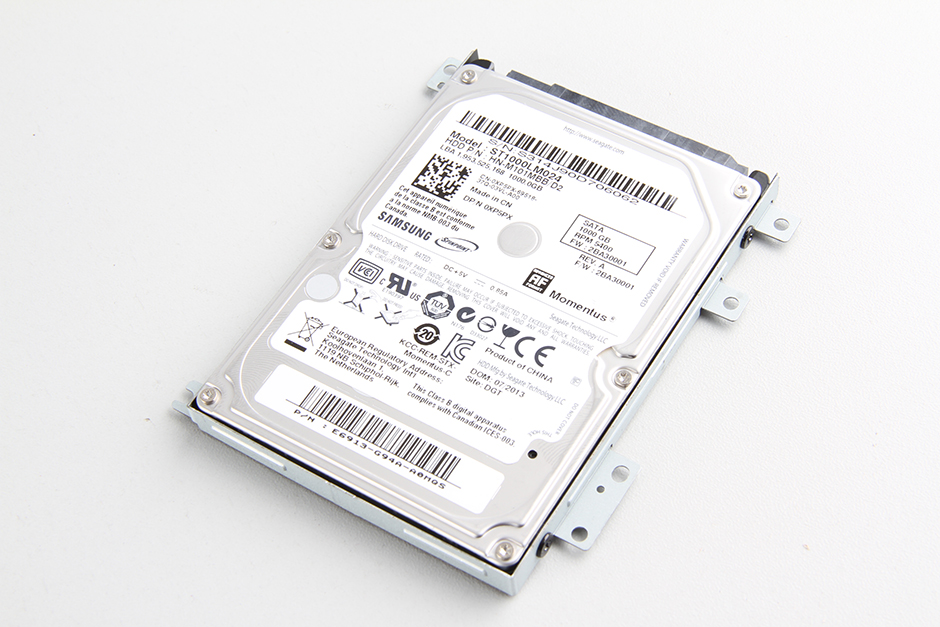
Lift and remove the hard drive module.
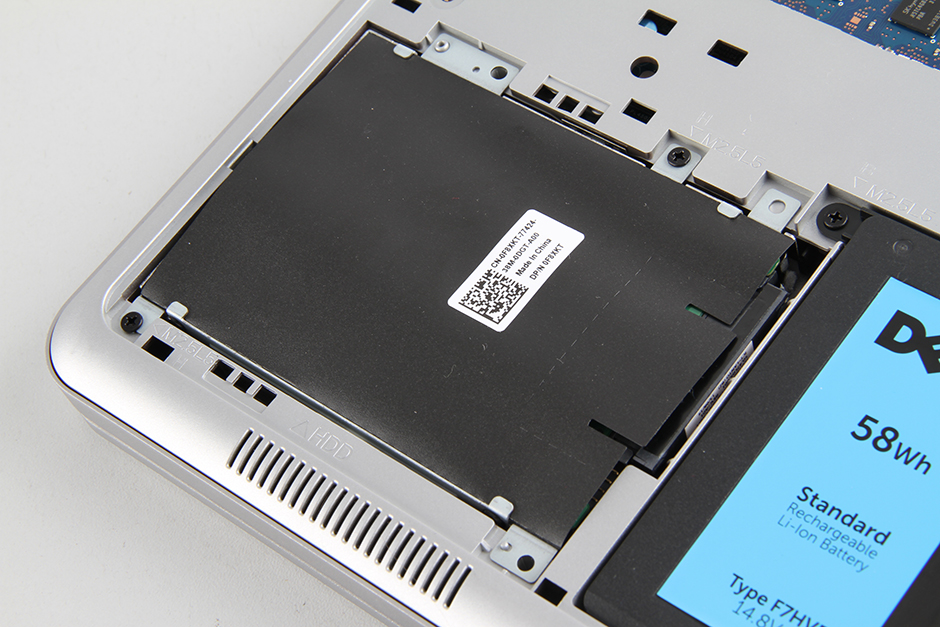
Dell Inspiron 15 7537 hard drive module
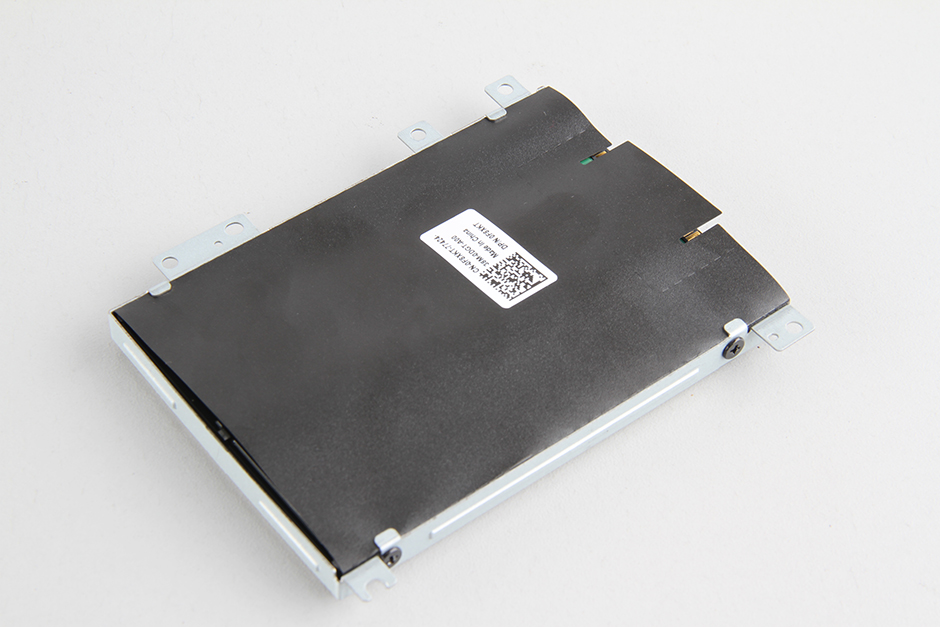
The laptop comes with a Samsung 1000GB 5400 RPM hard drive.
Remove the screw securing the wireless card.
Unplug two antenna cables. You can remove the wireless card.
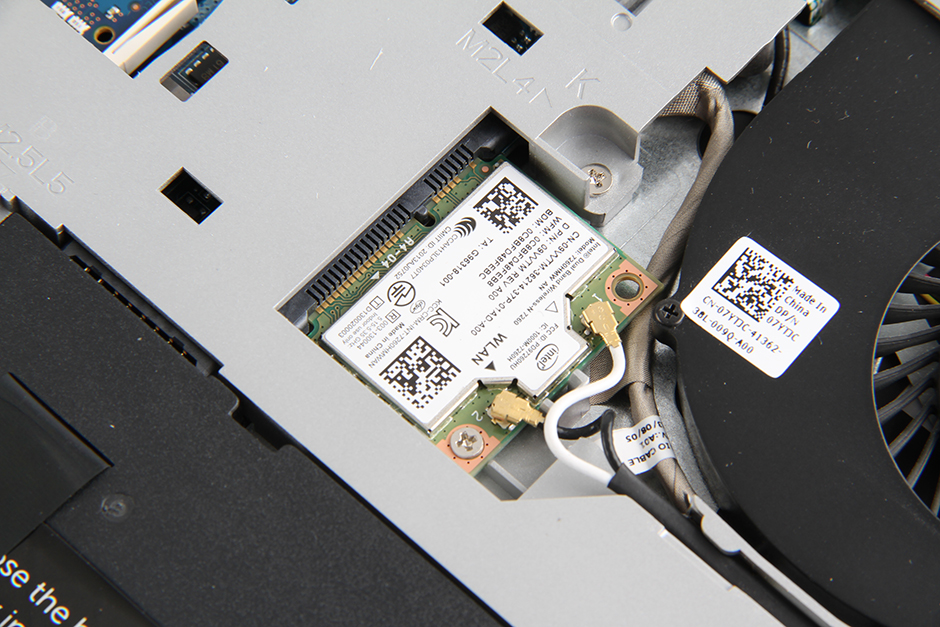
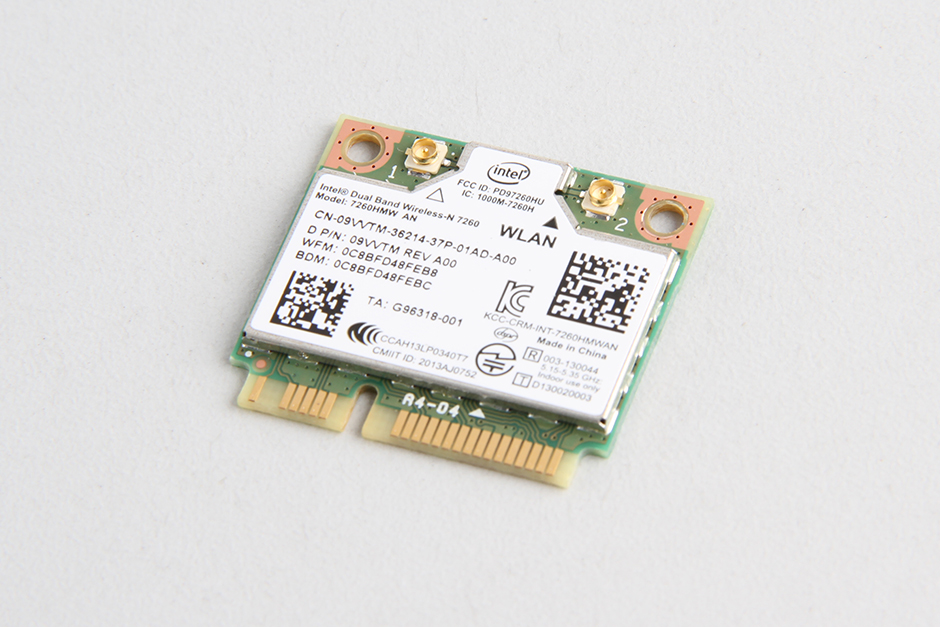
The laptop comes with an Intel Dual Band Wireless-AC 7260 wireless card, Dell part number: 09VVTM.
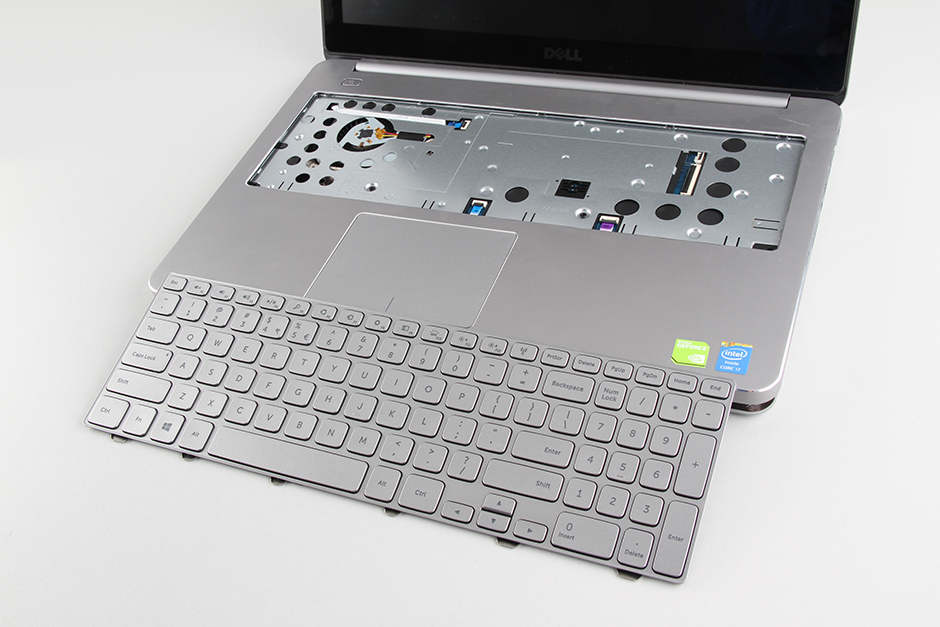
Turn over the laptop and remove the keyboard.
Remove all screws securing the palm rest.
Disconnect four cables from the motherboard.
Remove the middle frame.
Under the middle frame, you can get access to the speaker, touchpad, USB board, heat sink, and cooling fan.
The USB board connects to the motherboard by a data cable, Dell P/N: 097M4H

Close-up of the USB cable
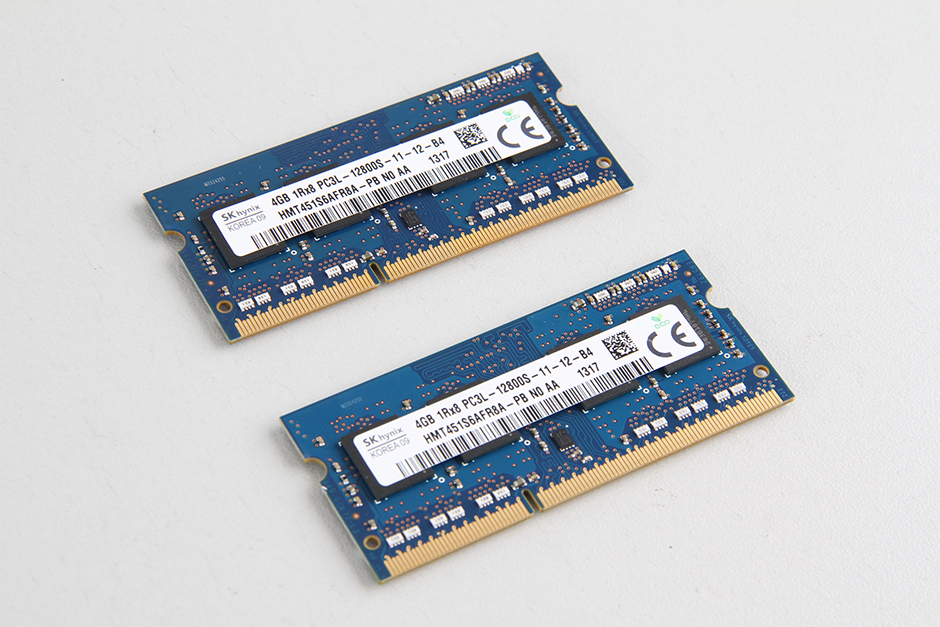
Use your fingernails to separate the clips on both sides, and the memory module will pop out automatically.
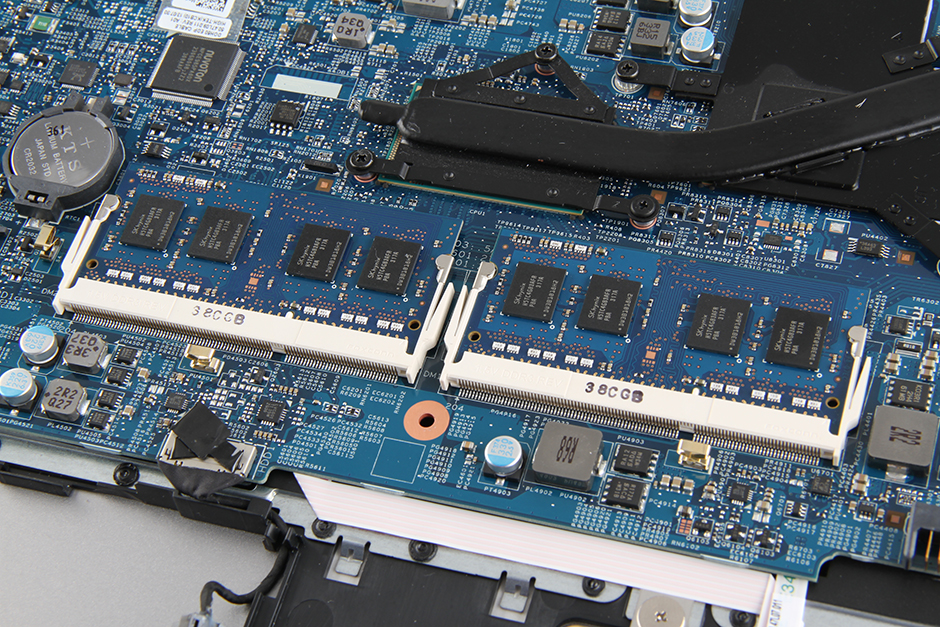
The Dell Inspiron 15 7537 comes with two SK Hynix 4GB PC3L-12800S 1600MHz memory modules.
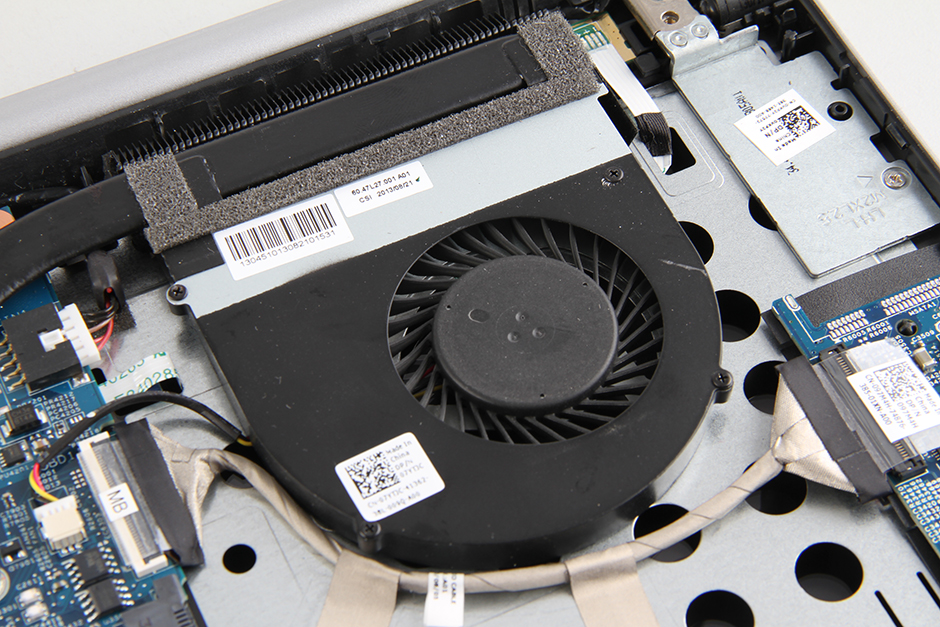
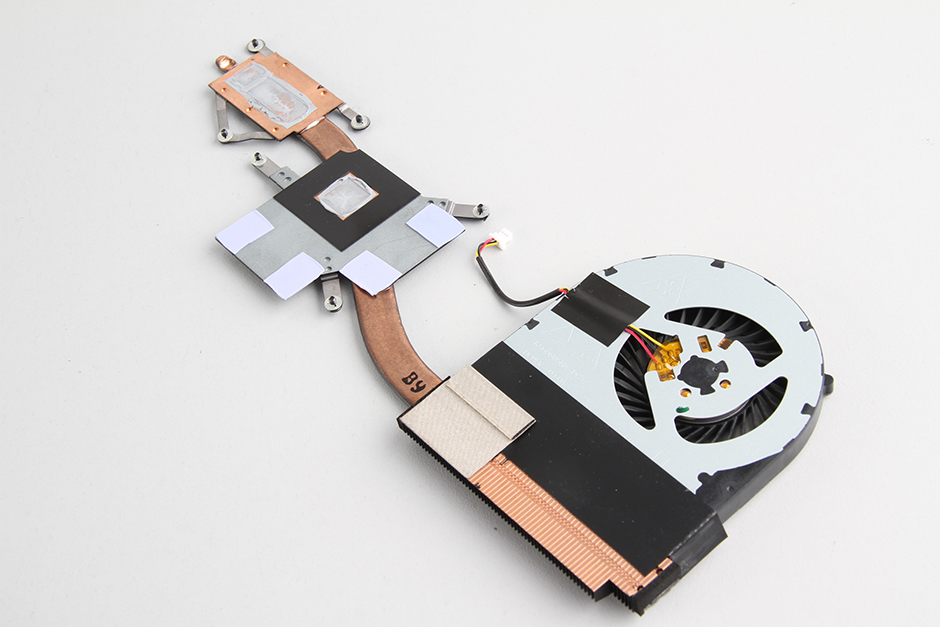
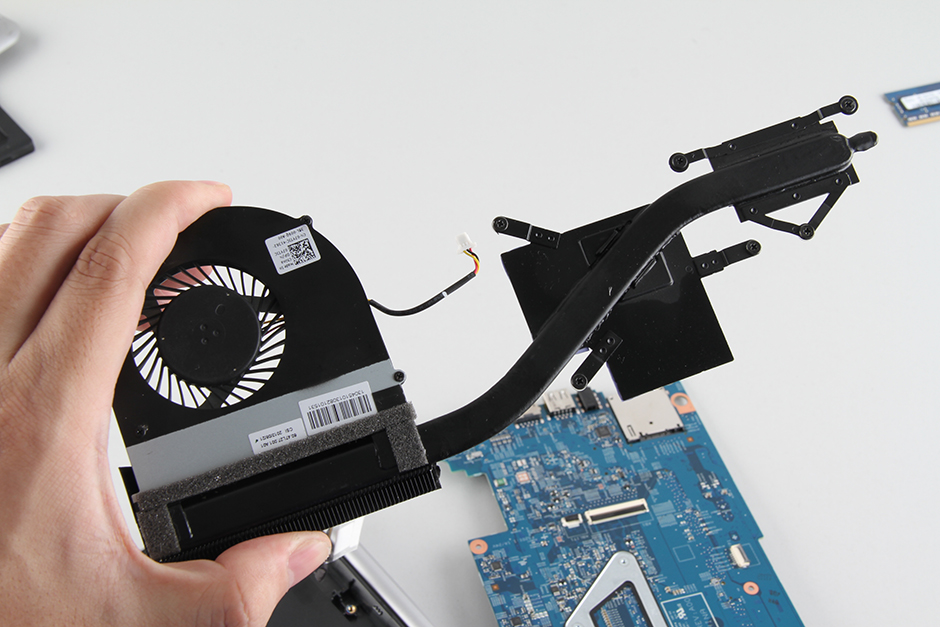
Loosen the six screws securing the heat sink.
Disconnect the fan cable from the motherboard. You can remove the heat sink.
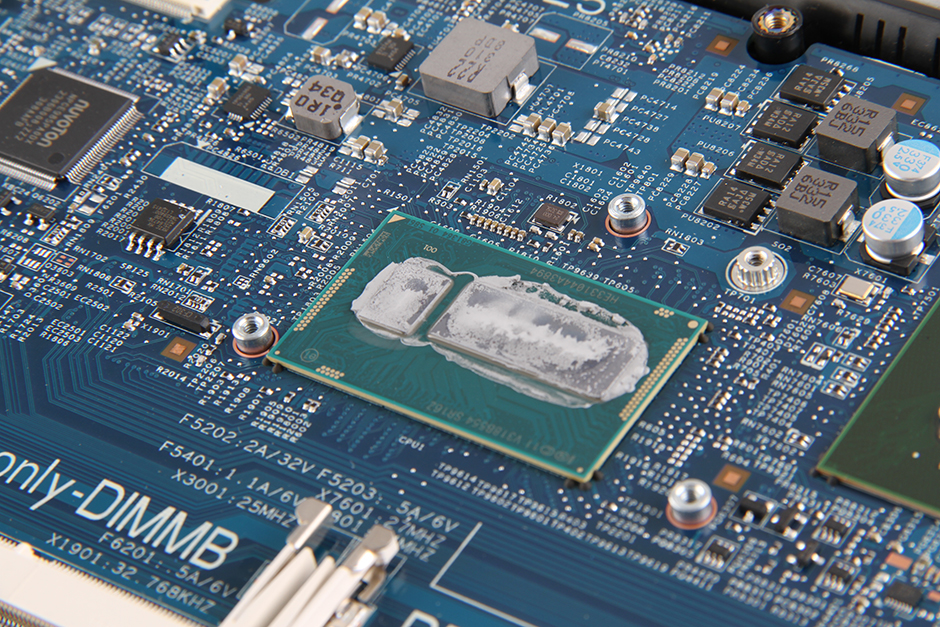
The Intel Core i7-4500U processor is directly soldered onto the motherboard, so the processor cannot be upgraded.
Remove all screws securing the motherboard and disconnect the ribbon cables connected to the motherboard. Lift the motherboard from one side with your hand and remove it.
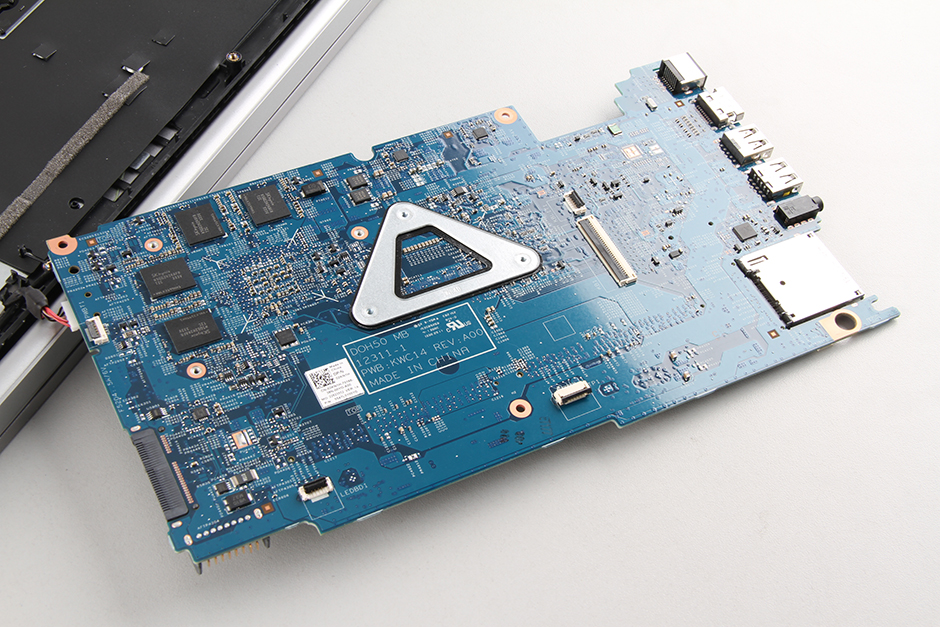
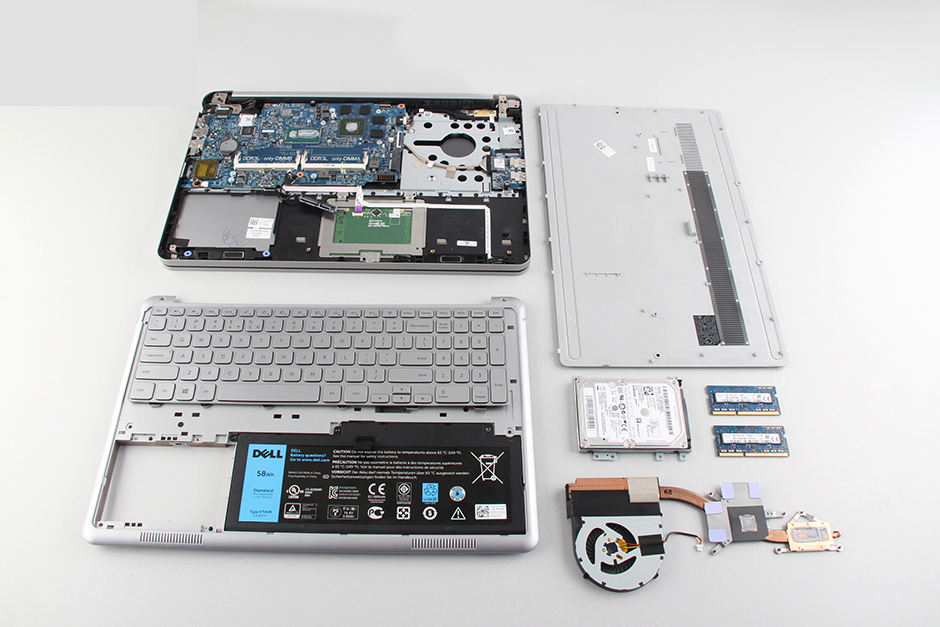
Dell Inspiron 15 7537 internal parts
Hello there!
Nice guide. I have 1 question. What is this port for? Was it used before disassembly? https://www.dropbox.com/s/9ucemg9ktpa9n99/port.PNG
I am finding a workaround for how to connect an mSATA SSD to this notebook.
Thank you for your answer. Daniel
I would also like to update the 7537 with the mSATA SSD. As we can see, there is only one missing connector on the USB daughter board. So my question is: if I solder the missing connector to the daughter board, will the mSATA still work?
Did you solder the mSATA connector? work?
It is a half-mini PCI-Express. You can probably upgrade it, but you have to remove the wireless LAN card.
Hi, I have 2 questions. Can we change the CPU to 4700HQ or 4700MQ?
And can we add a second HDD?
Yes, you can change to 4700MQ, but no way to add a second HDD.
@Kamil
I haven’t soldered the mSata connector yet, but I have it at home waiting to be soldered. I ordered from China for around $2.
Ok, I’ve disassembled my 7537 to take a look at what’s going on with this mysterious mSATA/USB board. Is it possible to solder the mSATA connector that I’ve bought?
First, my mSATA connector doesn’t fit the board connections because the pins on my connector are on both sides. It has to be another mSATA connector with pins only on one side.
Second, I think on the lower side of the board, you can see that some chips are missing (maybe the mSATA controller chips), so I don’t think mSATA will work with only a soldered connector.
I’ve made a picture of the board:
http://abload.de/image.php?img=7537msata5wke6.jpg
Thank you! I’ve searched for hours for this information!
Hello friends. Did anyone really try to change the processor of the 7537 to a better one? I chatted with Dell today, and they told me that it is not possible to change the processor on the 7537 to another one.
The CPU can not change.
Hey guys,
For some weird reason, my 7537 came with 6GB of RAM. Do you think I can upgrade it to 8GB x 2 = 16GB of RAM? Are there any DDR or BUS limitations?
Also, mine came with a 500GB 5400RPM HDD. Do you think installing a 7200RPM will be a problem? What about hybrid SSHD? Will that be a problem?
My CPU: http://s22.postimg.org/oehic7g9d/cpu.png
My RAM: http://s22.postimg.org/tomh3i0i9/ram.png
I ordered mine from Dell with 16GB RAM, so yes, it should be no problem!