In this guide, I will explain how to disassemble the Dell Latitude E7440 to remove and replace the SSD, keyboard, palm rest, wireless card, RAM, heatsink, cooling fan, speakers, and motherboard.
Follow us on Facebook for the latest updates from MyFixGuide.com.
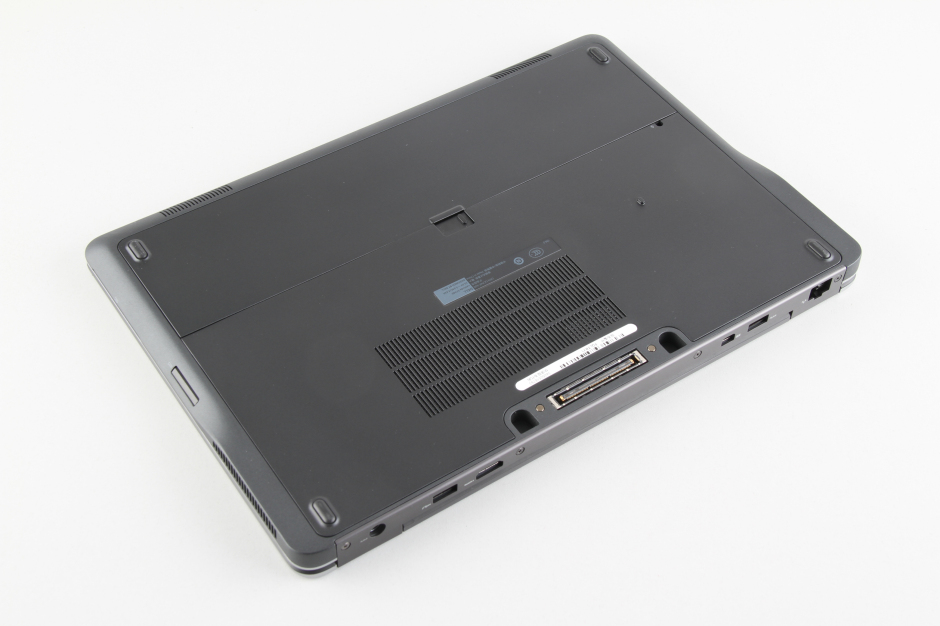
Unlock and remove the battery.
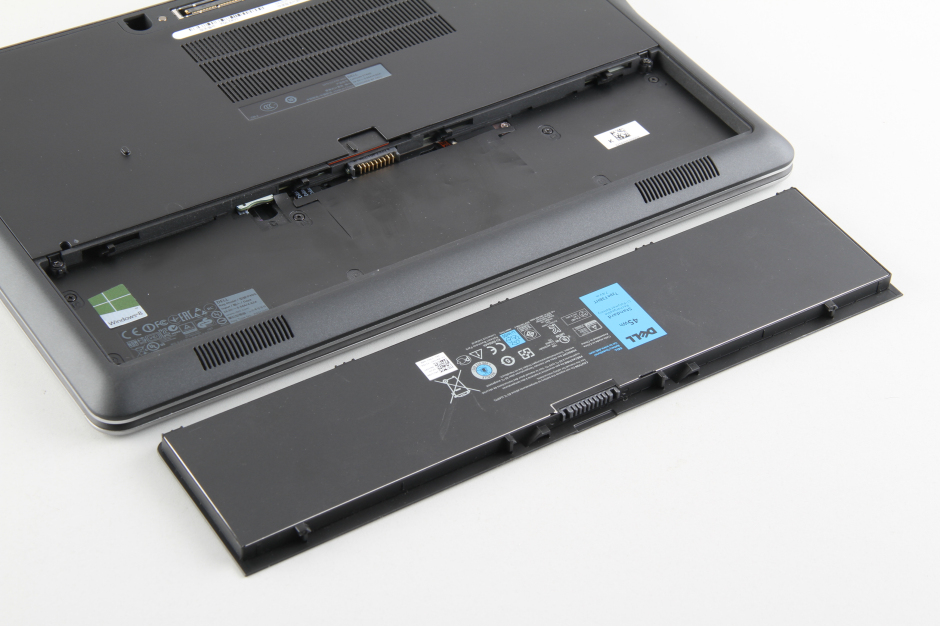
The Dell Latitude E7440 features a 7.4V, 45Wh Li-polymer battery, Dell P/N: F38HT.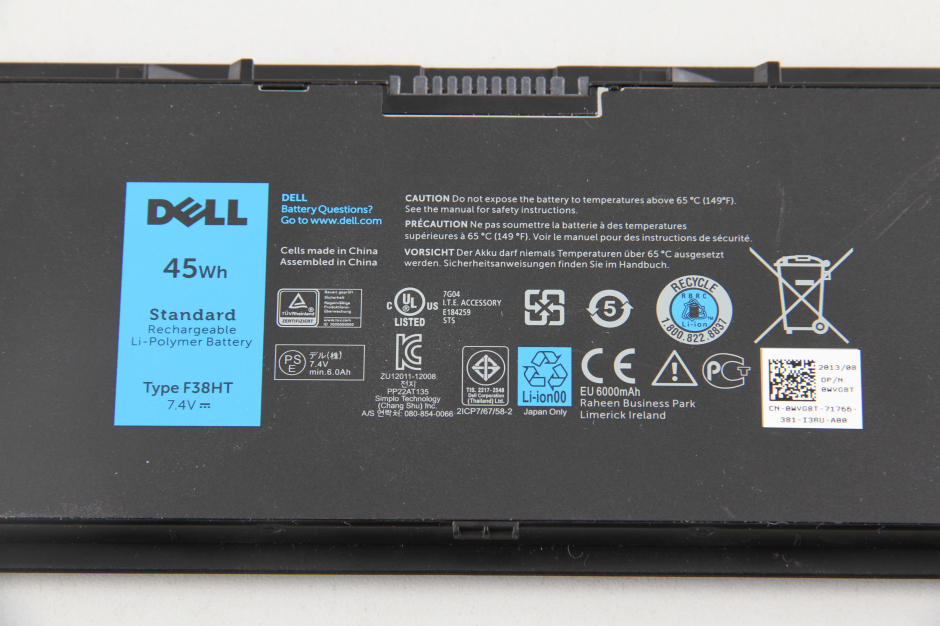
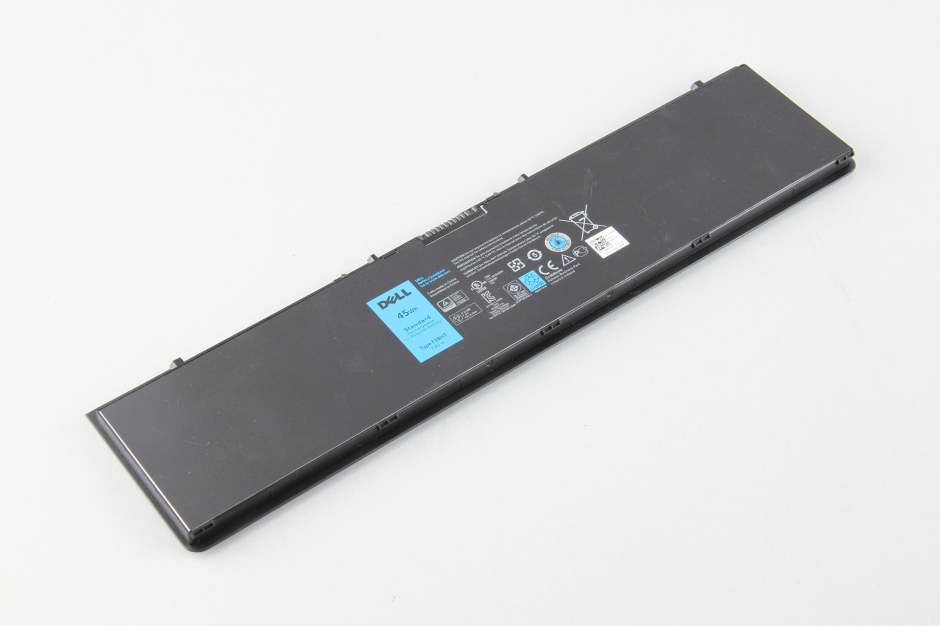
The battery is removed.
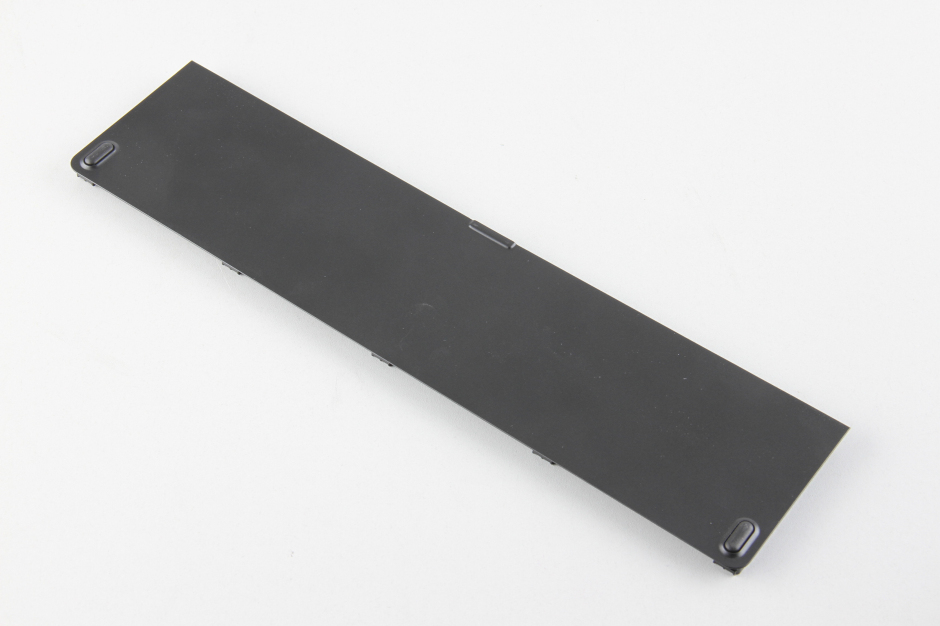
The back of the battery.
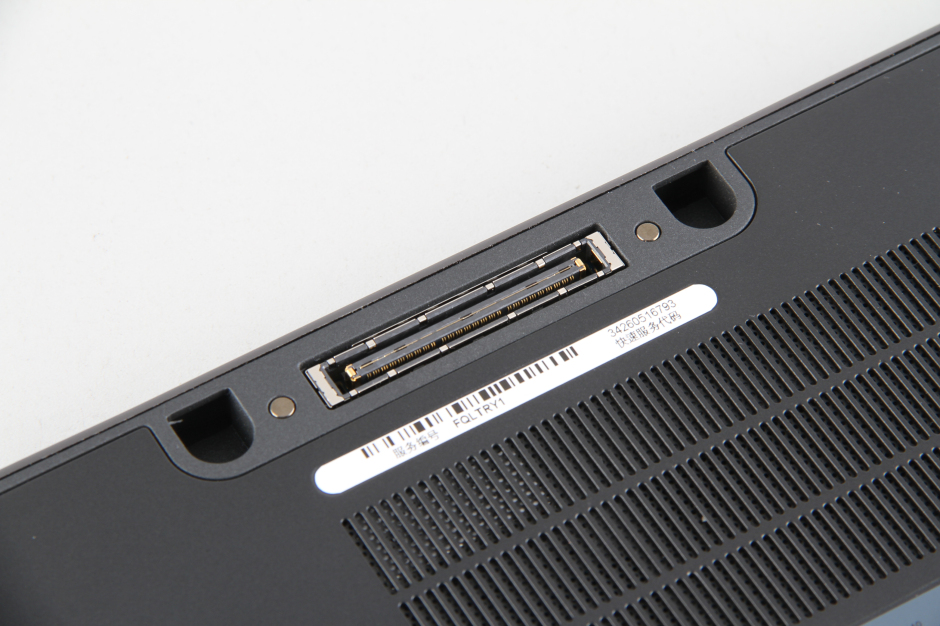
Remove the strip decoration.
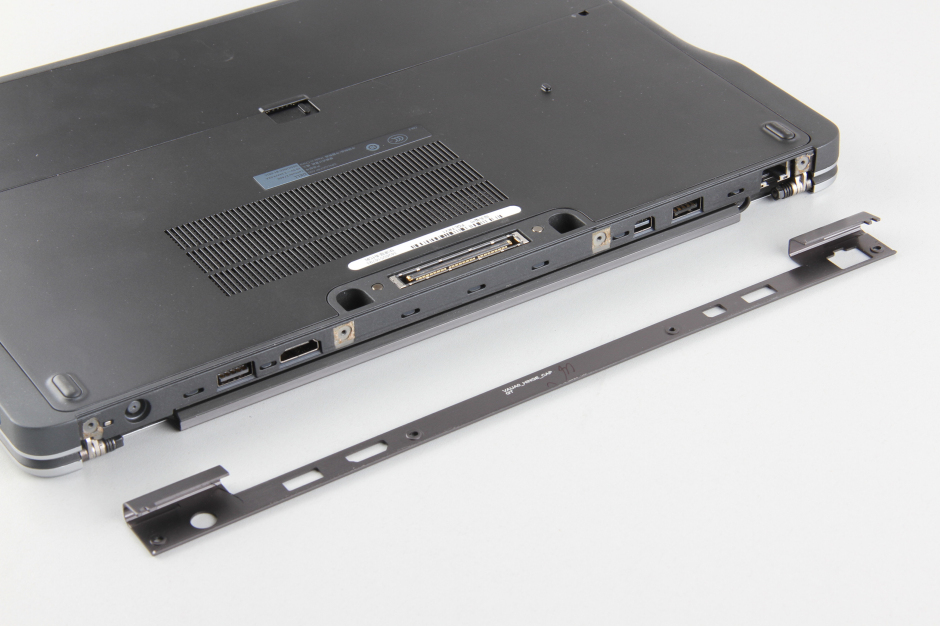
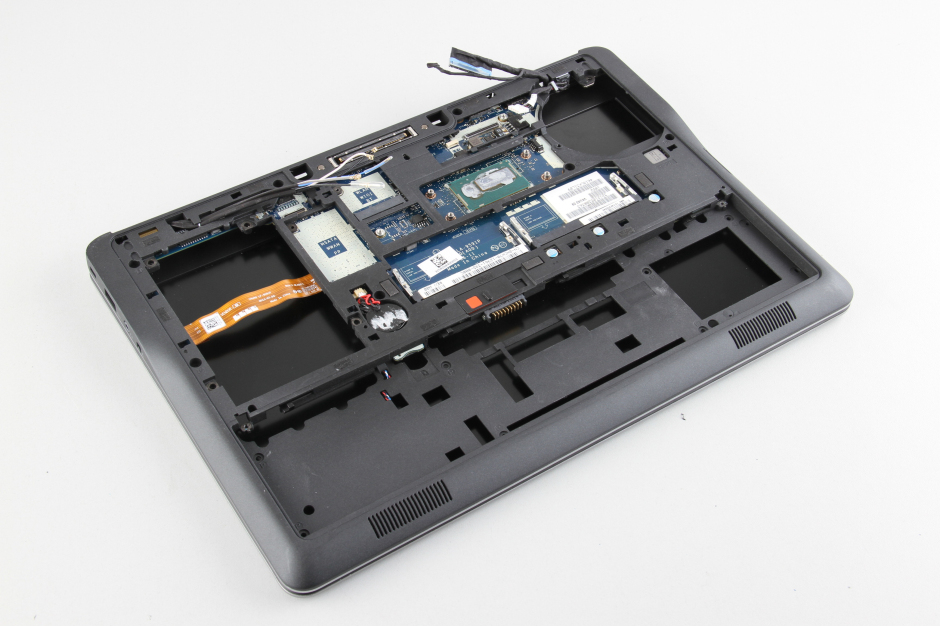
Unlock and remove the service cover.
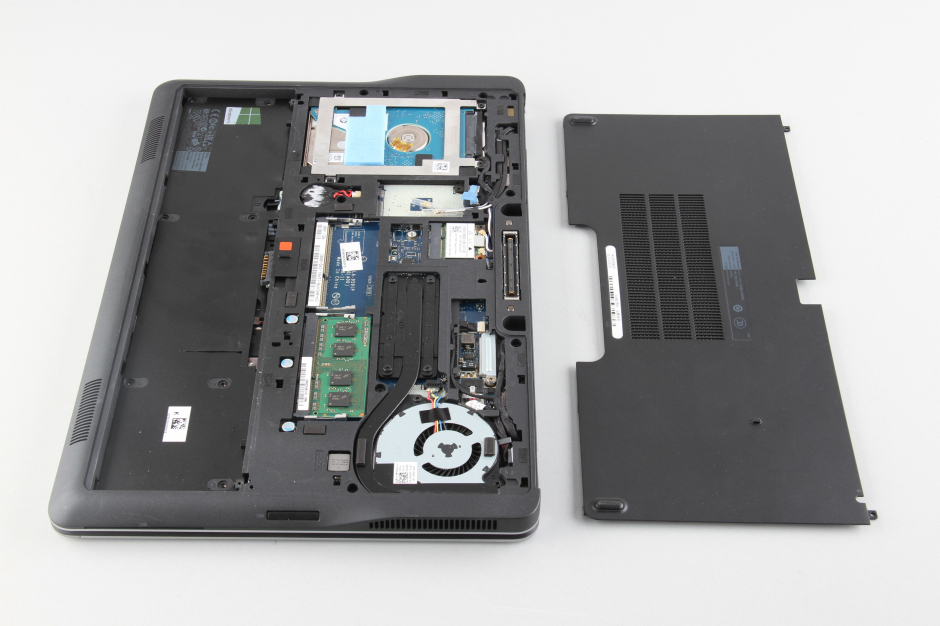
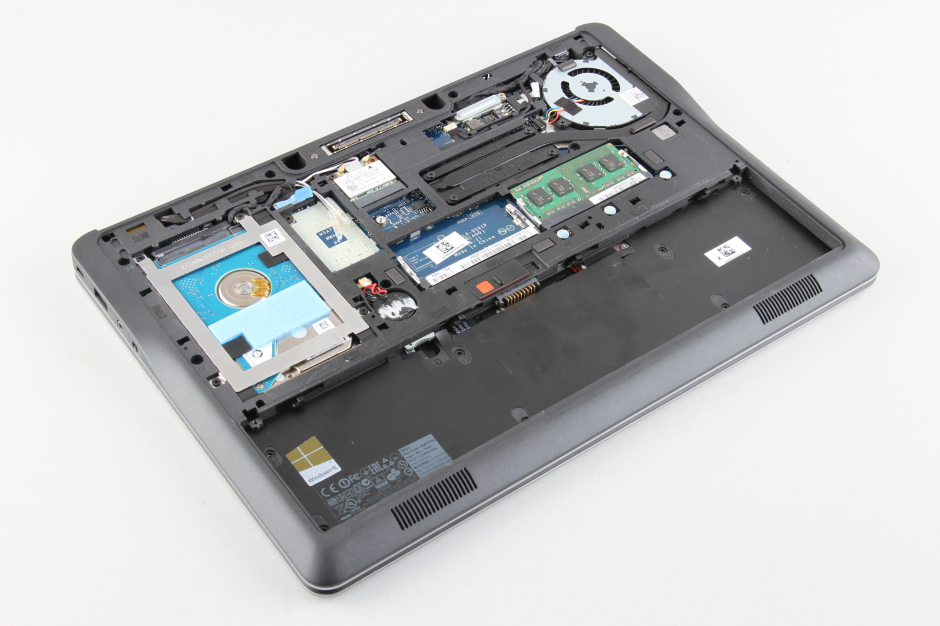
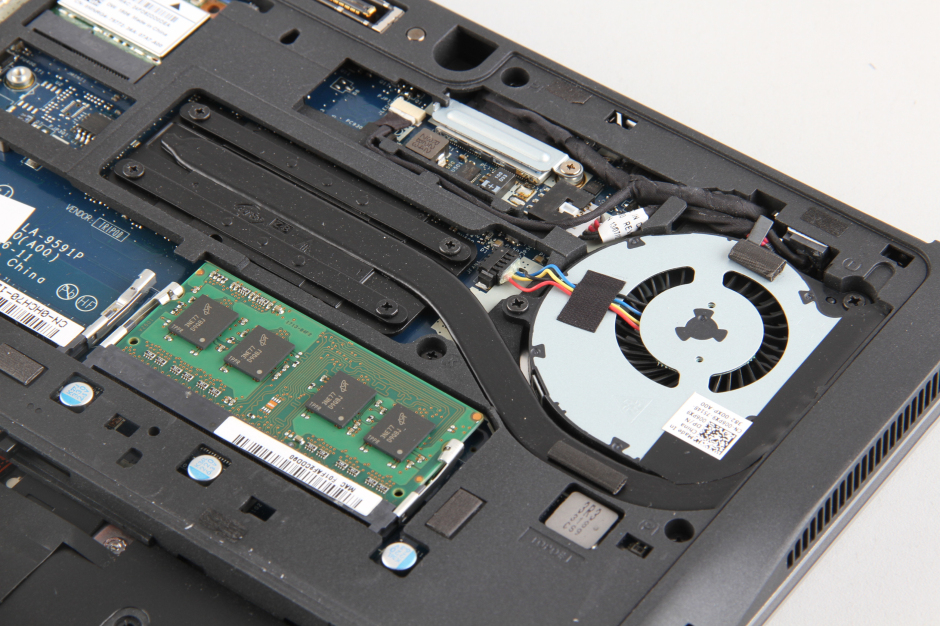
When the cover is removed, you can access the RAM, wireless card, CMOS battery, hard drive, heat sink, and cooling fan.
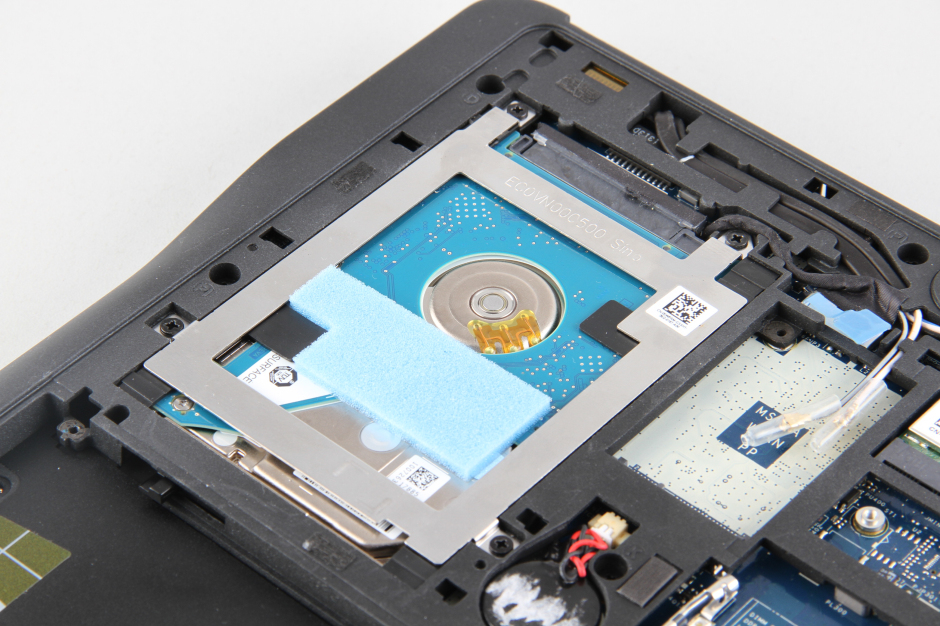
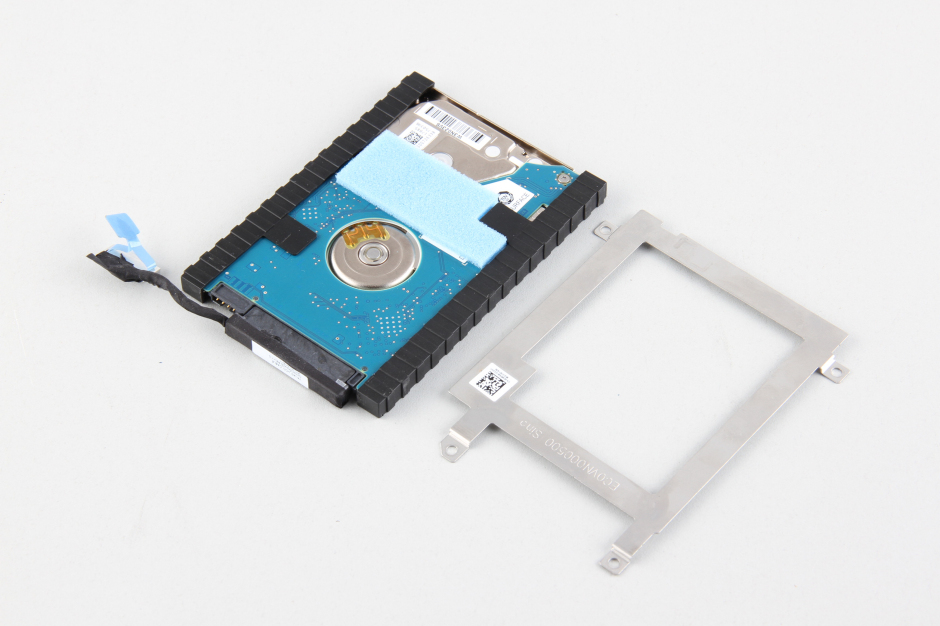
You can remove the hard drive assembly by removing four screws that secure it and disconnecting the cable from the motherboard.
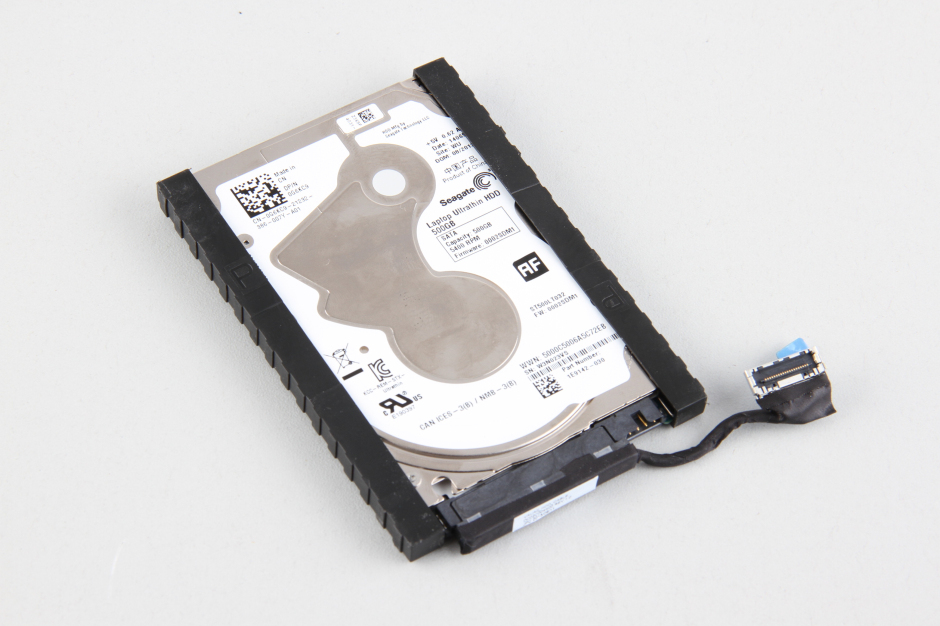
The Dell Latitude E7440 comes with a 500GB Seagate hard drive.
The Dell Latitude E7440 has two memory slots, so you can easily upgrade the memory.
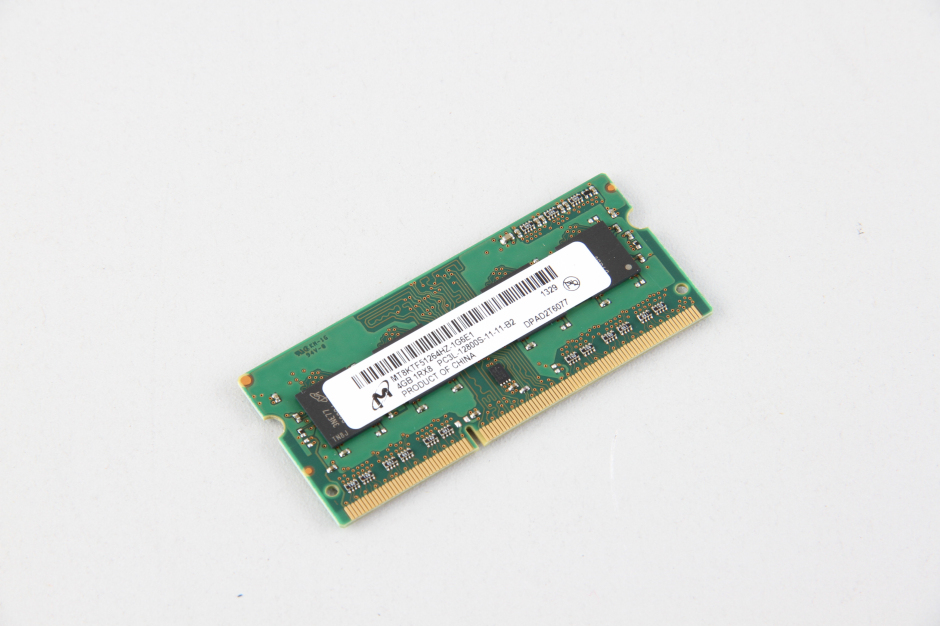
The memory module has been removed. It is a Micron 4GB DDR3L-1600MHz memory module.
Disconnect the two antennas and remove one screw. You can remove the wireless card.
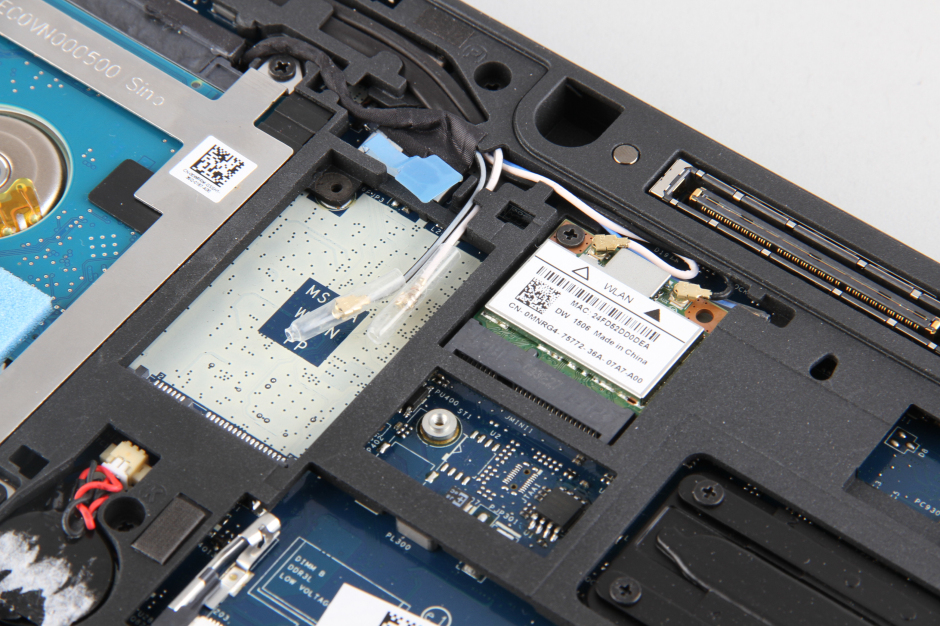
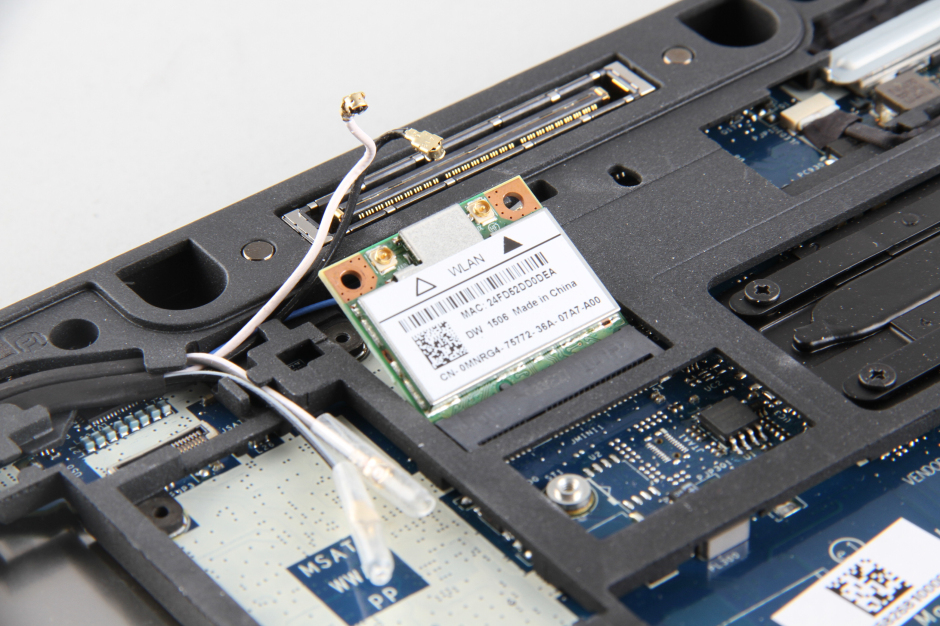
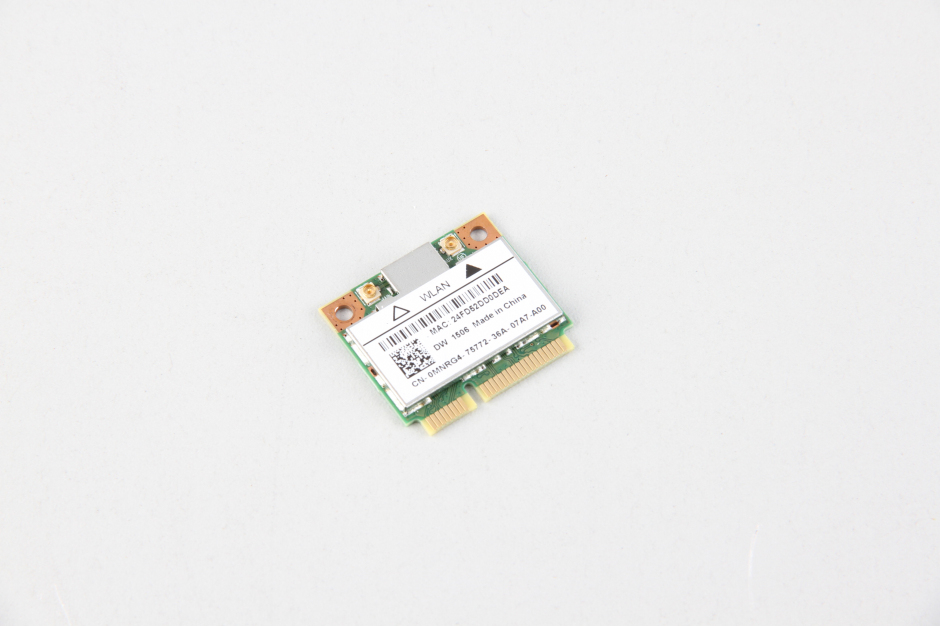
The laptop comes with a DW1506 wireless card, Dell P/N: OMNRG4.
Remove the four screws securing the heat sink and the two screws securing the cooling fan.
Disconnect one cable from the motherboard. The heat sink can be removed.
Here’s the heat sink and cooling fan module.
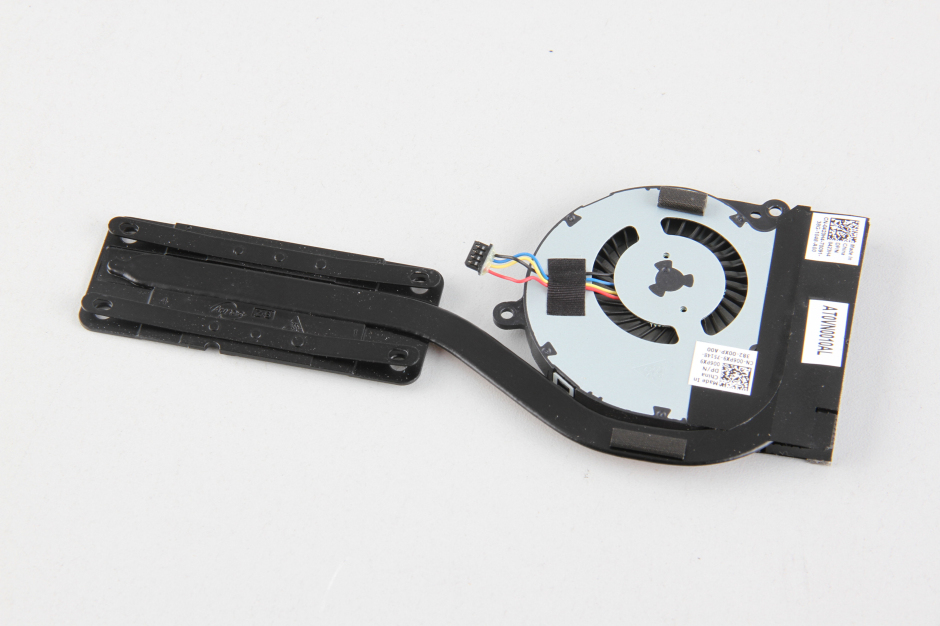
Close-up of the Dell Latitude E7440 heat sink and cooling fan module.

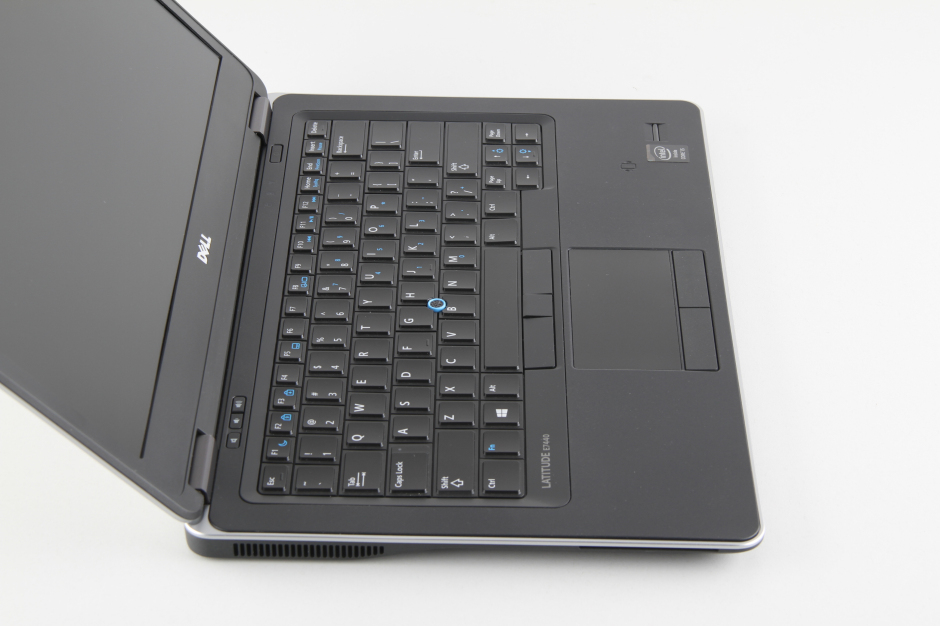
Turn over your laptop. Next, we will remove the keyboard and palm rest.
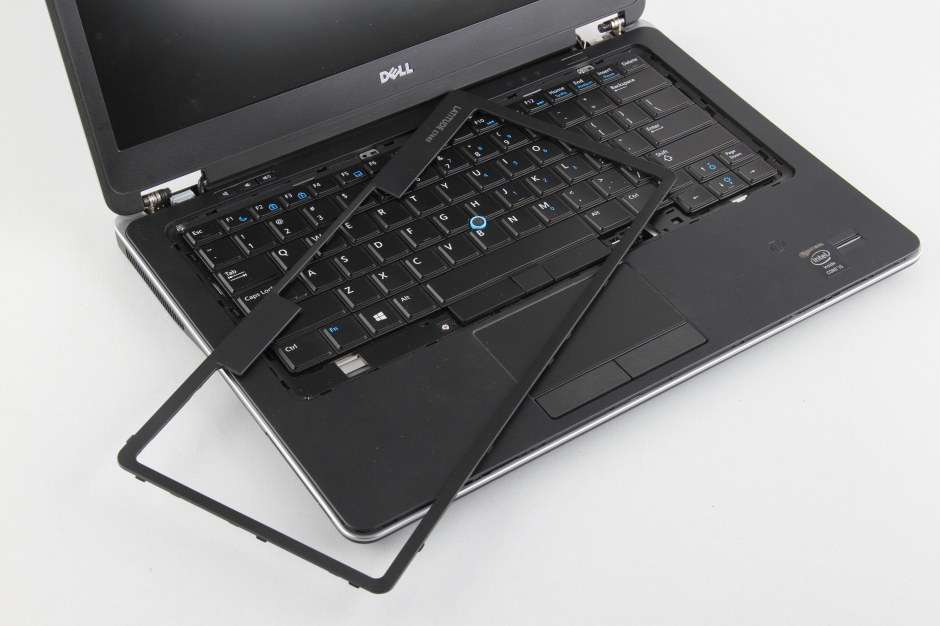
Remove the keyboard frame.
Remove all screws securing the keyboard.
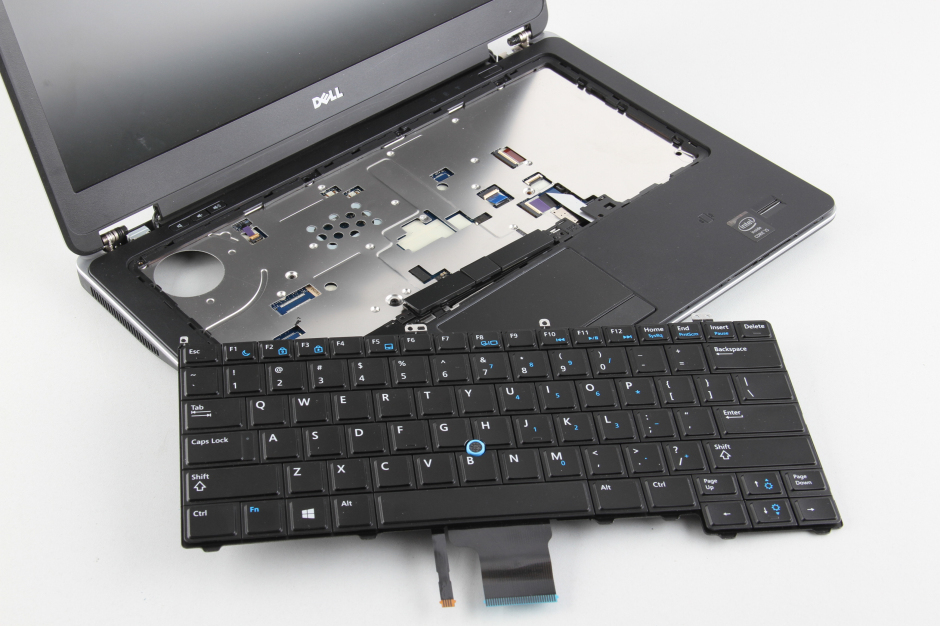
Lift the keyboard and disconnect the keyboard cable and backlight cable.
Remove all screws securing the palm rest, then pry it up and remove it.
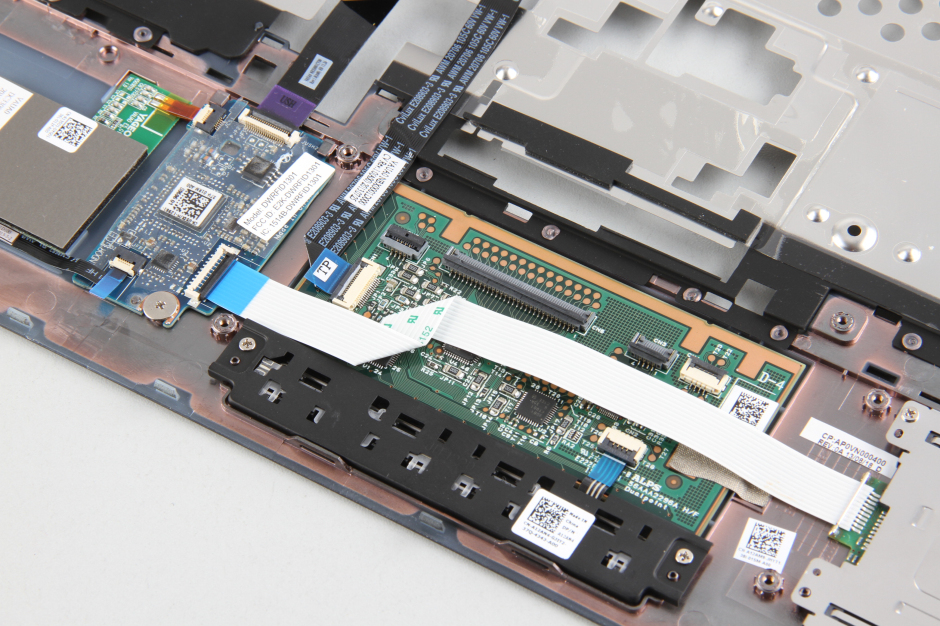
On the back of the keyboard, you can access the touchpad module.
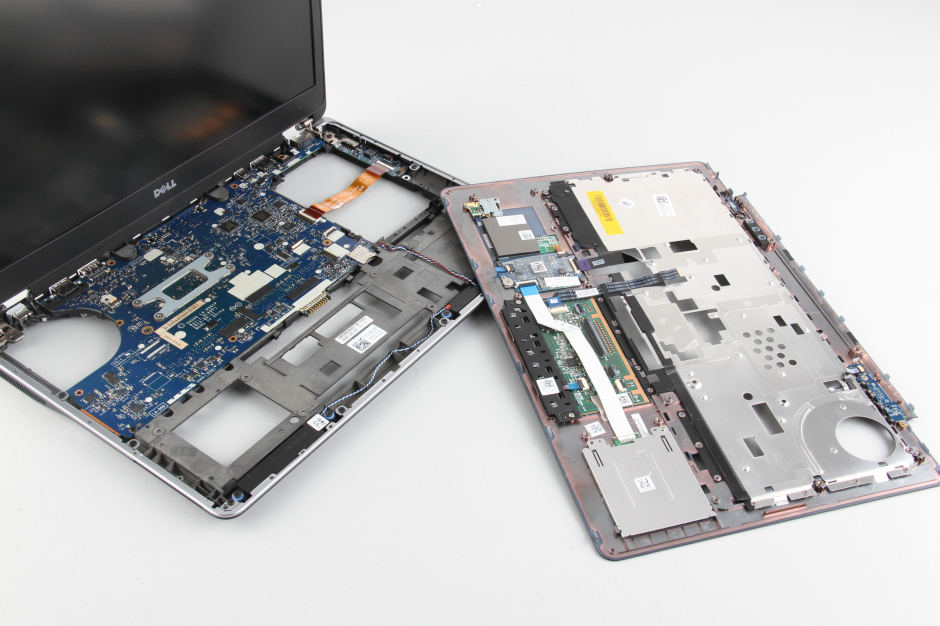
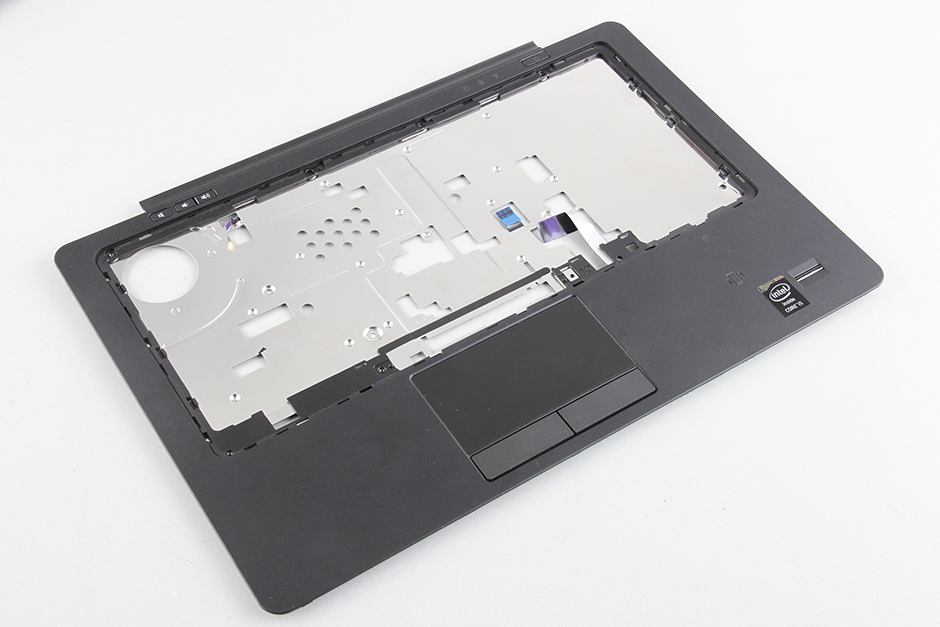
The palm rest has been removed. This is a close-up of the palm rest.
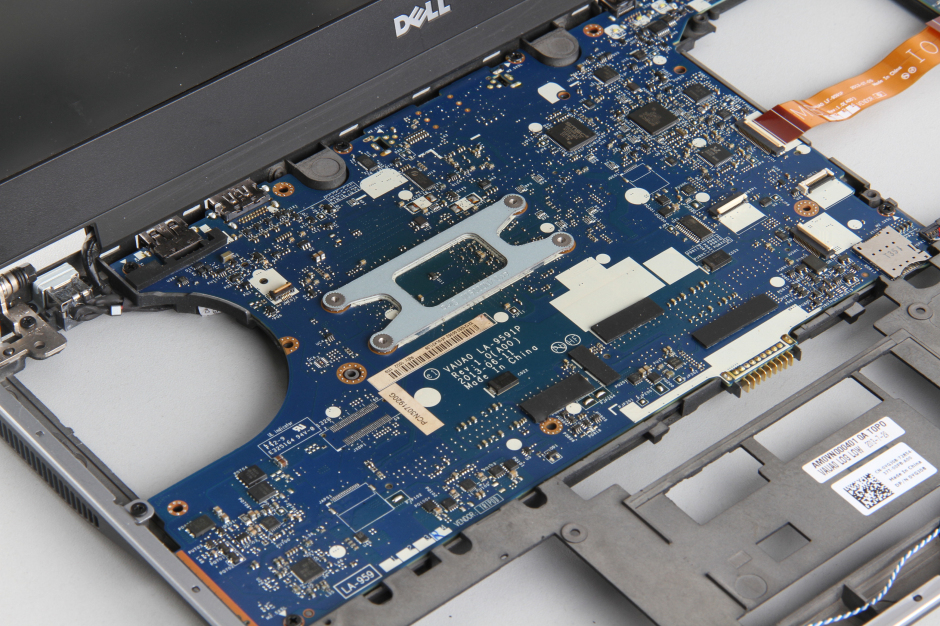
After removing the palm rest, we can access the motherboard, but we will not remove the motherboard in this guide.
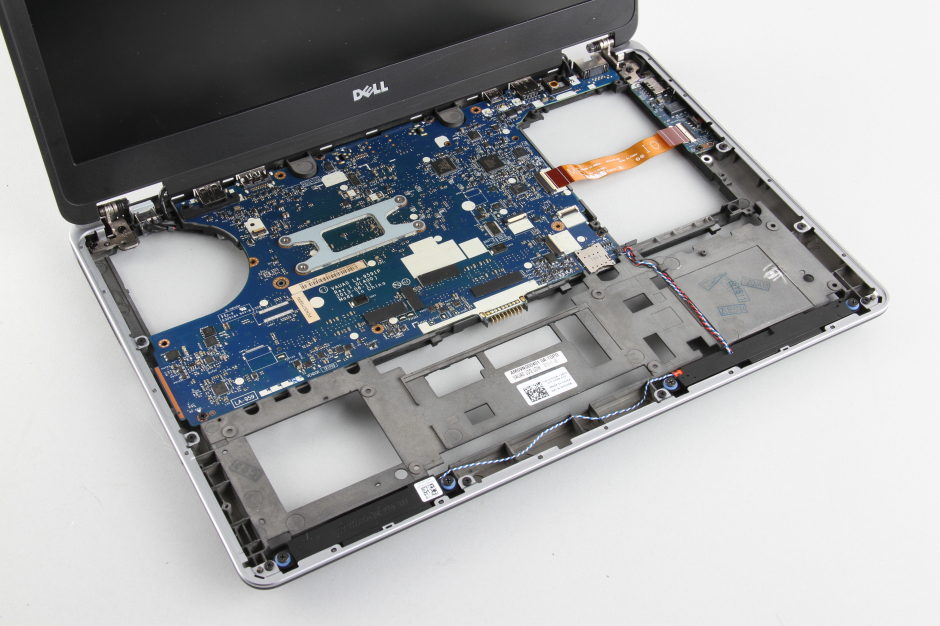
Close-up of the motherboard.