
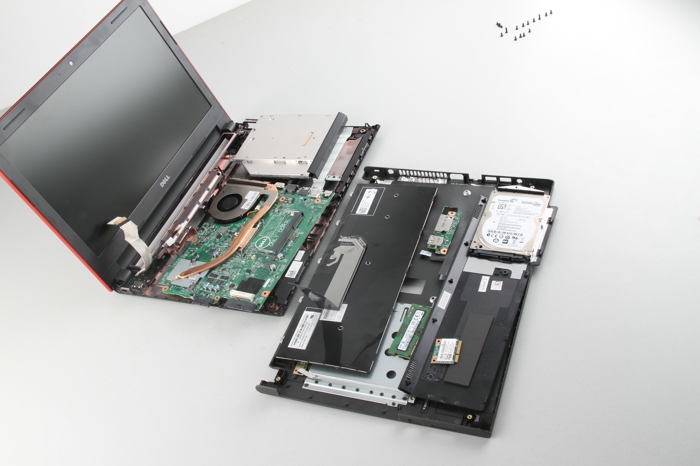
In this guide, I will explain how to disassemble the Dell Vostro 3446 to remove the DVD drive, hard drive, keyboard, palm rest, wireless card, RAM, heat sink, cooling fan, speakers, and motherboard.
Looking for more guides? Follow us on Facebook for all the latest repair news.
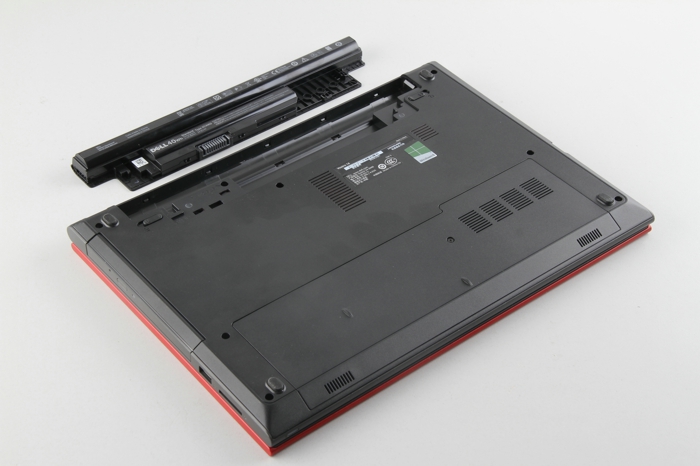
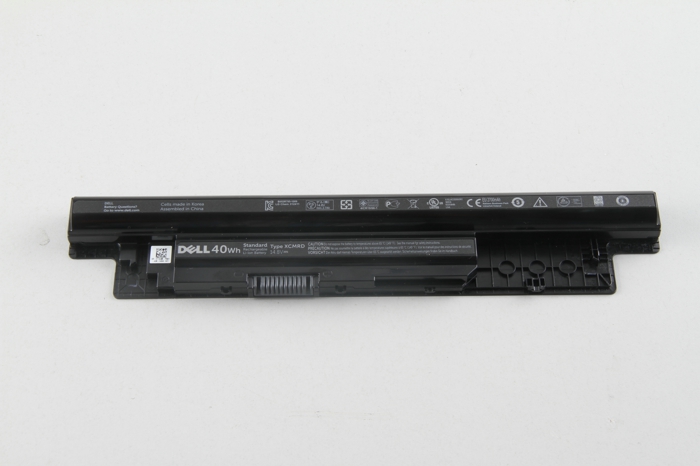
Step 1: Remove the battery
-
- Unlock and remove the battery.
-
- The Dell Vostro 3446 comes with a 40Wh battery.
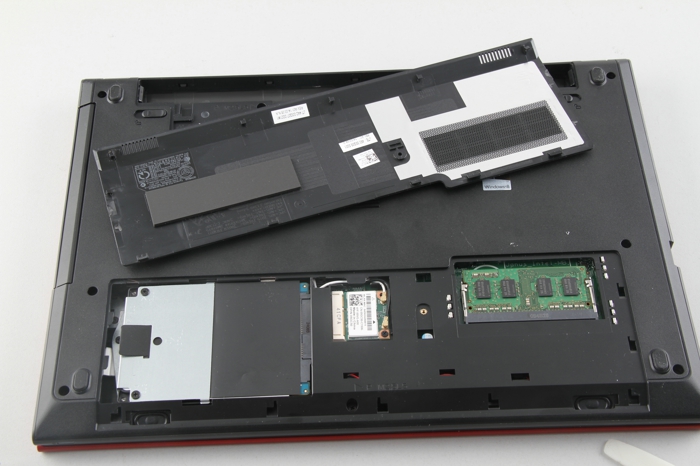
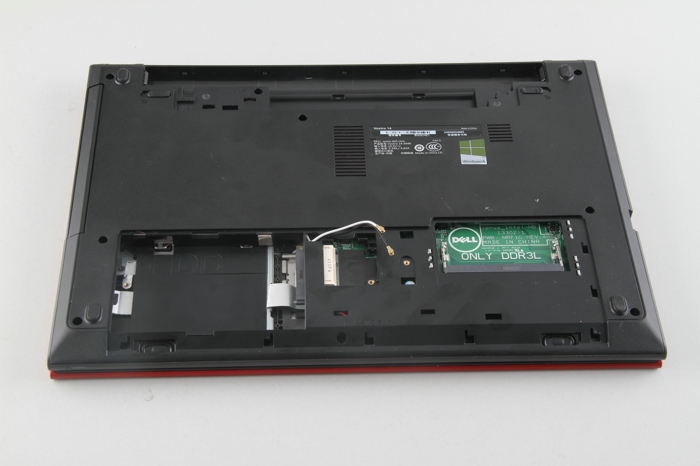
Step 2: Remove the service cover
-
- Remove the screw securing the service cover. Use a pry bar to slowly pry open the service cover and remove it.
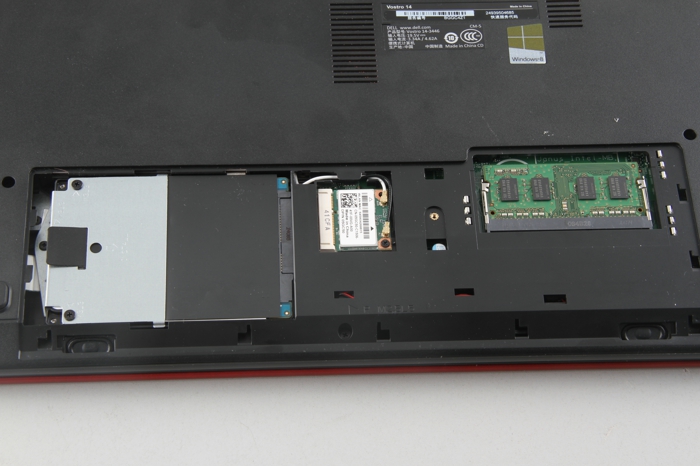
- Under the service cover, you can access the hard drive, RAM, and wireless card.
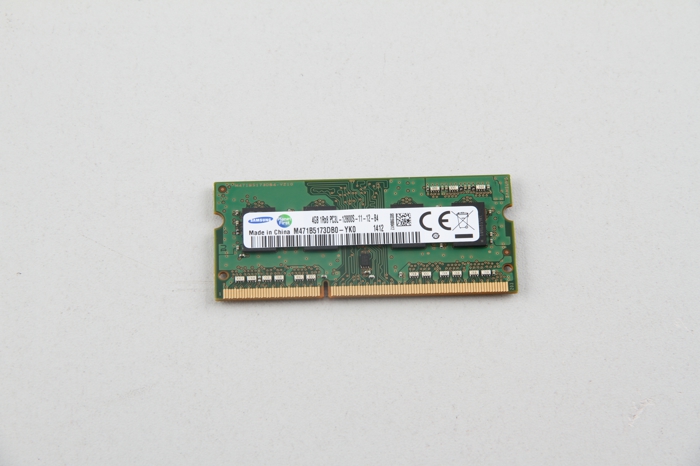
Step 3: Remove the RAM
-
- Use your nails to pry open the clips on both sides of the memory module, and the memory module will automatically pop out.
-
- The laptop comes with a Samsung 4GB memory module.
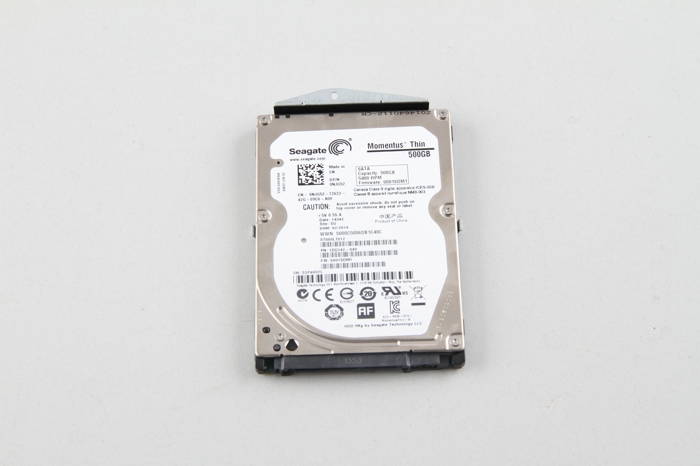
Step 4: Remove the hard drive
-
- Remove the screw securing the hard drive assembly. Lift the black tape and slide it to the left to disconnect it from the motherboard.
-
- The laptop features a 500GB Seagate hard drive.
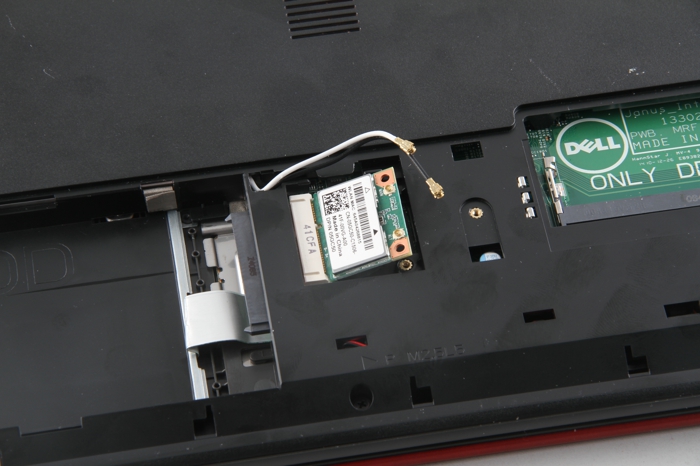
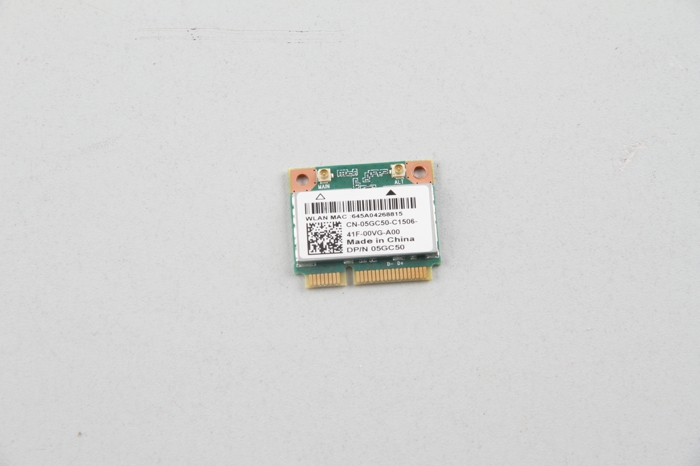
Step 5: Remove the wireless card
-
- Disconnect the two antenna cables and remove the screw securing the wireless card.
-
- Wireless card
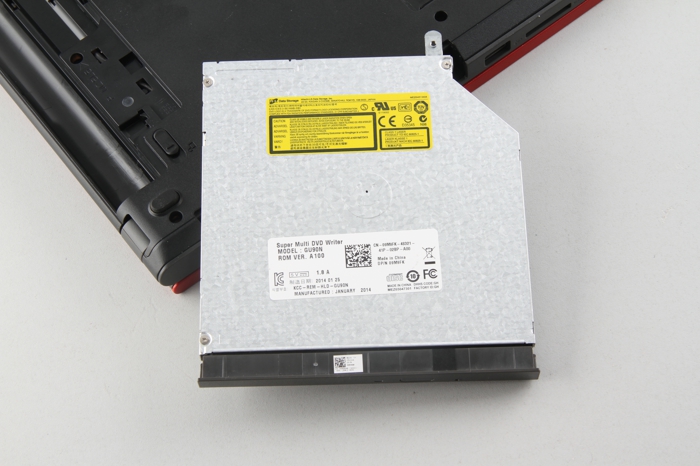
Step 6: Remove the DVD drive
-
- Remove all screws from the bottom cover.
-
- Pull out the DVD drive.
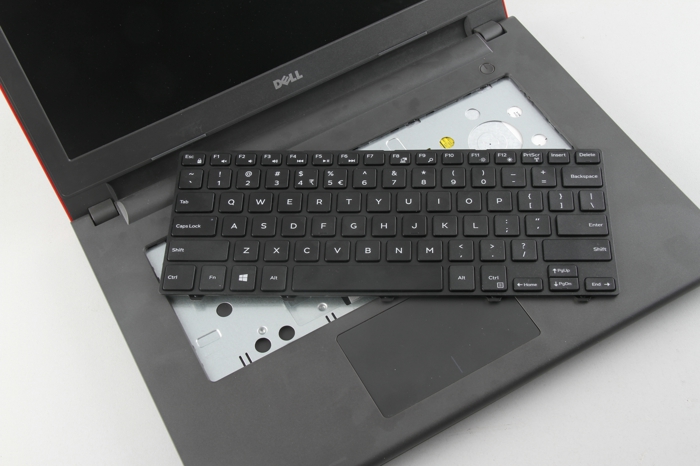
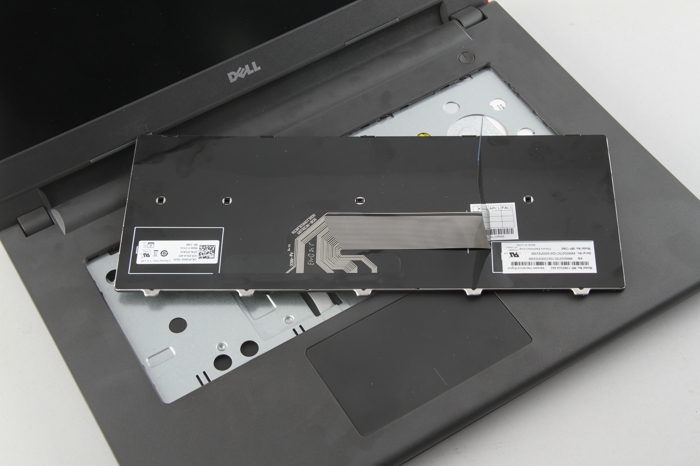
Step 7: Remove the keyboard
-
- Turn over your laptop. Insert a plastic pry tool under the keyboard and slowly pry it up. Lift the keyboard and disconnect the keyboard cable from the motherboard.
-
- The keyboard has been removed.
Step 8: Remove the palm rest
-
- Disconnect the two cables and remove the three screws securing the palm rest.
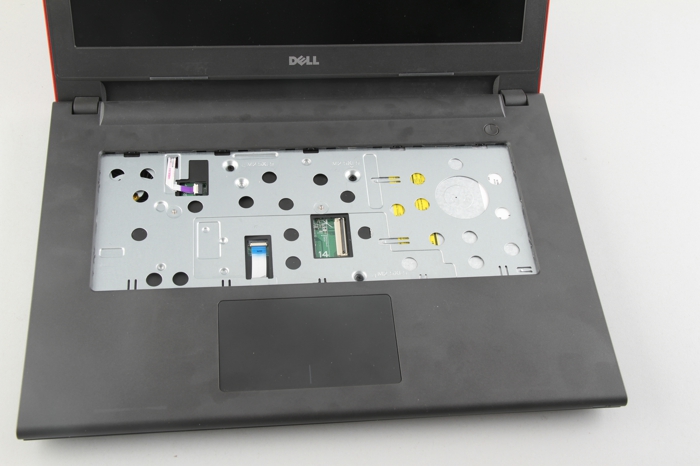
-
- Insert a plastic pry tool under the palm rest and slide it to completely separate the palm rest from the laptop.
Before fully removing the palm rest, you must also disconnect the touchpad ribbon cable from the motherboard.
- Insert a plastic pry tool under the palm rest and slide it to completely separate the palm rest from the laptop.
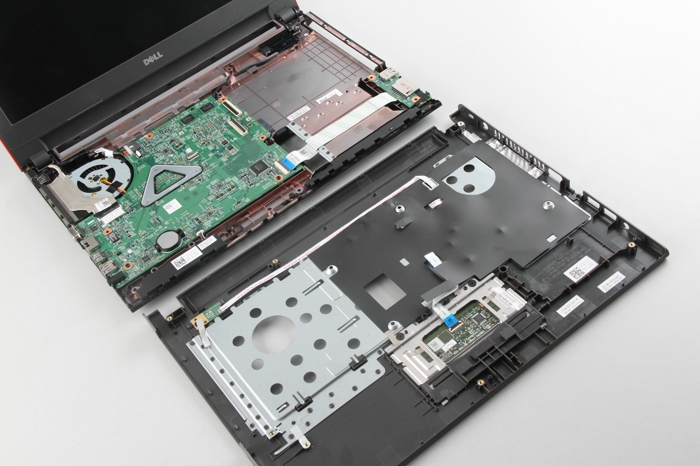
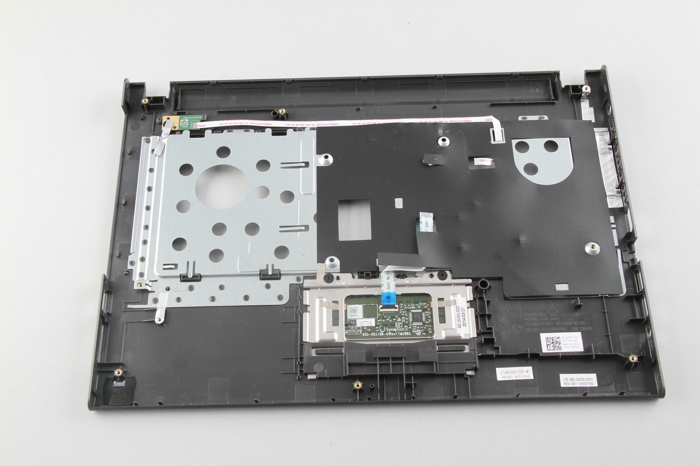
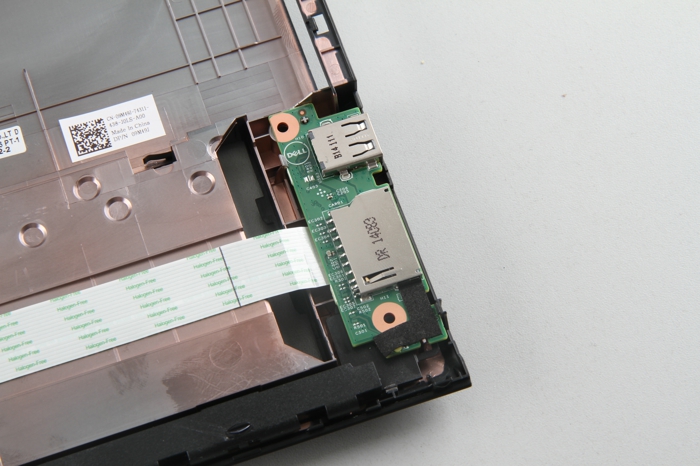
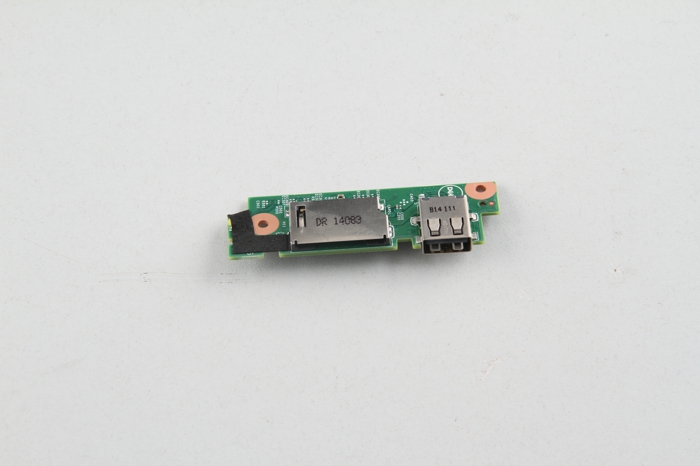
Step 9: Remove the USB board
-
- The USB board is connected to the motherboard via a white data cable.
-
- Disconnect the white cable.
-
- The USB board has been removed.
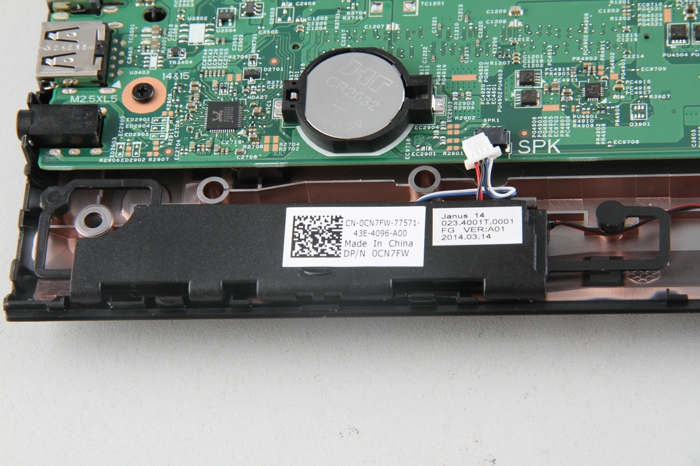
Step 10: Remove the speakers
-
- The speaker is fixed by a holder. Disconnect the speaker cable and remove the speaker.
-
- Two speakers
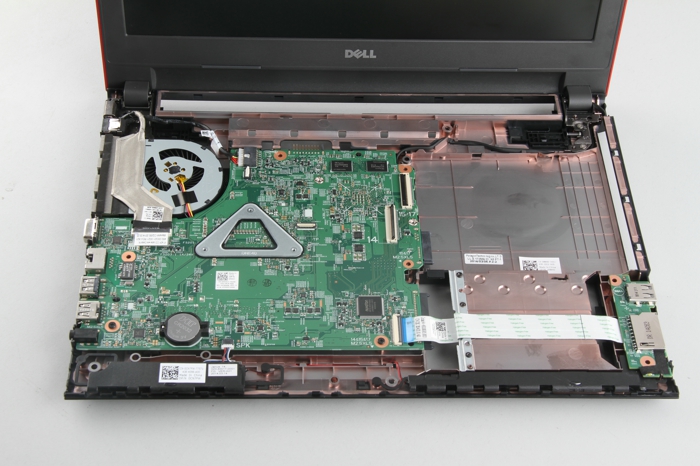
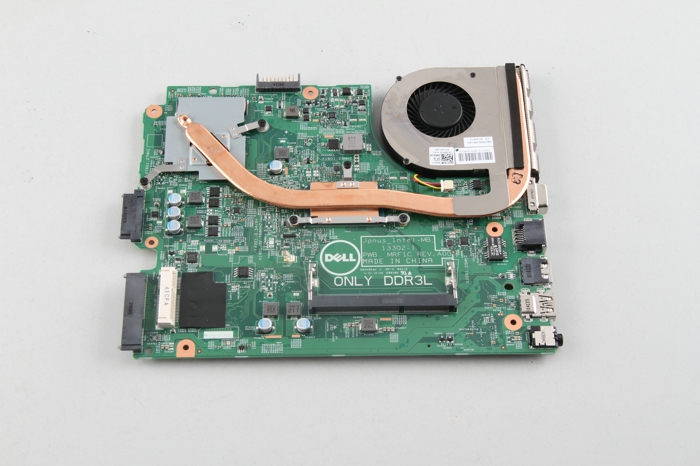
Step 11: Remove the motherboard.
-
- Remove all screws securing the motherboard and disconnect all cables from the motherboard. You can remove the motherboard.
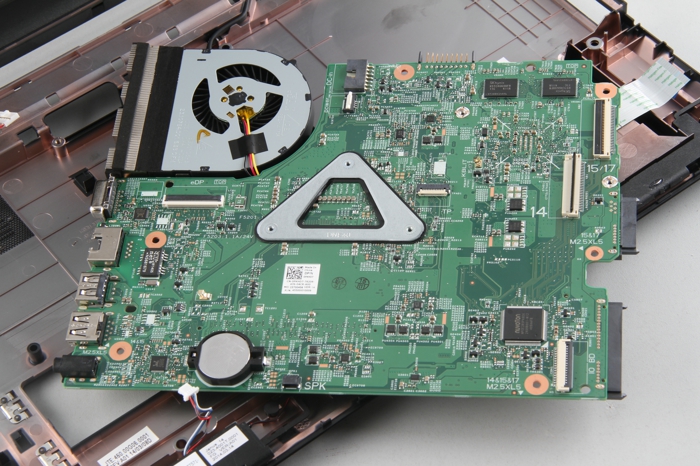
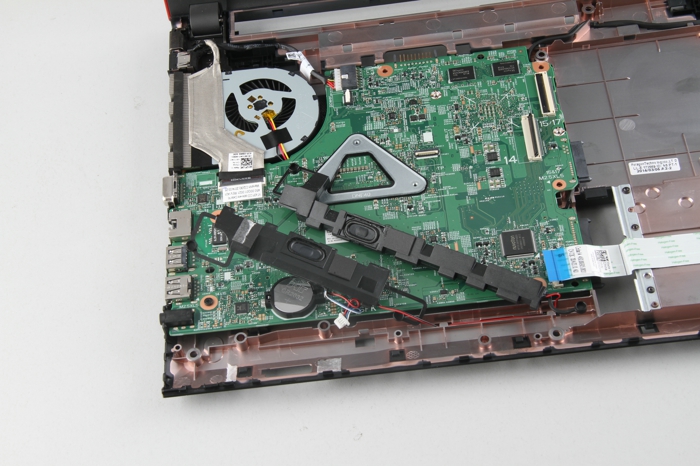
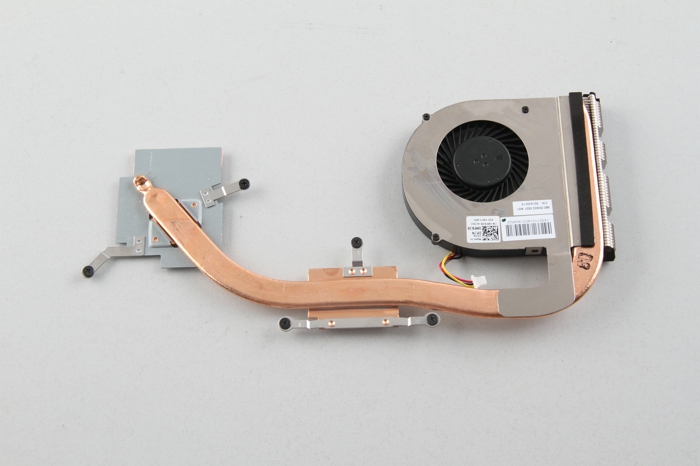
Step 12: Remove the heat sink and cooling fan
-
- You can see that the heat sink is very long. Loosen the five screws. You can remove the heat sink.
-
- The cooling system has been removed.
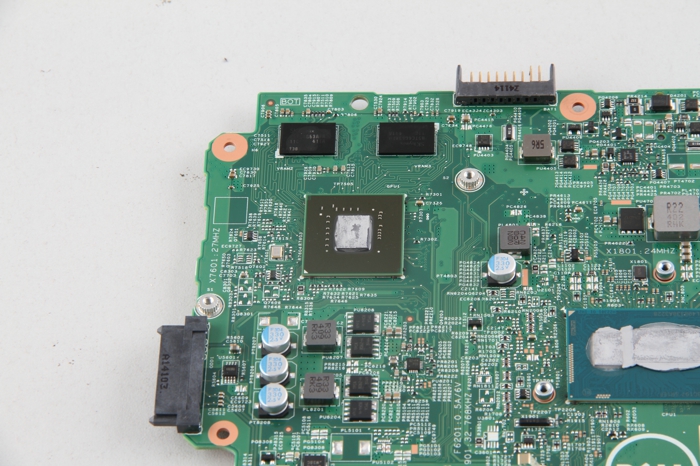
The processor of the Dell Vostro 3446 is soldered directly onto the motherboard, so it cannot be upgraded.
Dell Vostro 3446 internal parts
Thanks for the tutorial. My Dell Vostro was having trouble with the GPU (Blender was glitching, and I was getting a beeping noise), but I was able to apply the new thermal paste successfully.