
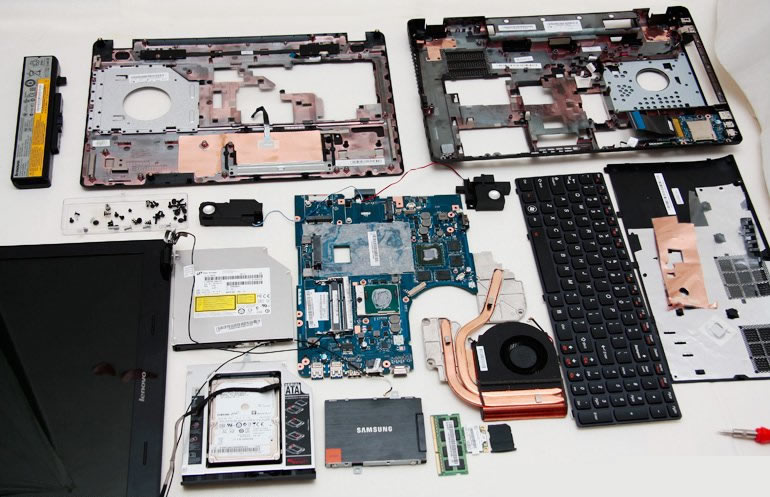
In this guide, I will explain how to disassemble the Lenovo IdeaPad Y580 to remove the bottom case, hard drive, RAM, DVD drive, keyboard, palm rest, wireless card, heat sink, cooling fan, card reader, and motherboard.
Follow us on Facebook for the latest updates from MyFixGuide.com.
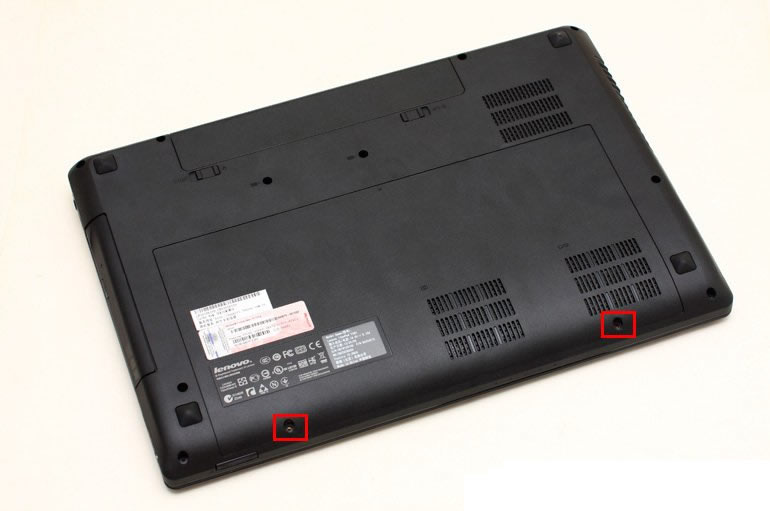
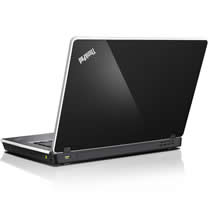
Unscrew the two screws marked with red boxes.
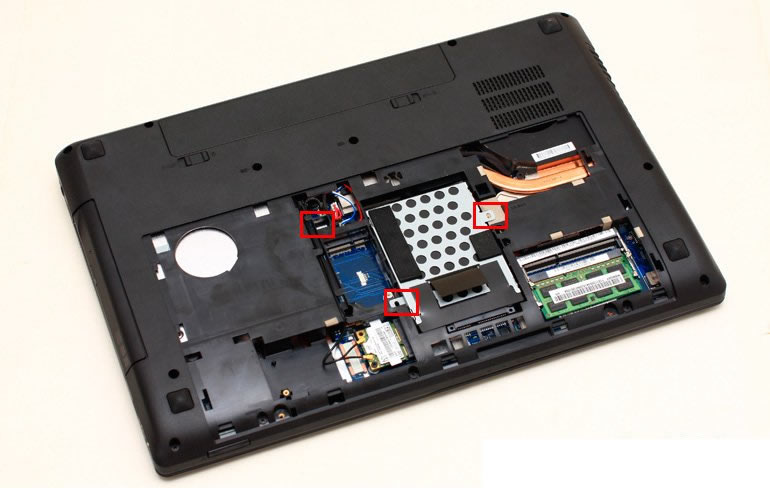
Use a pry tool to pry open and remove the service cover, then remove the screws securing the hard drive and optical drive.
Lift the tab to remove the hard drive.
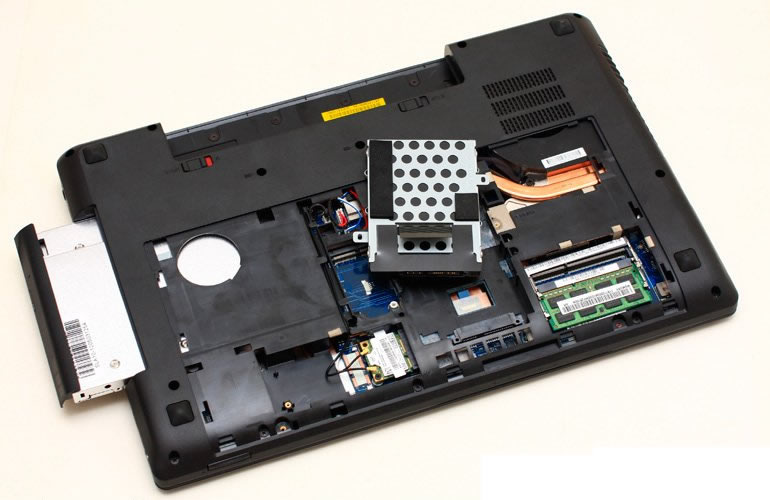
Pull the optical drive outward with a little force.
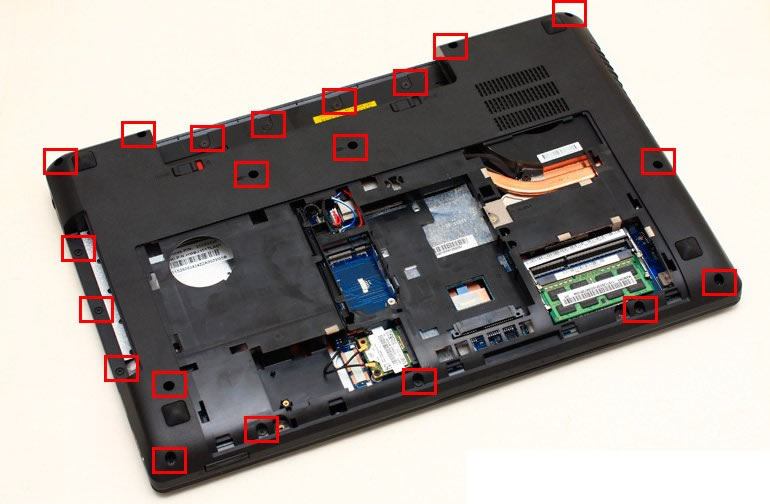
Remove all screws from the bottom cover and disconnect all visible cables and plugs.
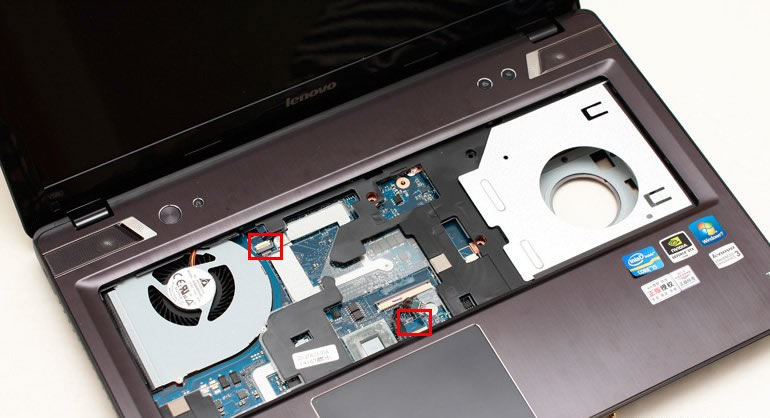
Flip the laptop over. Use a screwdriver or other tool to release all the clips on the keyboard. The keyboard can then be removed.
Use the pry tool to insert it between the palm rest and the bottom cover, slide the pry tool to release the snap, allowing the palm rest to separate from the bottom cover.
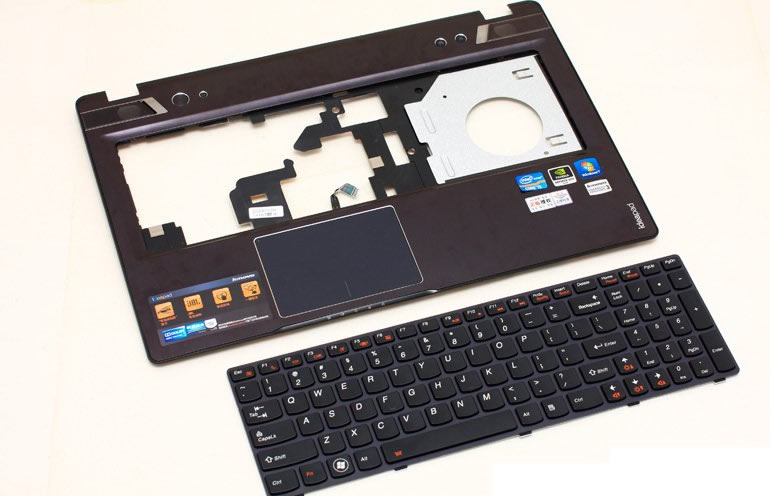
Close-up of the keyboard and palm rest.
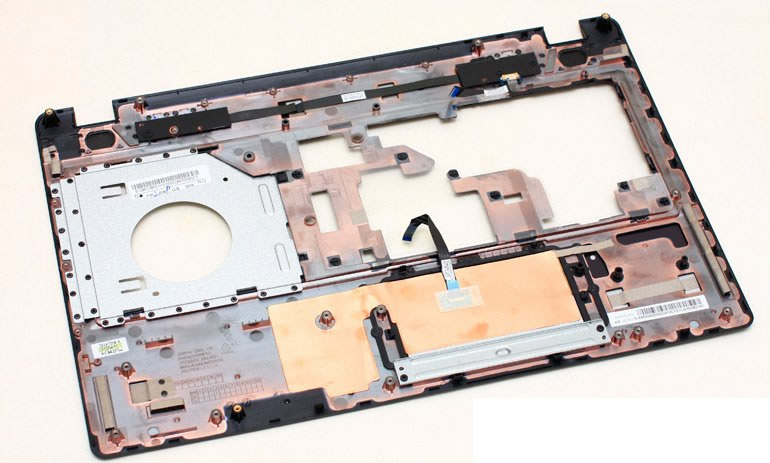
Close-up of the back of the palm rest.
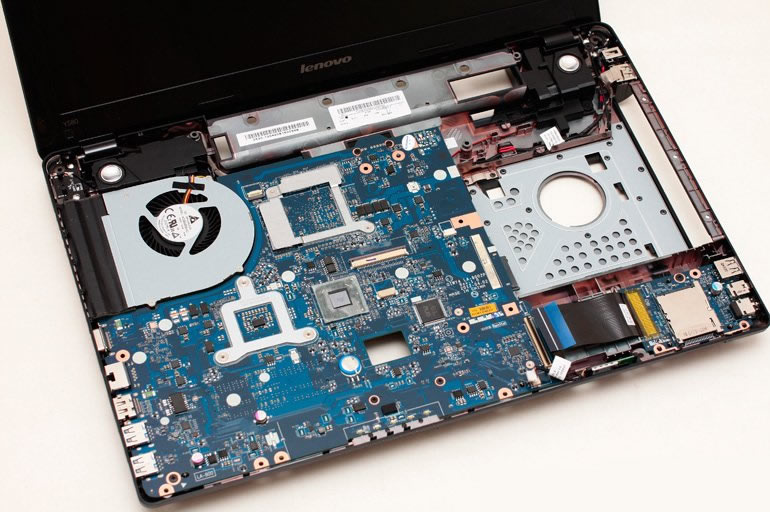
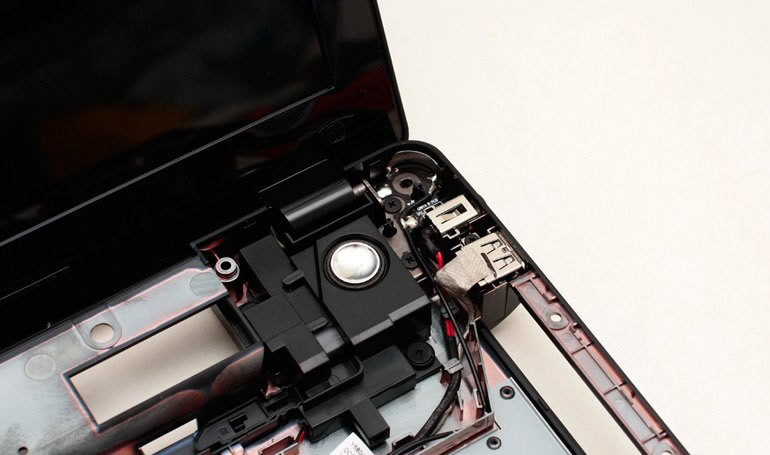
After removing the palm rest, you can access the motherboard, speakers, and other small parts. The fan and heat sink are on the other side of the motherboard, so you need to remove the motherboard to access them, which is very inconvenient when replacing the fan.

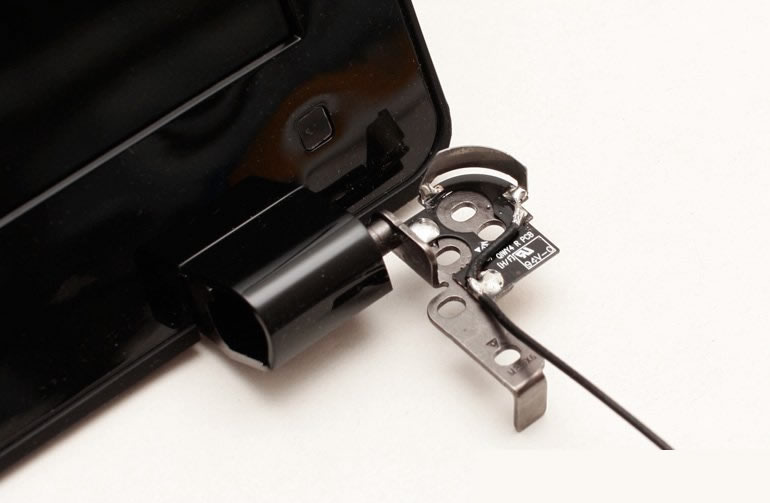
Here are the Bluetooth module and card reader.
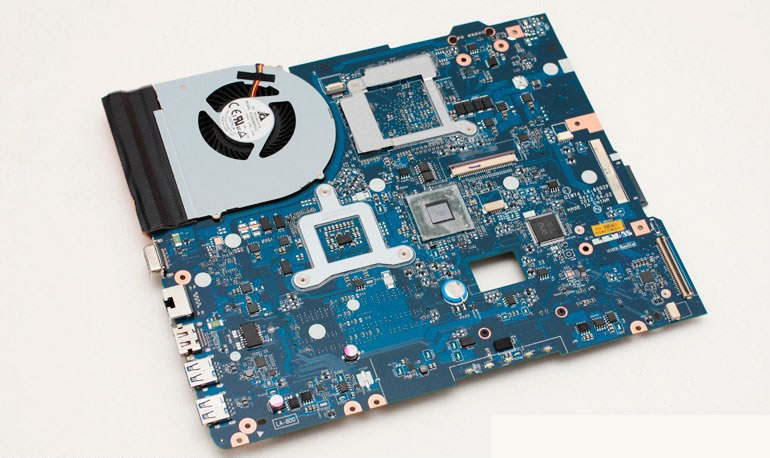
The Lenovo IdeaPad Y580 motherboard uses the Intel HM76 chipset.
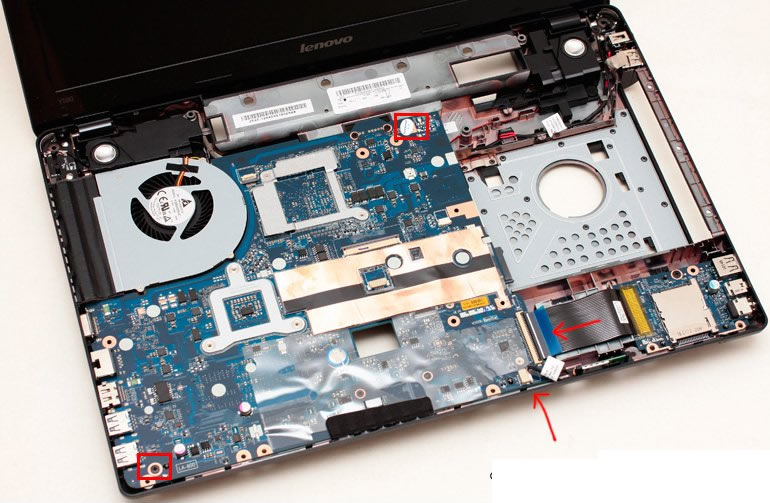
Remove all screws securing the motherboard and disconnect all cables connected to the motherboard. Then lift the motherboard from the right side to remove it.
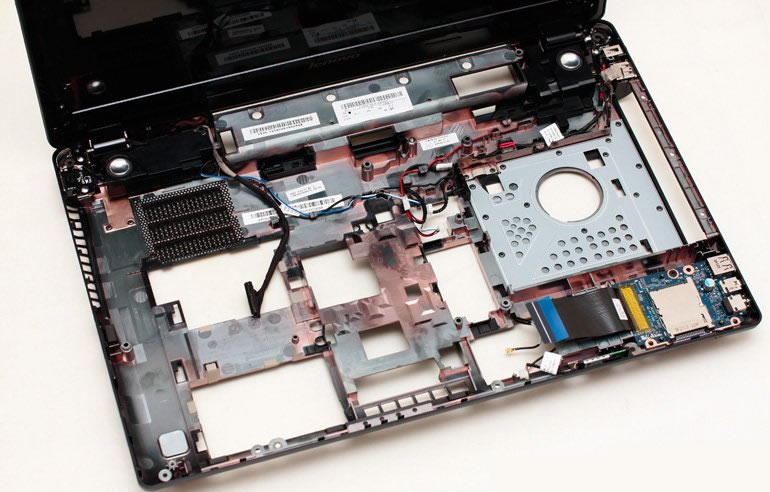
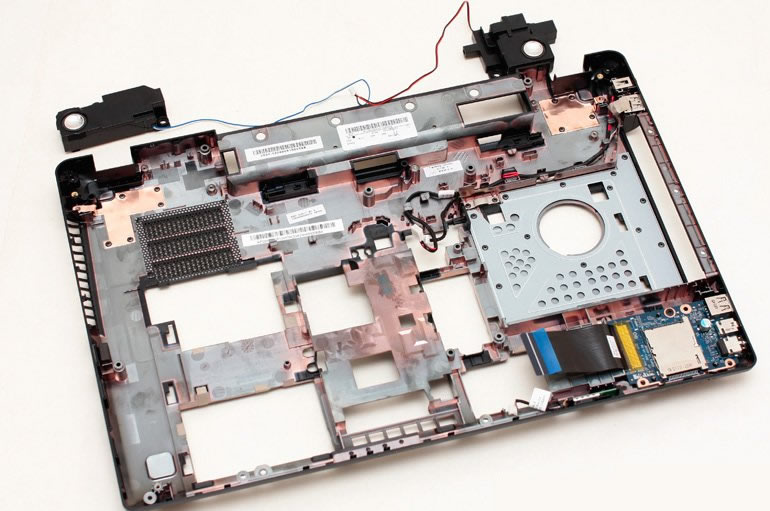
Close-up of the bottom cover after removing the motherboard.
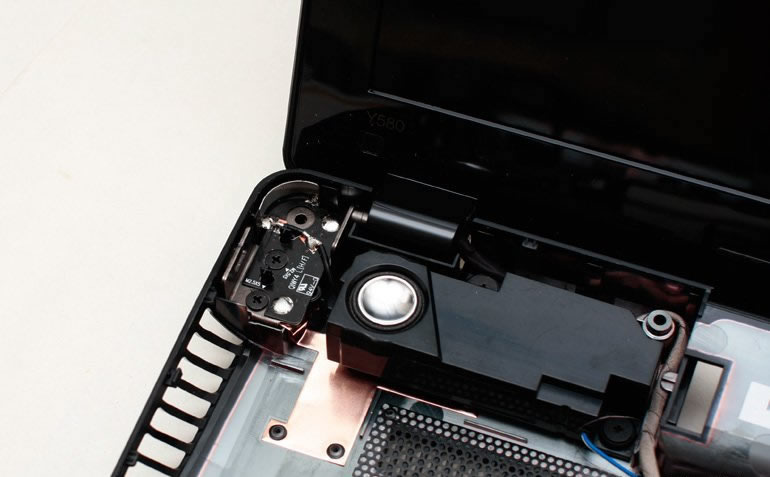
This is the speaker of the Y580, one on each side.
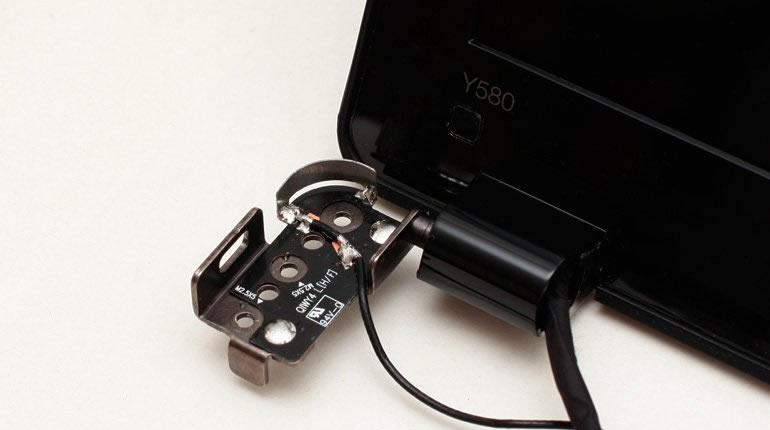
We also need to remove the screws securing the left and right hinges before we can remove the screen assembly.
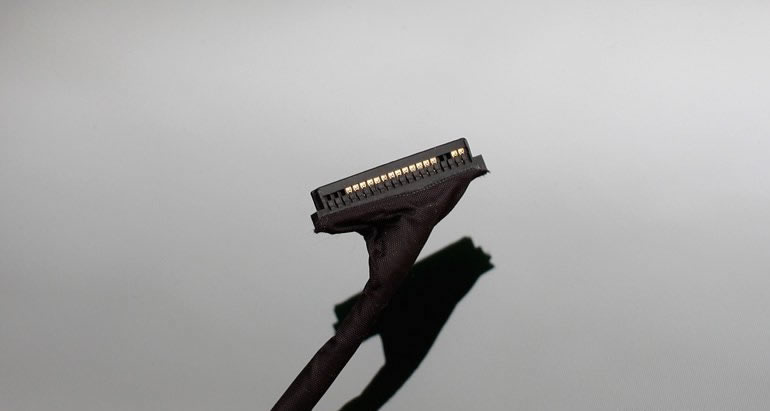
We also need to disconnect the LCD cable, antenna, and camera cable from the motherboard.
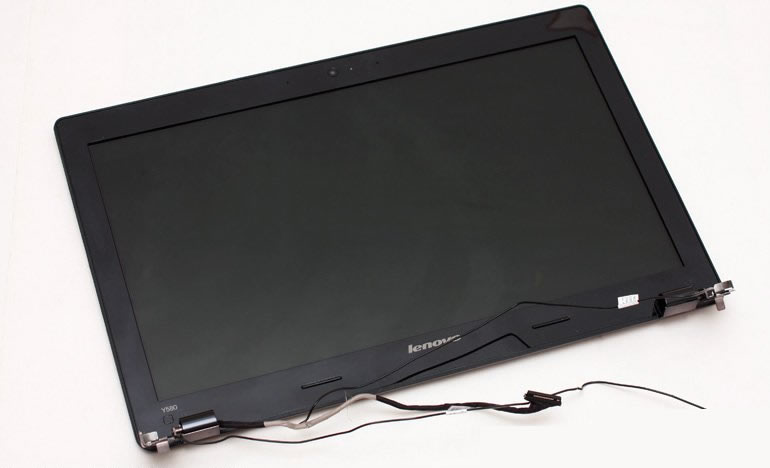
Close-up of the screen assembly.
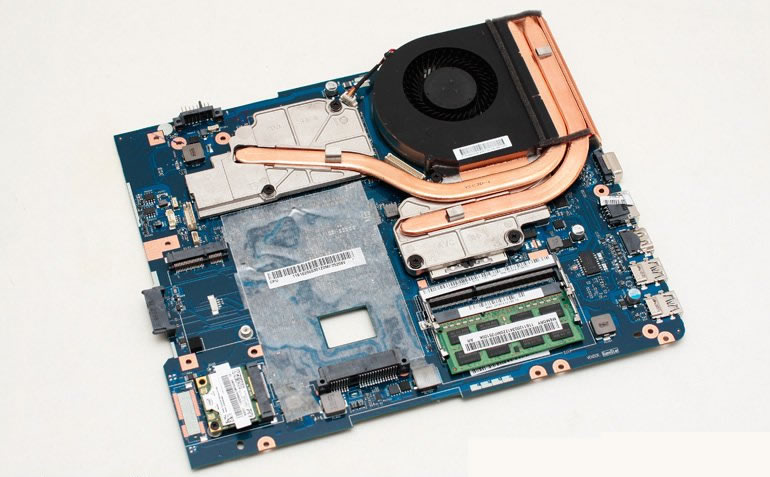
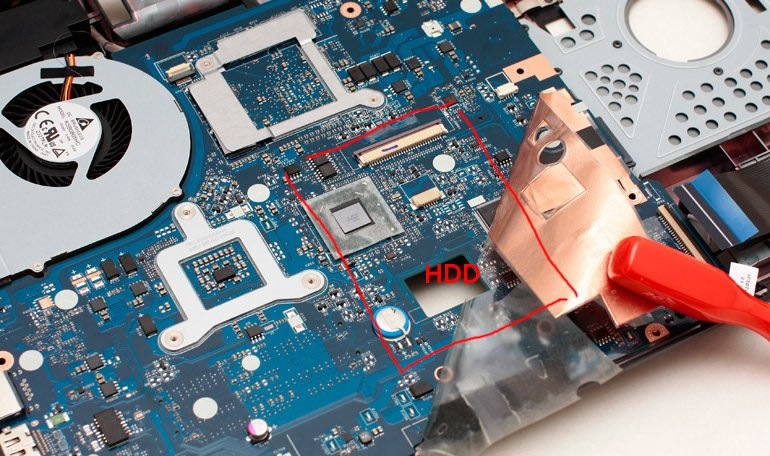
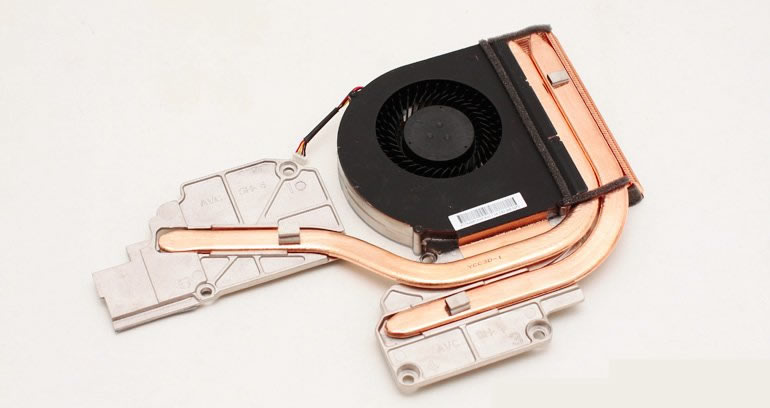
The cooling system is located on the other side of the motherboard. Remove the screws securing the heat sink and fan, and disconnect the fan cable.

This is the heat sink for the Y580. The heat pipe has a diameter of 8 mm.
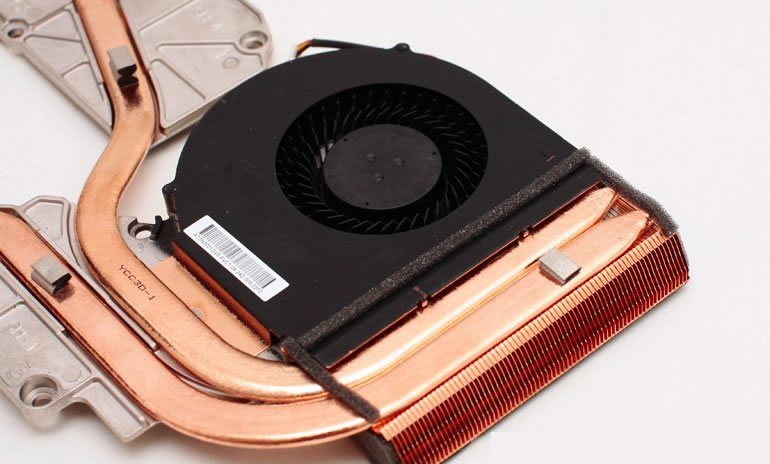
The back of the Y580 heat sink.
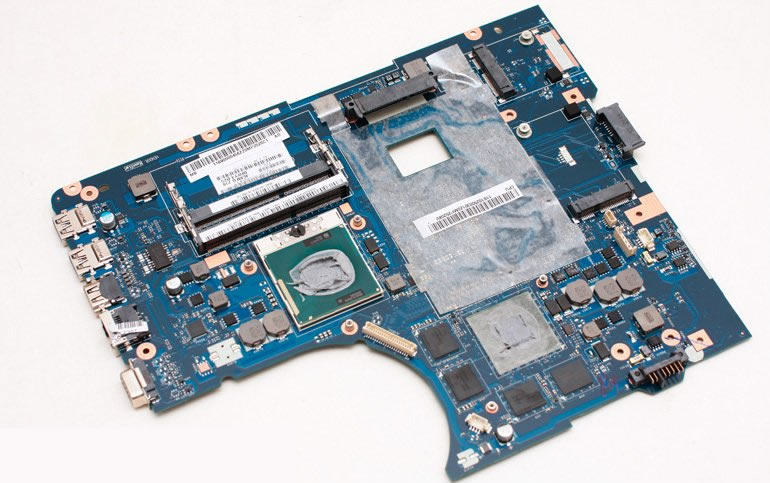
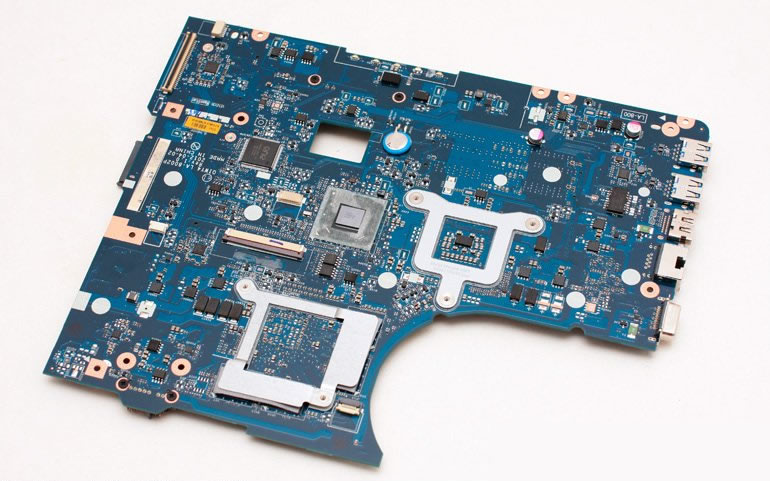
Close-up of the motherboard.
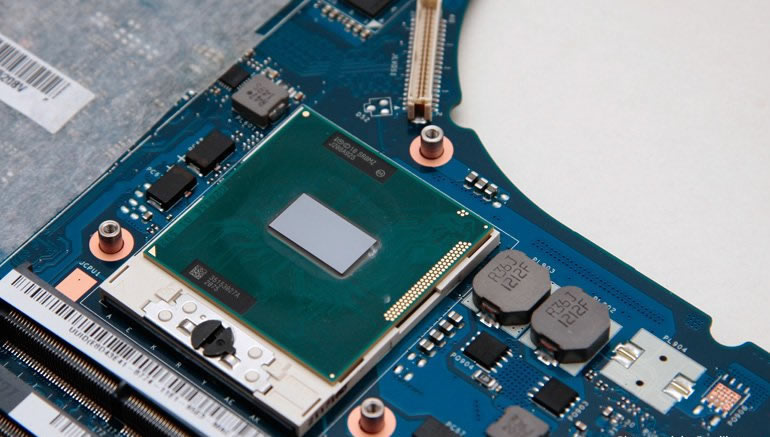
Close-up of Intel i5-3210M processor.
Y580 soundboard and USB PCB
Do you have the model number?