
Today, I will help everyone understand the structure and craftsmanship of the ThinkPad T410s by taking it apart. I believe that revealing the internal structure of a product through disassembly is more appealing to users. This allows us to see details that are not normally visible, thereby gaining a deeper understanding of the T410s.
Follow us on Facebook for the latest updates from MyFixGuide.com.
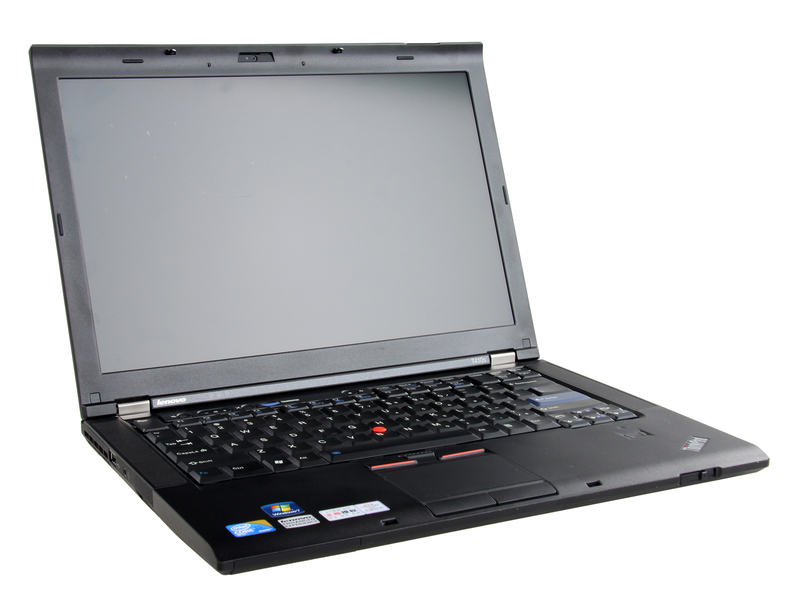
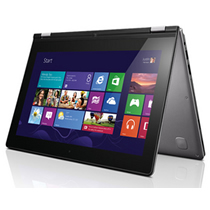
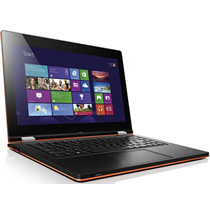
The overall design style of the T410s and T400s is still similar, but some layouts have been adjusted. The most intuitive change is the change in the position of the ports. The ThinkPad T410s supports a Core i5 processor and also has a discrete graphics card option.
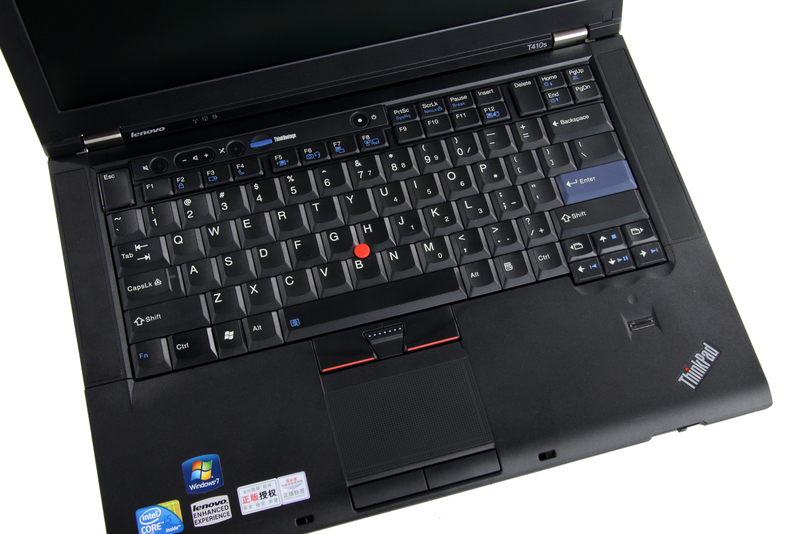
The ThinkPad T410s has inherited the large ESC and DELETE keys.
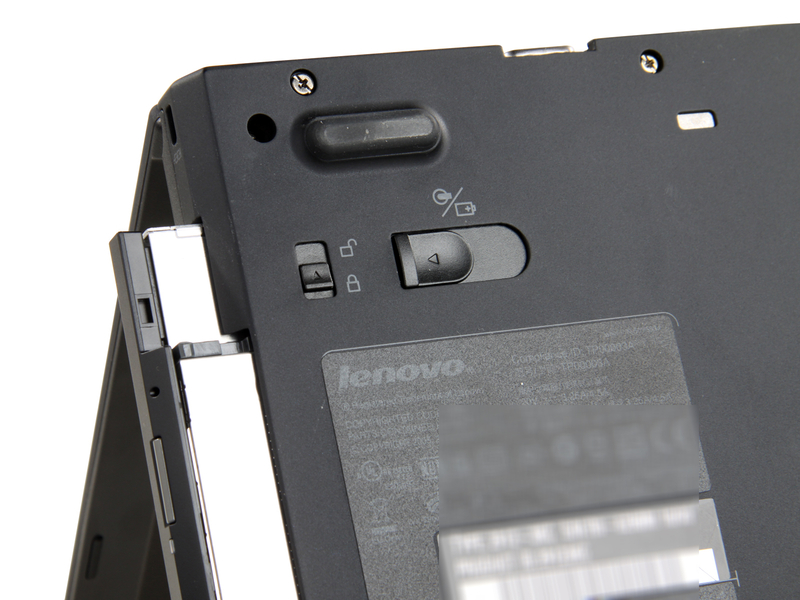
We have to remove the drive with both hands.
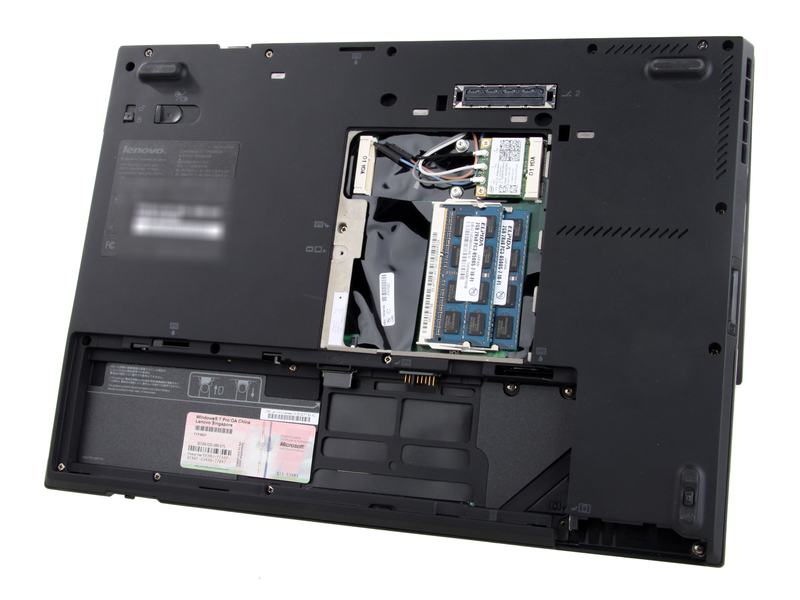
After removing the service cover, you can access the hard drive, optical drive, memory, and wireless network card.
First, remove the screws securing the keyboard, then remove the keyboard.
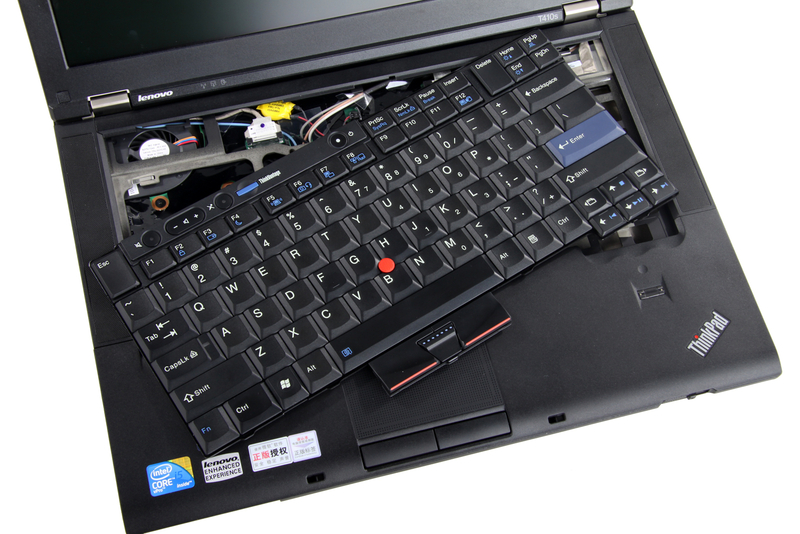
Disconnect the keyboard ribbon cable from the motherboard, and now the keyboard can be removed.
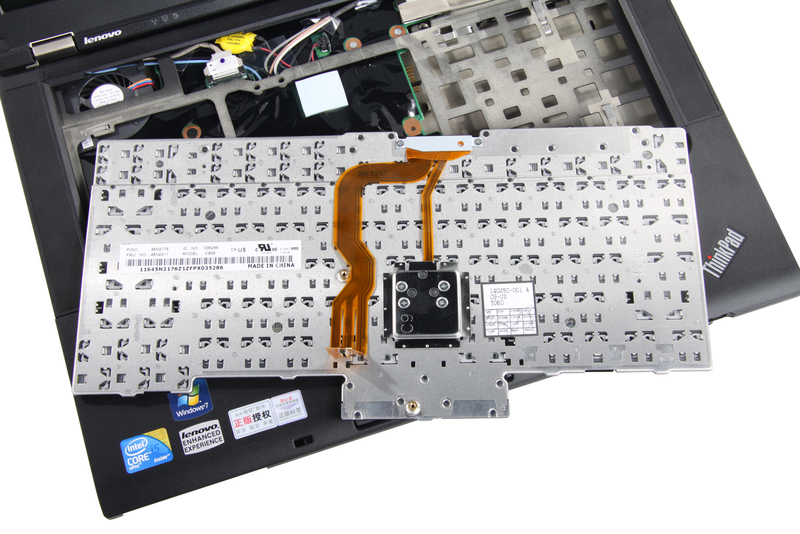
The back of the keyboard is covered with a plastic layer to prevent water from entering.
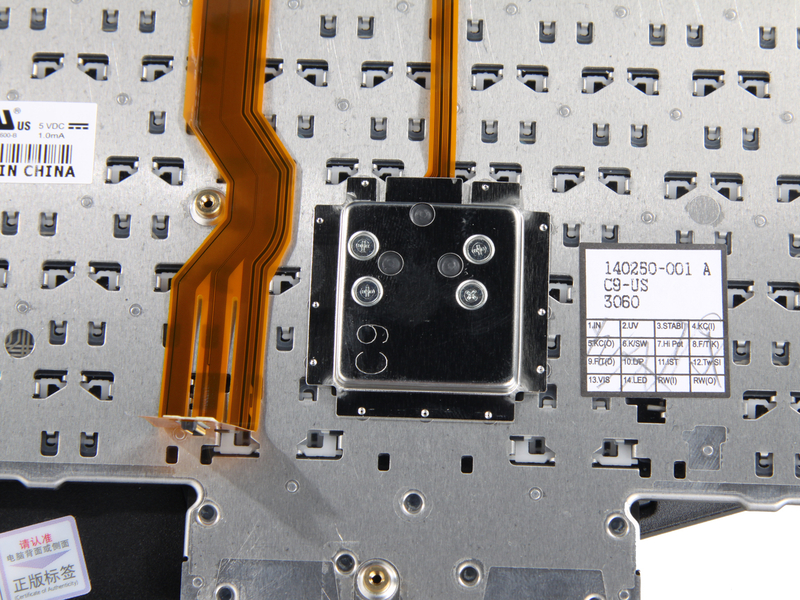
The PCB board of the pointing stick is protected by a metal shield.
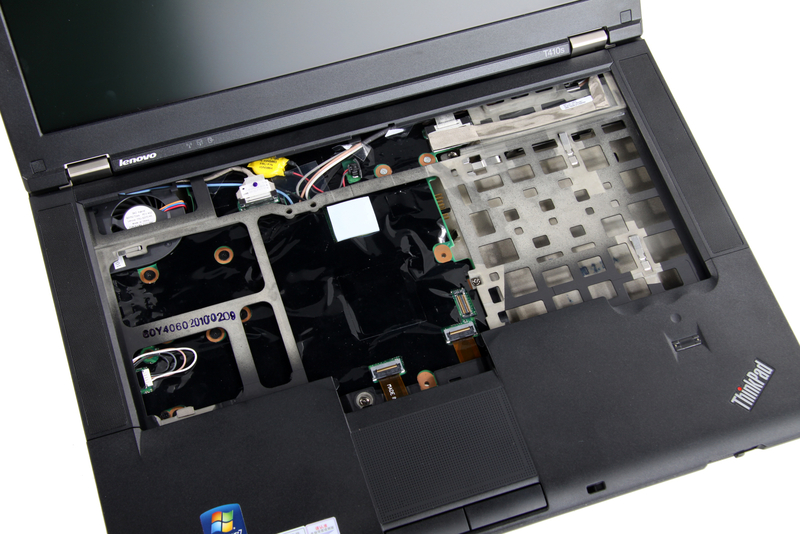
Close-up of the laptop after removing the keyboard.
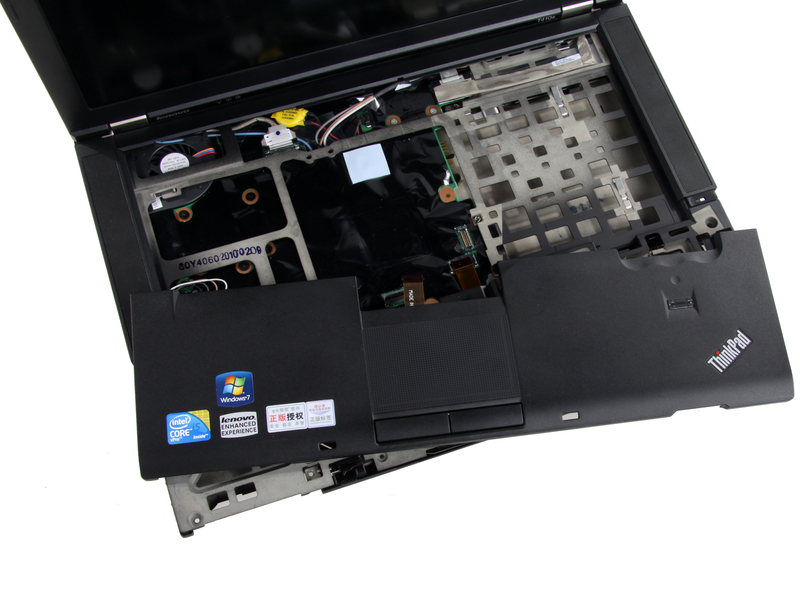
Remove the screws securing the palm rest, then use a pry tool to separate the palm rest from the base.
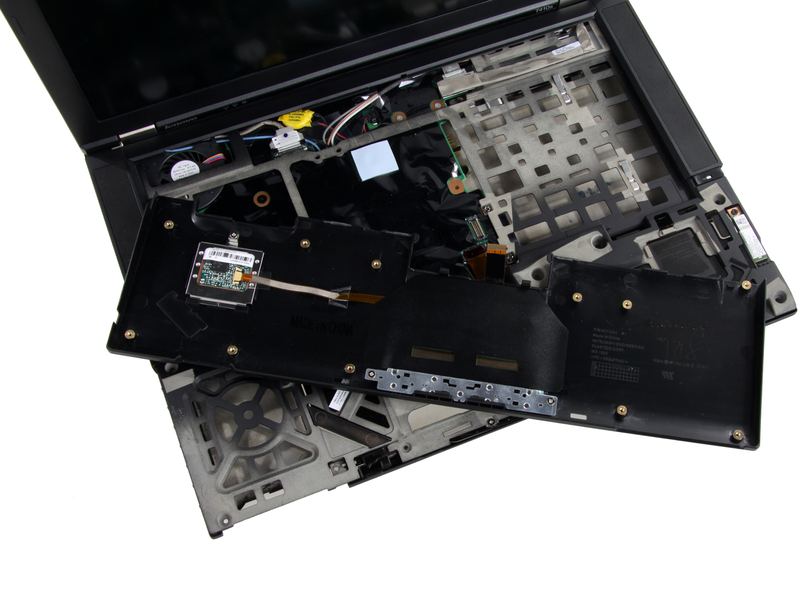
Close-up of the back of the palm rest.
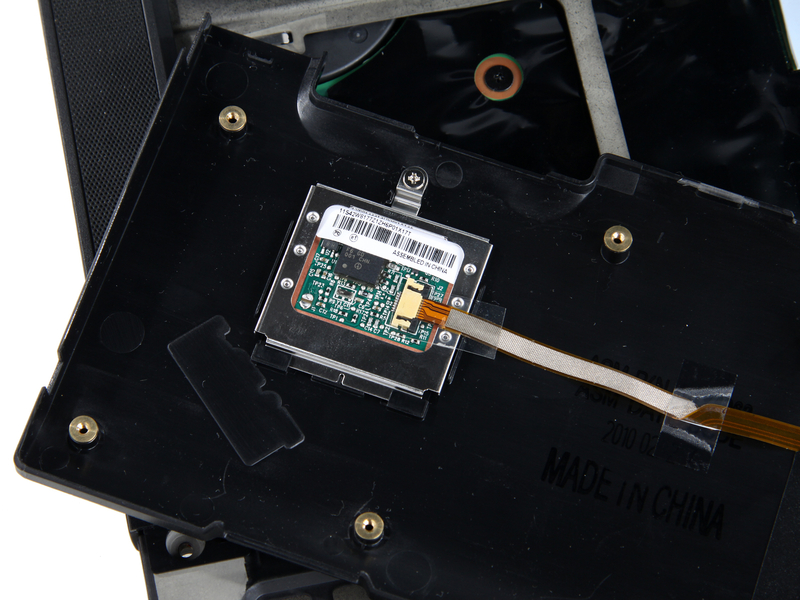
There is a fingerprint recognition module on the palm rest, which is surrounded by a metal plate.
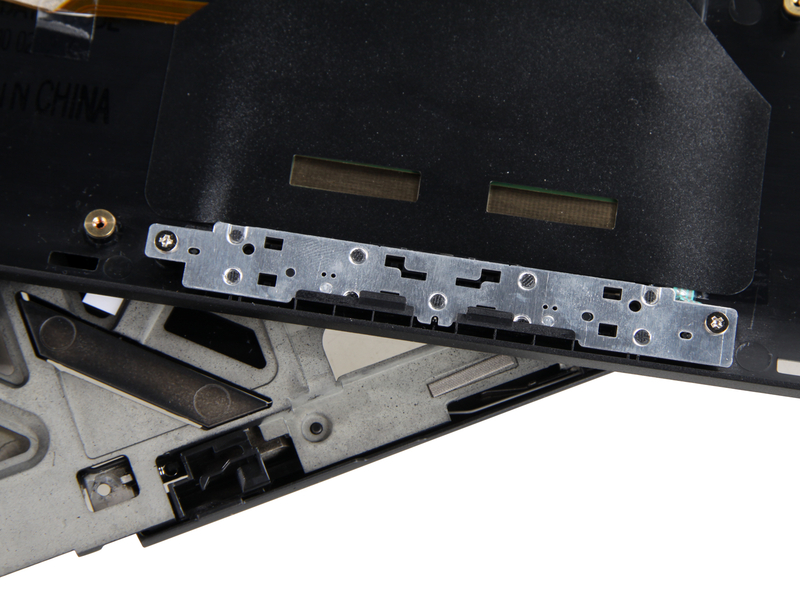
The touchpad of the ThinkPad T410s is secured by a metal plate.
Next, we will remove the Bluetooth module.
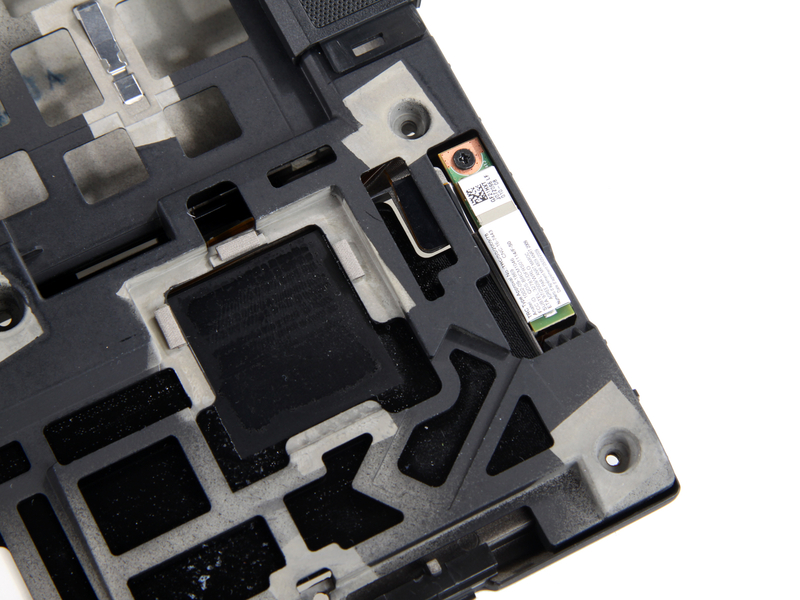
The Bluetooth module is located at the bottom of the right palm rest.
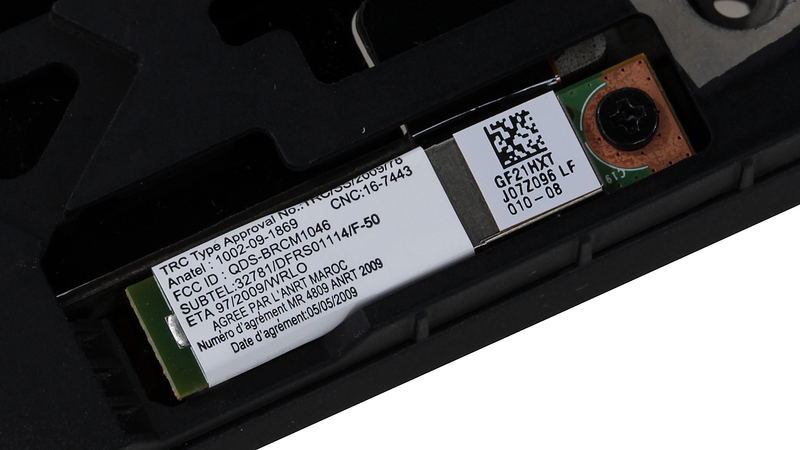
Close-up of the Bluetooth module, which can be removed by removing only one screw.
Disconnect the cable from the motherboard.
Remove all screws securing the palm rest, use a pry tool to separate it from the chassis, and then you can easily remove the palm rest.
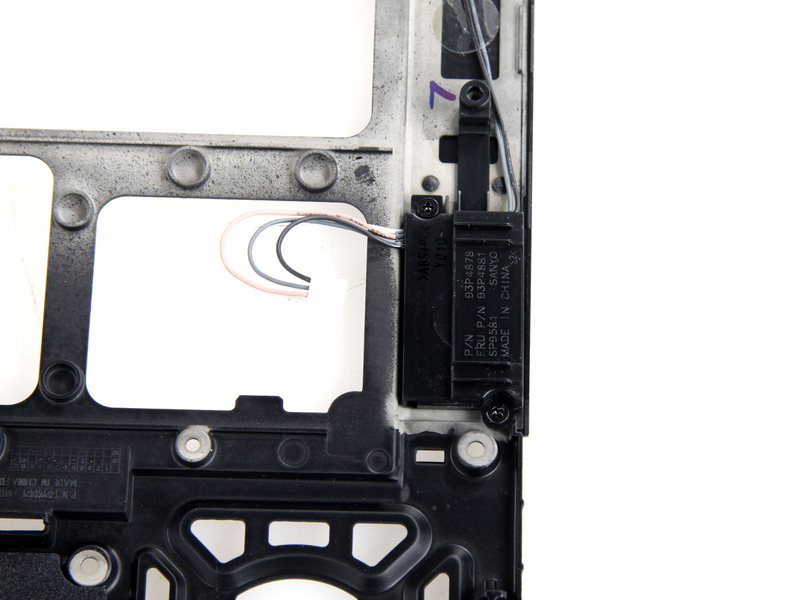
Lenovo ThinkPad T410s speakers and speaker cables.
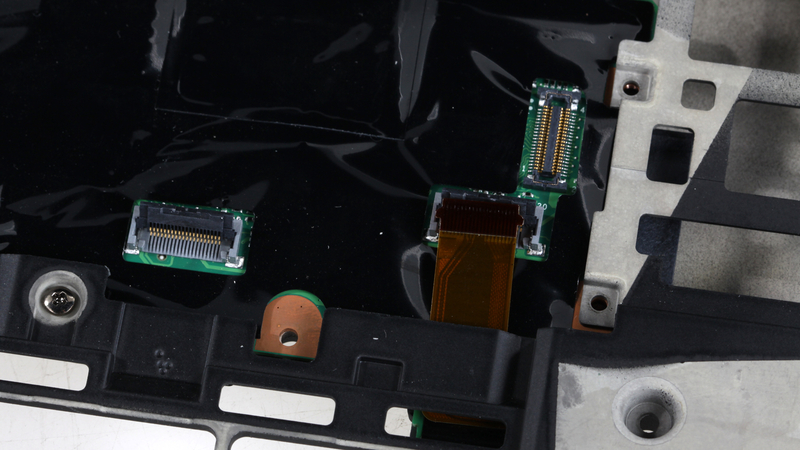
Close-up of the laptop after removing the palm rest.
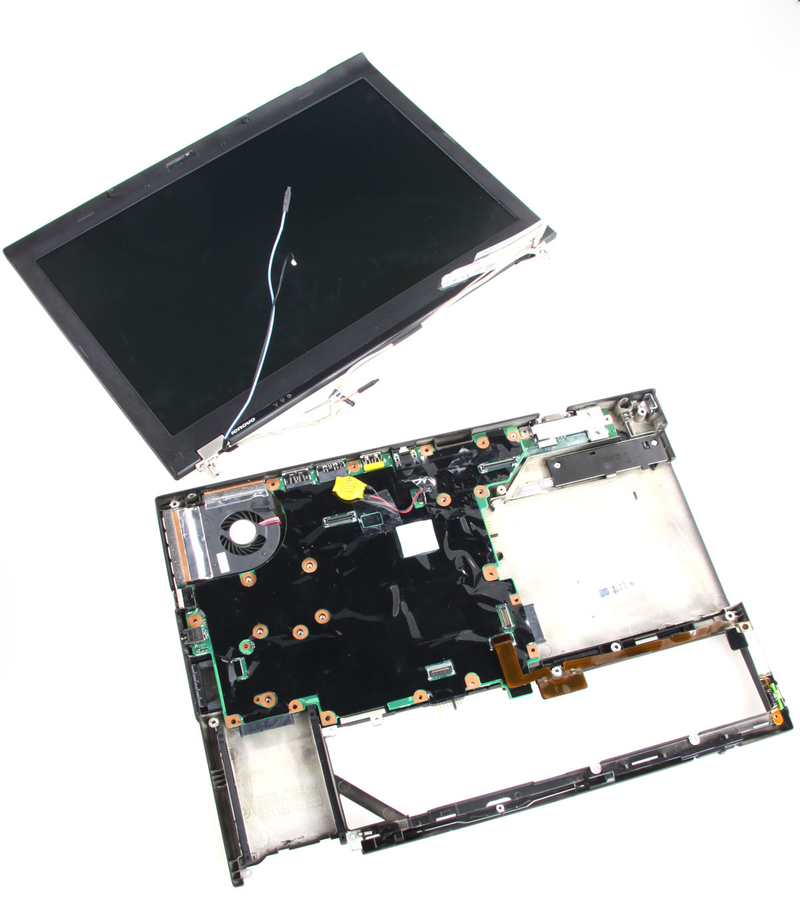 Remove the screws securing the left and right hinges and disconnect the LCD cable and antenna from the motherboard, and then the entire screen module can be removed
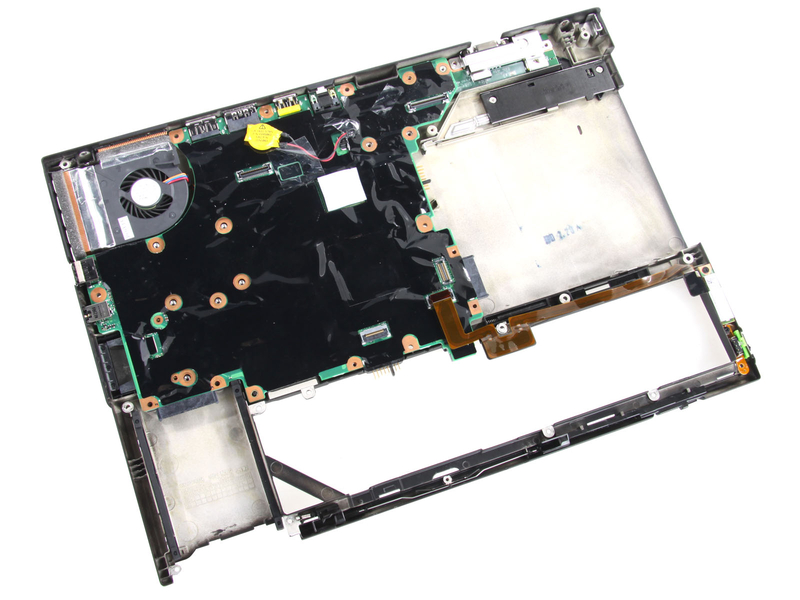
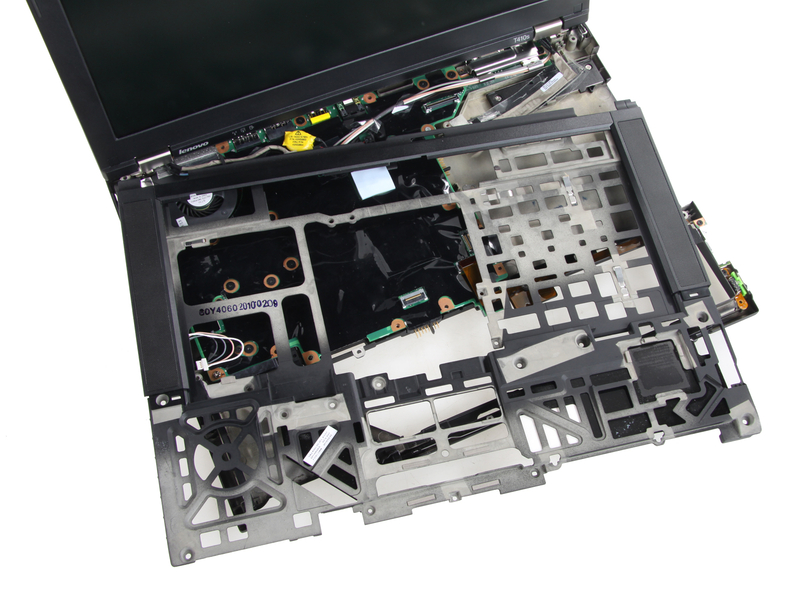
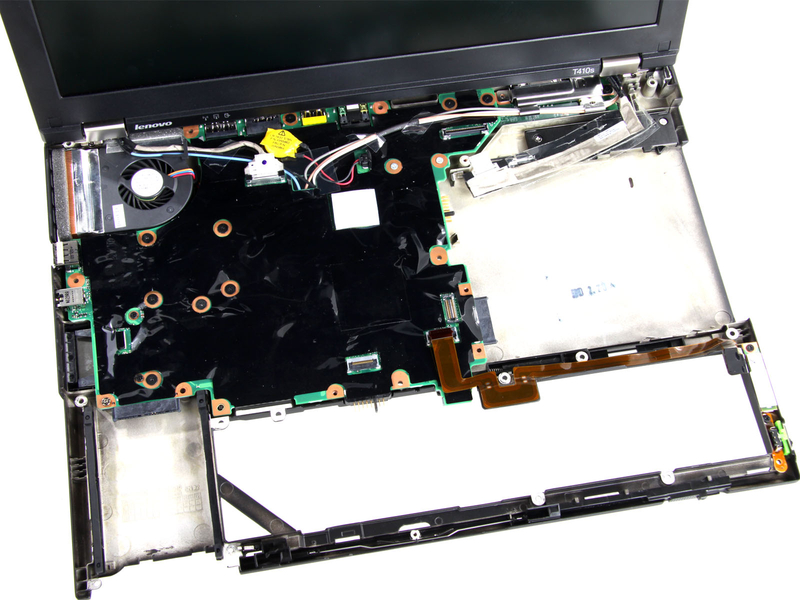
Close-up of laptop after removing screen and palm rest.
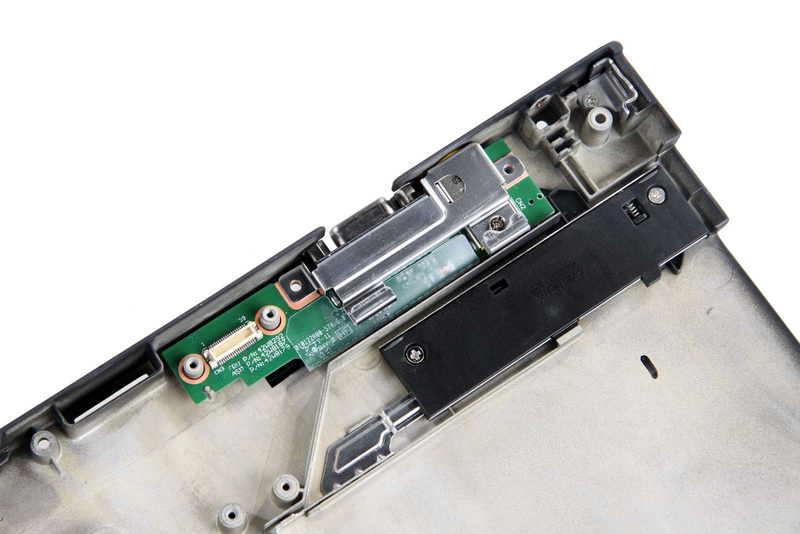
The VGA port and DC-in port are designed on a small circuit board, which is connected to the motherboard via a plug.
Remove all screws securing the motherboard and disconnect all ribbon cables to remove the motherboard.
The motherboard is covered with a black shielding cover.
The back of the motherboard is covered with a black sticker.
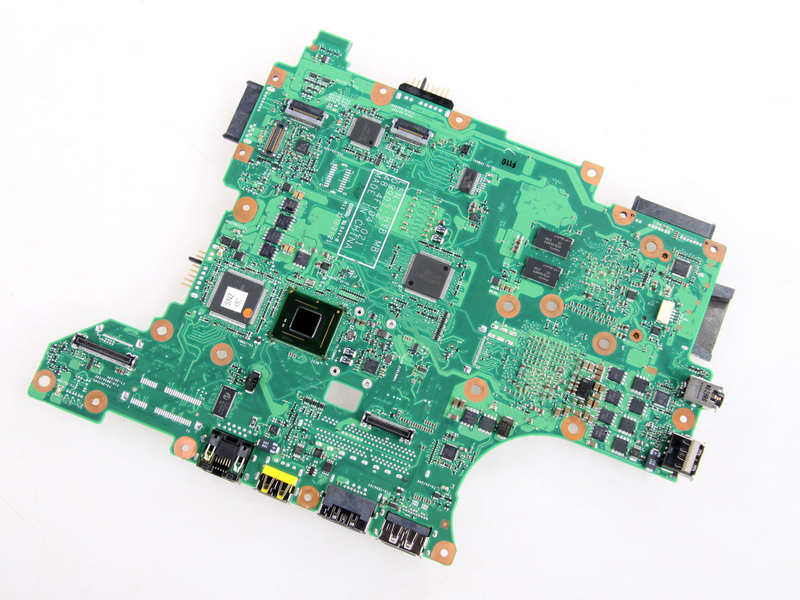
We remove the black sticker from the motherboard. Now let’s take a look at some of the components and details.
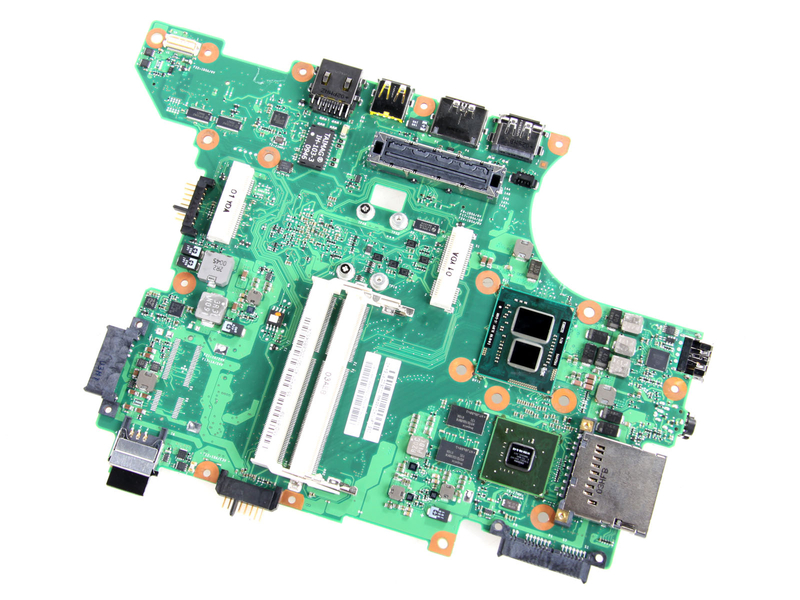
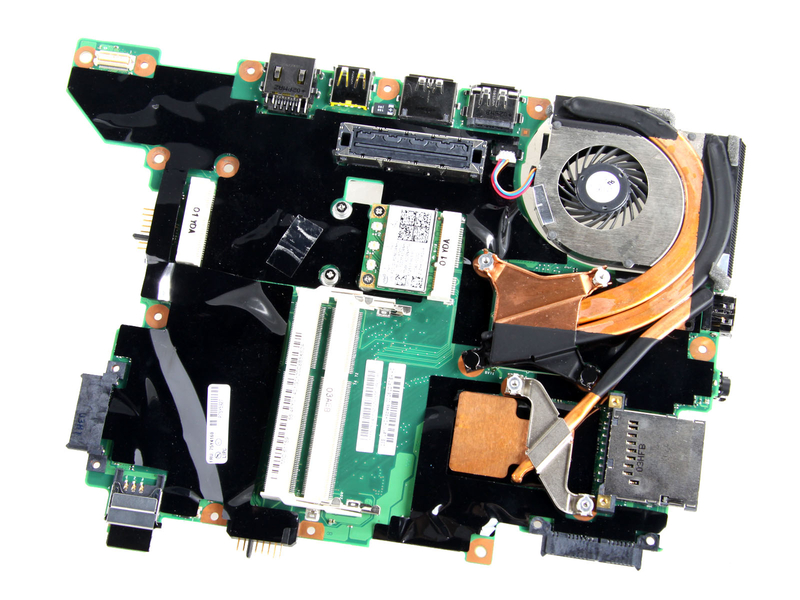
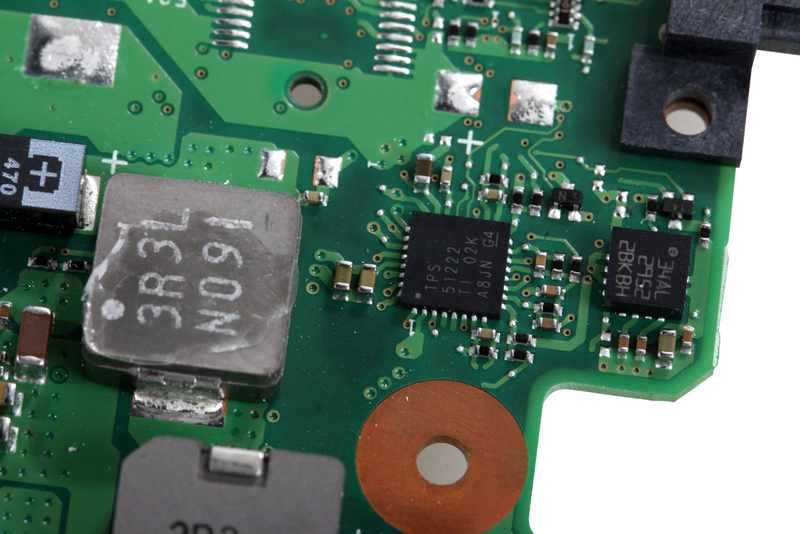
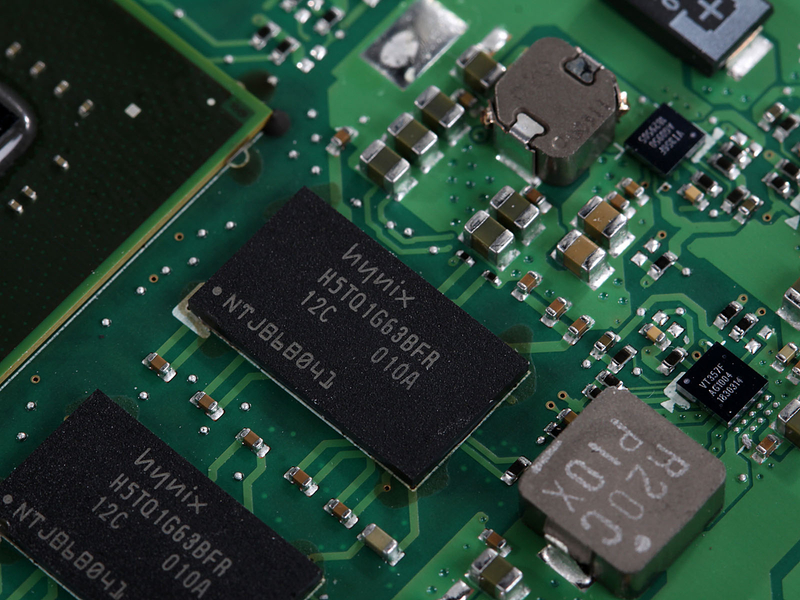
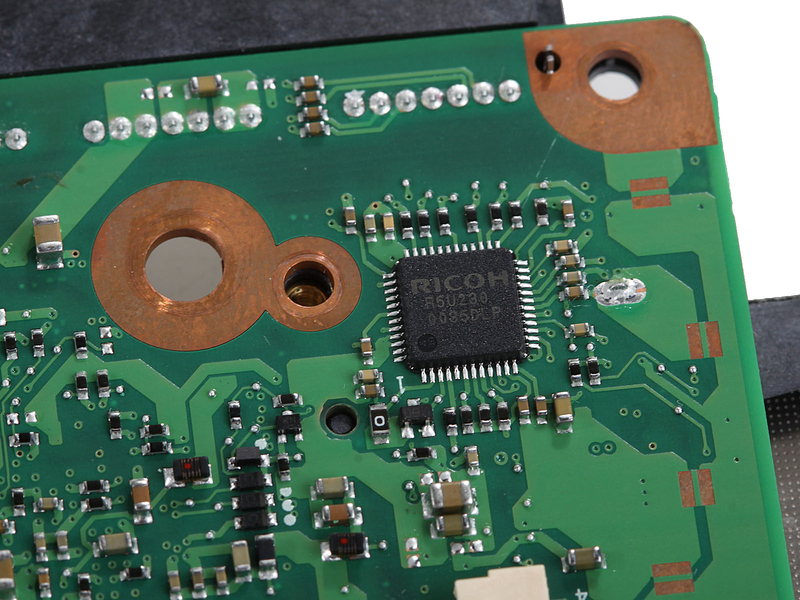
Close-up of the front of the motherboard
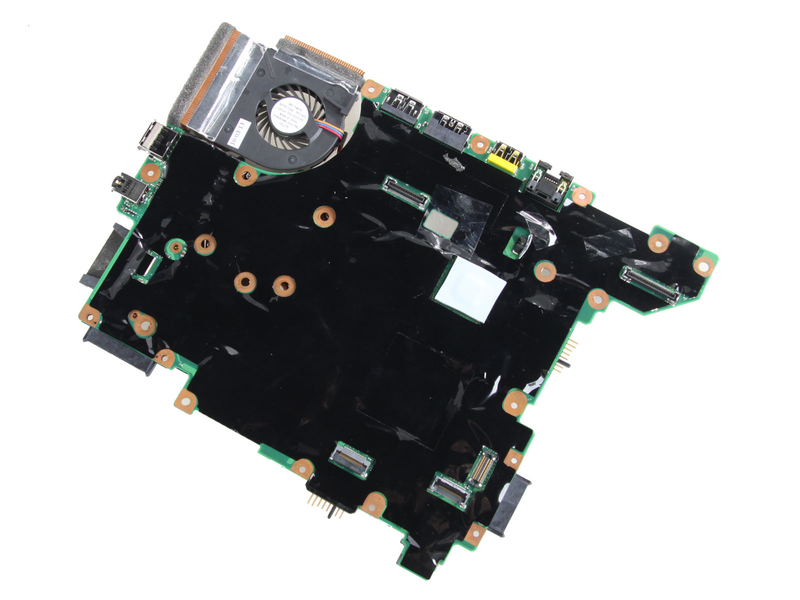
Close-up of the back of the motherboard.
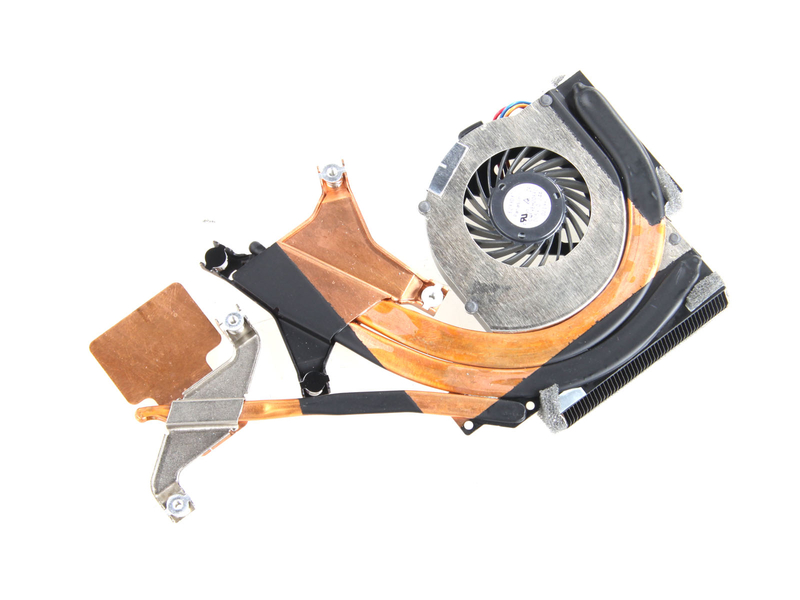
The ThinkPad T410s cooling system consists of one fan and three heat pipes.
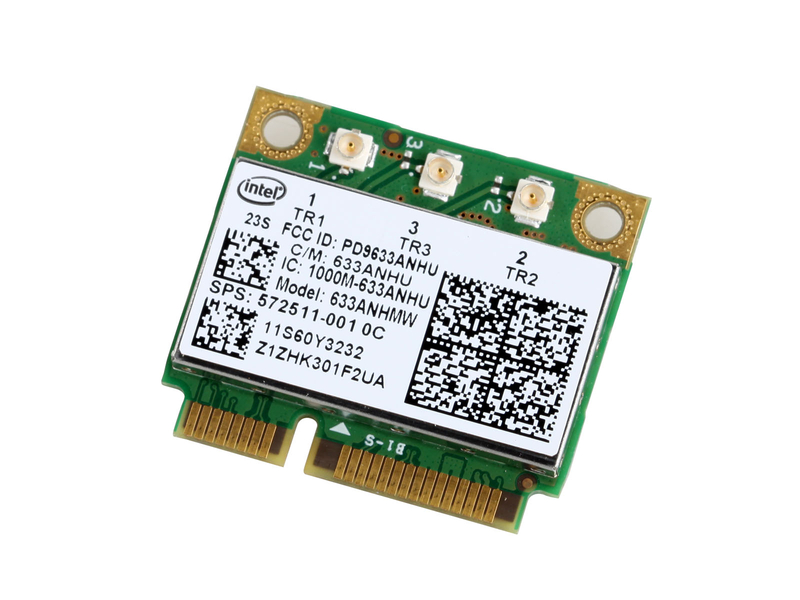
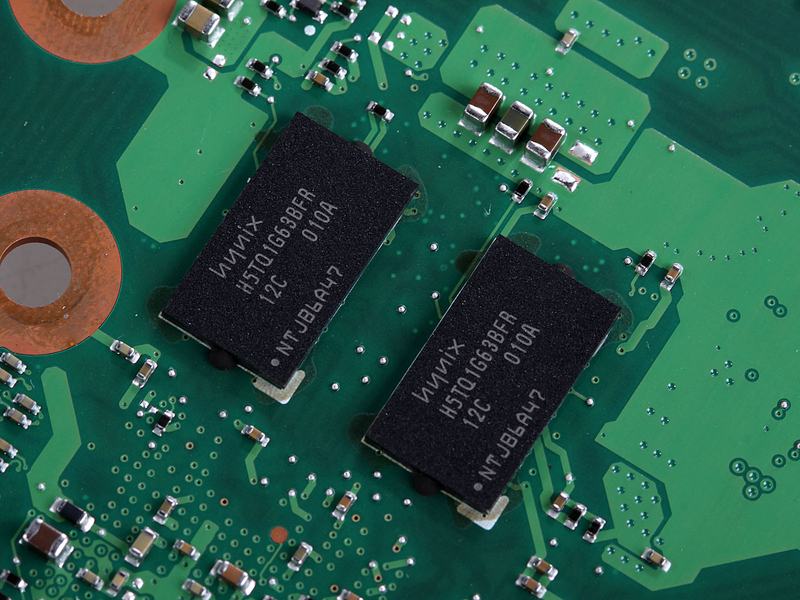
Close-up of the back of the wireless card.
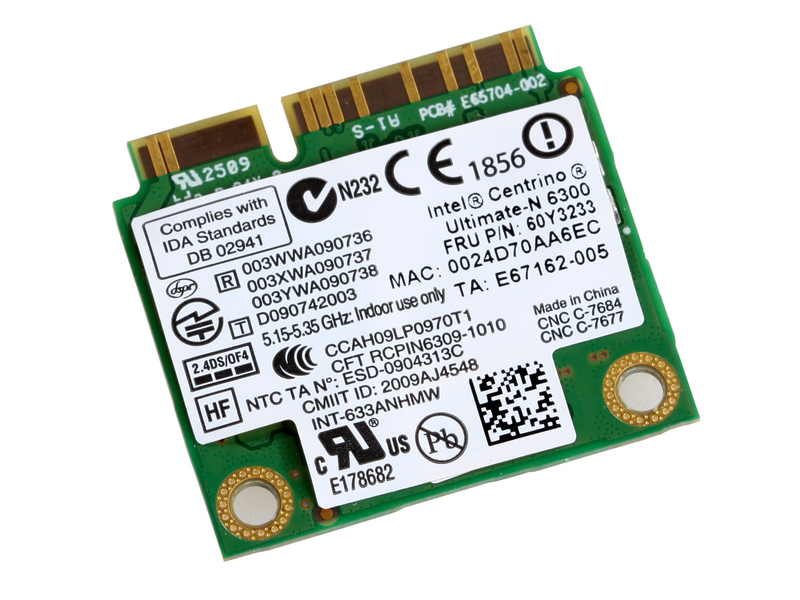
Close-up of the front of the wireless card.
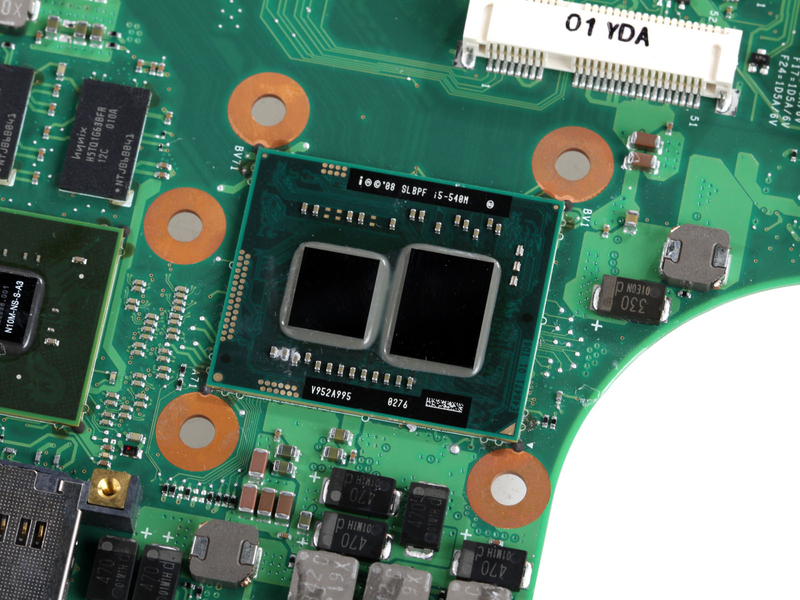
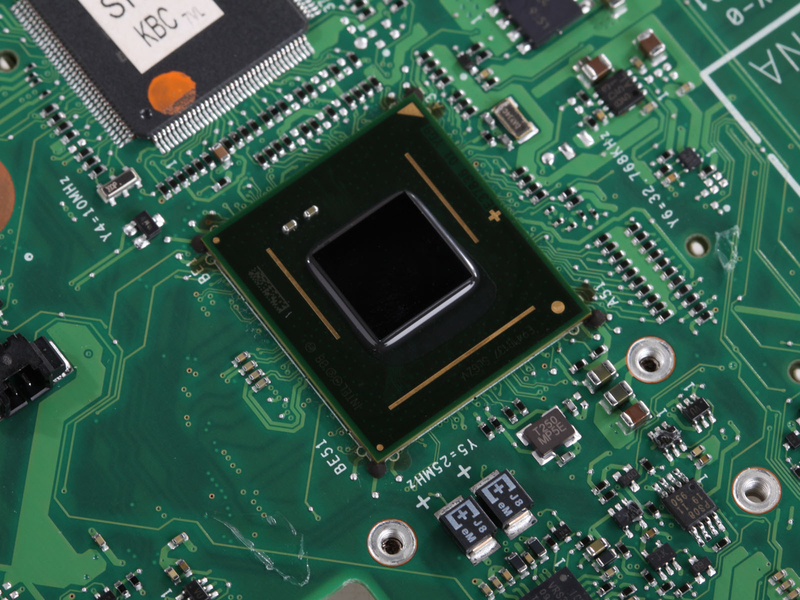
The Core i5 processor in the ThinkPad T410s is directly soldered to the motherboard.
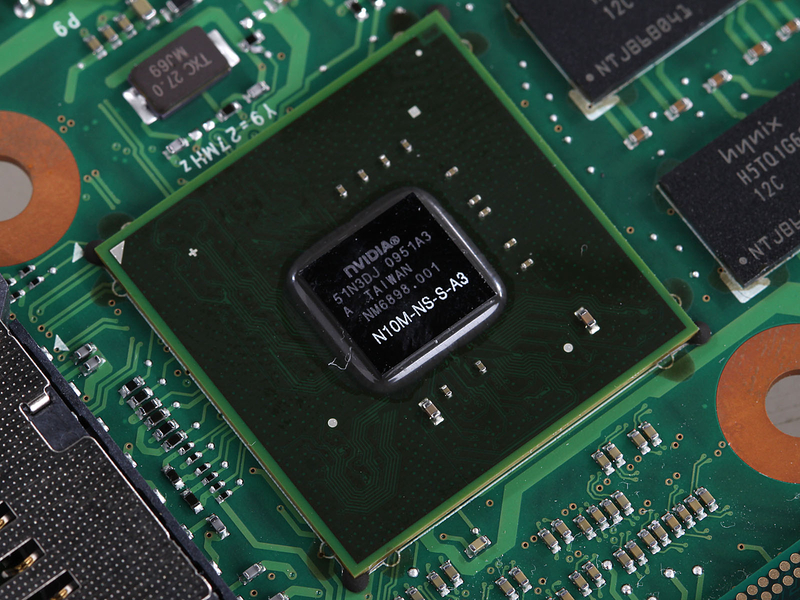
This is an NVIDIA Quadro NVS 3100M graphics card, which is also directly soldered to the motherboard.
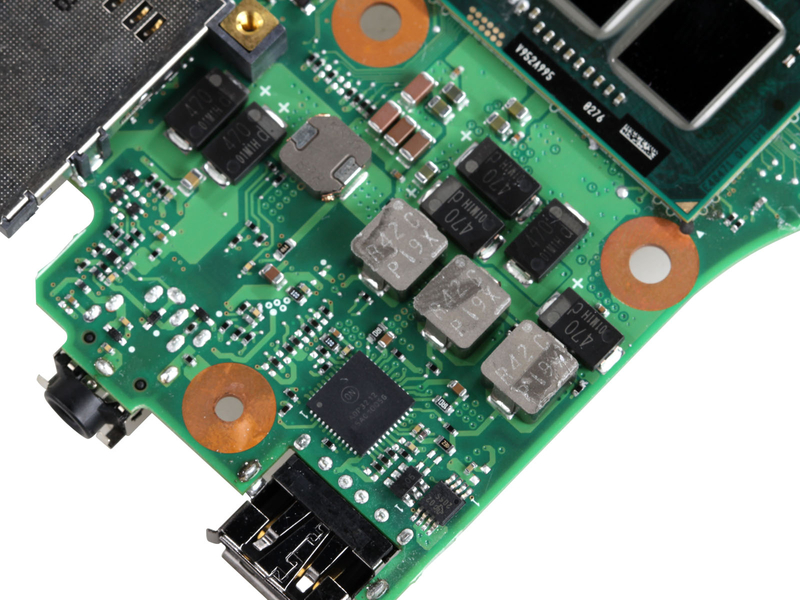
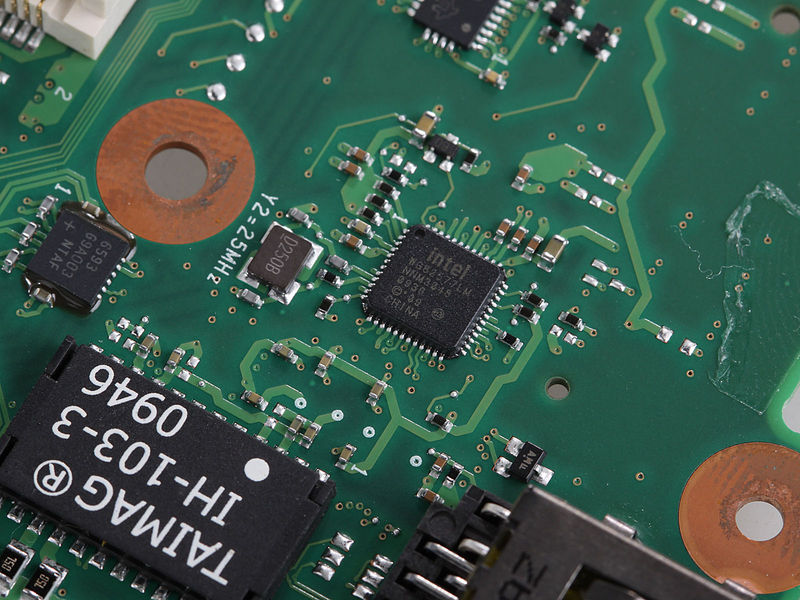
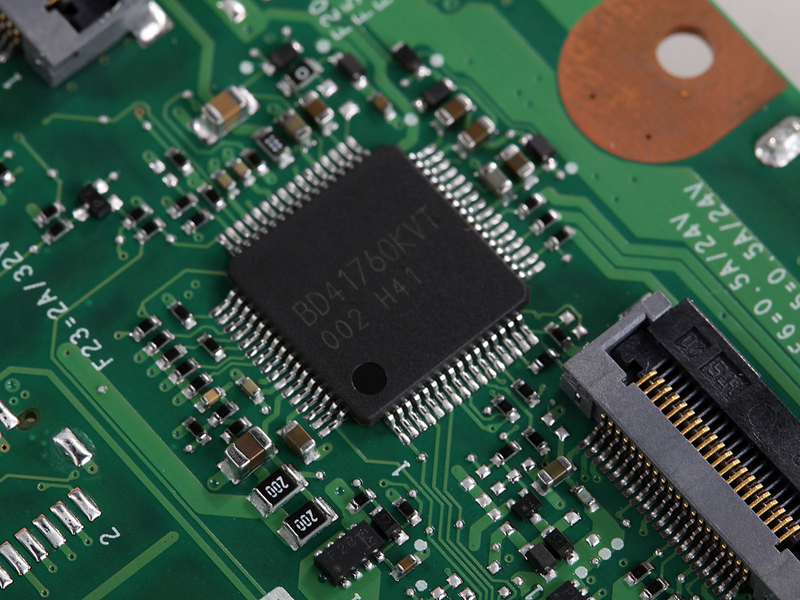
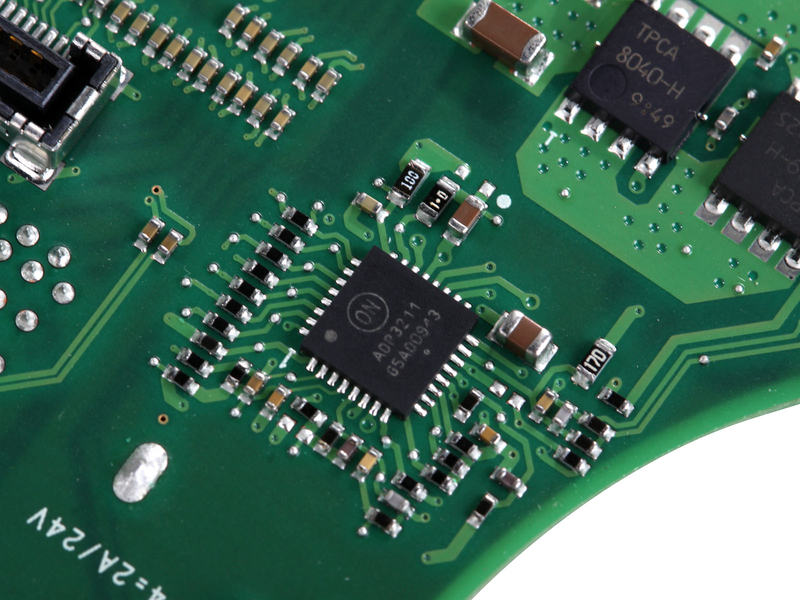
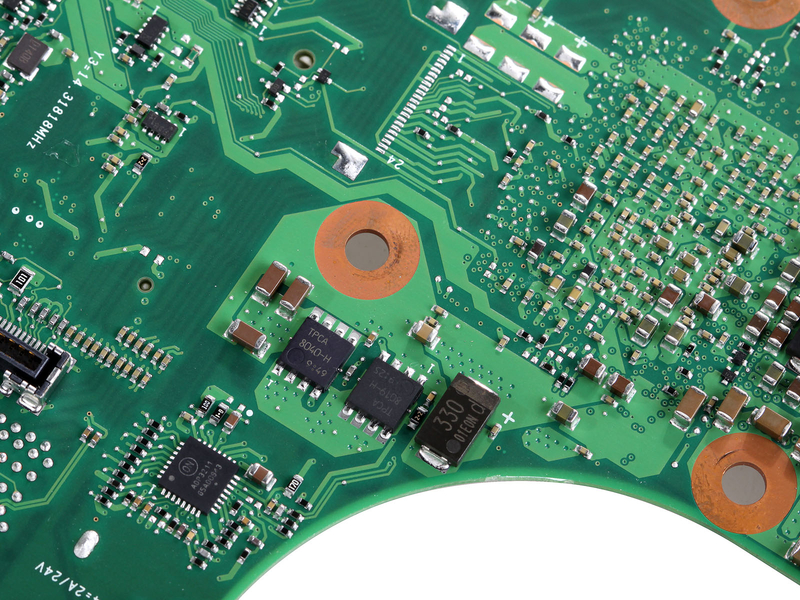
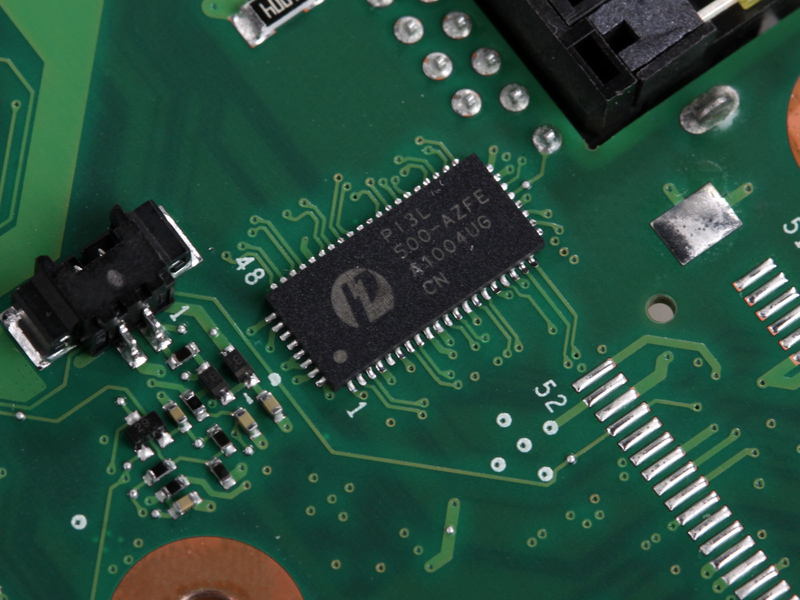
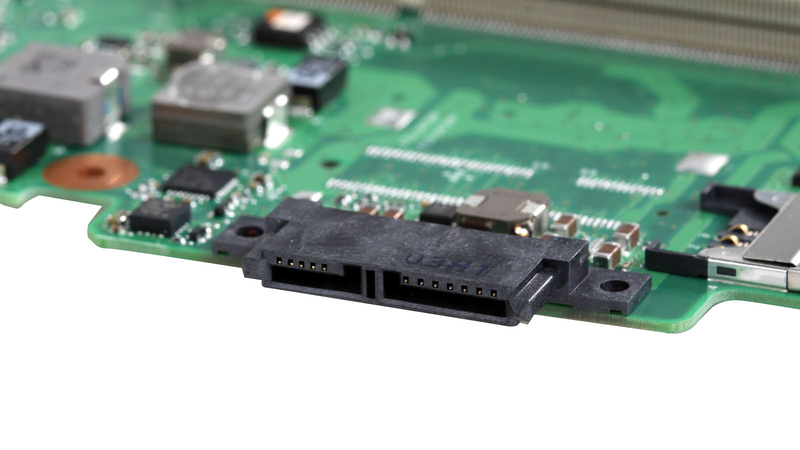
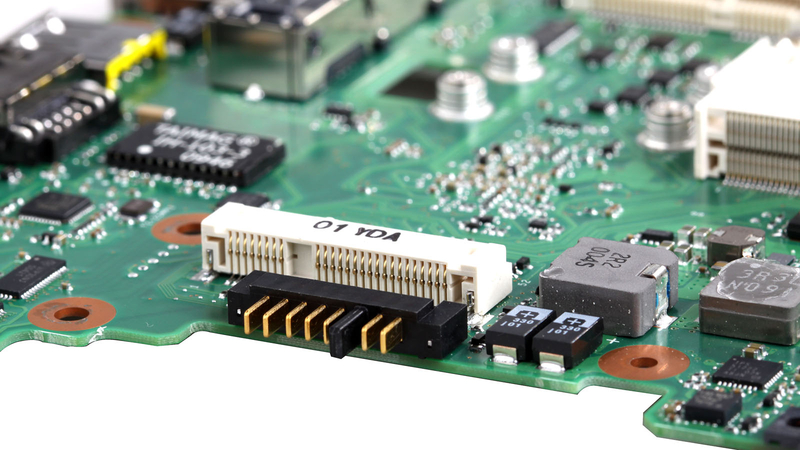
Below are some close-ups of components on the motherboard.
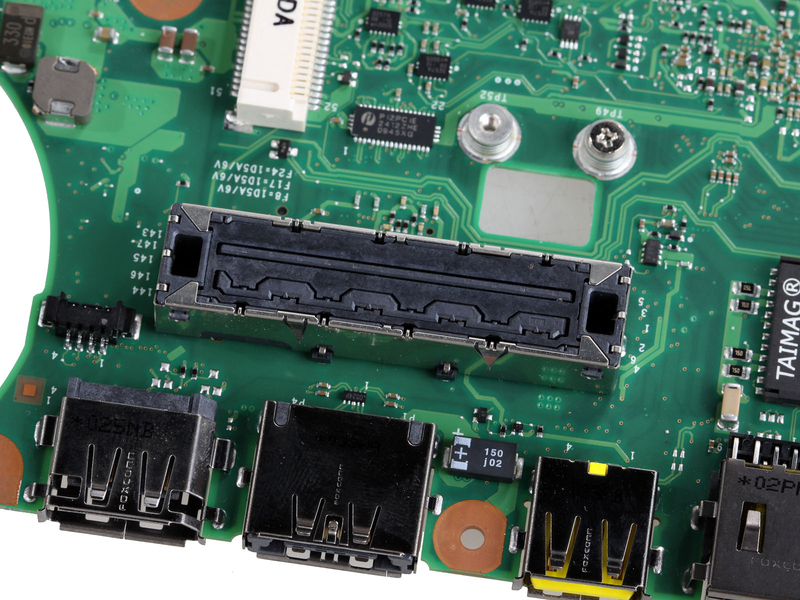
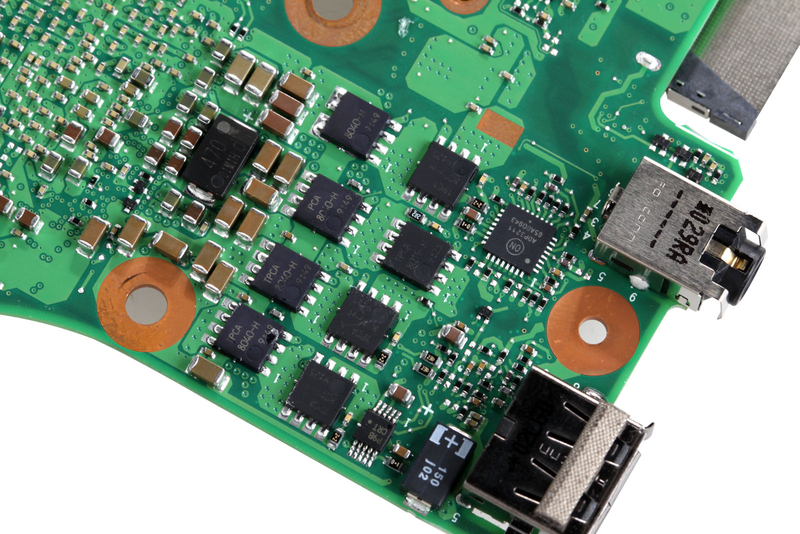
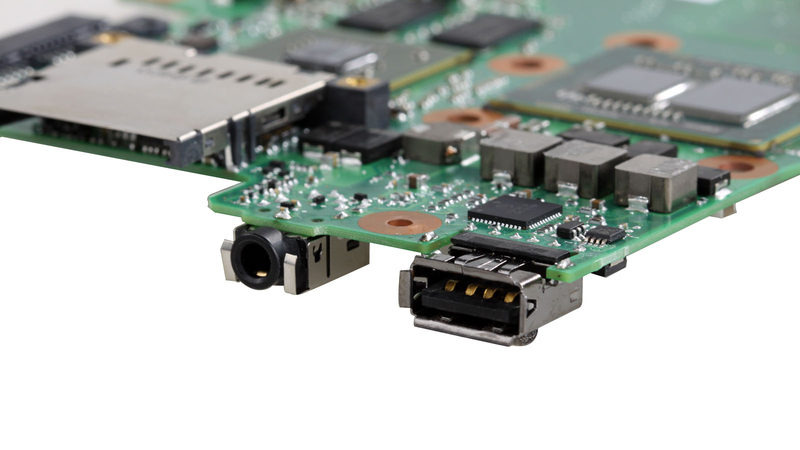
Close-up of DisplayPort, eSATA, and USB ports
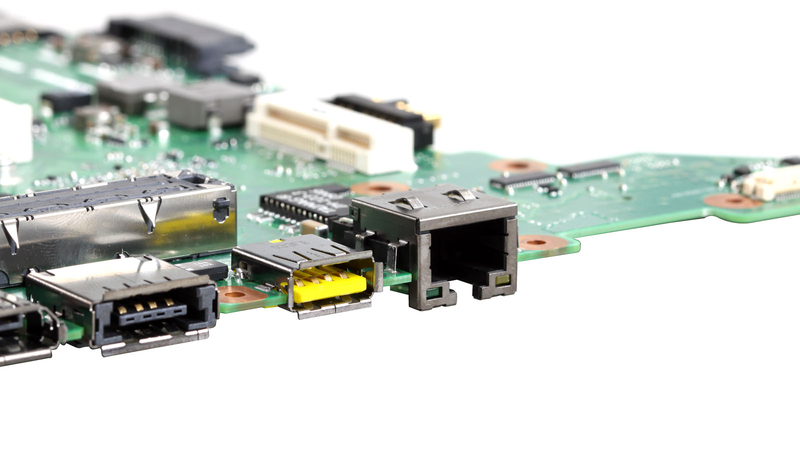
Close-up of USB and RJ45 ports

Hi, thanks for all the pictures! Unfortunately, you missed the only part I am interested in: the SPI flash chip hosting the firmware. It is probably the SOIC package with 8 pins behind the DIMM slots, the one with the orange dot. I am only interested in its position, so I am fine with the existing pictures. Thanks again!
And that’s easily accessible via the memory and mini-PCIe hatch, great.
Hello,
I have a Thinkpad T410, and I’ve disassembled it to use it as a file server in a case (desktop); everything is working properly, and there is no problem except for the power button. Since the power button is placed on the keyboard package, and all the functions of that package are connected to the board through one cable, I can’t figure out which node on the board is responsible for the power on/off. How can I figure that out? So I can add a power button to the system without using the keyboard package.
Thanks
Please search the circuit diagram of ThinkPad on Google.com. You can find it in the circuit diagram.
Great article! Thanks!