
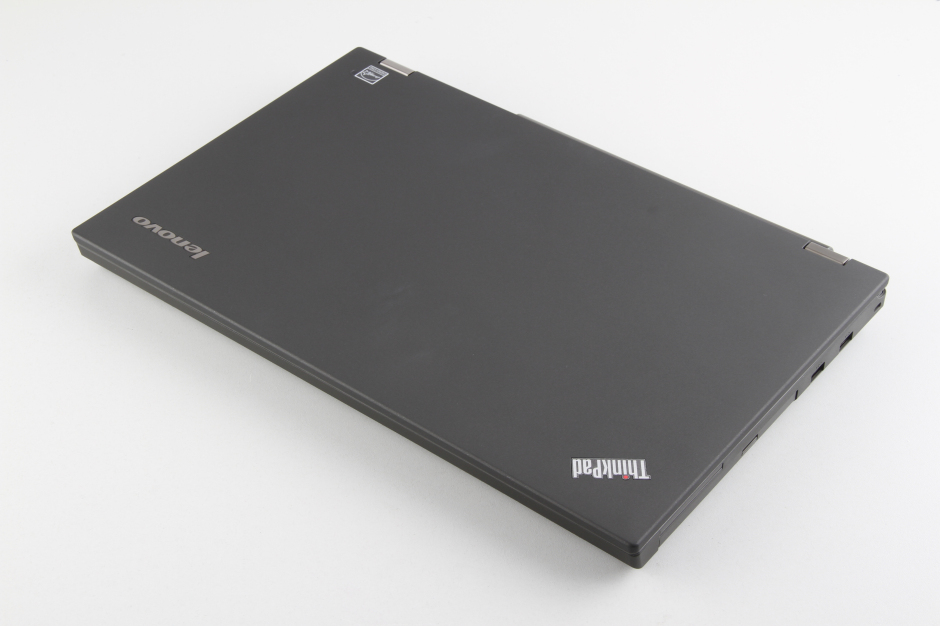
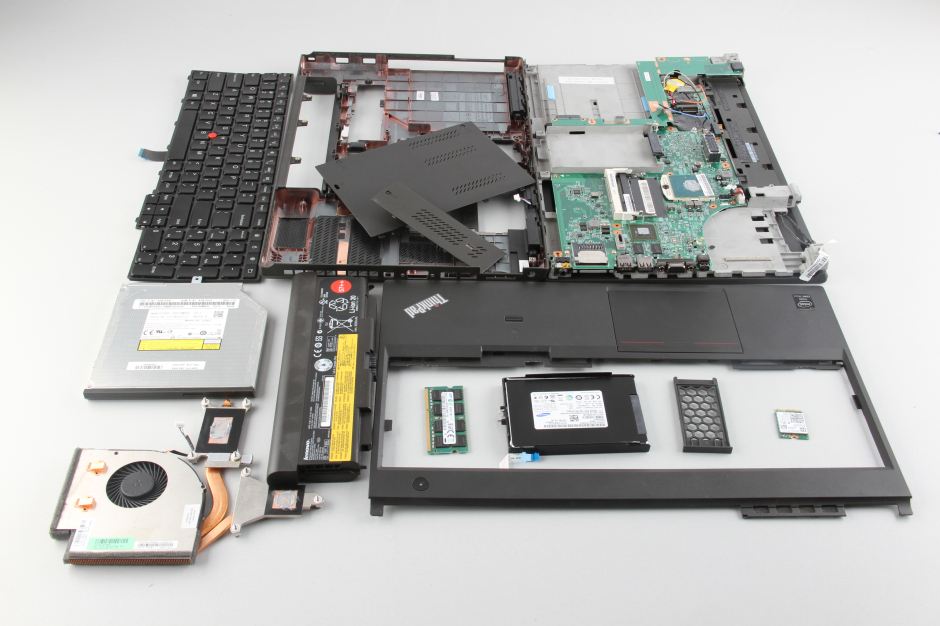
In this guide, I will explain how to disassemble the Lenovo ThinkPad T540p to remove the SSD, keyboard, palm rest, wireless card, RAM, heatsink and cooling fan, speakers, and motherboard.
Follow us on Facebook for the latest updates from MyFixGuide.com.
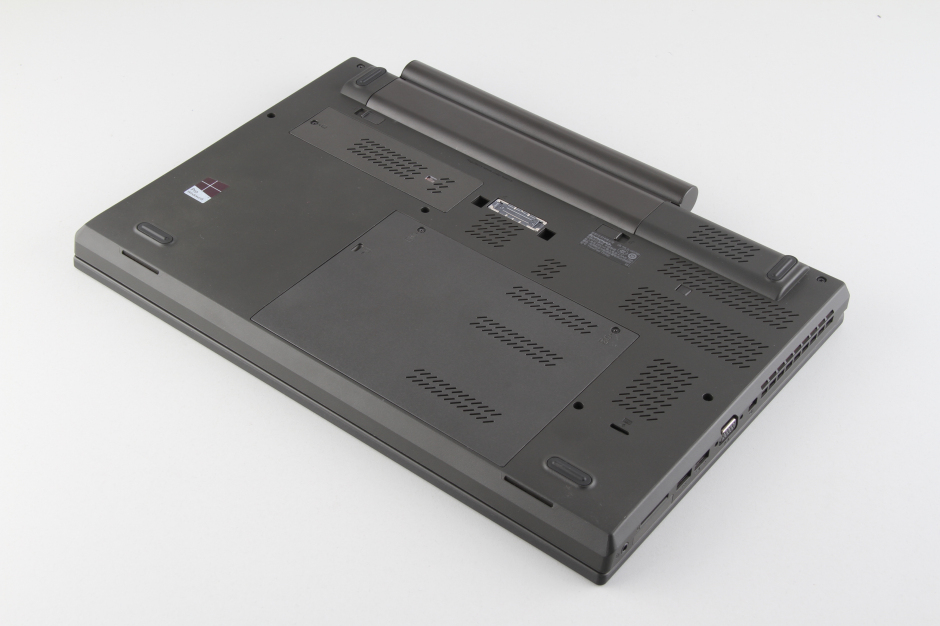
Unlock and remove the battery.

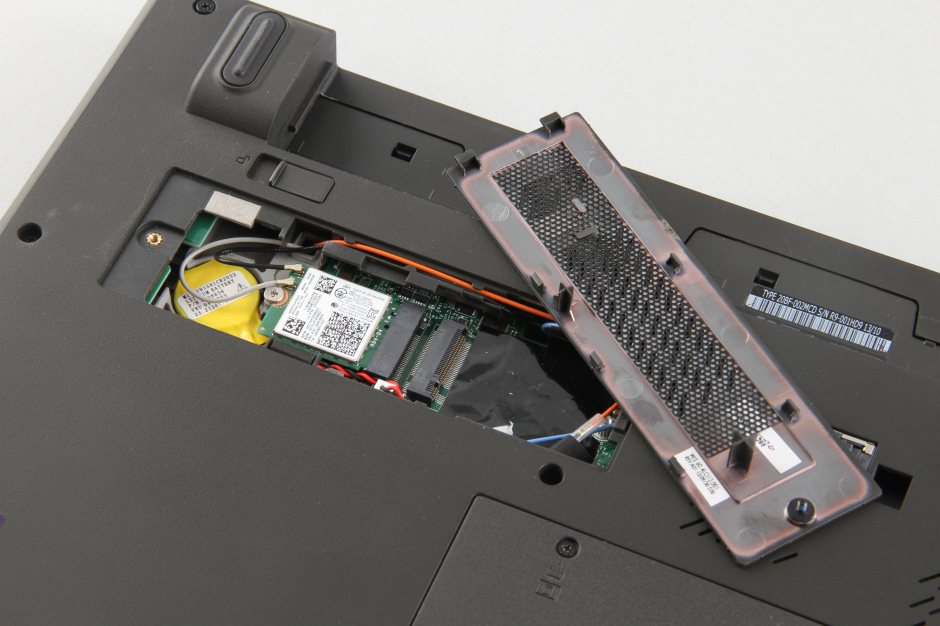
Remove one screw securing the wireless card cover, and then remove the cover. You can access the wireless card and a spare NGFF slot.
Disconnect the two antennas and remove the screw. The wireless card can be removed.
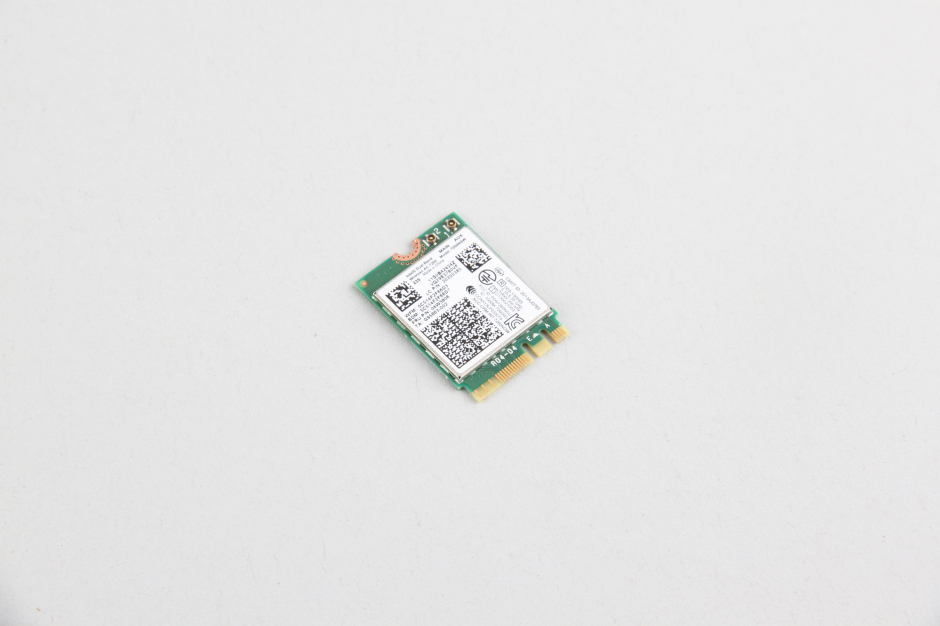
Close-up of the wireless card.
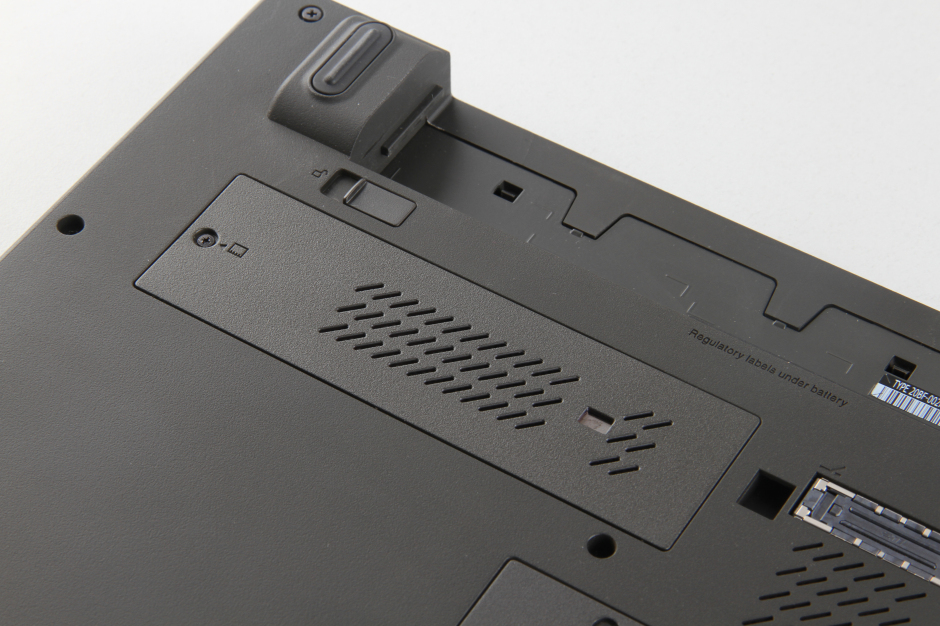
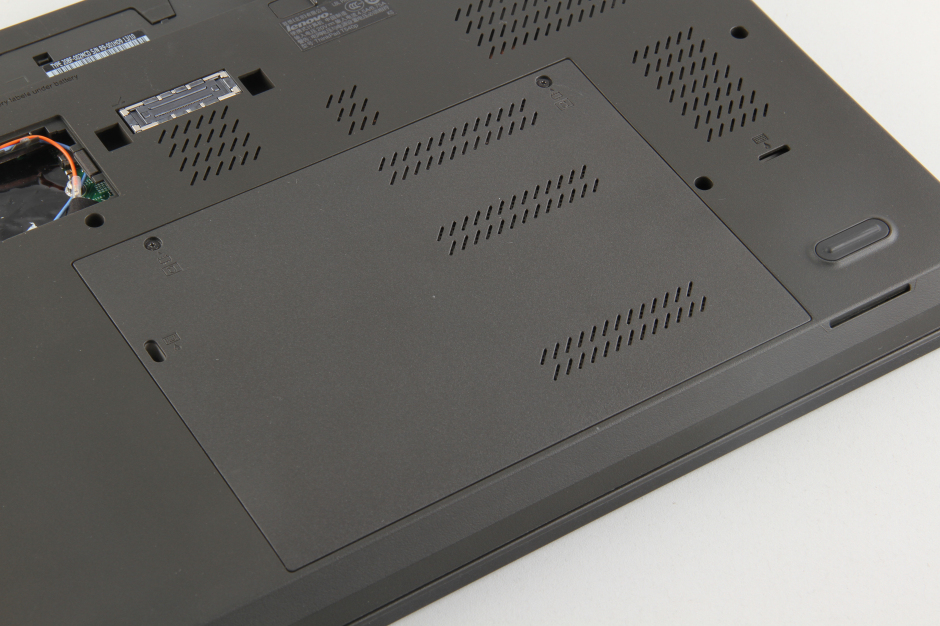
Remove the two screws securing the service cover, and then remove the service cover.
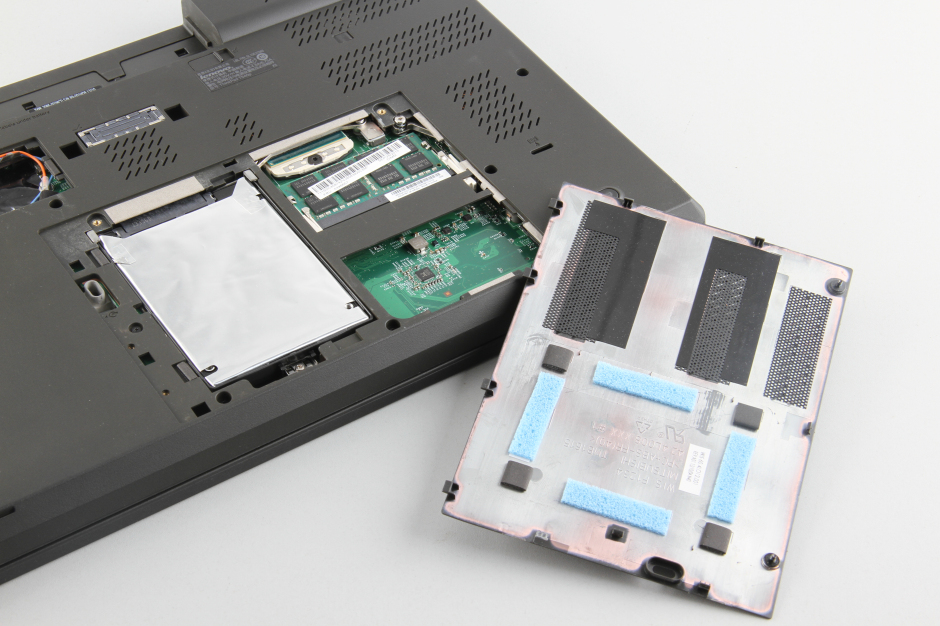
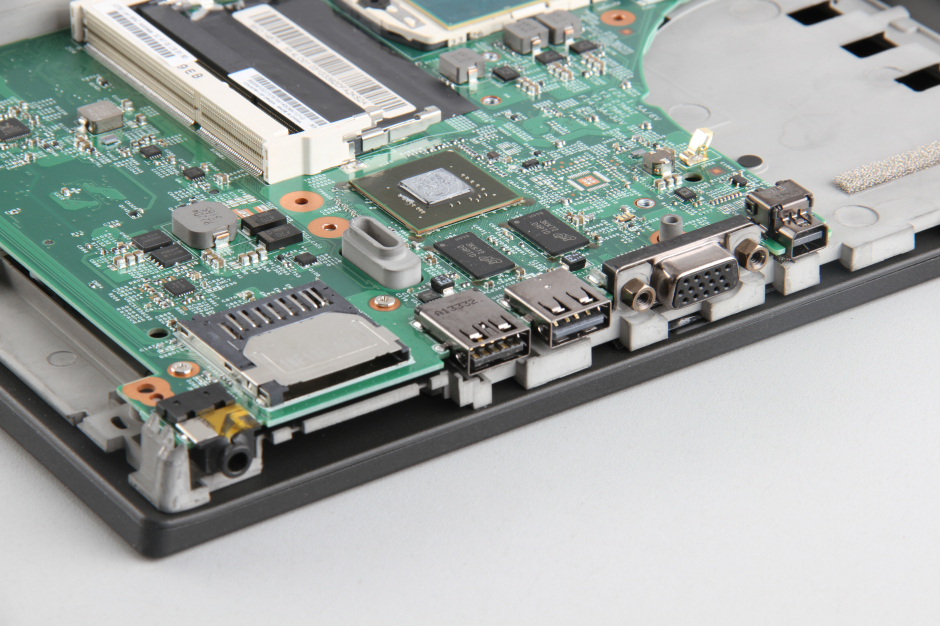
The Lenovo ThinkPad T540p has two memory slots, a mini PCI-E slot (with a wireless card installed), and an NGFF SSD slot.
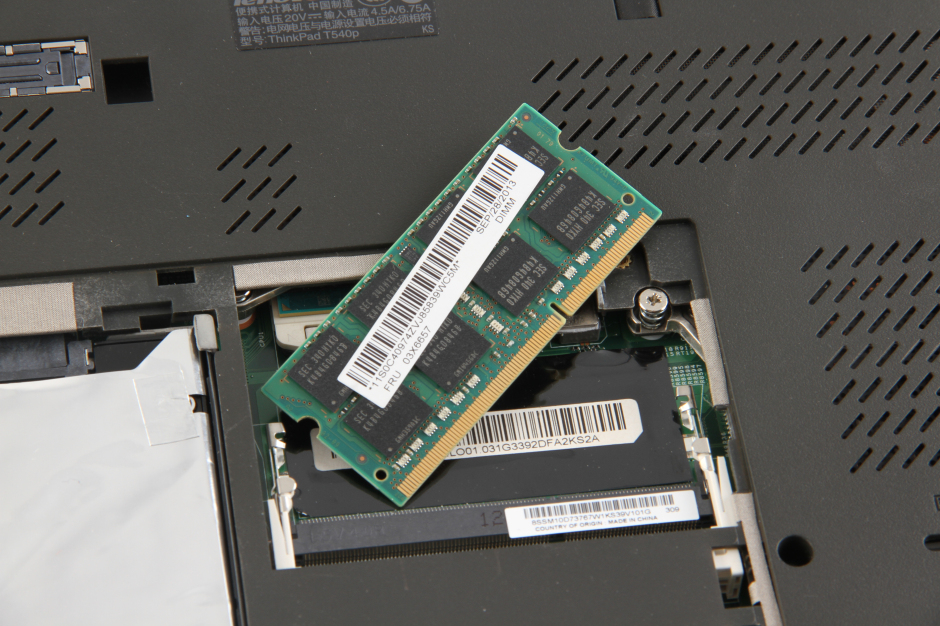
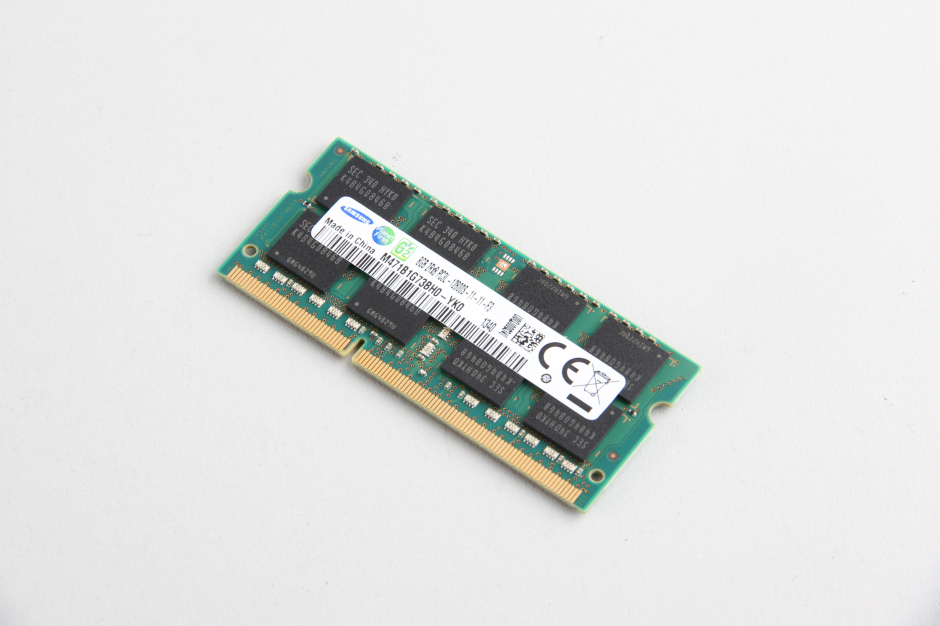
Samsung 8GB PC3L-12800S RAM
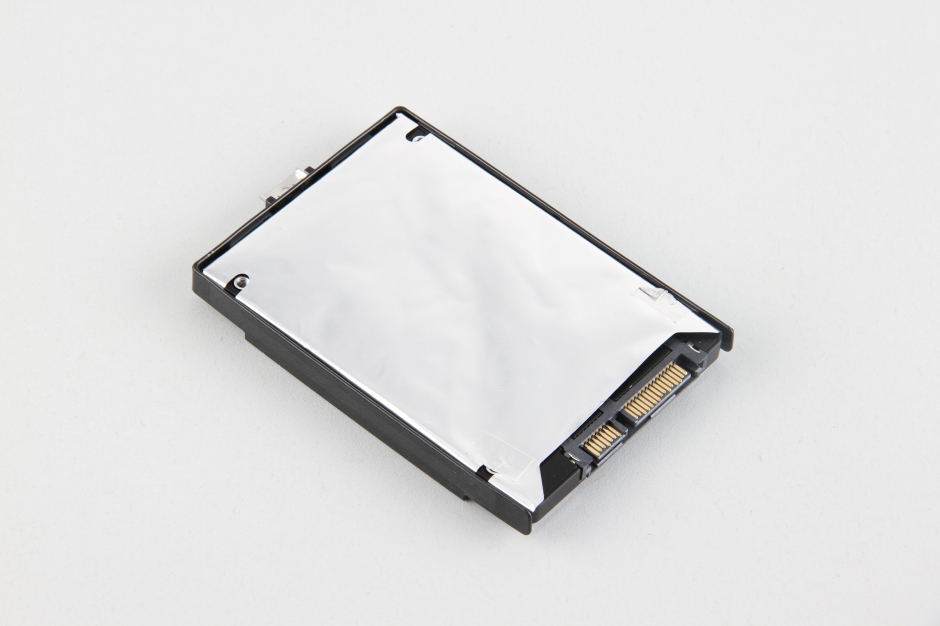
Remove one screw securing the SSD and remove it.
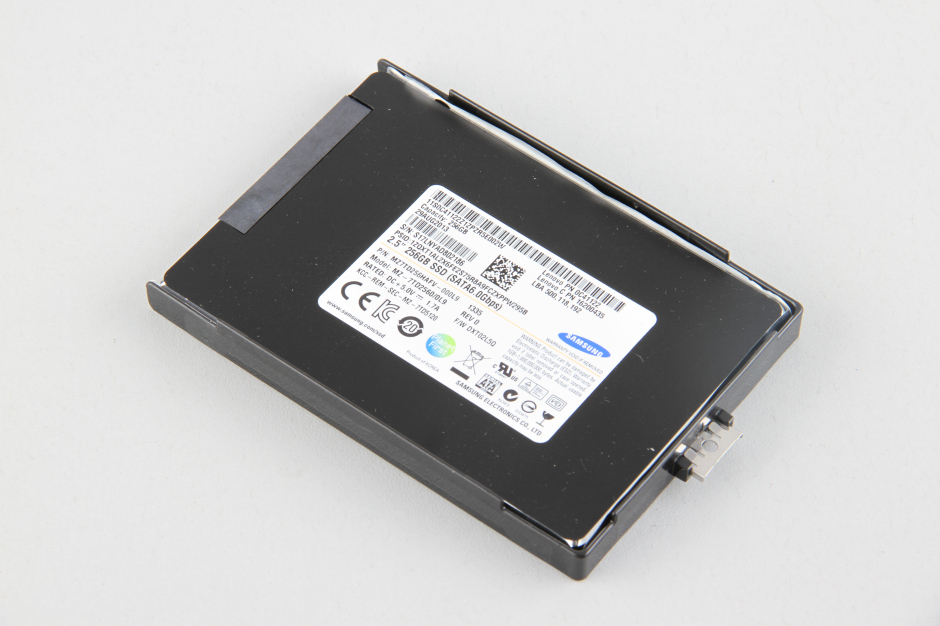
The Lenovo ThinkPad T540p comes with a Samsung 256GB 2.5-inch SSD.
Remove the screws that hold the optical drive.
Pull out the optical drive.
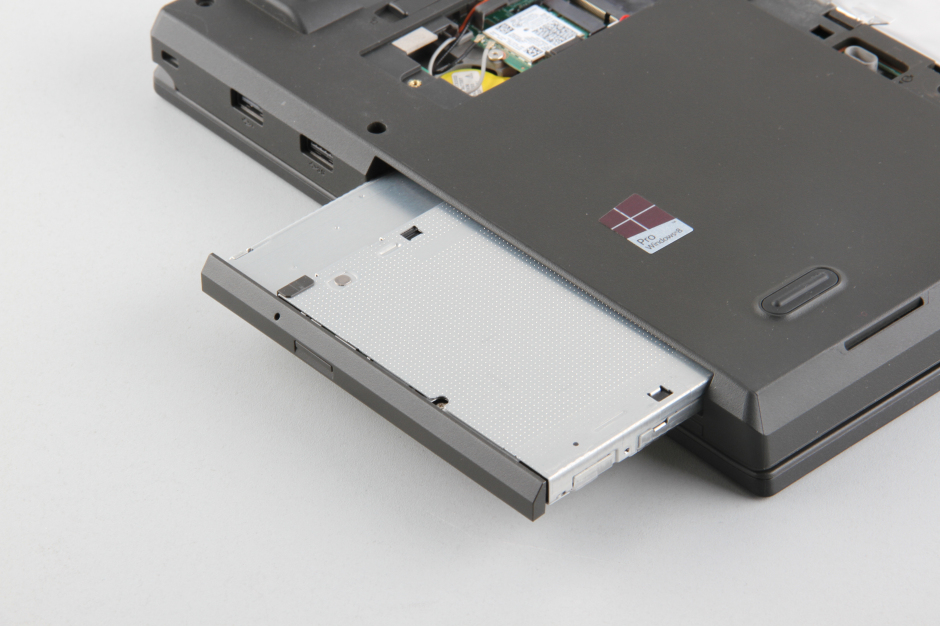
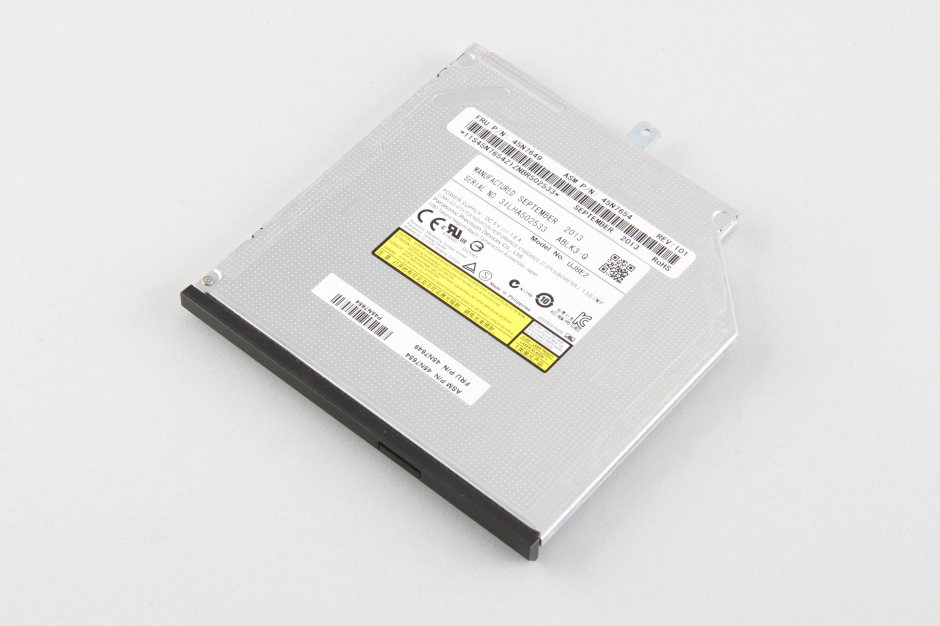
The laptop features a Panasonic UJ-862 9.5mm SATA optical drive.
The ThinkPad T540p has a distinctive keyboard design. The bezel between the filled keycaps can be slid up and down. The keyboard has three grooves that can be pushed upward through the bezel between its keycaps. After that, the six screws that hold the keyboard in place are exposed, and they can be individually removed to loosen the keyboard.

Remove the keyboard and palm rest.
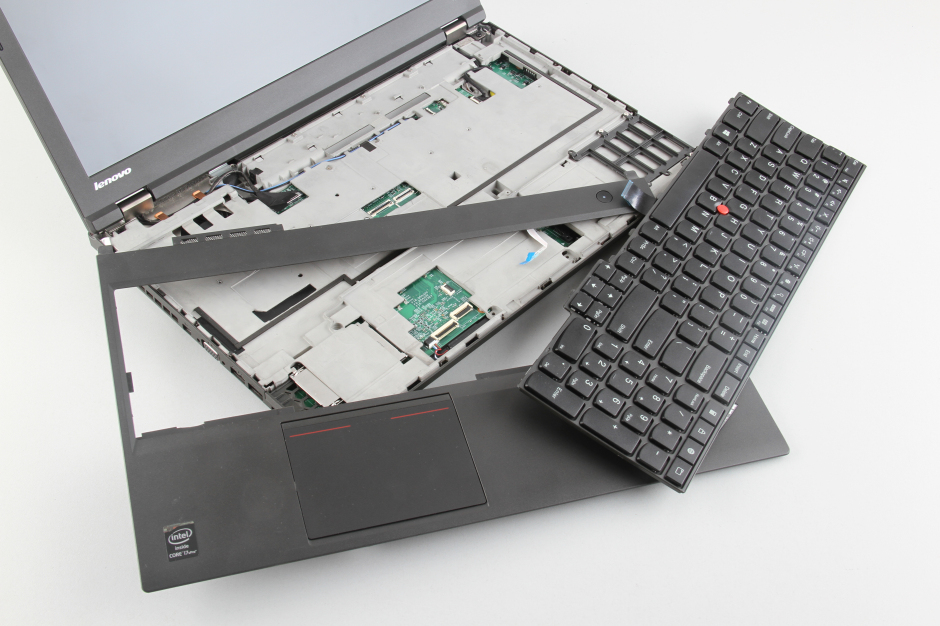
The keyboard is removed.

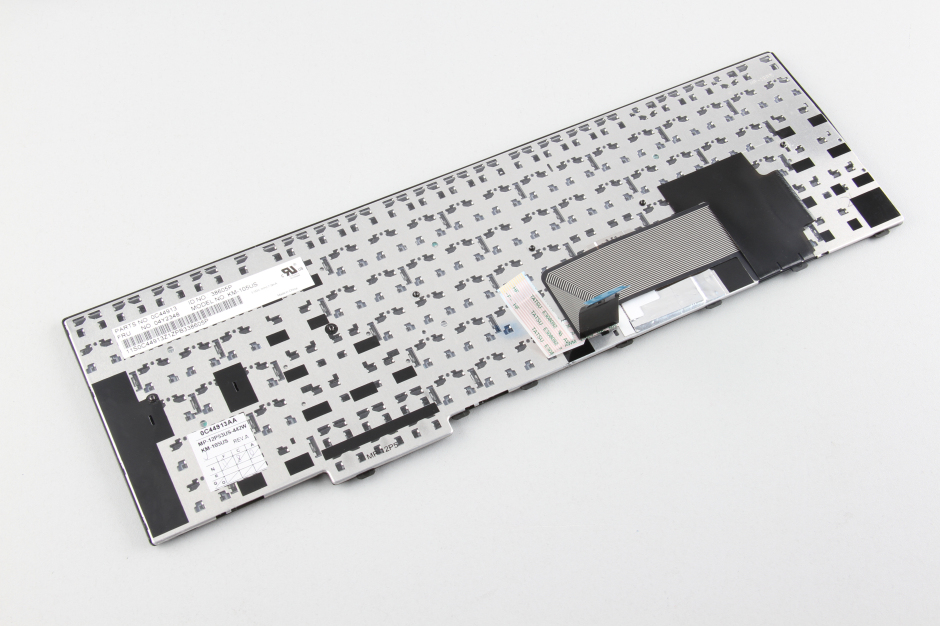
The back of the keyboard
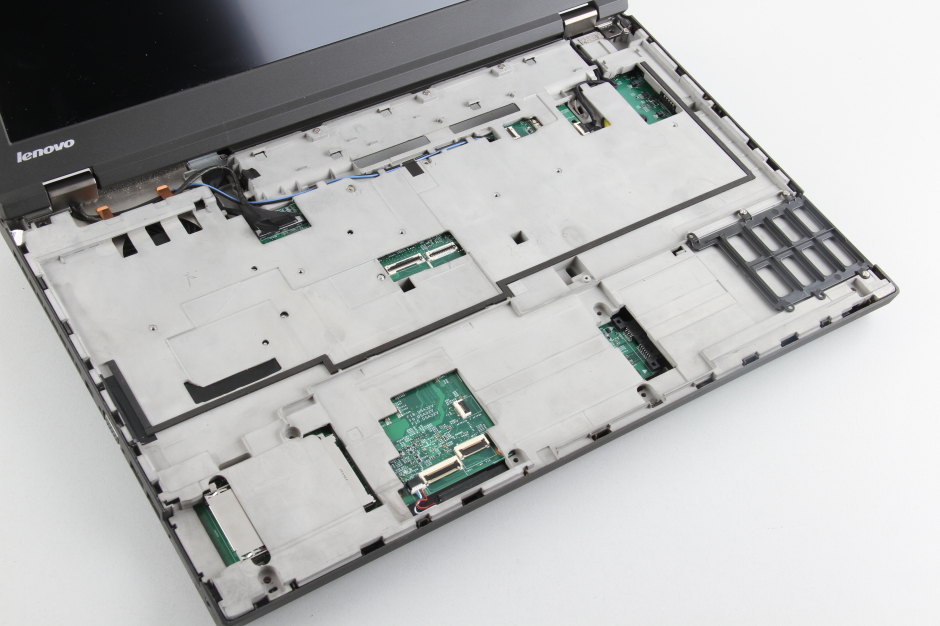
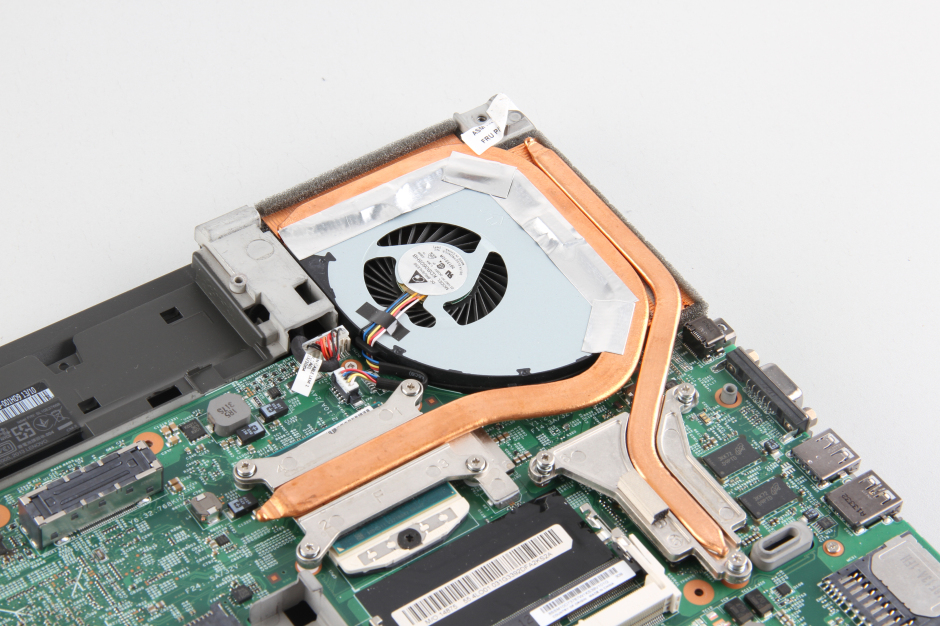
Under the palm rest, you can access the heat sink and cooling fan.
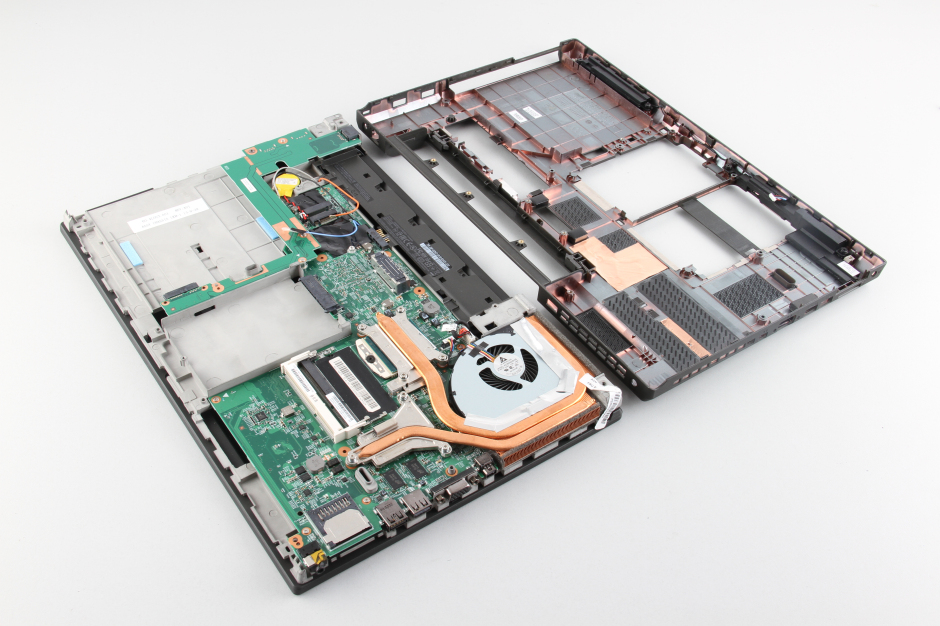
The heatsink and cooling fan can be removed by loosening the seven screws that secure the heatsink and cooling fan and disconnecting the cooling fan cable from the motherboard.
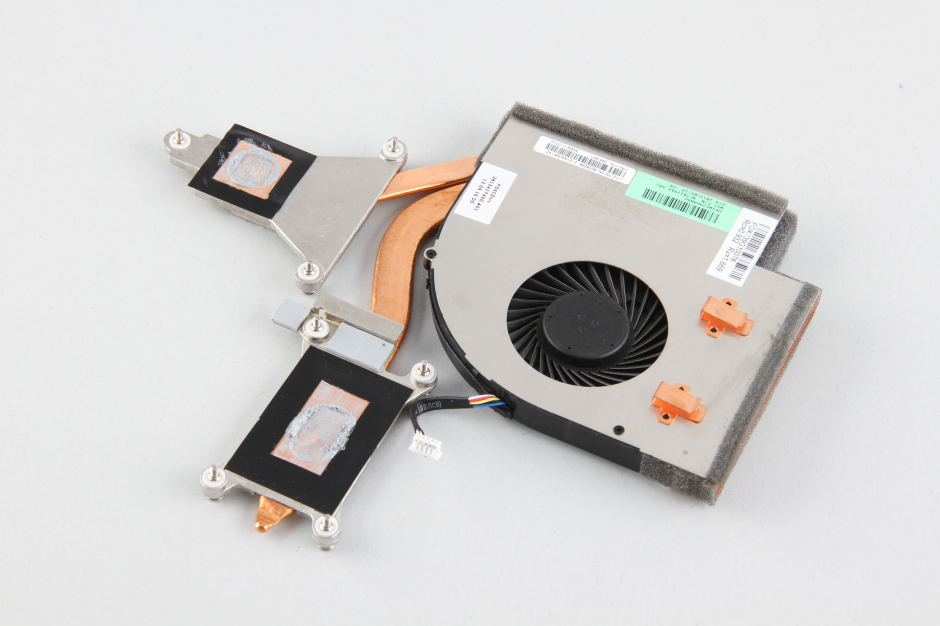
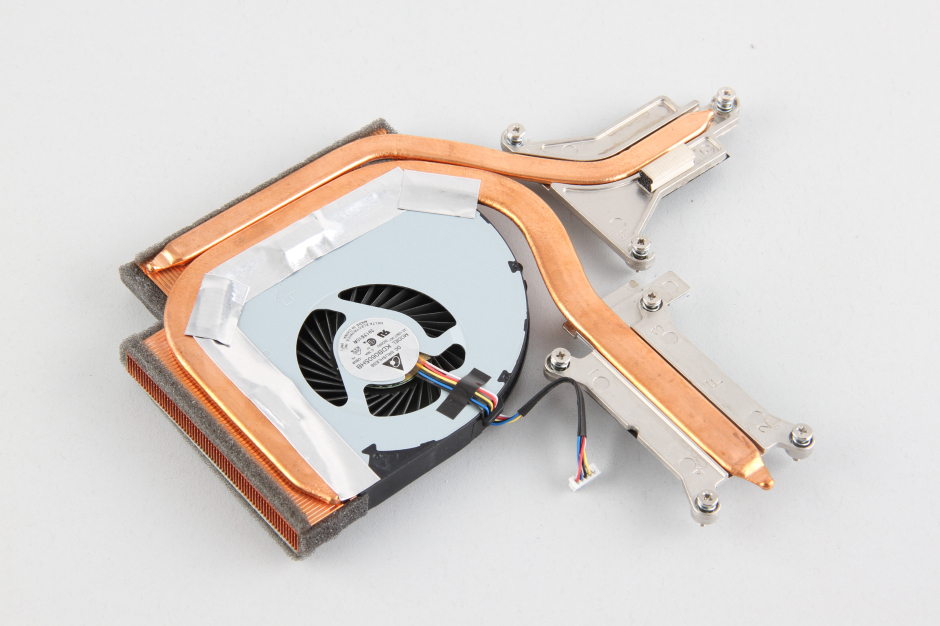
The heat sink and cooling fan
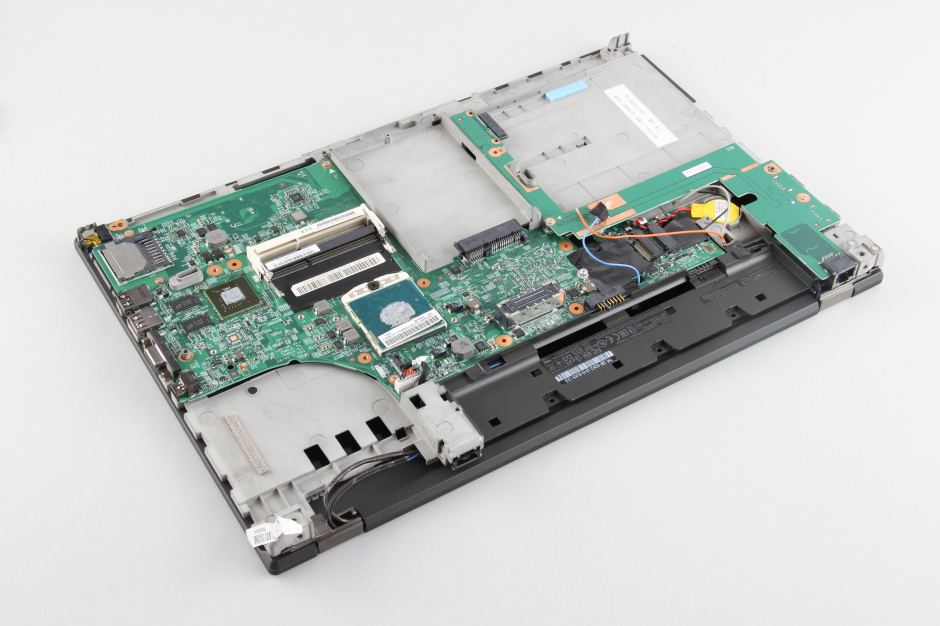
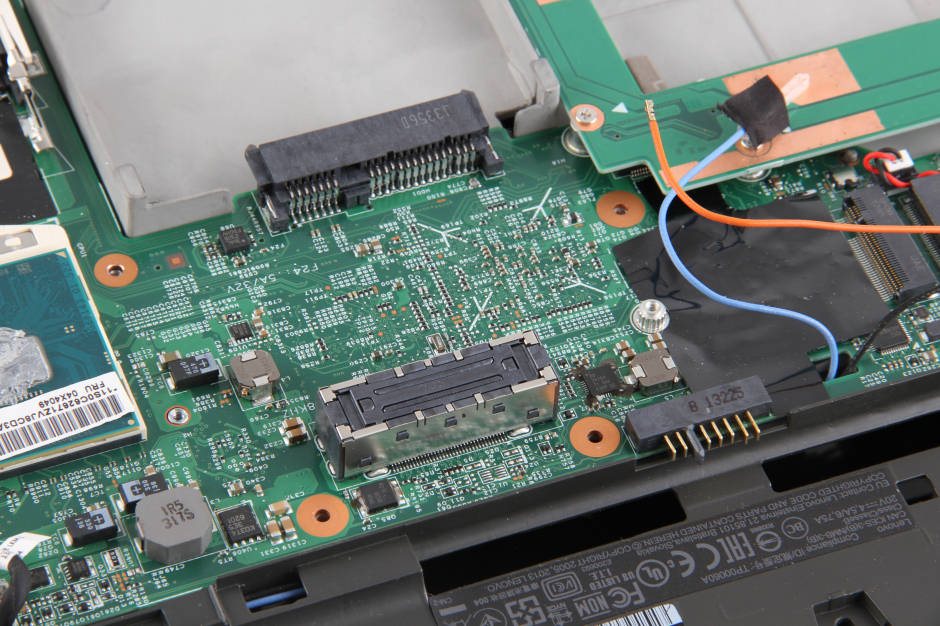
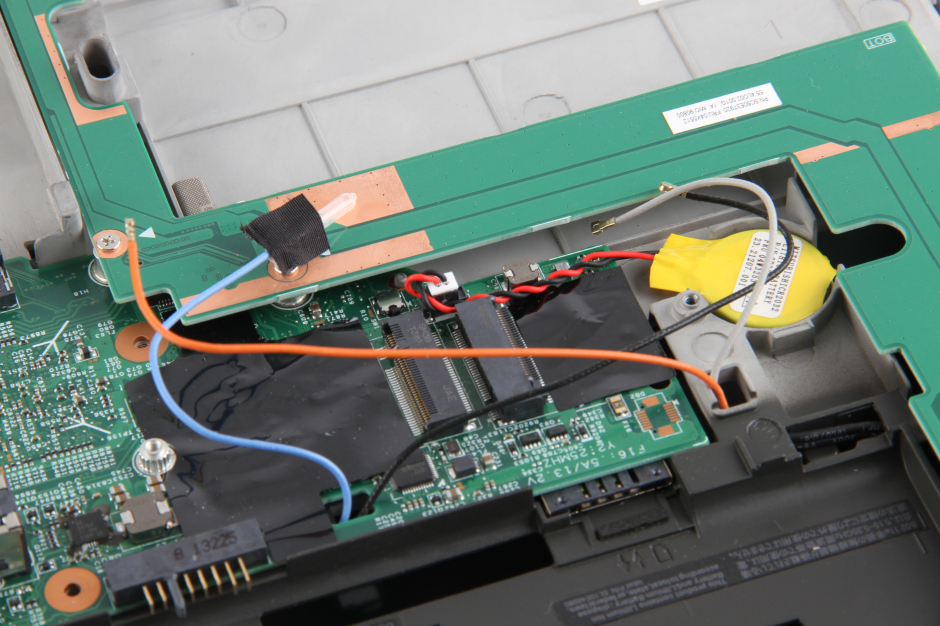
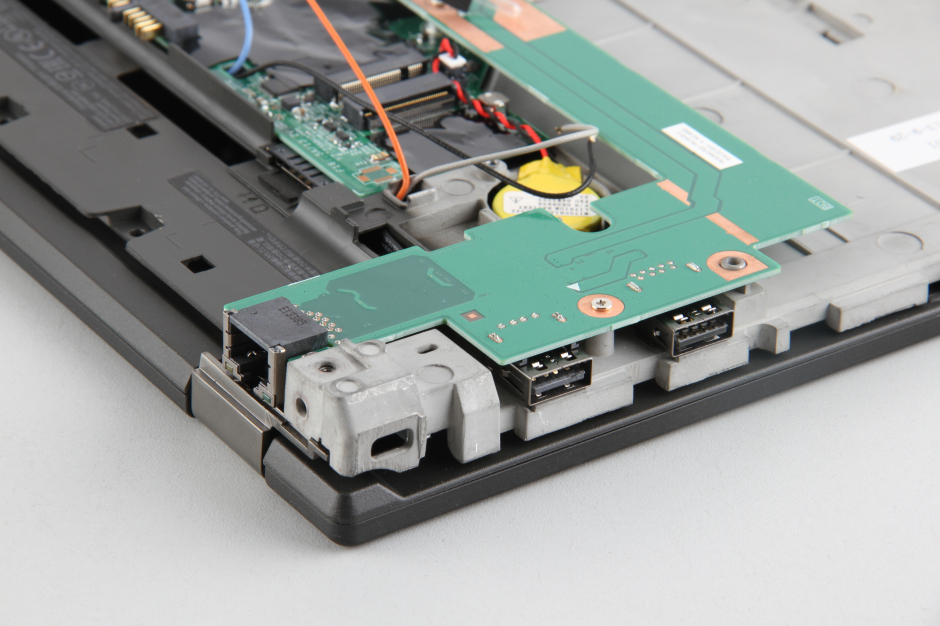
Close-up of the motherboard.
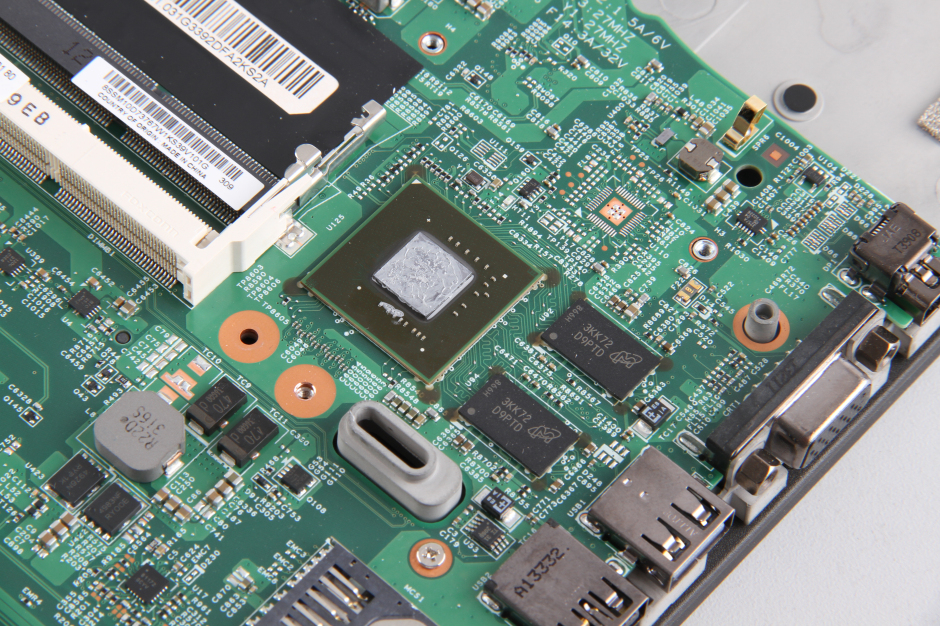
Close-up of the graphics chip.
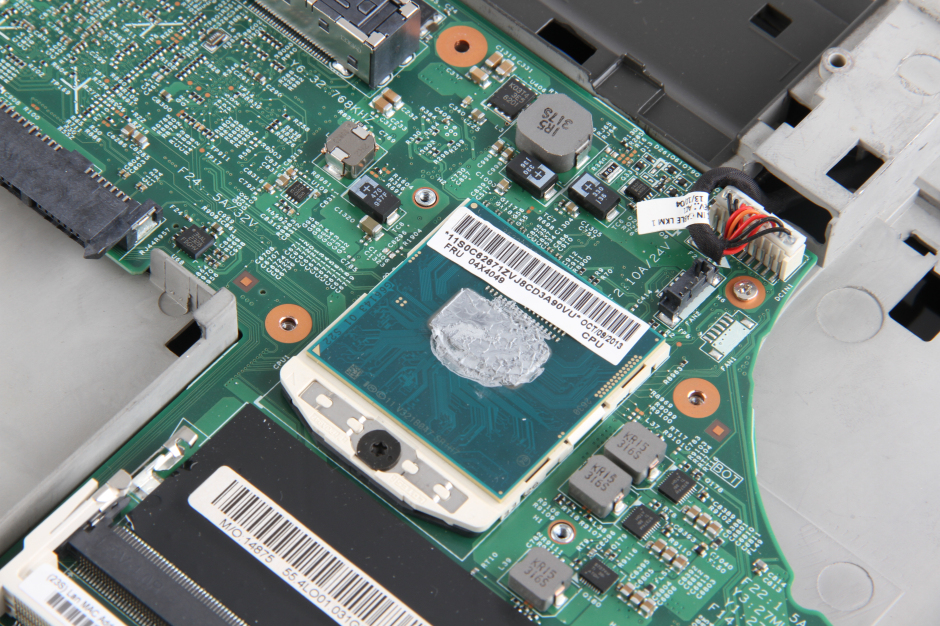
Close-up of the Intel processor.
For more guides, check out the Lenovo ThinkPad T540p device page.
Can you tell me which M.2 SSD cards fit into the Lenovo T540p? And does it go right next to the WLAN card? Thanks
Hi,
Thanks for the amazing article. I bought this laptop but didn’t select the Nvidia Graphics card when I ordered it from Lenovo, and now I’m regretting it. I would like to know if it is possible to remove the integrated Intel graphics card (I have called Lenovo, and they said it is already soldered to the motherboard) and install my own graphics card instead. I do notice that there is no PCI Express slot or anything like that. If possible, could you help me with a small guide on how to uninstall the existing Intel graphics card and replace it with a new one? Thanks very much!
Is it really necessary to remove the keyboard when I just want to renew the heat paste on the CPU, GPU, and Chipset?