
In this guide, I will explain how to disassemble the Lenovo ThinkPad Yoga 11e to remove the SSD, keyboard, palm rest, RAM, wireless card, bottom case, cooling fan, and motherboard.
Want to stay connected to MyFixGuide.com? Follow us on Facebook to check out the latest teardowns.
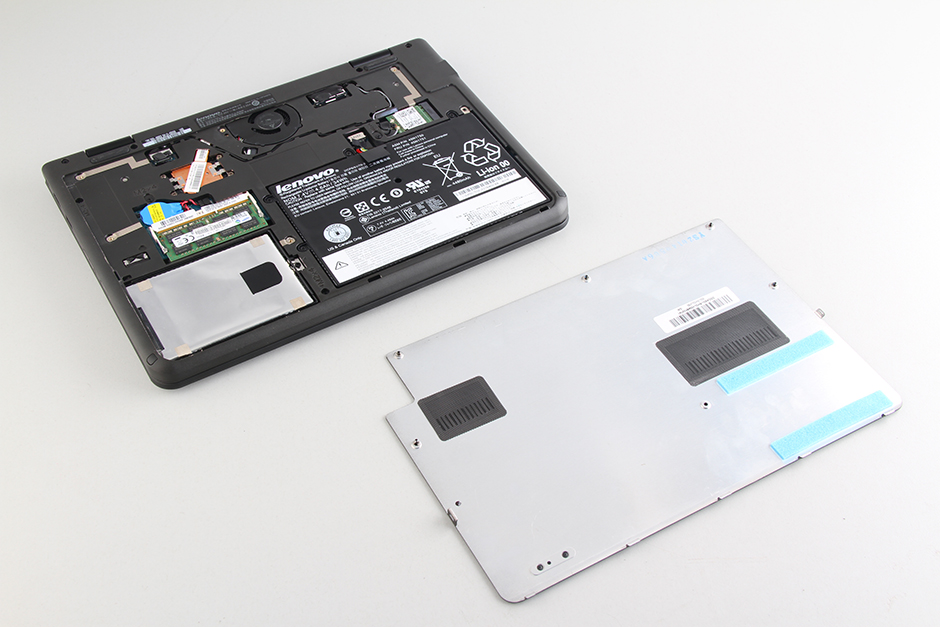
Step 1: Remove the service cover
-
- Remove the six screws securing the service cover
-
- Insert a pry tool under the service cover, pry it up, and remove the service cover.
-
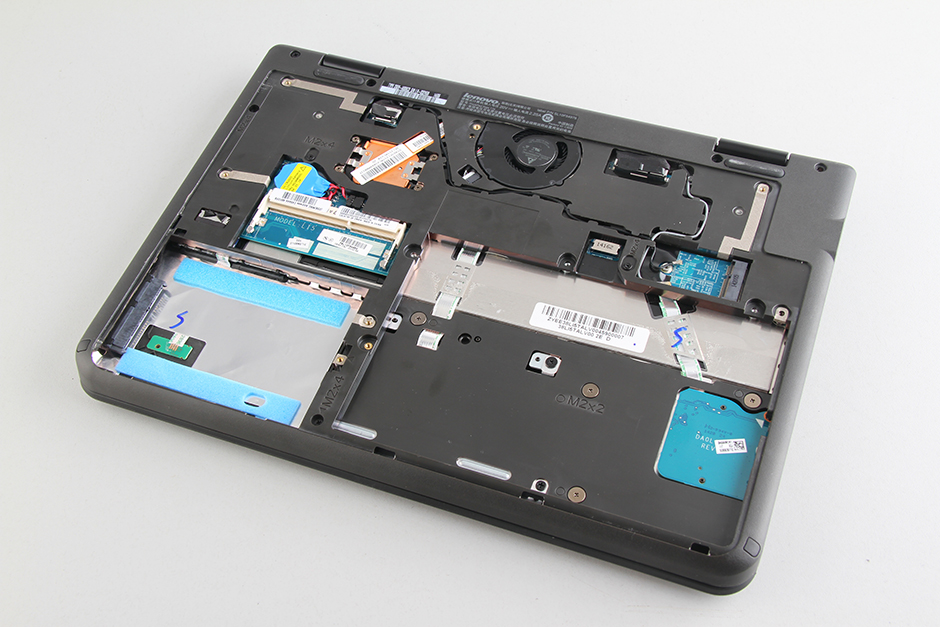
- Under the cover, you can get access to the battery, SSD, RAM, and wireless card.
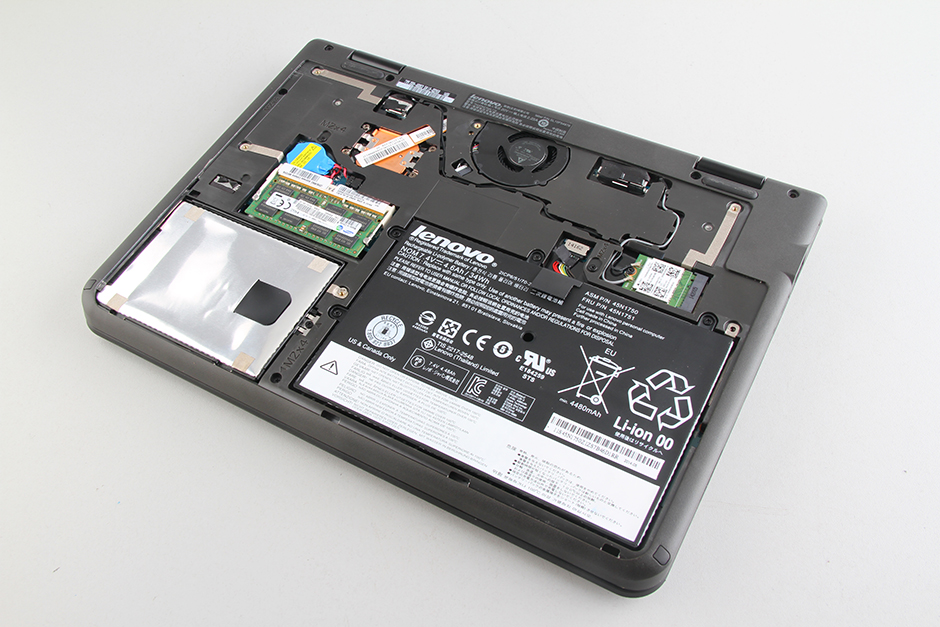
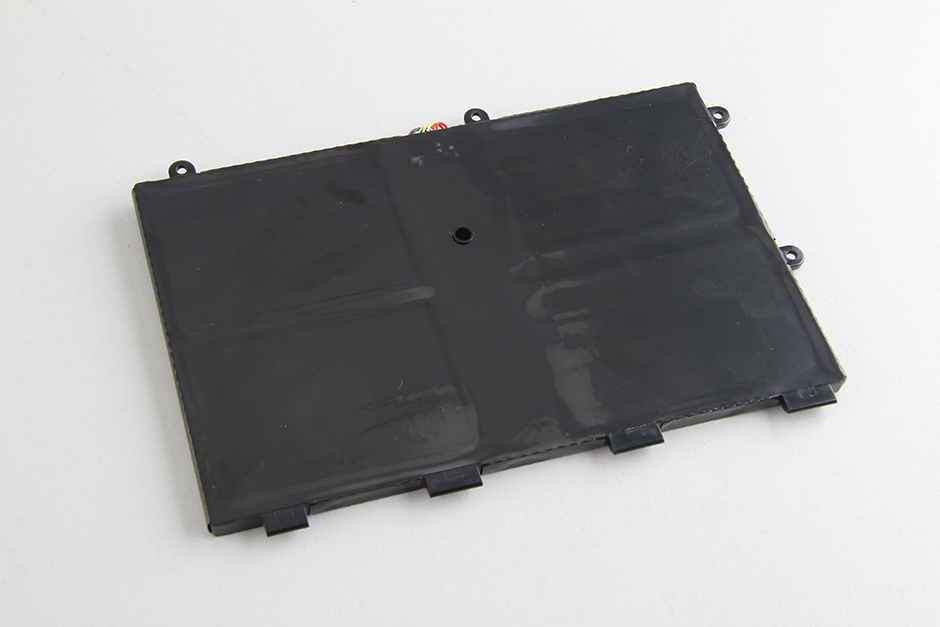
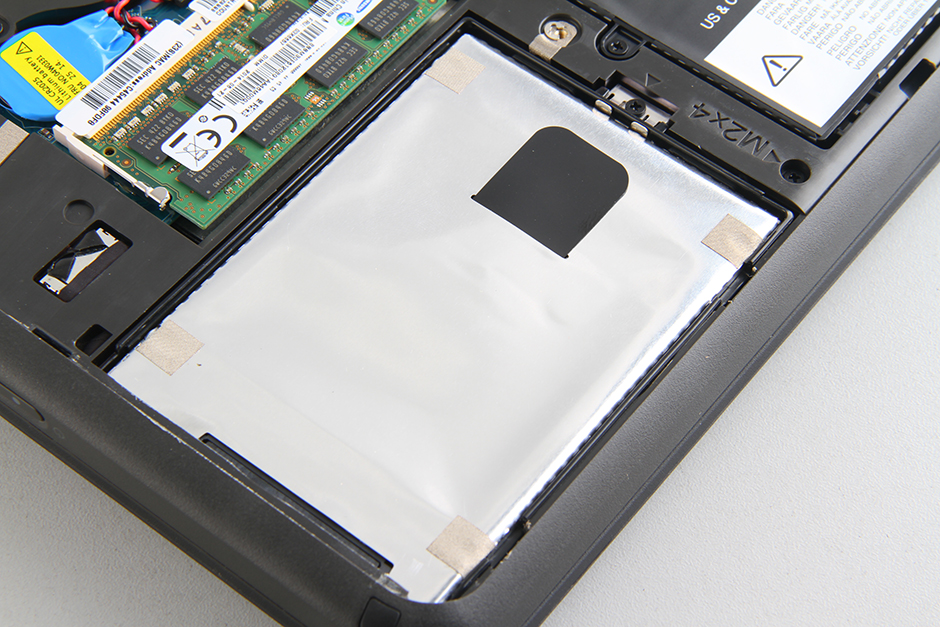
Step 2: Remove the battery
-
- Remove the four screws securing the battery and disconnect the battery power cable from the motherboard.

-
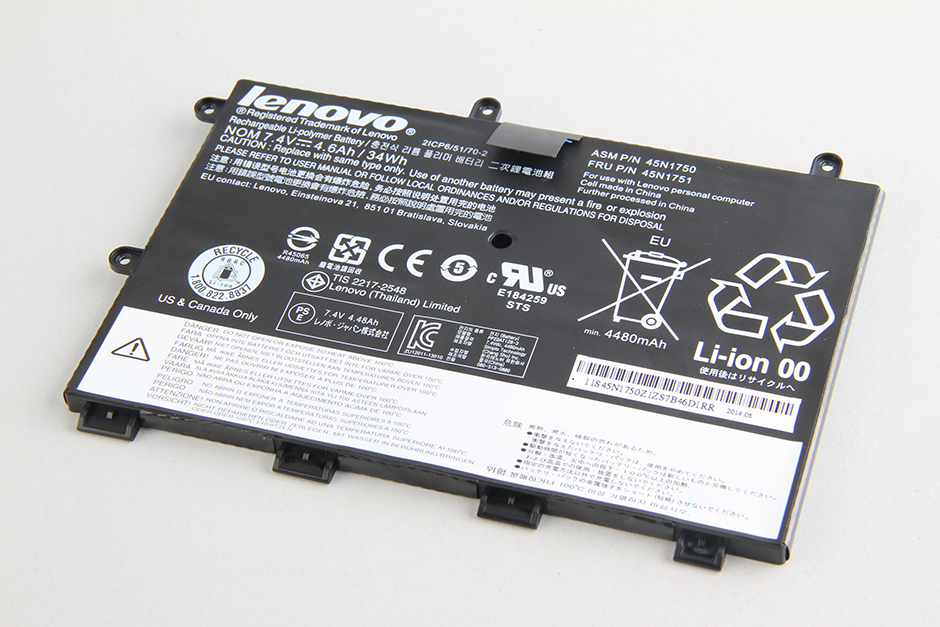
- The Lenovo ThinkPad Yoga 11e comes with a 34Wh Li-Polymer battery. The Lenovo part numbers are 45N1750 and 45N1751.
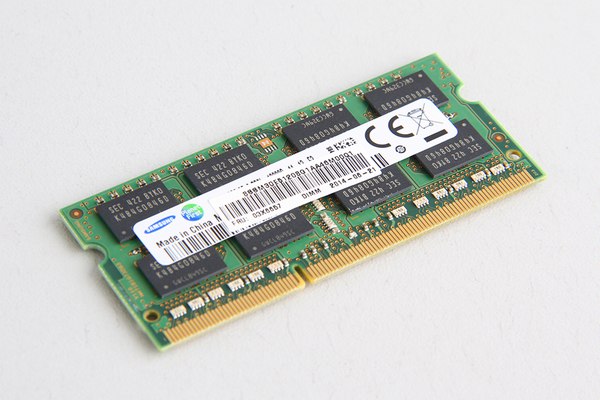
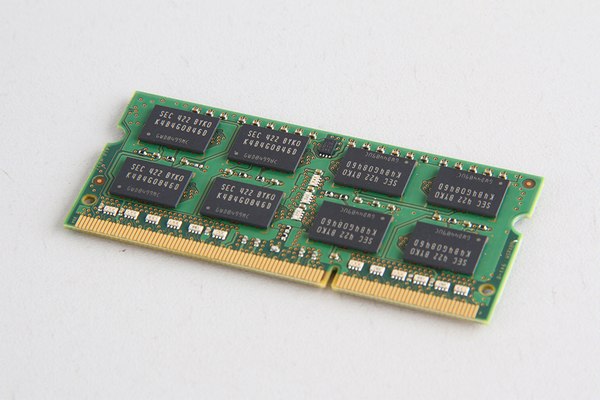
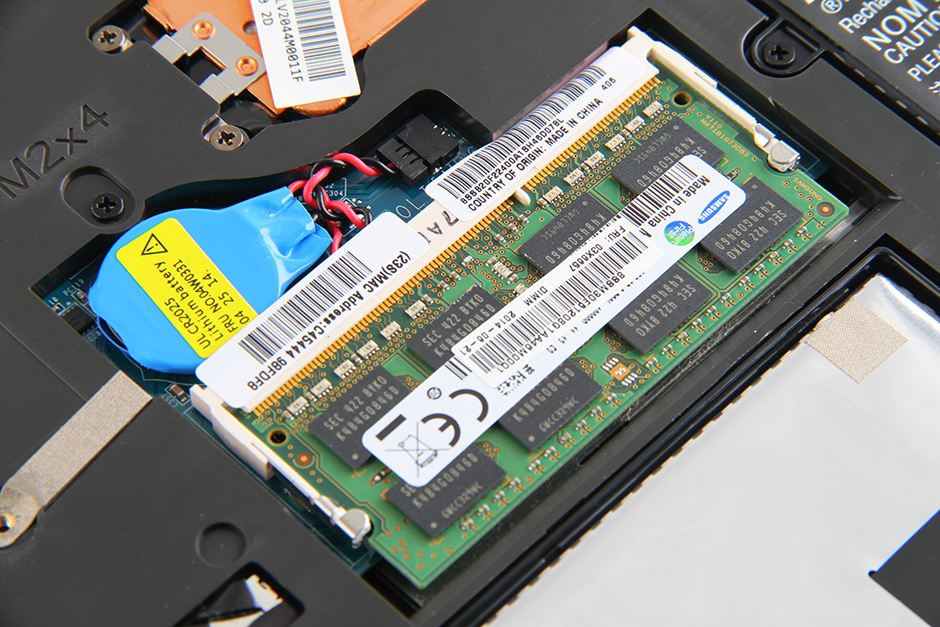
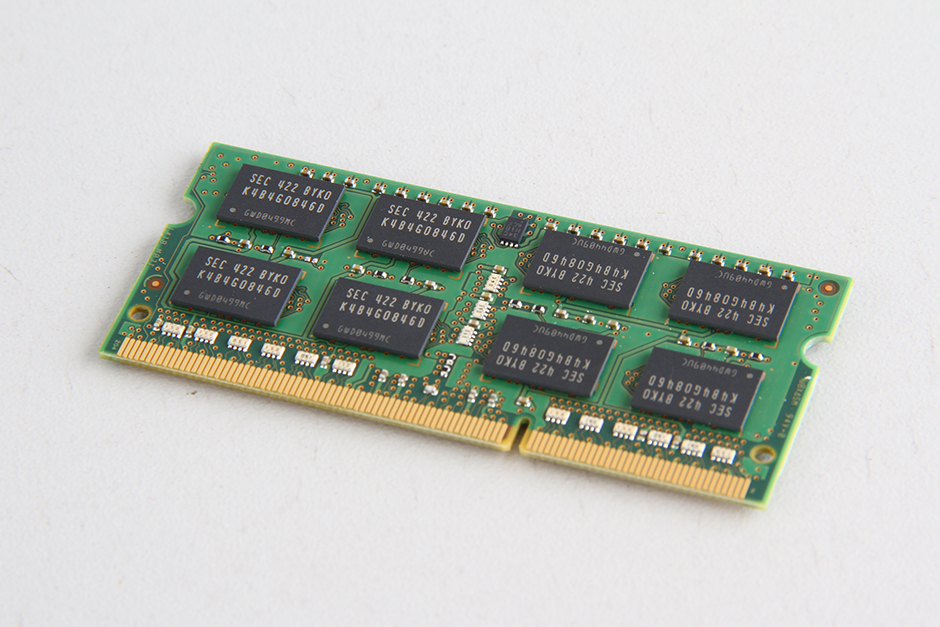
Step 3: Remove the RAM
- Use your nails to separate the clips on both sides of the memory module, and the memory module will pop out automatically.

- The laptop comes with a 4GB Samsung memory module. If you need to upgrade your memory, you will need to replace the existing memory module.

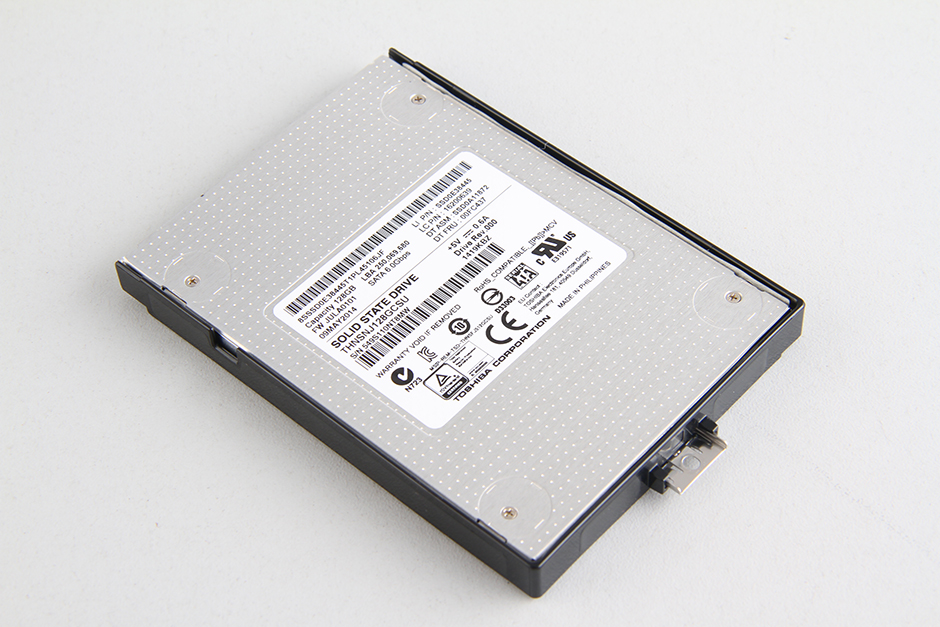
Step 4: Remove the SSD
-
- Remove the screw securing the SSD module. Lift the black tape and slide it to the right to disconnect it from the motherboard.
-
- The laptop comes with a 128GB 2.5-inch SSD. This laptop is installed on an HDD caddy. To upgrade to an SSD, you need to remove the HDD caddy and install it on the new SSD.

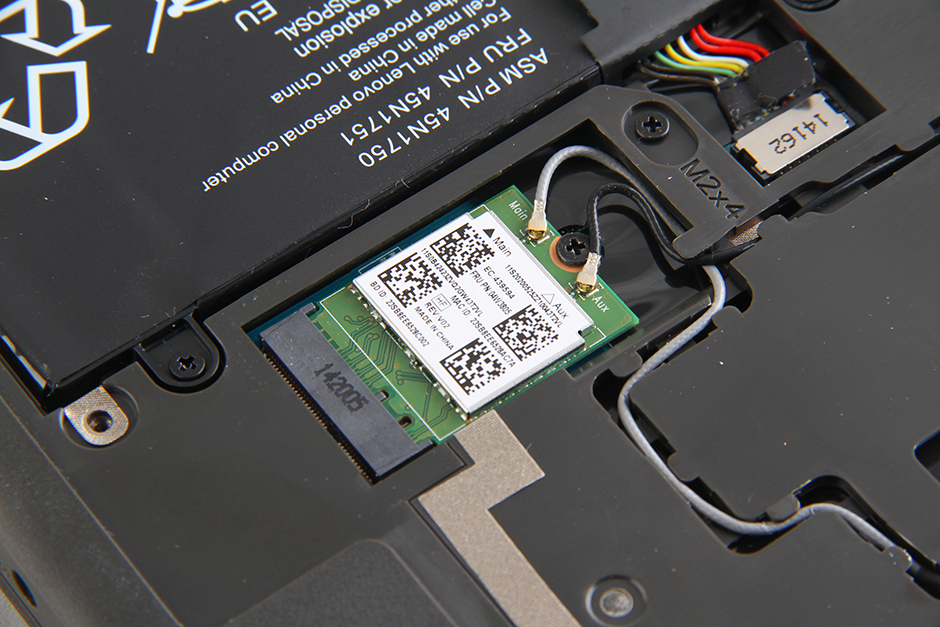
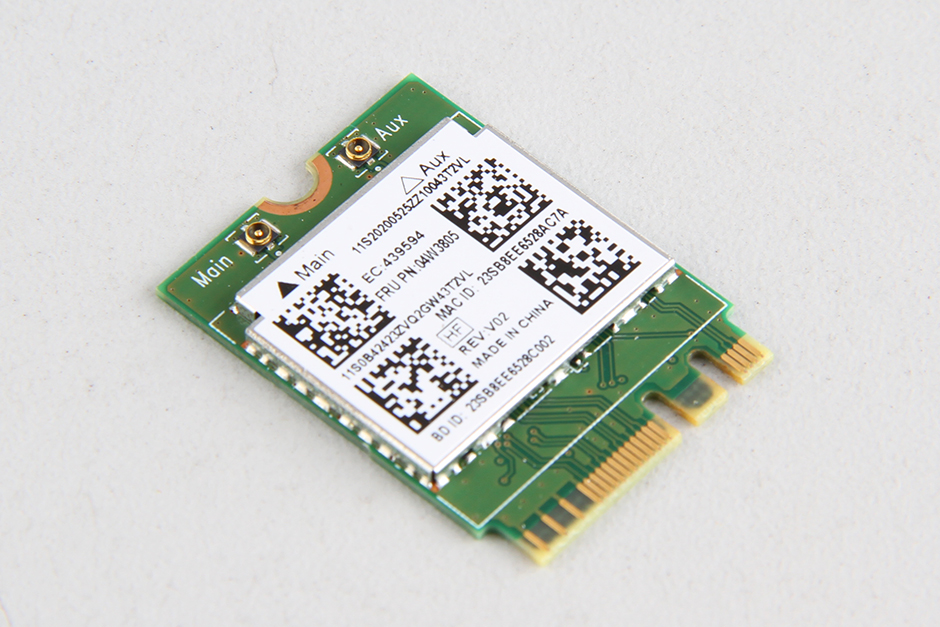
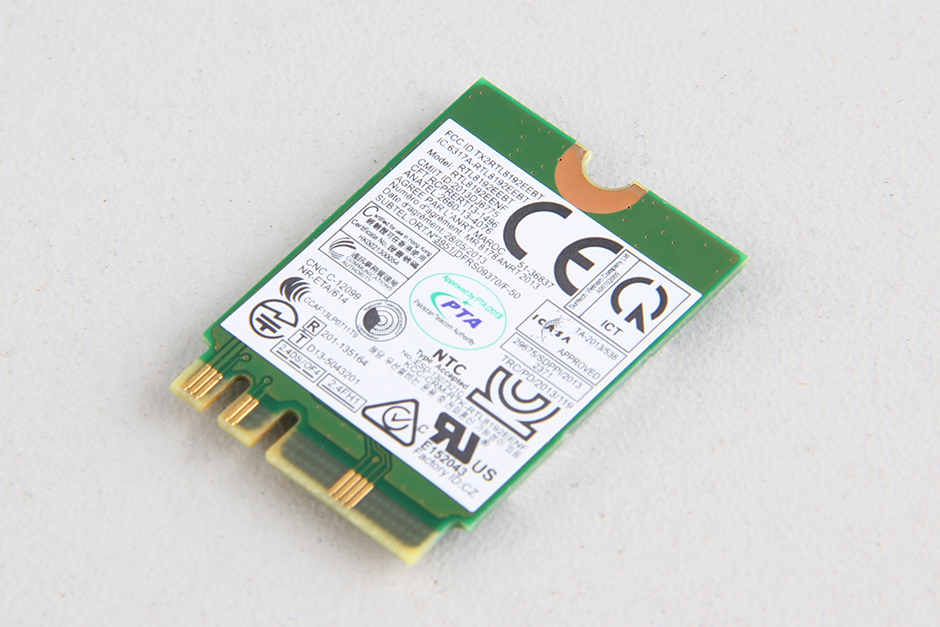
Step 5: Remove the wireless card
-
- Disconnect the two antennas and remove the screws securing the wireless card.
-
- Wireless card
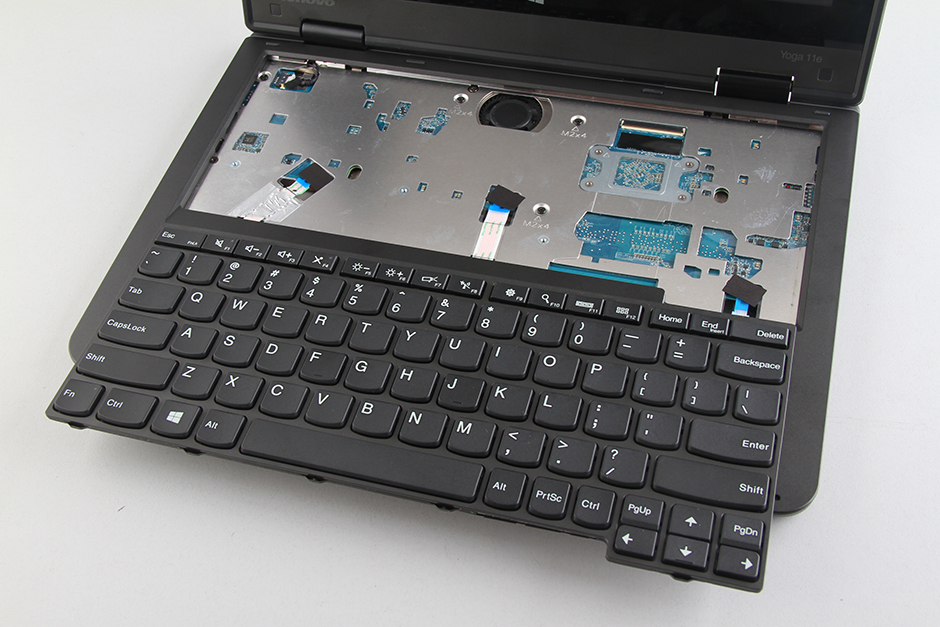
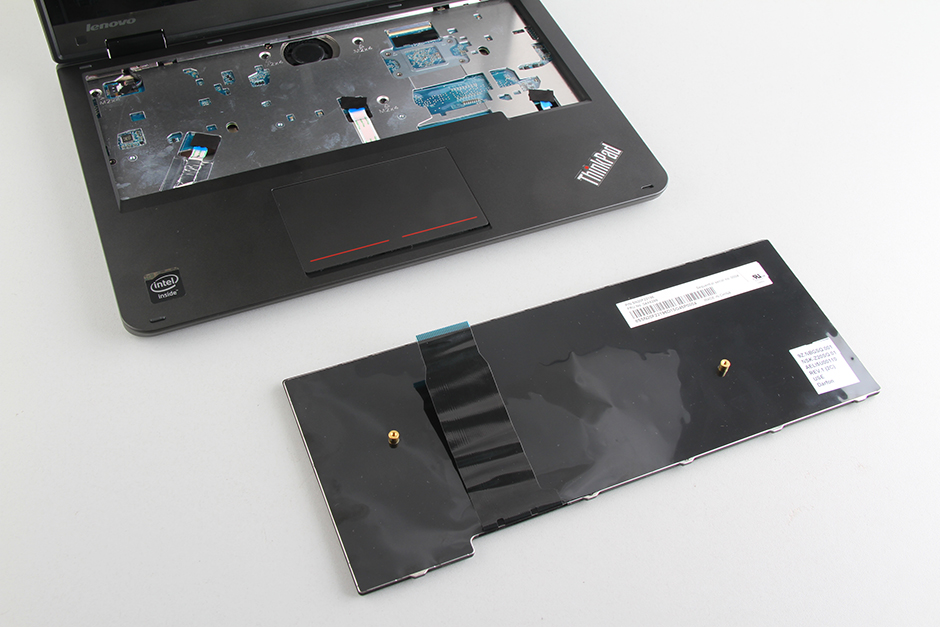
Step 6: Remove the keyboard
-
- Remove all screws.
-
- Turn over the laptop. Lift the keyboard and disconnect the keyboard cable.
-
- The keyboard has been removed.
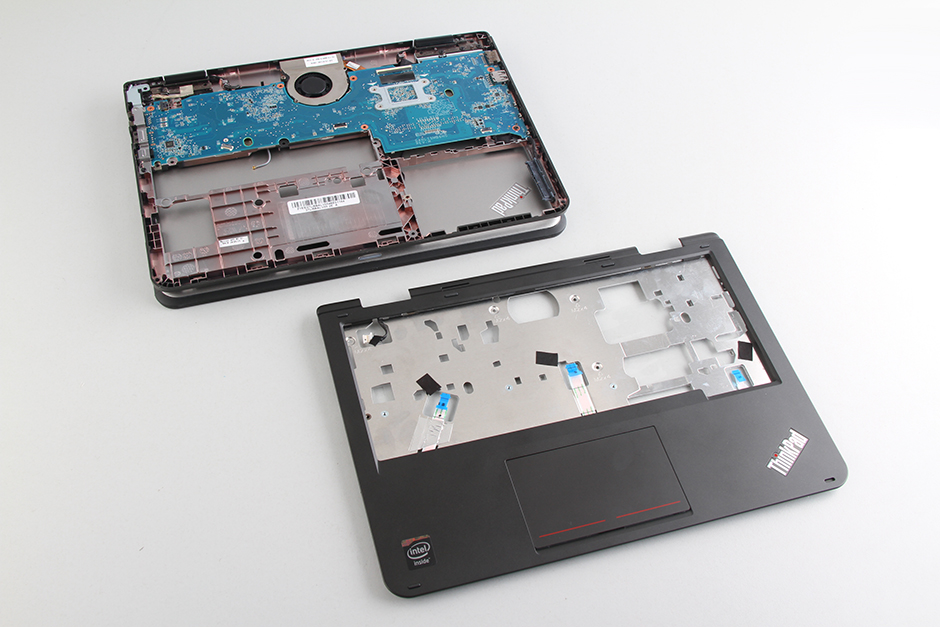
Step 7: Remove the palm rest
-
- Remove the four screws securing the palm rest and disconnect the three cables.
- Insert a plastic pry tool beneath the palm rest. Slide the pry tool to completely detach the palm rest from the laptop.
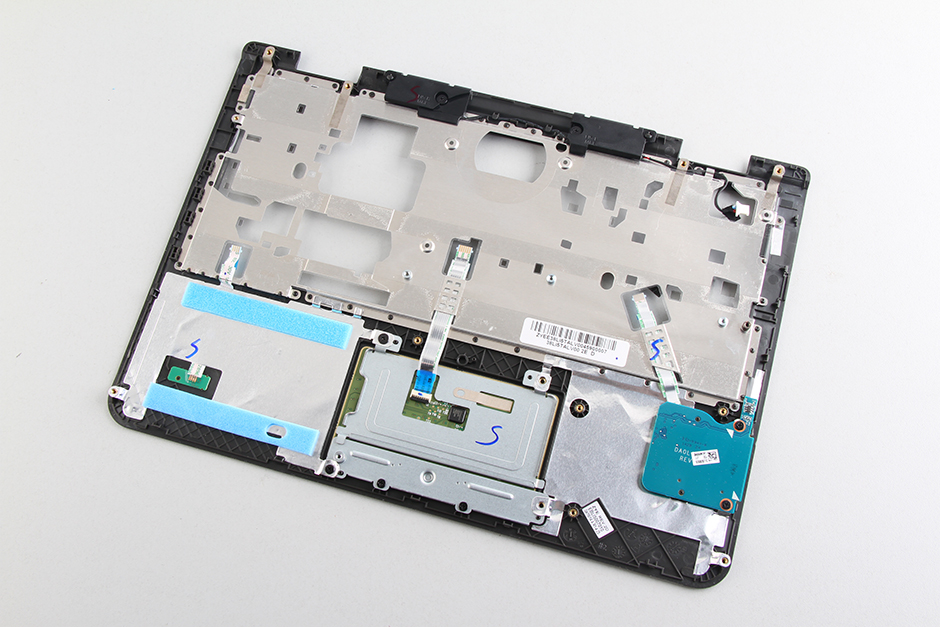
- On the back of the palm rest, there is also a touchpad and two small circuit boards.

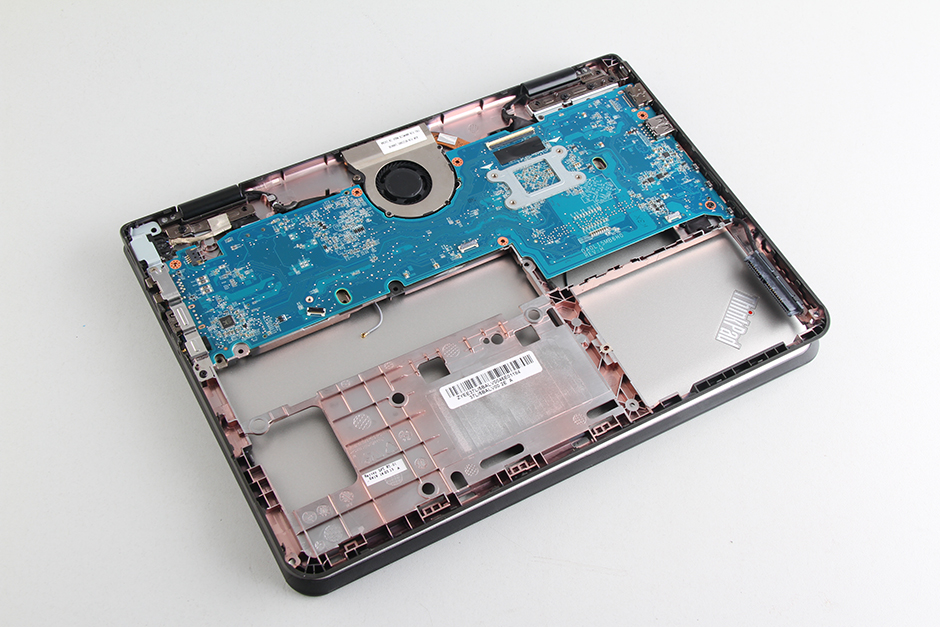
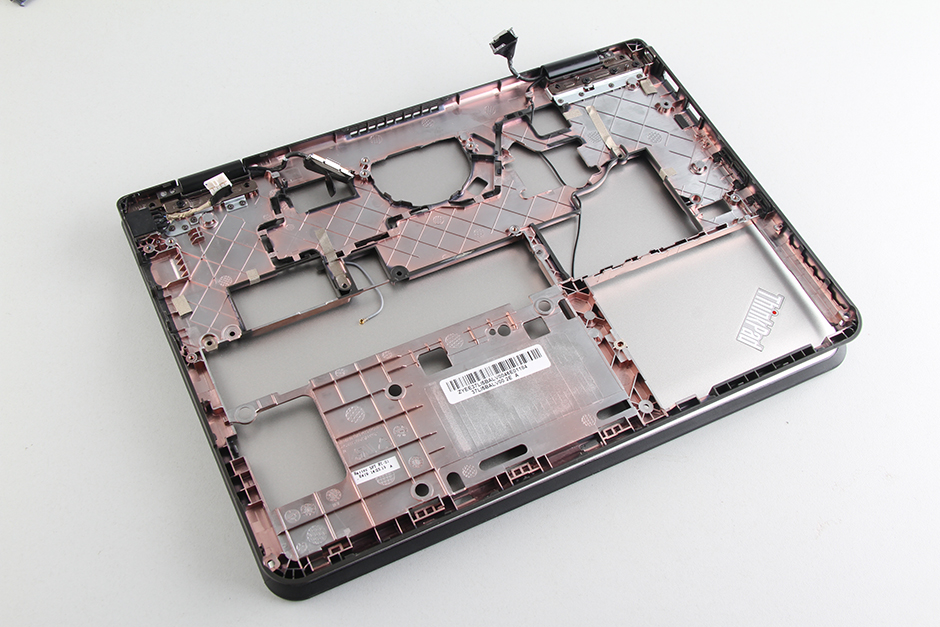
Step 8: Remove the motherboard, heat sink, and cooling fan
-
- Remove the screws securing the motherboard and disconnect all cables. You can remove the motherboard.
-
- Heat sink and cooling fan
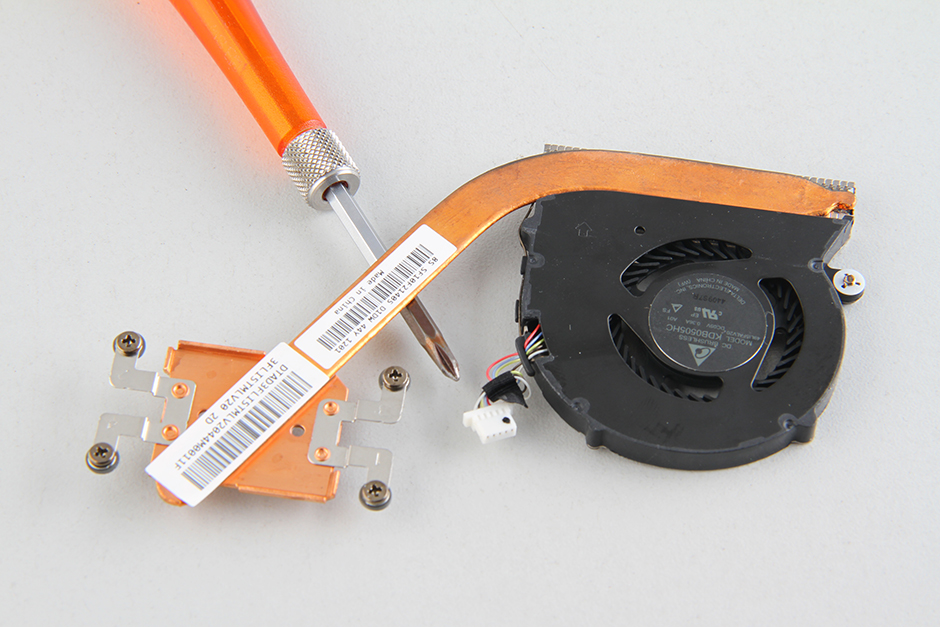
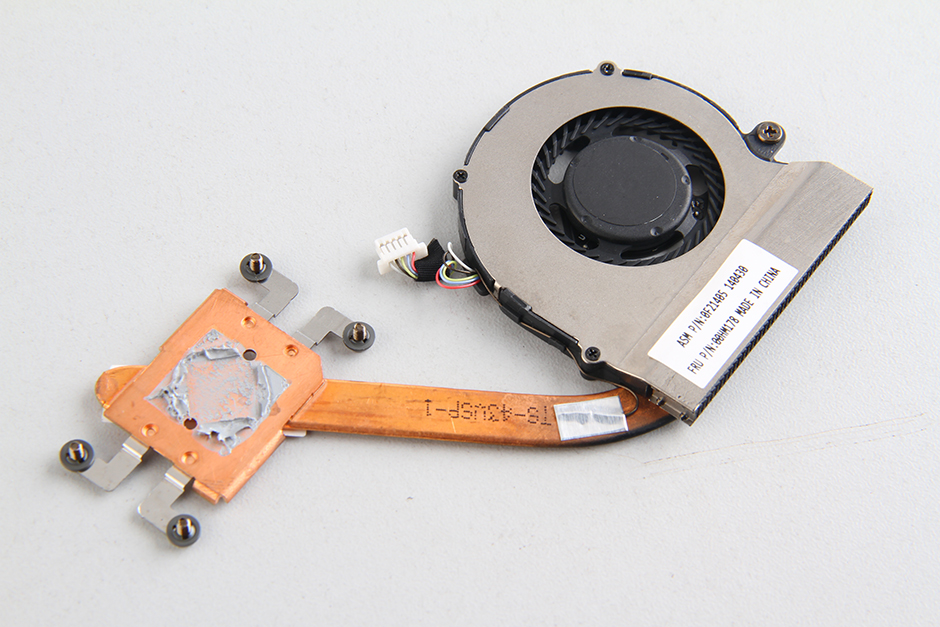
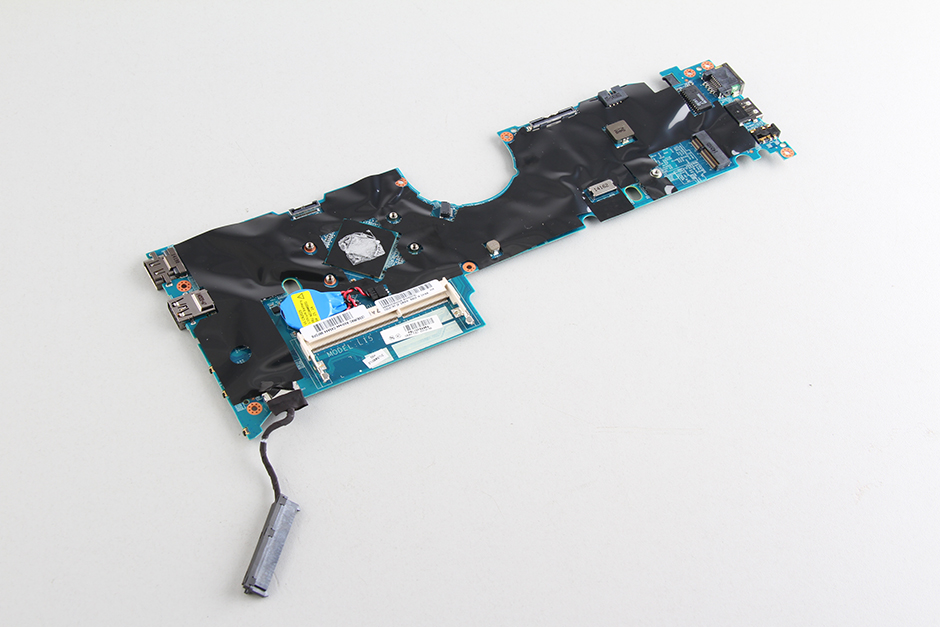
-
- Motherboard
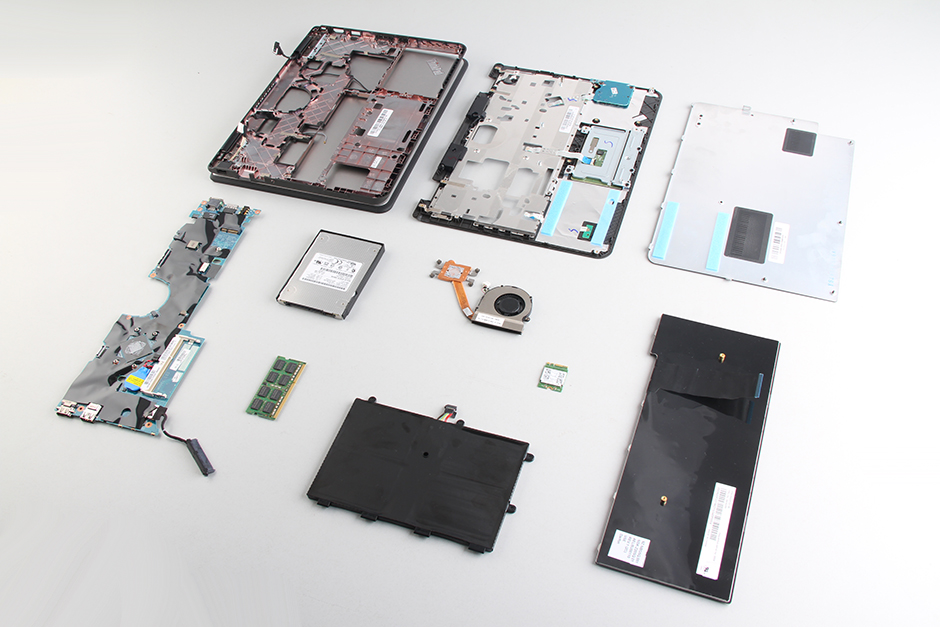
Lenovo ThinkPad Yoga 11e internal parts
This might be a dumb question, but I’ll ask anyway. I opened the battery compartment. Now, how do I unplug the battery? I’m afraid of pulling wires loose.
What would you want to connect anyway? Also, this is a tiny 11-inch notebook. Really, what do you expect?
Thanks. I was considering installing a 256GB or 512GB SSD, and this article shows all I needed to know.