
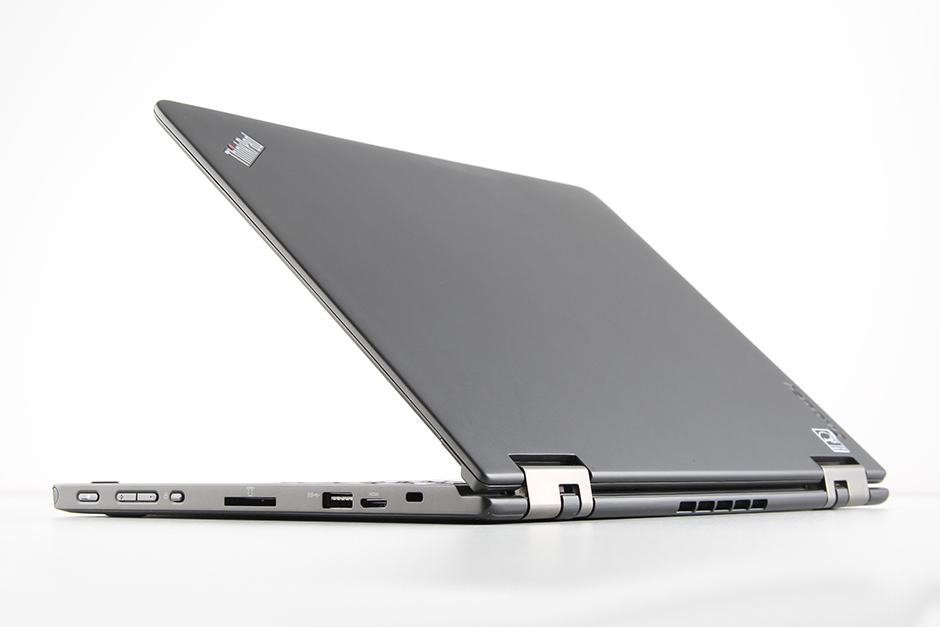
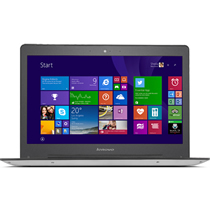
In this guide, I will disassemble a Lenovo ThinkPad S1 Yoga to remove the battery, speakers, wireless card, cooling fan, palm rest, SSD, bottom case, and motherboard. Refer to this guide. You can repair and upgrade your ThinkPad S1 Yoga.
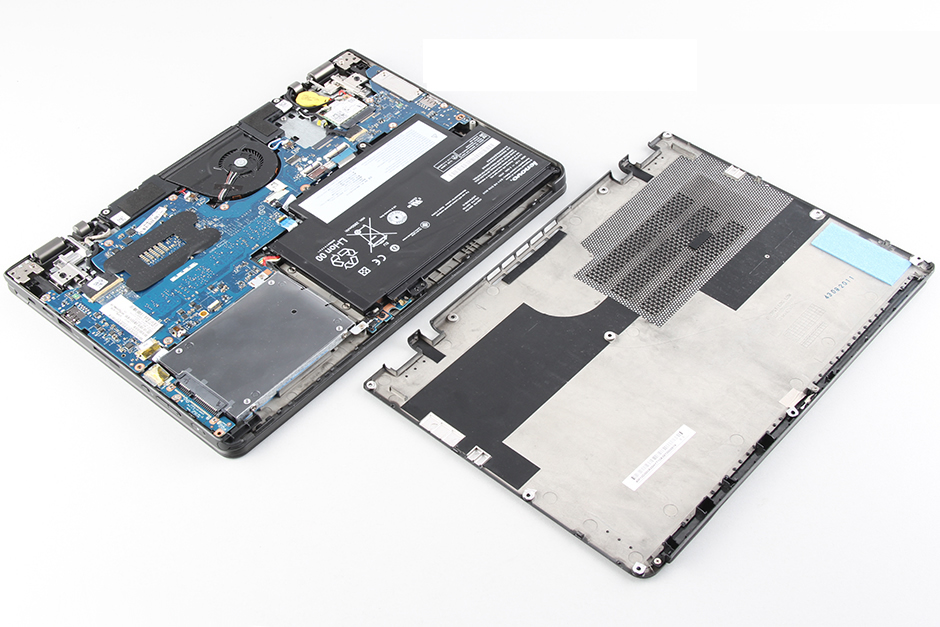
Remove all screws securing the bottom case.
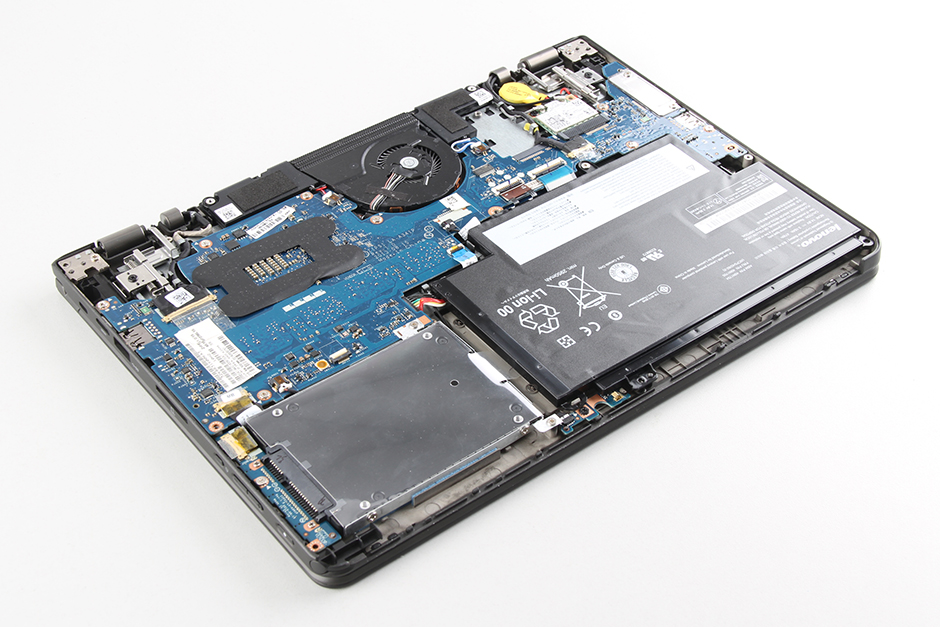
When the bottom case is removed, you can get access to the cooling fan, battery, speakers, SSD, CMOS battery, wireless card, and motherboard.
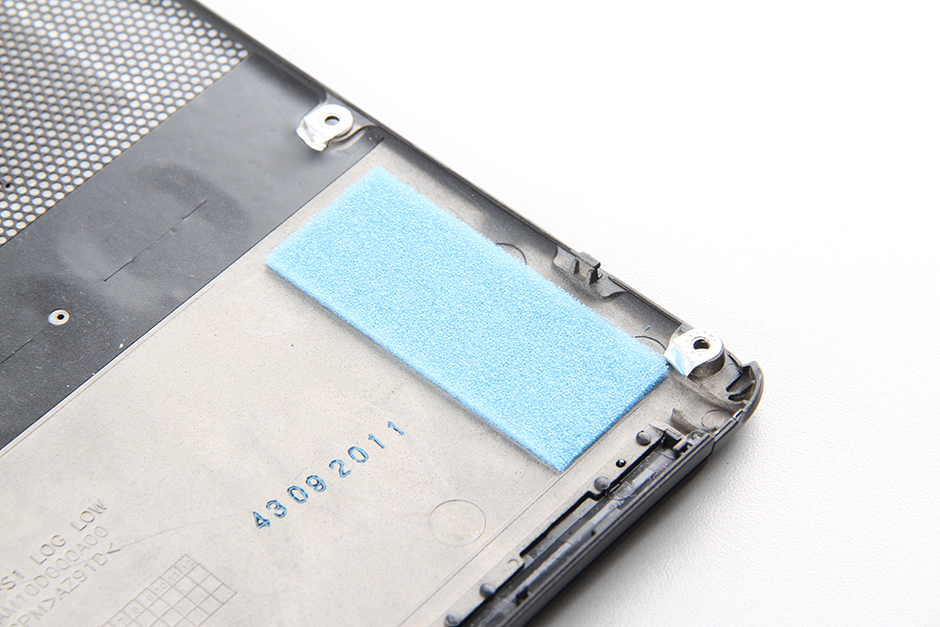
There is a shock-absorbing sponge on the bottom case. This sponge is designed to prevent the hard drive from being impacted or shaken.
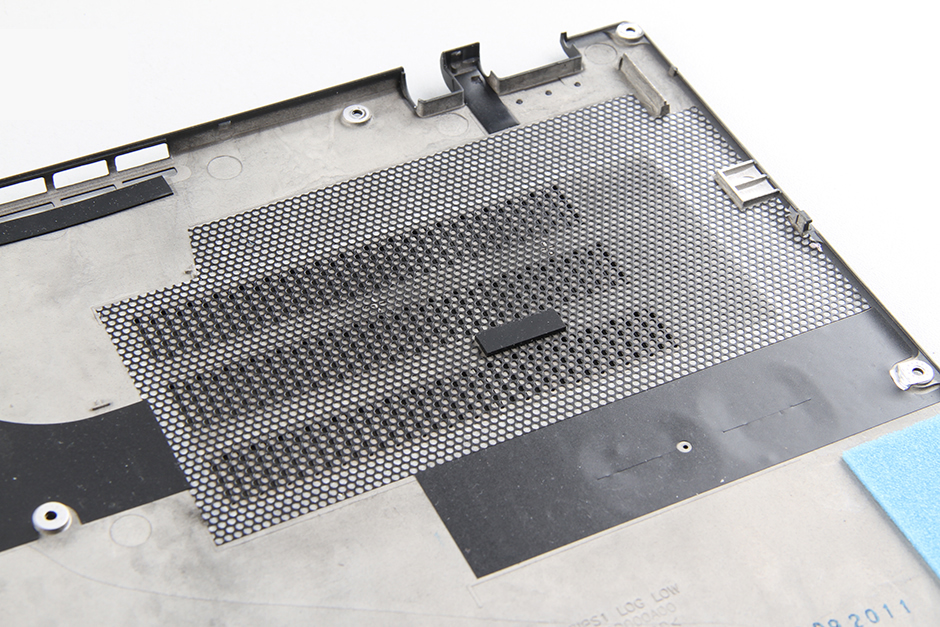
The heat dissipation holes on the bottom cover are also covered with a dust cover to prevent dust from entering the laptop.
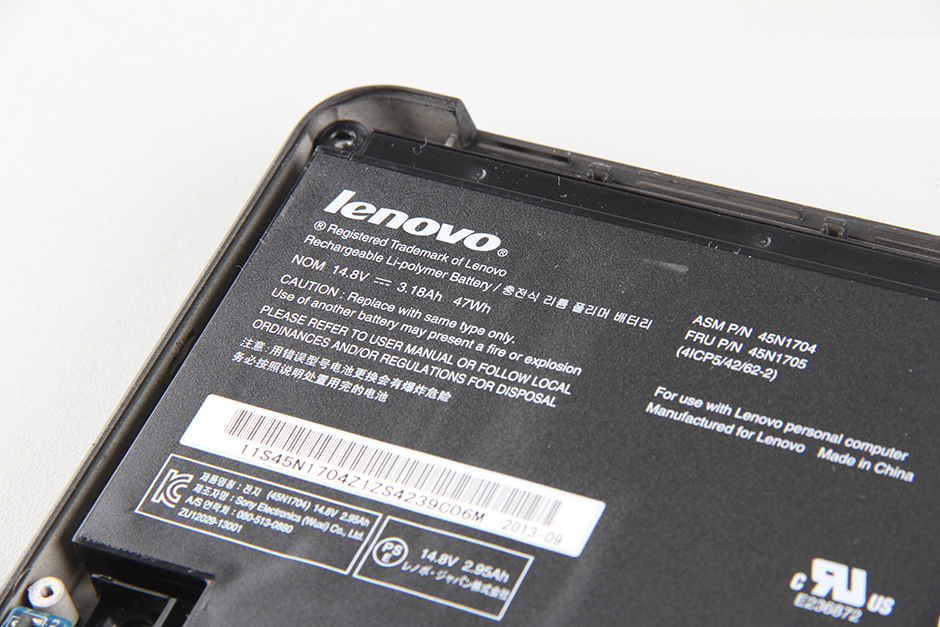
Remove all screws securing the battery and disconnect the battery connector from the motherboard.
The laptop comes with a 14.8V, 47Wh Li-polymer battery. Lenovo part numbers: 45N1704 and 45N1705.

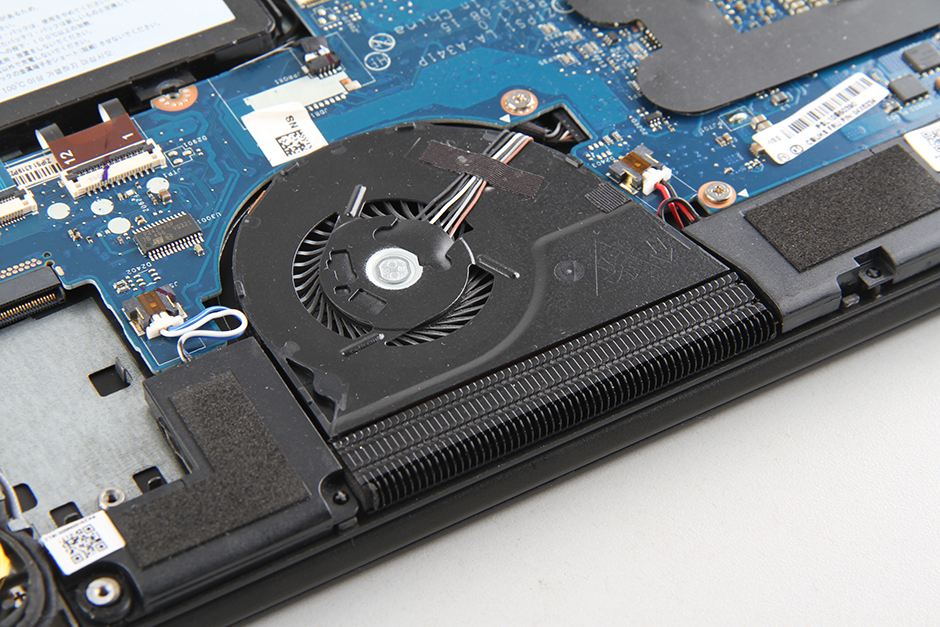
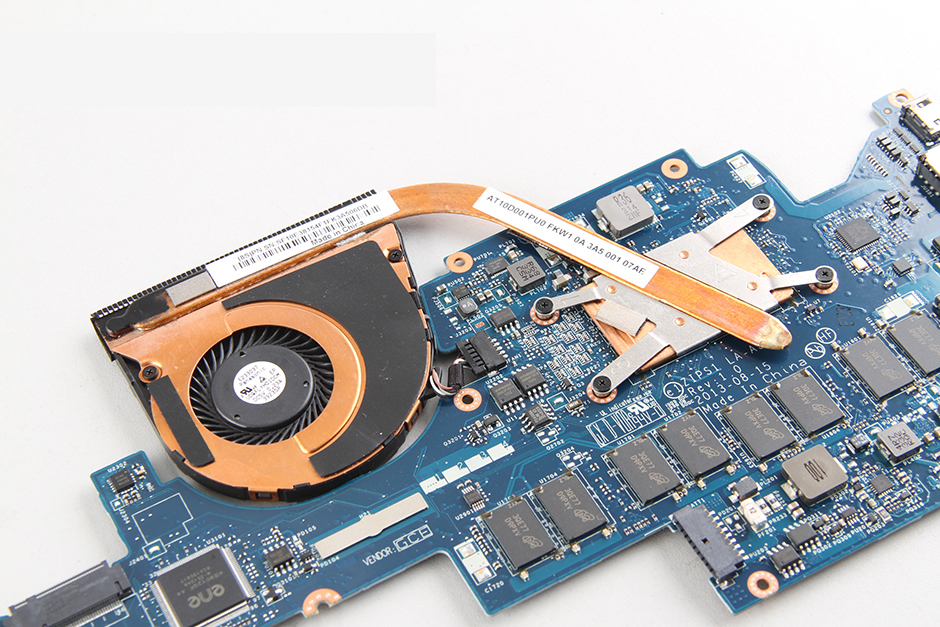
The Lenovo ThinkPad S1 Yoga’s cooling system features only one fan, which is sufficient for a thin and light laptop.
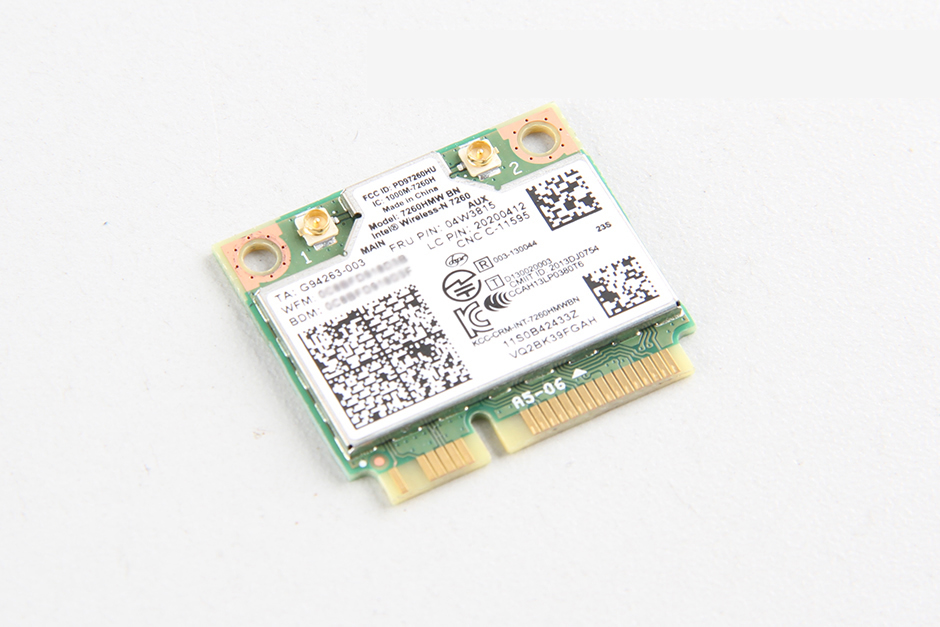
Remove the screw securing the wireless card.
Unplug two wireless antenna cables. You can remove the wireless card.
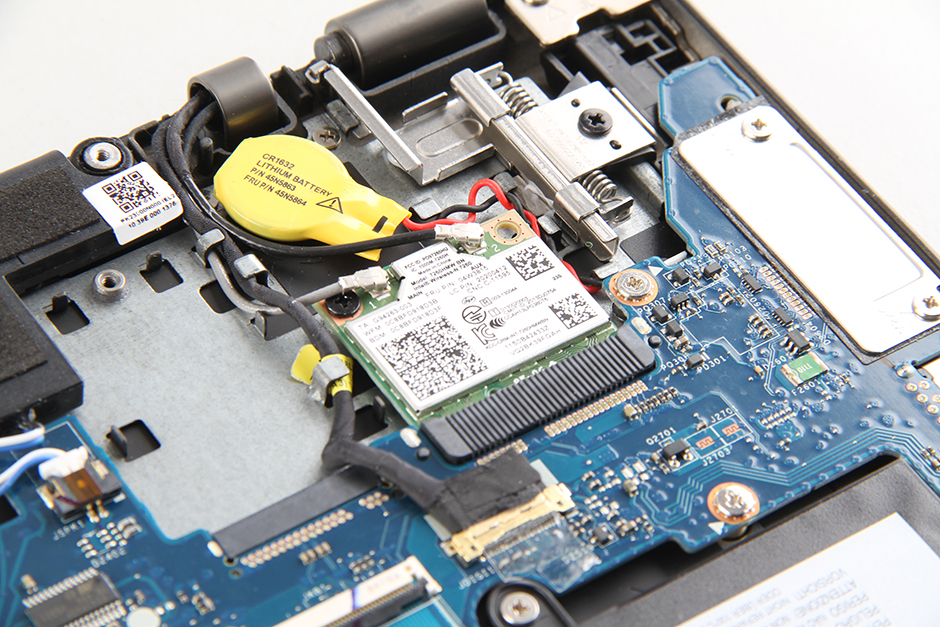
It features an Intel Wireless-N 7260 wireless card. It supports 802.11n, Wi-Fi, and Bluetooth 4.0. Lenovo part number: 04W3815.
Remove the two screws securing the SSD. Pull up the tab to lift and remove the SSD.
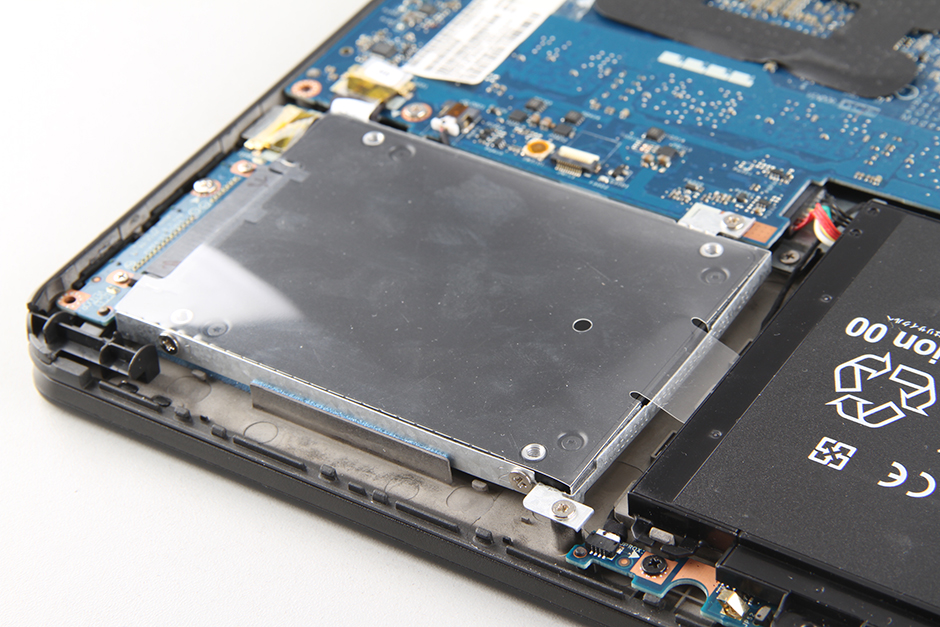
This Lenovo ThinkPad S1 Yoga comes with a Samsung 128GB 2.5-inch SSD. The Lenovo part numbers are 0C41202 and 04X4054.

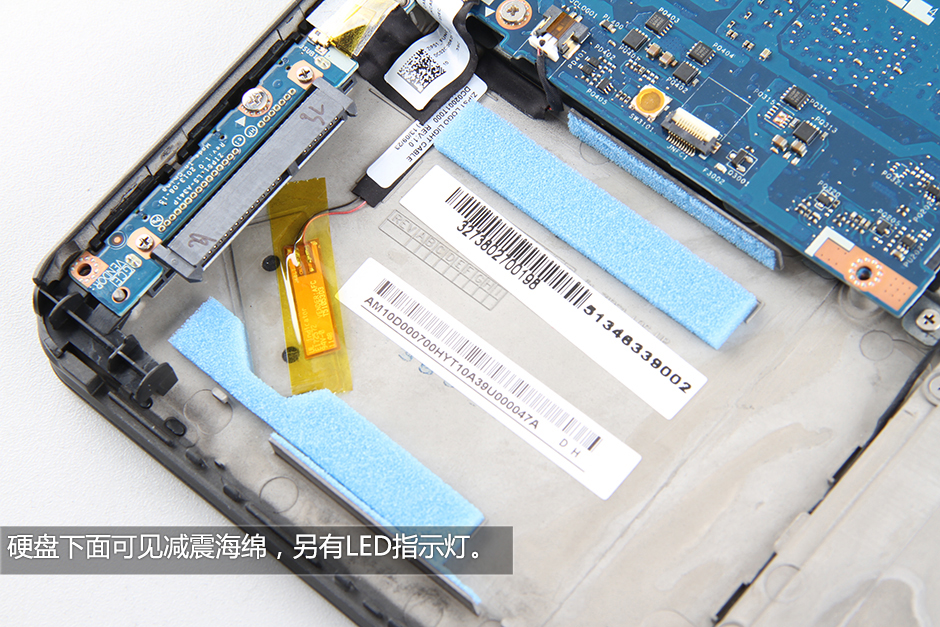
There are two shock-absorbing sponges and an LED indicator under the SSD. Like the sponge on the bottom cover, this sponge also prevents the SSD from being damaged by shock.
Lenovo ThinkPad S1 Yoga CMOS battery

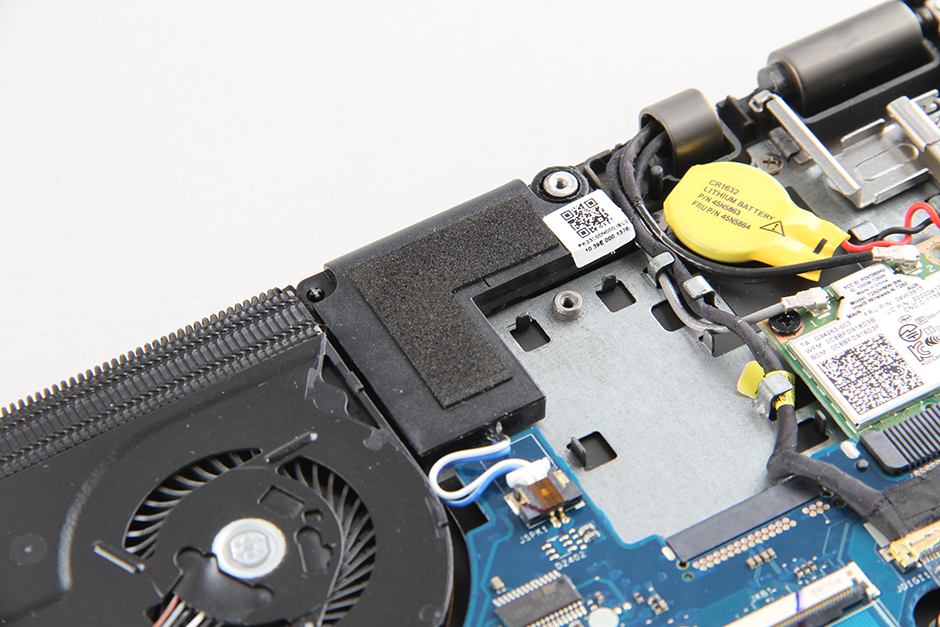
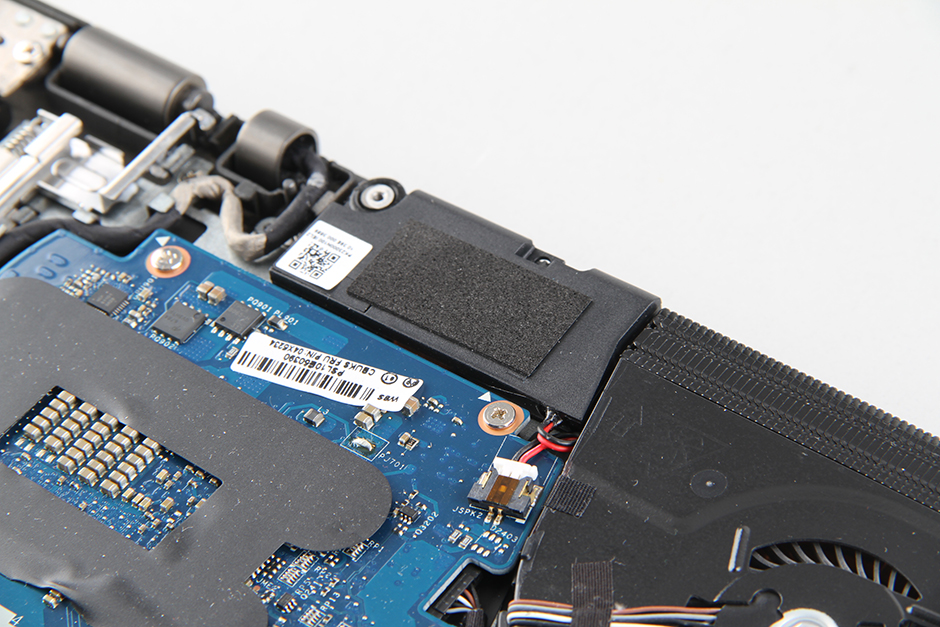
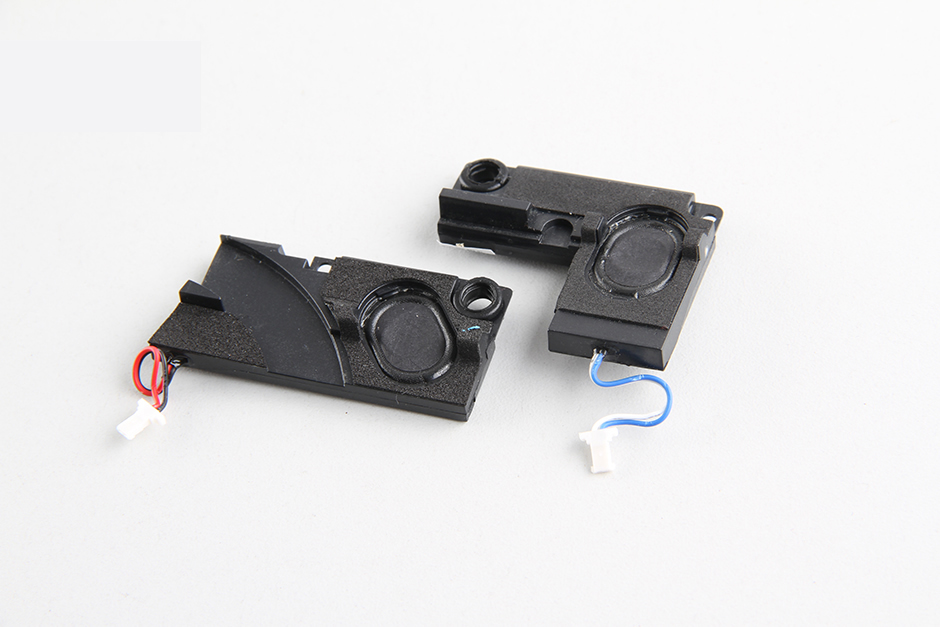
Remove the screws securing the speakers and disconnect the speaker cables from the motherboard, then remove the speakers.
Currently, only the cooling system and CMOS battery can be removed from the motherboard, but we do not plan to remove them.
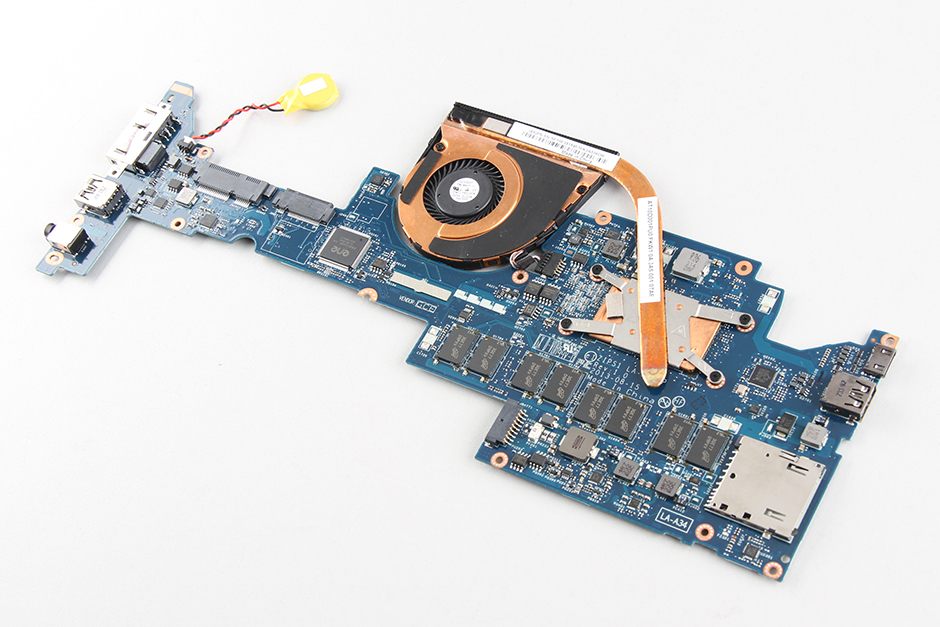
The RAM chips are soldered to the motherboard, so the memory cannot be upgraded.
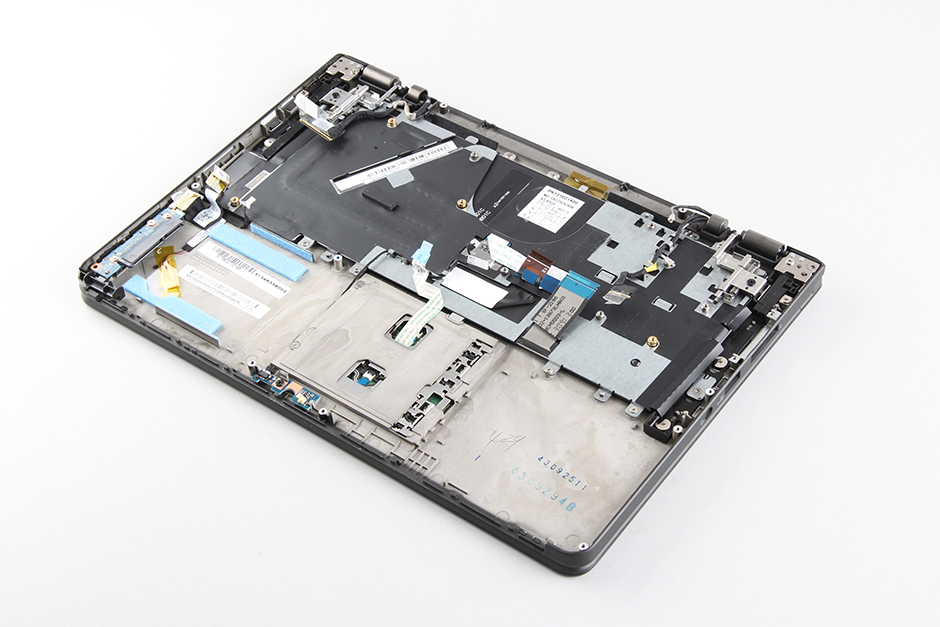
When the motherboard is removed, you can access the keyboard and touchpad.
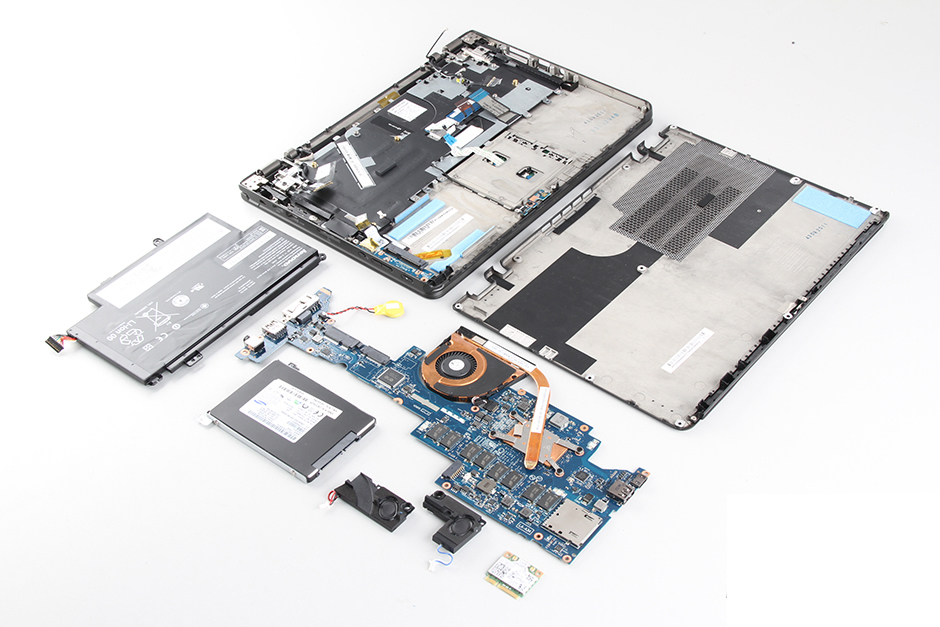
Lenovo ThinkPad S1 Yoga internal parts
Please help me.
How easy is it to replace the keyboard?
And how many slots does it have for the RAM?
Thanks in advance.
ThinkPad Yoga S1 has no RAM slots; the RAM is soldered to the motherboard. You can try to replace the keyboard and write a replacement guide. I can give you a contributor account, and you can publish your guide on our website. Thank you very much!
I messed up and forgot my BIOS password. I tried removing the CMOS battery, but it didn’t clear the password. Does anyone know if there is a jumper?
Thank you
How long did you disconnect the CMOS battery?
Is there an mSATA slot next to the wireless card? It may be empty in the photo.
Yes! It’s an mSATA slot.
Does the LCD connection have to be in a certain way to work? Also, how is the LCD touchscreen powered?
How do you remove the LCD rear cover assembly? I have damaged one corner and would like to replace just the plastic cover if possible.
I have an S1 with a basic 128GB SSD. I can see the empty mSATA slot. Can I just connect a 128GB mSATA (or must it be M.2) card for additional storage, or are there other changes I need to make? I see many 42cm mSATA/M.2 cards available. Is there a particular (recommended) p/n or model I should use?
Thanks!
Hi, can the processor be upgraded in the Yoga S1? Thanks.
The processor can not be upgraded.
I collect ESI for legal purposes. Popping hard drives and conducting a physical collection on these drives is much more efficient. When attempting to pop the SSD in a Lenovo ThinkPad Yoga S1. I discovered that the screw was stripped when the factory installed it.
Any suggestions?
Easy out? Not sure if the drill bits are small enough.
Hi, I need to open the bottom cover to replace the fan. What’s the trick after I have removed all the screws? I don’t want to force/break anything.
Thanks.
You need to insert the pick under the bottom cover and move it along the edge to unfasten hidden latches. You’ll have to apply some reasonable force in order to separate the bottom cover from the top case.
Did you replace the fan? If so, how did you remove it from the motherboard? Thanks
Hi,
I would like to update the SSD from 256GB to 512GB or a 1TB SSD in my S1 Yoga. Are there any recommended SSD models that are compatible with the S1?