
In this guide, I will explain how to disassemble the MSI GS70 to remove the battery, hard drive, SSD, RAM, wireless card, heat sink, cooling fan, bottom case, and motherboard.
Want to be the first to see the latest smartphone and laptop inside? Follow us on Facebook for the latest teardown news.
Remove all screws from the bottom cover.
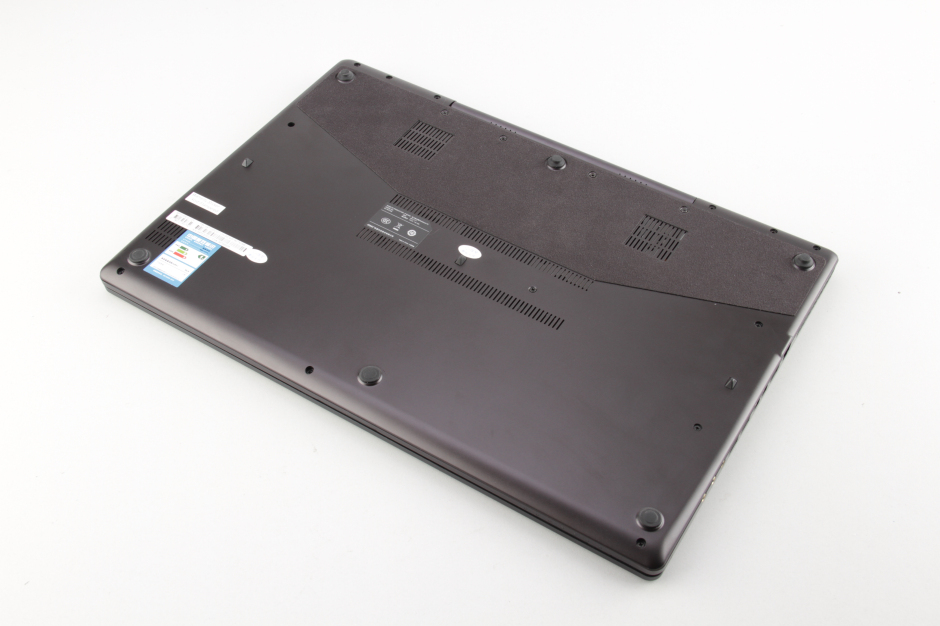
Insert a pry tool under the bottom cover and slide it until the cover detaches completely from the laptop. Since there are no clips on the bottom cover, it can be easily separated.
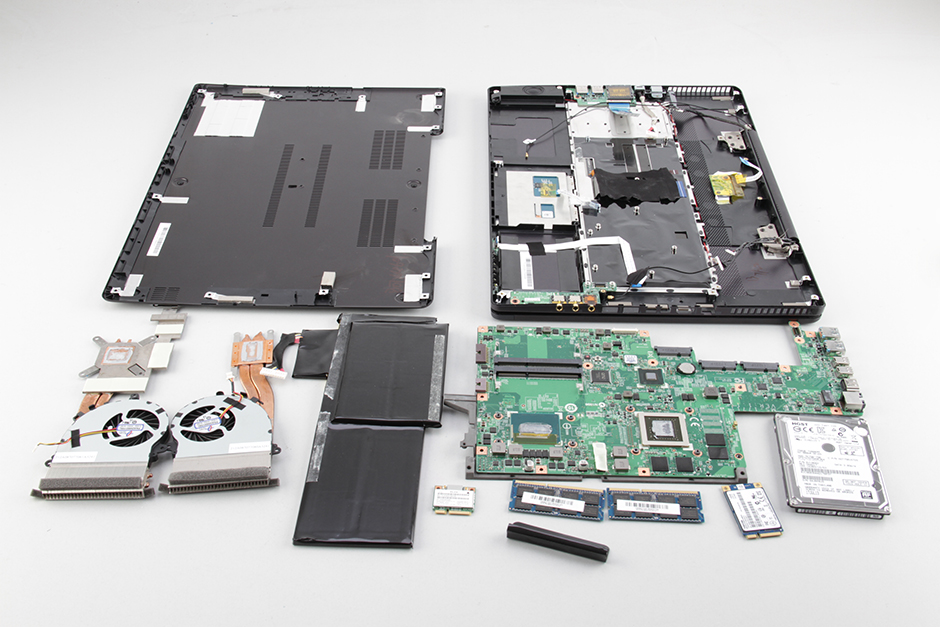
With the bottom cover removed, you can access the battery, hard drive, cooling fan, SSD, speakers, USB board, heat sink, wireless card, and motherboard.

Disconnect the USB board cable from the motherboard.

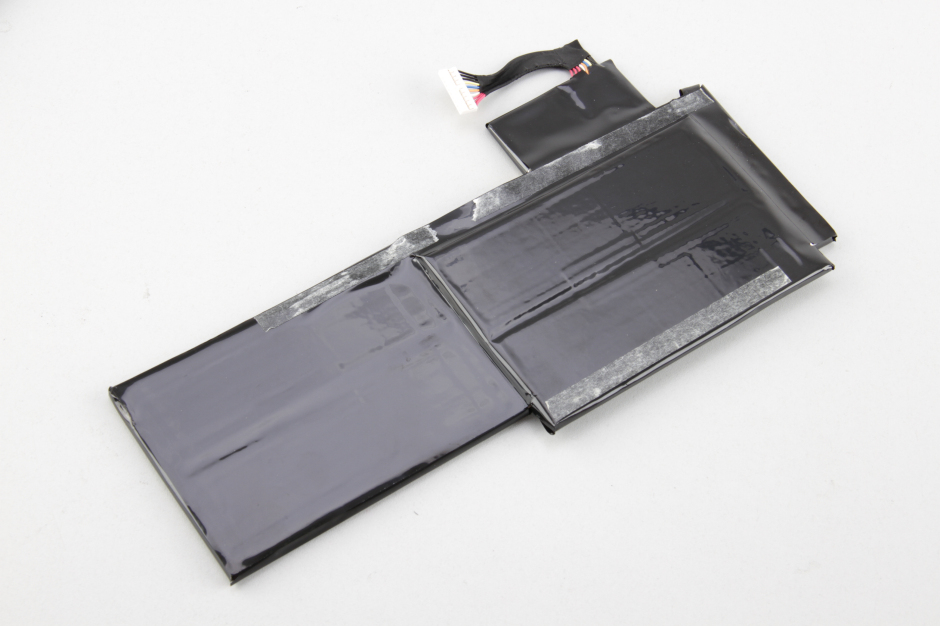
When the cable is removed, you can find the battery power cable.
Disconnect the battery power cable. Since the battery is secured to the palm rest with double-sided tape, you will need to apply some force to remove it.

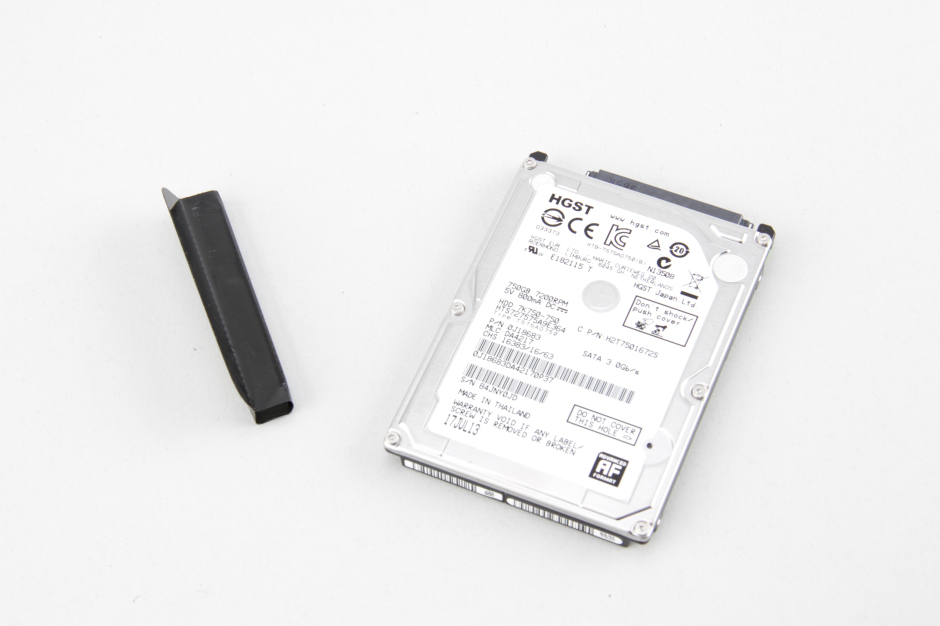
Remove the hard drive.
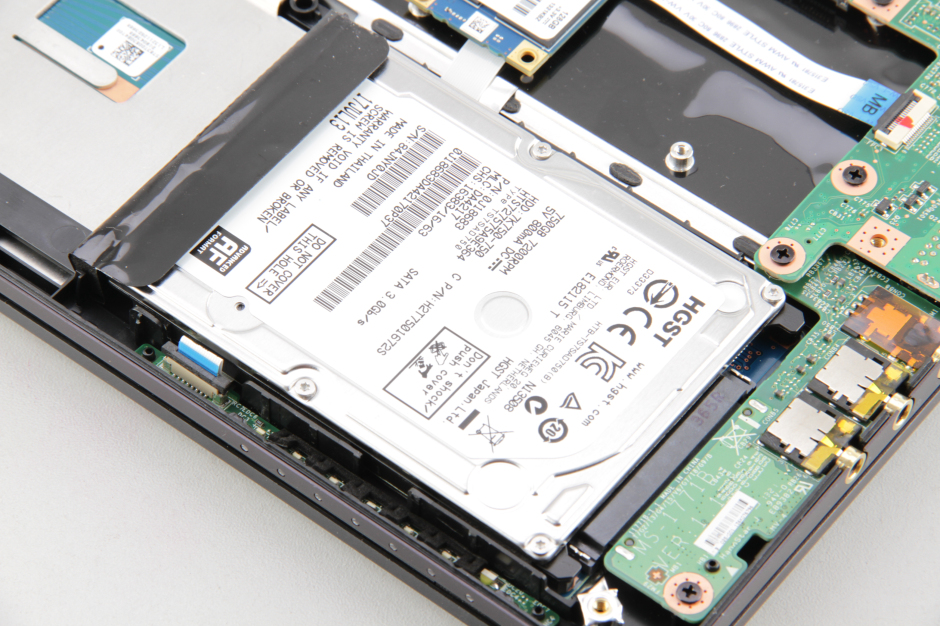
The laptop features an HGST 750GB hard drive.
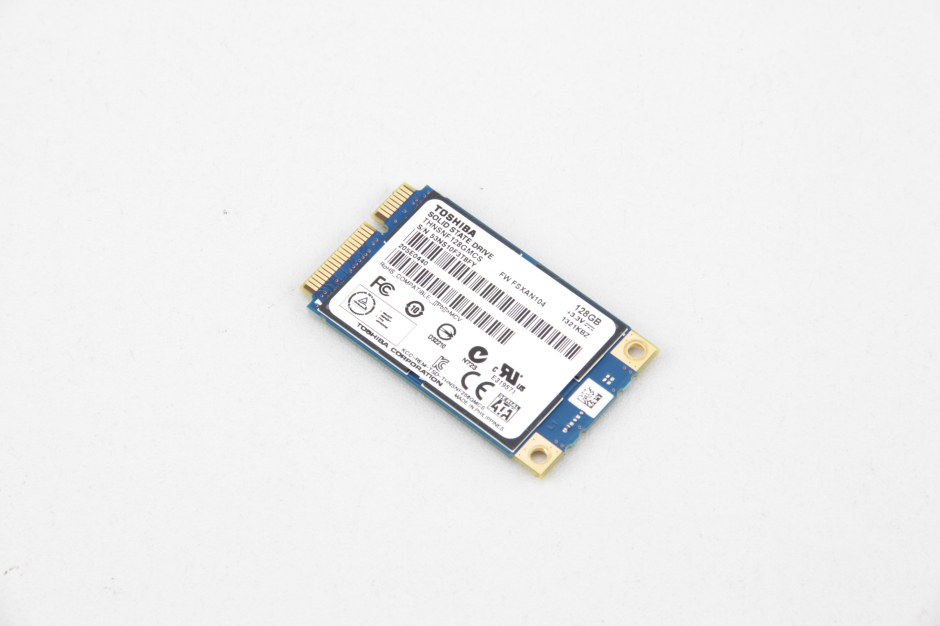
Remove the screw securing the SSD and pull it out from the M.2 slot.
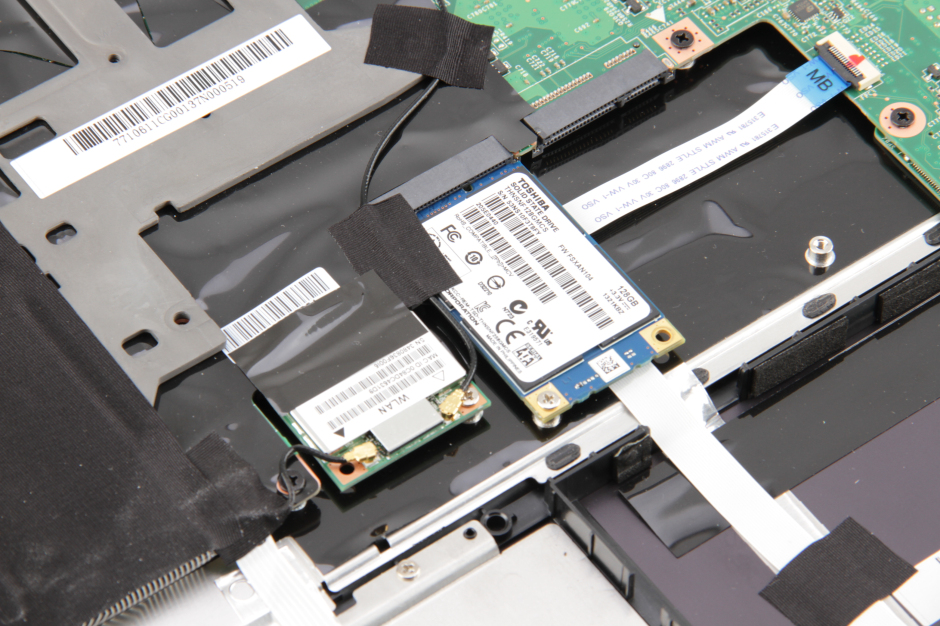
The MSI GS70 comes with a 128GB Toshiba mSATA SSD.
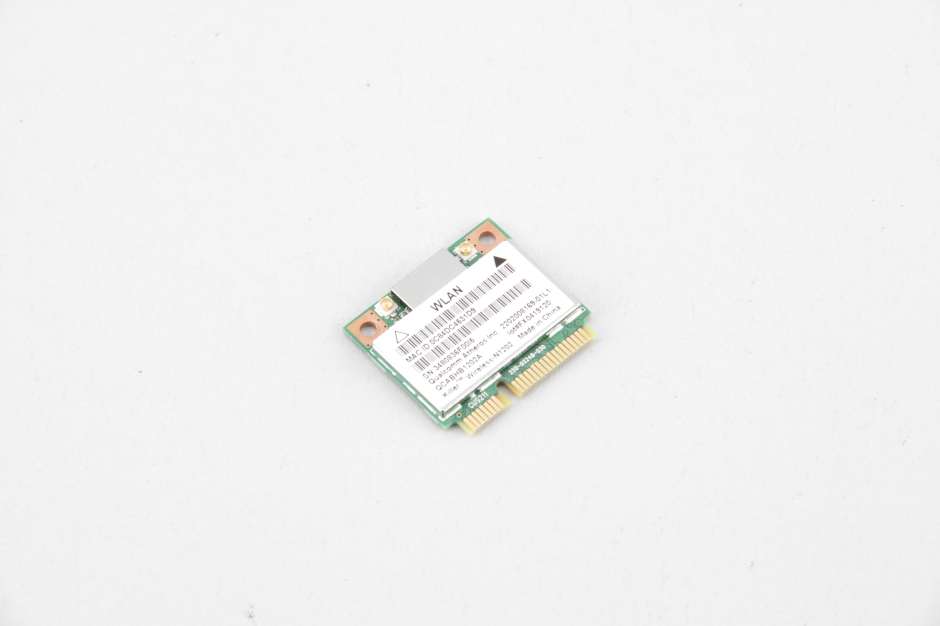
Remove the screw securing the wireless card and disconnect the two antenna cables. You can remove the wireless card.
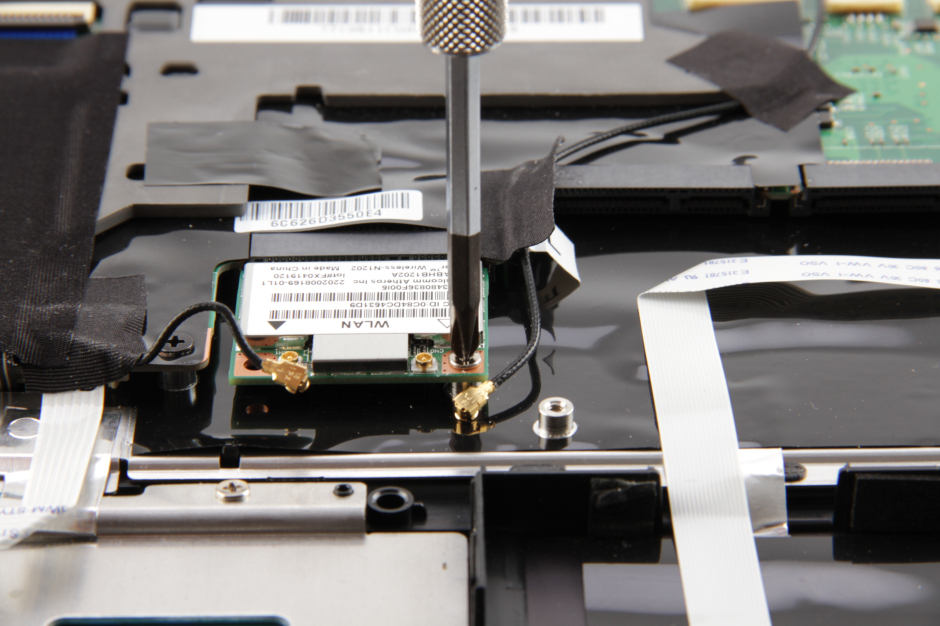
Close-up of the wireless card
Remove all ribbon cables permanently attached to the motherboard and remove all screws. Lift the motherboard from one side and gently wiggle it until it is fully detached from the palm rest.
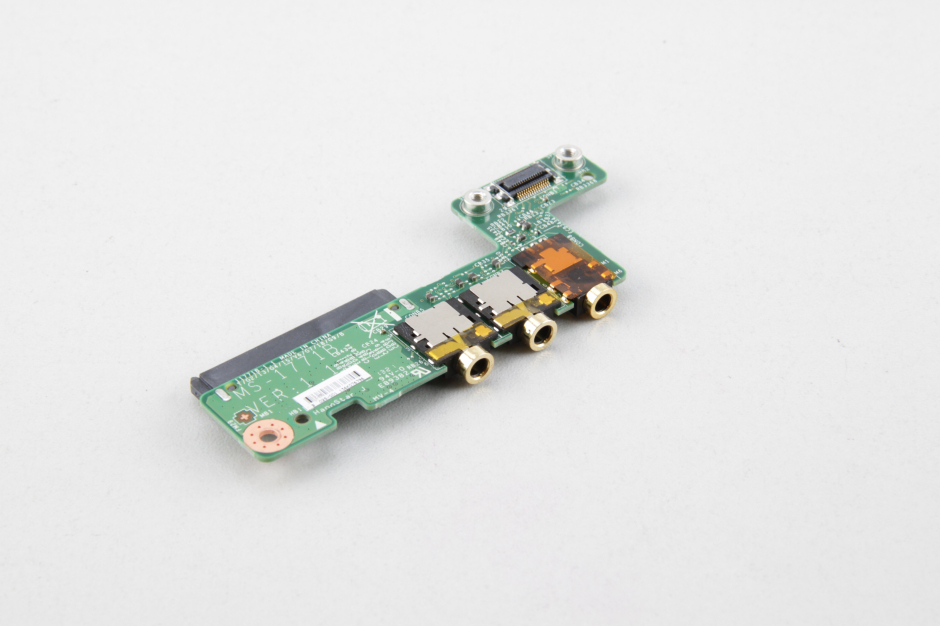
Remove the screw securing the audio board. You can remove the audio board.
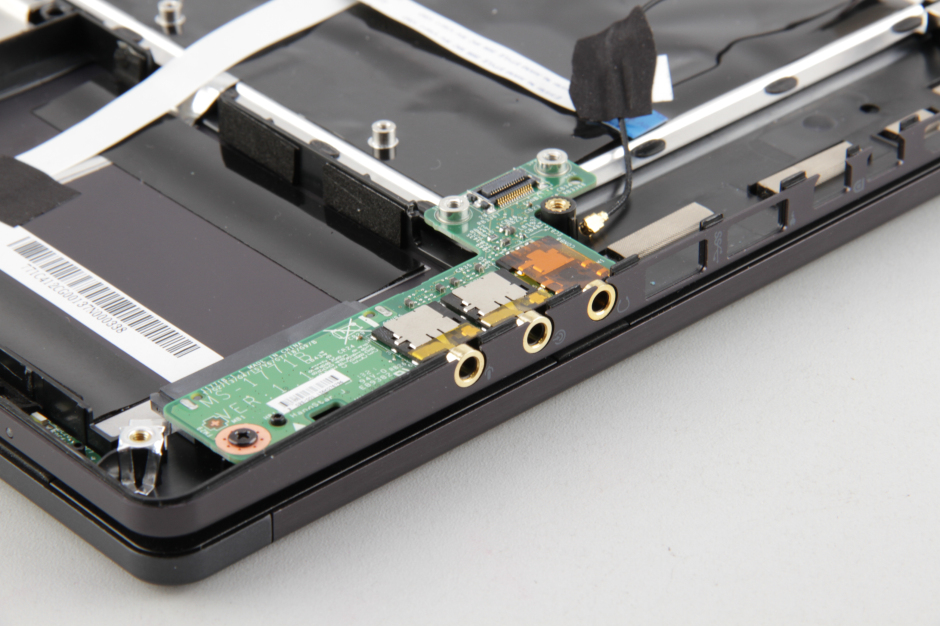
Close-up of the audio board
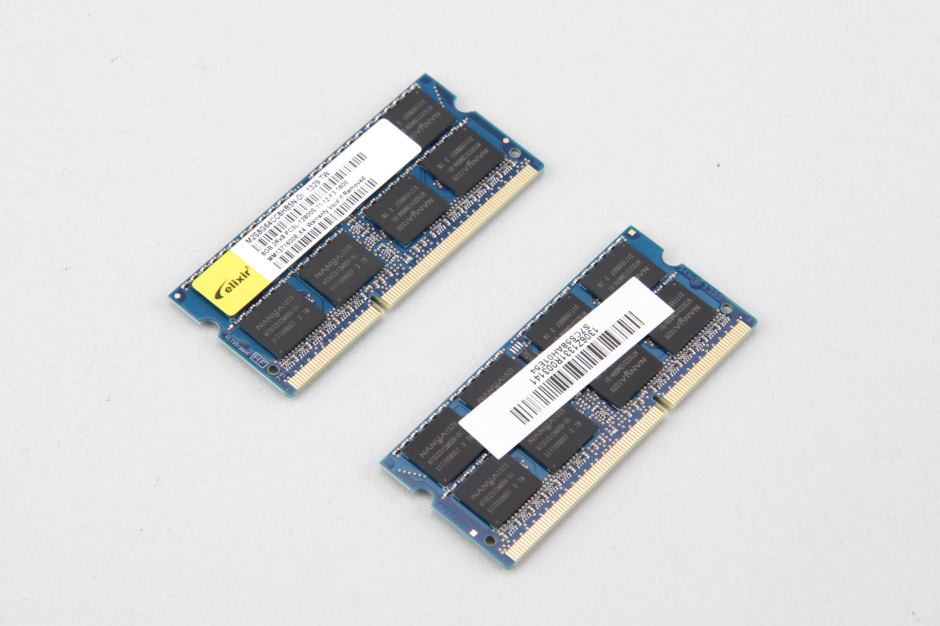
The MSI GS70 comes with two 8GB RAM modules.
In the next step, we will remove the cooling system.

Remove all screws securing the heat sink and disconnect the fan ribbon cable from the motherboard.
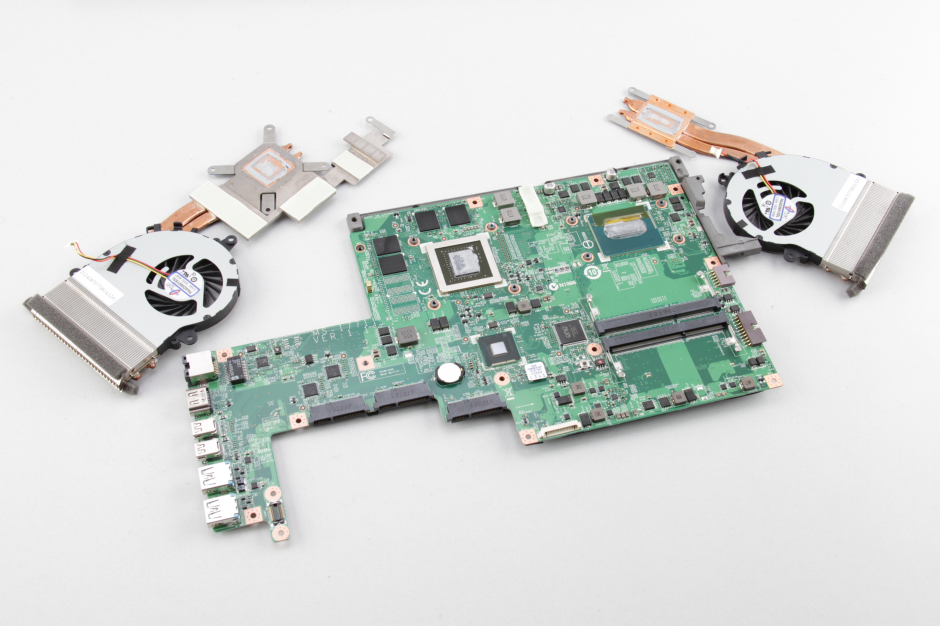
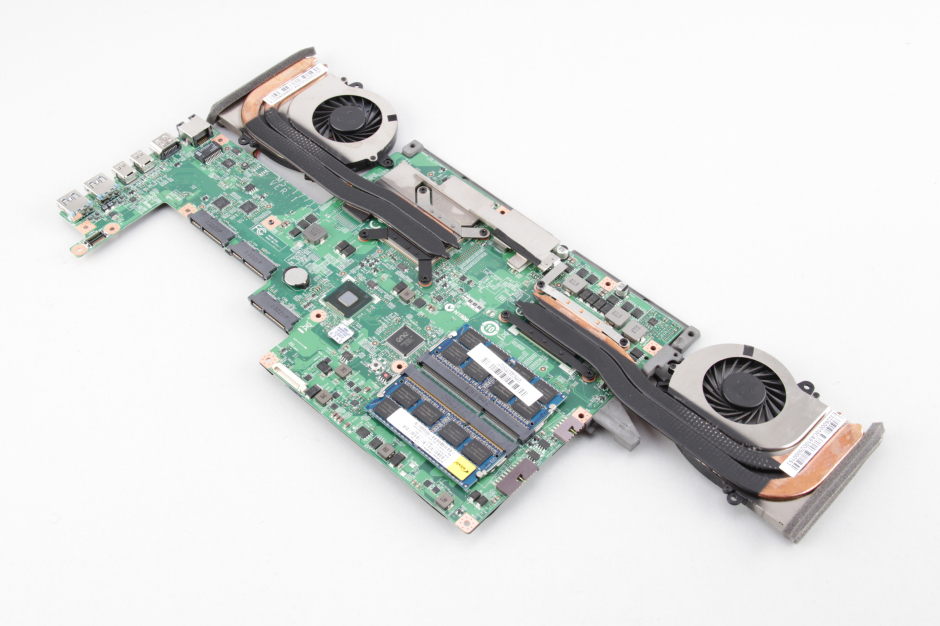
MSI GS70 internal parts
Thank you very much for this guide and the pictures. I’m thinking about modding my GS70 and this will come in handy to have a better understanding of it.
Thank you very much for the post, David. Do you know where to buy official MSI batteries for the GS70 model? Or a good website where to find unofficial ones?
Thanks in advance.
You can try eBay!
Hey David, nice post, but I have one quick question!
Because the battery is internal, can you remove it and still use the laptop on AC power? I know you can remove external batteries and still use them like that, but I don’t want to touch the battery in case I fry something. Thanks!
I use it a lot at home and don’t want to wear the battery down when I take it out.
Yes, the laptop will run just fine without the battery. The OS will warn you that no battery is present, but otherwise, it should run just fine.
Is the fan screwed into the heatsink? I ordered a new CPU fan because mine is making a grinding noise. I just need to replace the fan, not the heatsink.
Hey! I replaced the fan and installed a new battery, but the battery isn’t being detected. Says No Battery is Detected. I put in my old one, which is pretty much dead, and now that one isn’t being detected. Thoughts? Tried resetting the battery with the pen hole as well. I have another battery on the way. I feel like all the hardware in the MSI GS70 dies after two years. Not sure if I’ll buy a laptop from MSI again.
Be sure to fully plug in the battery. I’ve had such an issue. If plugged in correctly, the connector is approximately 1/3 visible. And be very gentle when reconnecting the main cable. The contact pads are easily damaged.
I also confirm that the battery died after 2.5 years and even inflated. I noticed it when the clickpad stopped actually clicking. I’m using batteries that work for 1 hour. I don’t really need more since I work at home all the time.
Can you replace the keyboard?
Is there a guide or video on how to replace the keyboard for the MSI GS70? I really need to change it.