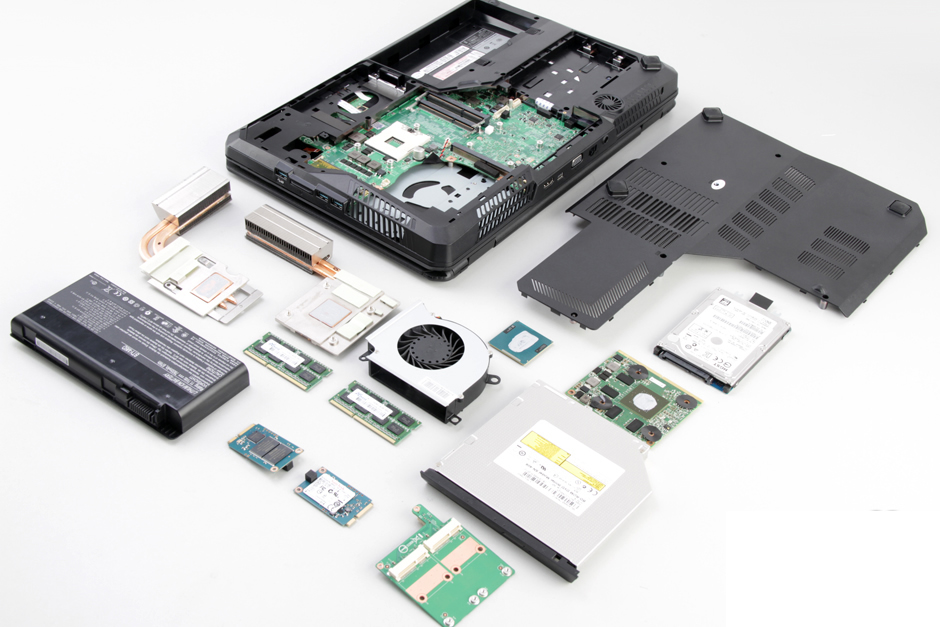
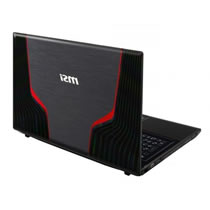
In this guide, I will explain how to disassemble the MSI GT60 to remove the battery, SSD, hard drive, service cover, DVD drive, graphics card, memory, cooling fan, and motherboard.
Slide the battery switch to the open position and slide the battery downward to remove it.
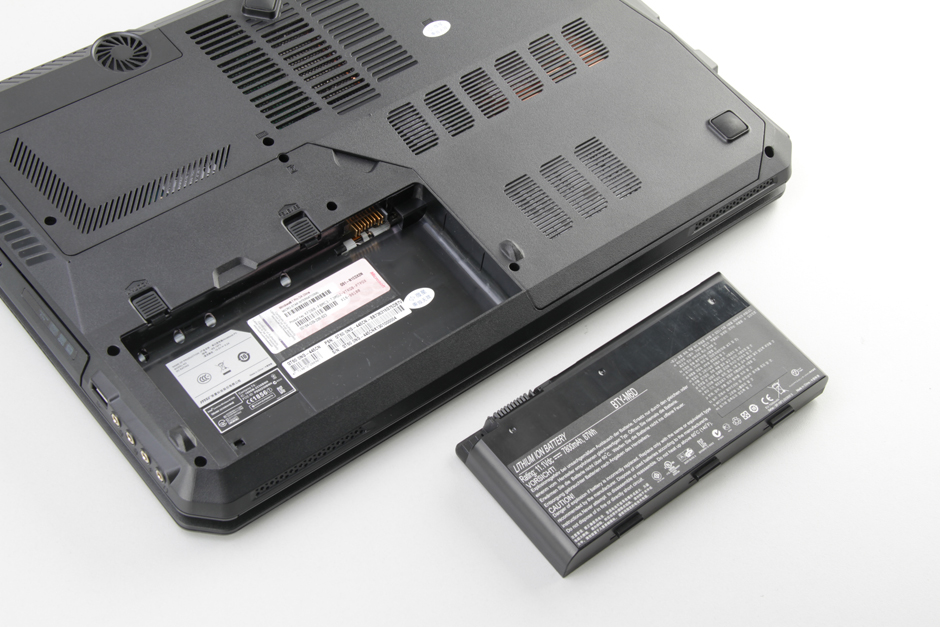
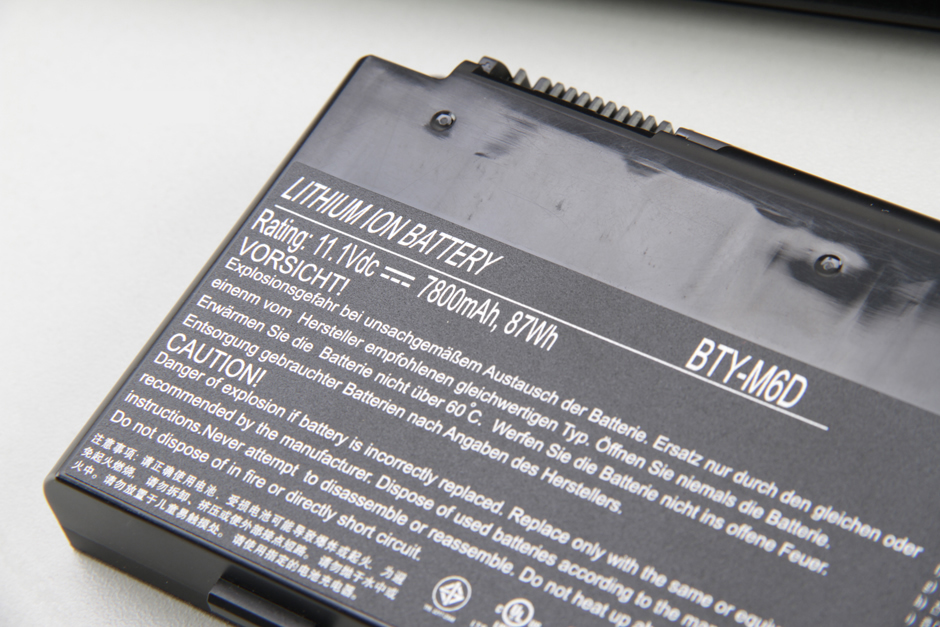
The laptop features an 11.1V, 7800mAh, 87Wh Li-ion battery. Its MSI part number is BTY-M6D.
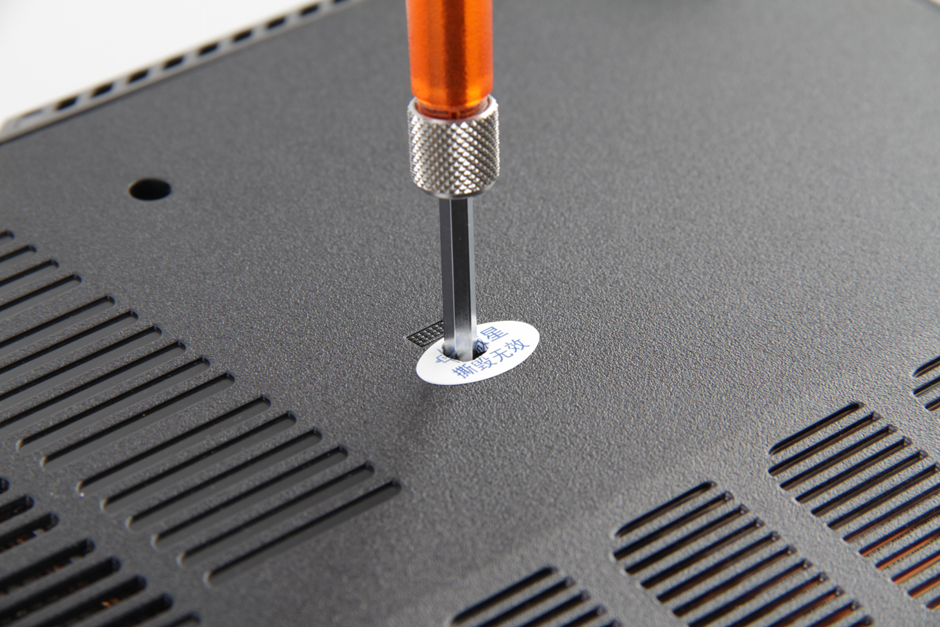
There is a warranty sticker on the bottom cover, and a screw is located underneath the sticker. If the sticker is damaged, the warranty will become invalid.
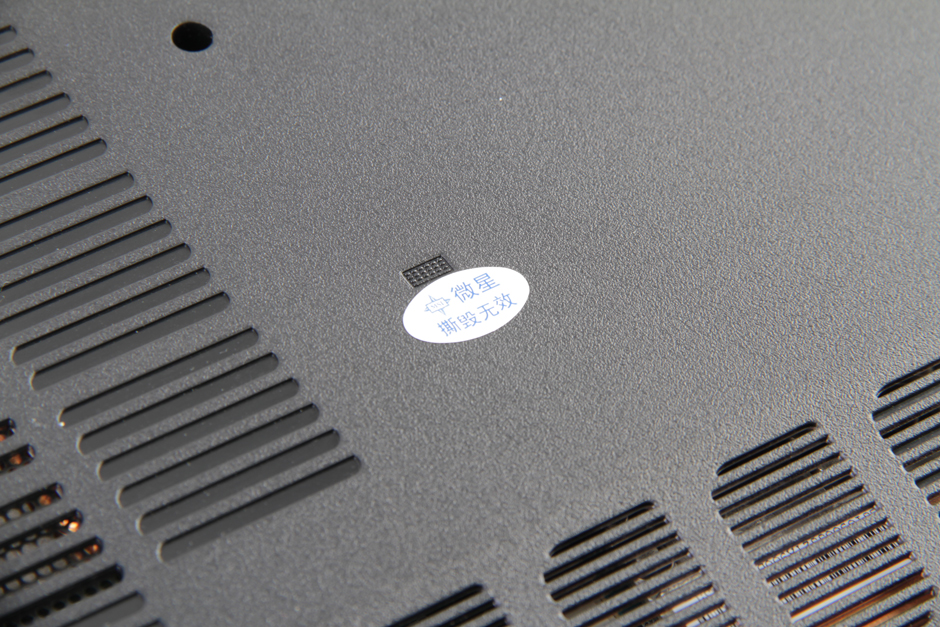
Now, remove the screw under the warranty sticker.
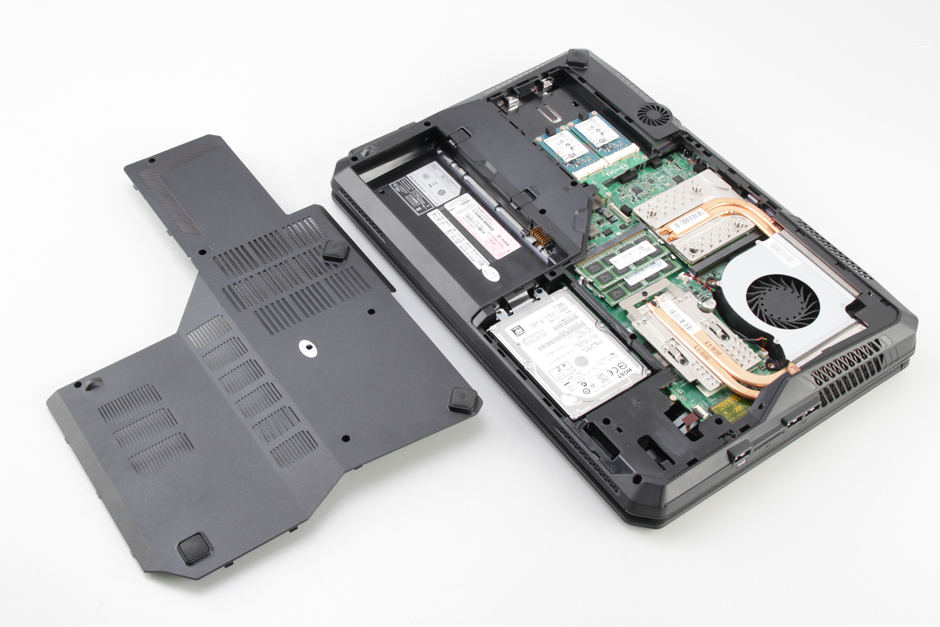
Remove this screw and the other five screws securing the service cover. Insert a screwdriver into the groove of the service cover and pry it open.
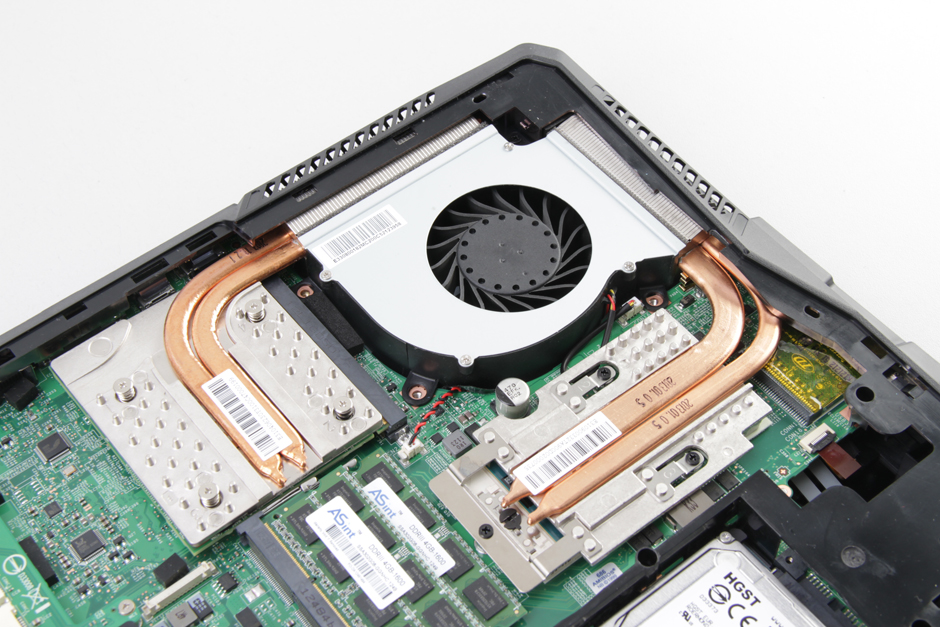
Under the cover, you can access the hard drive, heat sink, cooling fan, SSD, and memory.
Remove the two screws securing the hard drive module. Lift the black tab to remove the hard drive.
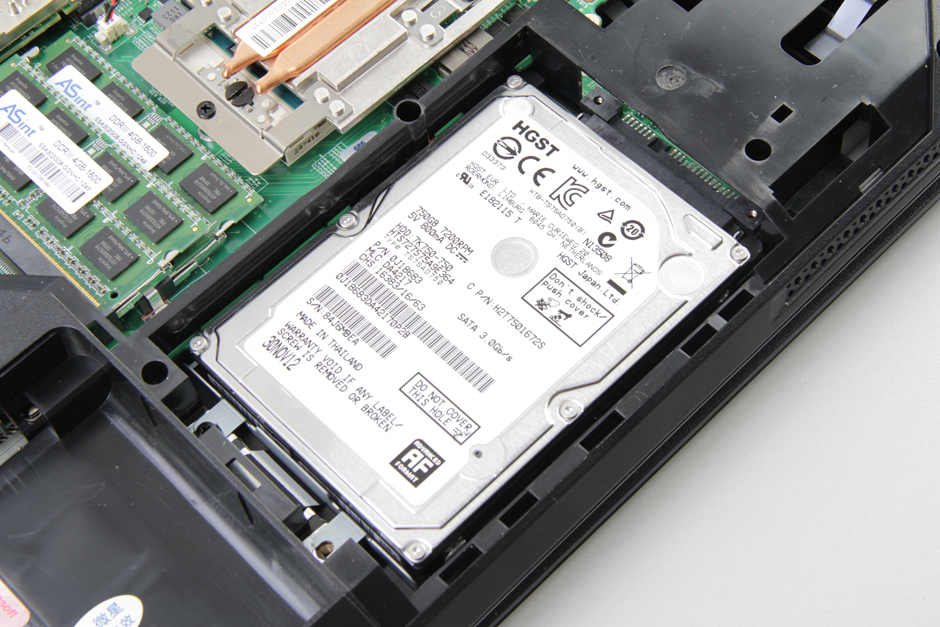
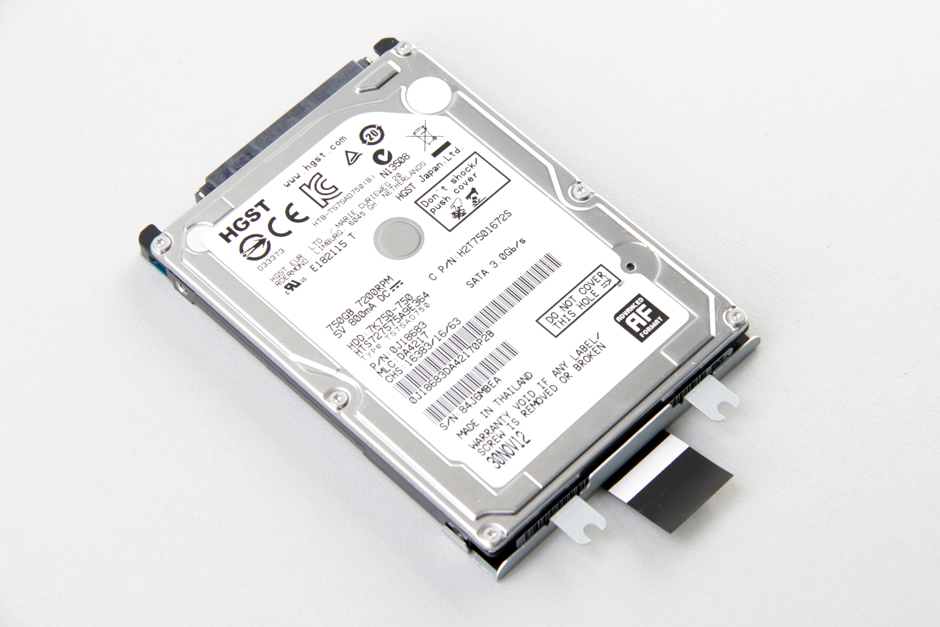
The laptop comes with an HGST 750GB 7200RPM hard drive.
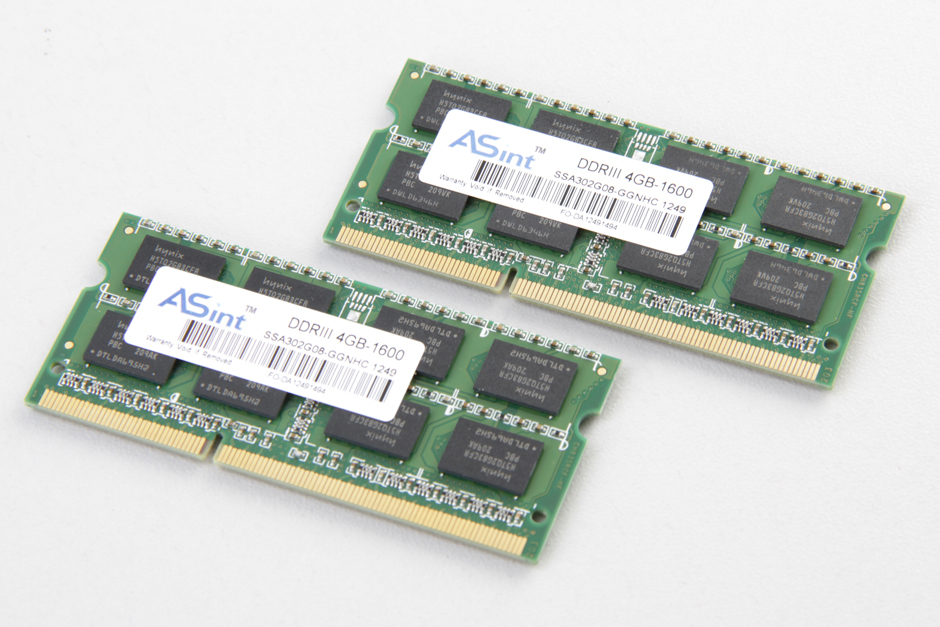
Use your fingernails to separate the clips on both sides, and the memory module will automatically pop out.
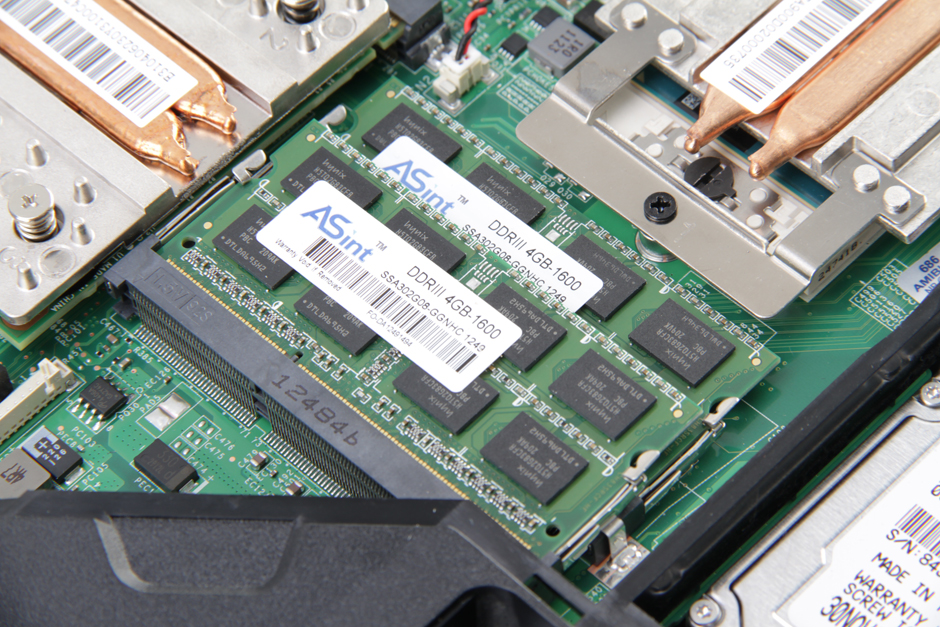
The MSI GT60 comes with two ASINT 4GB DDR3 1600MHz RAM modules.
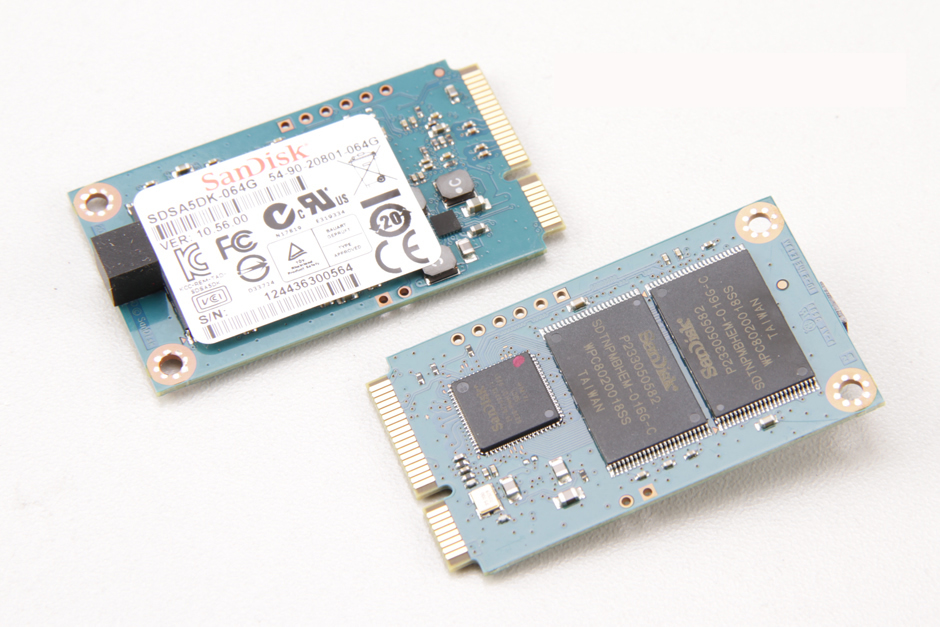
The MSI GT60 features two SanDisk 64GB mSATA SSDs.
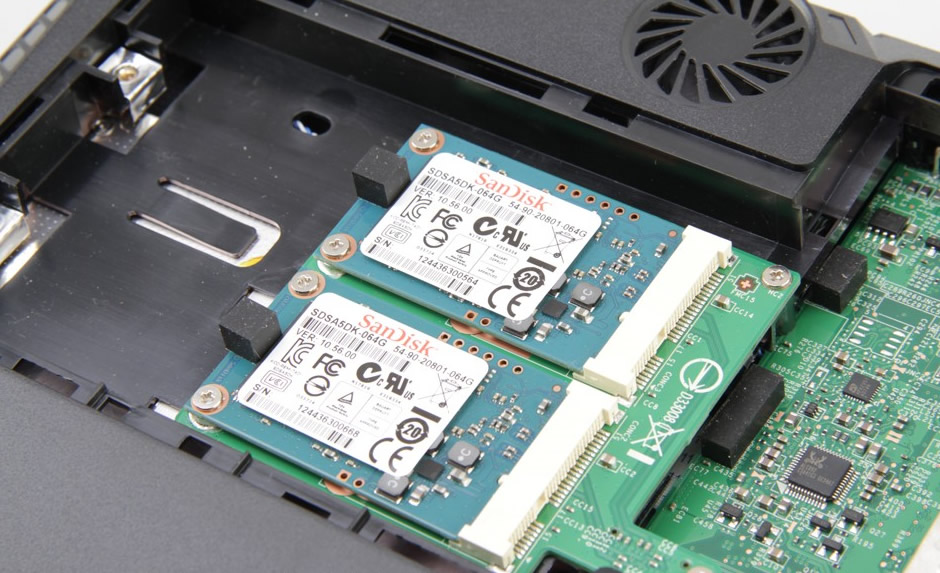
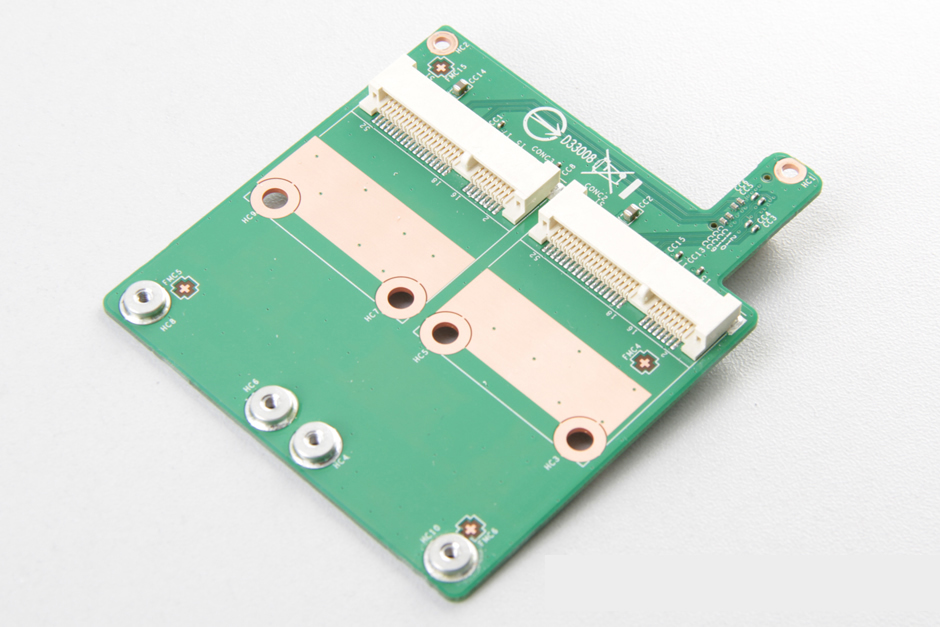
Remove the two screws securing the HDD board and remove the HDD board.
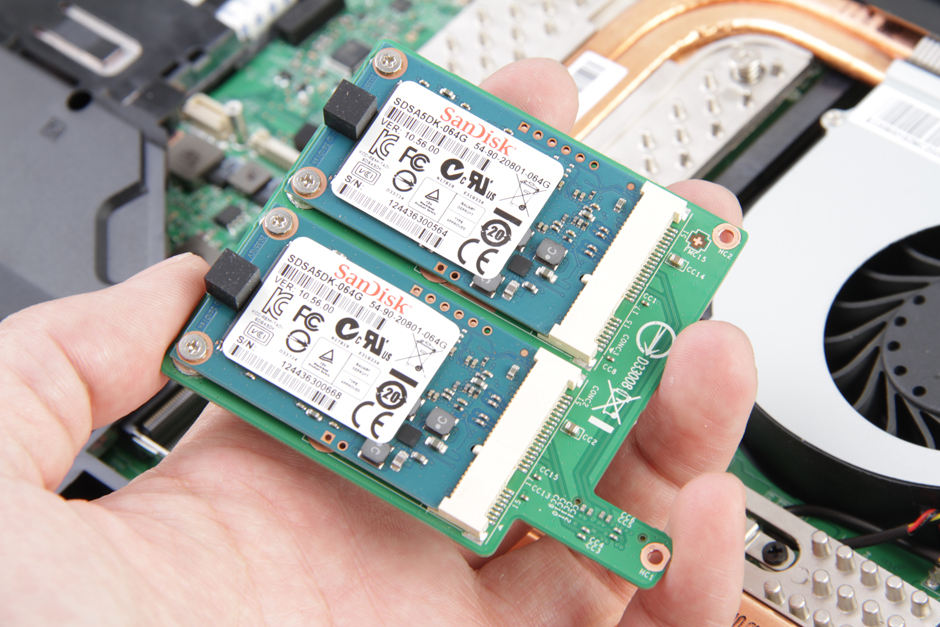
Remove the two screws securing the SSD and carefully remove it.
HDD board
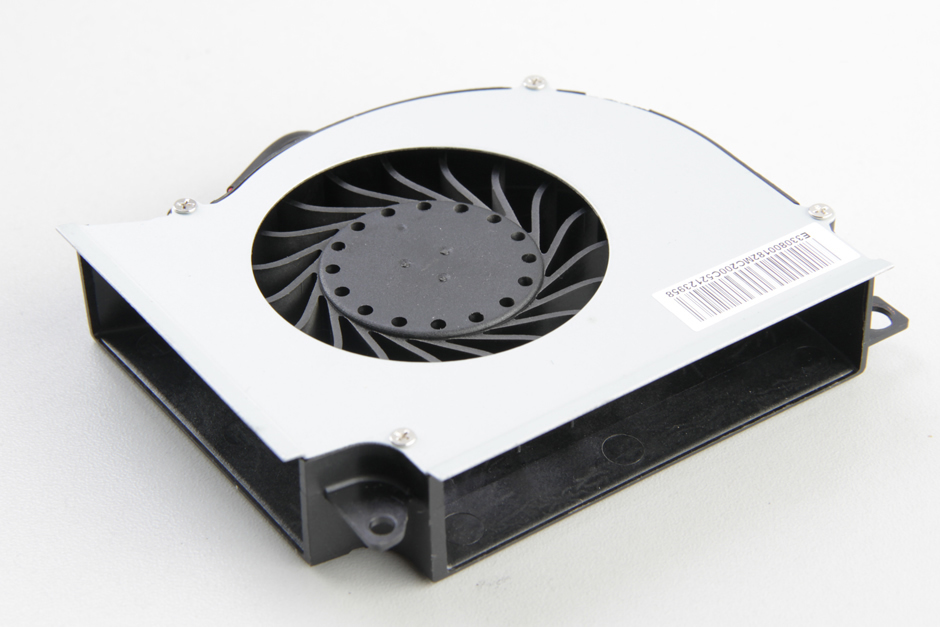
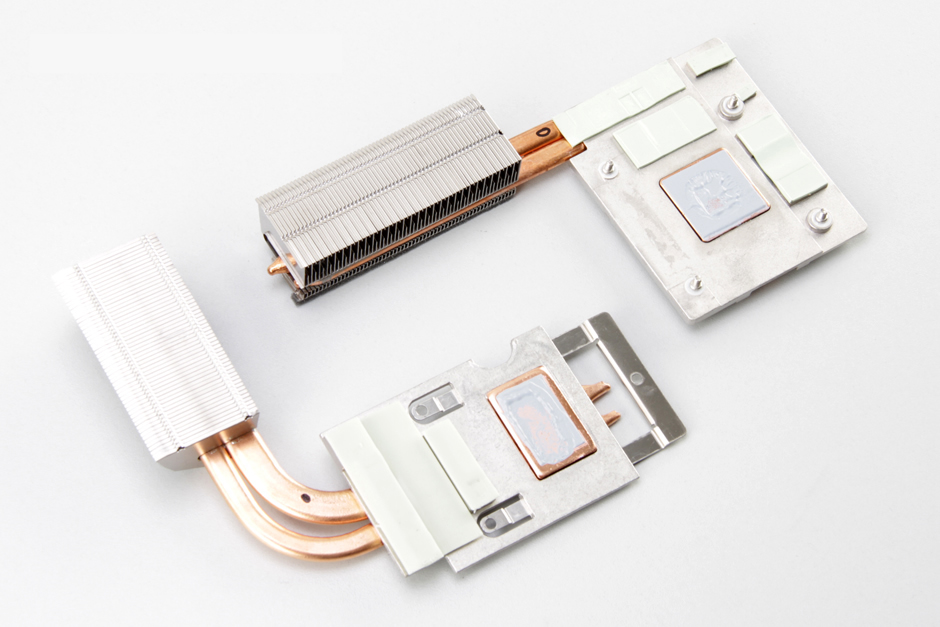
Remove all screws securing the heat sink and cooling fan, and disconnect the fan cable.
Cooling fan
The cooling system of the MSI GT60 consists of two units: one dedicated to cooling the CPU, and the other to cooling the GPU.
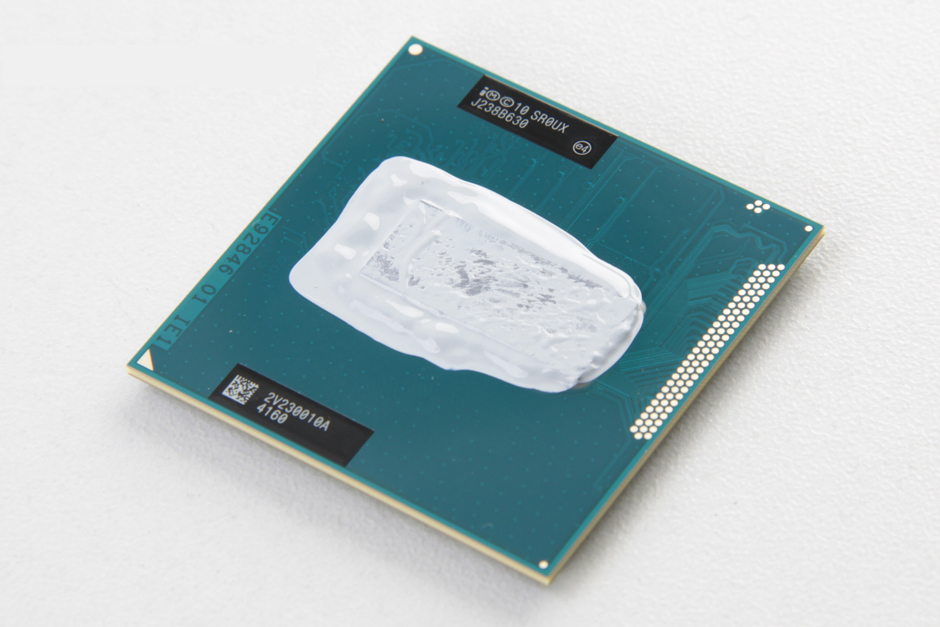
Intel Core i7-3630QM processor (6M Cache, up to 3.40 GHz)
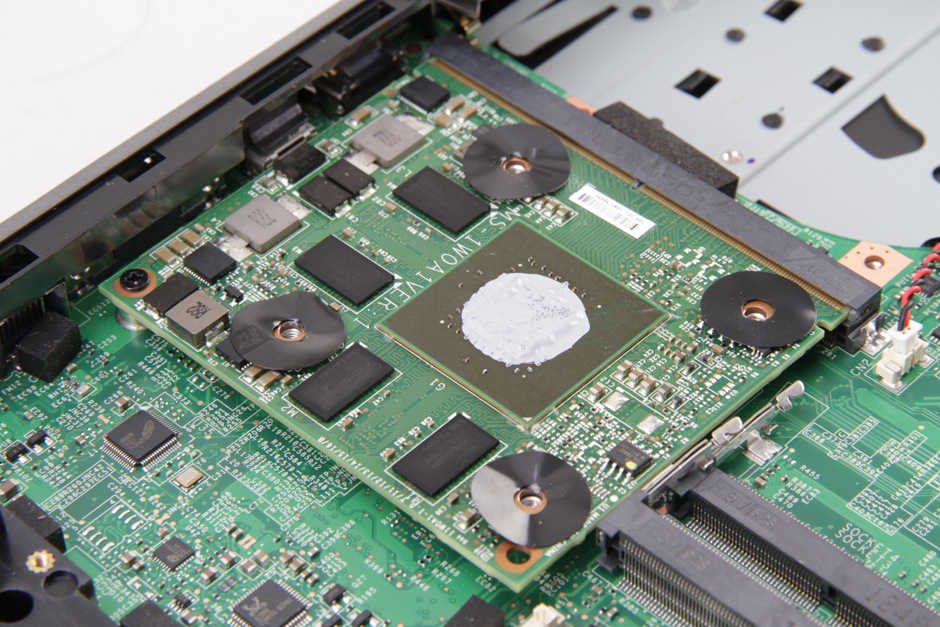
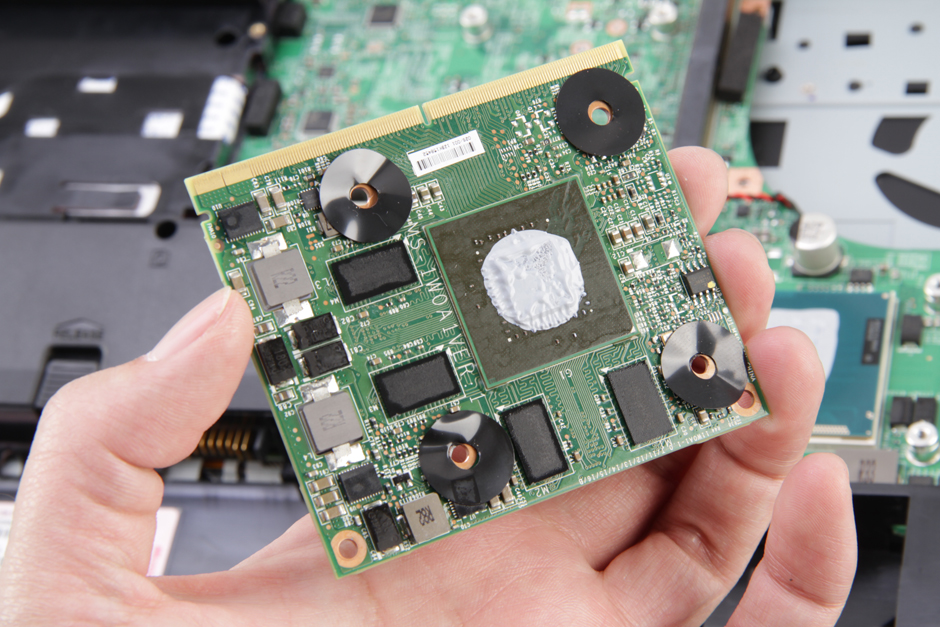
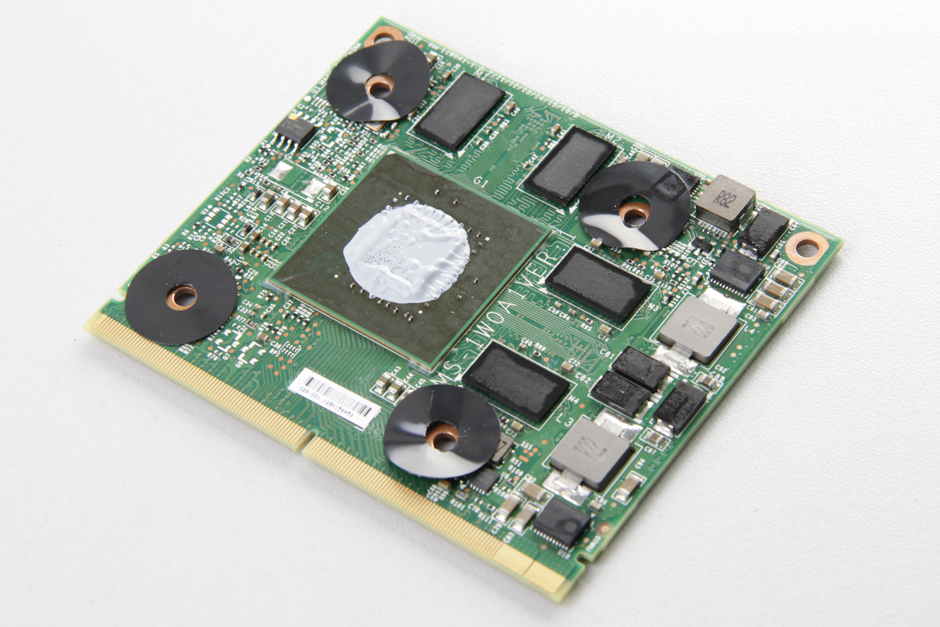
The NVIDIA Quadro K2000M professional graphics card is installed in an MXM slot. It is manufactured using a 28nm process and supports Optimus intelligent switching technology, PhysX, Verde drivers, CUDA, 3D Vision, and 3DTV Play.
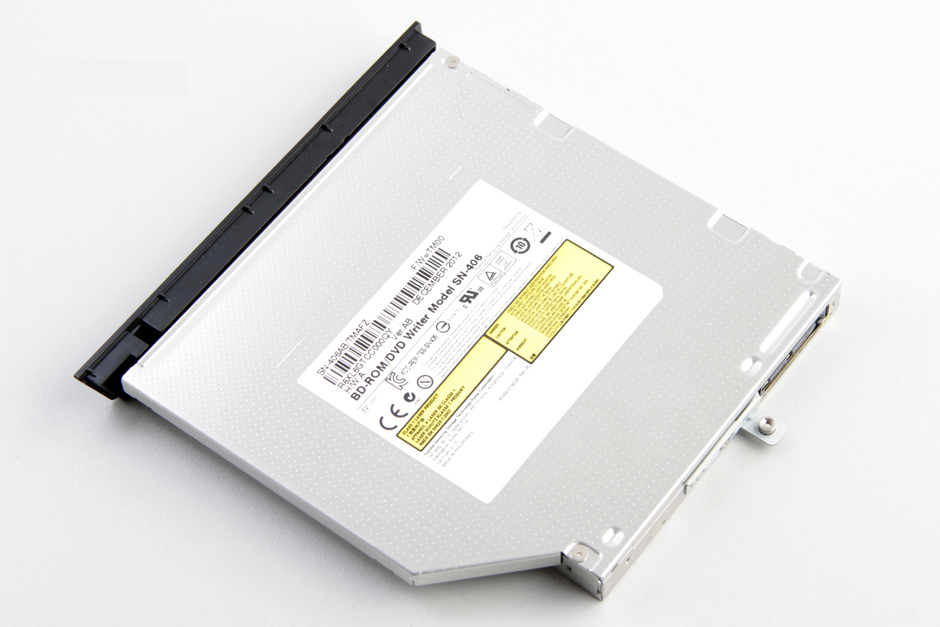
The MSI GT60 features a Samsung SN-406 Blu-ray burner.
MSI GT60 internal parts