
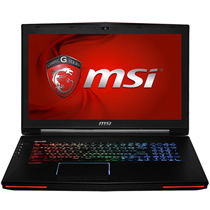
In this guide, I will explain how to disassemble the MSI GT70 to remove the bottom cover, hard drive, keyboard, palm rest, SSD, LCD screen, LCD hinge, speakers, cooling fan, graphics card, and motherboard.
Want to stay connected to MyFixGuide.com? Follow us on Facebook to check out the latest teardowns.
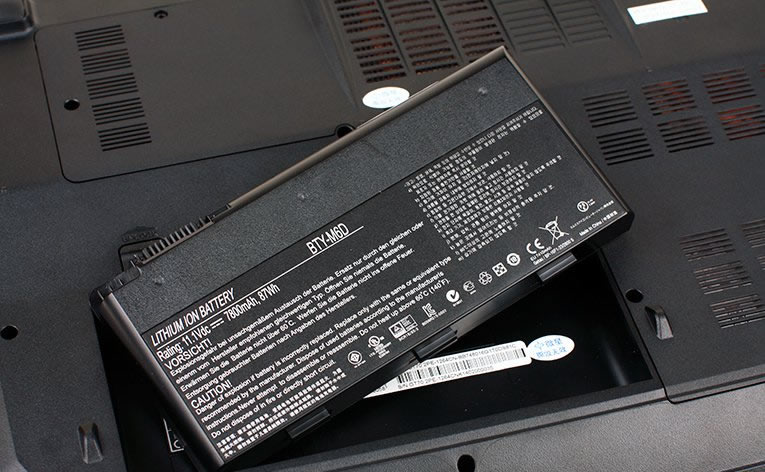
Unlock and remove the battery.
This MSI GT70 comes with a 7800mAh, 87Wh 9-cell battery.
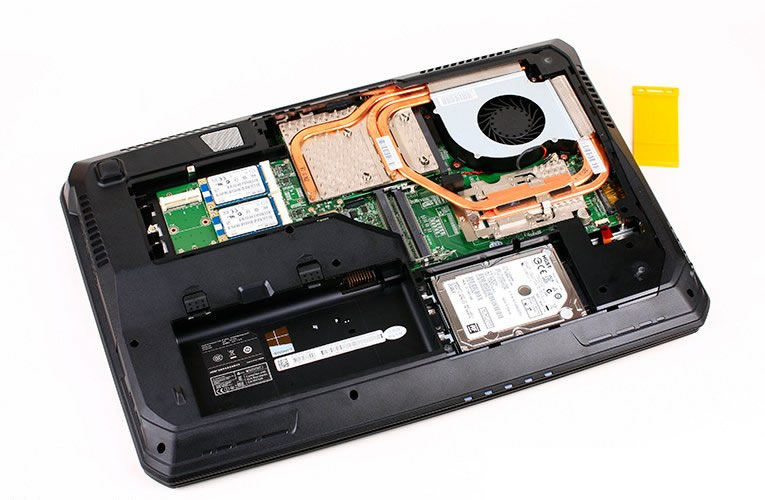
Remove all screws securing the service cover, then pry up and remove the service cover.
Under the cover, you can access the hard drive, SSD, heat sink, and cooling fan.
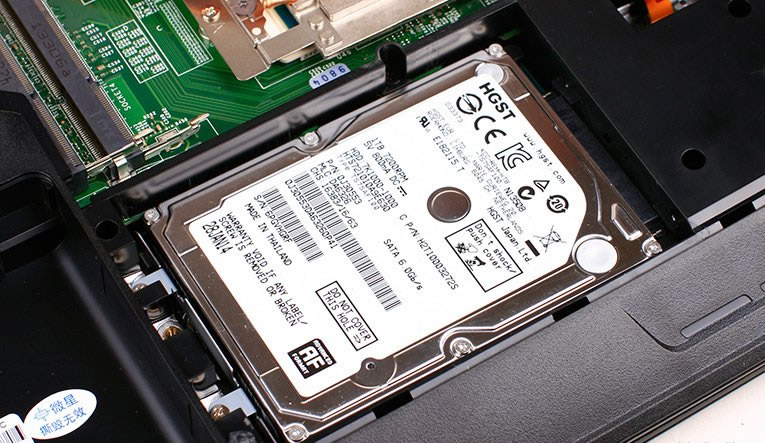
Remove the two screws securing the hard drive module. Lift it up and remove the hard drive.
The MSI GT70 features a 1TB HGST hard drive.
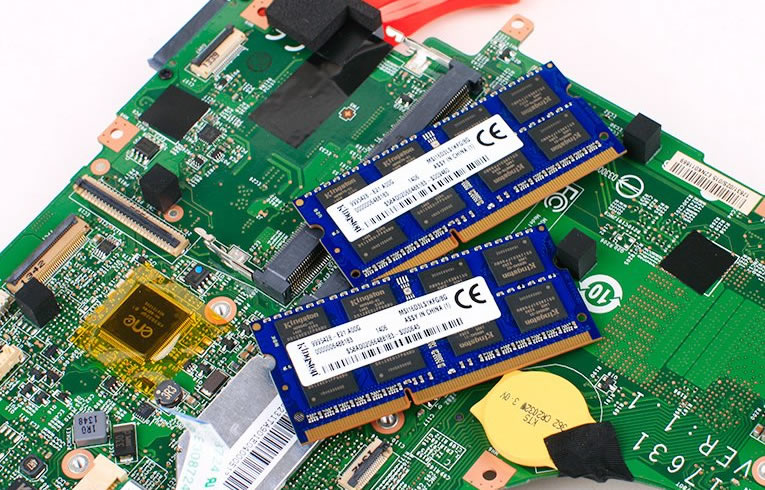
There are two spare memory slots under the service cover. The GT70 has four memory slots, and the other two memory slots are located under the keyboard.
The laptop comes with two Toshiba 128GB SSDs.
MSI called it the Super RAID. It uses an Intel chipset and features RAID functionality, with two mSATA SSDs configured in RAID 0.
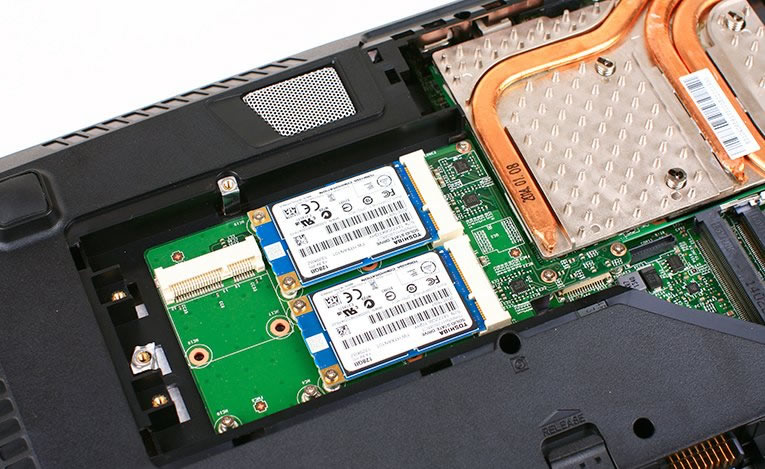
There is a spare slot, and you can install the third SSD.
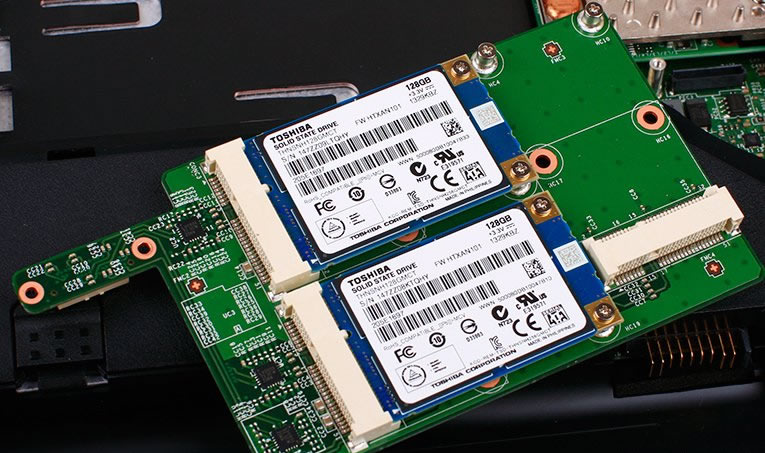
Remove the two screws securing the SSD and remove it.
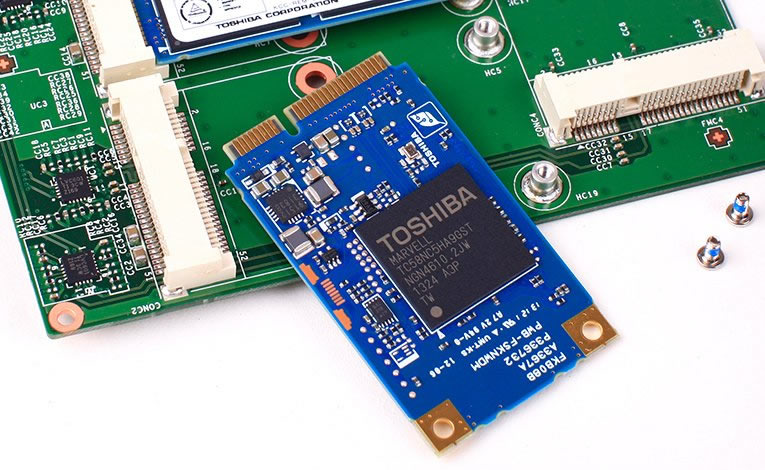
The GT70 comes with two Toshiba mSATA SSDs, which use the Marvell TC58NC5HA9GST chip.
Remove the three screws securing the cooling fan and unplug the fan cable from the motherboard.
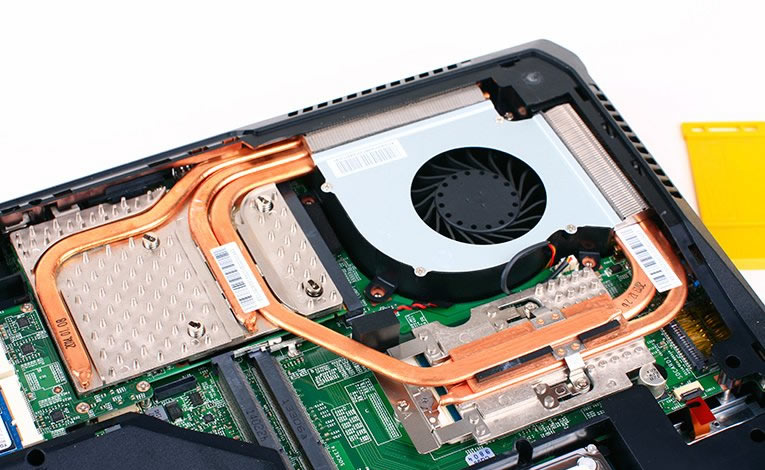
Remove the cooling fan.
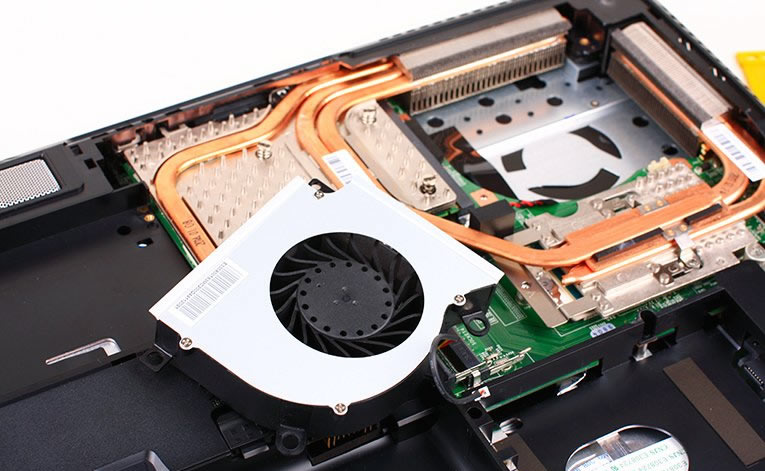
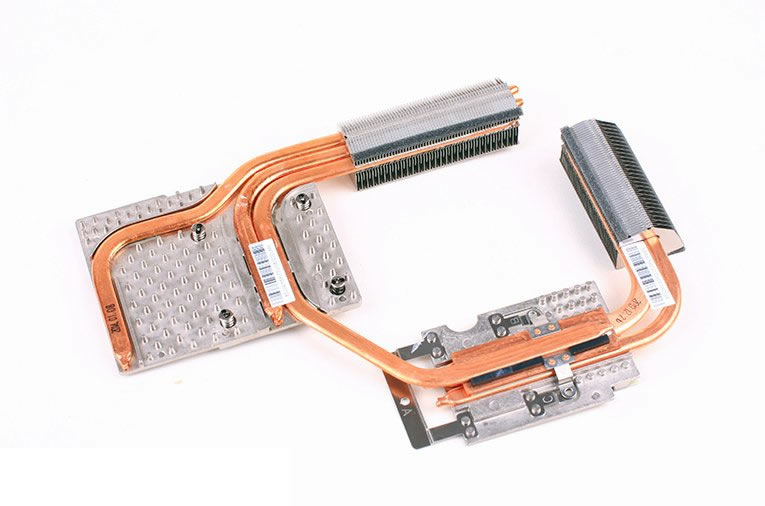
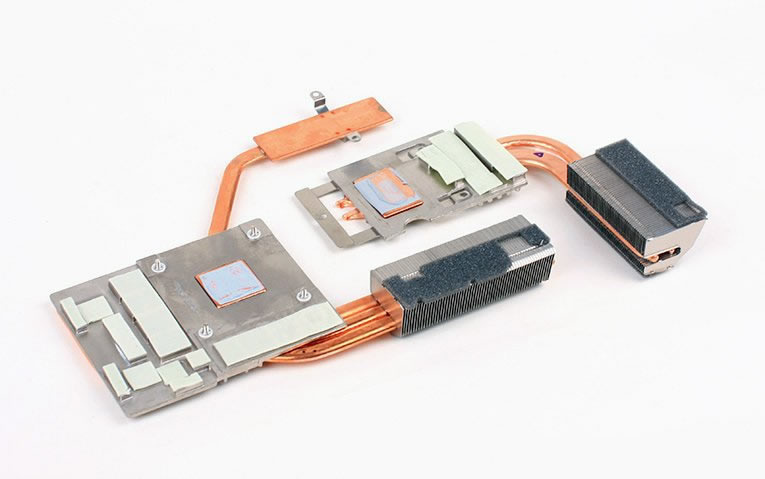
Its cooling system consists of five copper pipes and a fan, which not only covers the processor and graphics card but also covers the chips adjacent to the graphics card and processor.
NVIDIA GeForce GTX 880M Graphics card
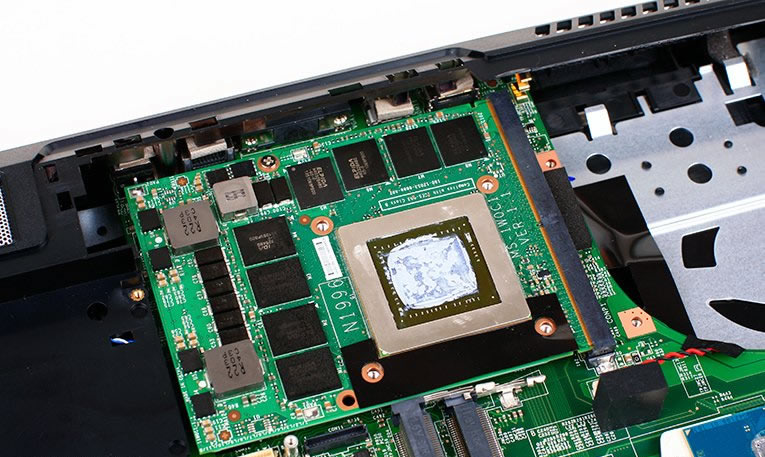
Remove the screw securing the graphics card and take it away from its slot.
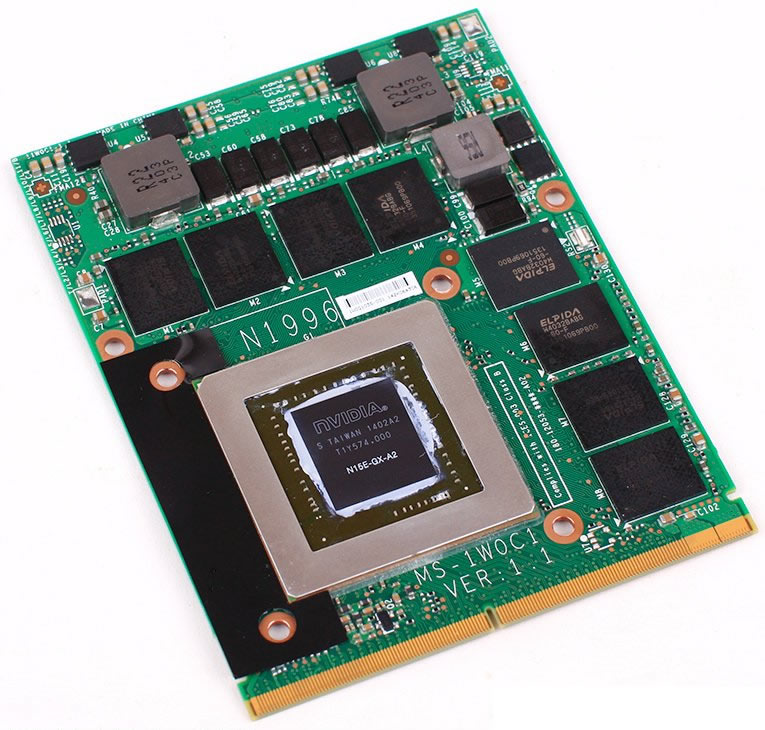
This graphics card features 8GB of GDDR5 video memory.
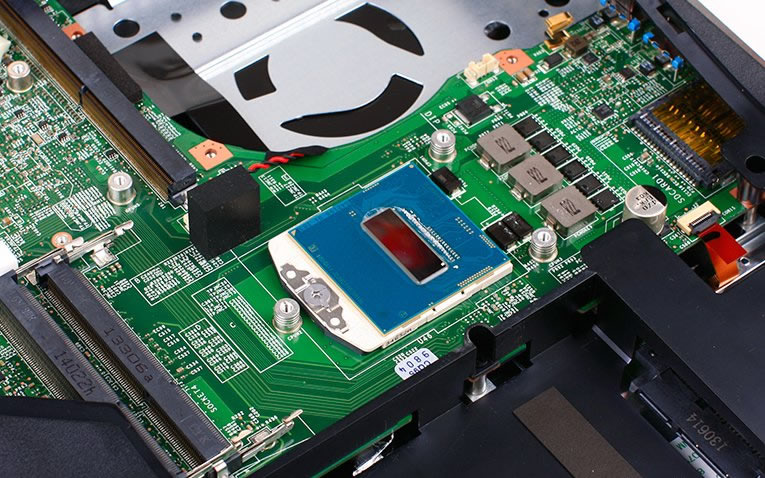
The MSI GT70 features an Intel Core i7-4800MQ processor, which is replaceable and removable, allowing you to upgrade the processor.
Remove all screws.
Remove the two screws securing the LCD bezel.
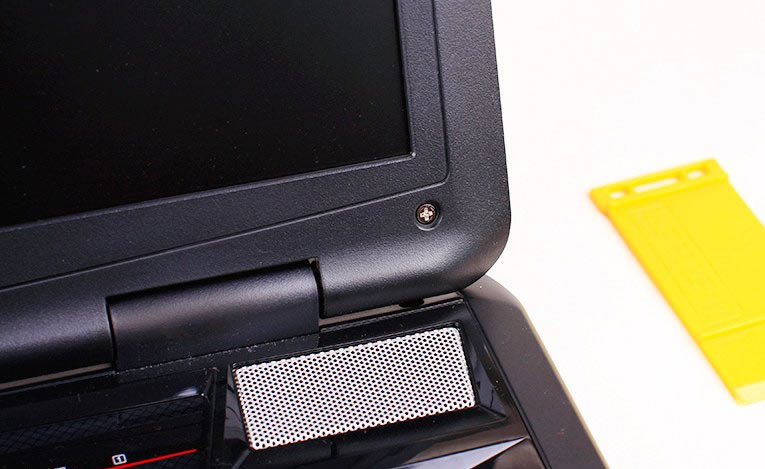
Pry up and remove the LCD bezel.
Remove the shortcuts panel.
Remove the five screws securing the keyboard. Unlock and pull out the keyboard cable.
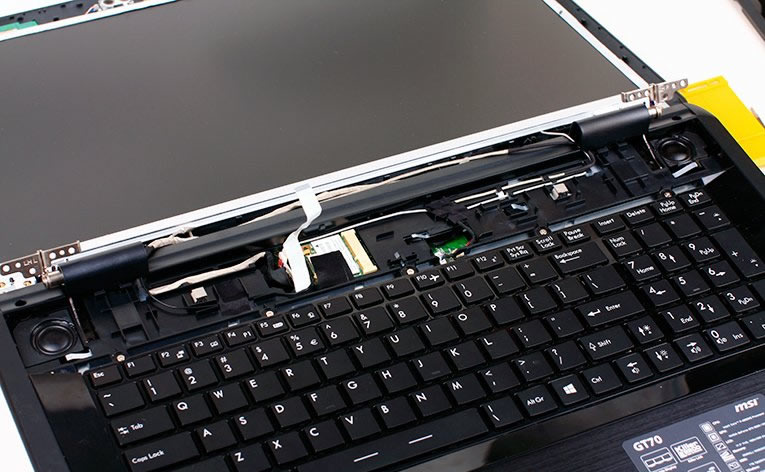
The keyboard has been removed.
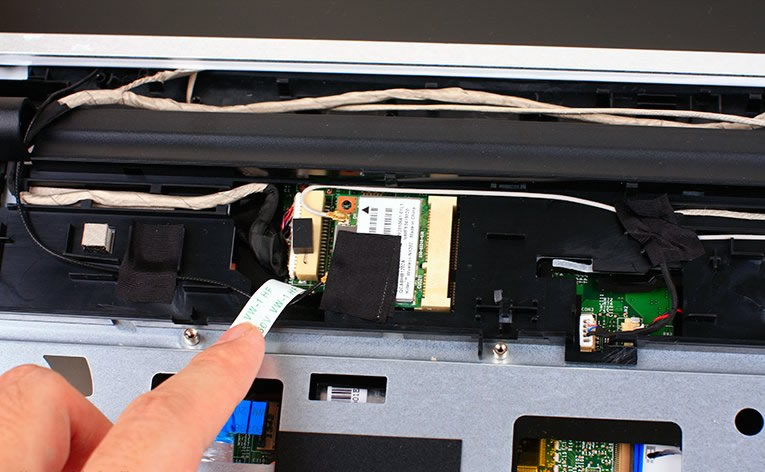
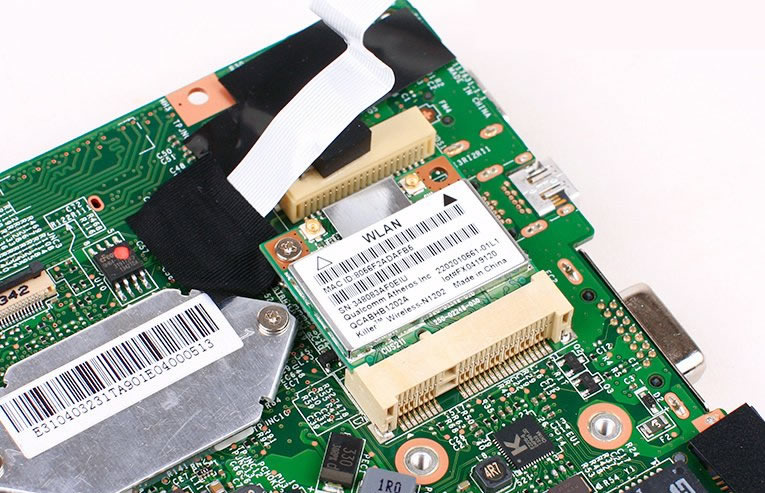
Wireless card
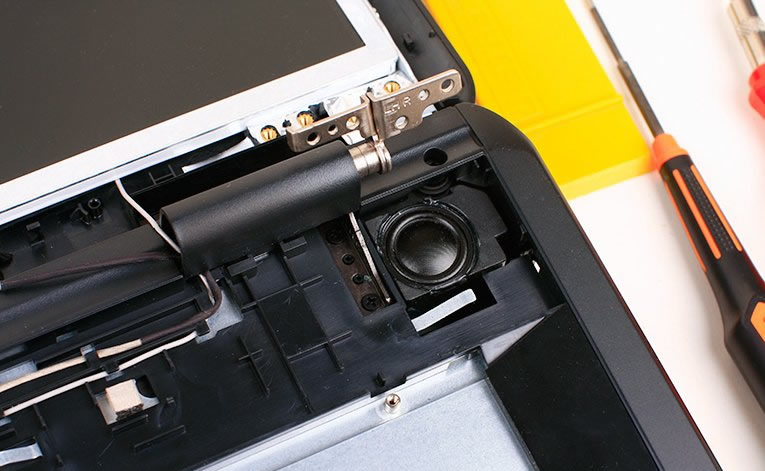
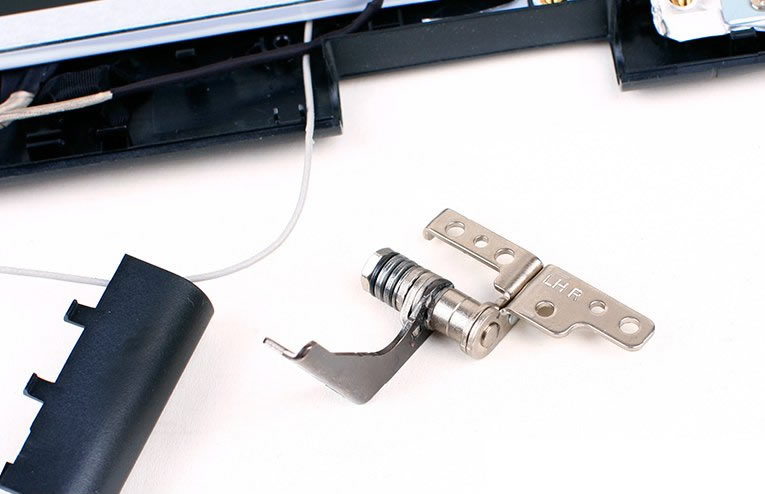
Remove all screws securing the LCD hinge.
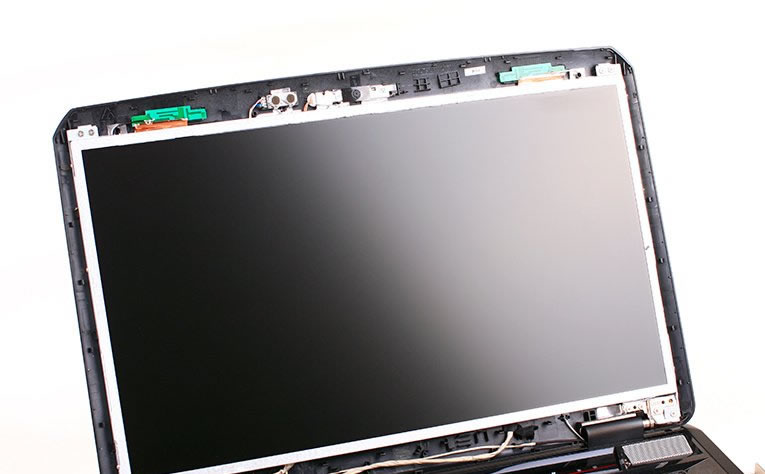
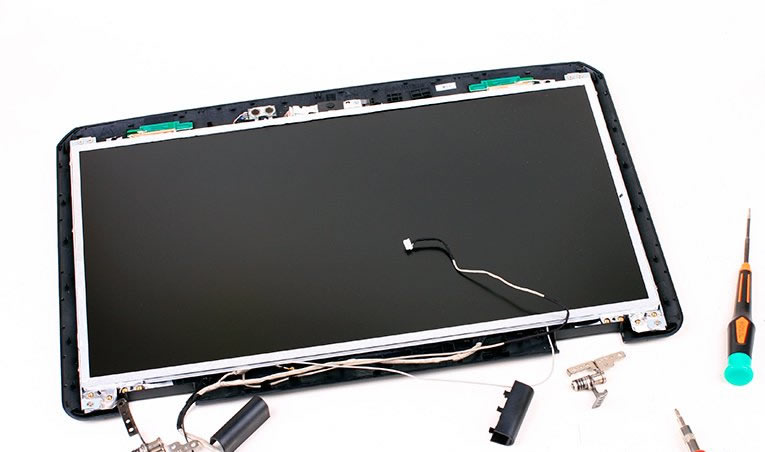
Remove the LCD screen module.
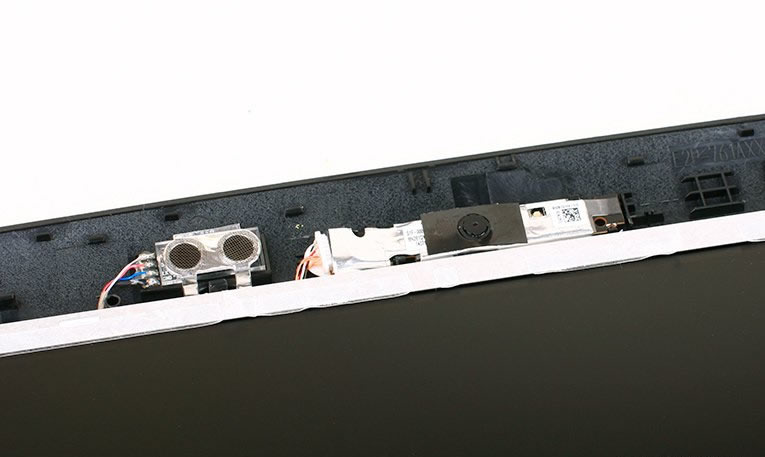
Microphone and camera
LCD hinge
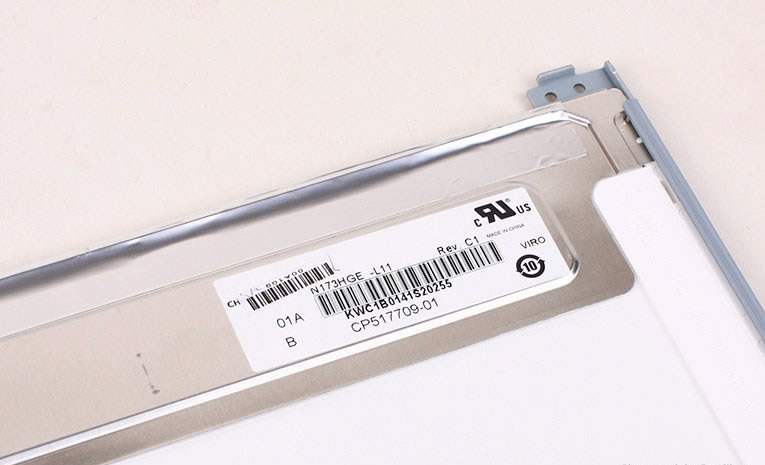
The MSI GT70 comes with a Chimei N173HGE-L11 screen.
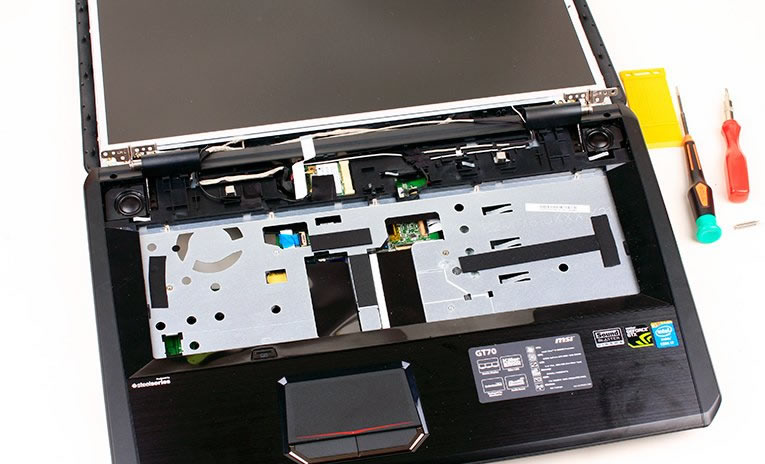
Insert a pry tool between the bottom cover and palm rest. Slide the pry tool to separate the palm rest from the laptop.
Use your nails to separate the clips on both sides of the memory module, and the memory module will pop out automatically.
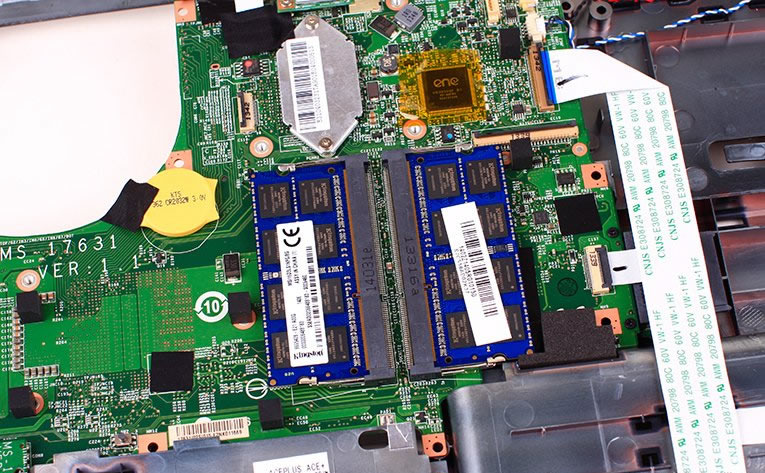
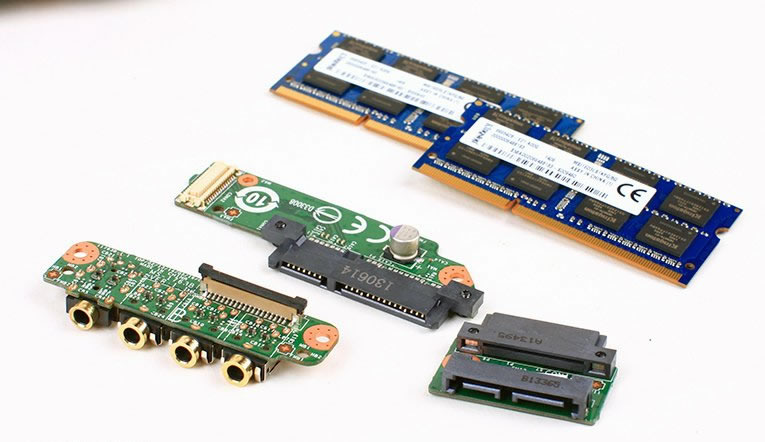
The laptop comes with two Kingston 8GB DDR3 1600MHz memory modules.
The laptop comes with an Atheros 802.11n Killer wireless card, which does not support 802.11AC.
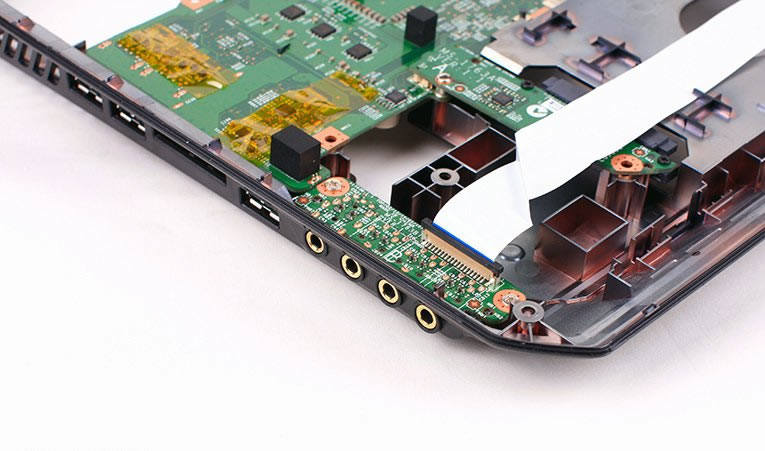
Audio I/O port
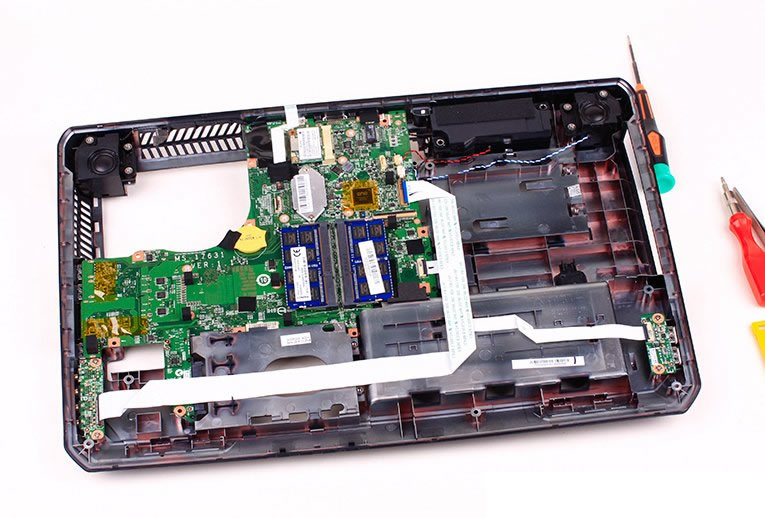
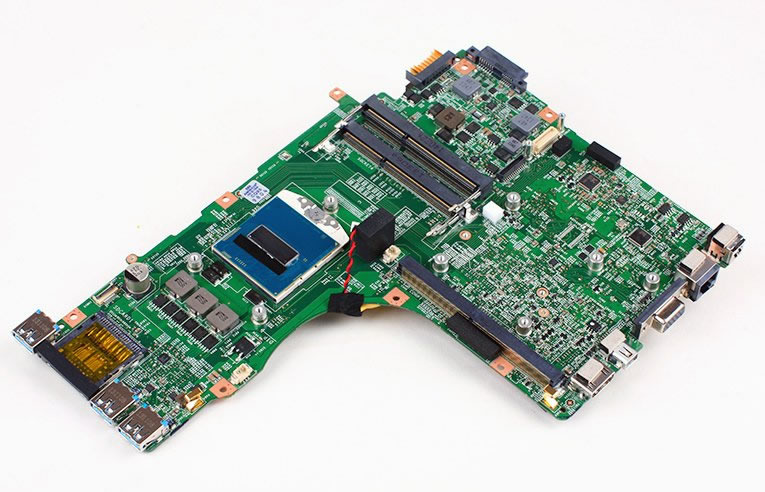
MSI GT70 motherboard
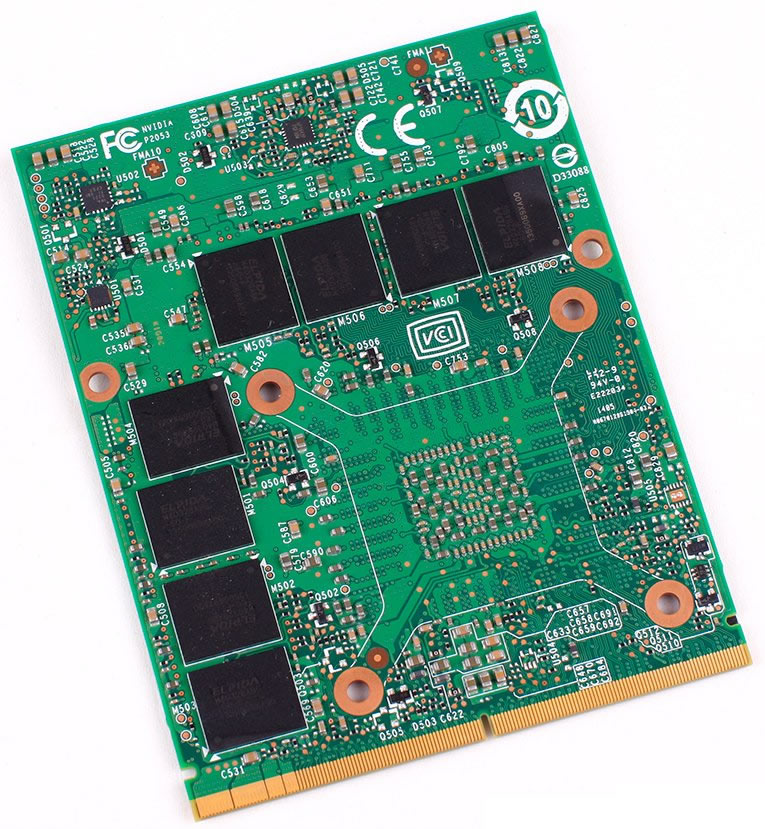
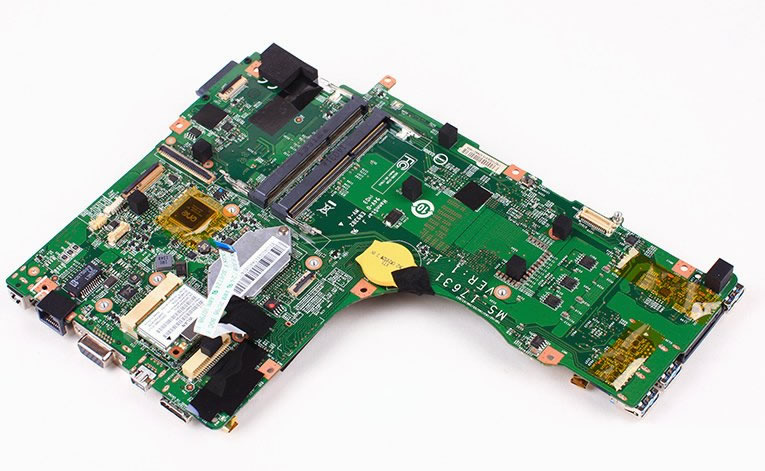
The back of the motherboard
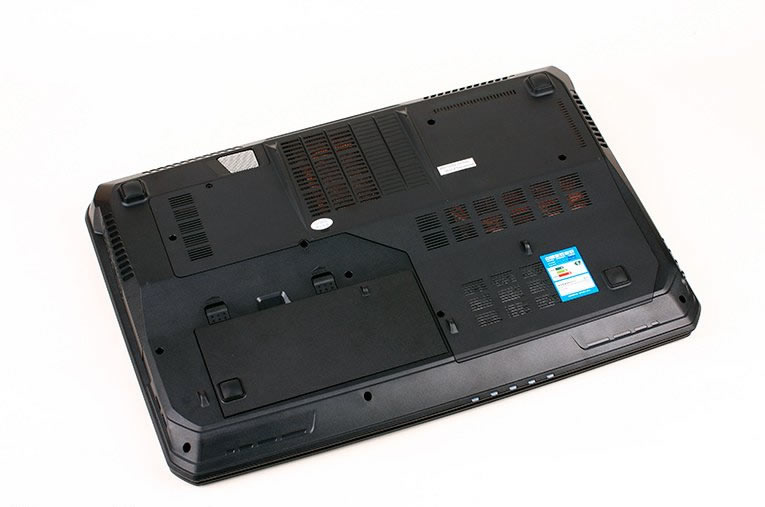
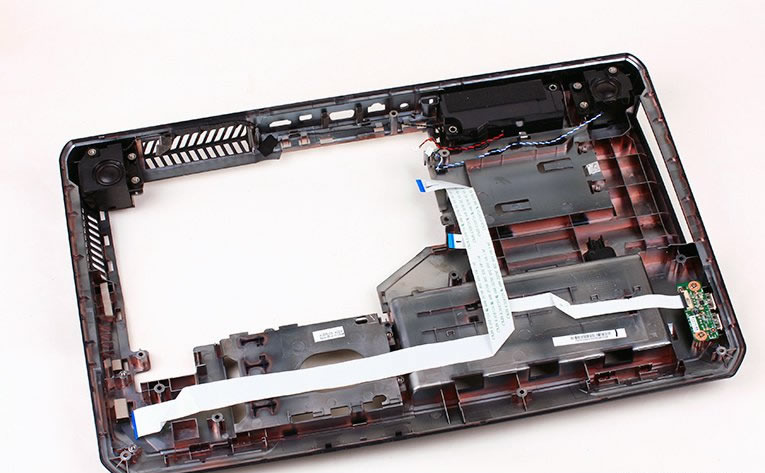
Bottom case
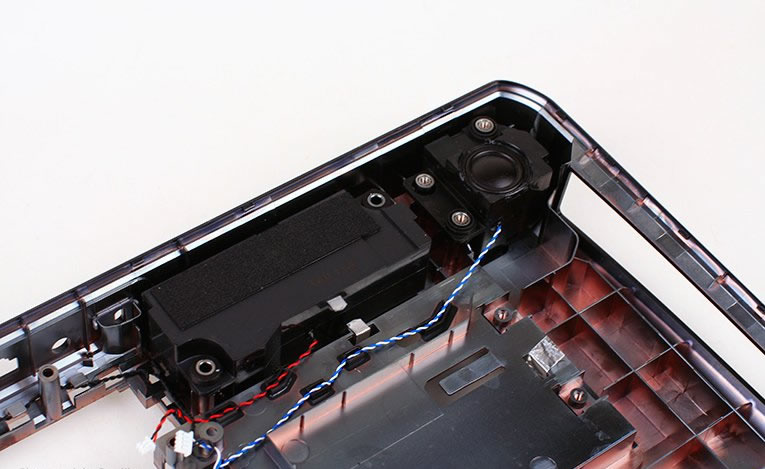
Dynaudio speakers
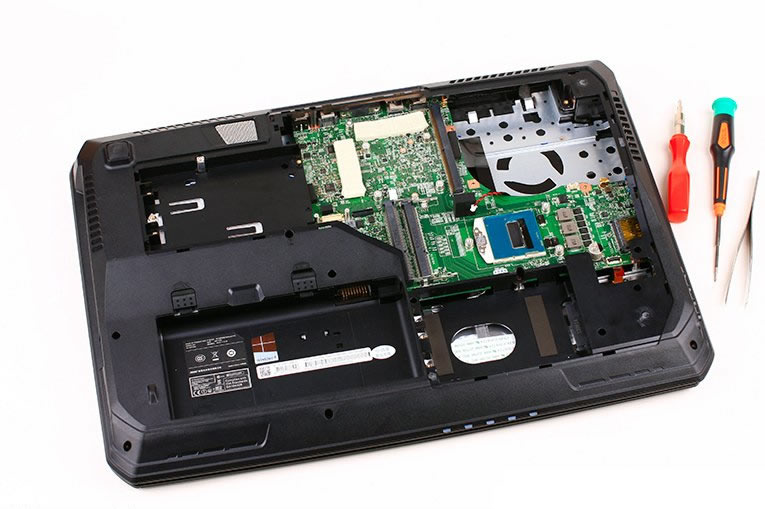
MSI GT70 internal parts

Hi, David,
Do you know the model number of the MSI GT70 depicted in this guide?
I ask because my local dealer in Australia sells the MSI GT70 models 2QD-2435AU and 2PC-1832AU, both of which he claims have the CPU and GPU integrated into the mainboard (i.e., not upgradeable). He also says they are not RAID capable, which seems impossible because both these models have the Intel HM87 chipset, which has a RAID function.
Thanks,
Andrew
Hello, I hope my answer is still useful. I have a 2PC model, the 2QD is the older one, and both the CPU and GPU are removable and upgradeable (quite useless, as these parts are very expensive). But not all models are RAID capable, as you need a special RAID module, the one which this computer has (http://www.myfixguide.com/manual/wp-content/uploads/2014/08/MSI-GT70-Disassembly-7.jpg). My laptop didn’t come with a RAID option, so it just looks like this (http://www.myfixguide.com/manual/wp-content/uploads/2014/08/MSI-GT70-Disassembly-17.jpg), and I put a full-size 3.5″ HDD in there.
Greetings, you will know the location of the BIOS chip on the motherboard.