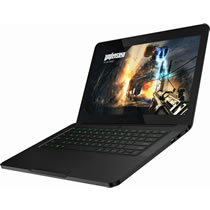
In this guide, I will explain how to disassemble the Razer Blade 2013 to remove the battery, SSD, heat sink, cooling fan, wireless card, and motherboard.
Looking for more guides? Follow us on Facebook for all the latest repair news.
Tools needed
- 1 x small Phillips head screwdriver
- 1 x small plastic scribe
Razer Blade 2013 teardown step:
Note: Please ensure that you turn off your laptop and unplug the AC adapter.
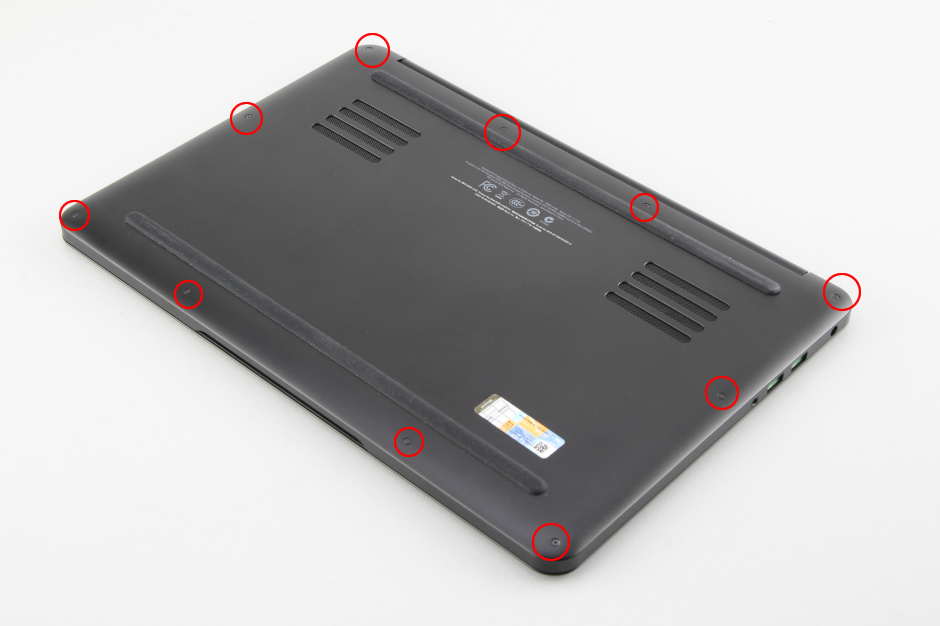
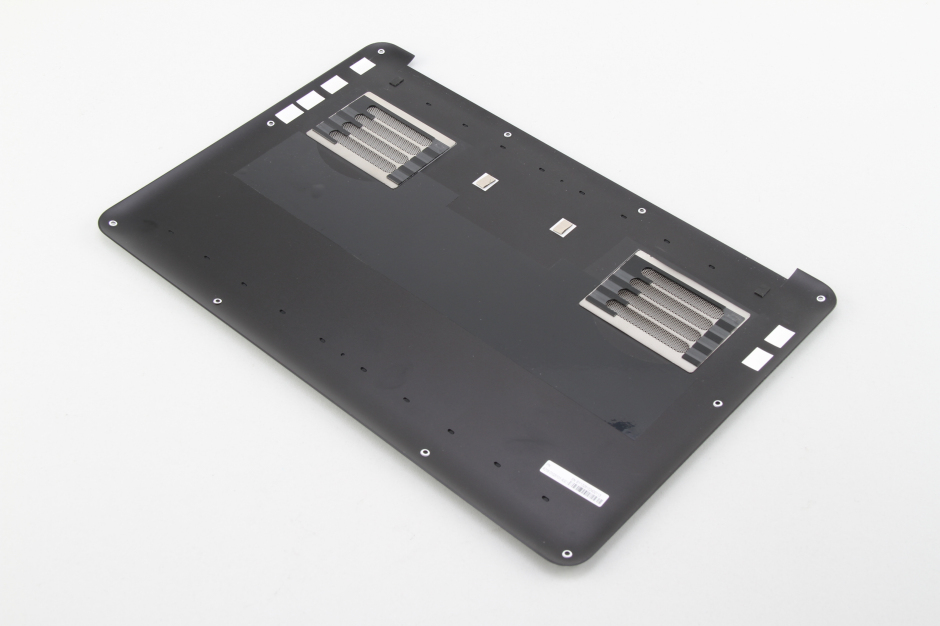
Step 1: Remove the bottom cover
-
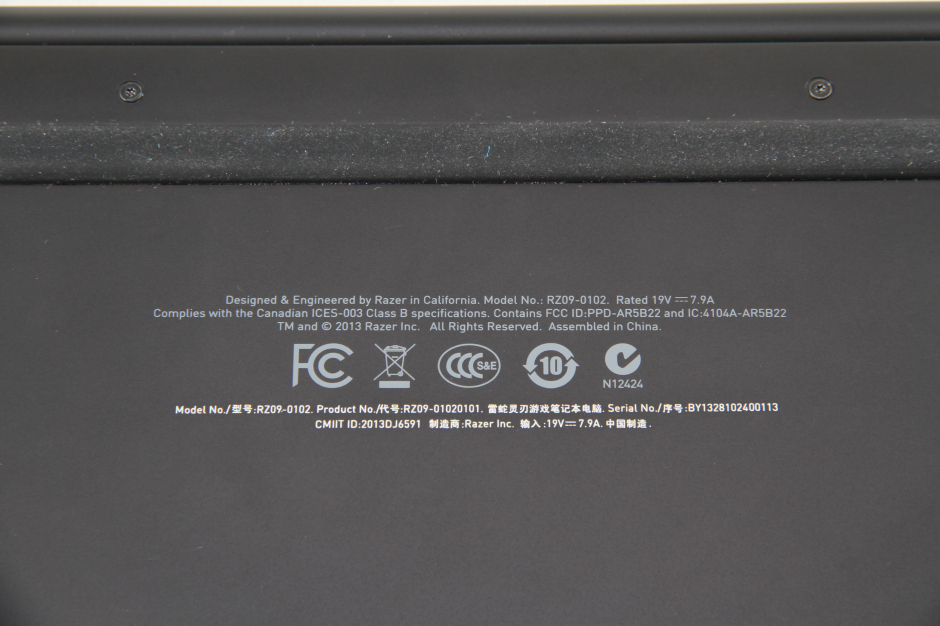
- From the bottom cover of the laptop, we can see that its model number is RZ09-0102.
-
- Remove the ten screws securing the bottom cover. Insert a thin plastic pry tool near the hinge between the bottom cover and palm rest. Since there are no clips on the bottom cover to secure it to the palm rest, sliding the pry tool allows you to easily remove the bottom cover.
-
- This is the back of the bottom cover, and it has no other parts attached to it.
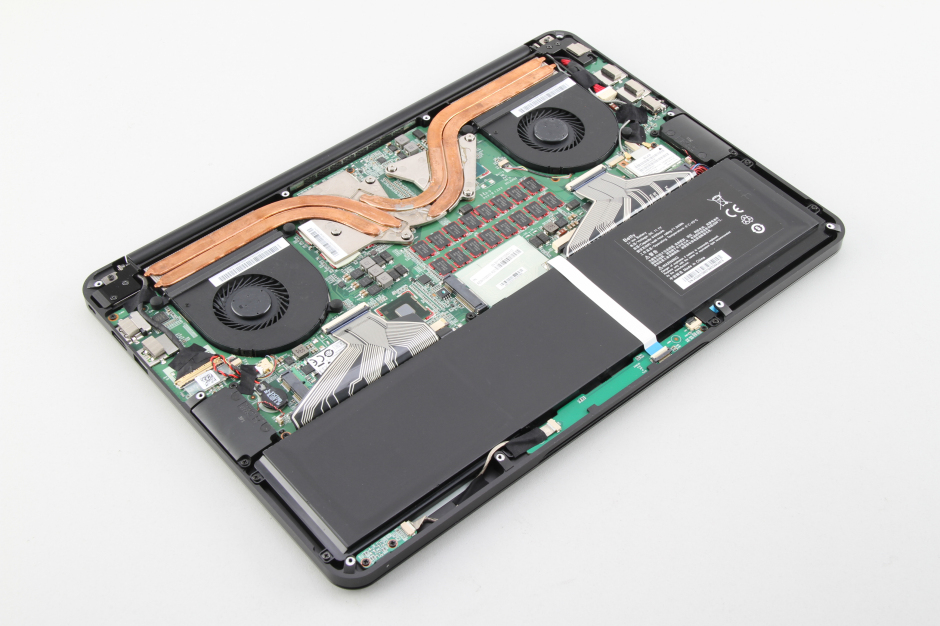
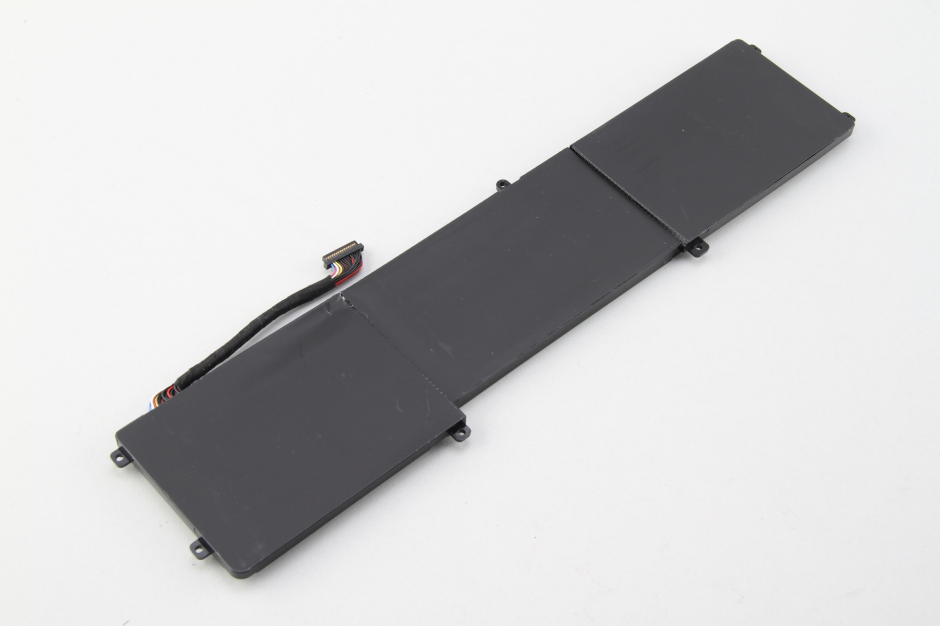
Step 2: Remove the battery.
-
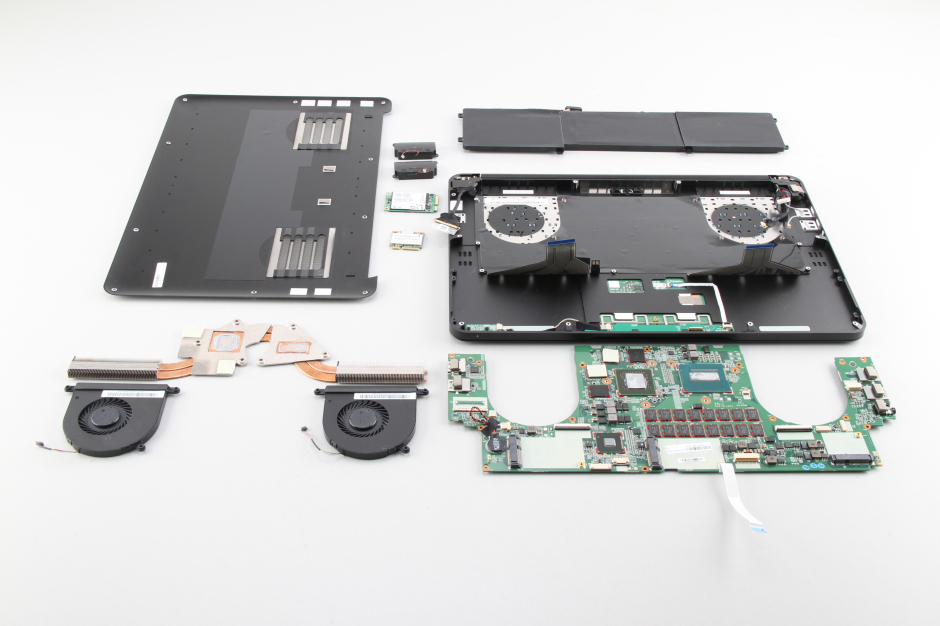
- Under the bottom cover, you can get access to the battery, SSD, wireless card, heat sink, and cooling fan.
- Disconnect the white cable and remove the six screws securing the battery. You can remove the battery.
-
- Close-up of the battery

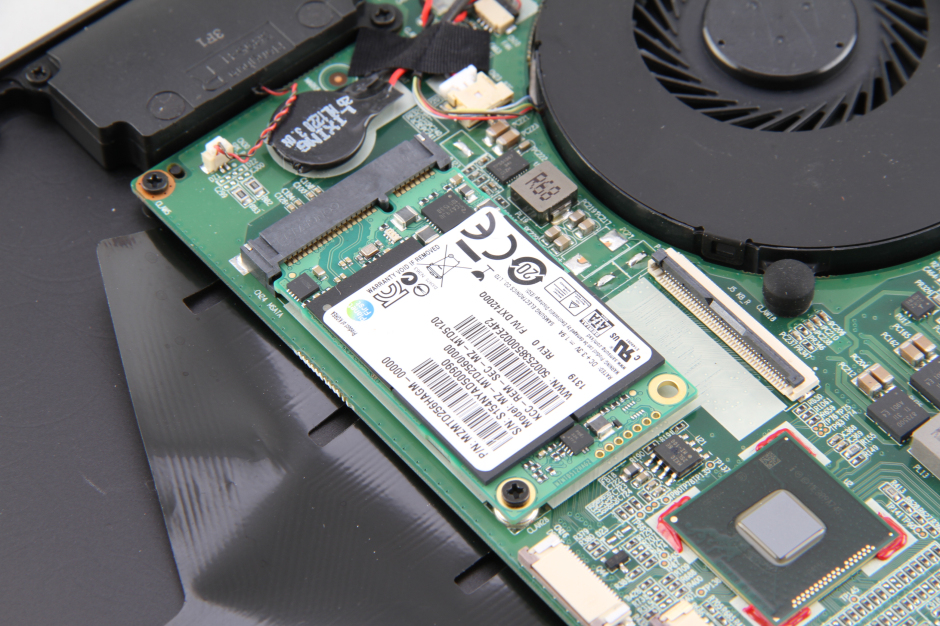
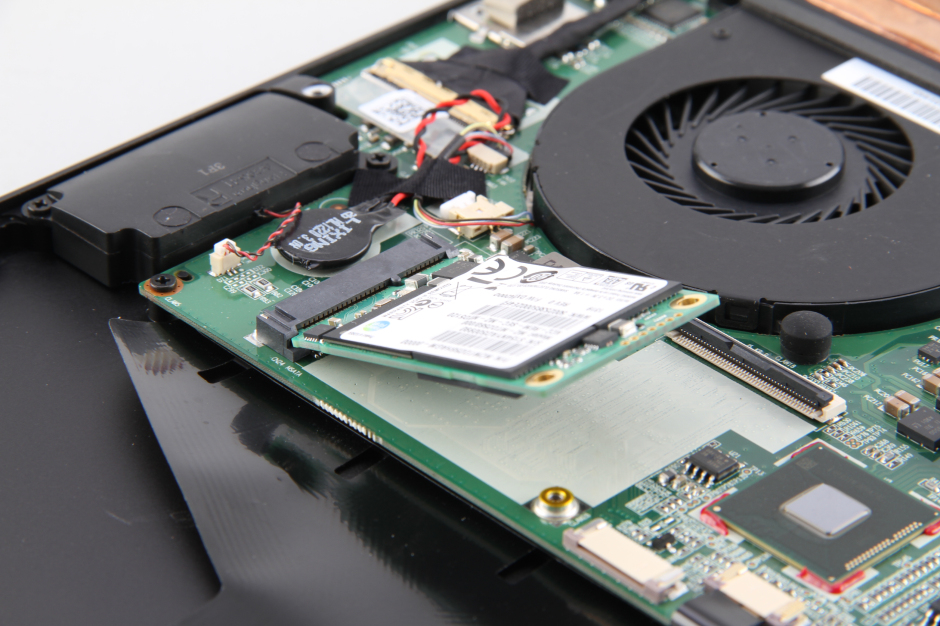
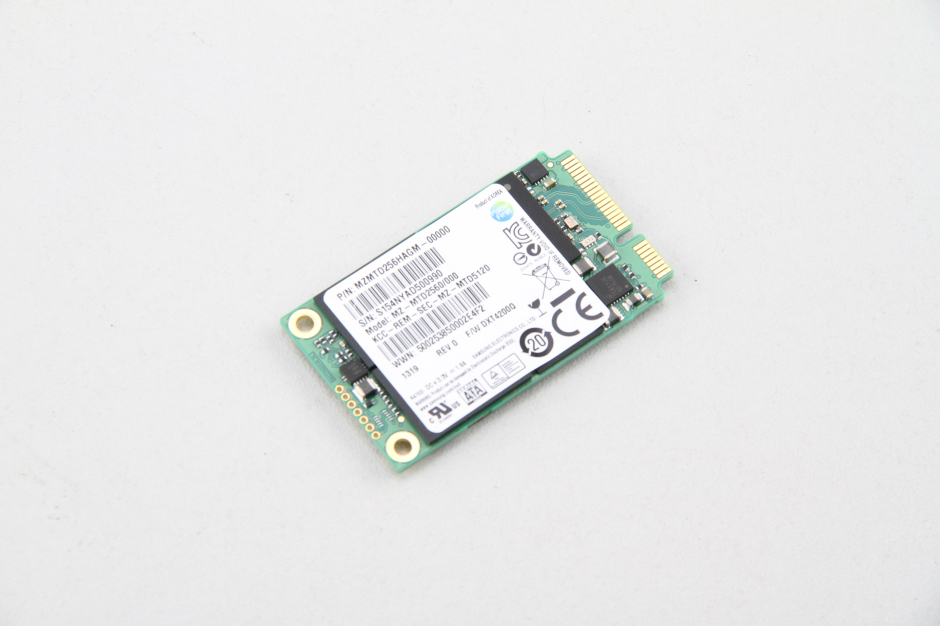
Step 3: Remove the SSD.
-
- Remove the screw securing the SSD and remove it.
-
- Pull out the SSD.
-
- The Razer Blade 2013 comes with a Samsung 256GB SSD. The Samsung model is M2MTD256HAGM-00000.
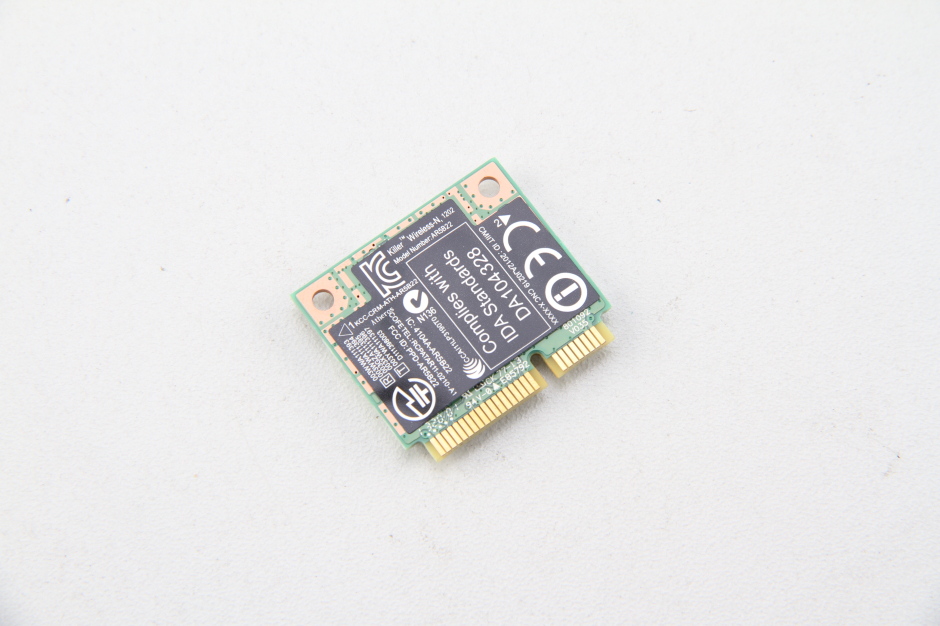
Step 4: Remove the wireless card.
-
- Disconnect two wireless card antennas.
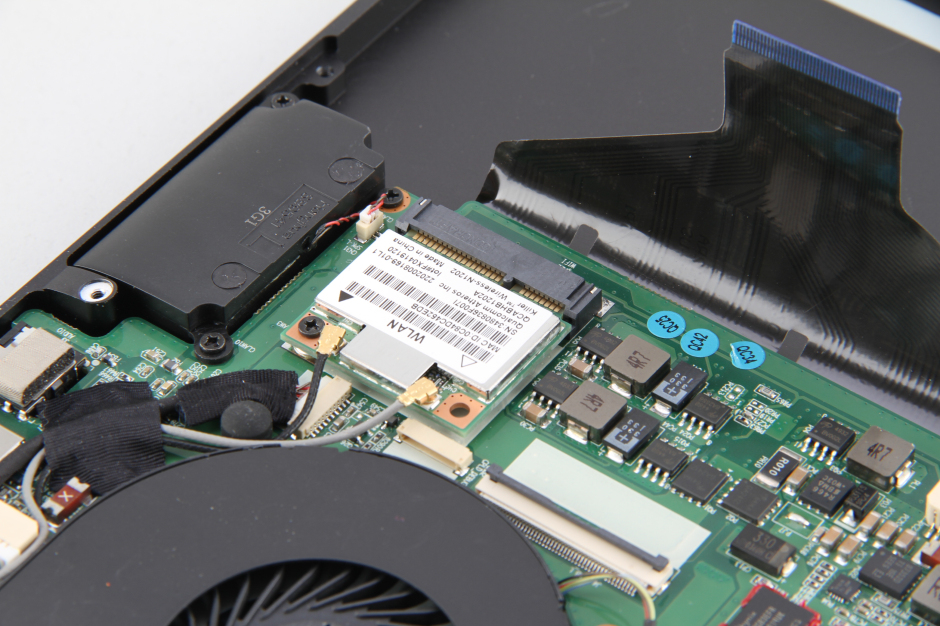
- Remove the screw securing the card.
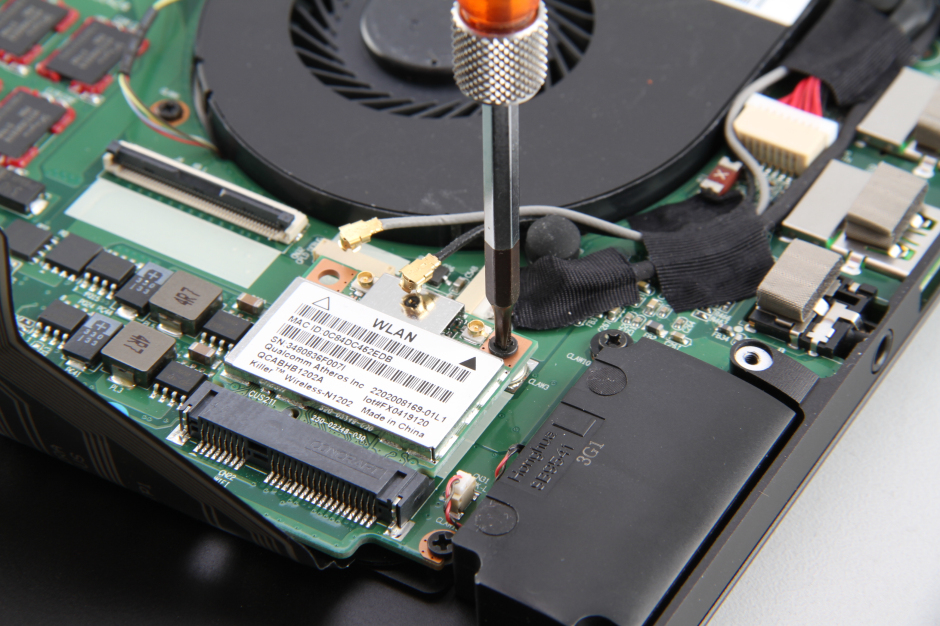
- The Razer Blade 2013 comes with a Killer Wireless-N AR5B22 wireless card.
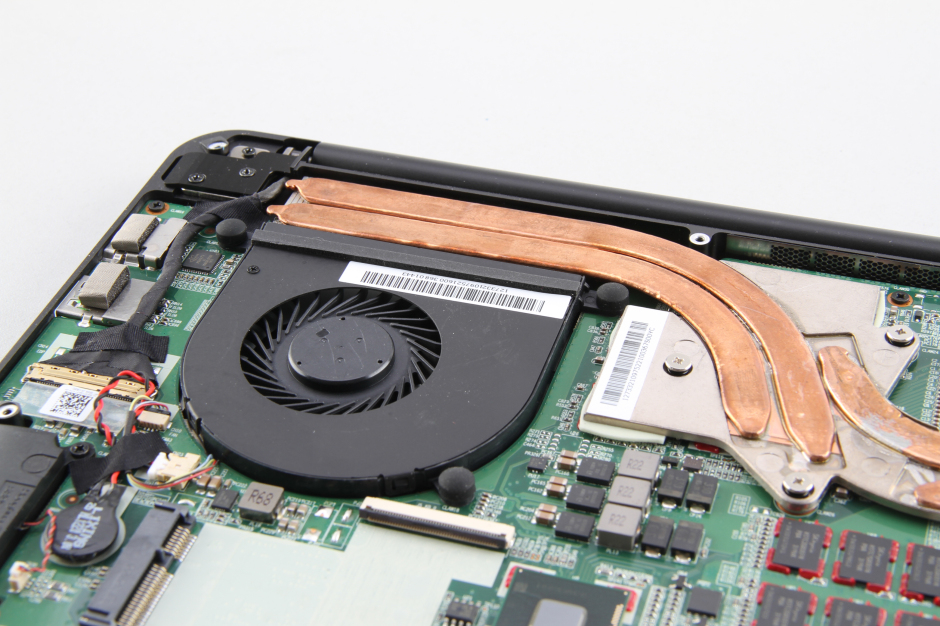
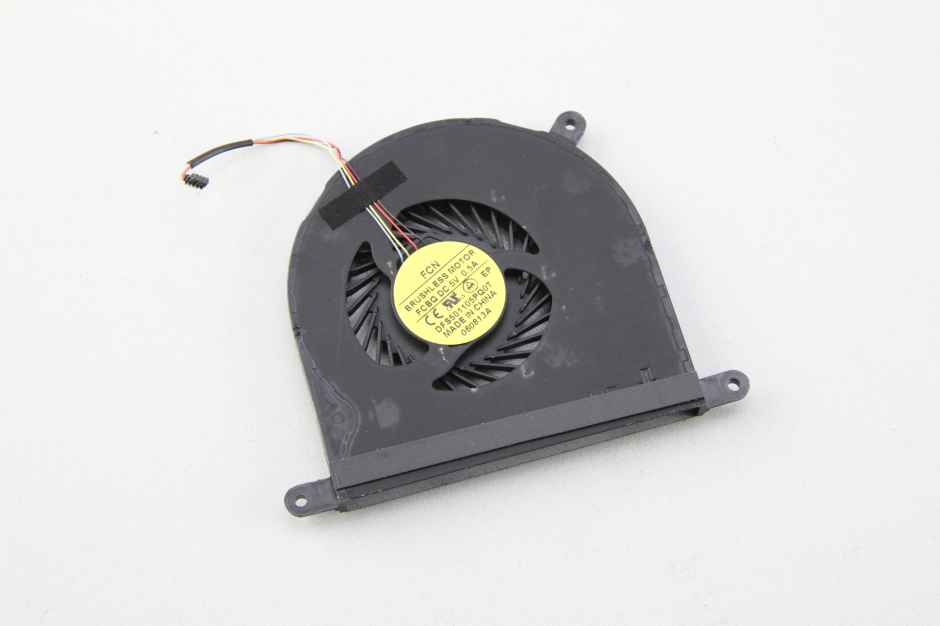
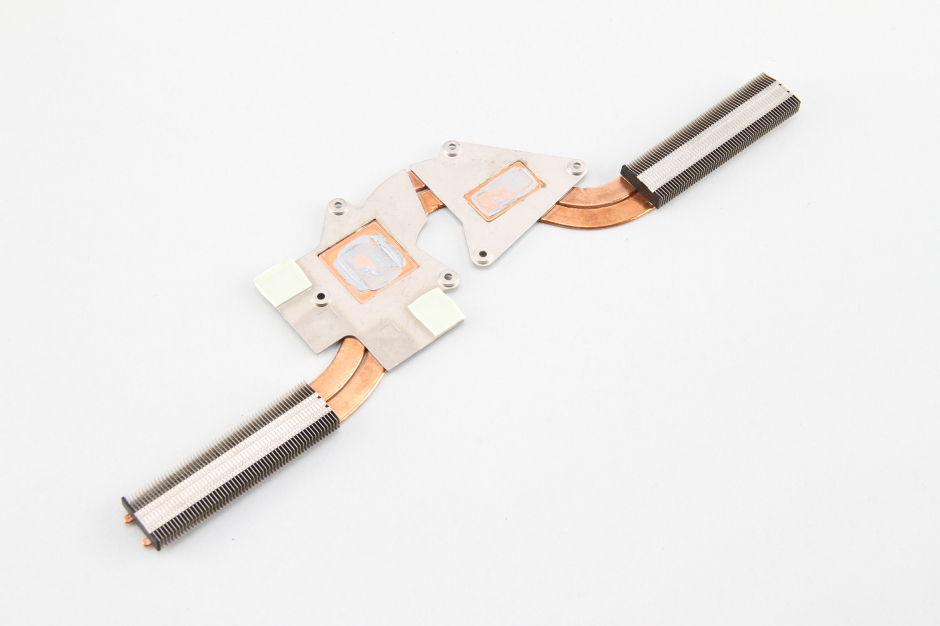
Step 5: Remove the heat sink and cooling fan.
-
- Remove all the screws securing the heat sink and cooling fan (left and right). Disconnect the cooling fan cable from the motherboard.
-
- Cooling fan
-
- The cooling system of this laptop consists of two fans and two heat pipes, with the two fans specifically used to cool the graphics card and the processor.
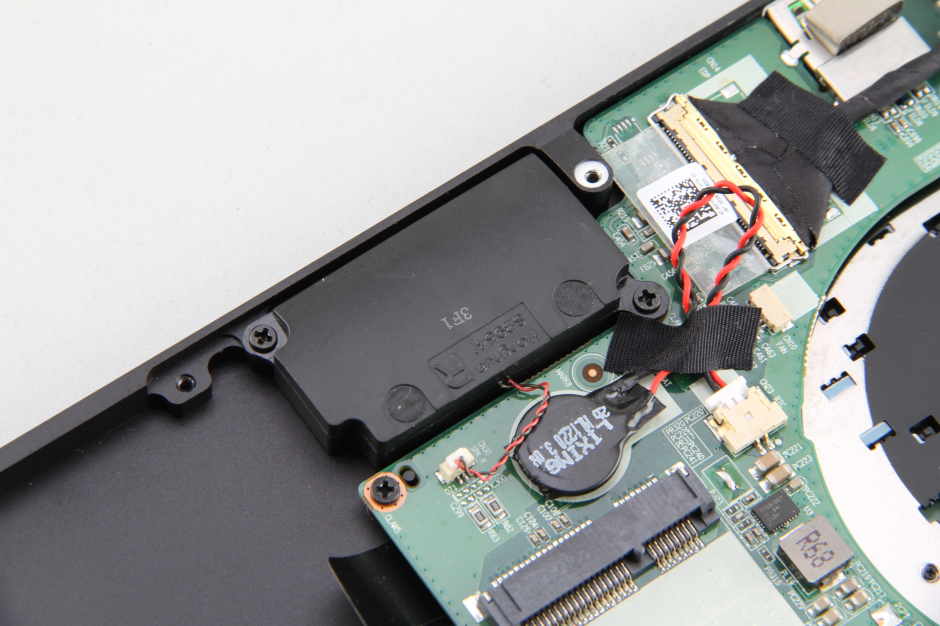
Step 5: Remove the speakers.
-
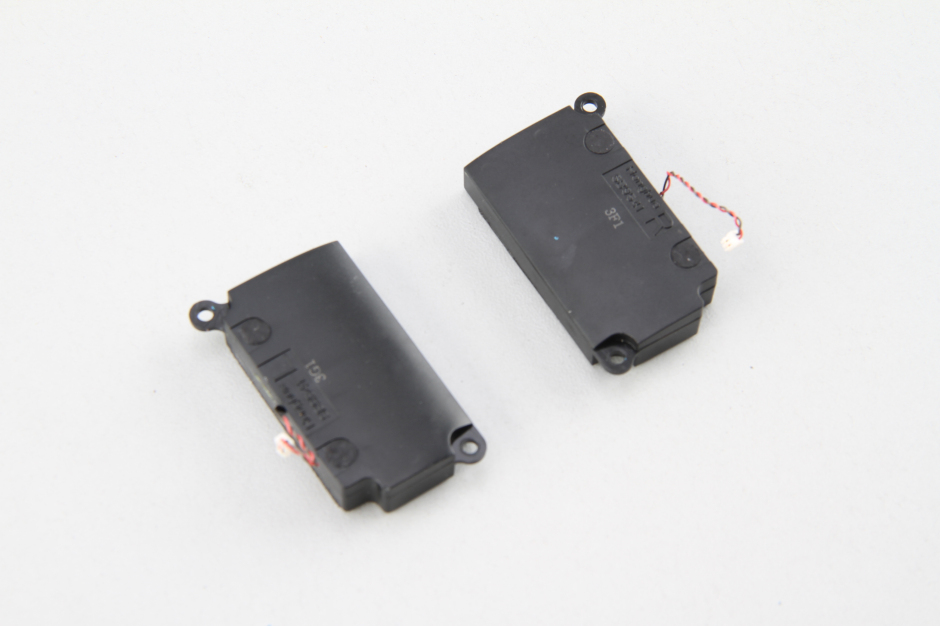
- Remove the two screws securing the speakers (left and right) and disconnect the speaker cable.
-
- Two speakers
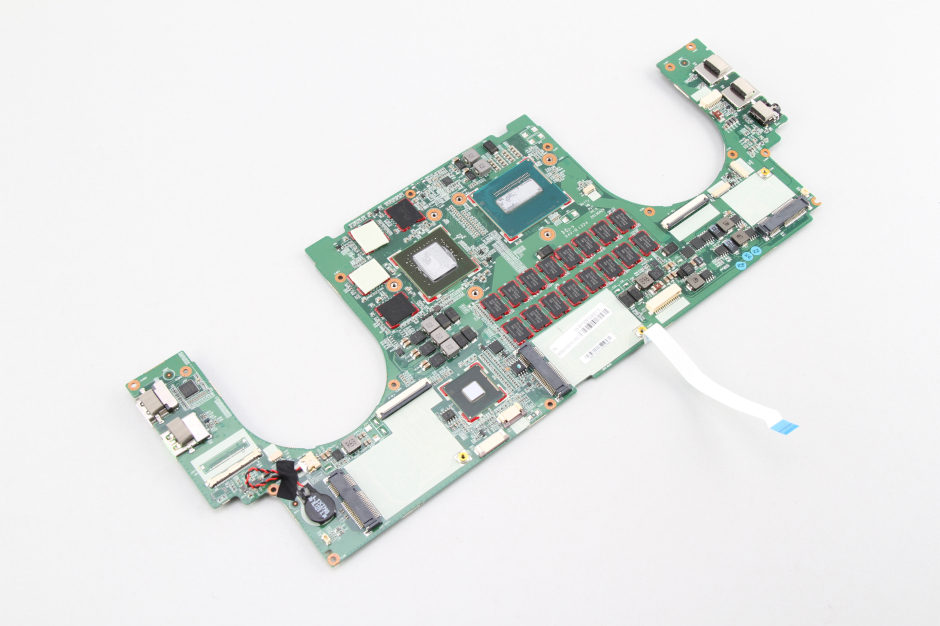
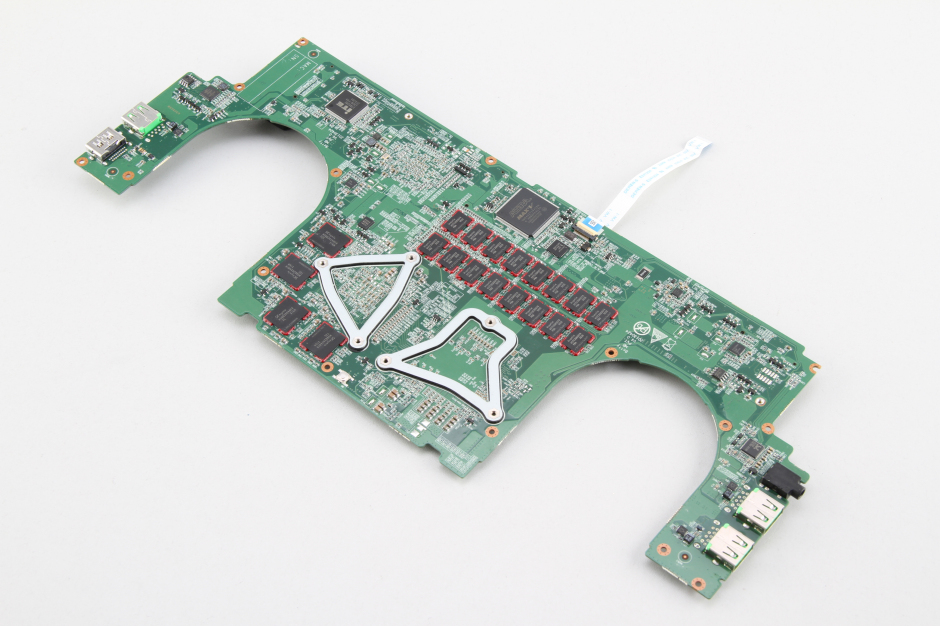
Step 5: Remove the motherboard.
-
- Remove all screws securing the motherboard and disconnect all cables connected to it. Lift the motherboard from one side with your hand and gently wiggle it until it fully detaches from the laptop.
-
- The memory chips of the Razer Blade 2013 are directly soldered onto the motherboard, so the memory cannot be upgraded.
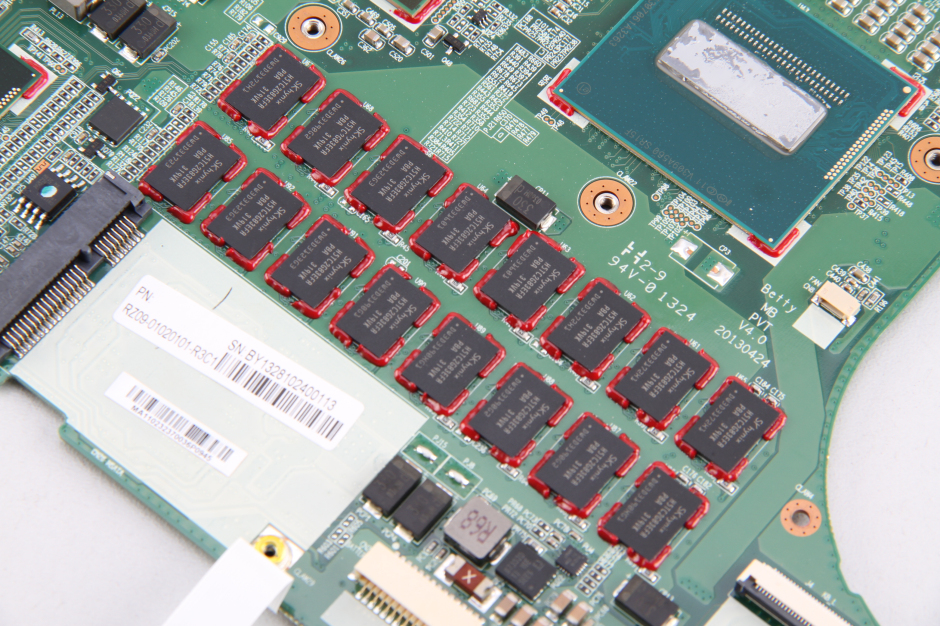
- The memory chips are also soldered on the back of the motherboard.
Razer Blade 2013 internal parts