In this guide, I will explain how to disassemble the Vivo X6 to remove the back cover, speaker, battery, camera, and motherboard.
Want to be the first to see inside the latest gadgets? Follow us on Facebook for the latest news from MyFixGuide.com.
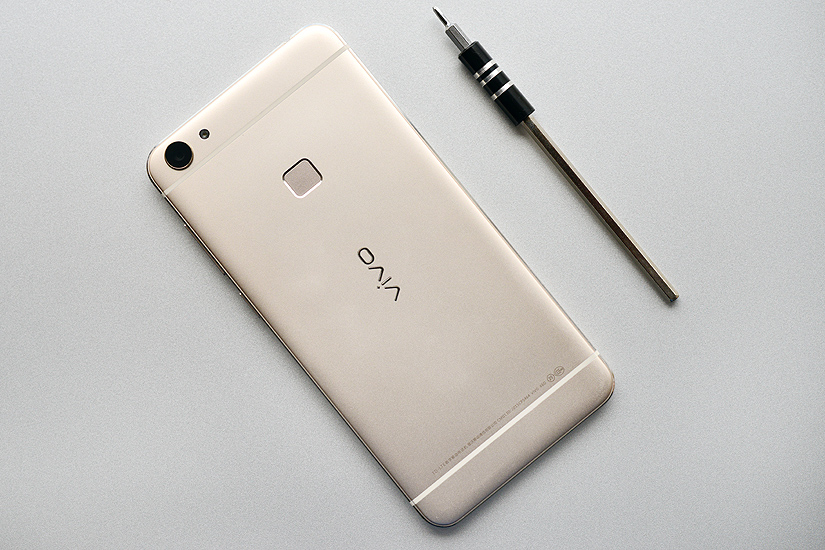
The vivo X6 uses a metal body with a metal ratio of up to 98.3%. In terms of appearance, the vivo X6 is quite pleasing, and the anodized sandblasted metal body also brings a nice touch.
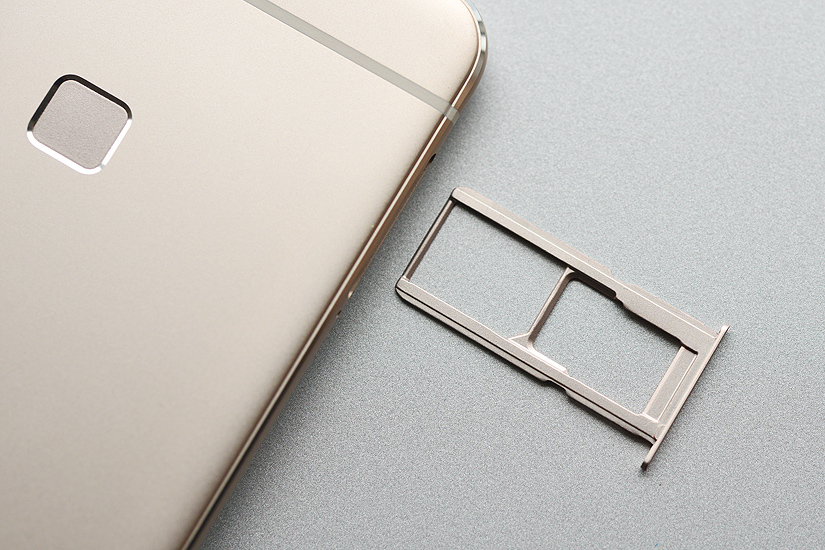
The first step is to remove the SIM card tray.
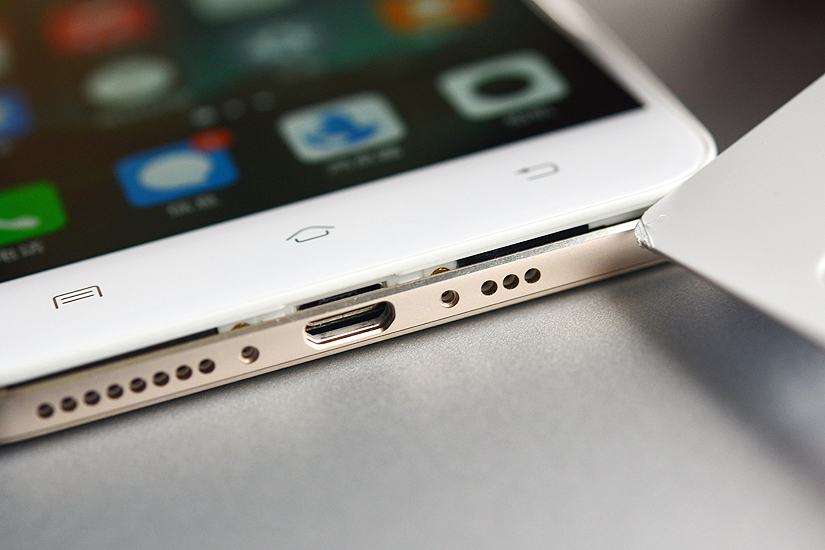
Remove the two screws next to the Micro USB port.
Insert a guitar pick and slide it along the edge. Continue to separate the back cover with your hand after opening a gap.
The back cover has been removed, but the phone is still functioning properly.

There is a layer of graphite stickers on the back cover.
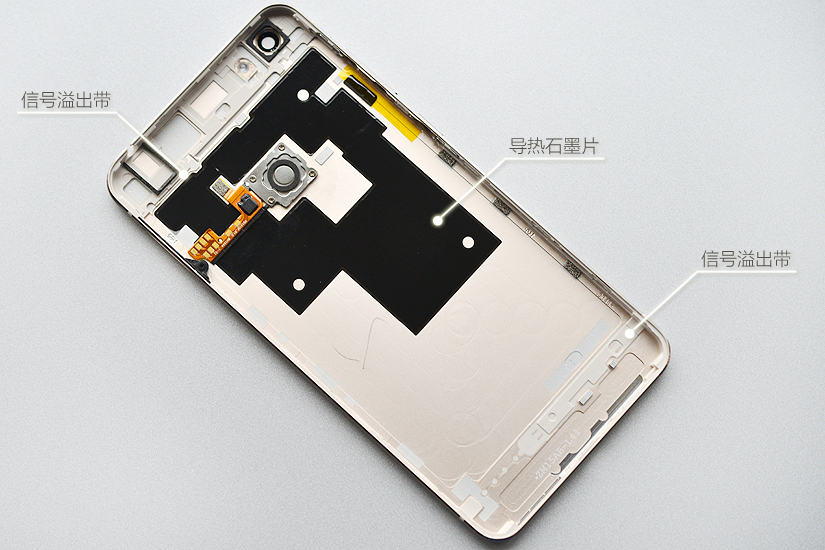
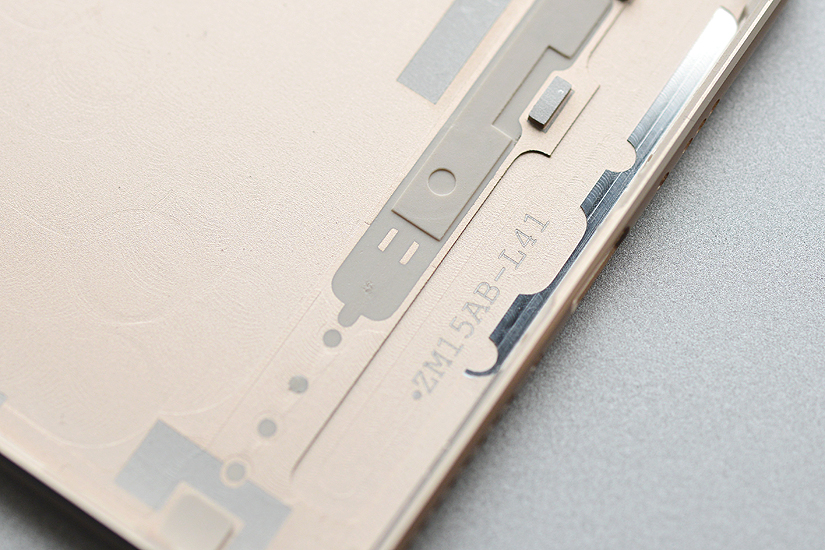
The signal overflow outlet is fixed on the back cover. The structure is very neat and has no flaws.
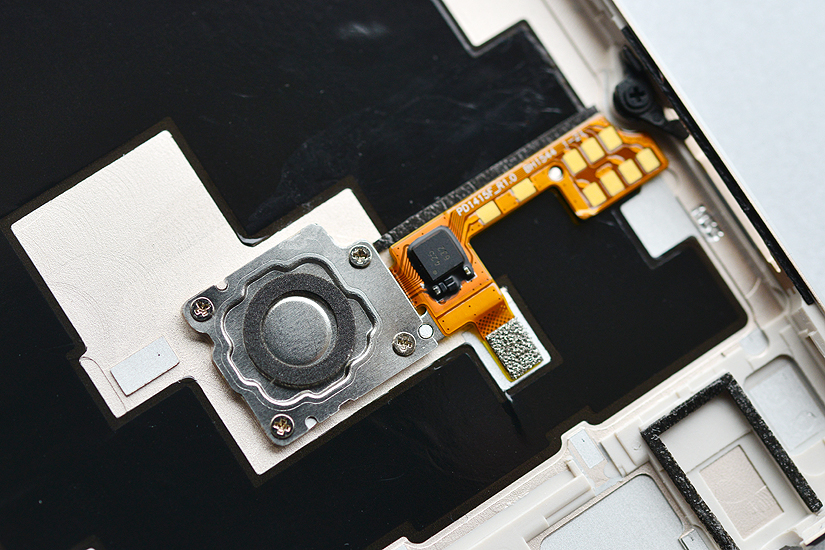
The fingerprint recognition module is secured to the back cover with four screws. Under normal circumstances, pressing will not cause it to become loose.
Under the back cover, you can access the battery, camera, speaker, and motherboard.
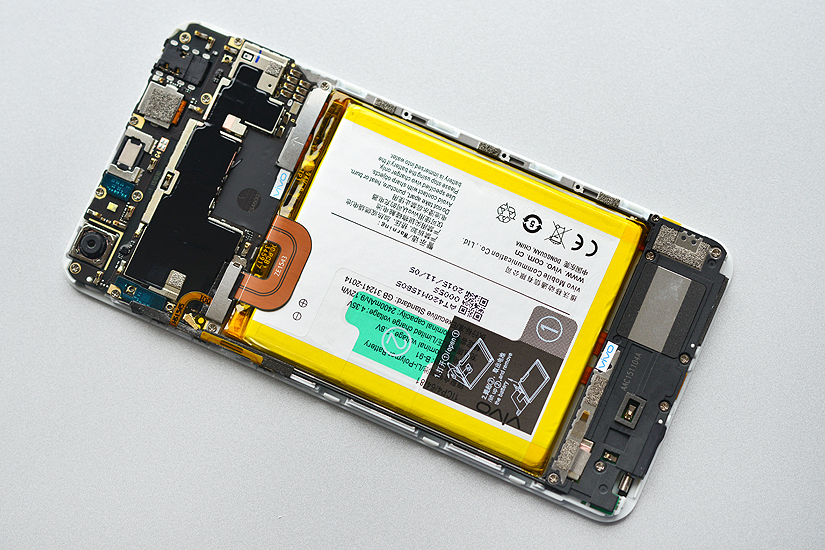
The motherboard is covered by a layer of graphite stickers.
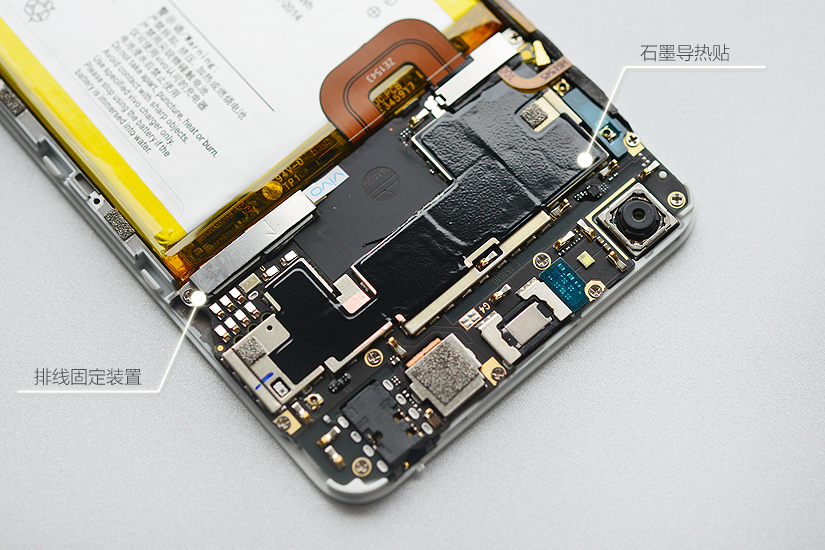
Remove the graphite stickers. The following is a copper sheet.
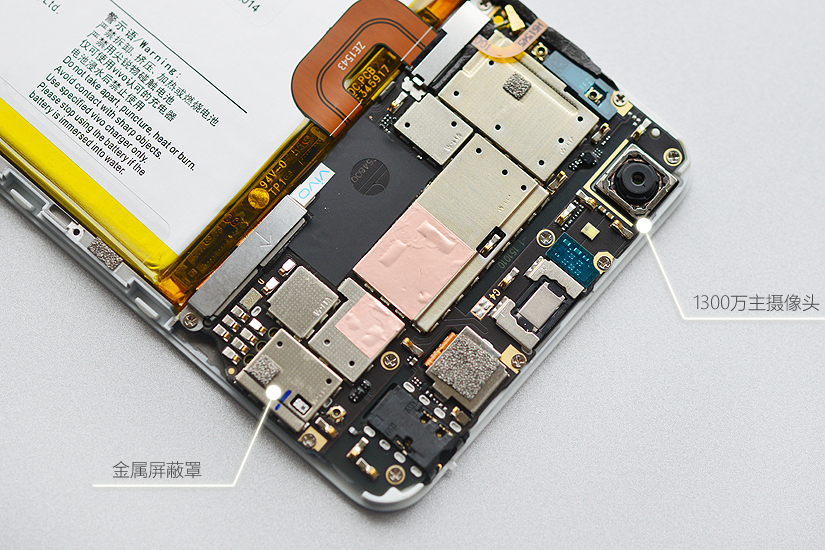
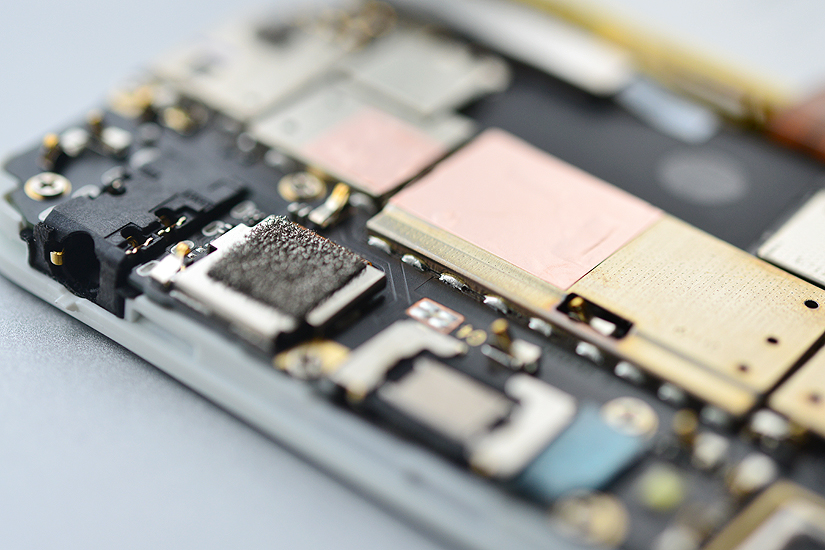
All metal shields were welded onto the circuit board. The solder joint is very neat and clean. This process makes the metal shield more stable but also increases the difficulty of maintenance.
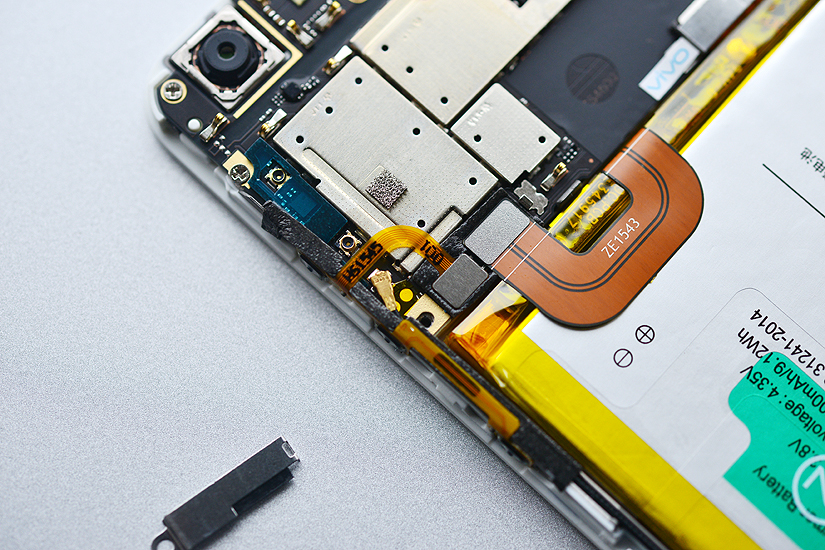
Remove the metal sheet. You can disconnect two cables.
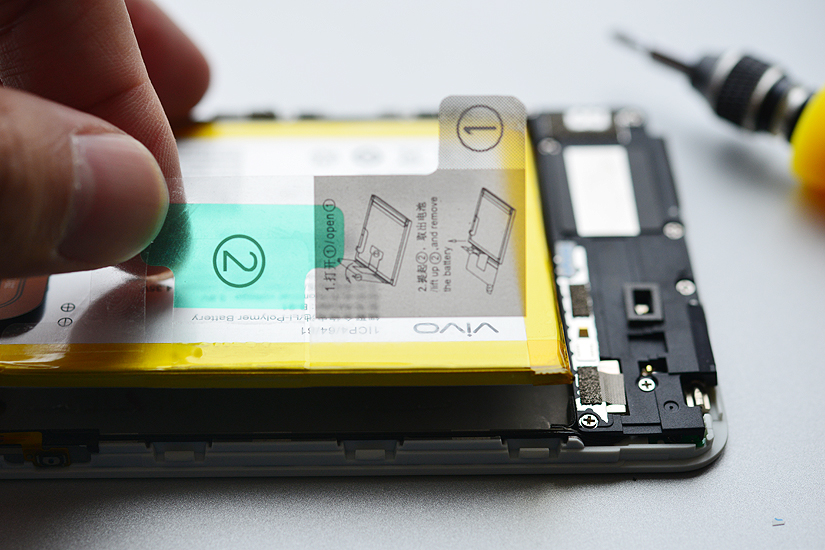
Remove the battery.
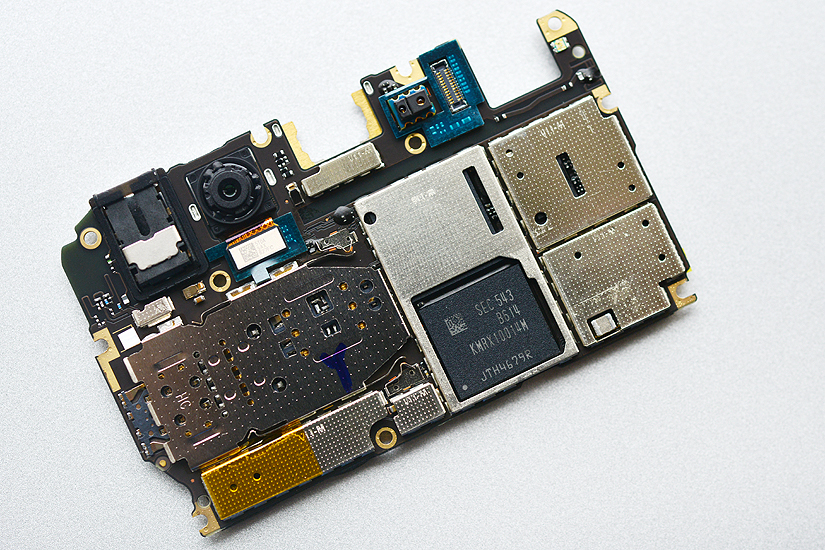
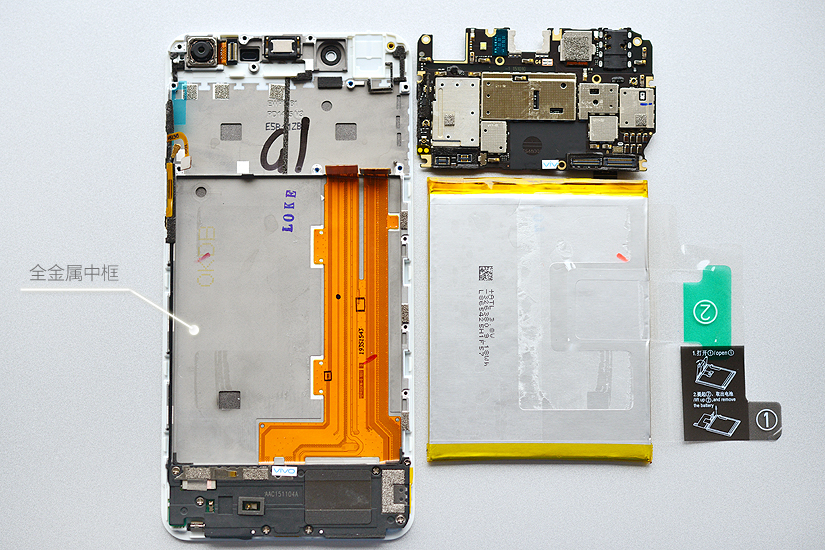
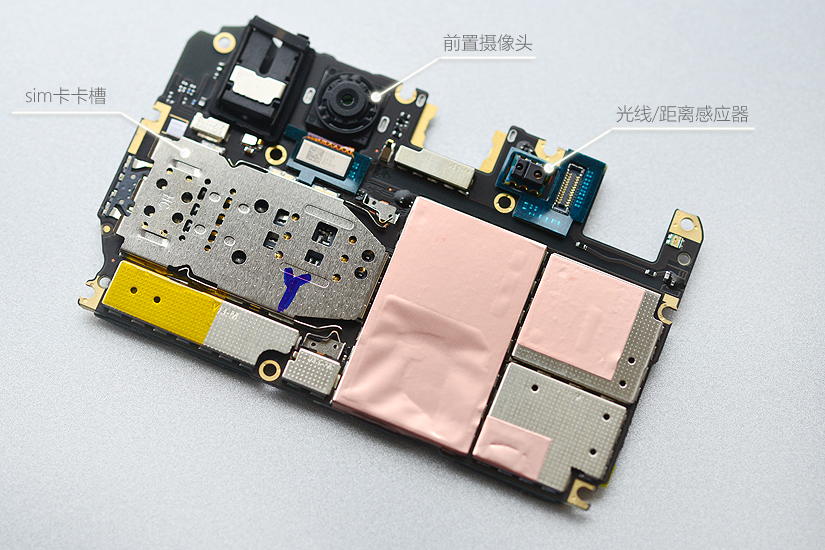
The motherboard was also removed.
All the chips are covered by the metal shields.
Remove the copper sheet. You can see the Samsung 32GB ROM.