In this guide, I will explain how to disassemble the Xiaomi Redmi 2A to remove the back cover, battery, speaker, rear camera, front camera, and motherboard.
Want to keep in touch with us? Follow us on Facebook for more repair news.

The Redmi 2A comes with a 3.8V, 2200mAh Li-polymer battery.

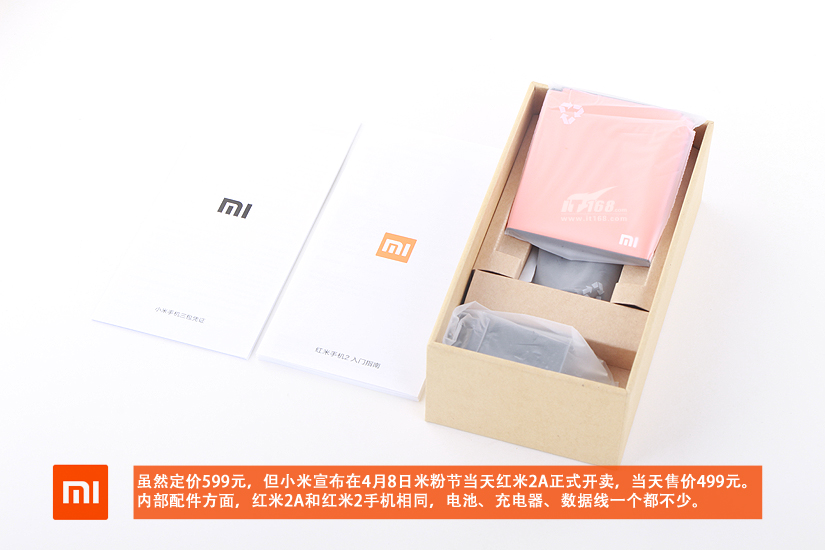
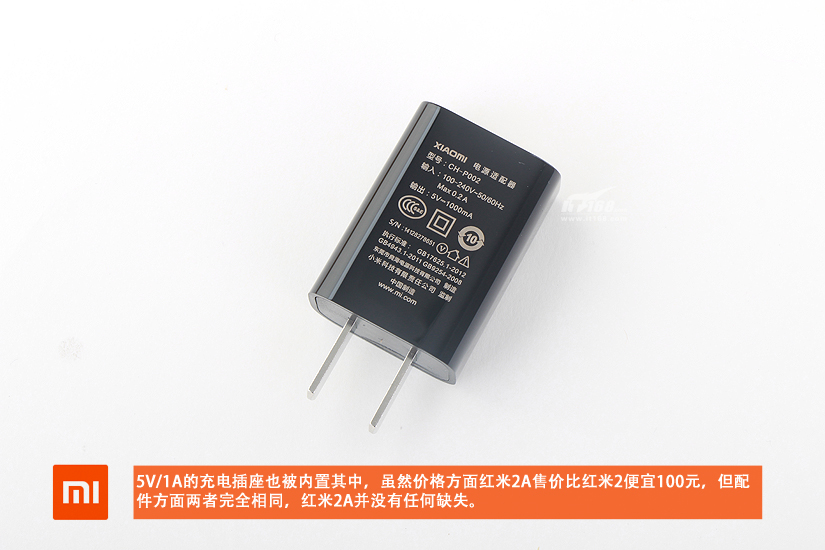
The packaging box of the Xiaomi Redmi 2A also includes a 5V/1A charger and a charging cable.
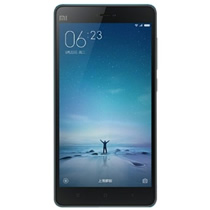
The Redmi 2A and Redmi 2 have no differences in appearance; they both feature the same design.

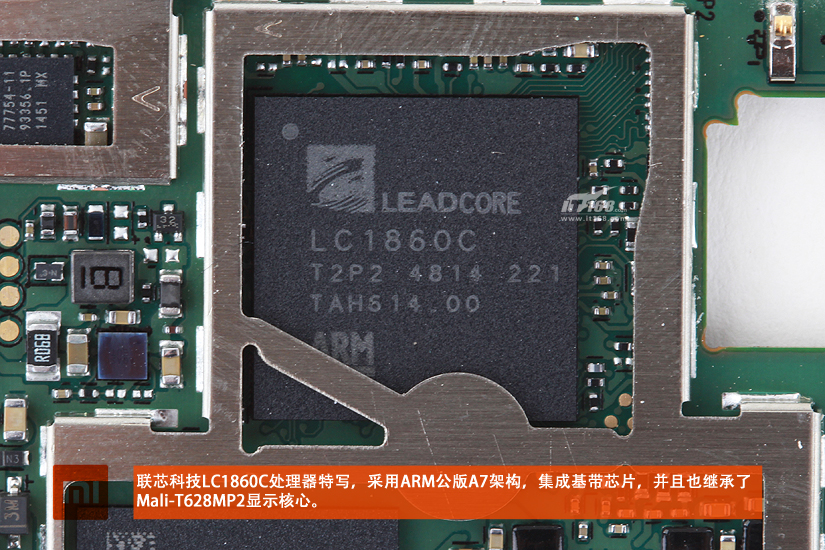
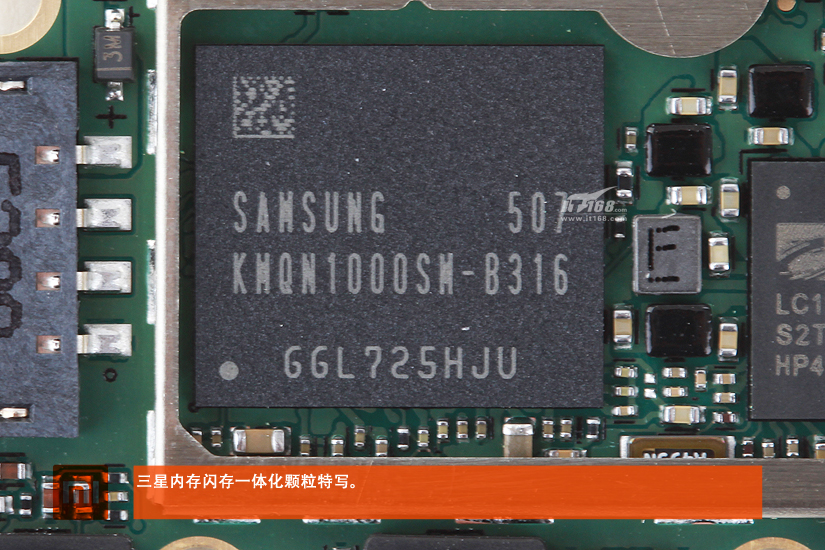
The Redmi 2A is powered by a Leadcore LC1860 processor and comes with 1GB of RAM and 8GB of ROM.

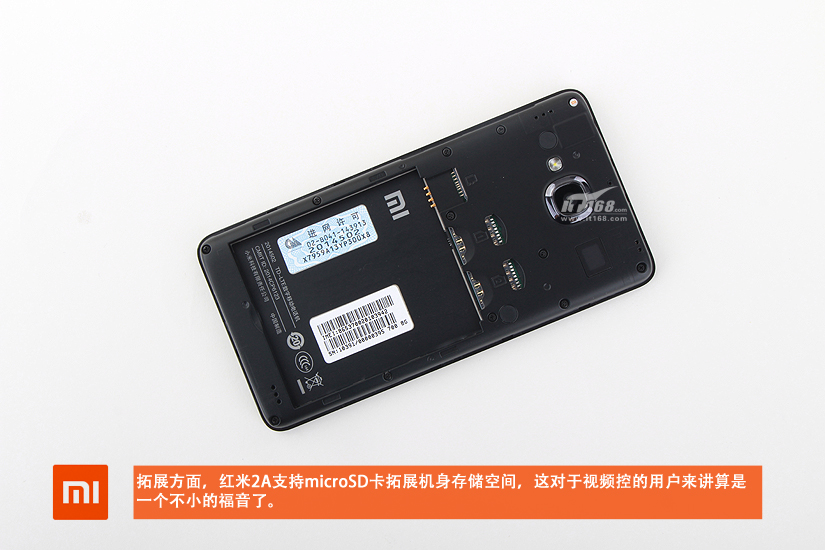
The phone supports a Micro SD card.
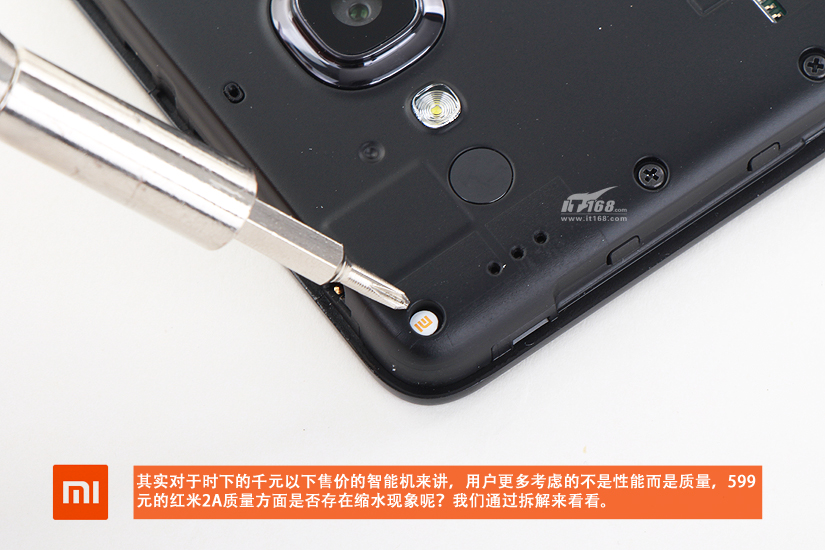
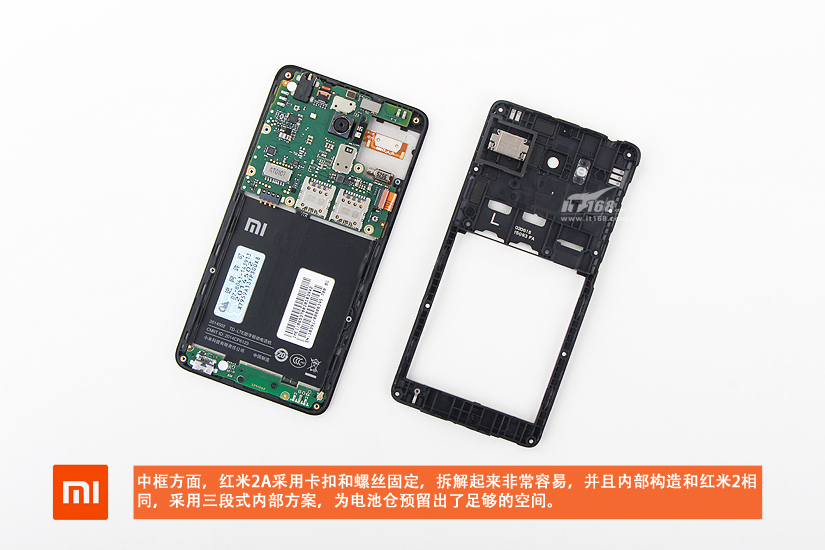
Remove all screws securing the middle frame.
There is a Xiaomi warranty sticker on the screw in the lower right corner. If the sticker is damaged, you will lose your warranty eligibility.
Insert a pick under the middle frame. Slide the pick to separate the middle frame from the phone. Once a gap appears, you can use your fingers to continue separating the middle frame with your hand.
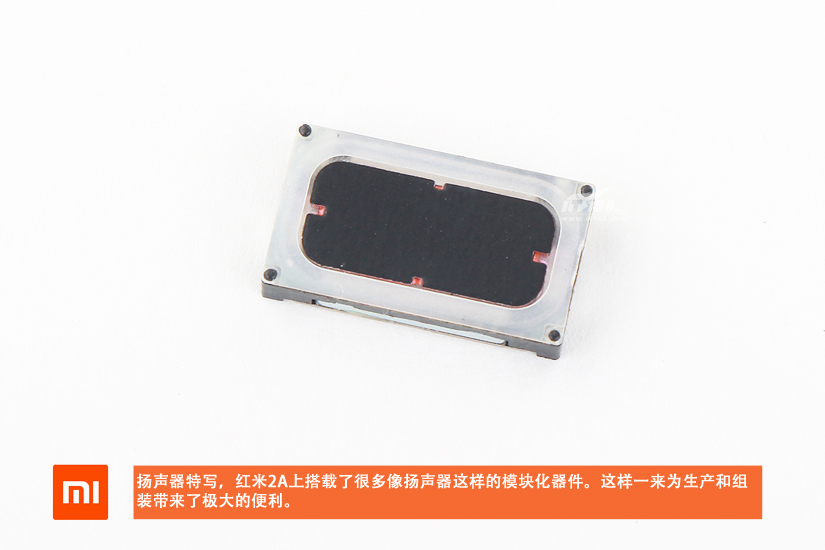
There is a speaker attached to the middle frame, which is secured with glue and can be removed with tweezers.
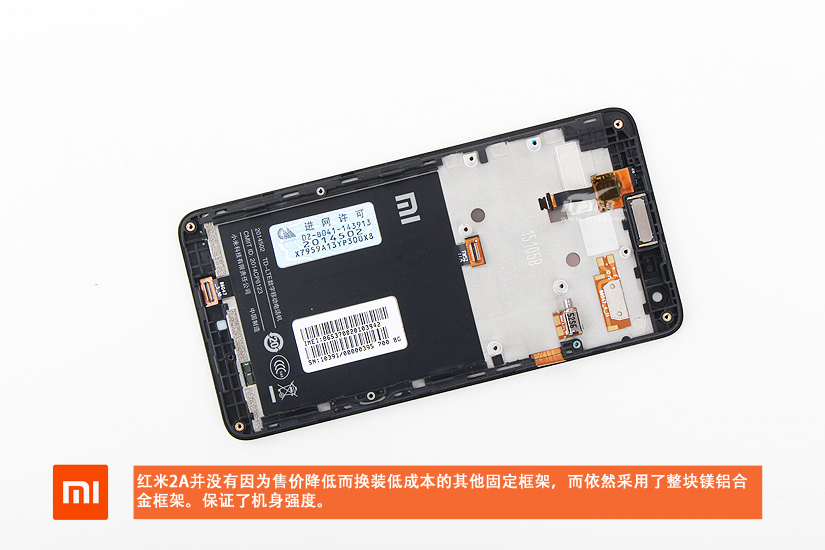
The Redmi 2A uses an aluminum-magnesium alloy frame to ensure the strength of the body.
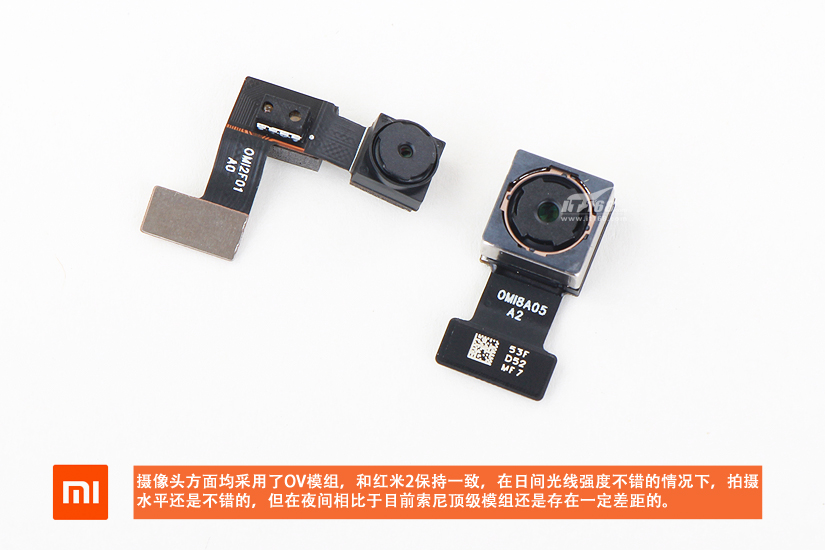
Close-up of the front camera and rear camera
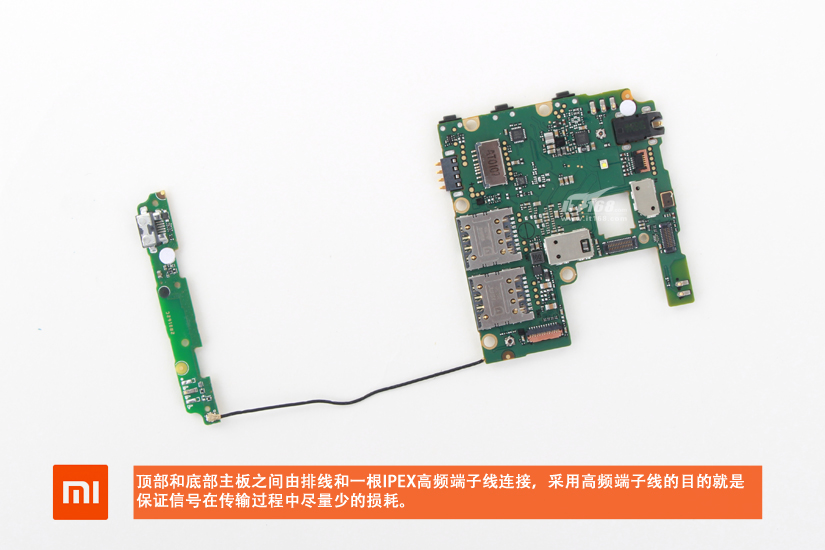
The main board and the small circuit board at the bottom are connected by a cable.
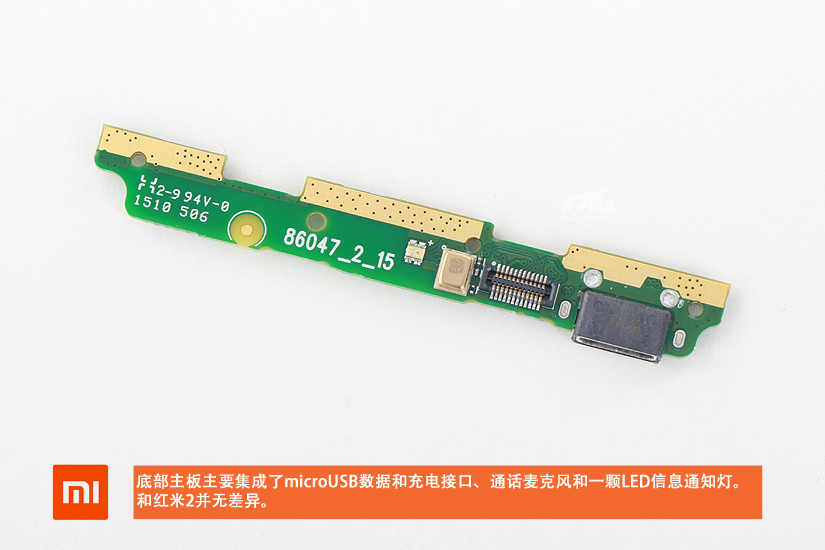
The small circuit board integrated a micro USB port, a microphone, and an LED light.
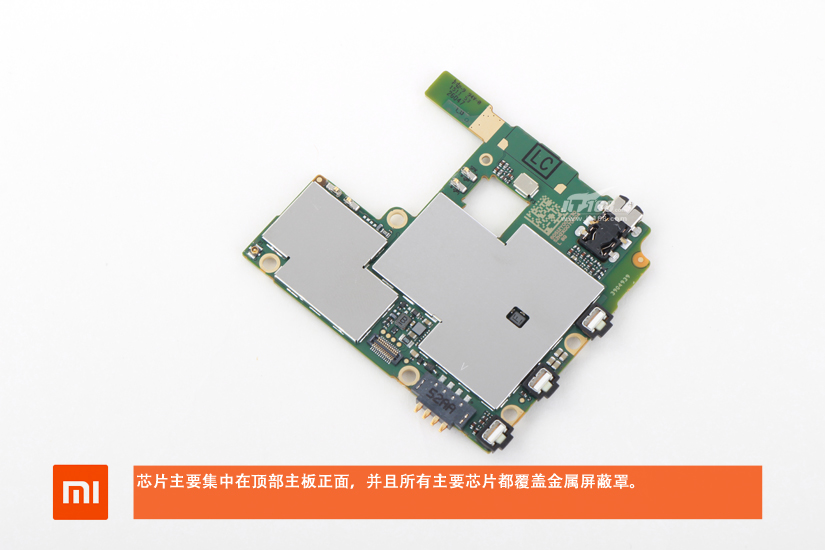
All the chips on the motherboard were covered by metal shields.
Leadcore LC1860 processor
Samsung RAM/ROM chip
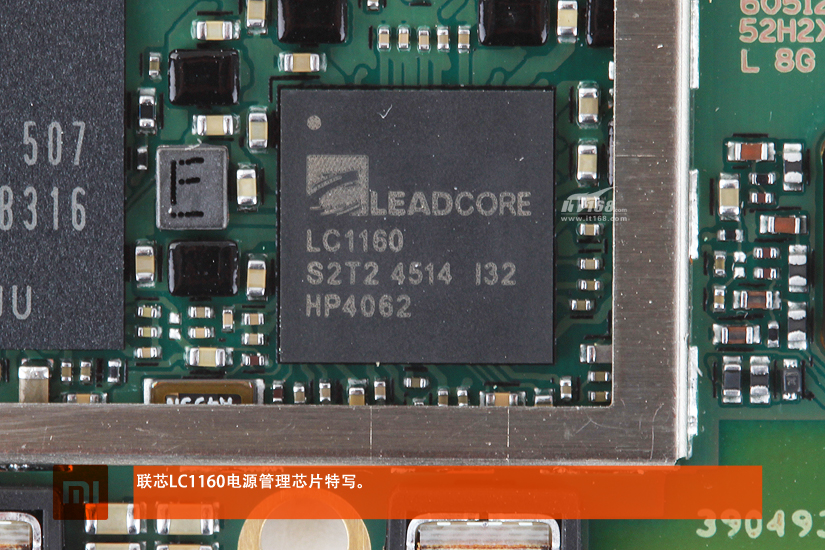
Leadcore LC1160 Power management chip
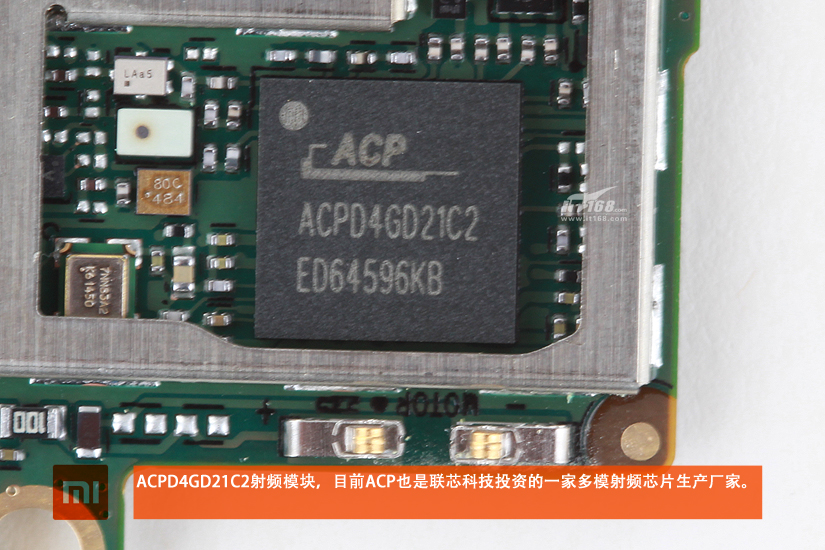
ACPD4GD21C2 RF chip
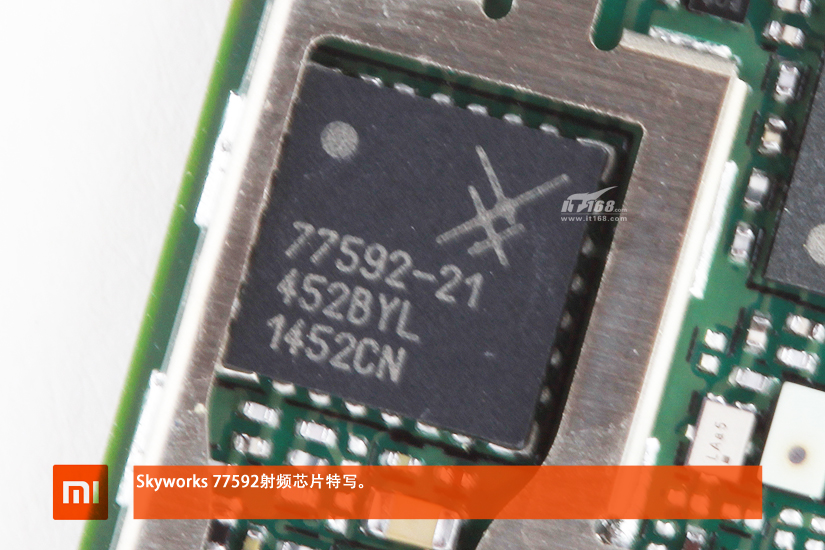
Skyworks 77592-21 RF chip
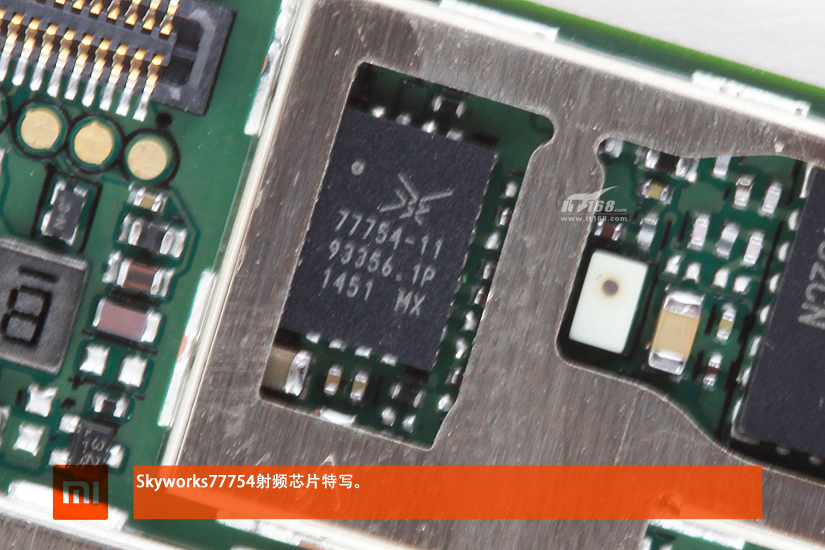
Skyworks 77754-11 RF chip
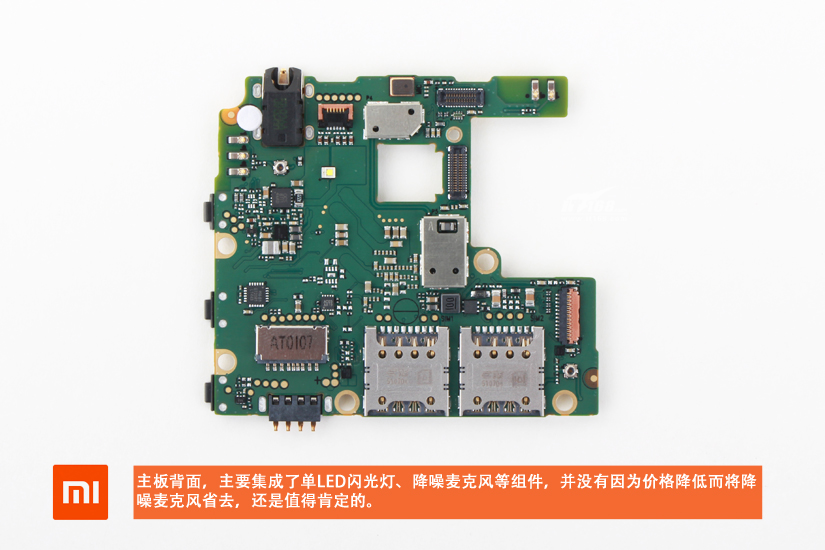
The back of the motherboard
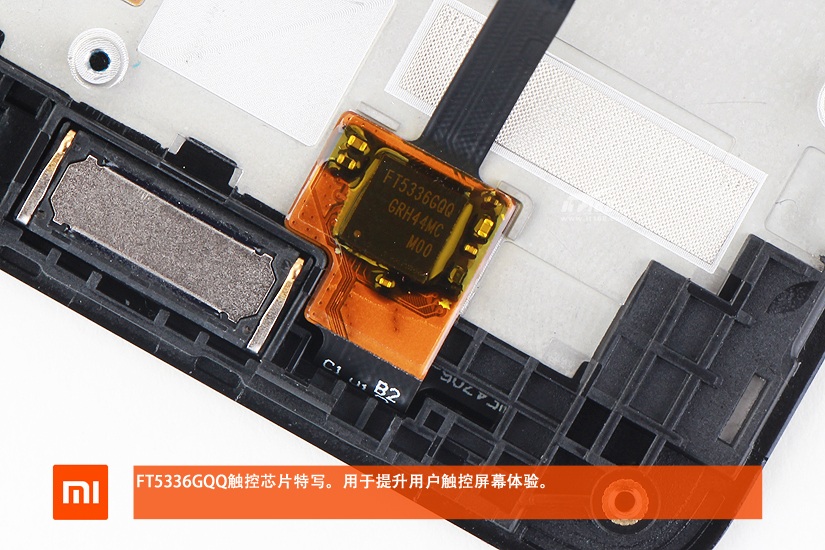
FT5336GQQ Touch chip
Source: it168