In this guide, I will explain how to disassemble the Apple iPad Air 2 to remove the battery, screen assembly, rear camera, front camera, volume button, headphone jack, speaker, microphone, and motherboard.
Want to keep in touch with us? Follow us on Facebook for more repair news.
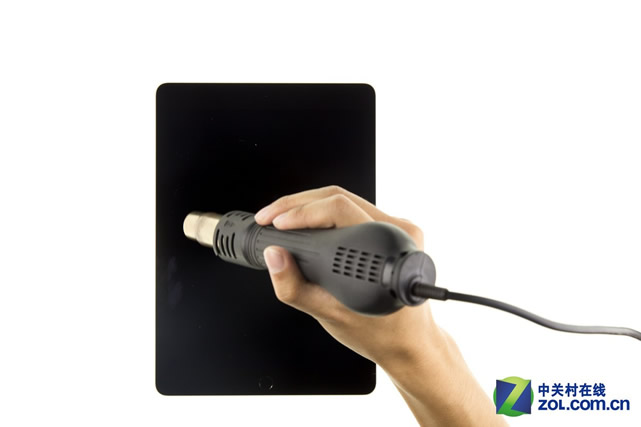
Use a heat gun to heat the screen edges for about 5 minutes.
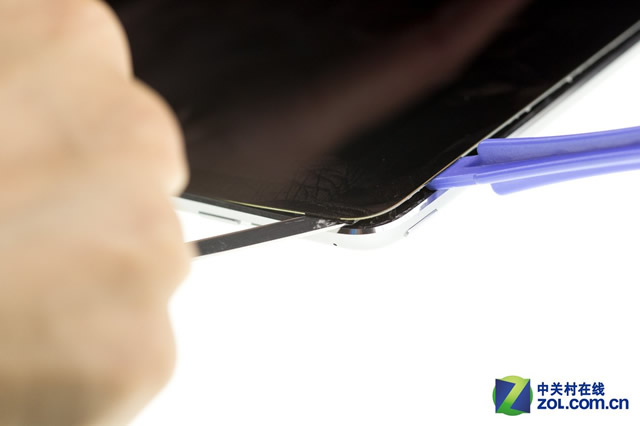
Insert a plastic pry tool under the screen assembly. Slide the pry tool along the screen edge to separate the screen from the phone.
The screen assembly has opened successfully; in the next step, we will disconnect the LCD cable and remove the screen assembly.
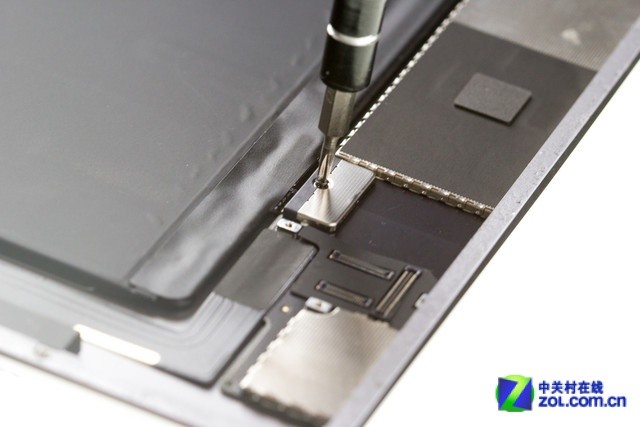
Remove the three screws securing the metal shield.
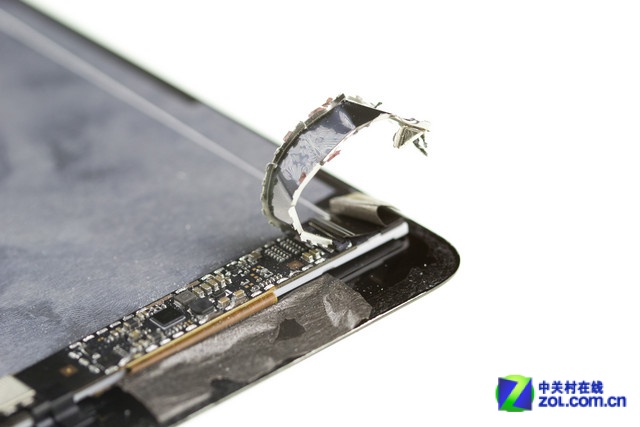
Once the metal shield is removed, you can find the LCD cable. Disconnect the LCD cable.
Now, the screen assembly has been removed.
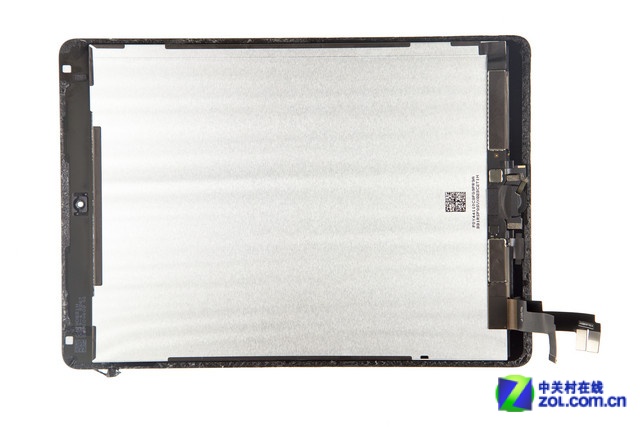
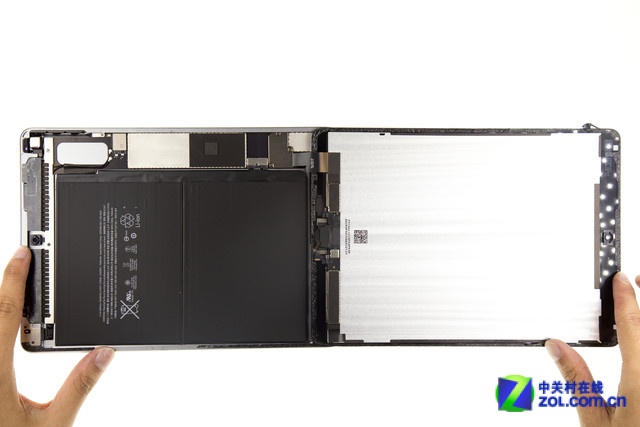
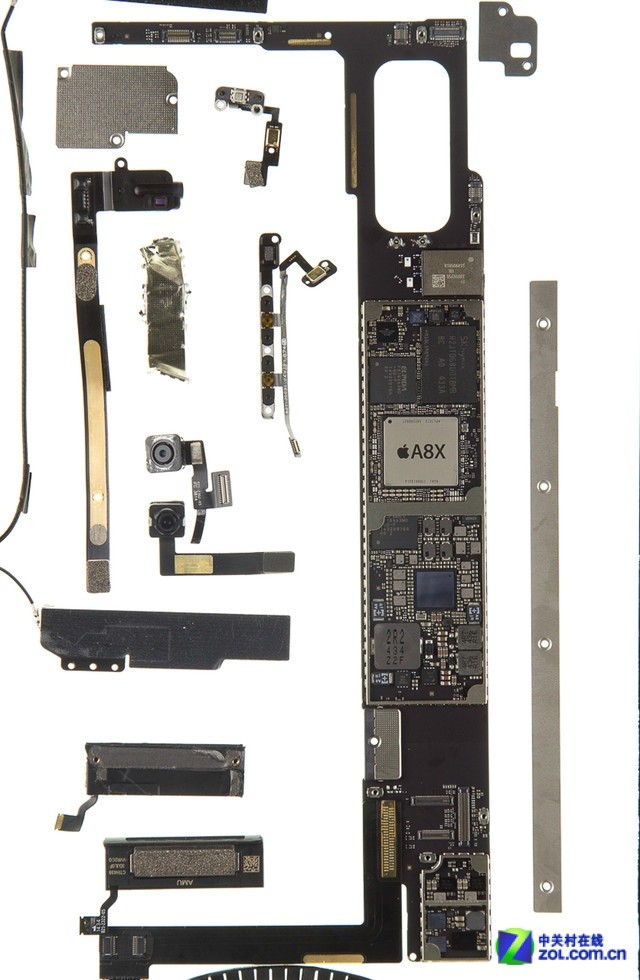
After removing the screen assembly, you can access the internal components, including the battery, speaker, motherboard, camera, and more.
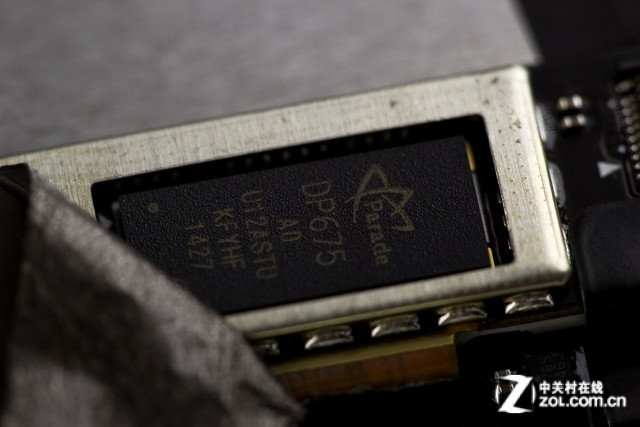
On the back of the screen, there is a small board covered with fiber tape, which mainly serves as insulation and dust protection. Under the fiber tape is a touchscreen chip.
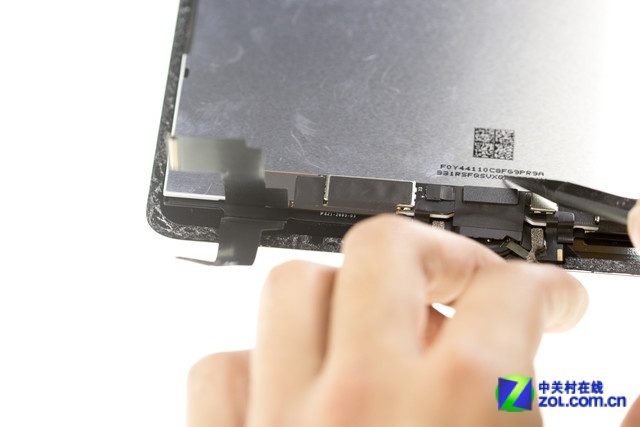
Remove the fiber tape. You can see the Parade DP675 touch screen chip.
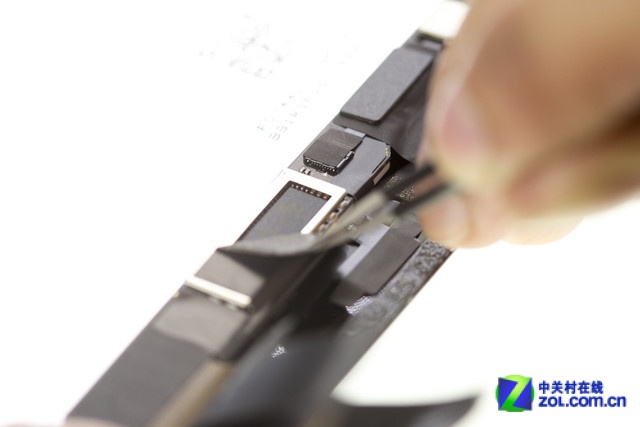
Remove the metal shield.
Texas Instruments TPS65143A LCD bias solution for LCD panels
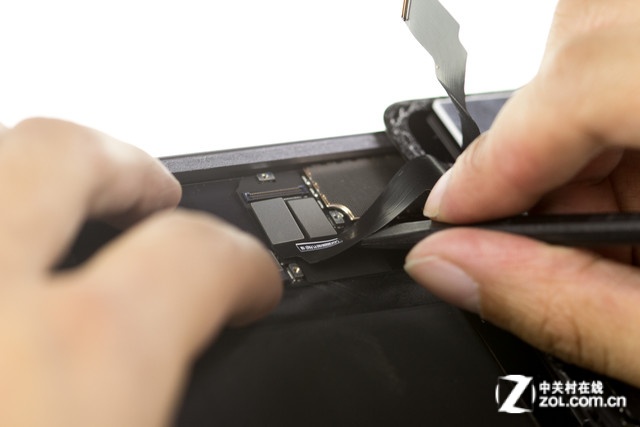
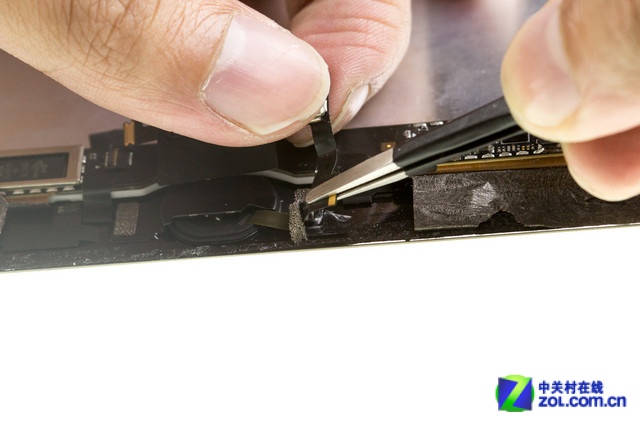
Disconnect the Touch ID cable.
The home button is secured by a black metal plate that is directly welded to the front panel, making it non-removable.
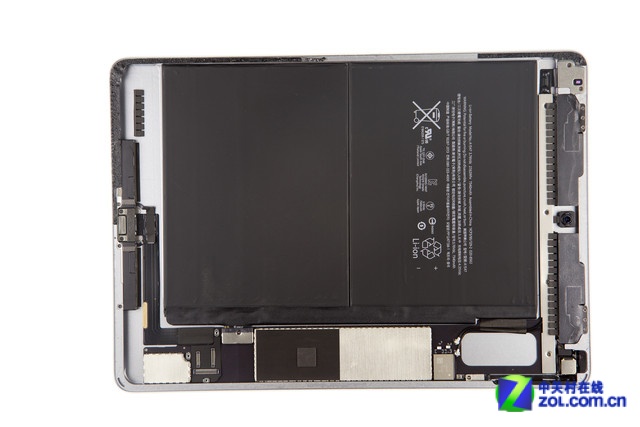
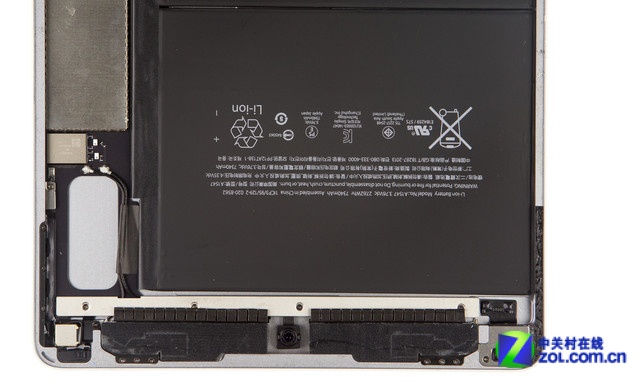
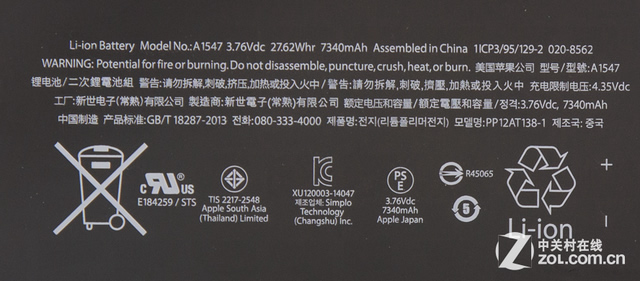
The iPad Air 2 has a 3.76V, 27.62Wh, 7340mAh Li-polymer battery, which is smaller than the battery of the iPad Air.
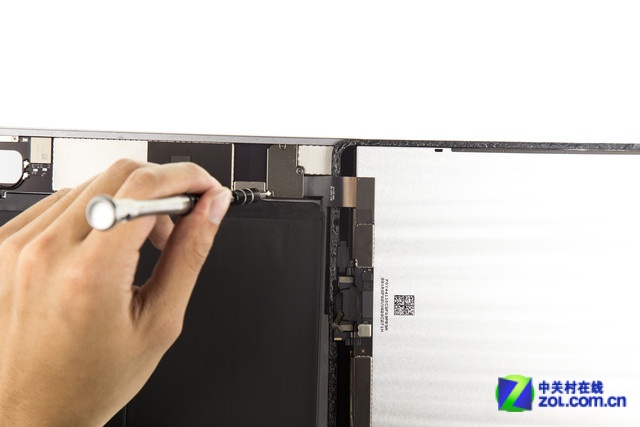
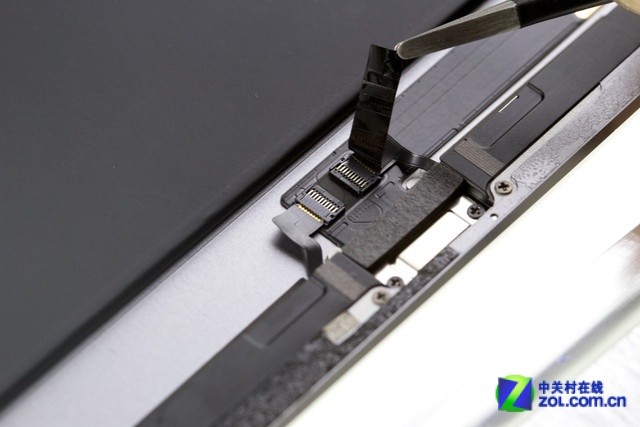
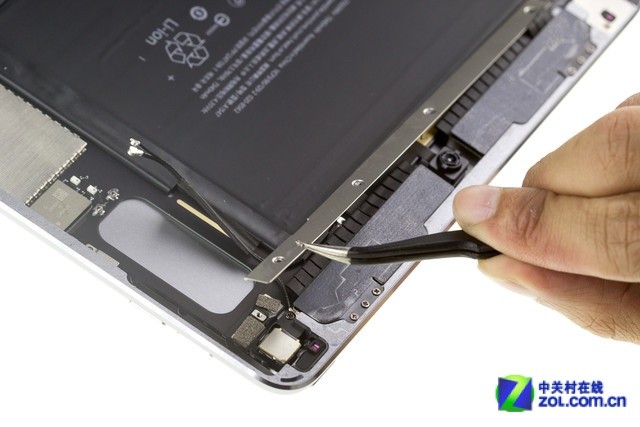
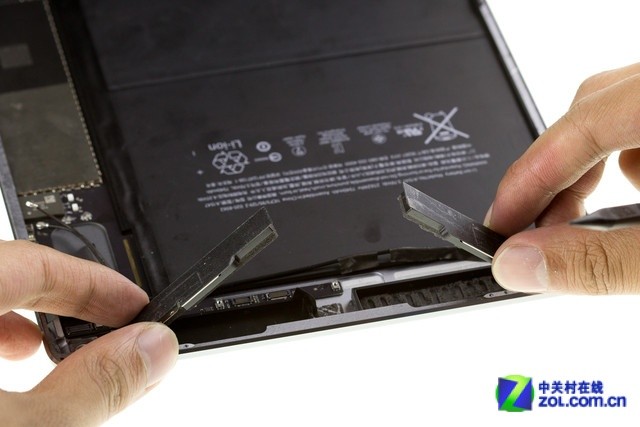
Remove the screws securing the metal shield, and you can find the speaker cable.
Disconnect the speaker cable.
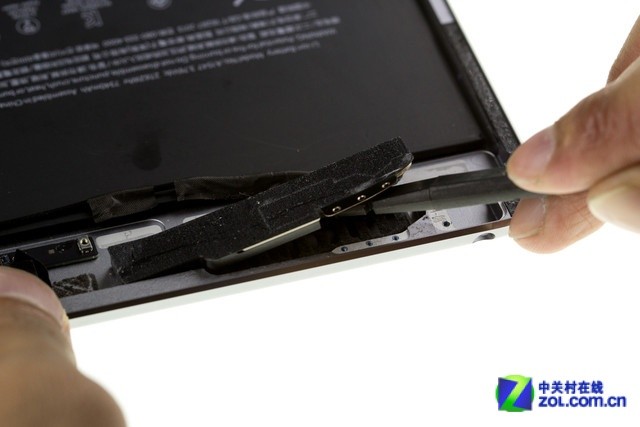
Remove the screws securing the speaker.
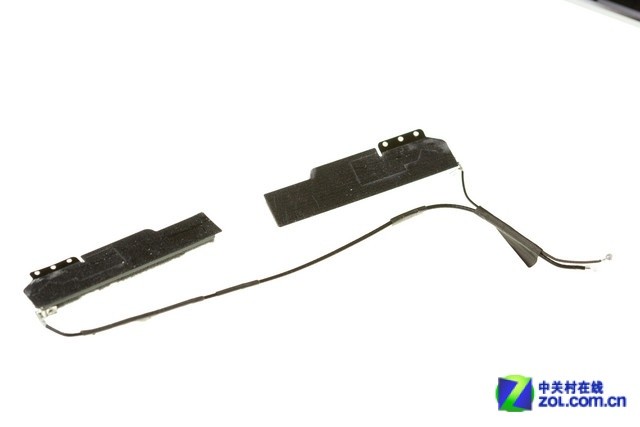
Remove the speaker.
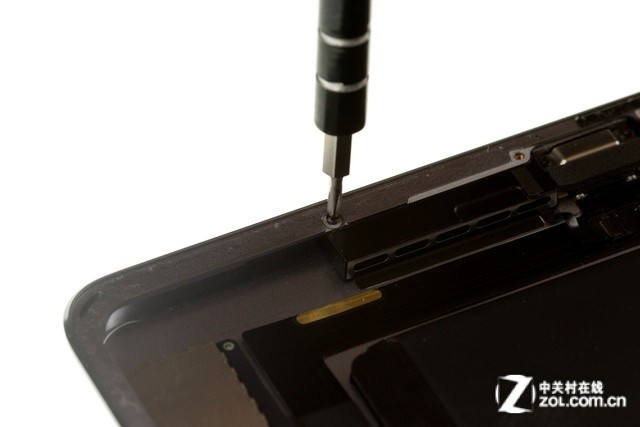
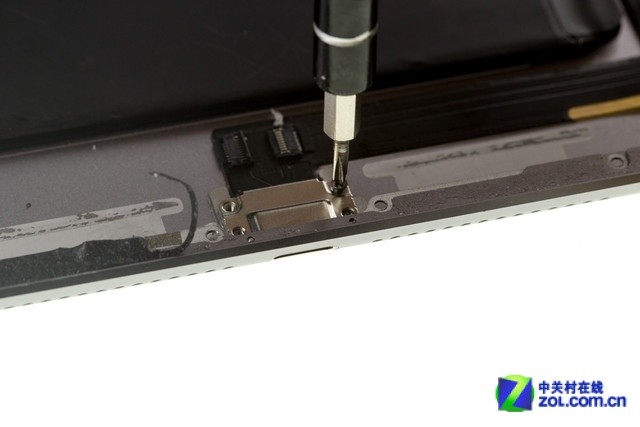
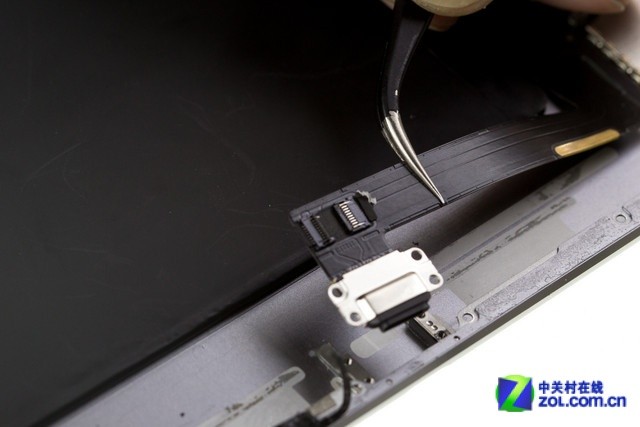
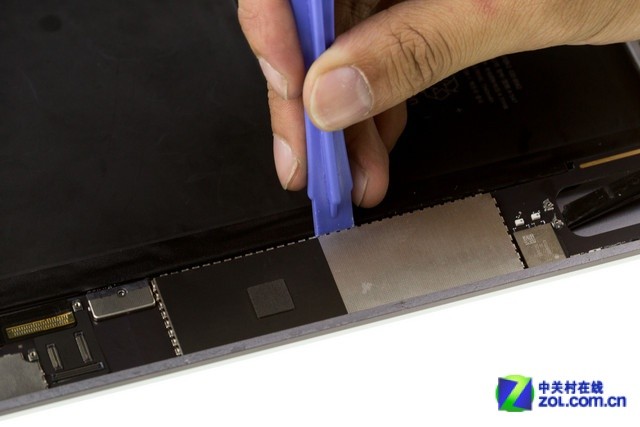
Remove the four screws securing the lighting port.
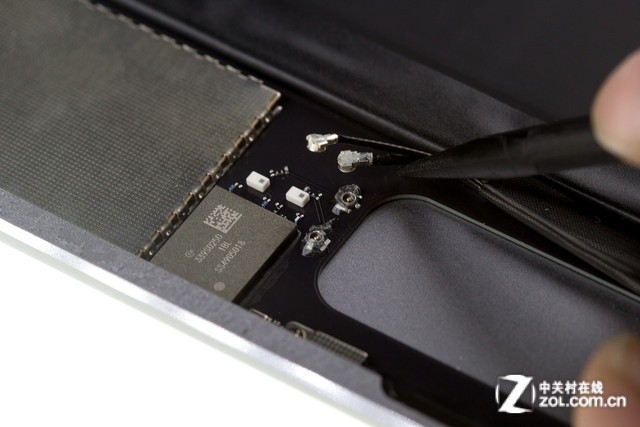
Disconnect the Wi-Fi antennas.
Remove the screws securing the metal plate.
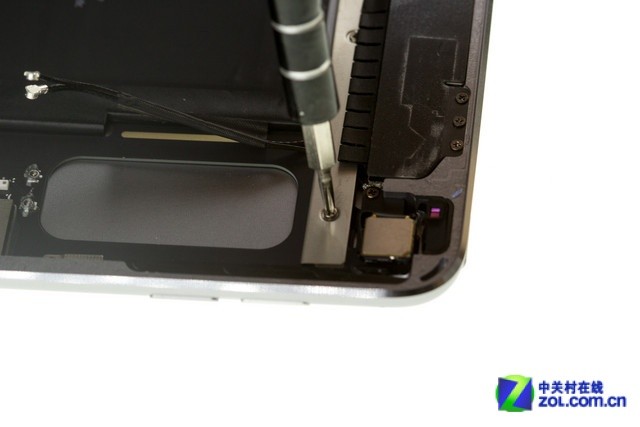
Remove the metal plate.
Remove the four screws securing the Wi-Fi module.
Now you can remove the Wi-Fi module.
Apple iPad Air 2 Wi-Fi module
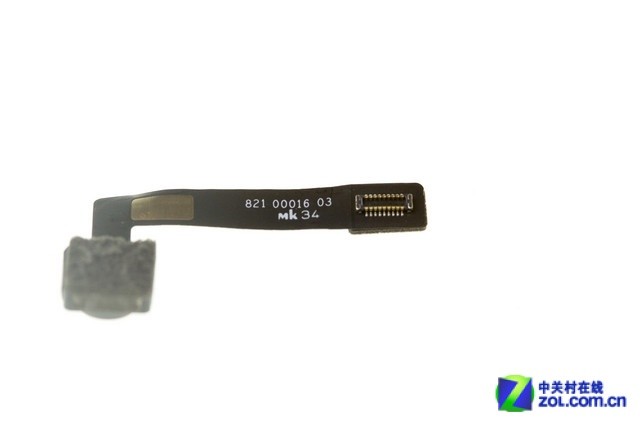
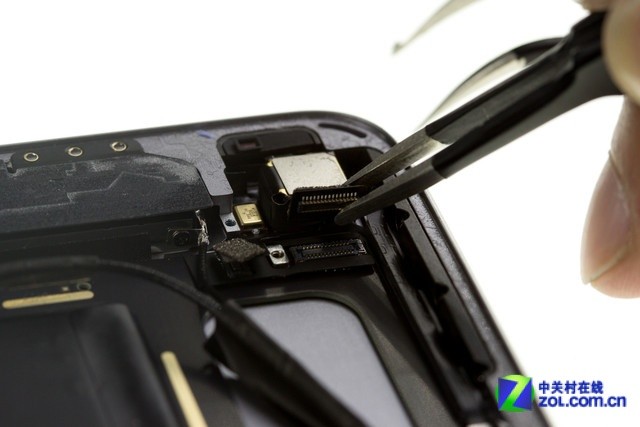
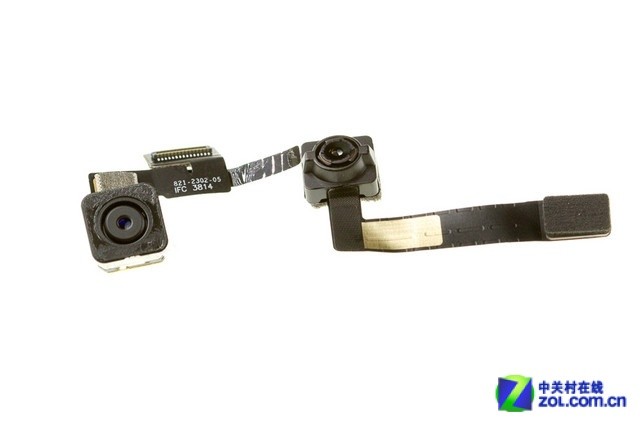
Disconnect the front camera cable and remove the camera.
Apple iPad Air 2 front camera
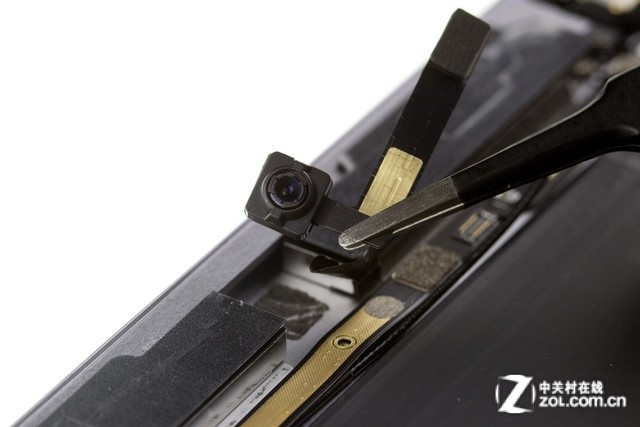
Disconnect the rear camera cable and remove the camera.
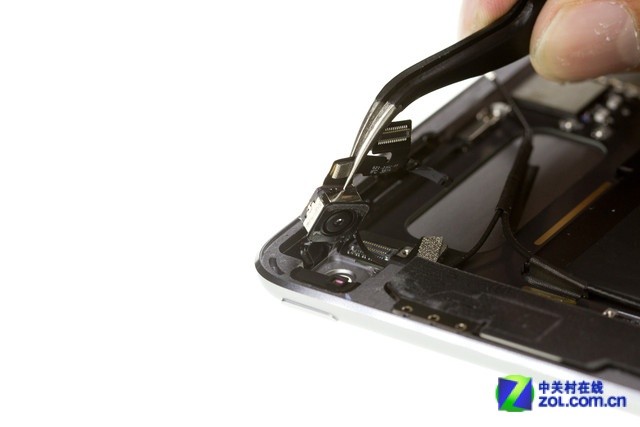
Apple iPad Air 2 rear camera. It is an 8MP camera.
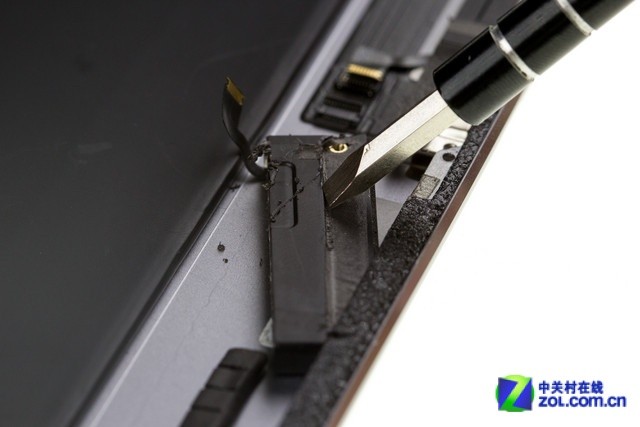
Remove the 3.5mm headphone jack mounting bracket.
Remove the 3.5mm headphone jack.
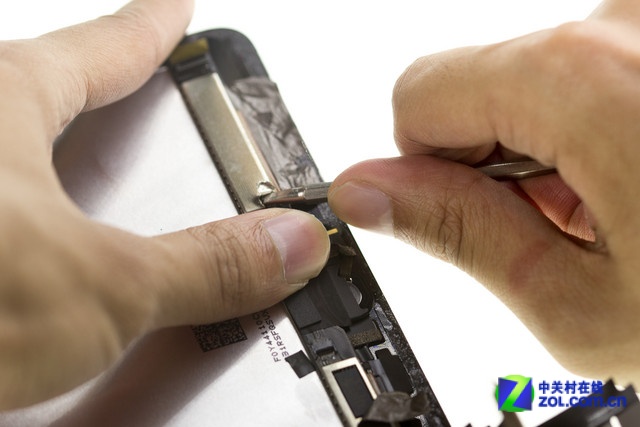
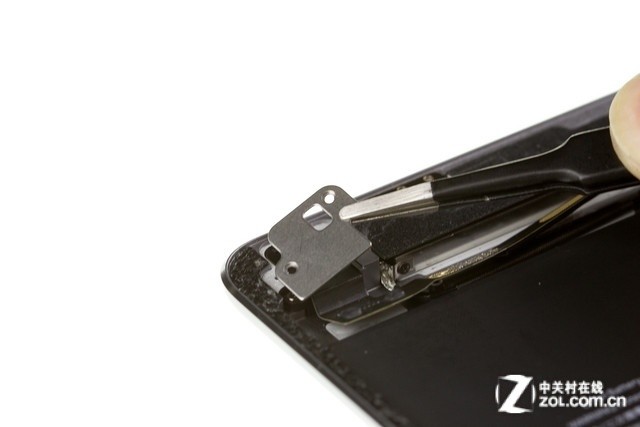
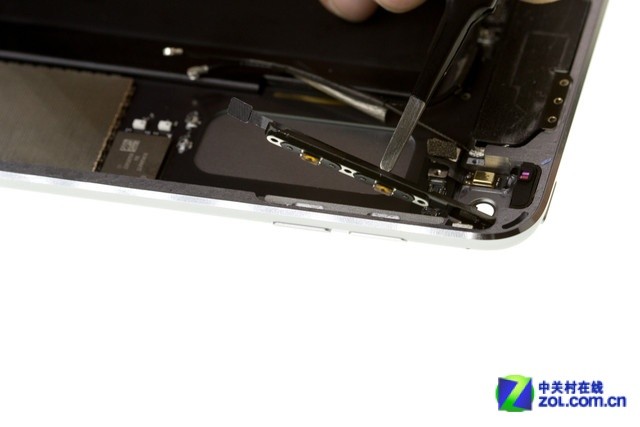
Remove the screws securing the volume button and disconnect the volume button cable.
Now, remove the volume button module.
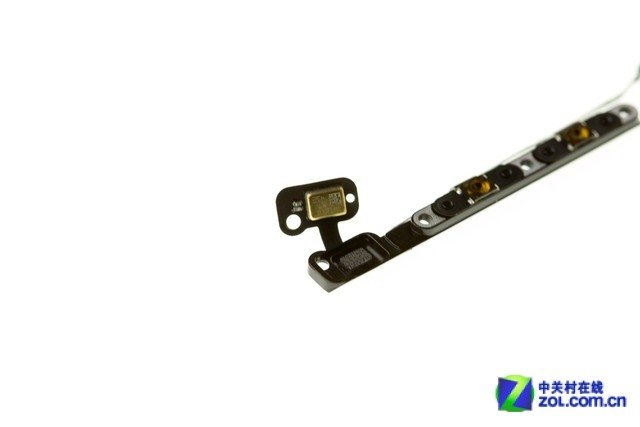
Close-up of the volume button module
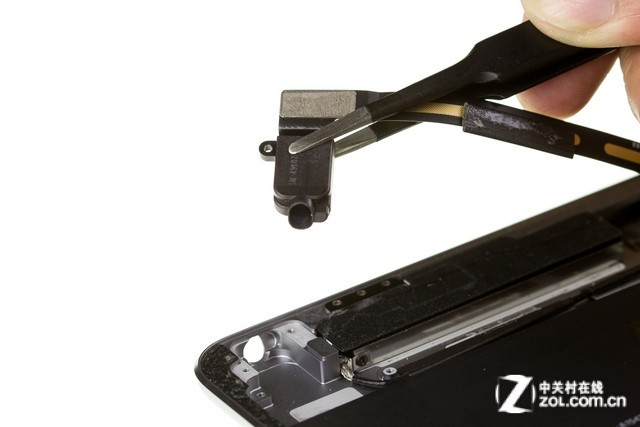
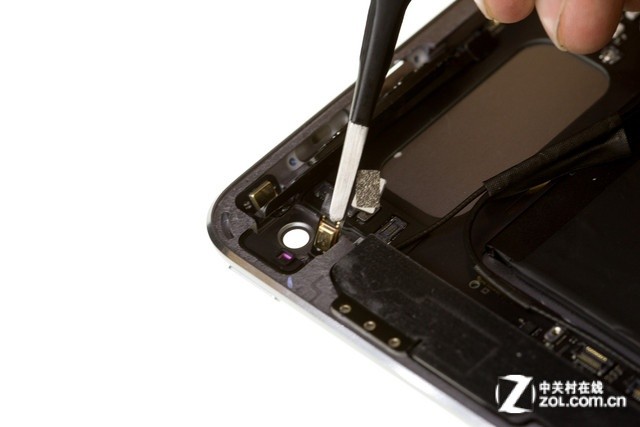
Remove the microphone.
iPad Air 2 power button and microphone

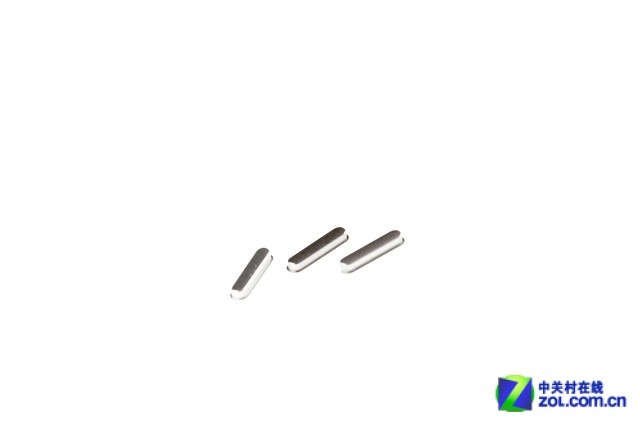
Volume buttons and power button
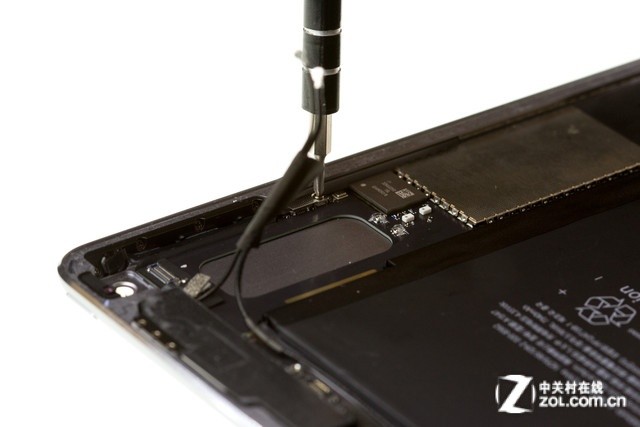
Now, we start to remove the motherboard.
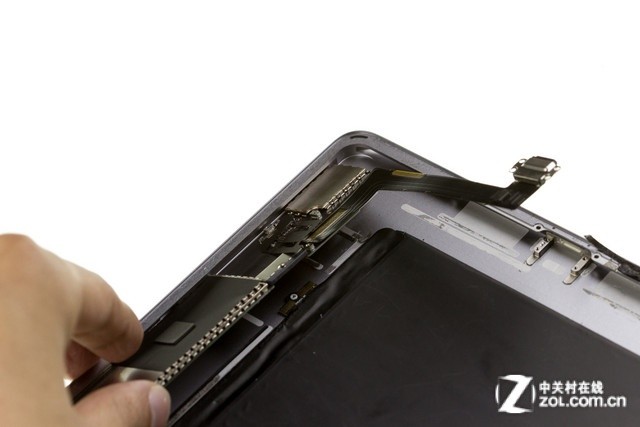
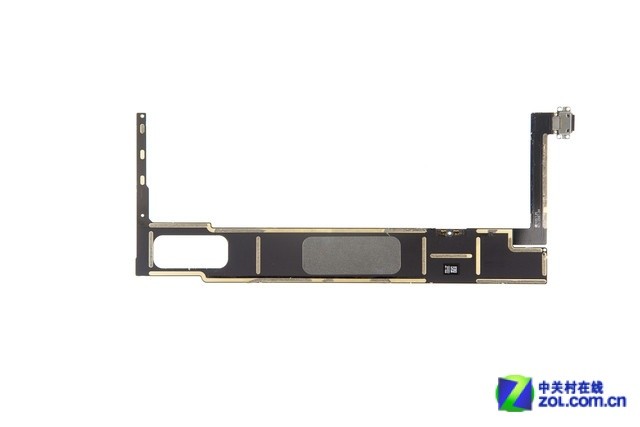
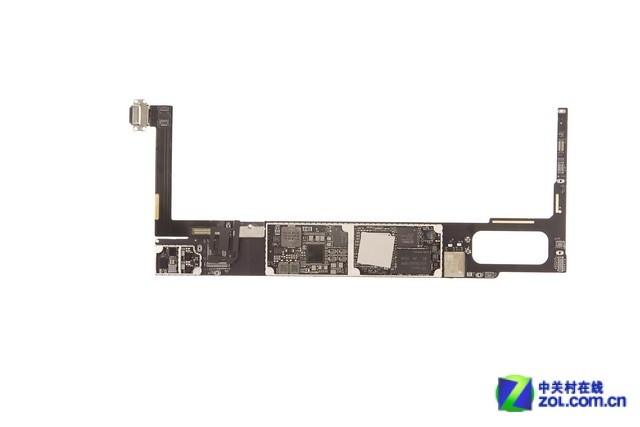
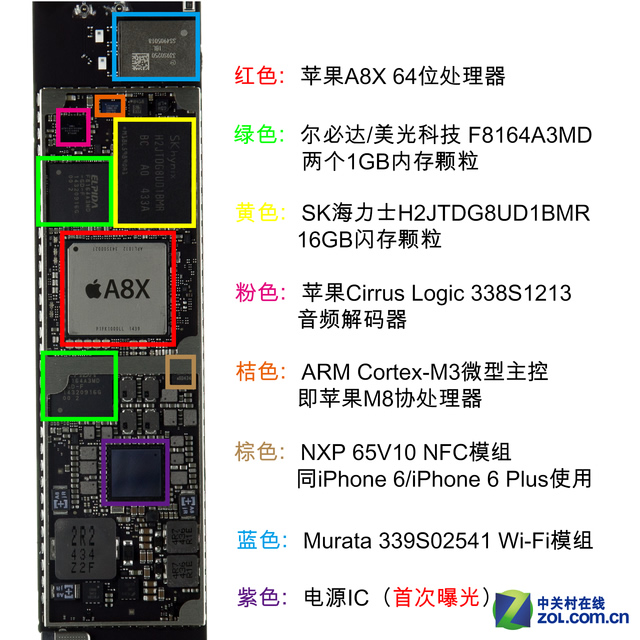
iPad Air 2 motherboard
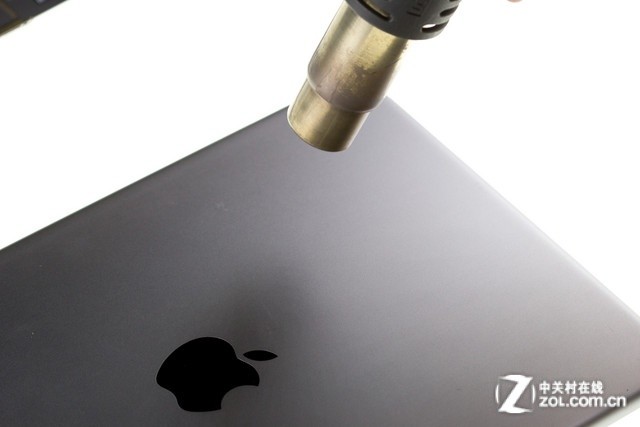
Since the battery is secured with glue, we need to heat the back of the body.
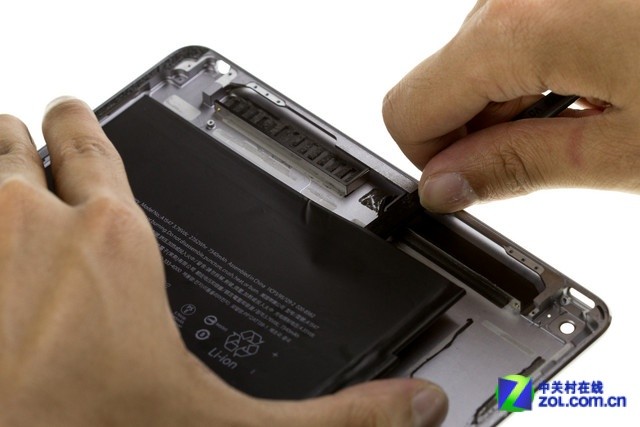
Insert a pry tool under the battery, pry it up, and remove the battery.
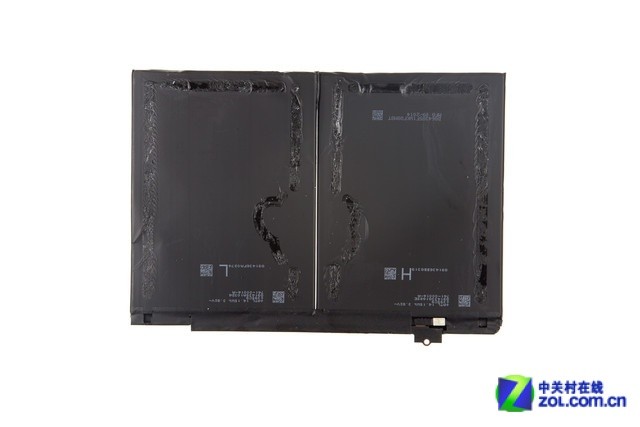
The iPad Air 2 comes with a 3.76V, 27.62Wh, 7340mAh Li-polymer battery.
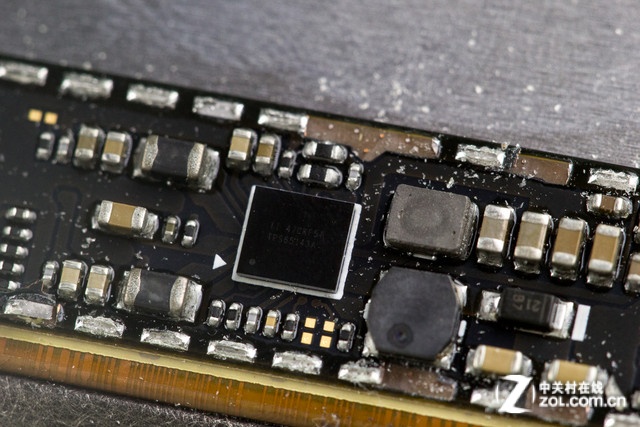
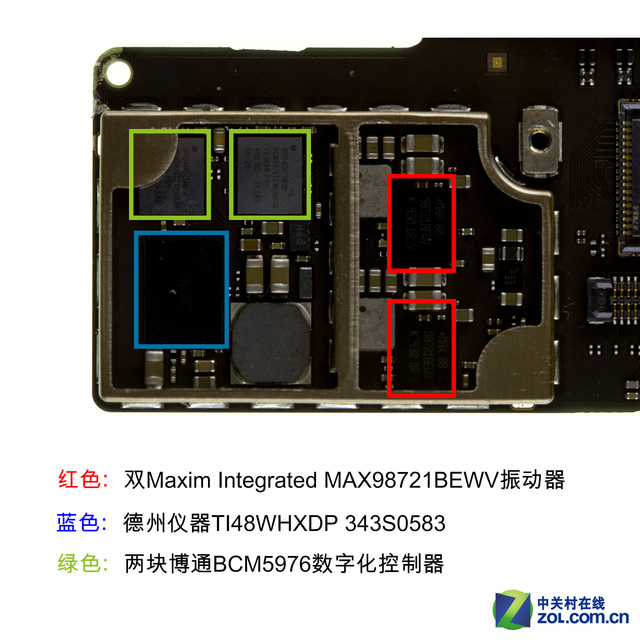
The chips on the motherboard
Apple iPad Air 2 internal parts
Source: zol.com.cn