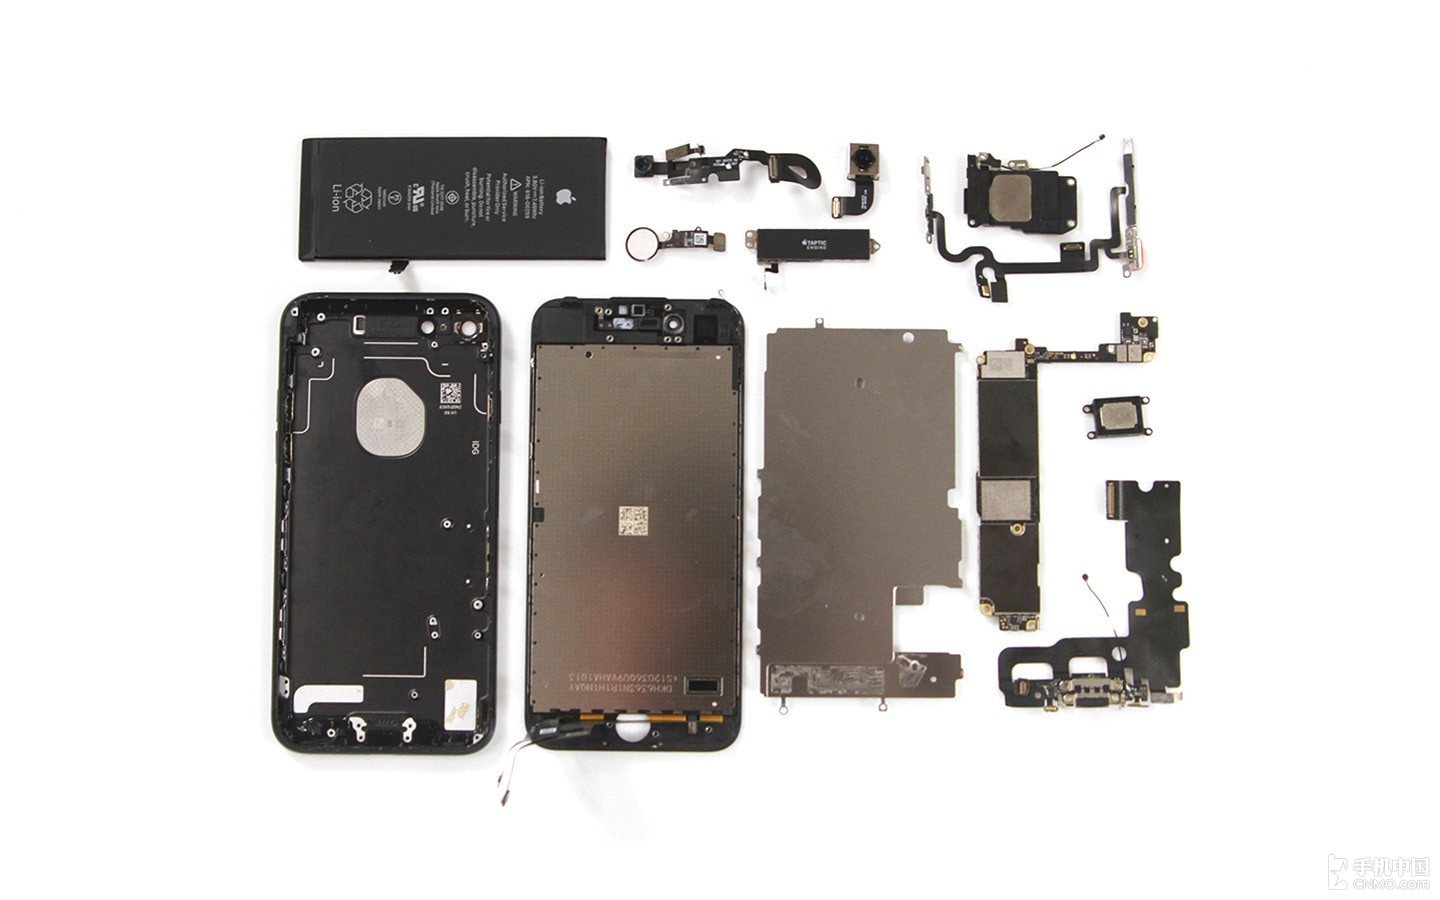
In this article, I will explain how to disassemble an Apple iPhone 7 to remove the back cover, battery, front camera, rear camera, display assembly, lightning connector assembly, speaker, and motherboard.
Remove the two screws next to the lightning port.
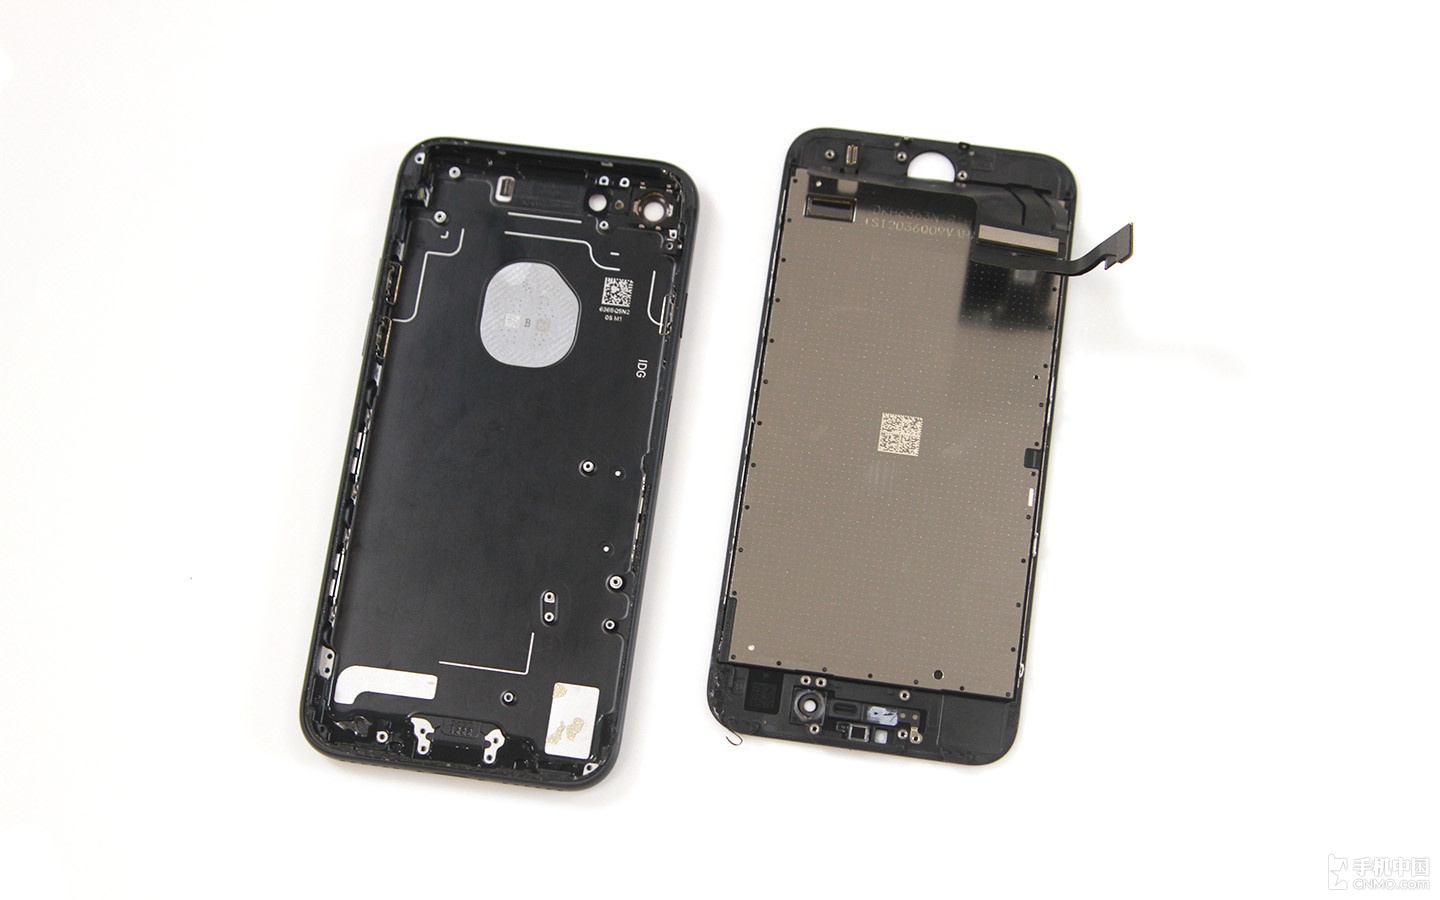
Then, heat the edges of the display with a heat gun. Open the display with a suction cup, since the touch cable still connects to the motherboard, so we need to open the screen from the side.
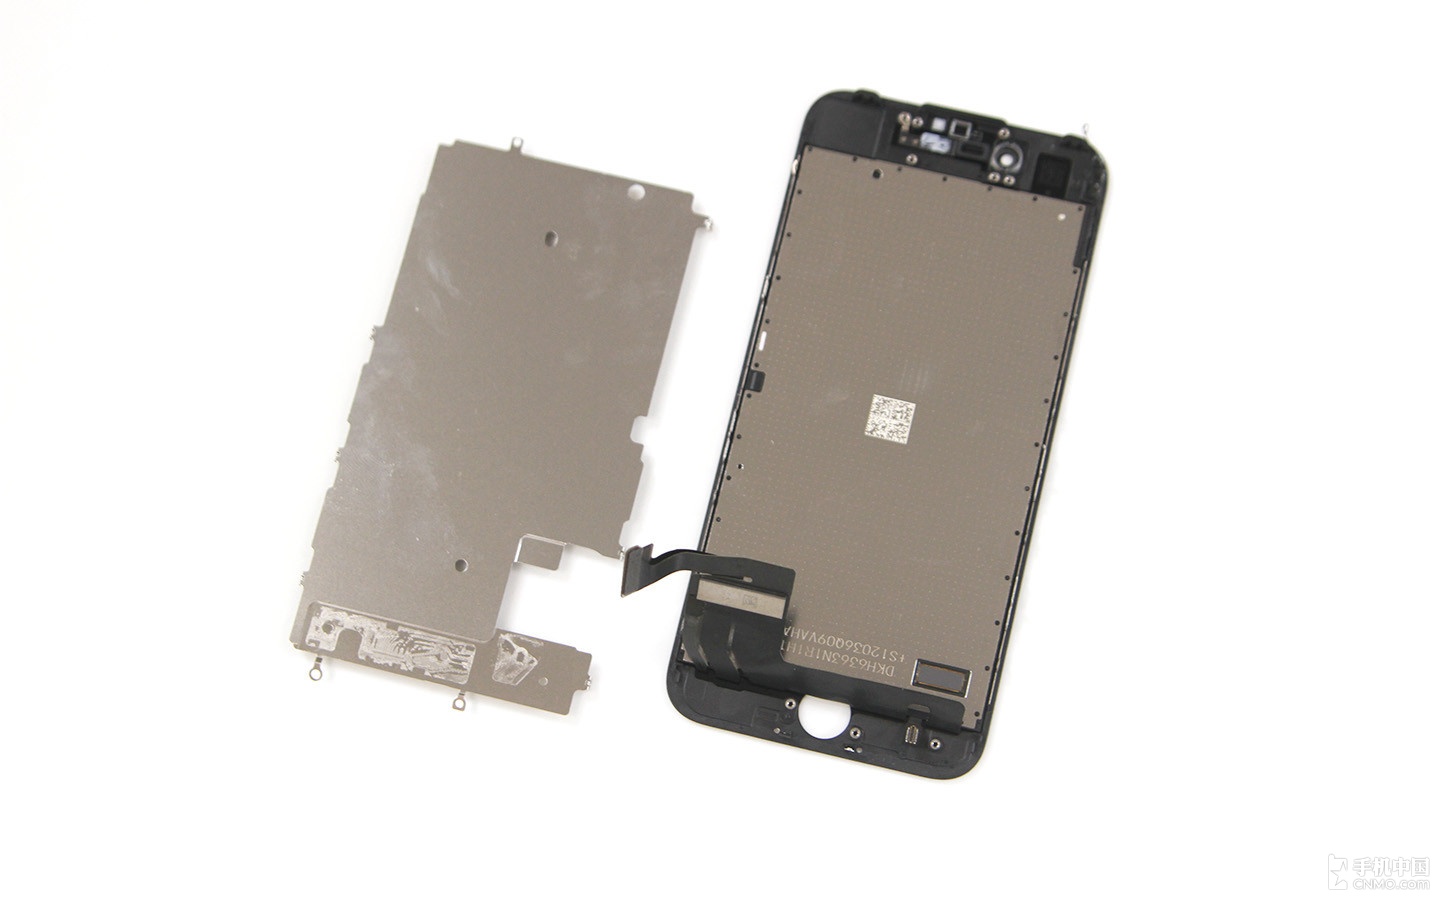
The Touch ID module, front camera, handset, and speaker are fixed on the display assembly.
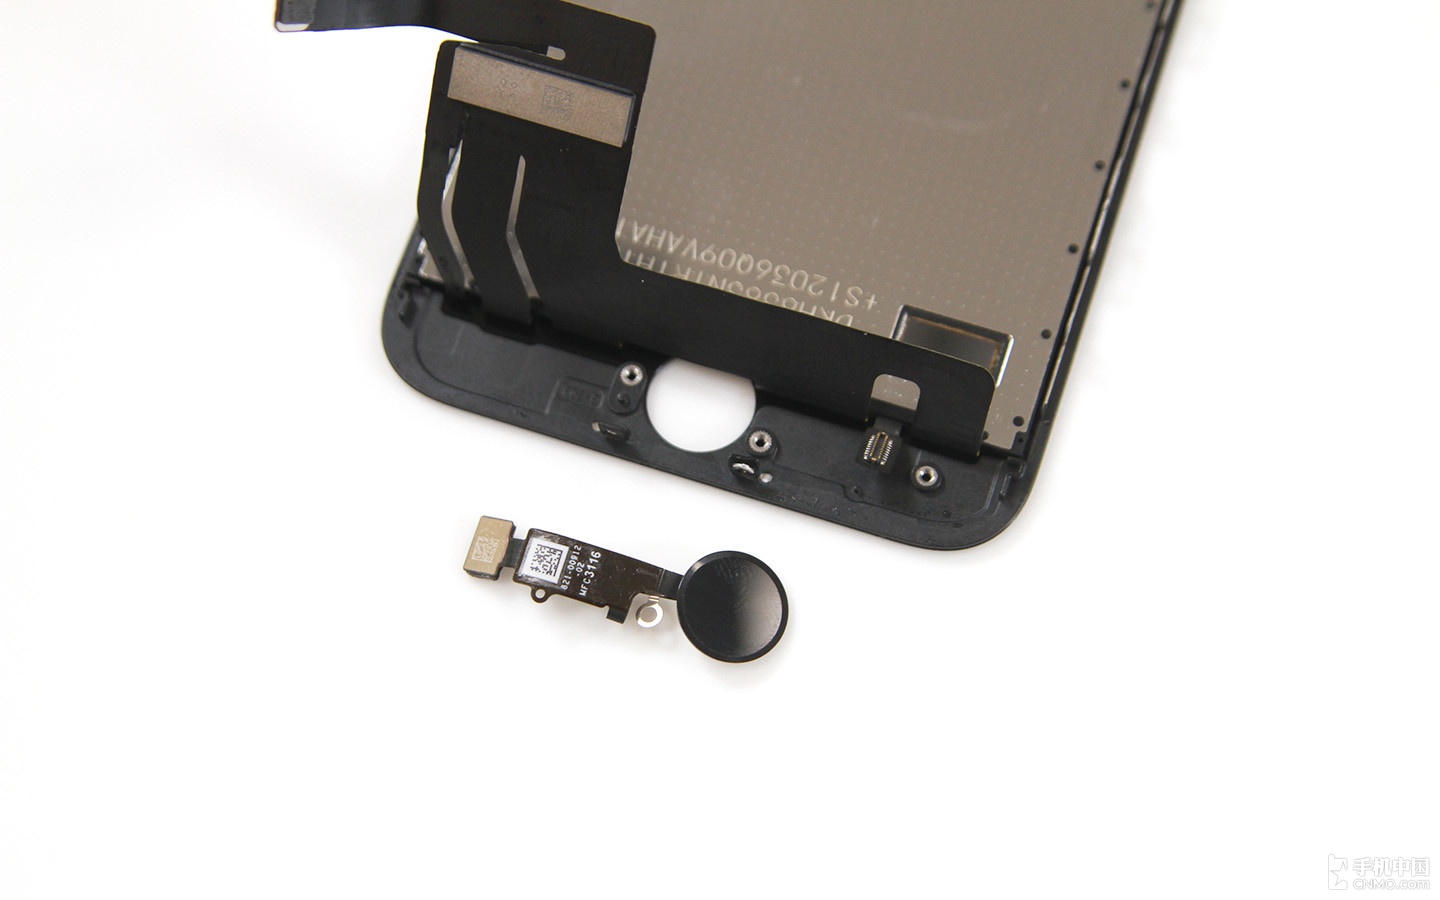
Disconnect the Touch ID cable and remove the Touch ID module.
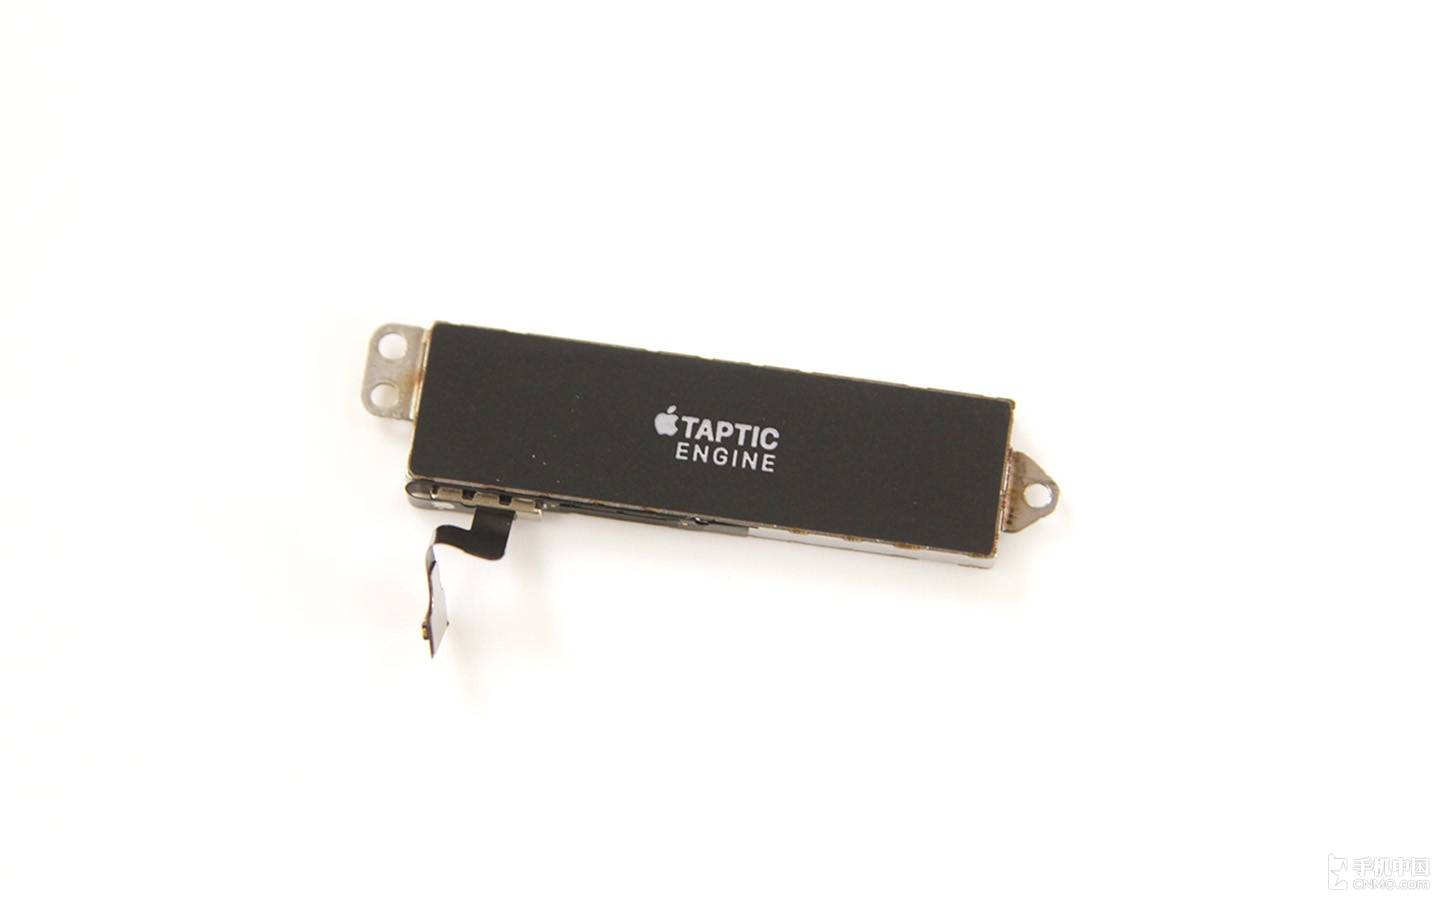
Remove the three screws securing the metal plate, then remove the Taptic Engine module.
The Taptic Engine module is quite large, and eliminating the 3.5mm headphone jack frees up space that can accommodate the Taptic Engine module.
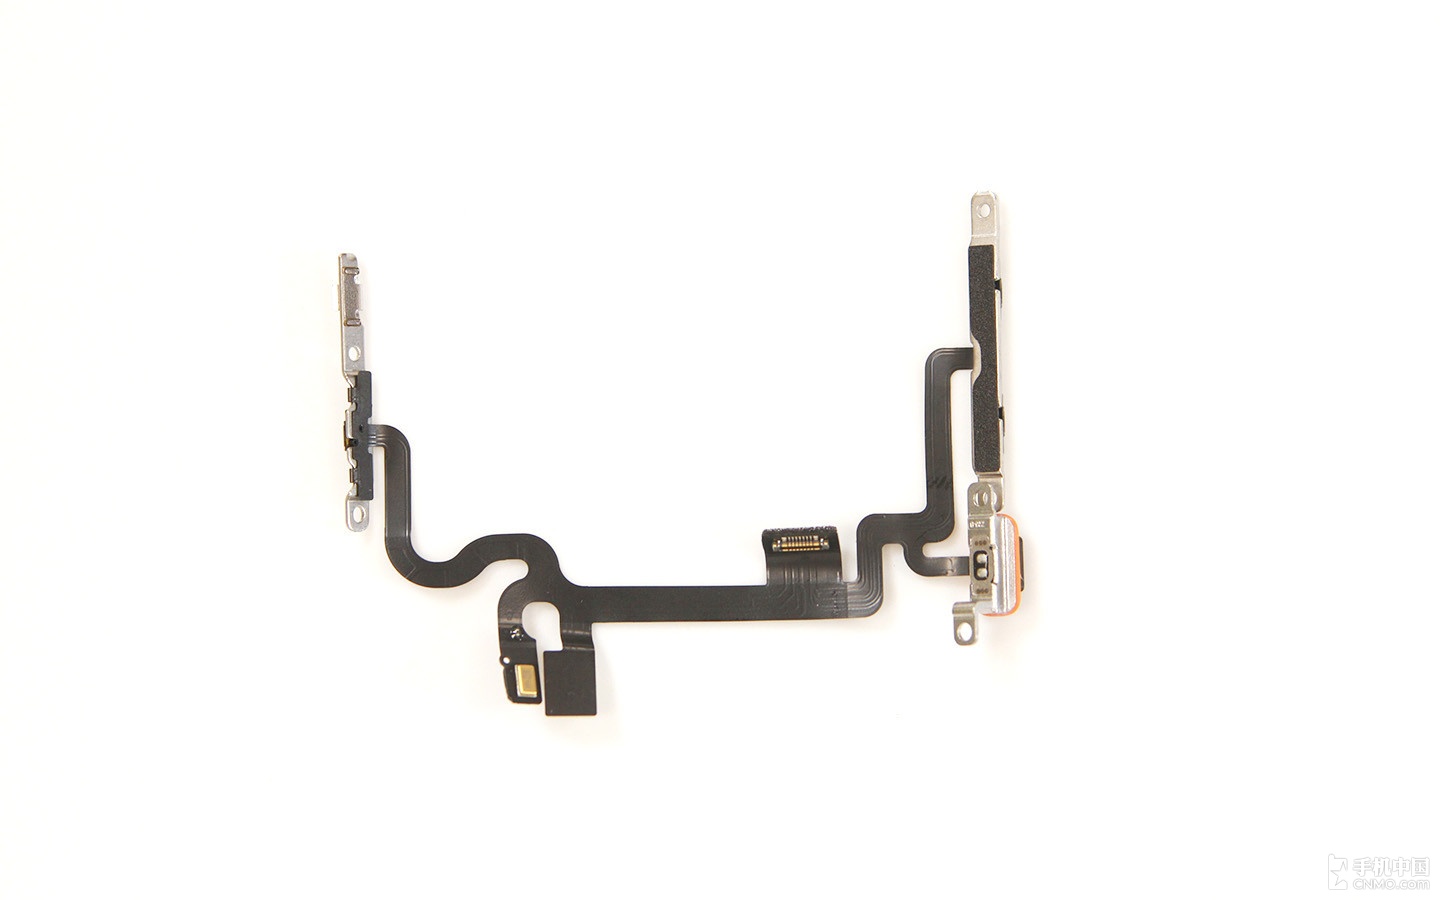
The volume buttons are secured to the left side of the body with screws.
The power button on the right side is secured to the body in the same way.
You can see the mute button has a waterproof seal.
The front camera module has a 7MP sensor and an f2.2 aperture. It also integrates a light sensor and some metal contacts.

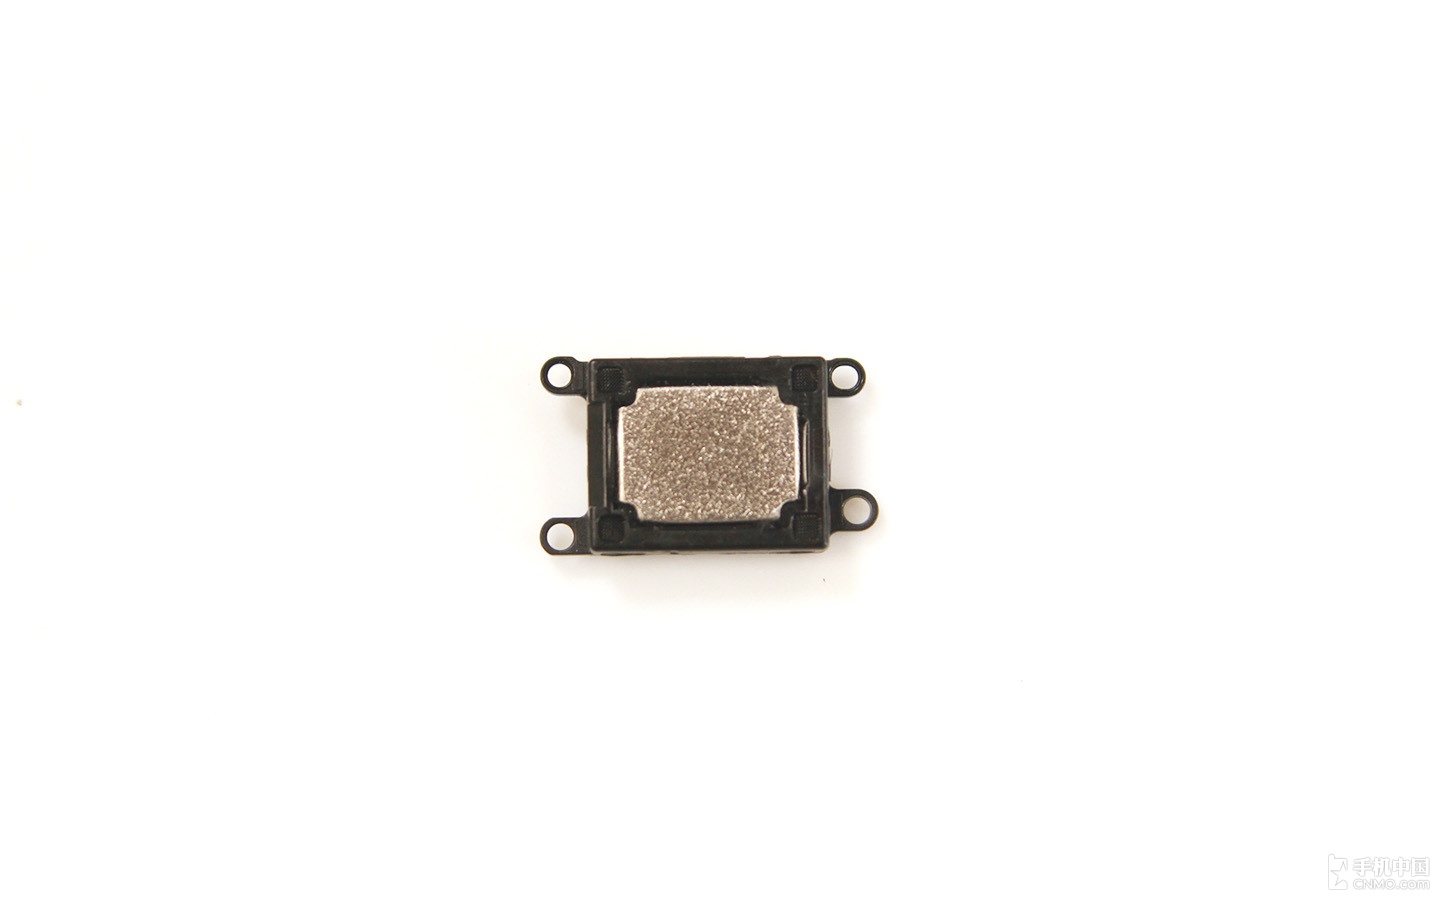
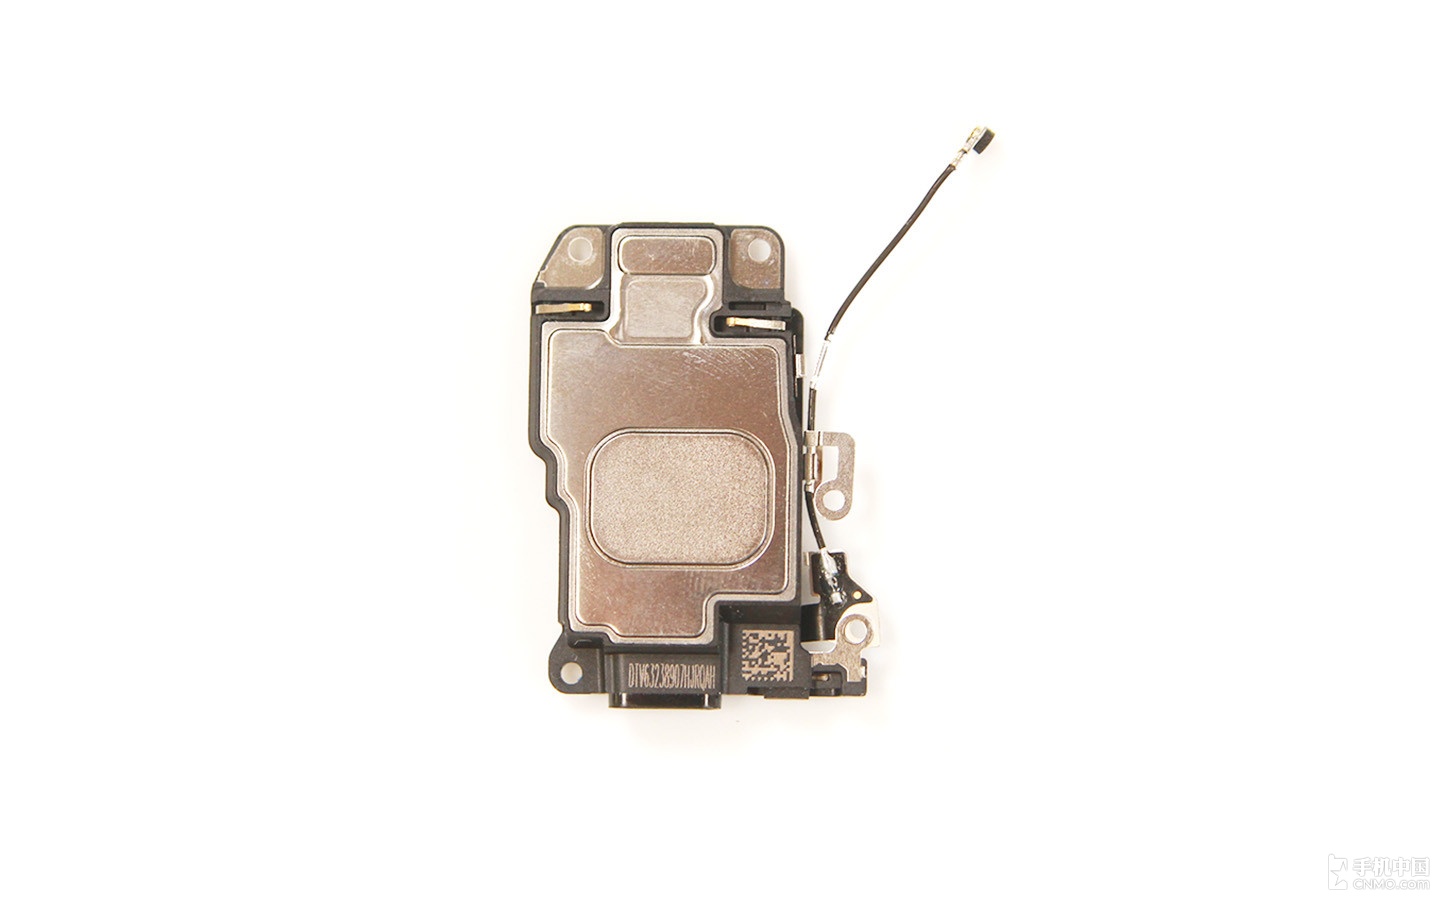
Earpiece speaker unit
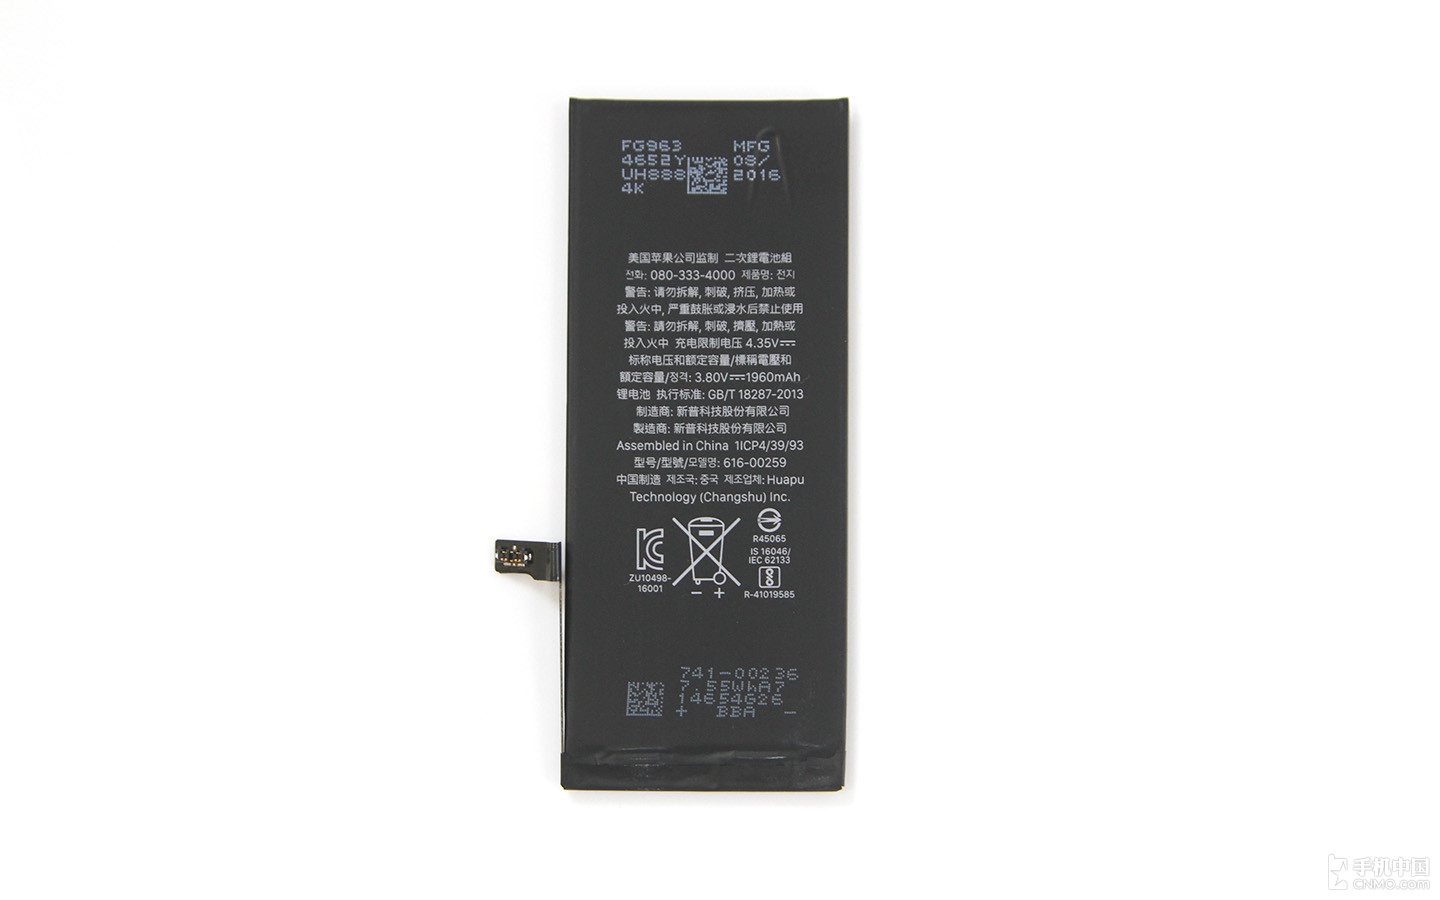
Apple iPhone 7 features a 3.8V, 1960mAh, 7.45Wh Li-ion battery, Apple P/N: 616-00259
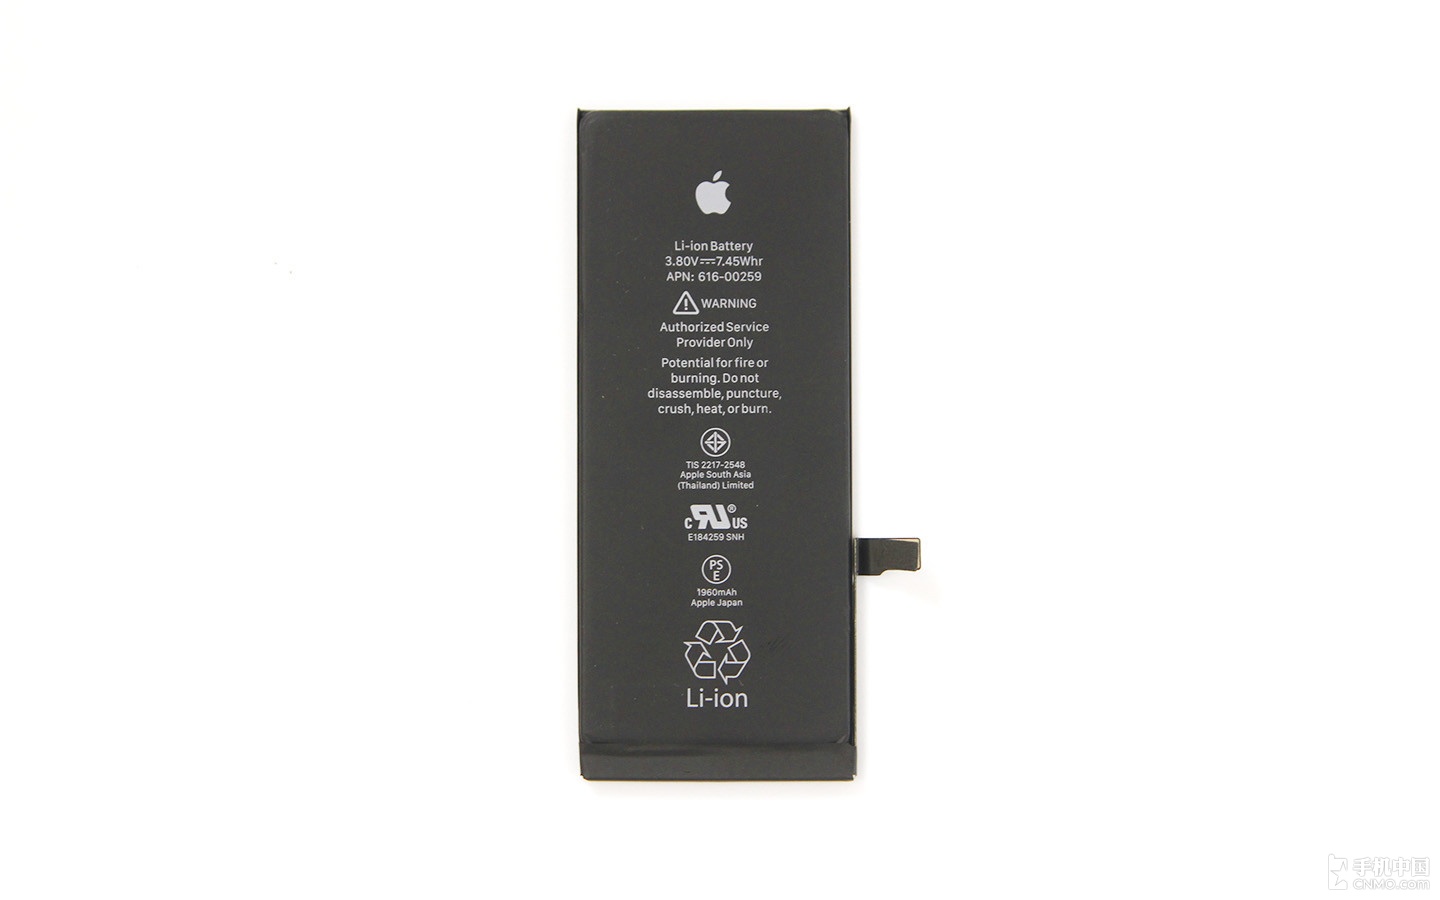
The battery is assembled by Huapu Technology (Changshu) Inc.
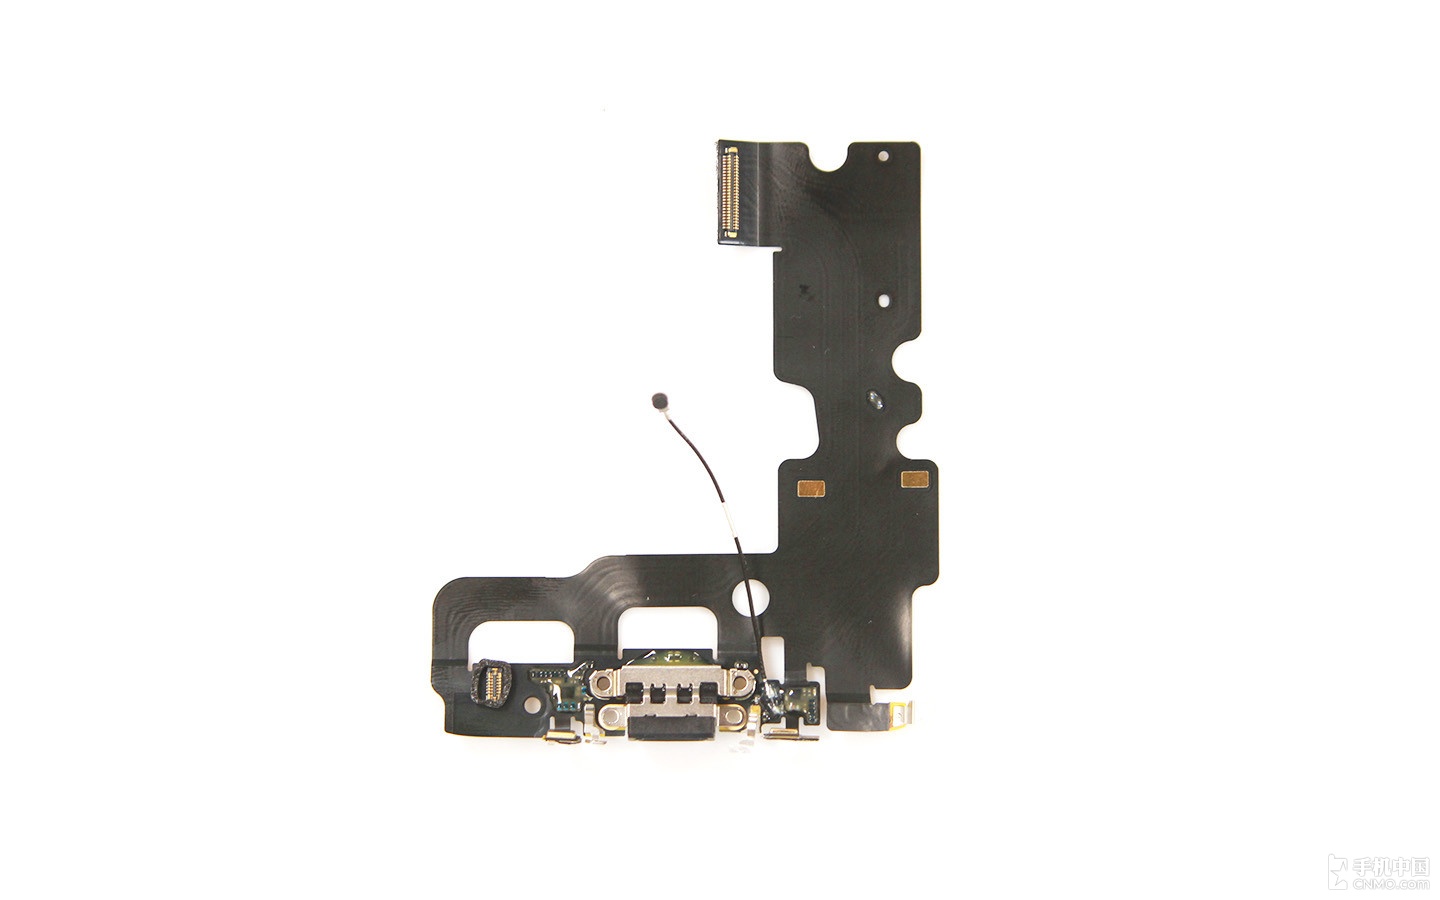
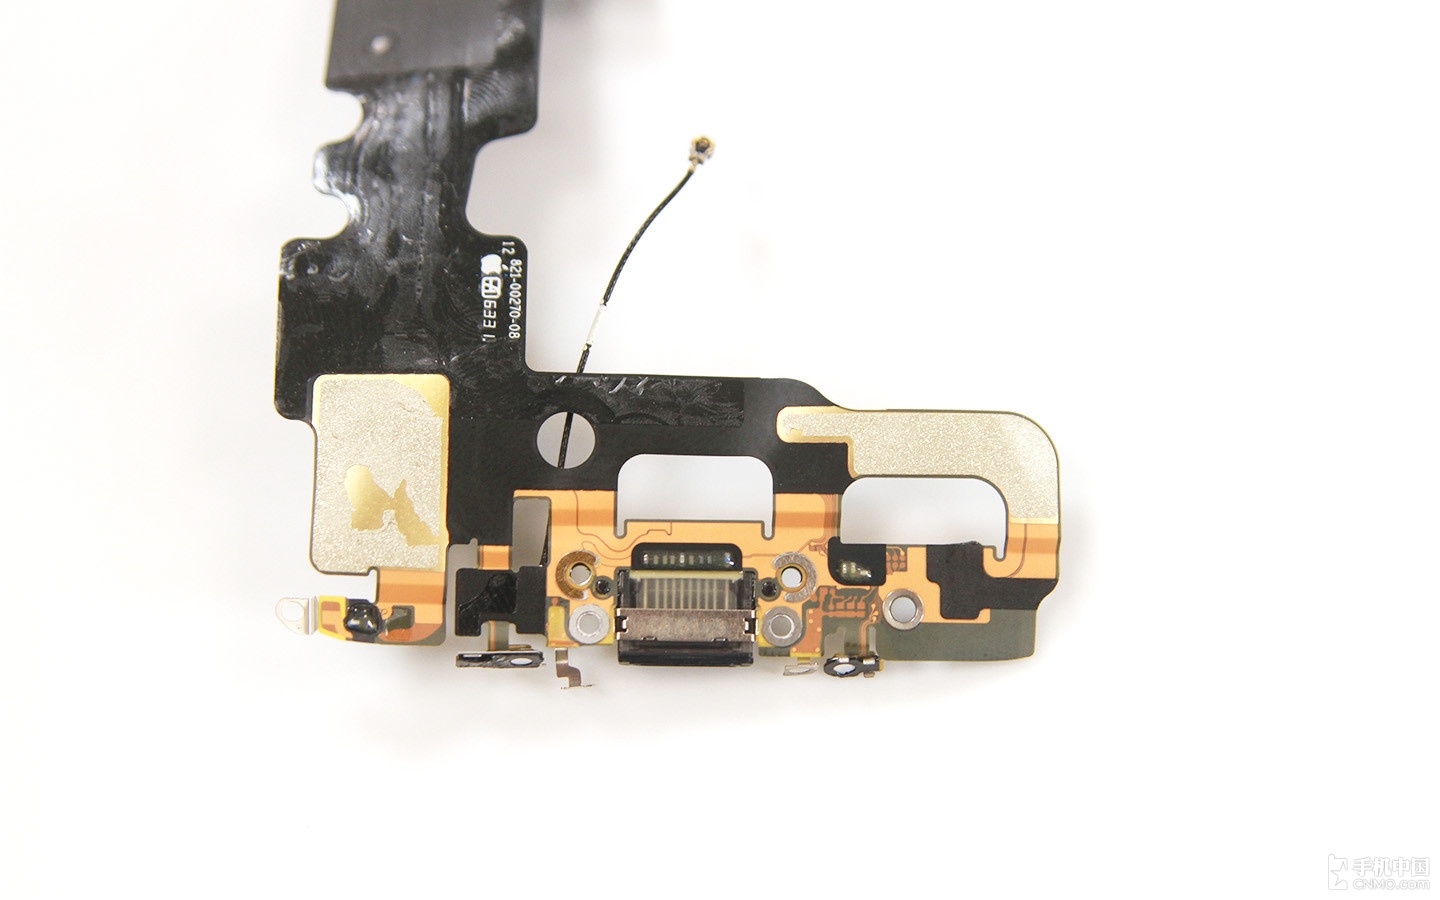
Close-up of the Lightning connector assembly.
The lightning connector assembly is secured to the back cover with adhesive.
The lightning connector assembly includes a lightning port, a speaker port, a Taptic Engine port, a microphone, and an RF cable.
We also see the rubber ring in the appropriate location, which enables the iPhone 7 to have an IP67 waterproof function.
Of course, once you disassemble the iPhone 7, you will lose its waterproof function.
Speaker unit and RF cable
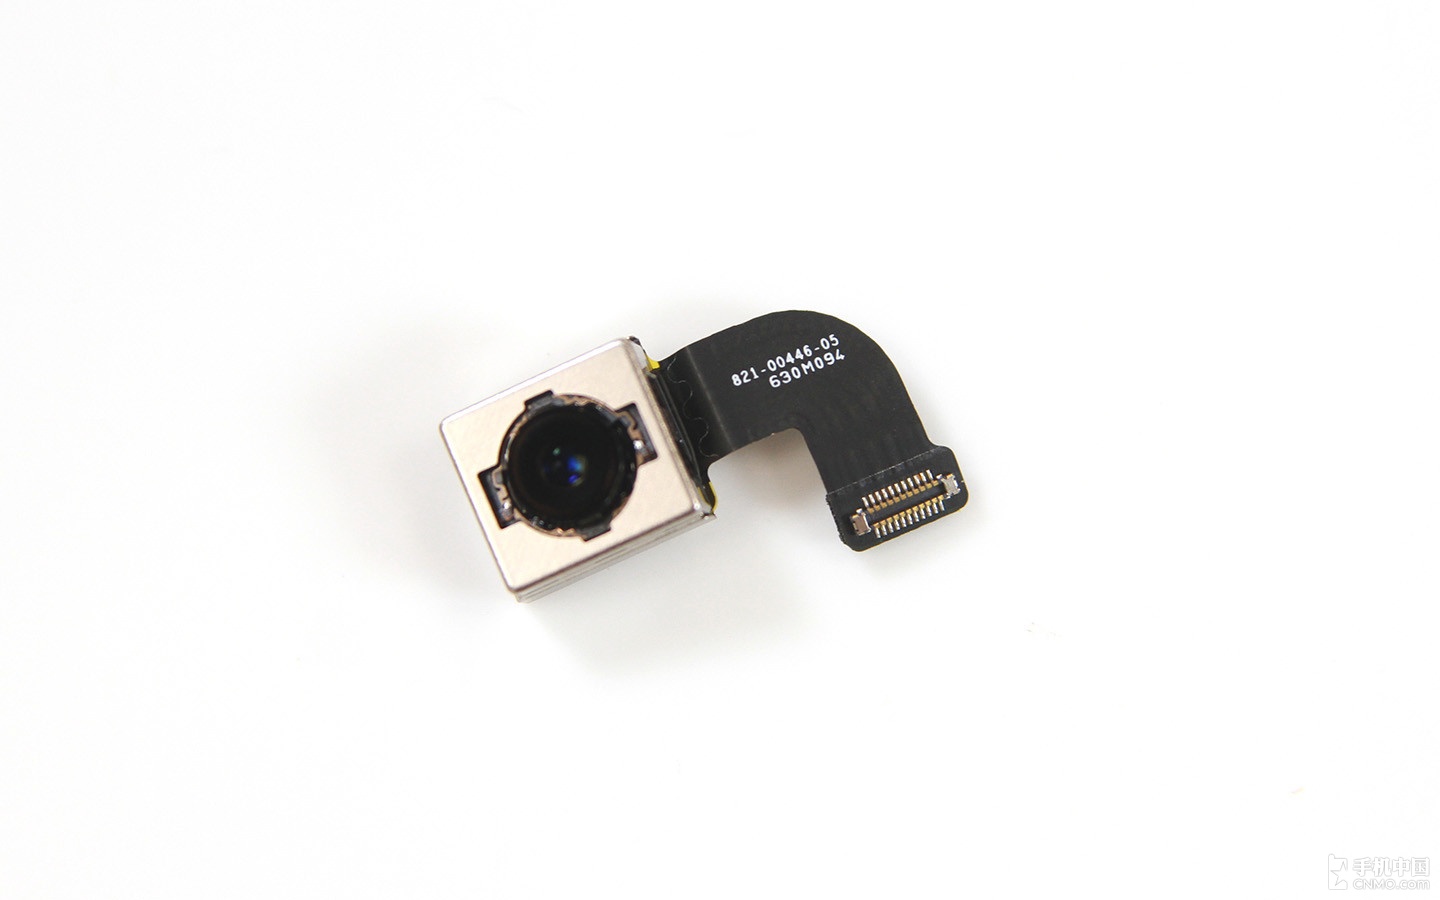
The iPhone 7 features a f/1.8 aperture, a new 6-element lens, and a 12 MP rear camera sensor.
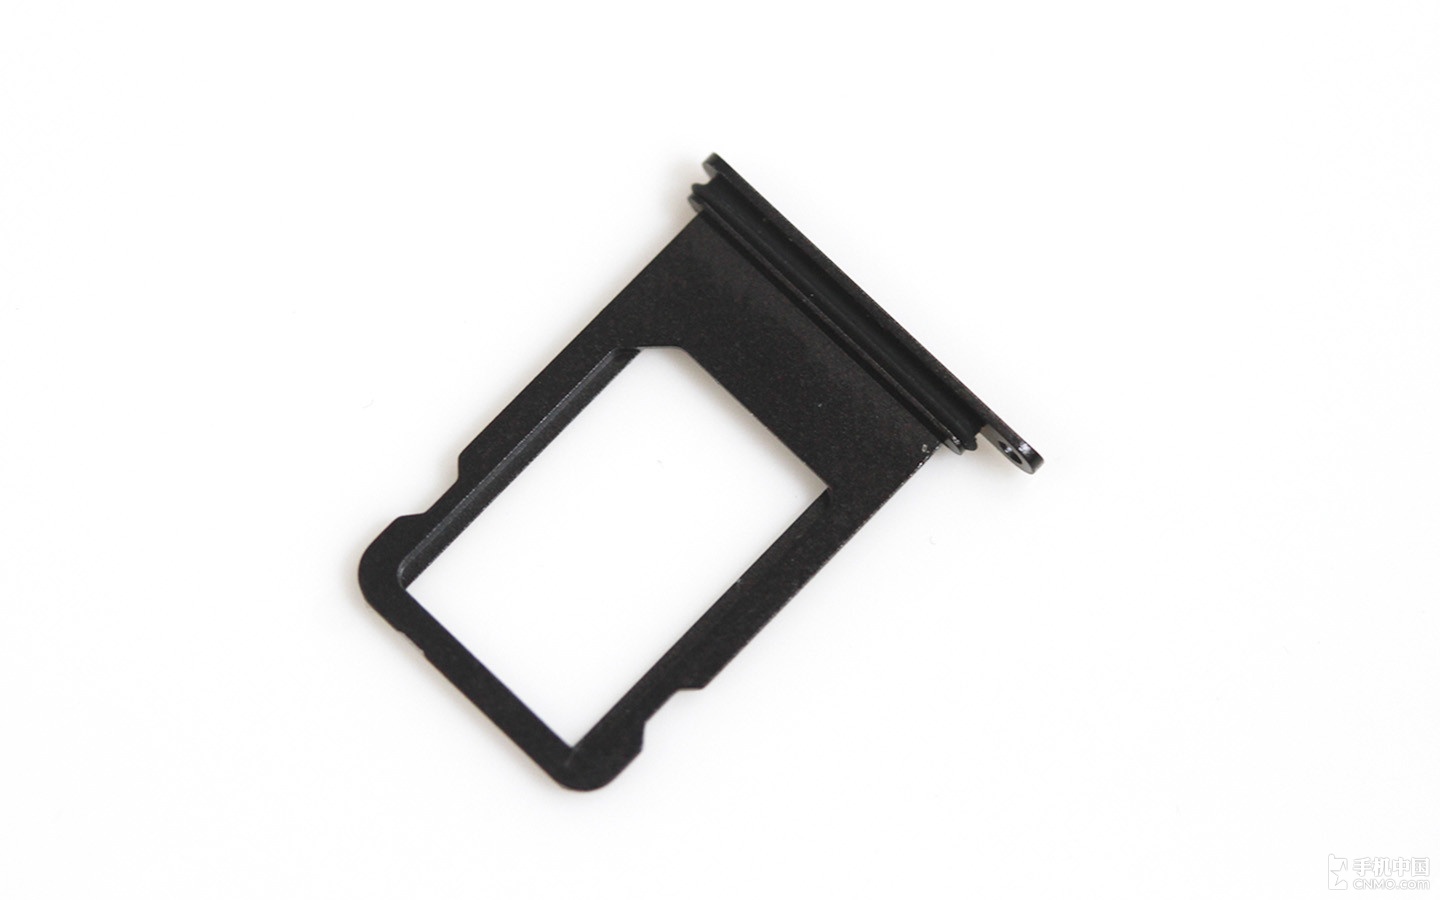
Here is the SIM card tray, which also has a rubber ring.
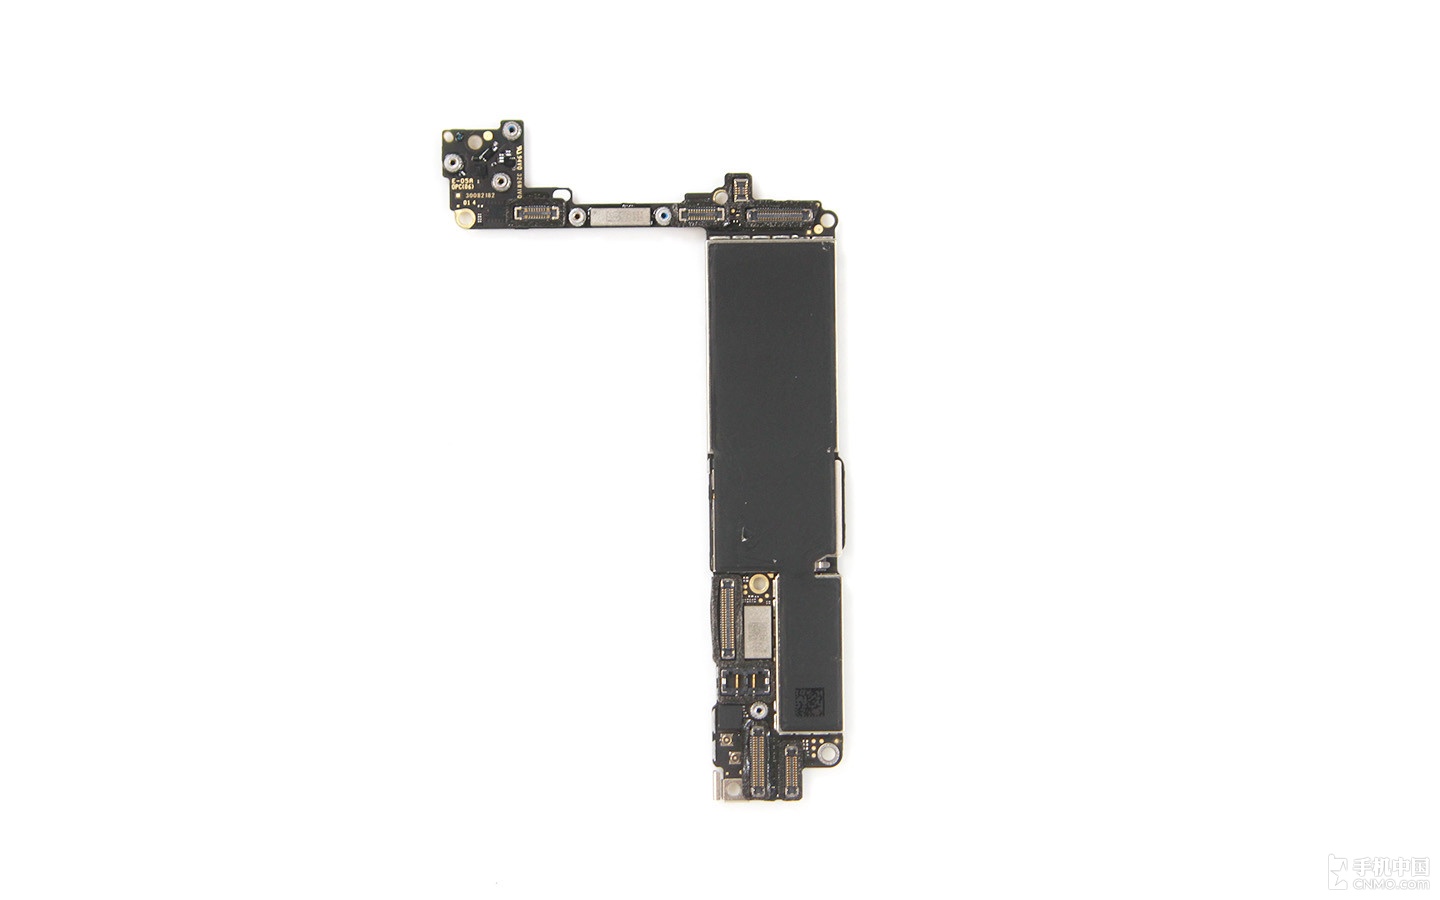
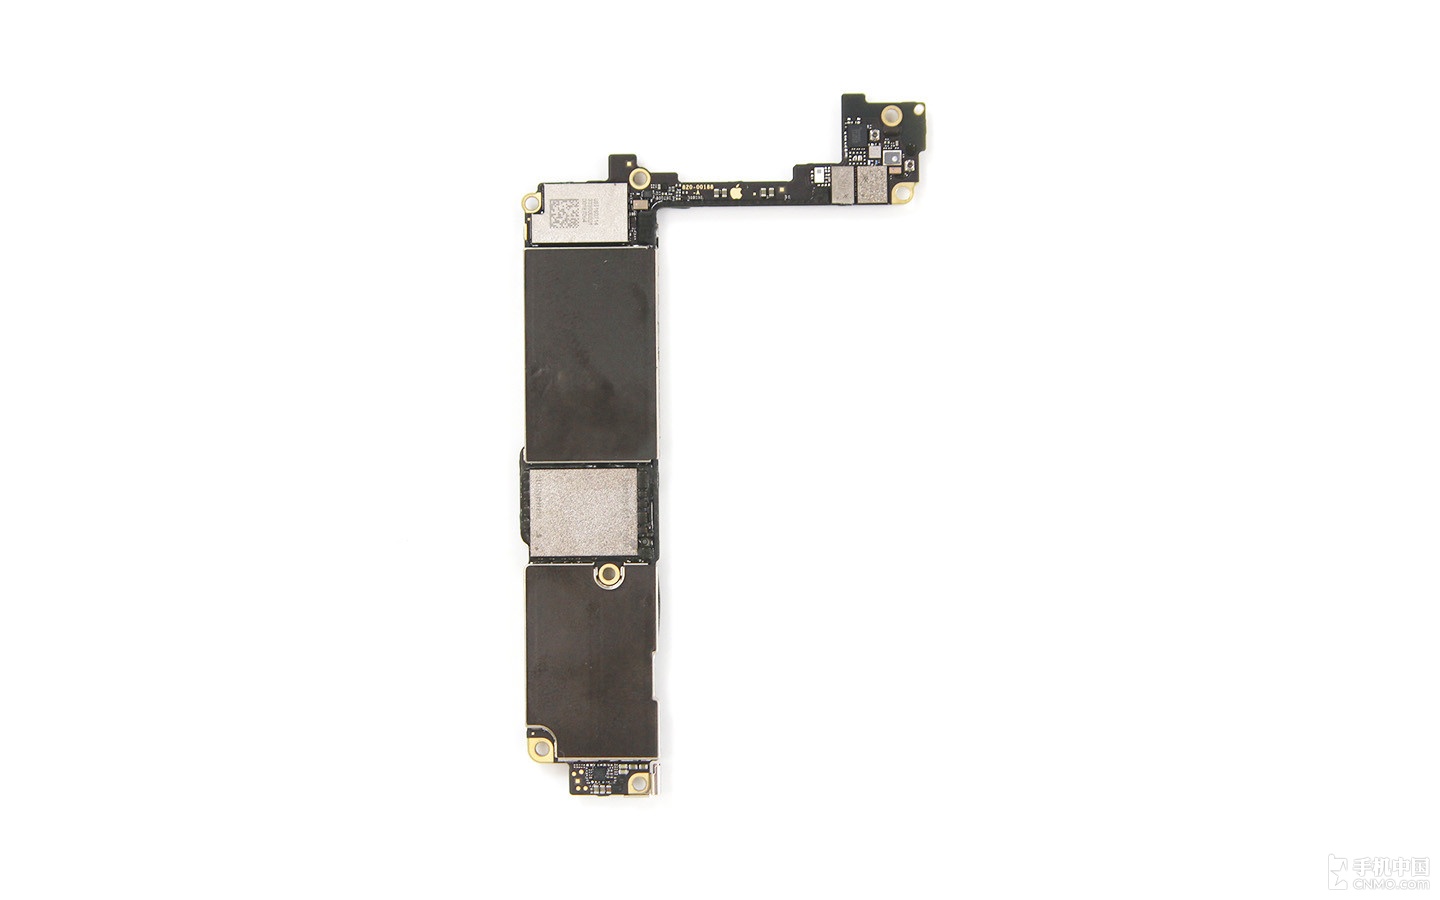
Apple iPhone 7 internal parts