
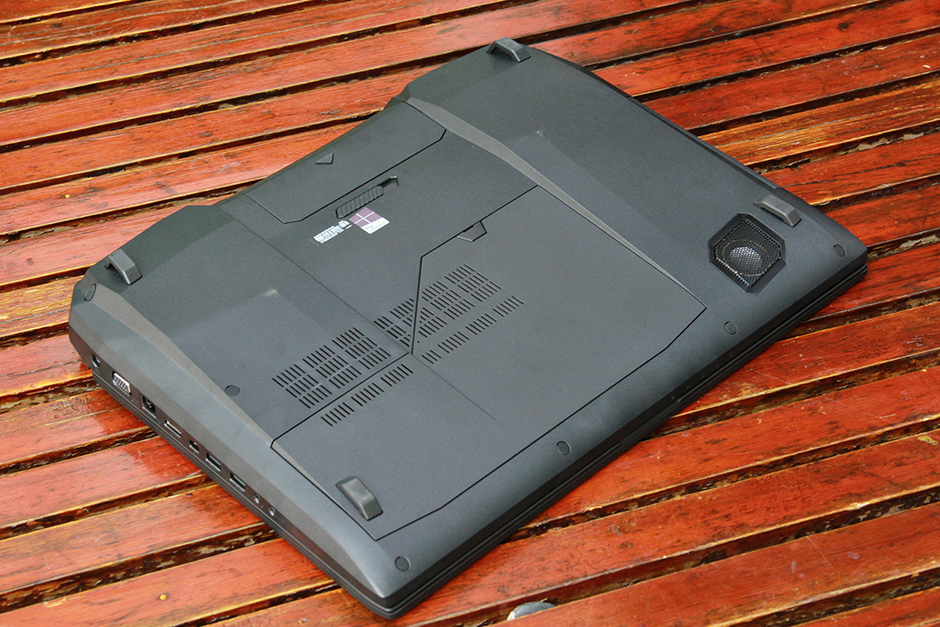
In this post, I will explain how to disassemble the Asus G750jz to remove the keyboard, optical drive, hard drive, RAM, SSD, palm rest, wireless card, cooling fan, bottom case, and motherboard. Refer to this guide. You can upgrade and repair your Asus G750jz.
Want to be the first to see the latest smartphone and laptop inside? Follow us on Facebook for the latest teardown news.
Unlock and remove the battery.
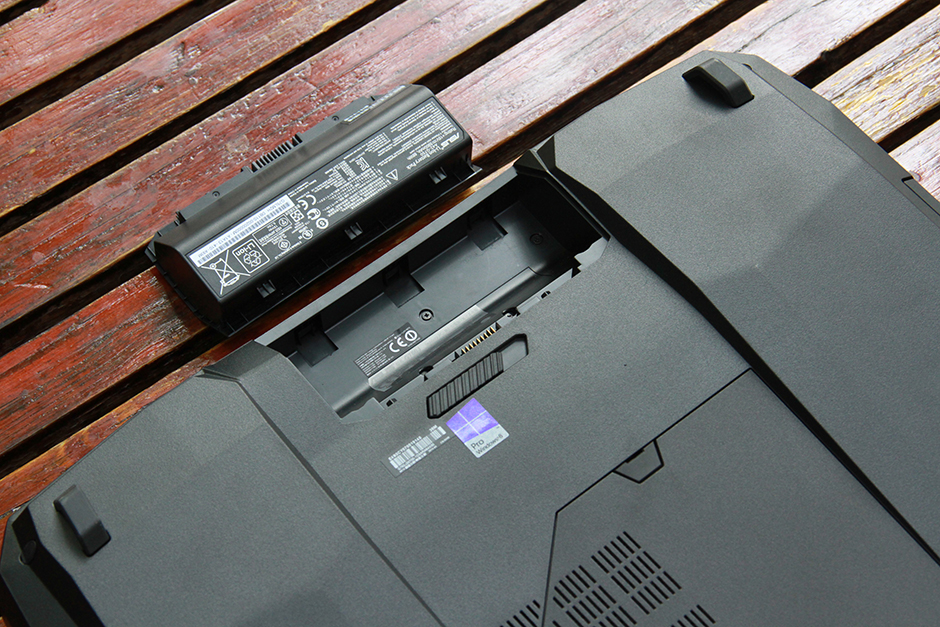
The Asus G750jz features a 15V, 5900mAh large-capacity Li-ion battery, Asus part number: A42-G750.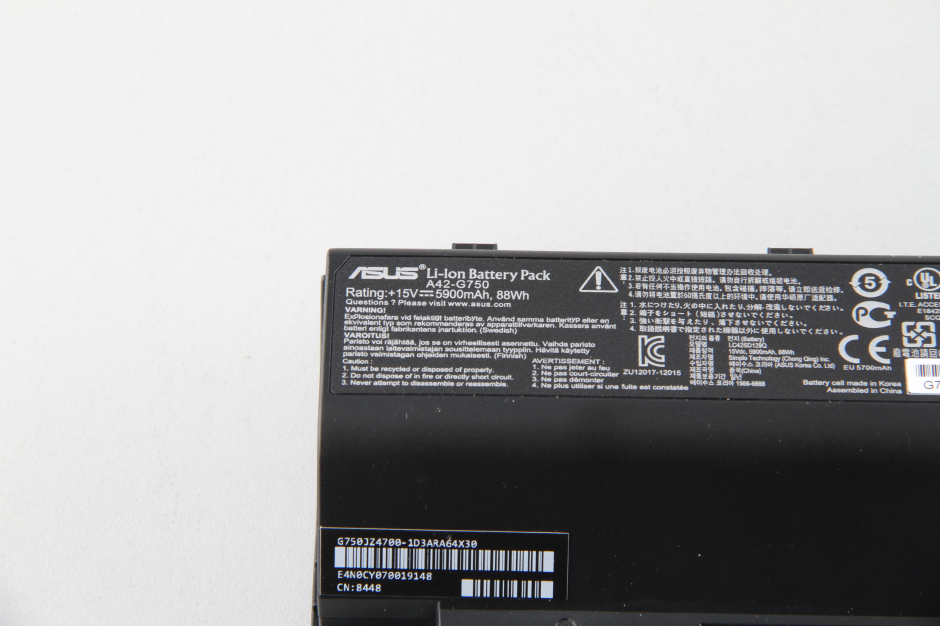
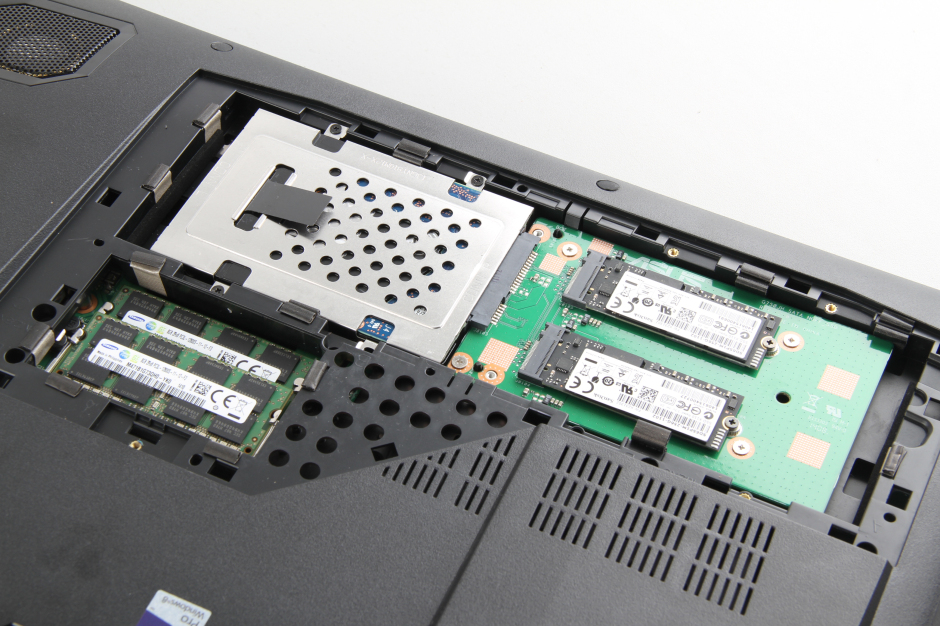
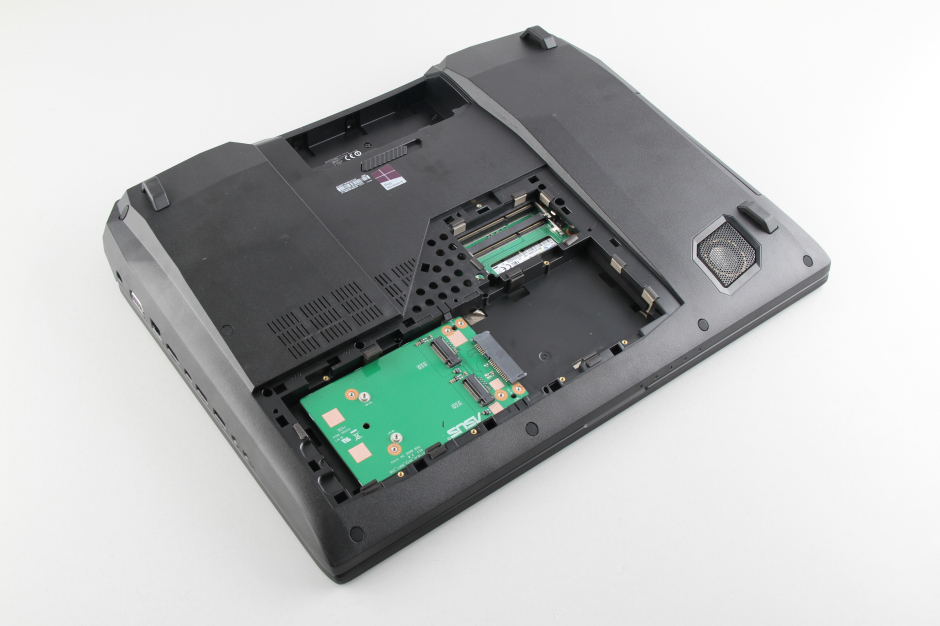
Unlock and remove the service cover.
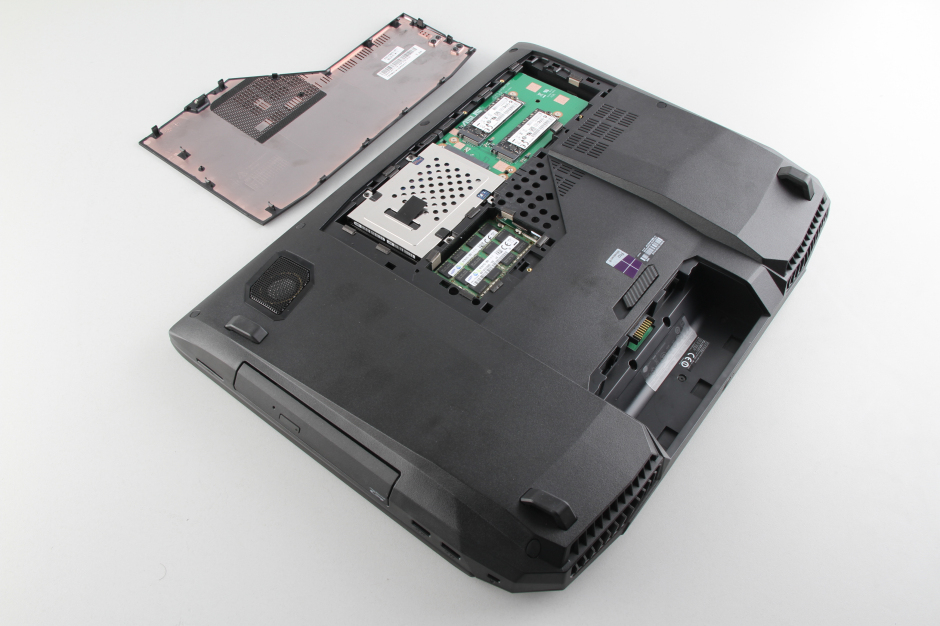
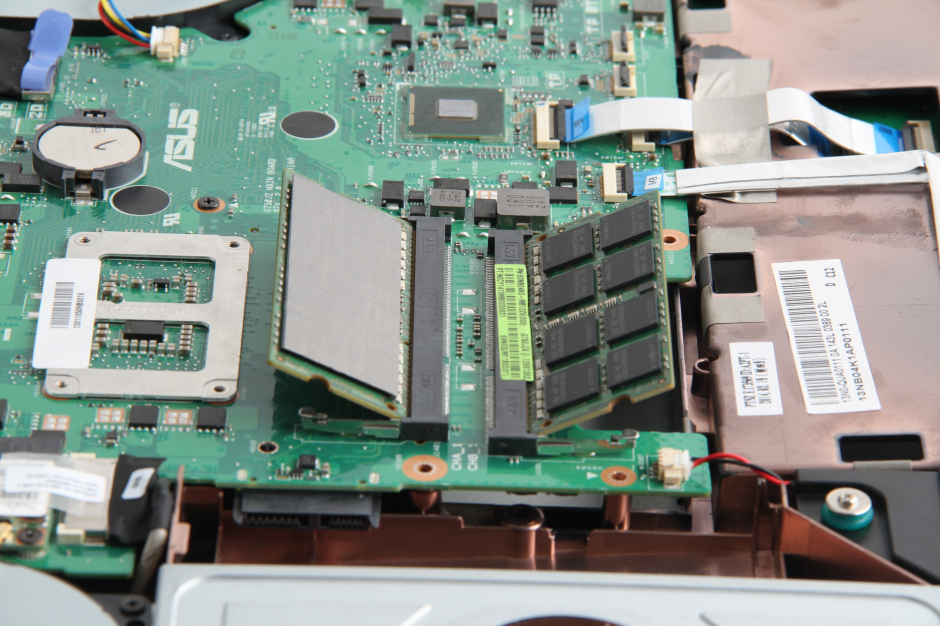
Under the cover, you can access the RAM, hard drive, and SSD.
Use your fingernail to separate the clips on both sides, and the memory module will pop out automatically.
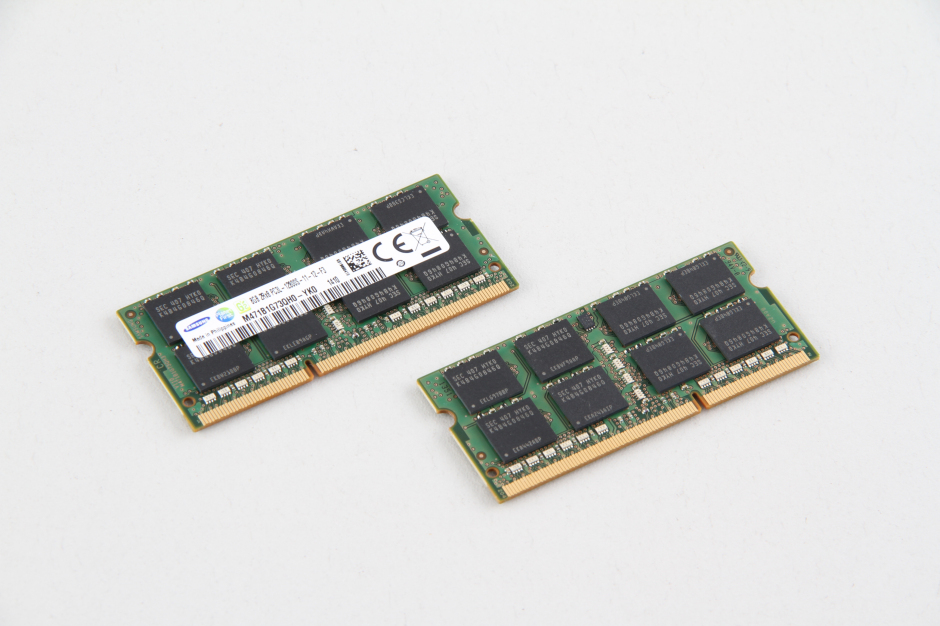
This laptop has two memory slots and two memory modules installed. If you want to upgrade the memory, you need to replace the existing memory modules.
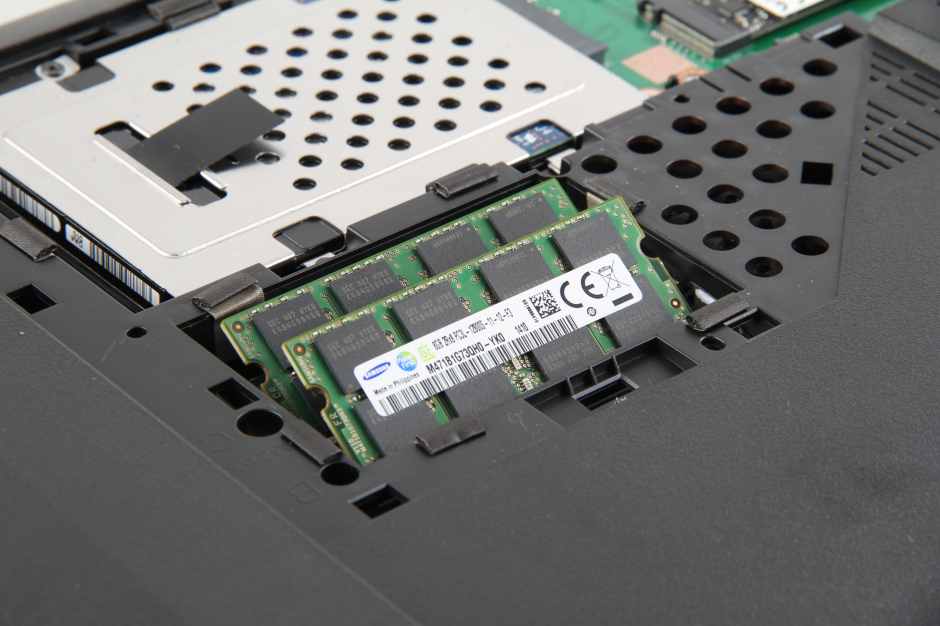
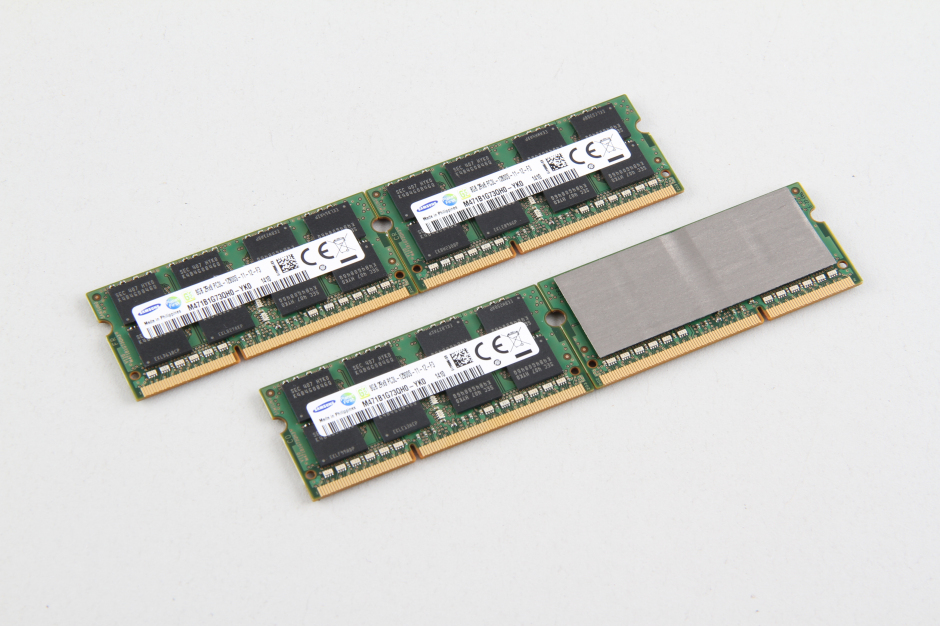
The Asus G750jz comes with two Samsung 4GB DDR3L-1600MHz RAMs.
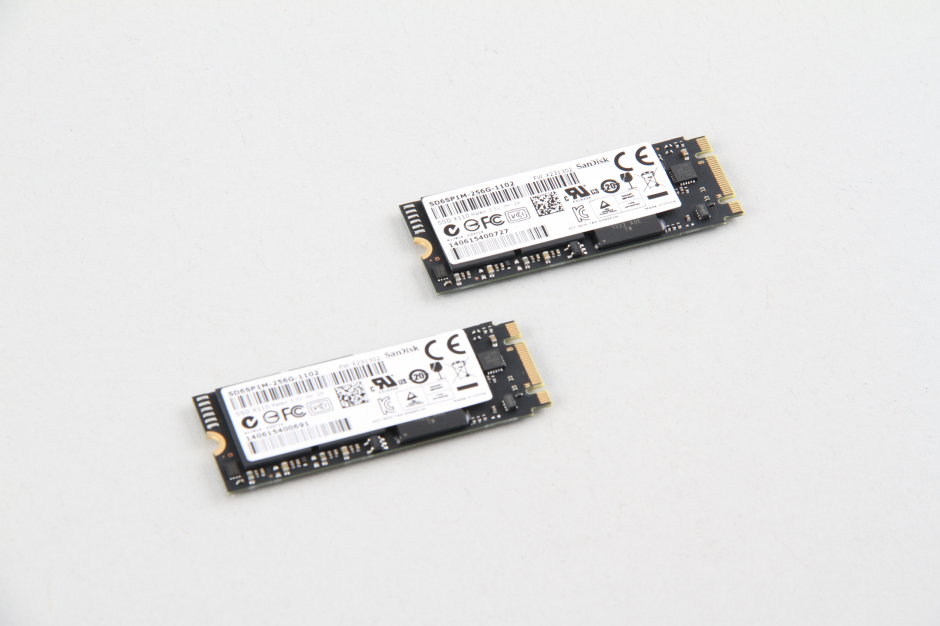
The Asus G750jz features two SanDisk 256GB M.2 NGFF SSDs. If you want to upgrade the SSD, you need to replace the existing SSD.
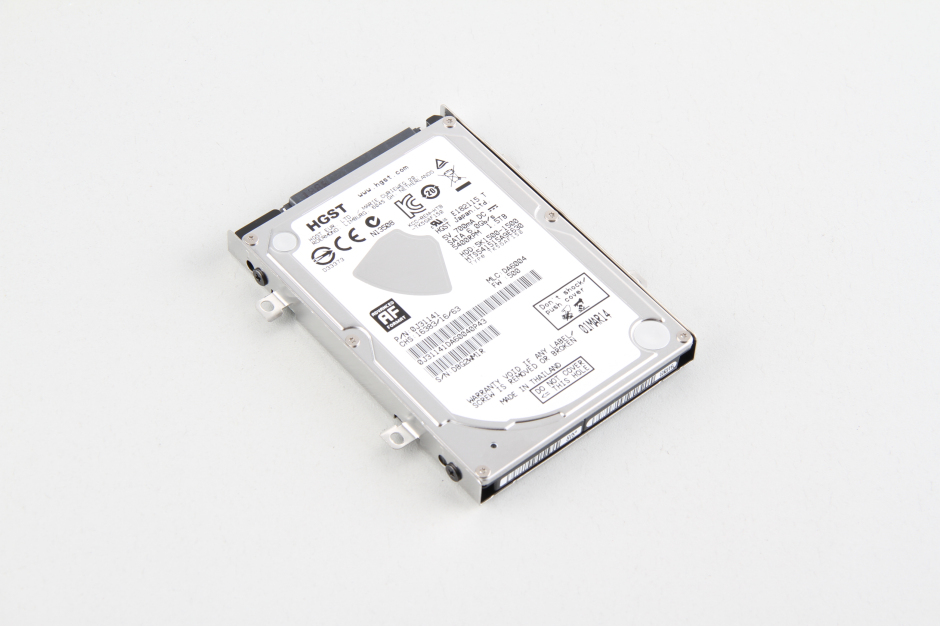
In addition to two SSDs, this laptop also comes with a mechanical hard drive.
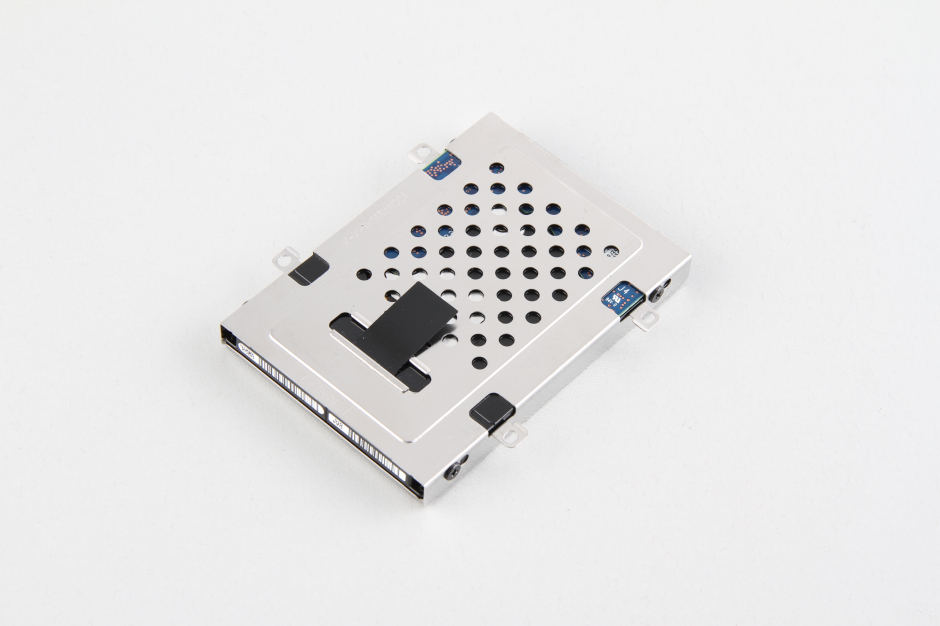
Simply lift the black tab with your finger to remove the hard drive.
In the next step, we will remove the optical drive.
Remove the screw securing the optical drive.
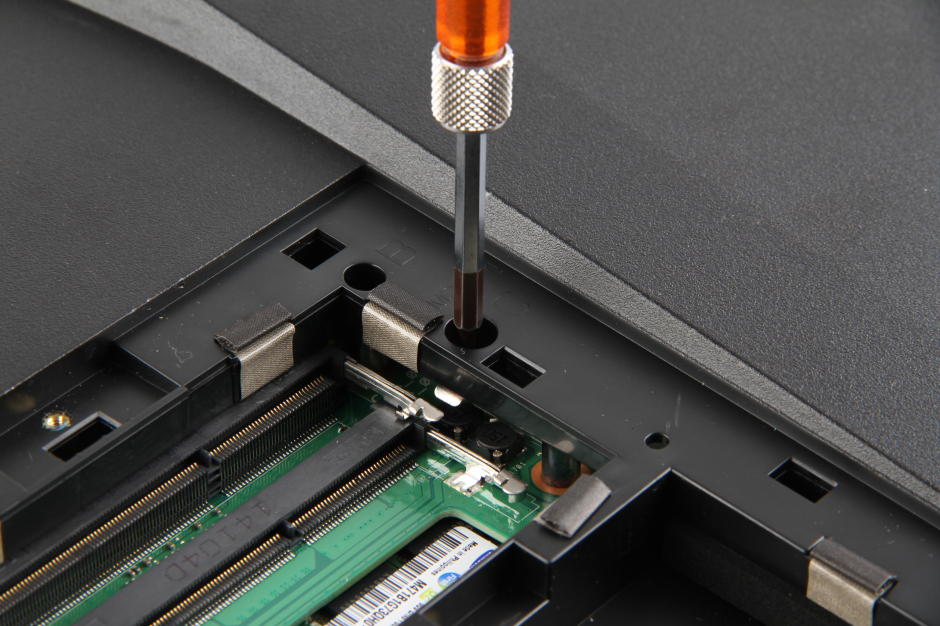
Pull out the optical drive.
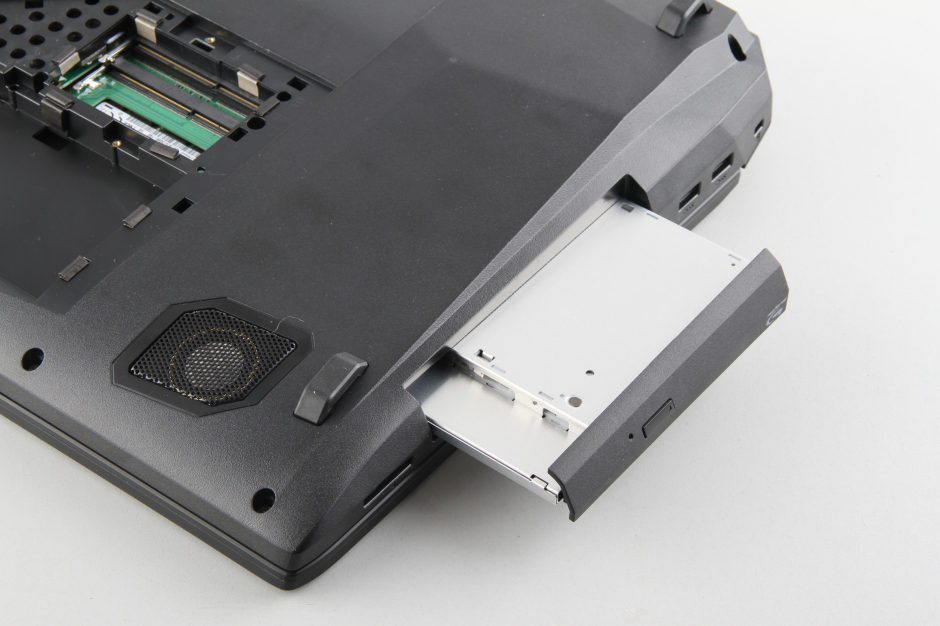
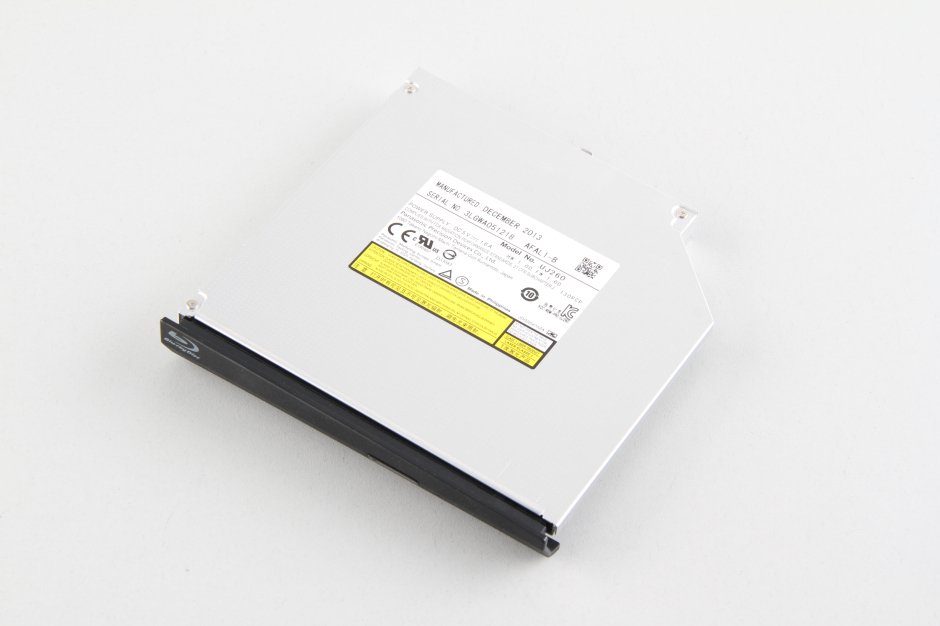
The ASUS G750Jz comes with a Panasonic UJ-260 Slim Blu-ray Burner.
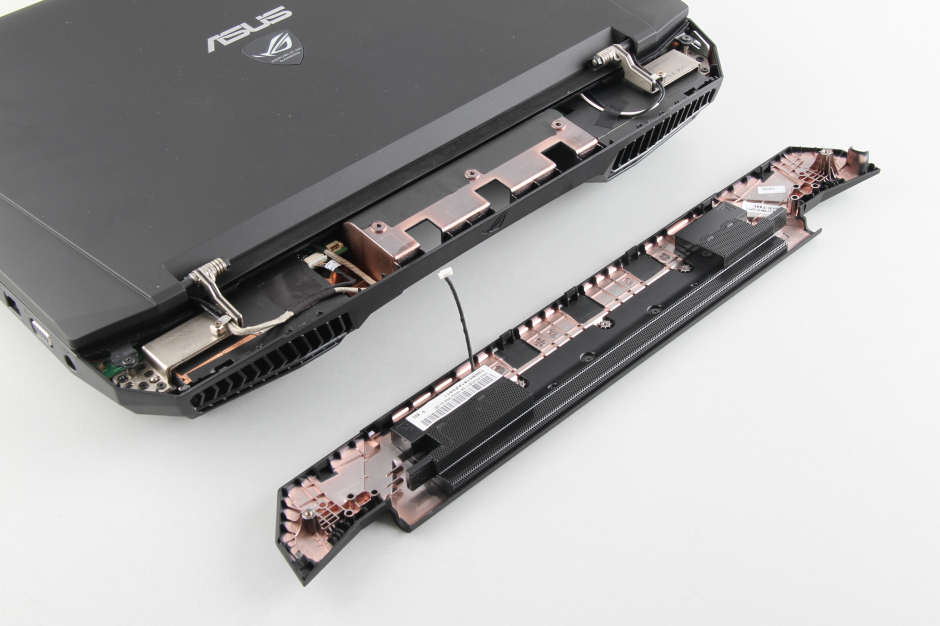
Remove all screws securing the speakers and disconnect the cable. You can remove the speaker modules.
Insert a pry tool between the palm rest and the bottom cover, and slide it to separate the palm rest from the bottom cover.
Additionally, please note that after separating the palm rest, you must still disconnect the keyboard cable and backlight cable from the motherboard.
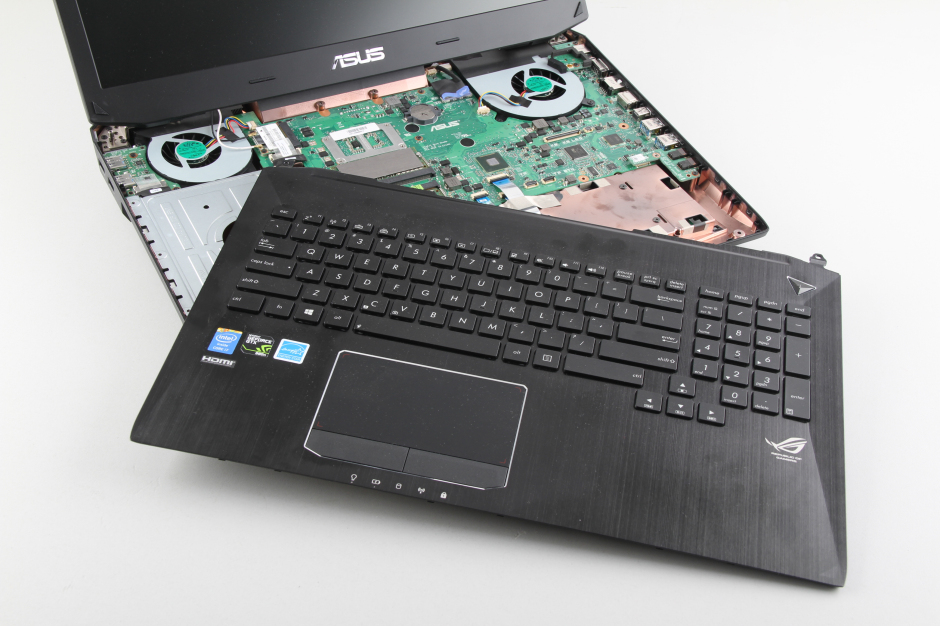
On the back of the palm rest, you can access the keyboard and touchpad.
If necessary, you can remove and replace the keyboard at this time.
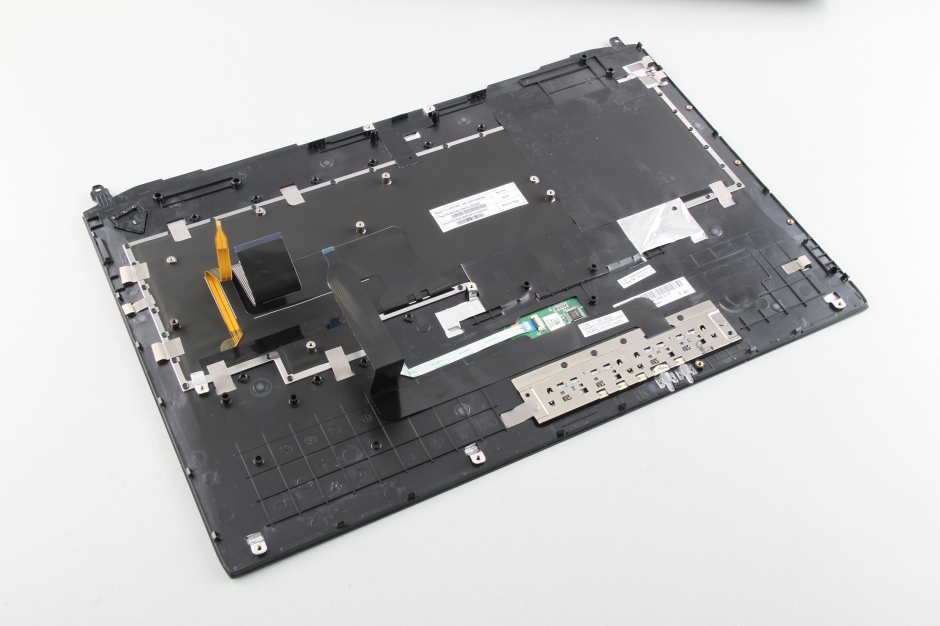
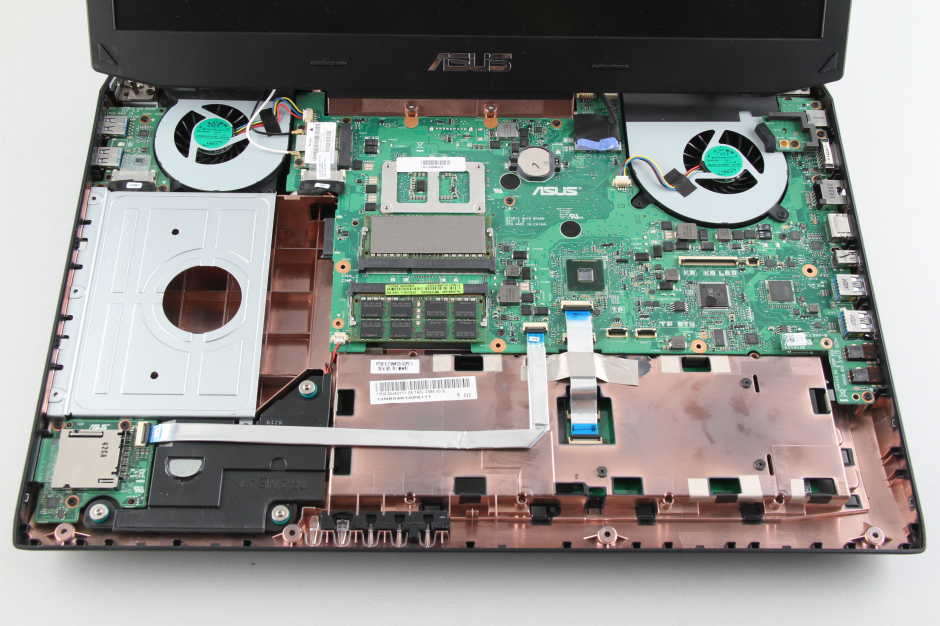
When the palm rest is removed, you can access the cooling fan, RAM, audio board, wireless card, and motherboard.
There are also two memory slots on the back of the motherboard with two memory modules installed.
The laptop comes with four Samsung 4GB DDR3L-1600MHz RAMs.
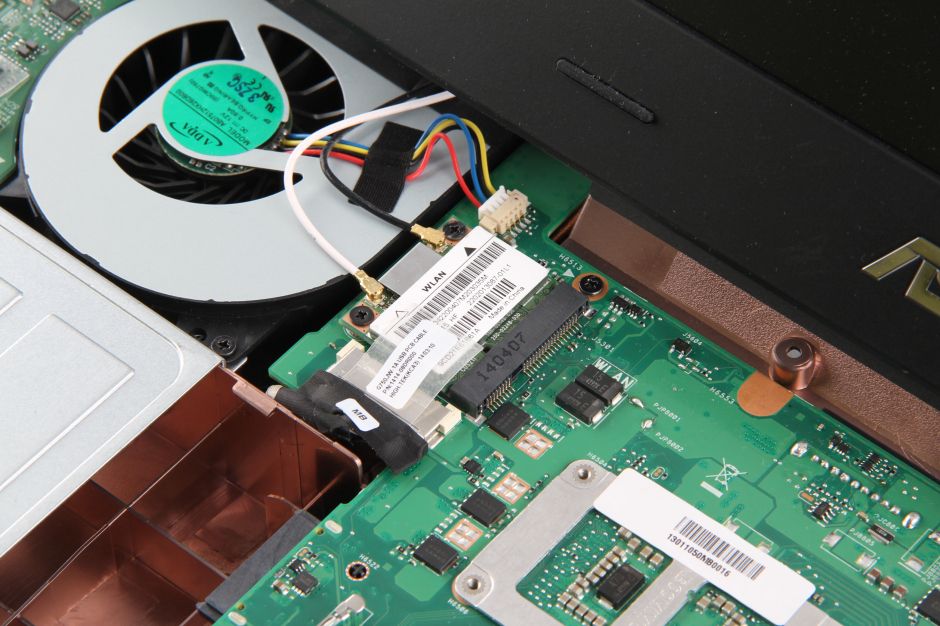
Remove the two screws securing the wireless network card and disconnect the two antenna cables. You can remove the wireless network card.
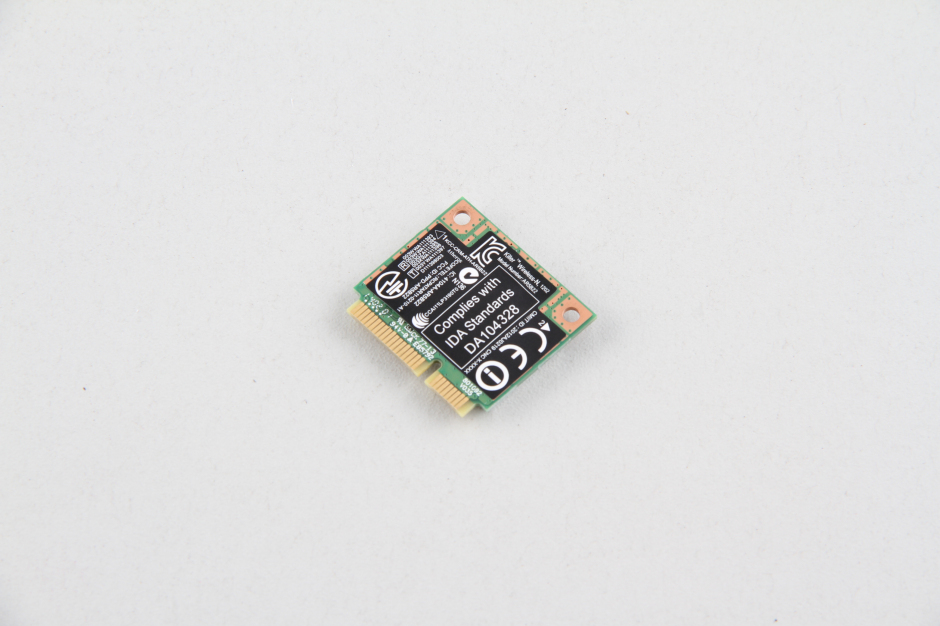
Close-up of the wireless card
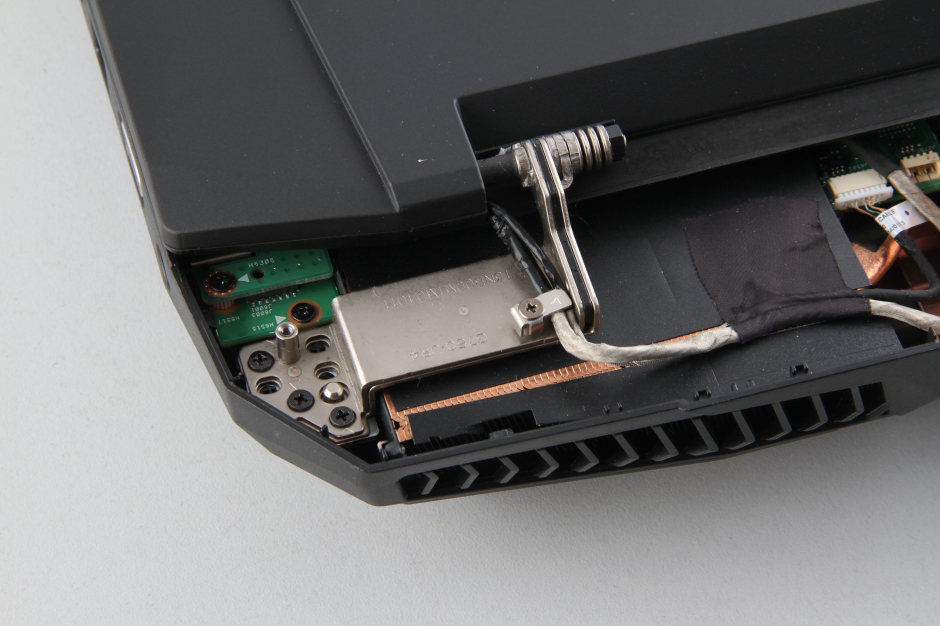
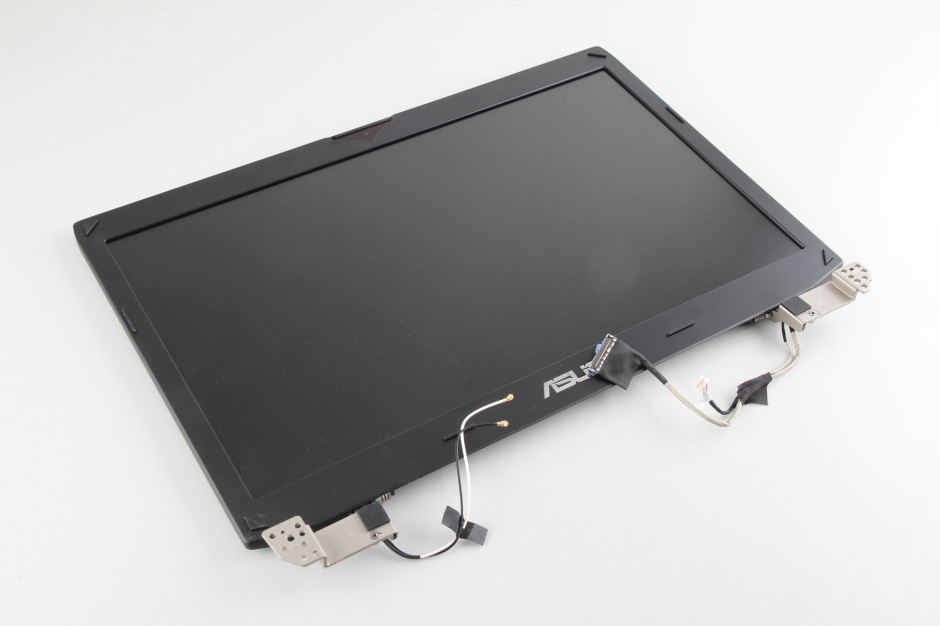
Remove the three screws securing the left LCD hinge.
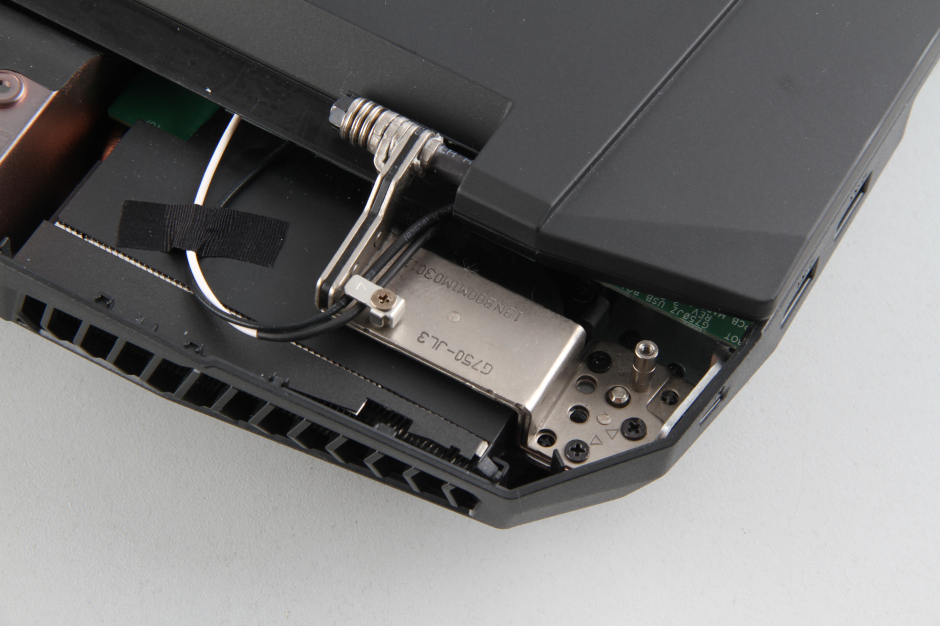
Remove the three screws securing the right LCD hinge.
Remove the LED screen assembly.
Now, remove all screws securing the motherboard and disconnect all cables connected to the motherboard.

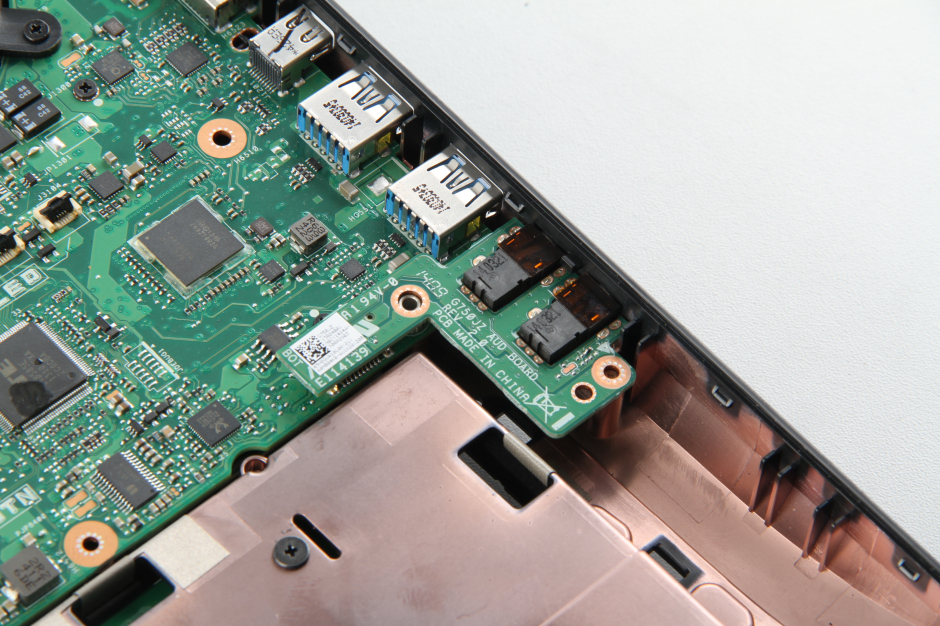
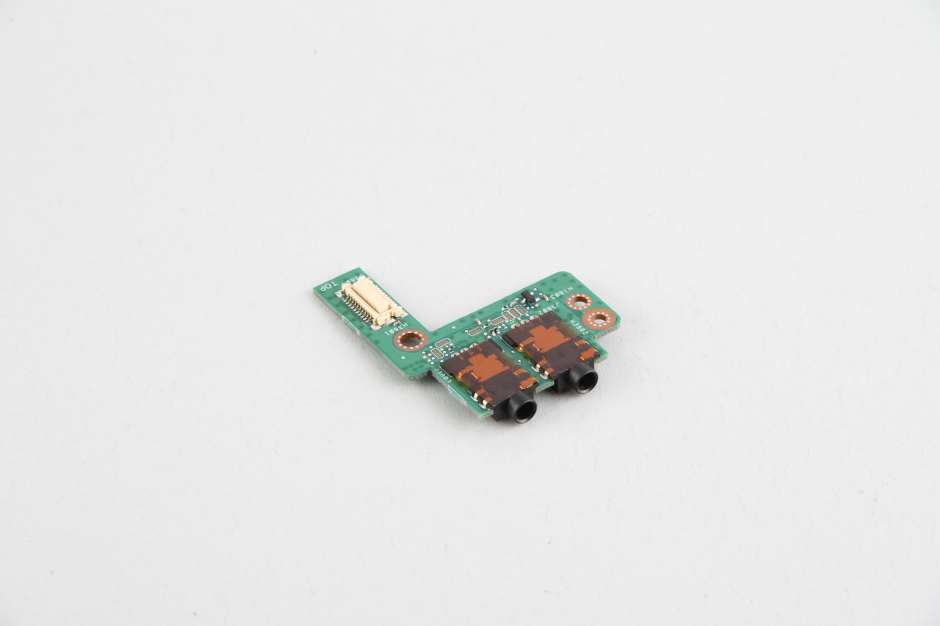
Audio jack module
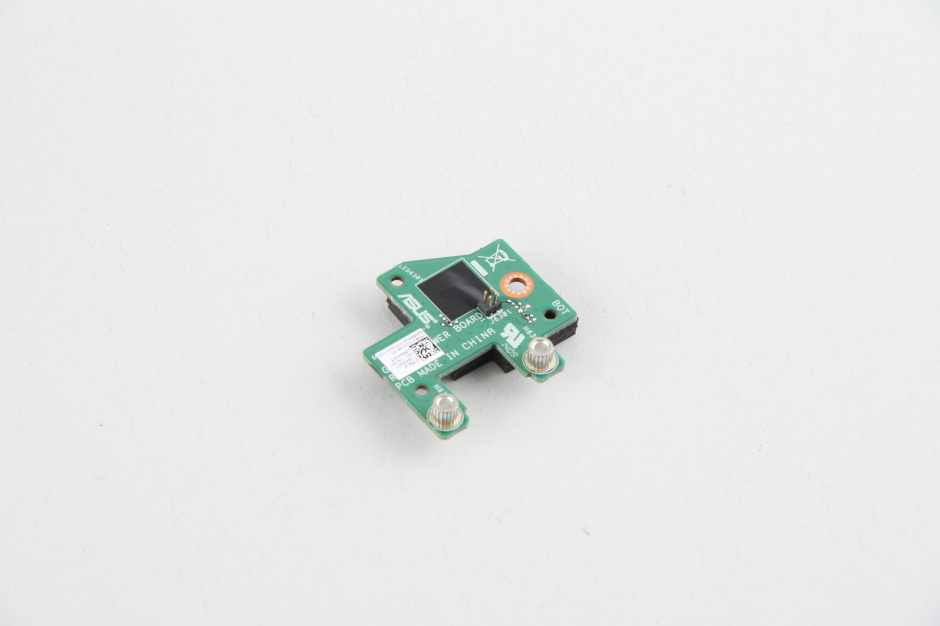
Power switching module
Asus G750jz motherboard

The cooling system of the Asus G750jz includes two fans and five heat pipes. Since there is no need to do so, I do not plan to remove the cooling system.

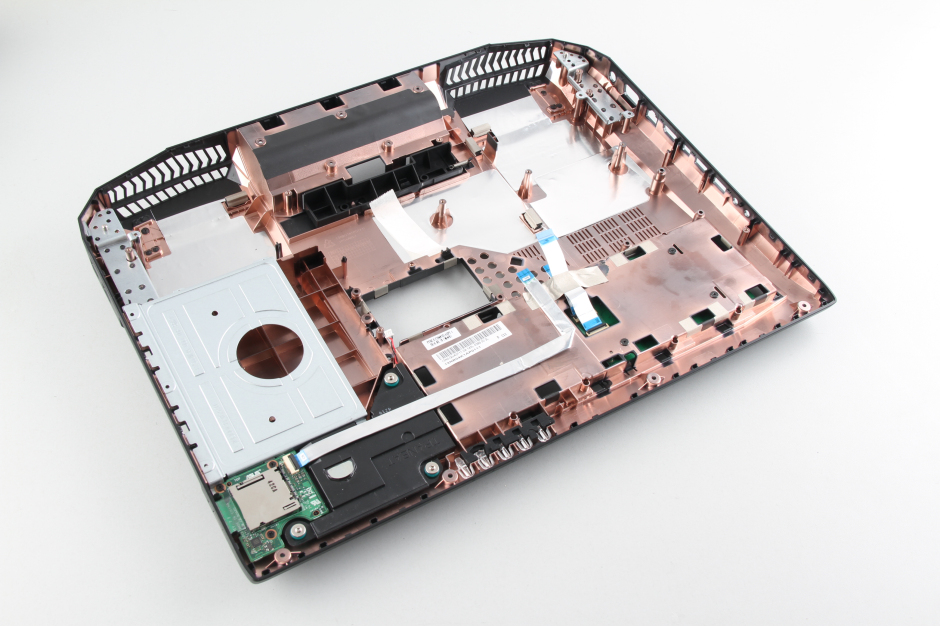
Close-up of the bottom case
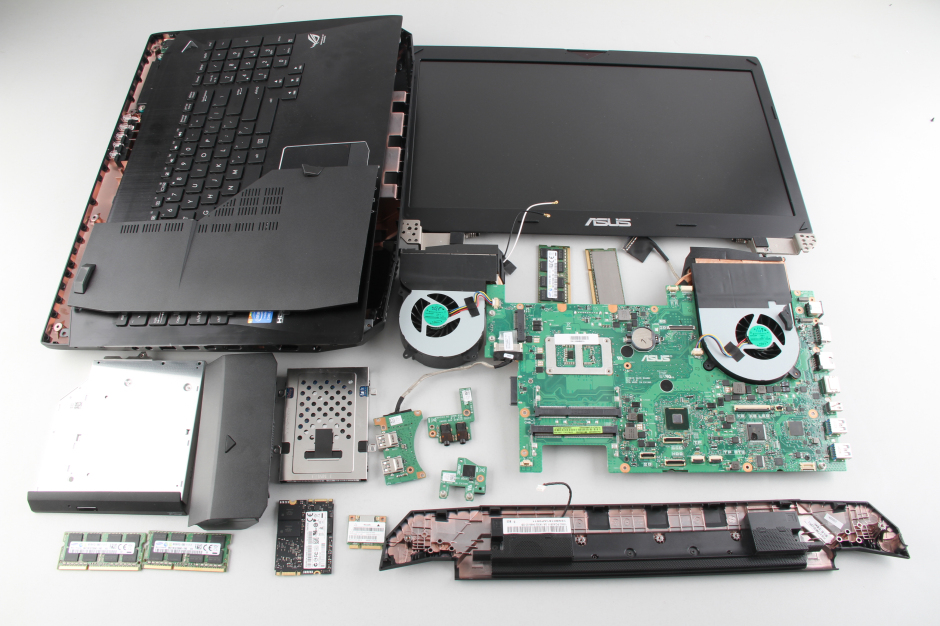
Asus G750jz internal parts

Thanks for this tutorial. It was a great help to me.
Can you please tell us which screws go where?
From above: “Turn over the laptop. Pry up and remove the palm rest and keyboard.”
I found it impossible to do.