
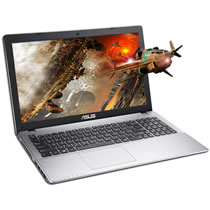
In this guide, I will explain how to disassemble the Asus ROG GL552JX to remove the back cover, cooling fan, optical drive, hard drive, SSD, RAM, and motherboard.
Looking for more guides? Follow us on Facebook for all the latest repair news.

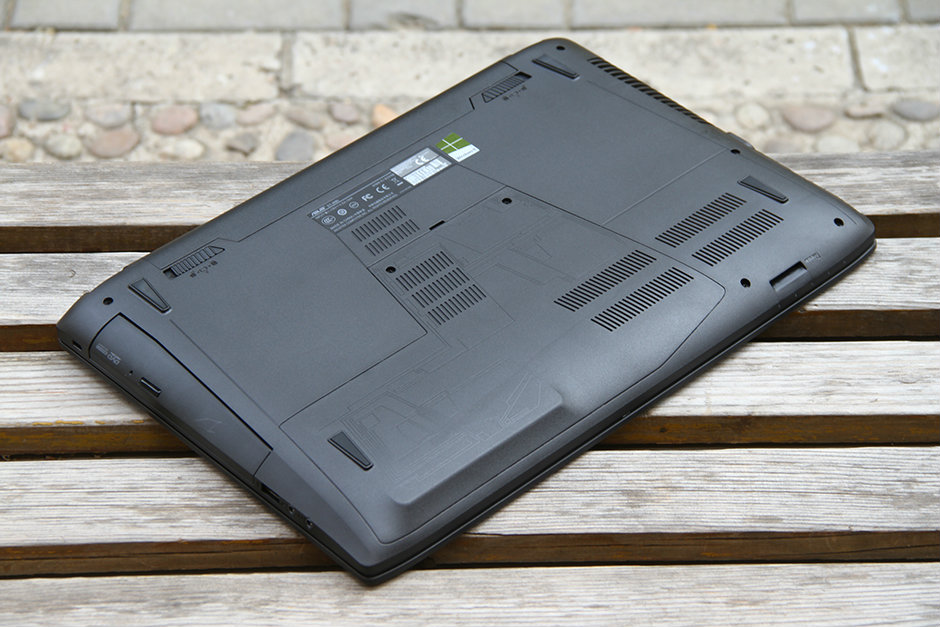
Unlock the latches on both sides of the battery and remove the battery.
Remove the two screws securing the service cover.
Remove all screws securing the bottom cover.
Sliding down the service cover and removing it.
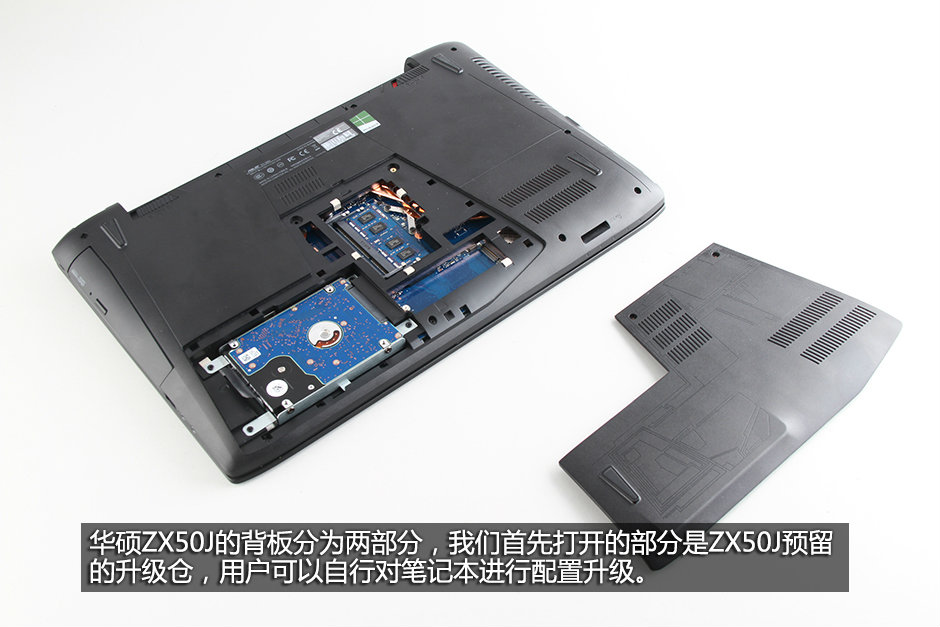
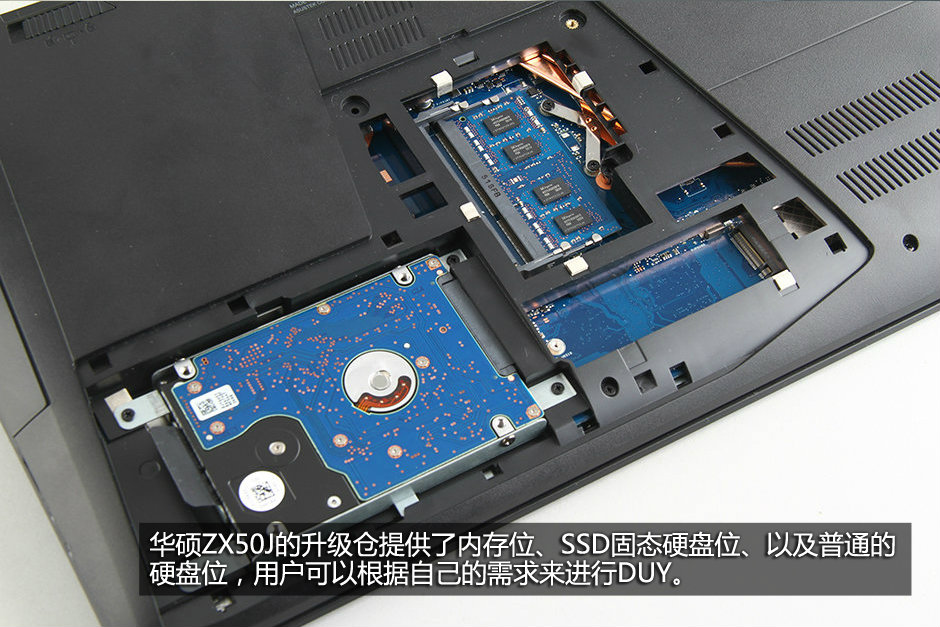
Under the cover, you can access the hard drive, RAM, and spare M.2 SSD slot.
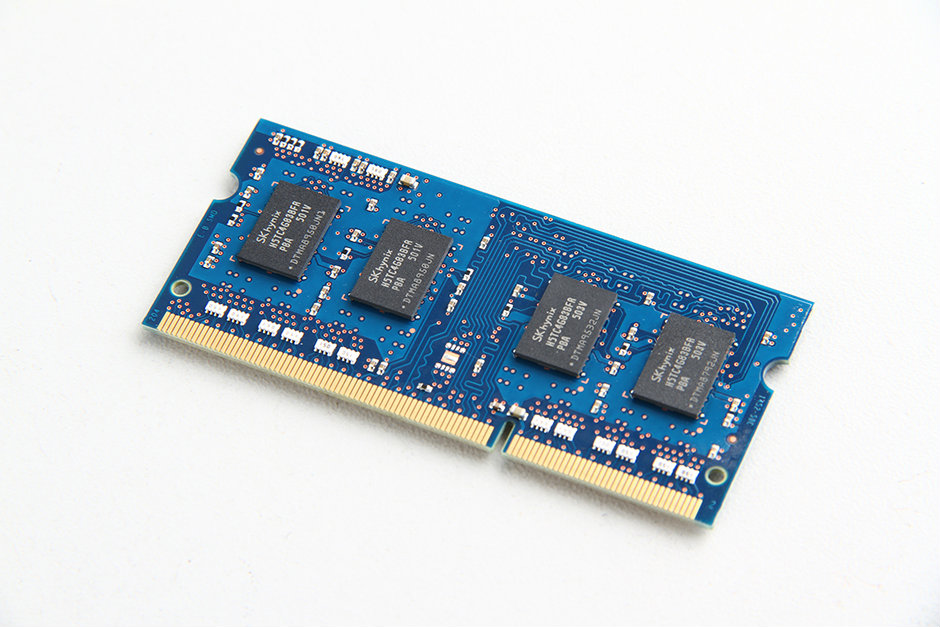
The Asus ROG GL552JX has two memory slots, but only has one memory module installed. You can add another memory module to upgrade the memory.
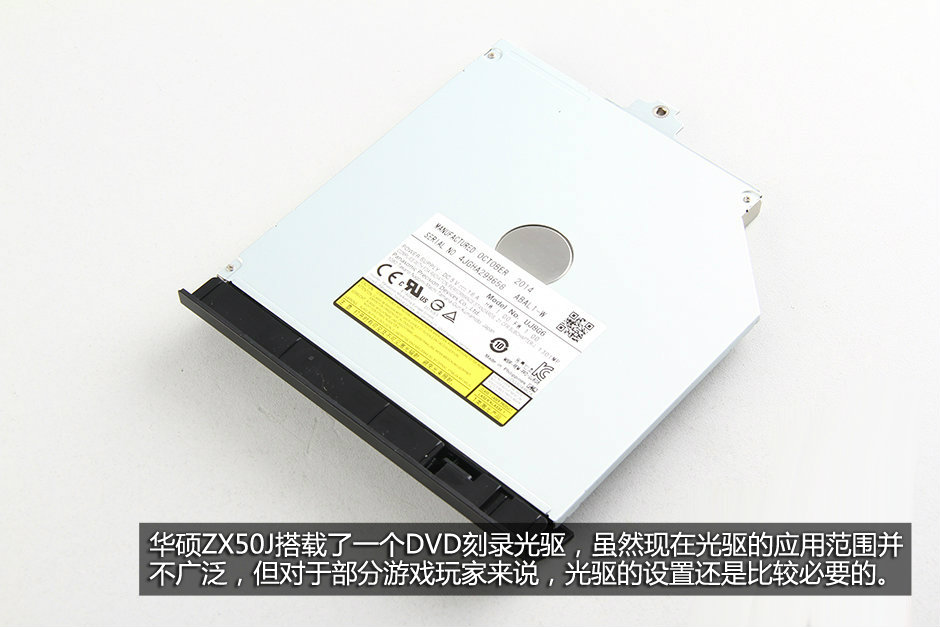
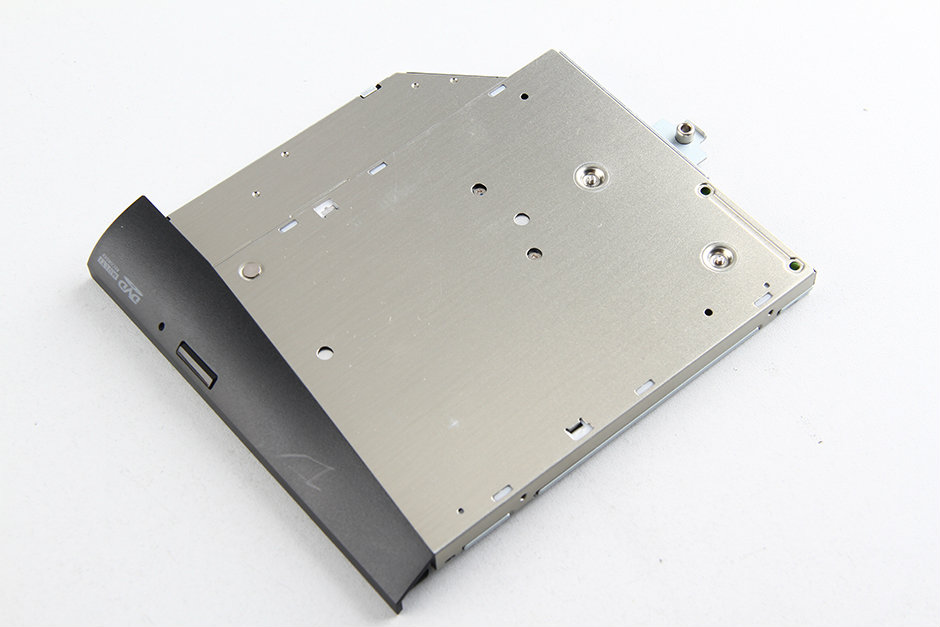
Pull out the optical drive. The DVD burner model is a MATSHITA UJ8G6.
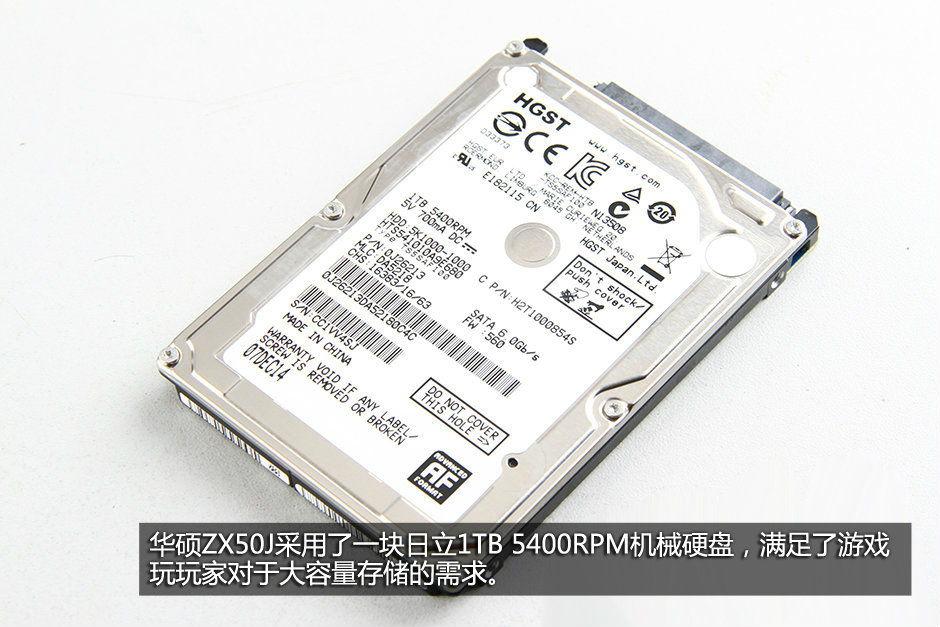
Remove the four screws securing the hard drive module and remove it.
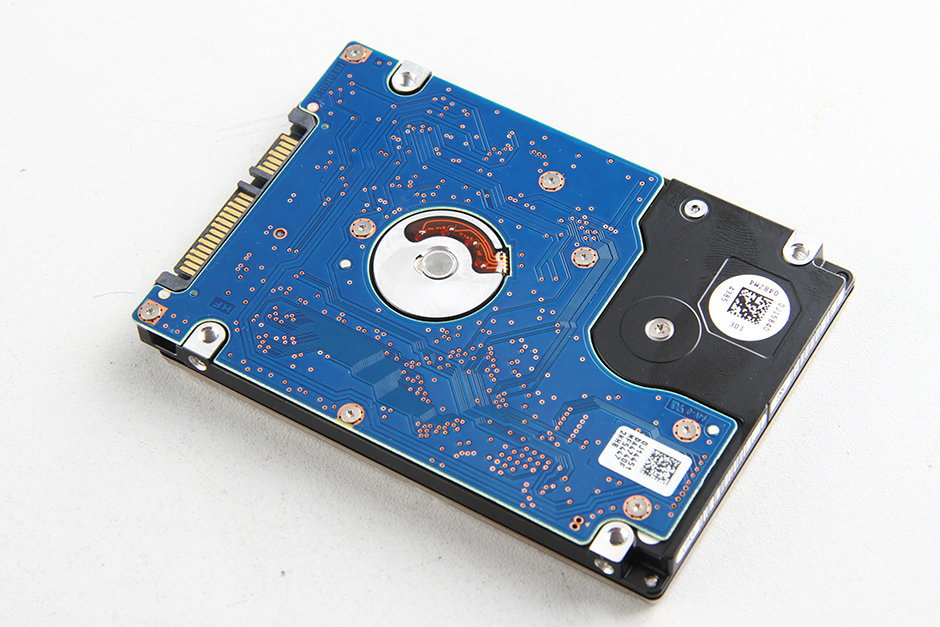
The Asus ROG GL552JX comes with an HGST 1TB 5400 RPM hard drive.
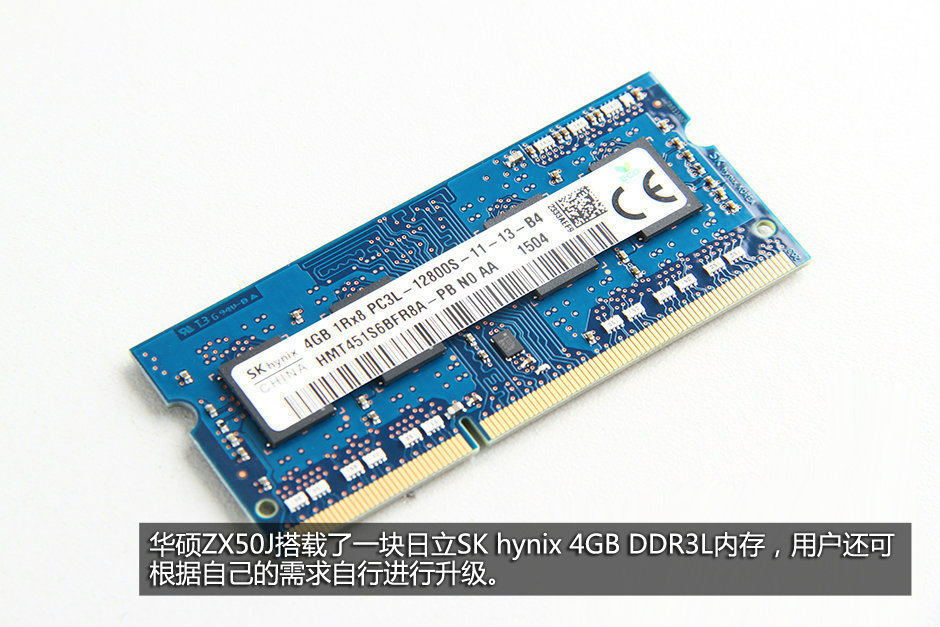
The laptop comes with an SK Hynix 4GB PC3L-12800S 1600MHz RAM module.
Turn over the laptop, pry up the palm rest with a crowbar, and you can use a pick to separate the two parts.
Insert it under the top cover and move slowly along the side to unlock hidden latches.
Lift the palm rest, disconnect the keyboard cable, backlit cable, and touch cable from the motherboard.

On the back of the palm rest, you can access the keyboard and touchpad. The keyboard is soldered to the palm rest. If you need to replace the keyboard, you must use a soldering iron to melt the plastic anchors and remove the metal plate securing the keyboard before you can access it.
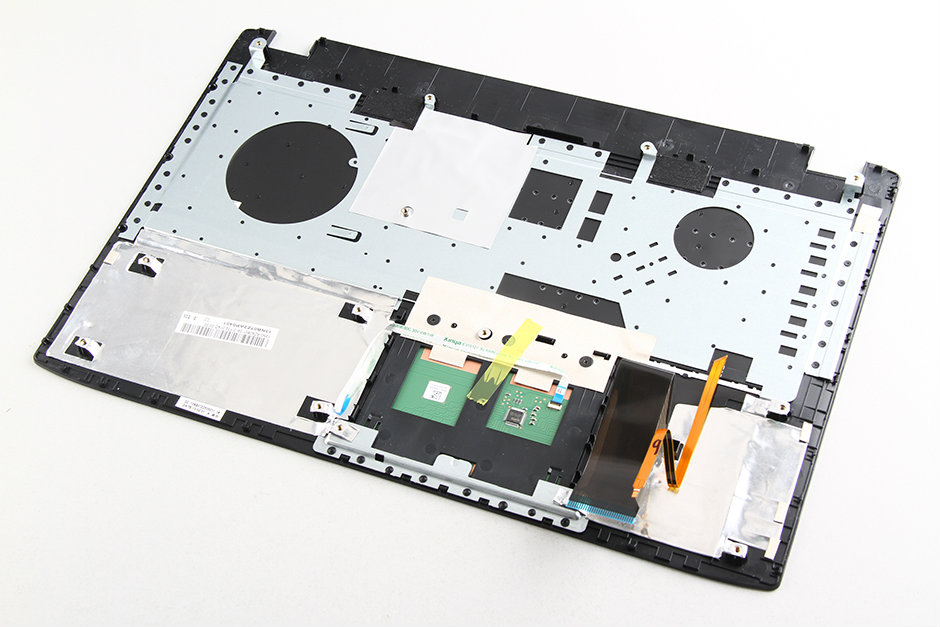
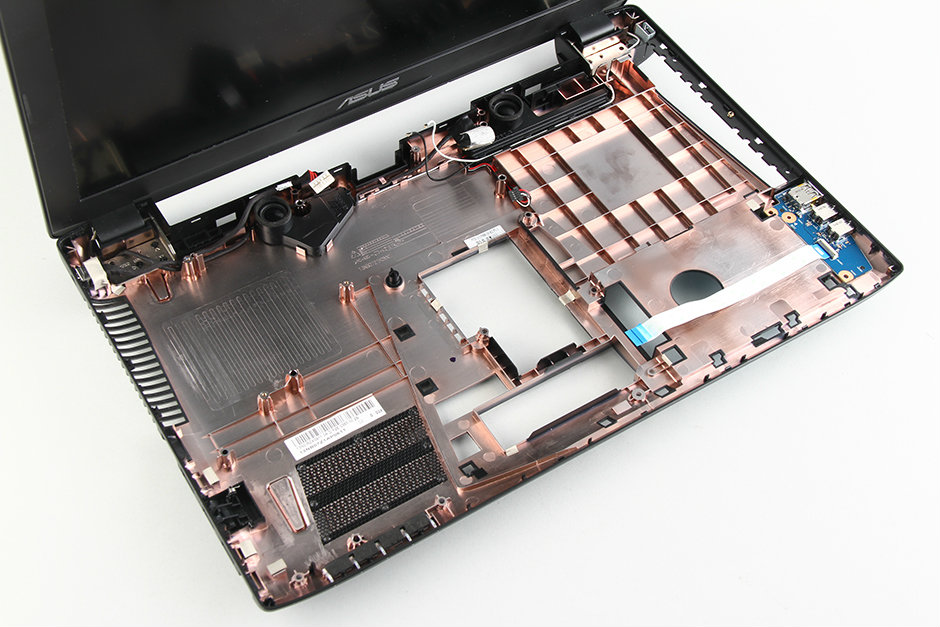
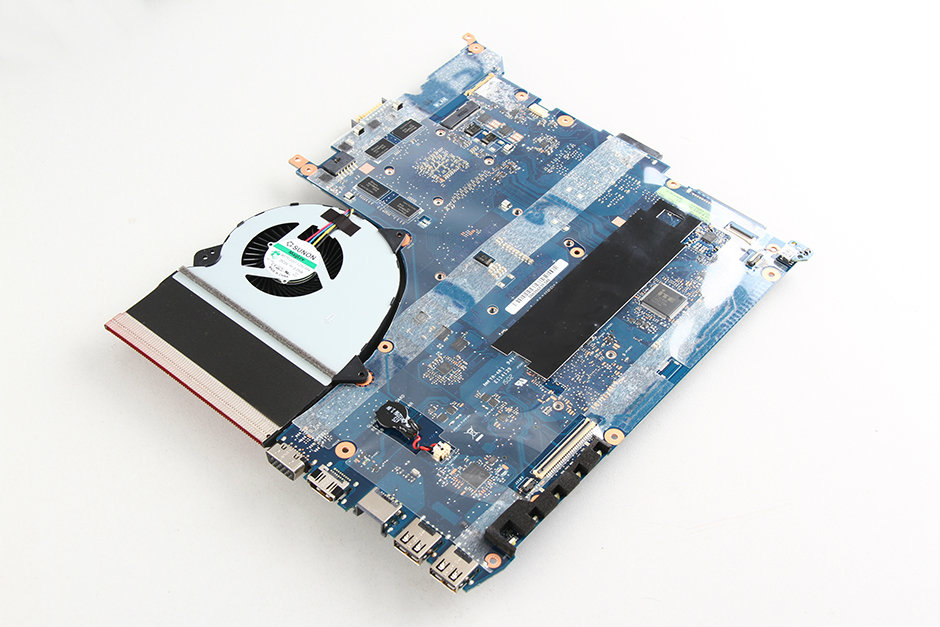
Under the palm rest, you can access the motherboard, wireless card, and USB board.
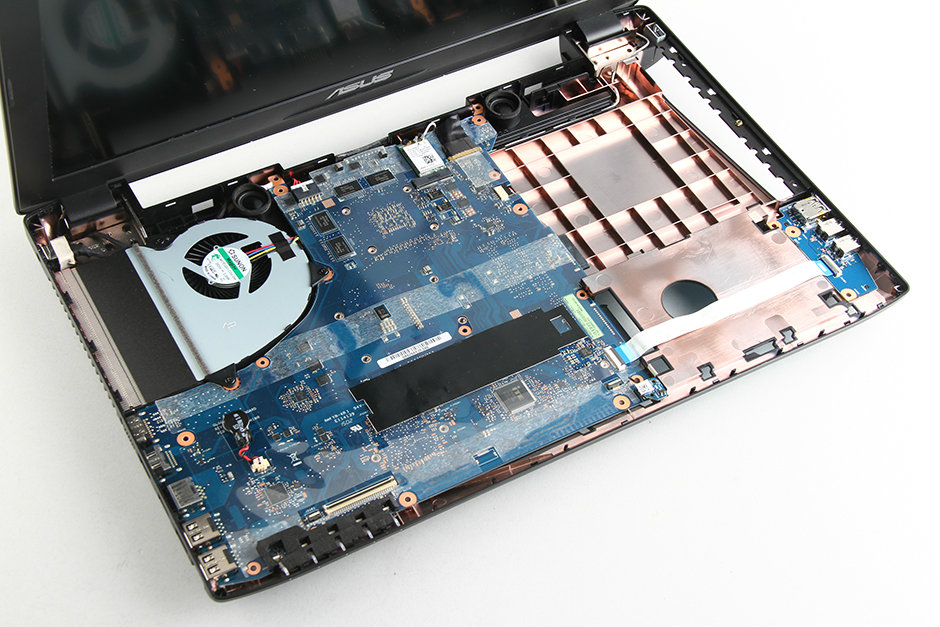
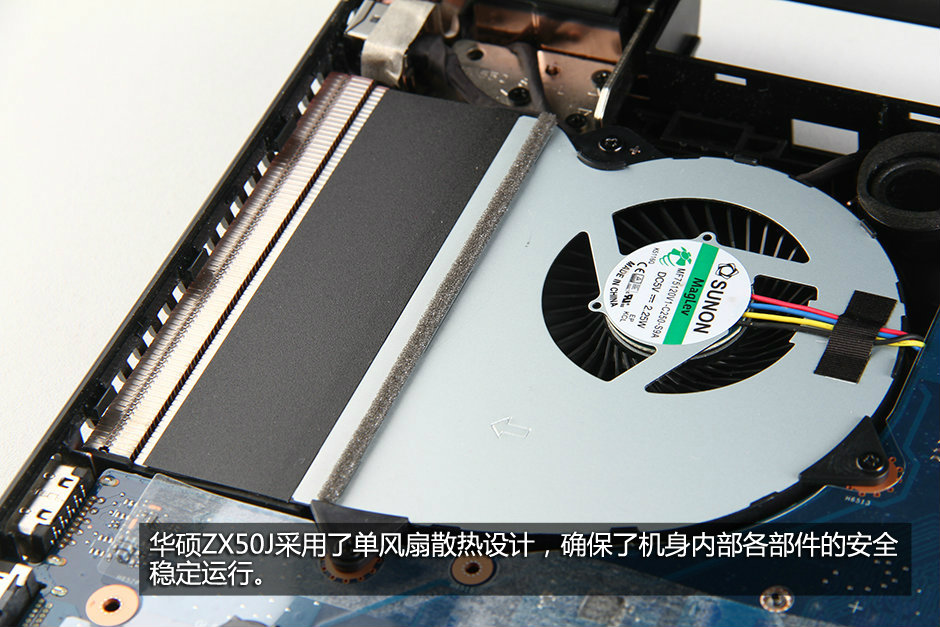
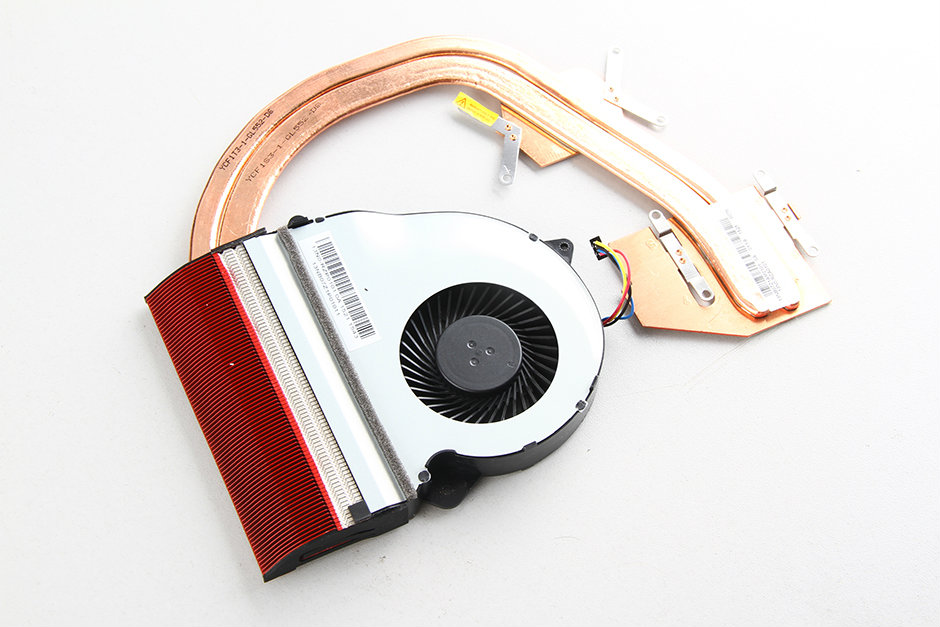
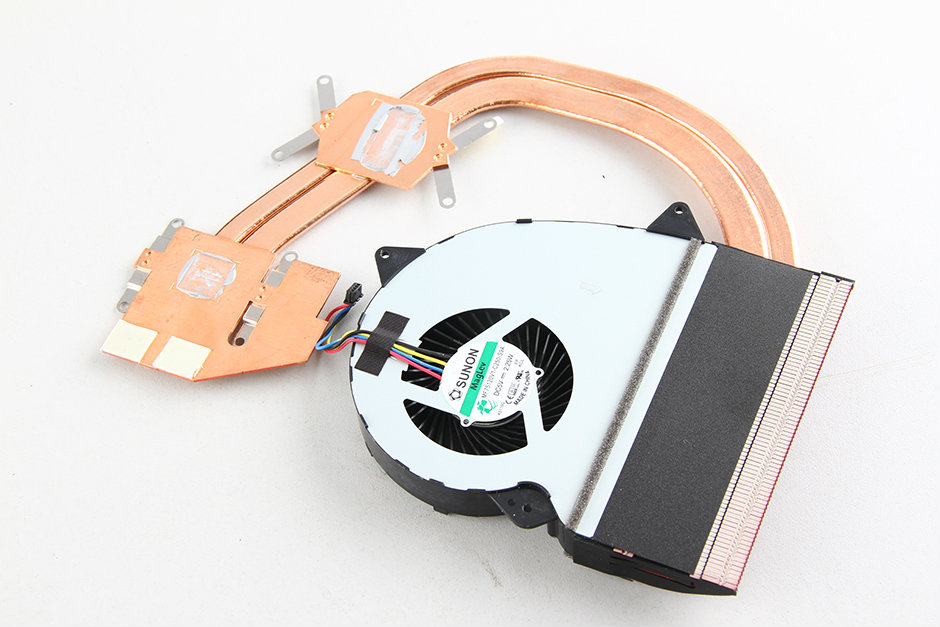
The Asus ROG GL552JX cooling fan comes from Taiwan SUNON.
Unplug two wireless antenna cables and remove the screw securing the wireless card.
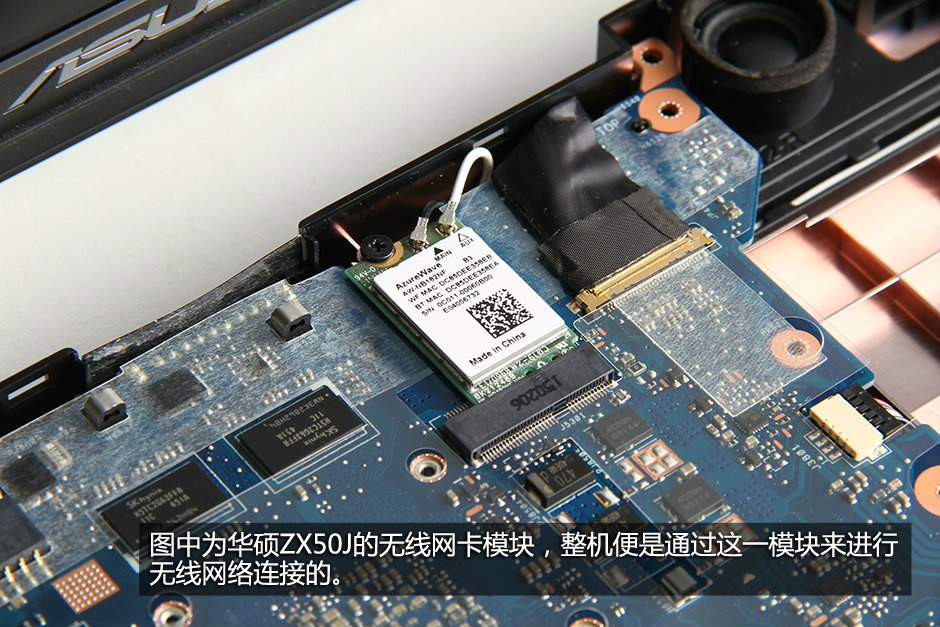
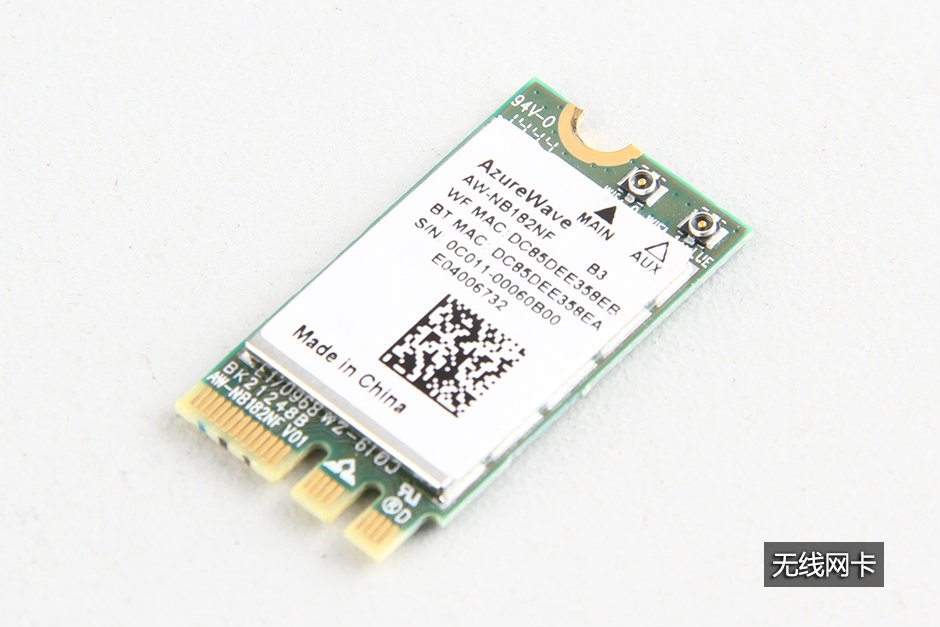
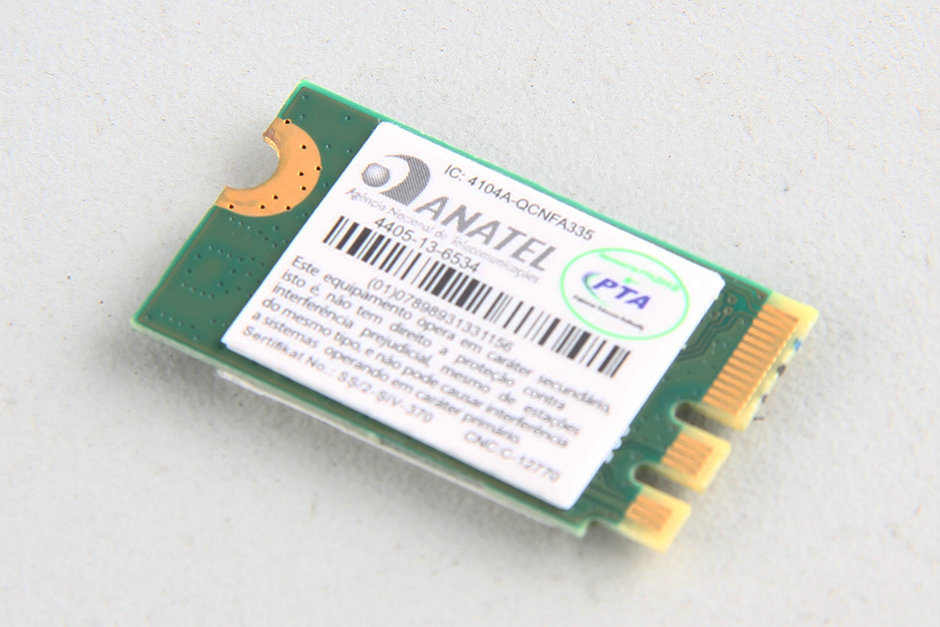
The Asus ROG GL552JX features an Azurewave AW-NB182NF wireless card.
Remove all screws securing the motherboard and disconnect all cables connecting to the motherboard.
Lift the motherboard from one side with your hand and wiggle it until it separates from the bottom cover.
Remove the eight screws securing the heat sink and disconnect the cooling fan cable from the motherboard.
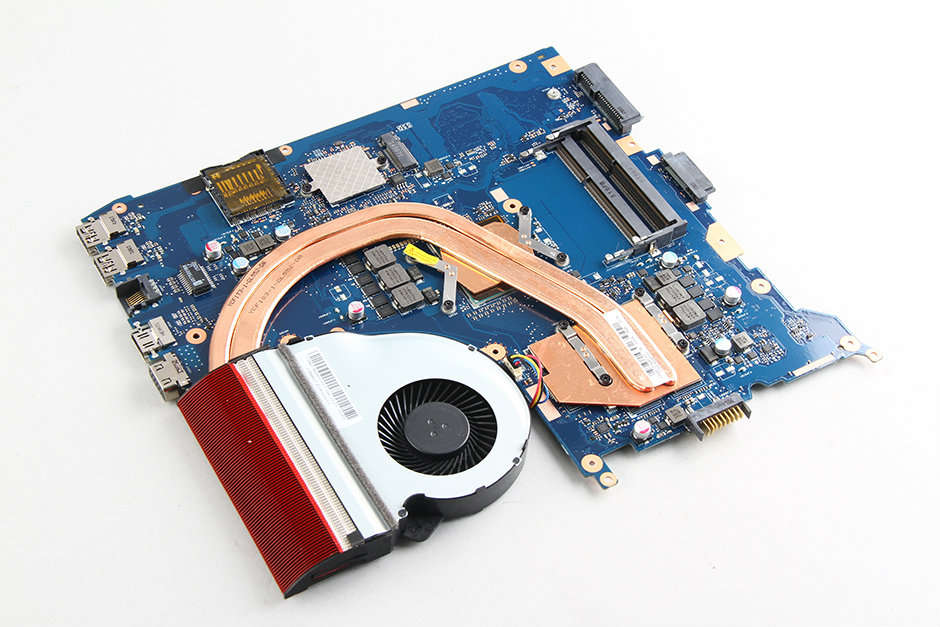
The cooling system of the Asus ROG GL552JX consists of two copper pipes and one CPU fan.
The Intel Core i7-4720HQ processor of the Asus ROG GL552JX is soldered onto the motherboard, so its processor cannot be replaced.

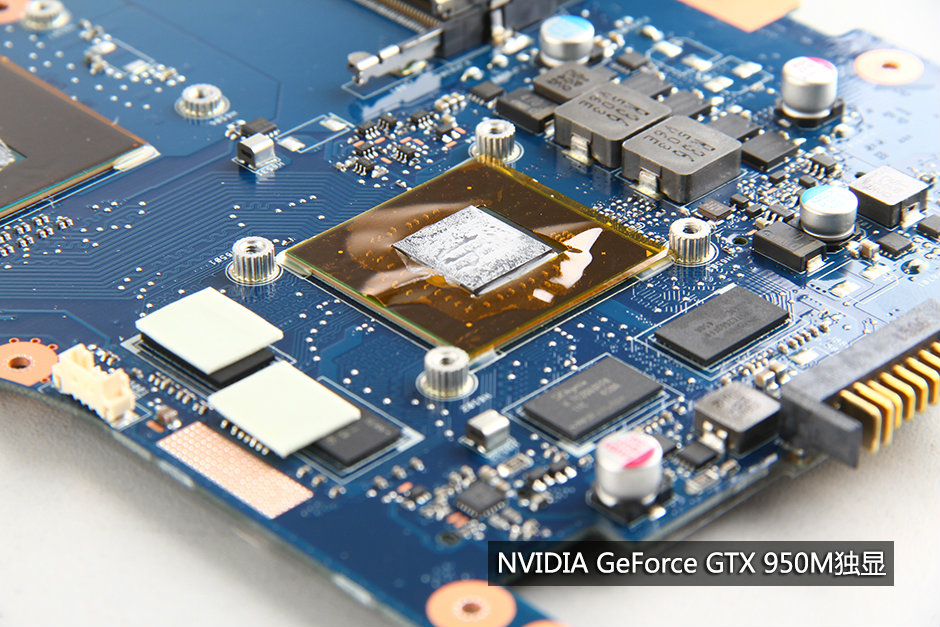
NVIDIA GeForce GTX 950M graphics card
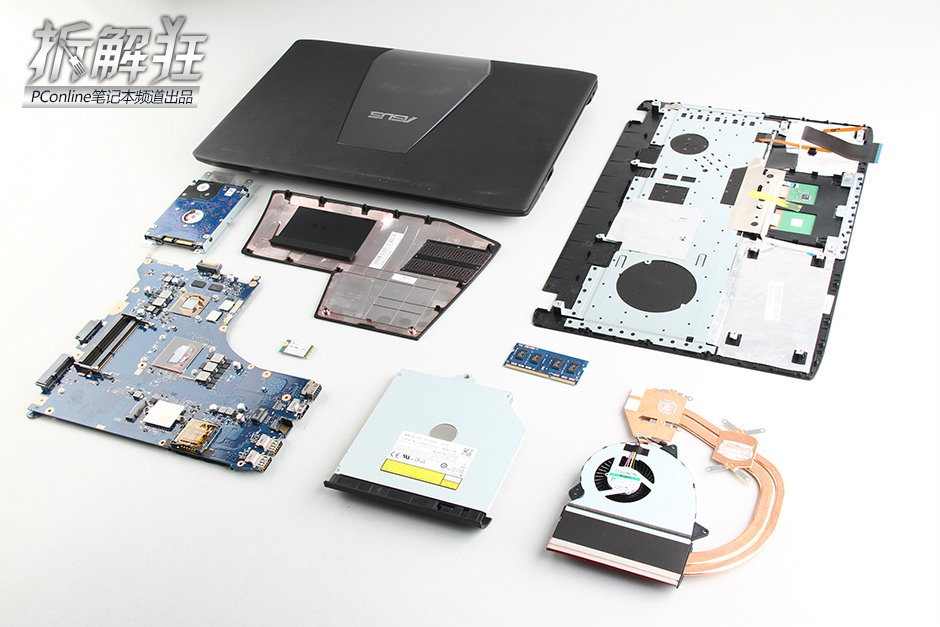
Asus ROG GL552JX internal parts
Source: pconline.com.cn
Thanks for the instructions. It helped me to disassemble my GL752vw.
thx for this guide so much
My Asus ROG GL552vx laptop restarts when pressed near the palm rest area. Even a slight movement causes the restart. From the pictures, I believe it is the position of the CMOS battery. Will the movement of the CMOS battery during boot-up cause these shutdowns? Please advise.