In this guide, I will explain how to disassemble the Dell Inspiron N5010. I will remove the RAM, DVD drive, keyboard, palm rest, heat sink, cooling fan, and motherboard.
Looking for more funny teardowns? Follow us on Facebook for all the latest repair news.
Make sure to turn off your laptop.
Unlock and remove the battery.
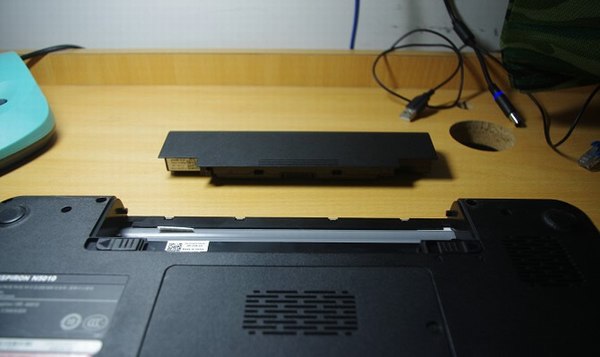
Remove all screws from the bottom case.
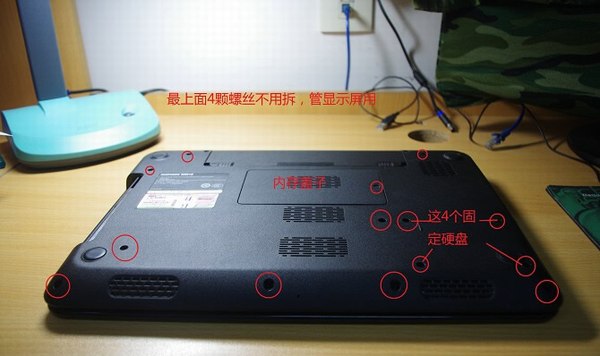
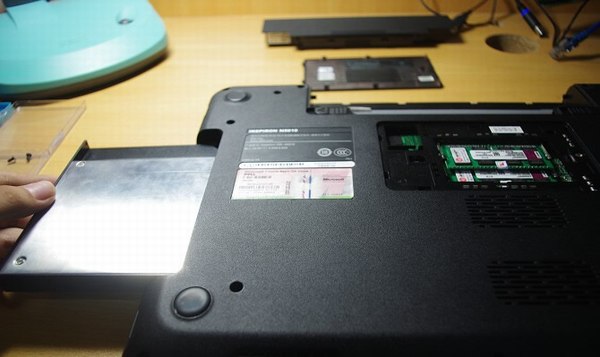
Lift and remove the service cover.
Remove the two screws securing the DVD drive and keyboard.
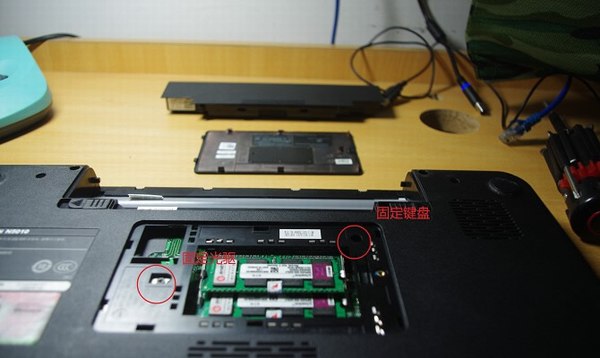
Use your nails to separate the clips on both sides and then remove the memory module.
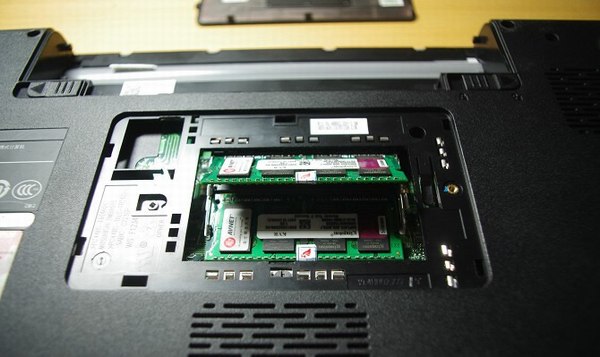
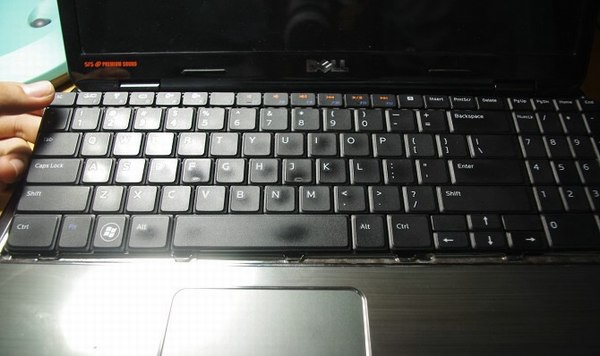
There are four spring-loaded latches securing the keyboard on the top. Press down on the latches with a screwdriver while gently lifting the keyboard upward.
Do the same with all remaining latches.
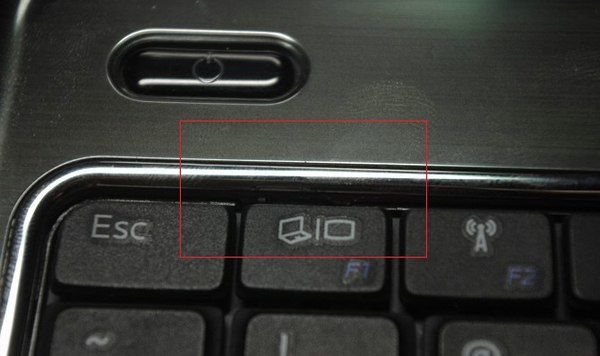
Lift the keyboard from the top with your hands.
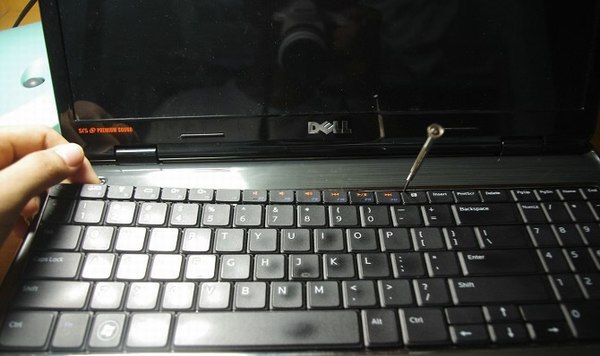
Turn the keyboard upside down. Place it on the palm rest.
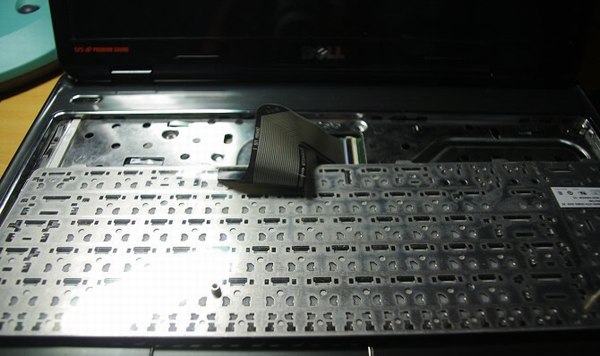
Now, you can access the cable connector. Lift the left side of the locking tab. It will open up at a 90-degree angle. Then, pull out the keyboard cable and remove the keyboard.
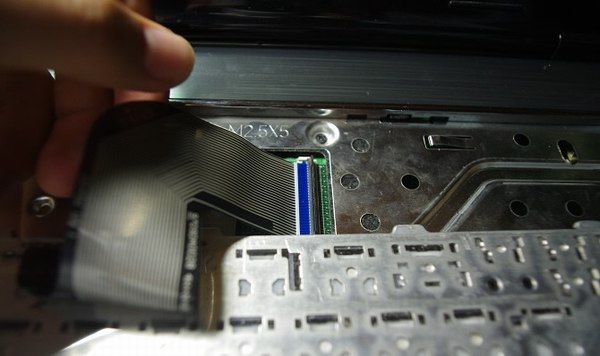
Remove the five screws securing the palm rest.
Disconnect the power button cable, status light cable, and touchpad cable from the motherboard.
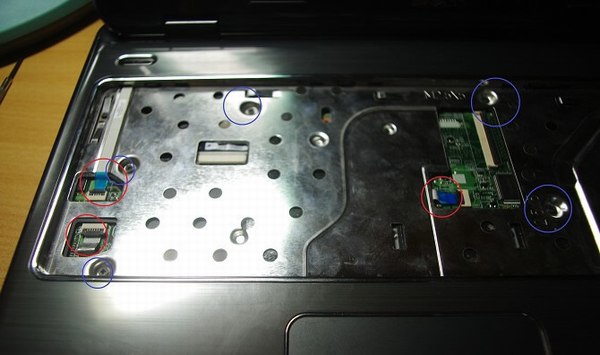
Insert a pry tool under the palm rest and move it to separate the palm rest from the laptop.
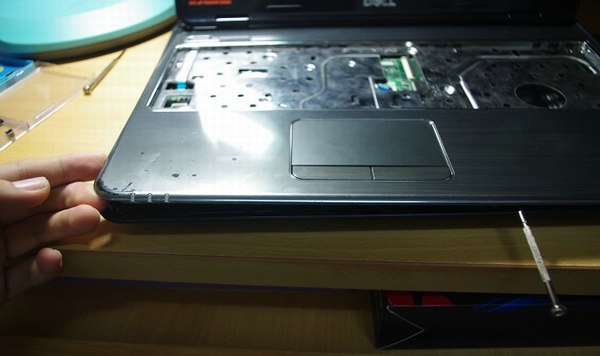
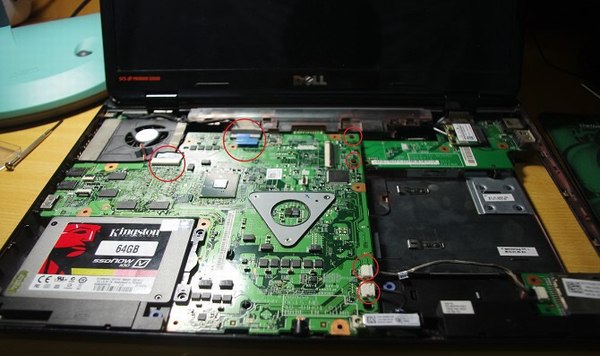
Remove the two screws securing the motherboard.
Disconnect the four cables from the motherboard and remove the motherboard.
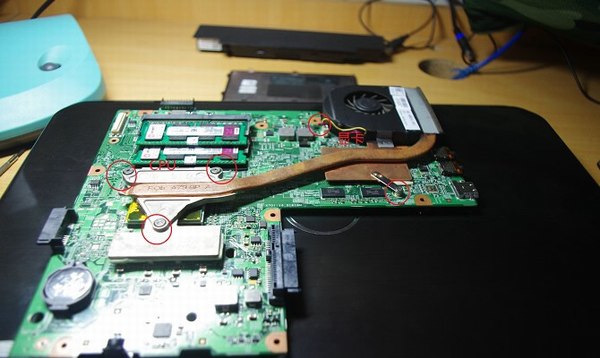
Remove the screws securing the heat sink and disconnect the cooling fan cable. You can clean up the cooling fan.


How to assemble it back? Please make the disassembly more detailed and show each step. I am not a computer expert and would like to clean my laptop myself. Thank you.
Thank you, very good description and instructions.
Didn’t have any problems following the guide.
Thank you again!