
In this guide, I will explain how to disassemble the Dell XPS 15 L502X and L501X to remove the hard drive, RAM, keyboard, palm rest, screen, heat sink, and cooling fan.
Want to keep in touch with us? Follow us on Facebook for more repair news.
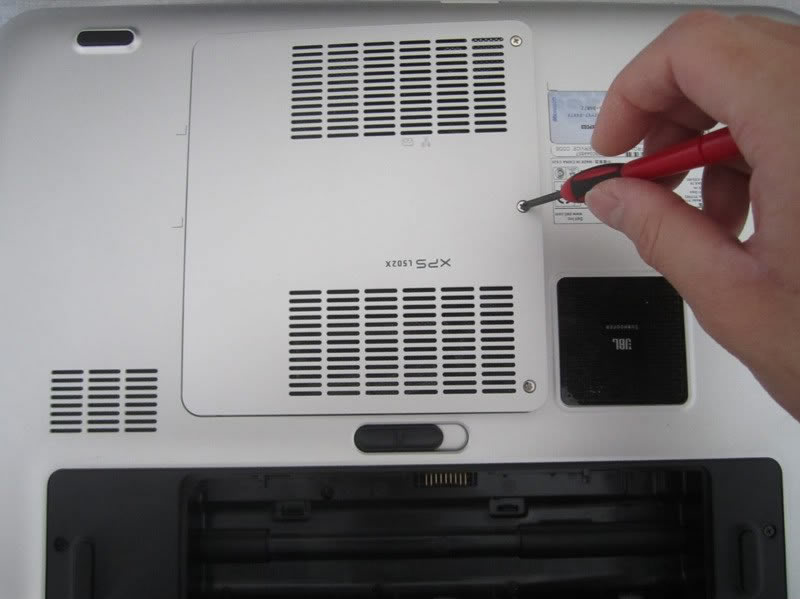
Turn off the laptop, slide the battery switch to the right, and remove the battery.
Loosen the three screws securing the memory and wireless card cover. Use a flathead screwdriver to pry up and remove the cover.
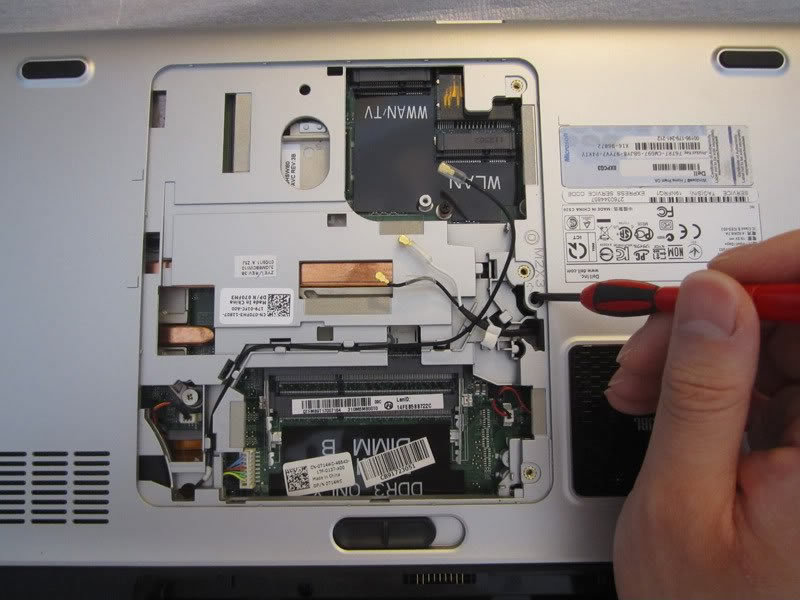
Under the cover, you can access the RAM and wireless card.
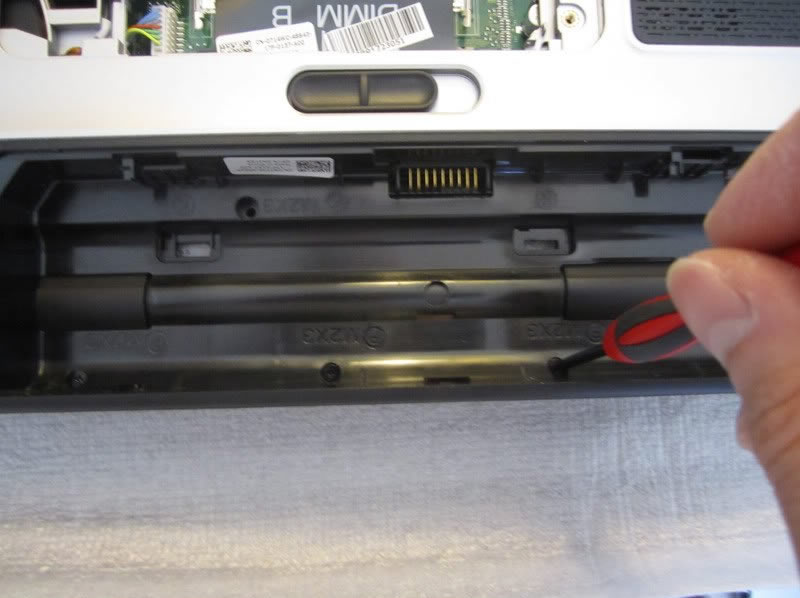
Remove one screw securing the optical drive.
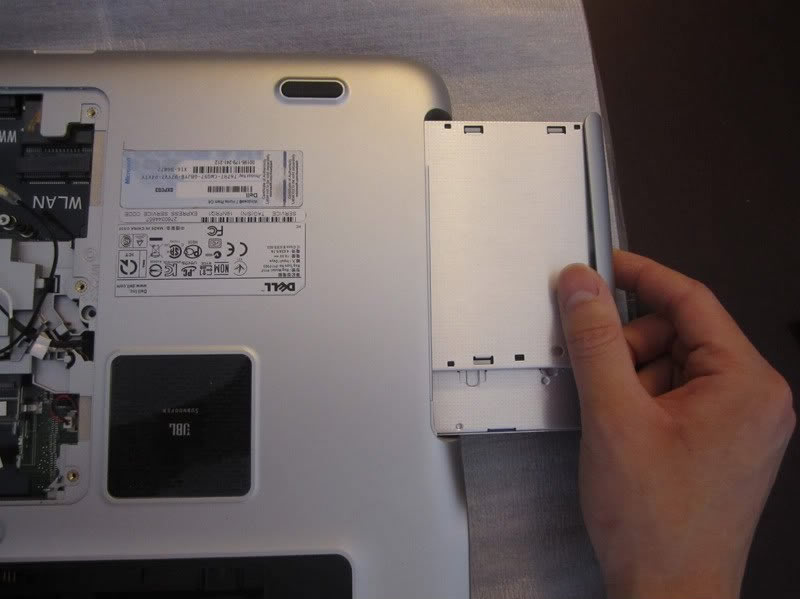
Pull the optical drive from the laptop and remove it.
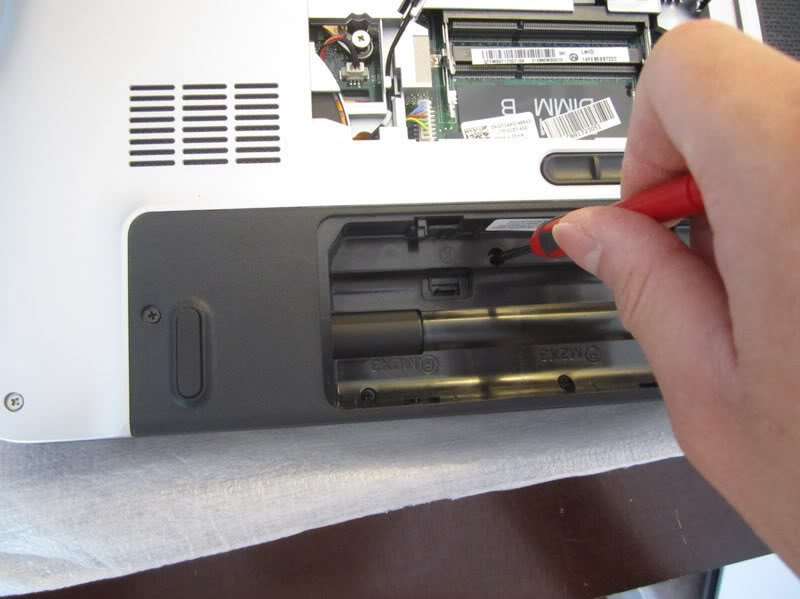
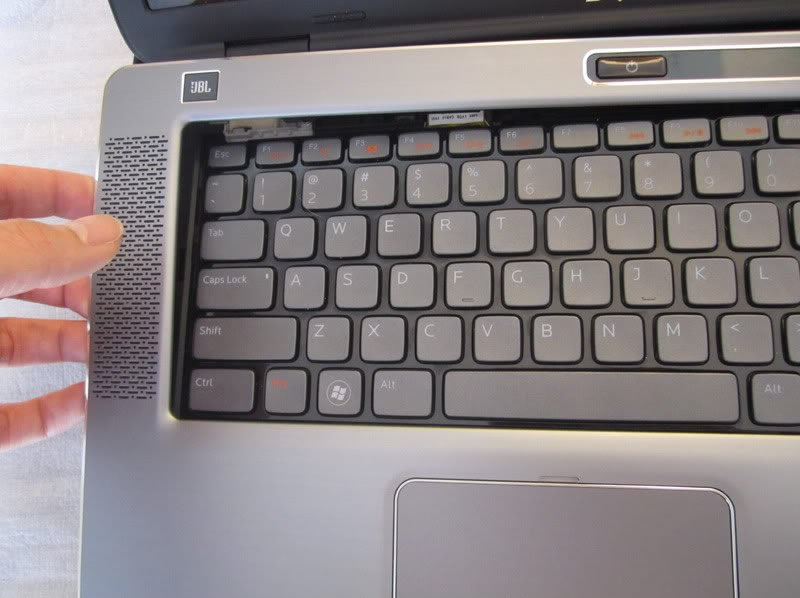
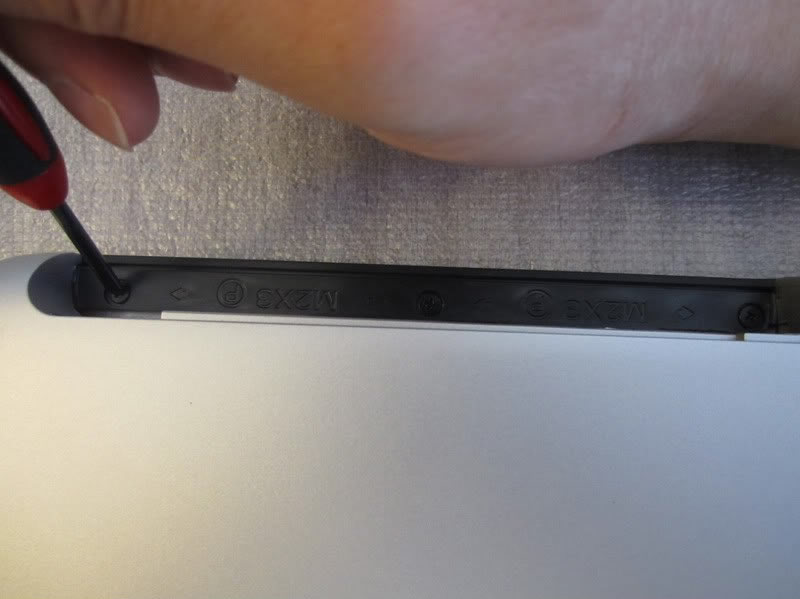
Remove one screw securing the palm rest and release two latches securing the palm rest.
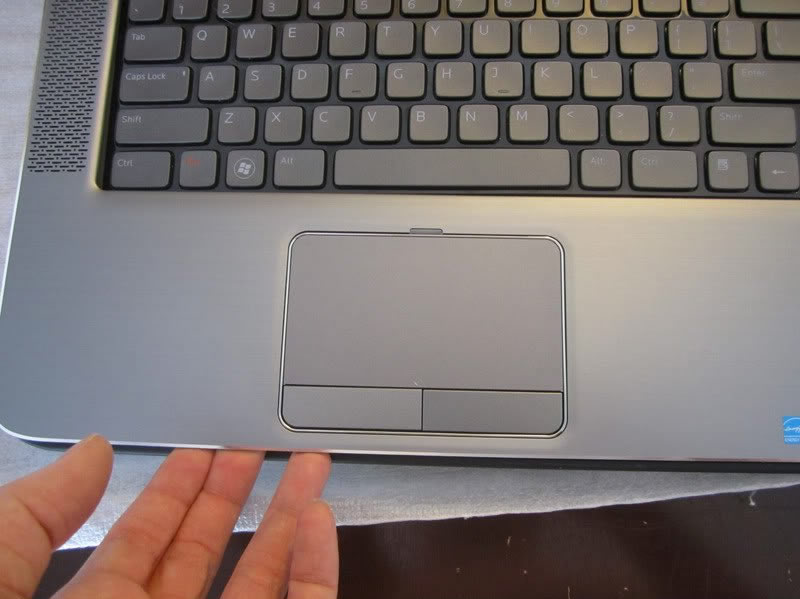
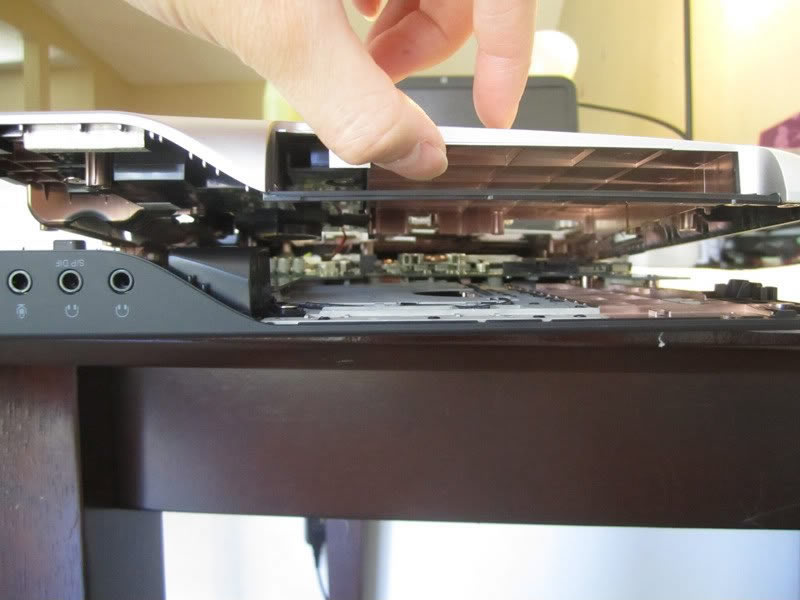
Flip the laptop over and use the pry tool to separate the palm rest from the laptop slowly.
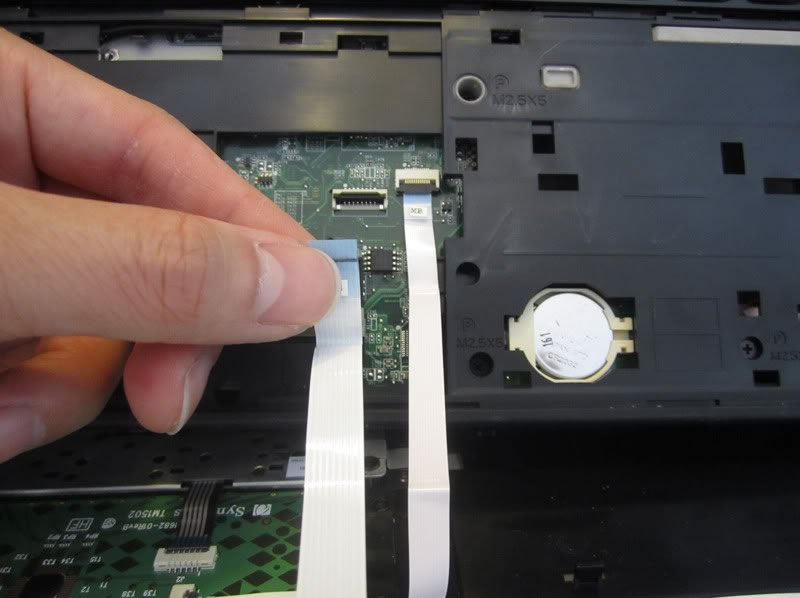
Be careful. There are two cables still connected to the motherboard.
Disconnect the touchpad cable and the power button cable. Use your fingernail to pry up the black piece on the socket until it opens at a 90-degree angle, then you can pull out the ribbon cable.
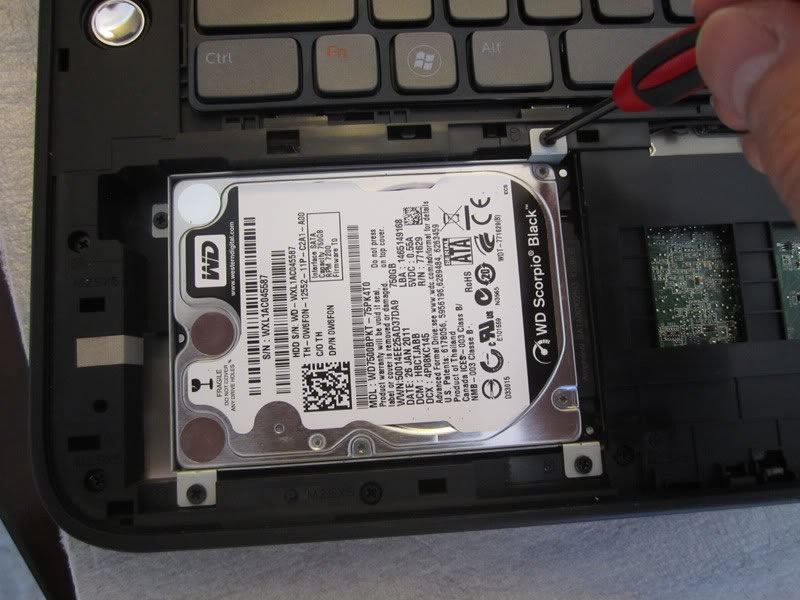
Remove the four screws securing the hard drive.
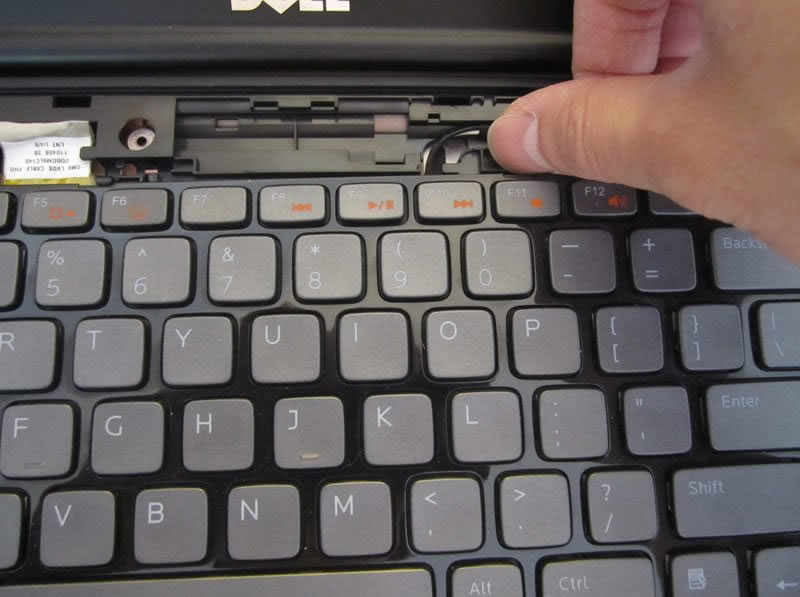
There are several latches on the upper part of the keyboard. You need to use a flat-head screwdriver to unlock all the latches to lift the keyboard.
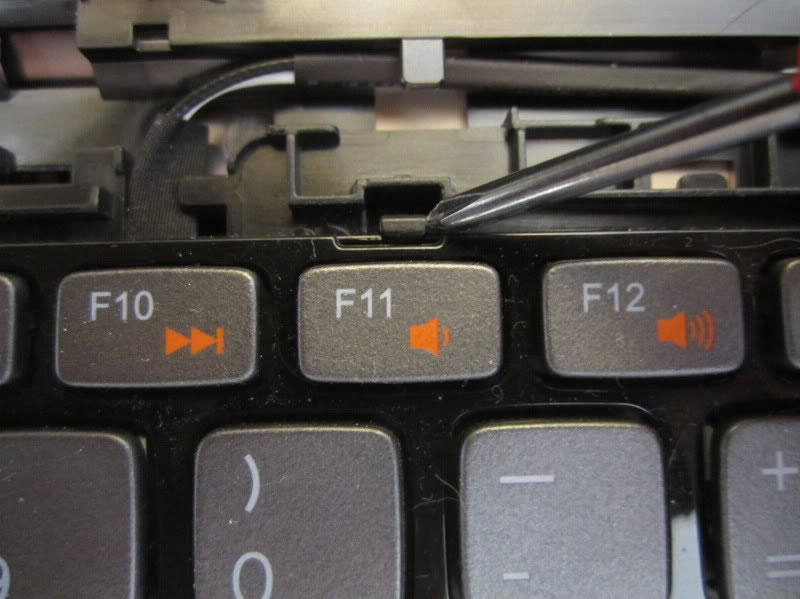
Release the two small latches.
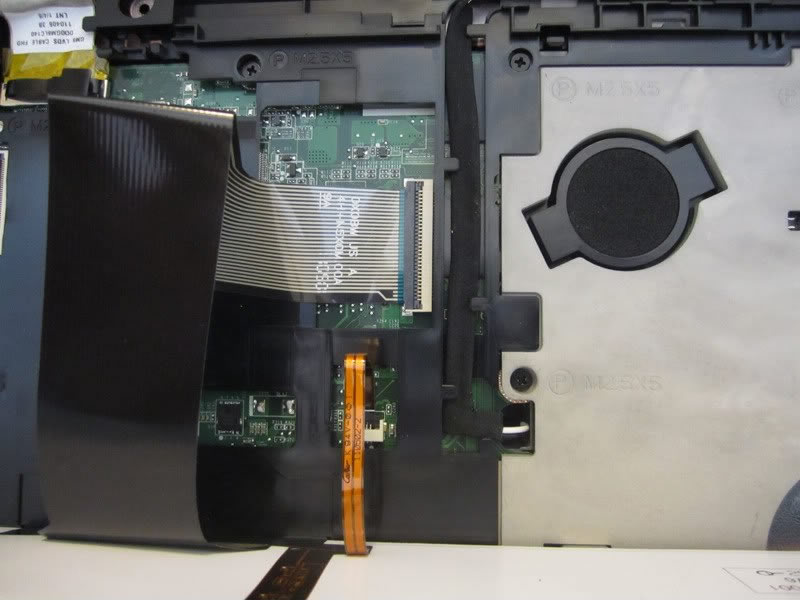
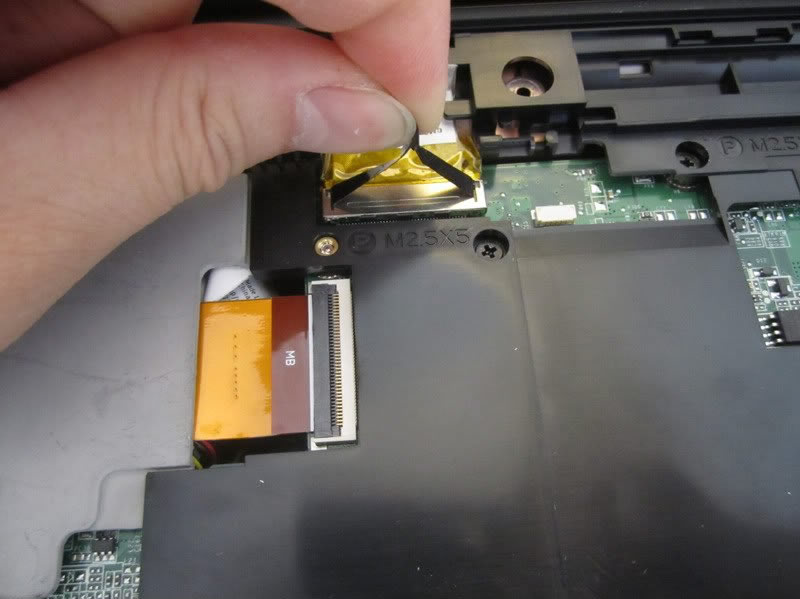
Disconnect the keyboard cable and backlit cable. Use your fingernail to pry up the black piece on the socket until it opens at a 90-degree angle, then you can pull out the keyboard cable.
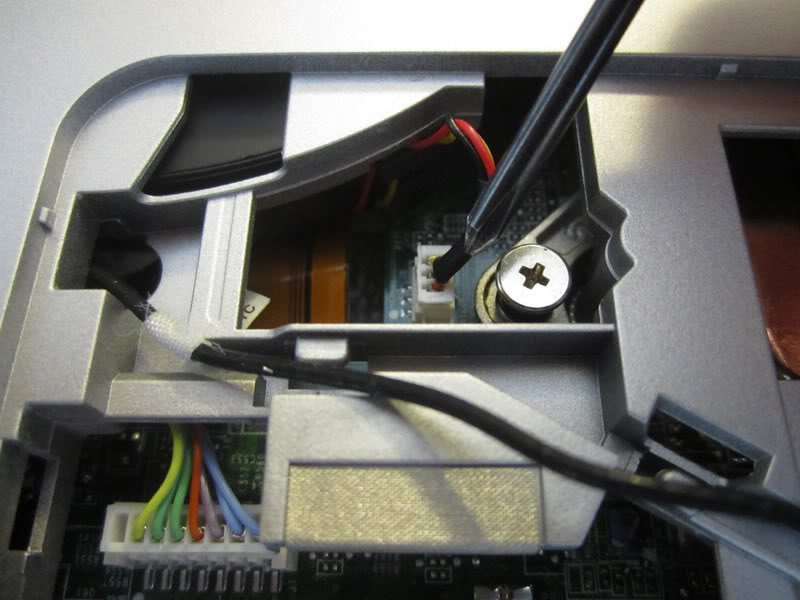
Disconnect the LCD cable.
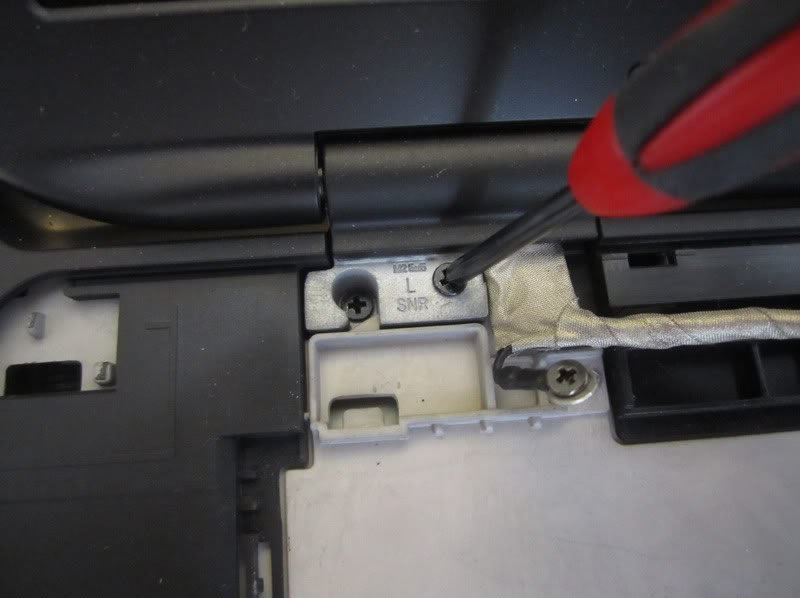
Remove this screw.
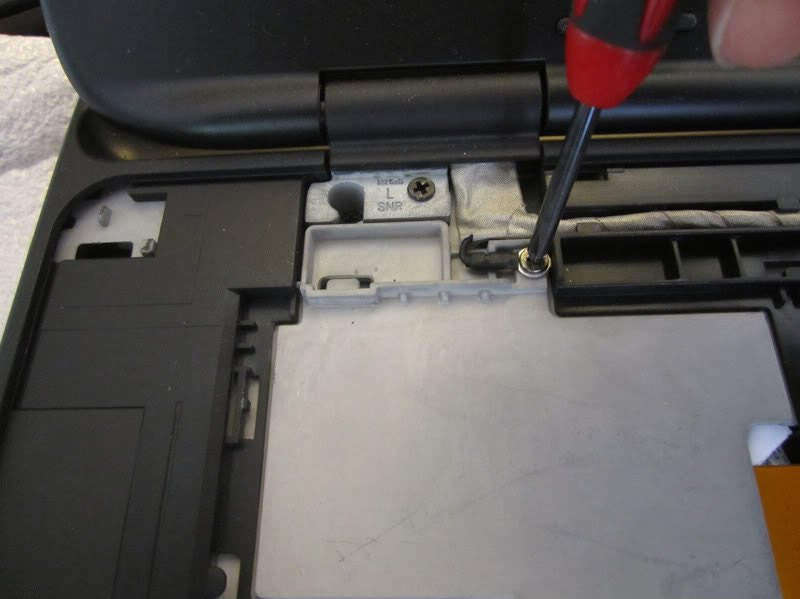
Remove the four screws securing the LCD hinges (left and right).
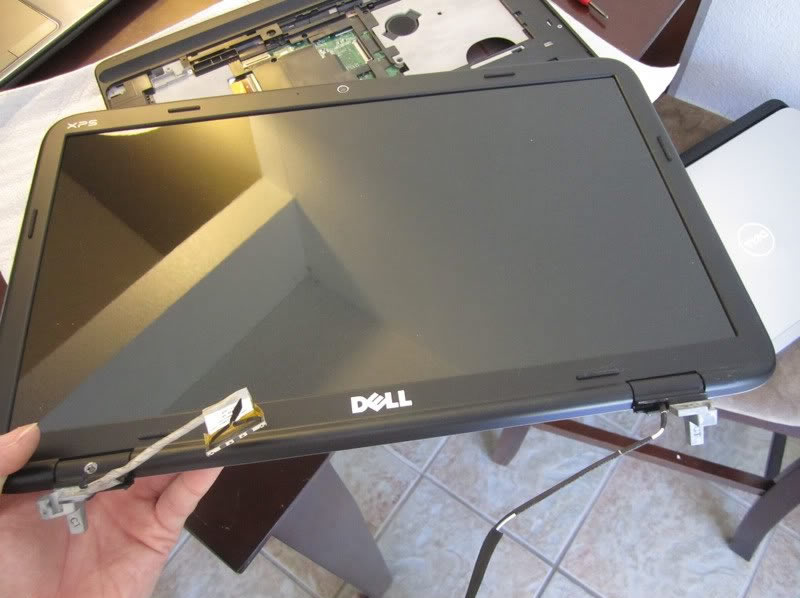
Lift and remove the display assembly from the laptop.
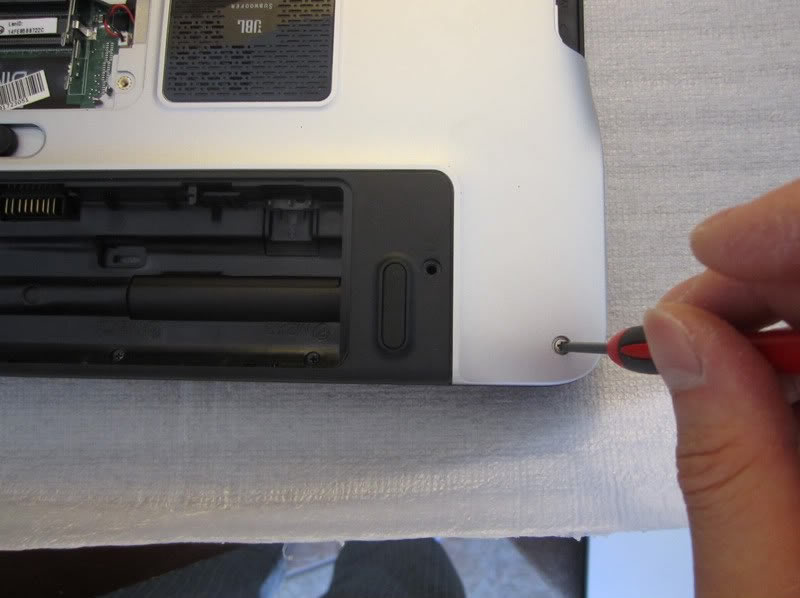
Remove the six screws from the bottom cover.
Remove the two screws in the battery bay.
Remove the three screws in the DVD drive bay.
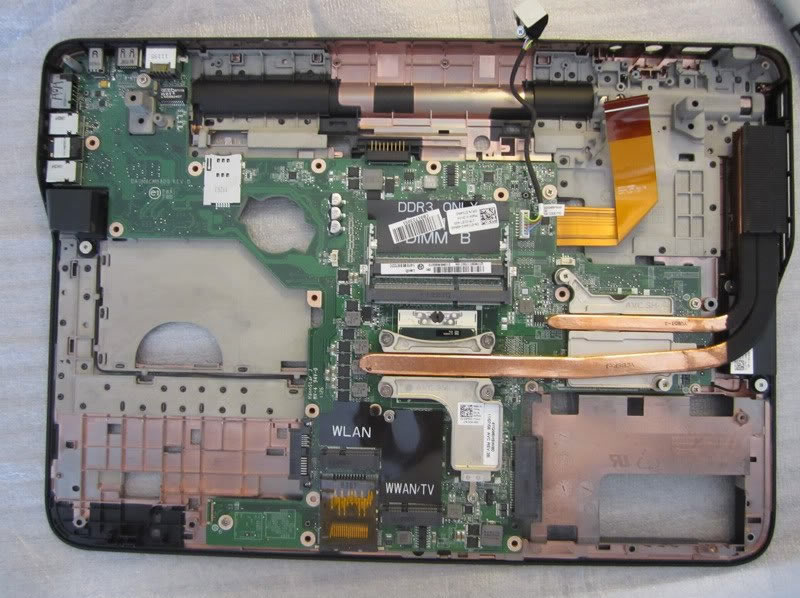
Disconnect the cooling fan cable from the motherboard.
Remove all screws securing the middle frame.

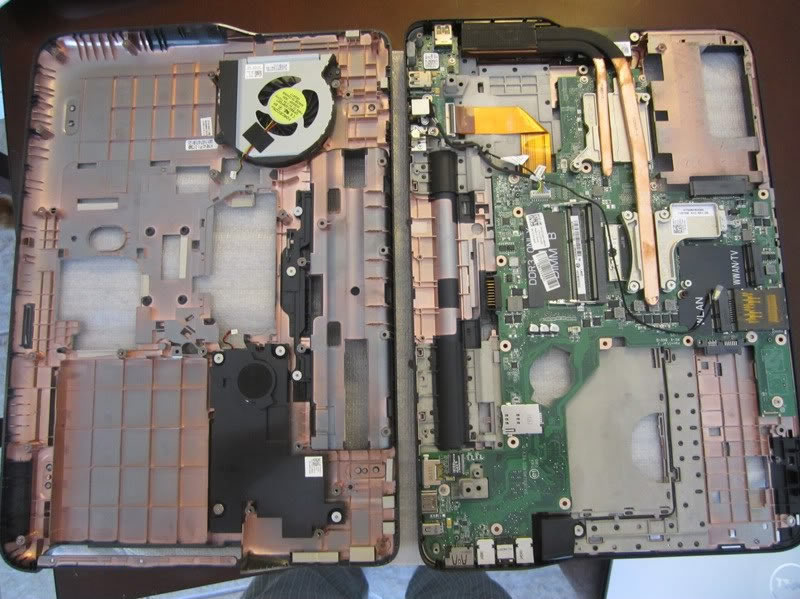
Insert a plastic pry tool under the middle frame. Move the pry tool to separate the middle frame from the laptop.
The XPS 15 L502X cooling fan is attached to the middle frame.
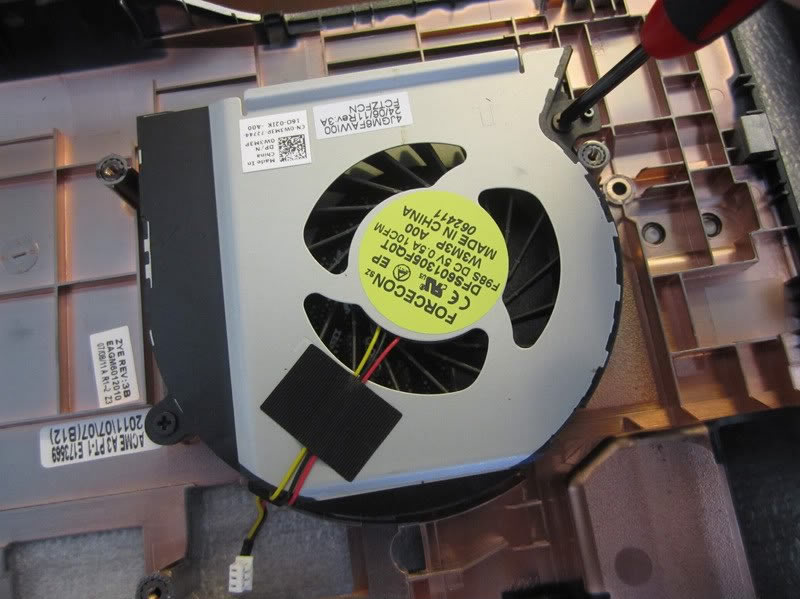
Remove the two screws securing the cooling fan. You can remove it and clean the cooling fan with a brush.
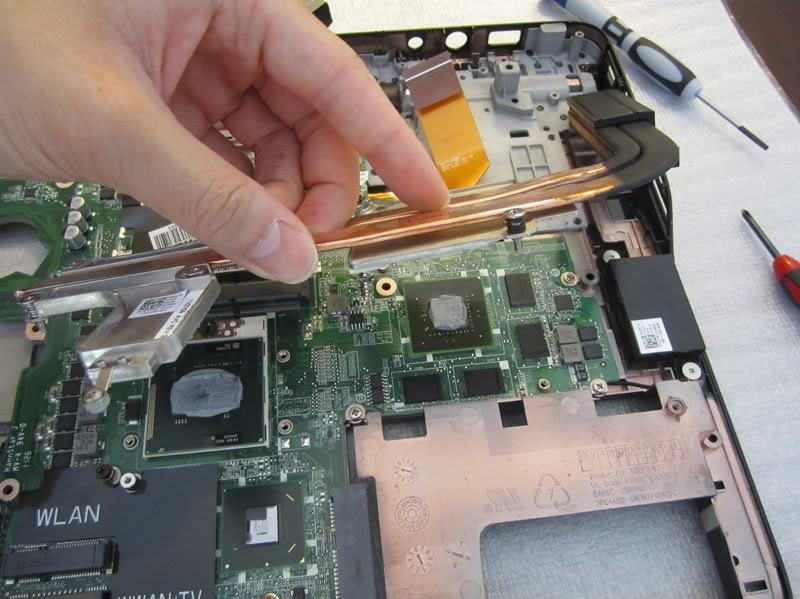
Remove all screws securing the heat sink.
Remove the heat sink.
Thank you, very useful article!
Thank you for the guide.
Thanks for this!
Thank you so much. Your instructions are very clear, and I now have a very clean heat sink and fan. Let’s hope my laptop will not freeze anymore 😉
Thanks a lot for your tutorial. Amazing helpful