
In this guide, I will explain how to remove and replace the front panel on iPad 3 and iPad 4. Refer to the guides. You can repair your broken front panel.
Looking for more funny teardowns? Follow us on Facebook for all the latest repair news.
Tools are needed.
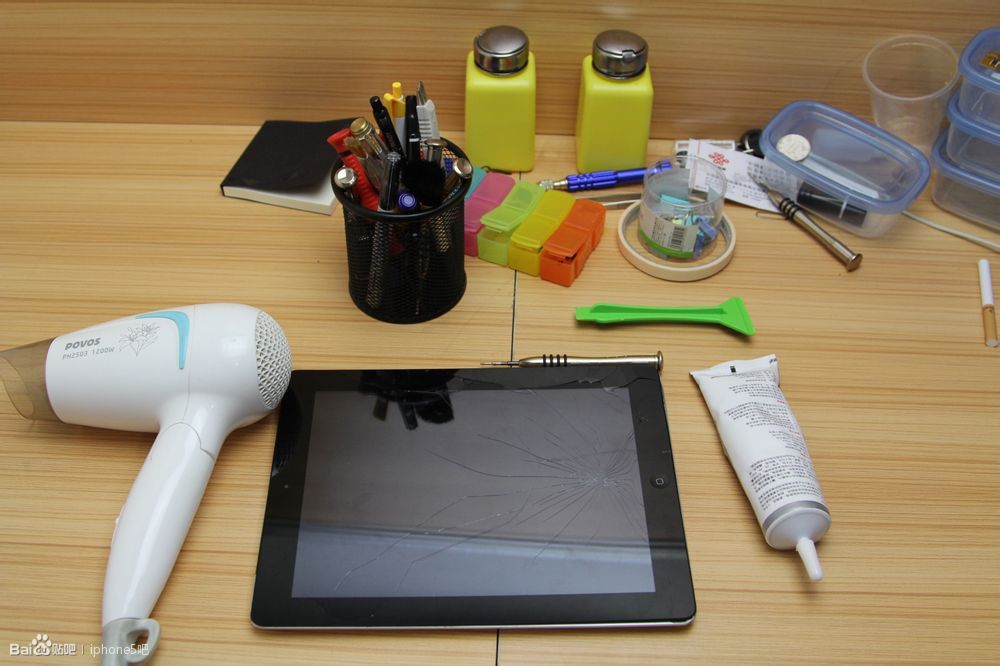
Turn off your iPad. Heat the edge of the iPad screen for 3-5 minutes with a heat gun.

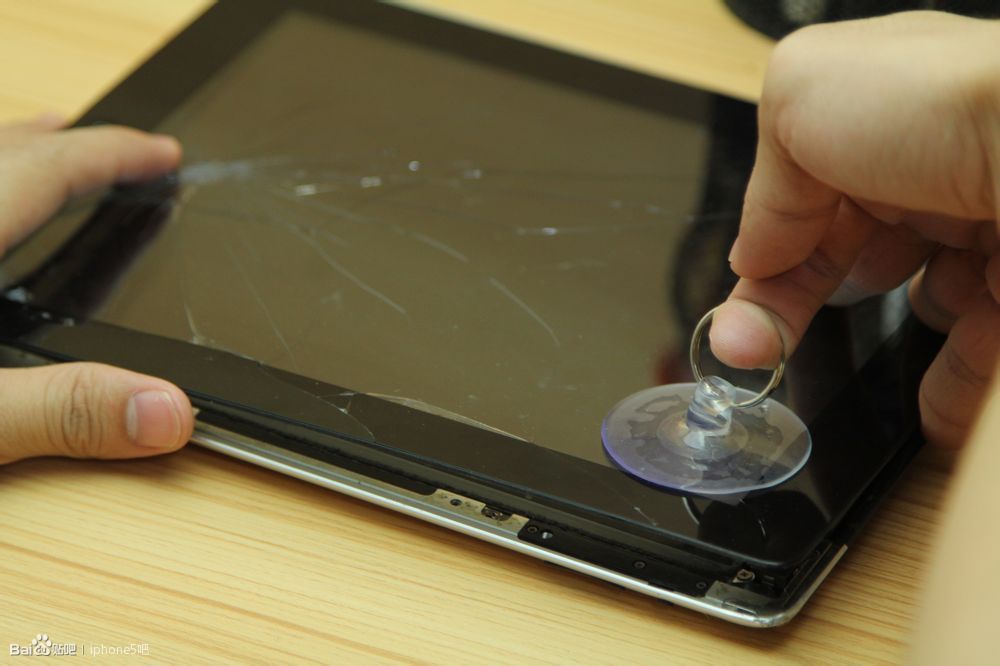
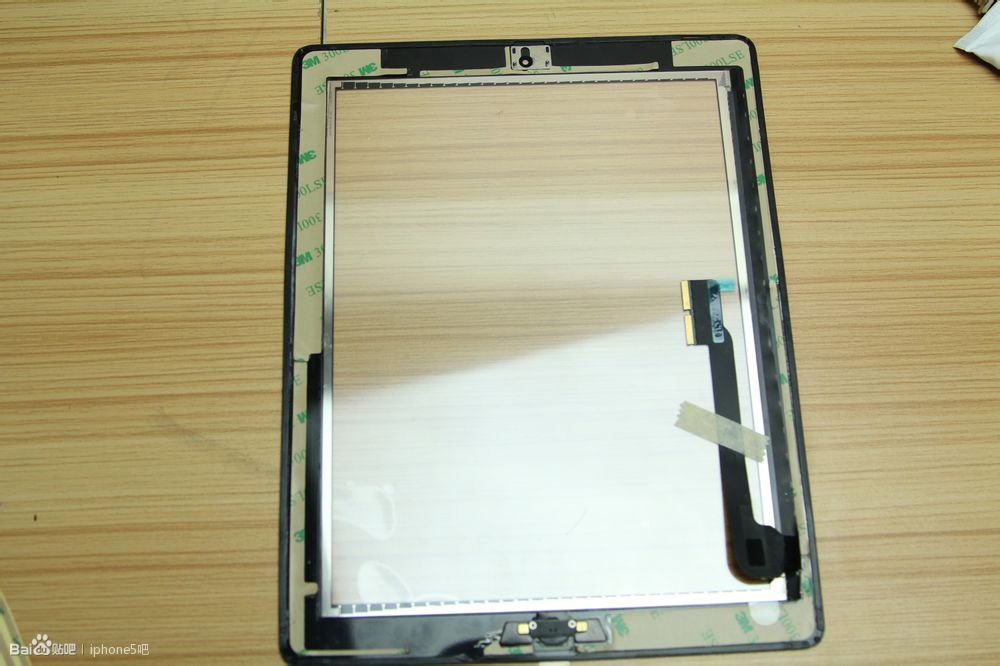
Use a sucker to open the front panel.
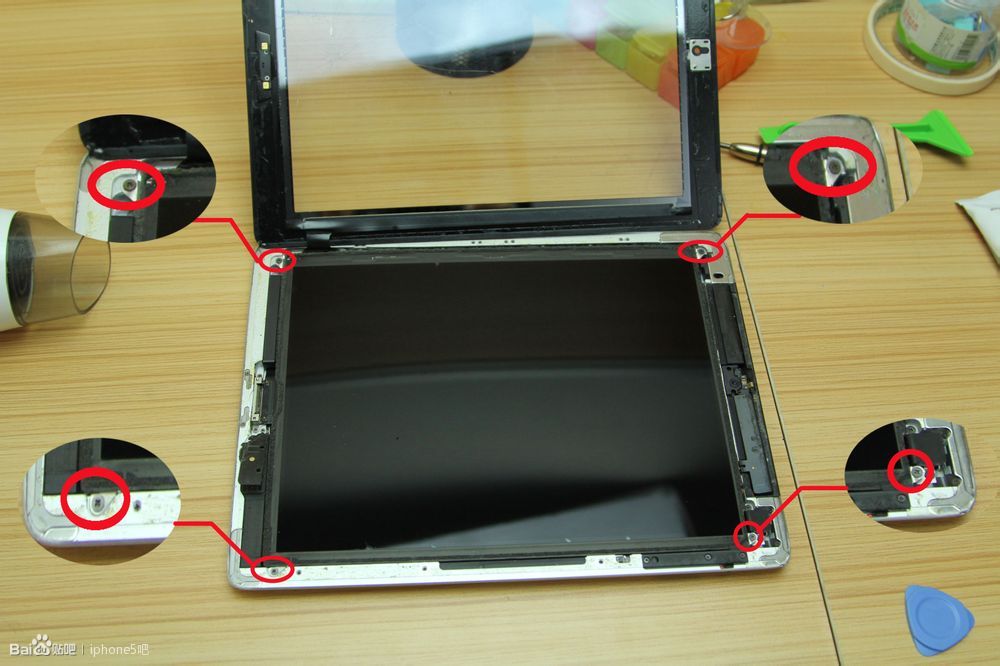
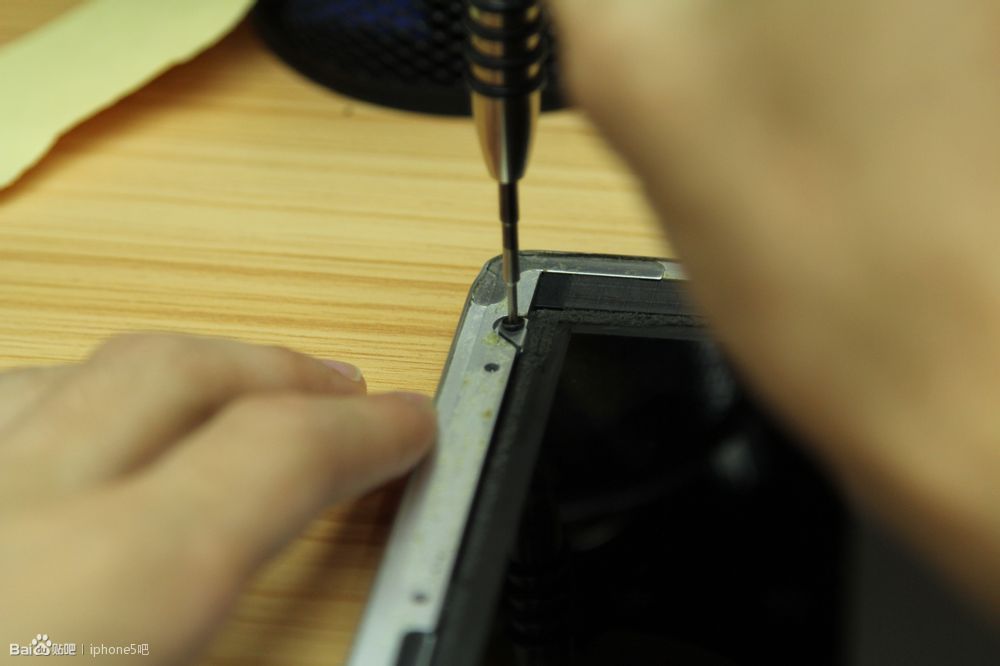
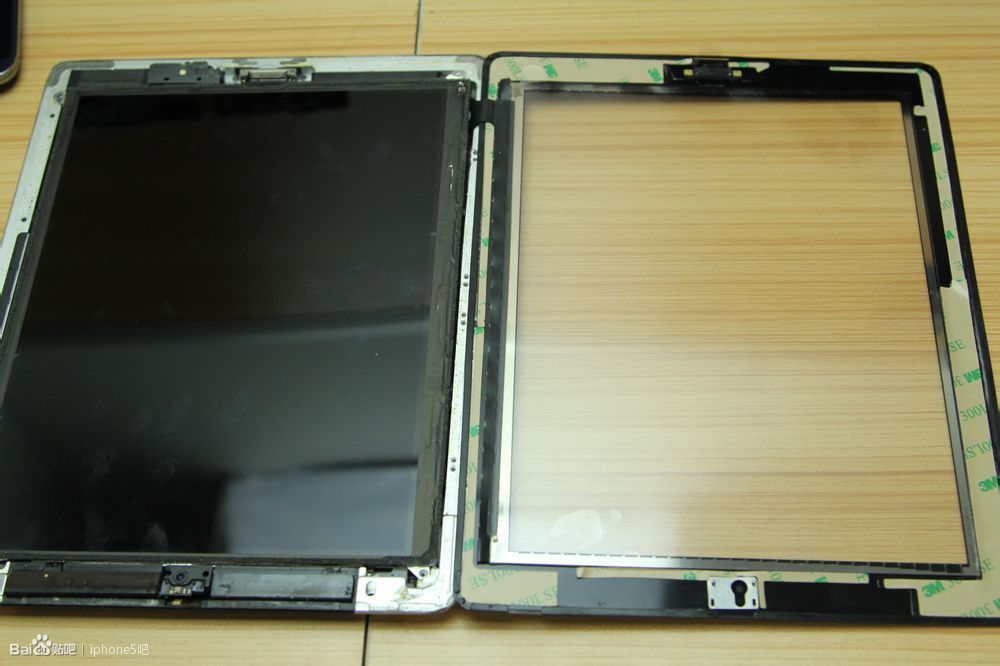
Open the front panel. You can find four screws securing the LCD screen. Remove the four screws.
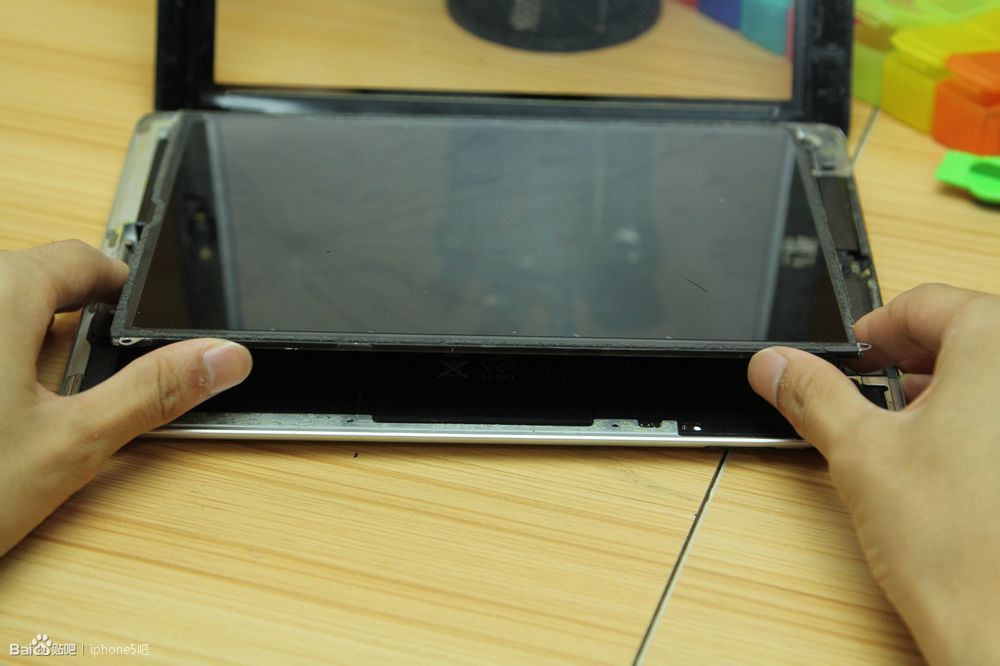
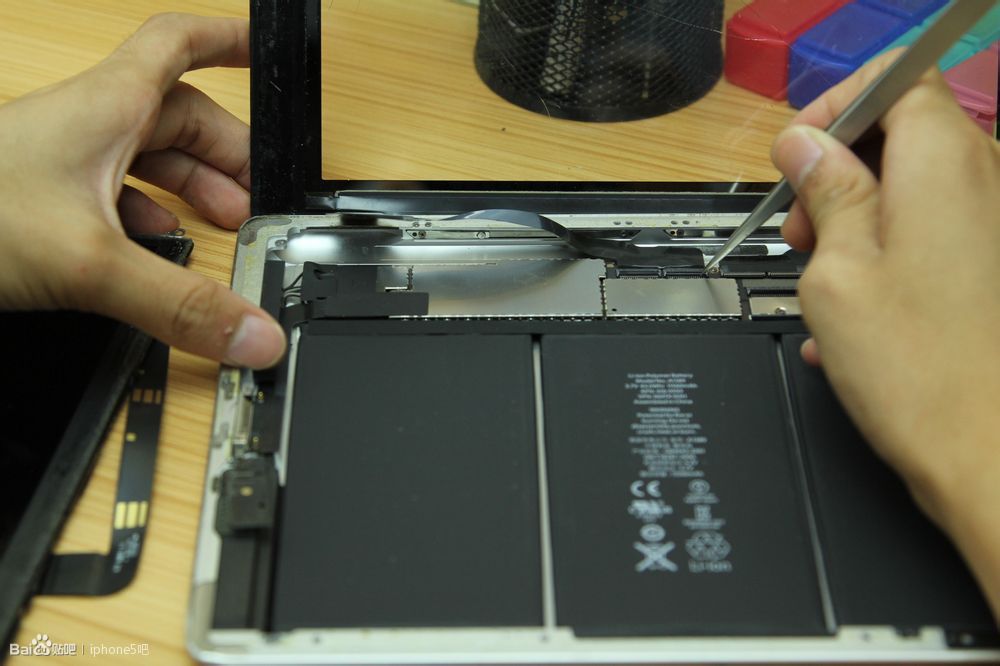
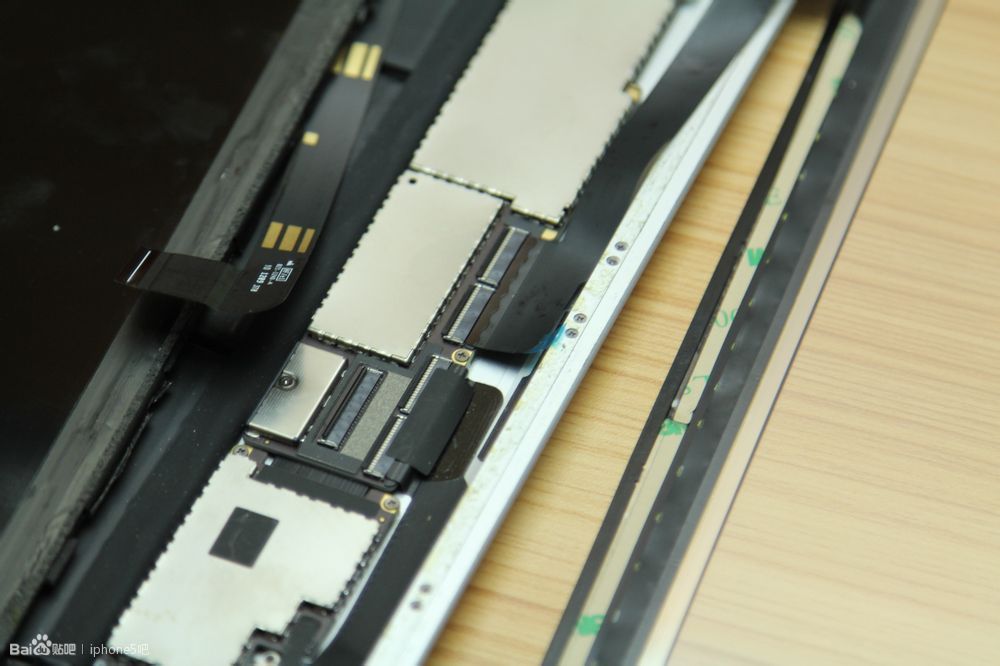
Rotate the LCD along its left edge and lay it down on top of the front panel.
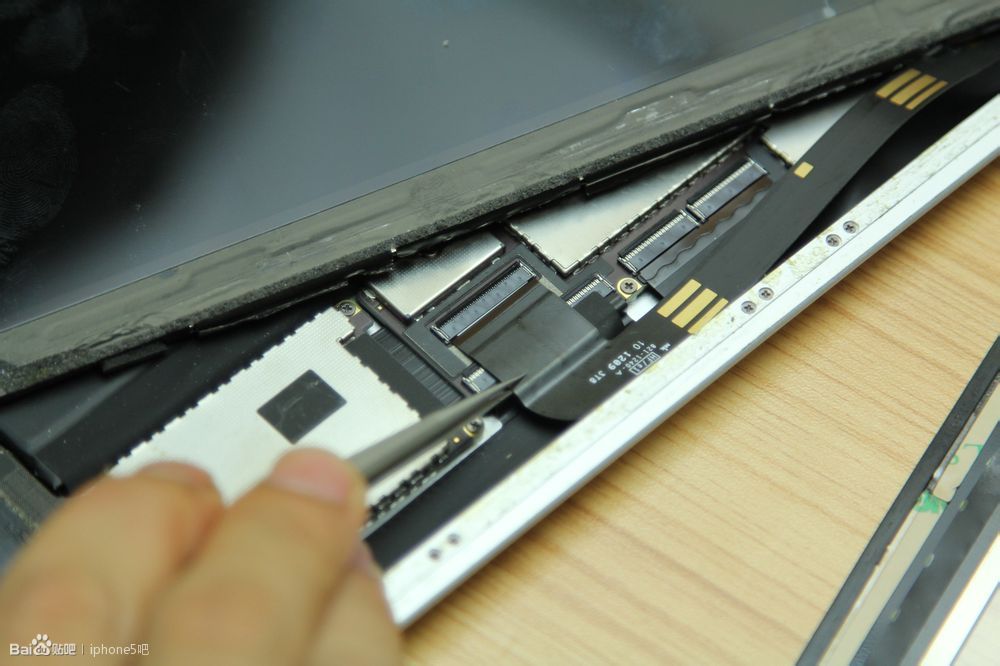
Disconnect the LCD cable.
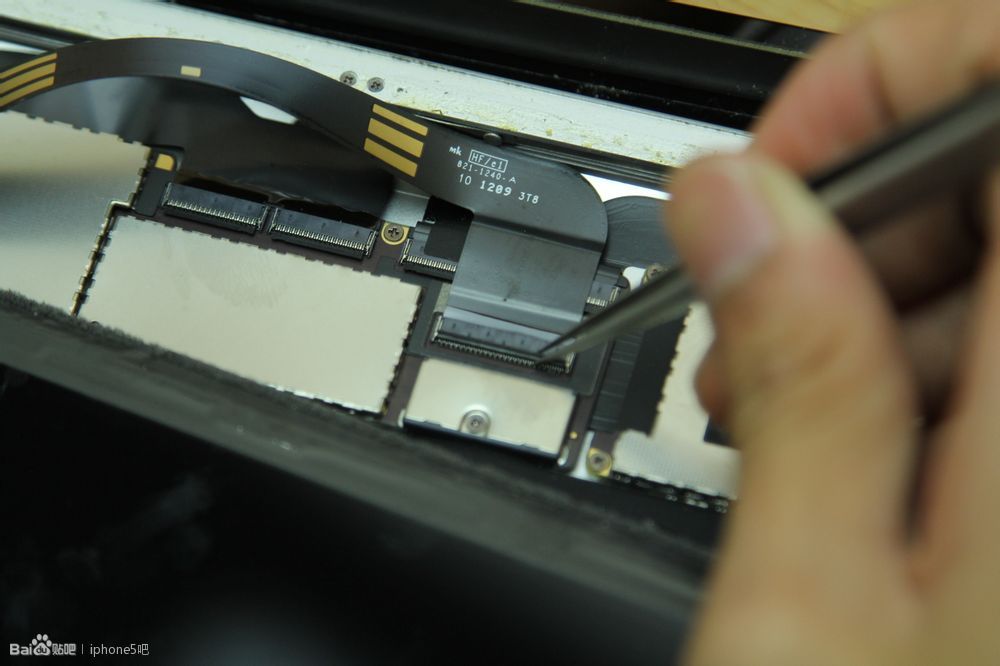
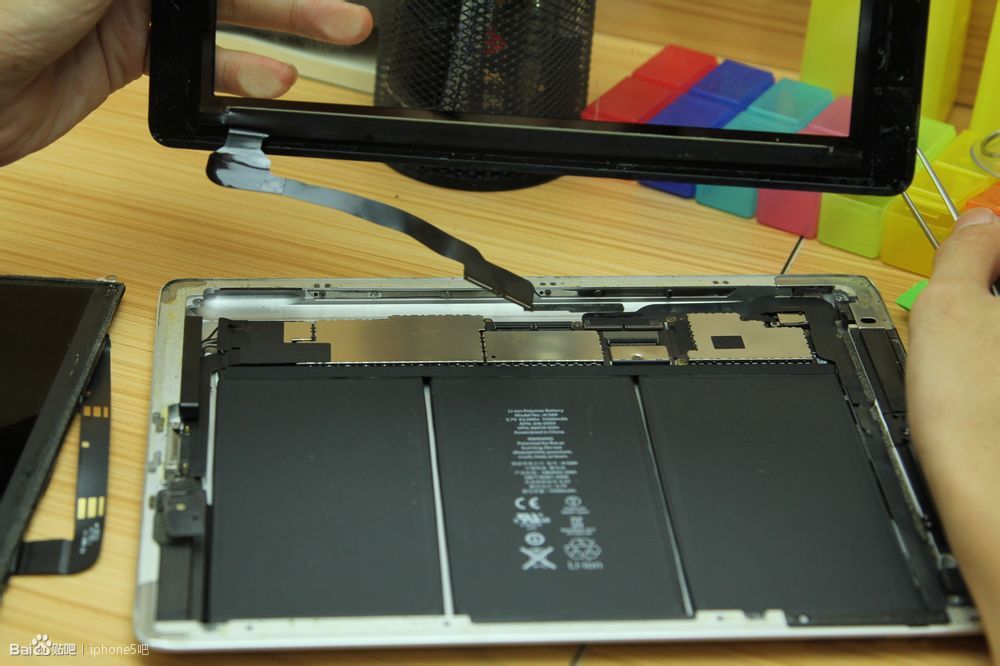
Disconnect the front panel cable.
Now remove the LCD screen and front panel.
Remove the home button from the front panel with the mounting bracket.

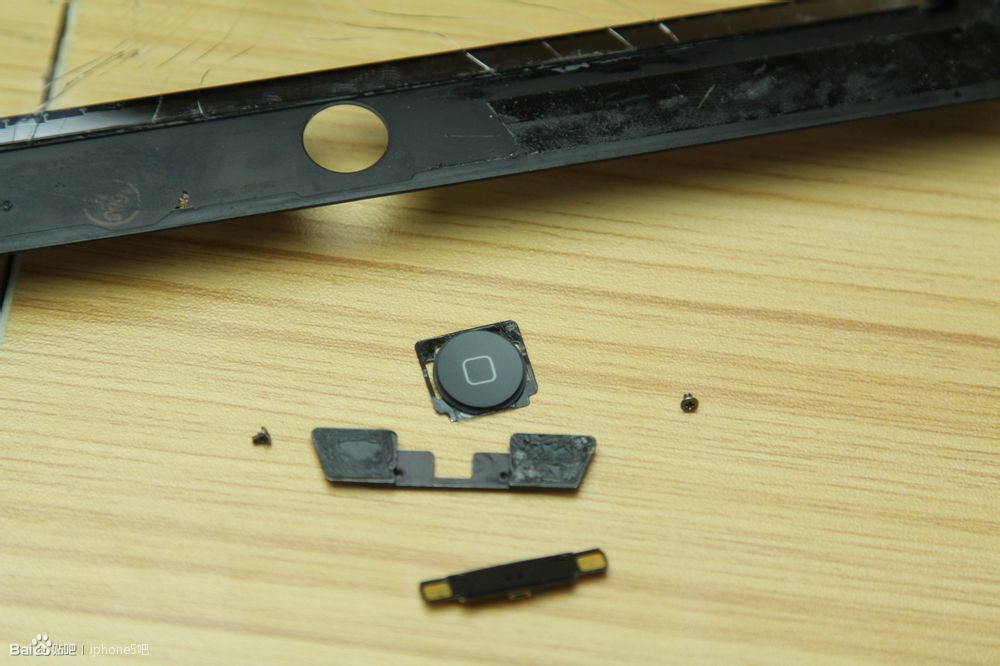
Install the home button on the new front panel.
Connect the front panel cable.
Connect the LCD screen cable.
Install four screws.
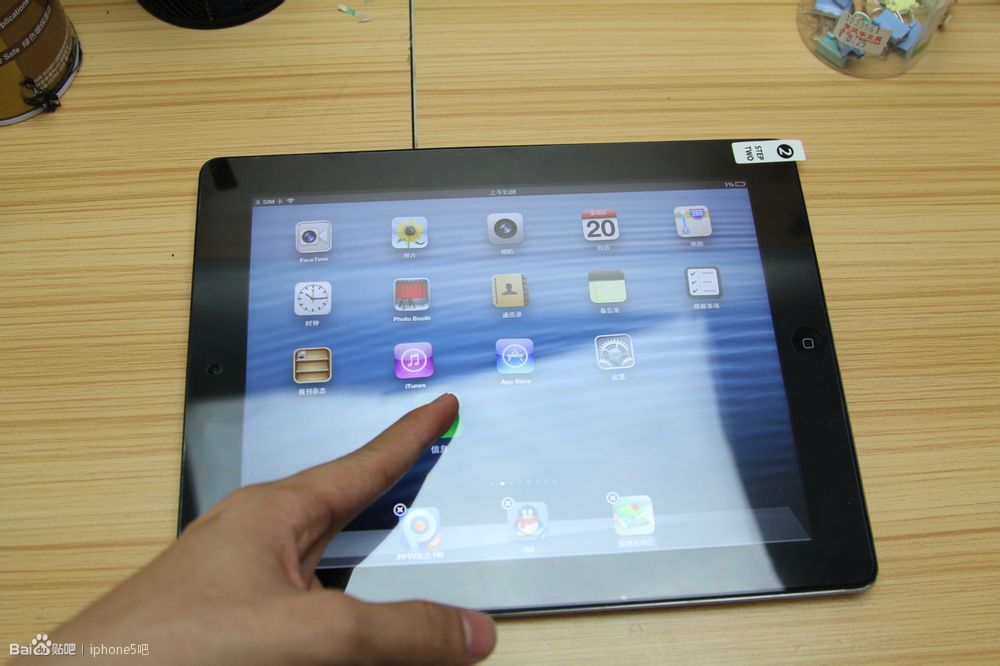
Now close the front panel.
It’s done!


The steps you have described are very clear, and if we can do it, then we can save a lot of money. But do you think it is completely safe to repair it at home? I mean, it’s a costly thing, so should we take the risk?