
In this guide, I will explain how to disassemble the Lenovo IdeaPad Y410p to remove the hard drive, keyboard, palm rest, wireless card, RAM, heat sink, cooling fan, speaker, and motherboard.
Looking for more guides? Follow us on Facebook for all the latest repair news.
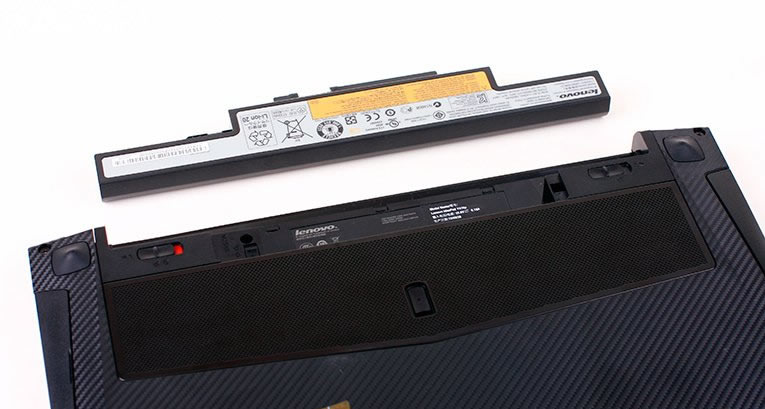
Unlock and remove the battery.
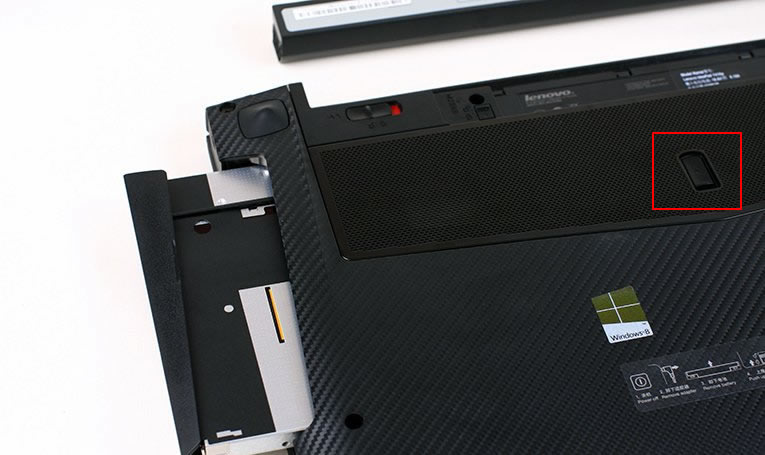
Unlock this switch and pull out the DVD drive.
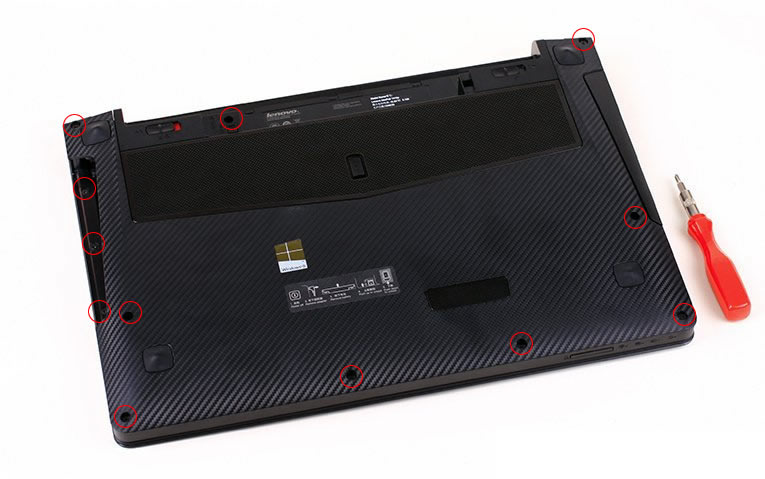
Remove all screws from the bottom case. Insert a pry tool under the bottom cover and slide it to completely detach it from the laptop.
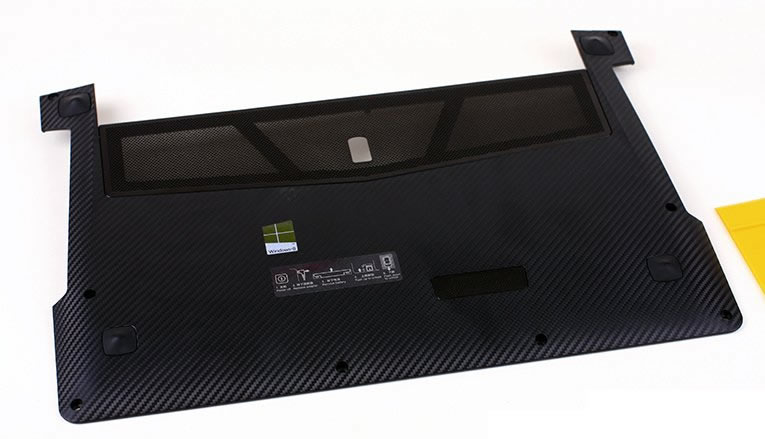
Close-up of he bottom cover
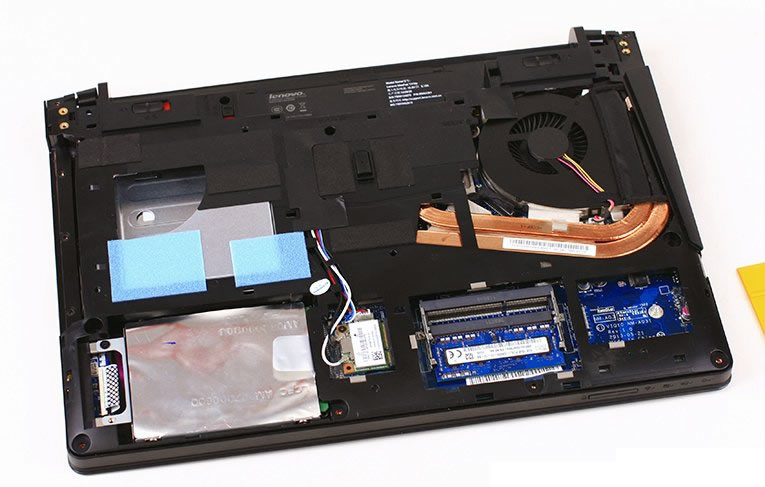
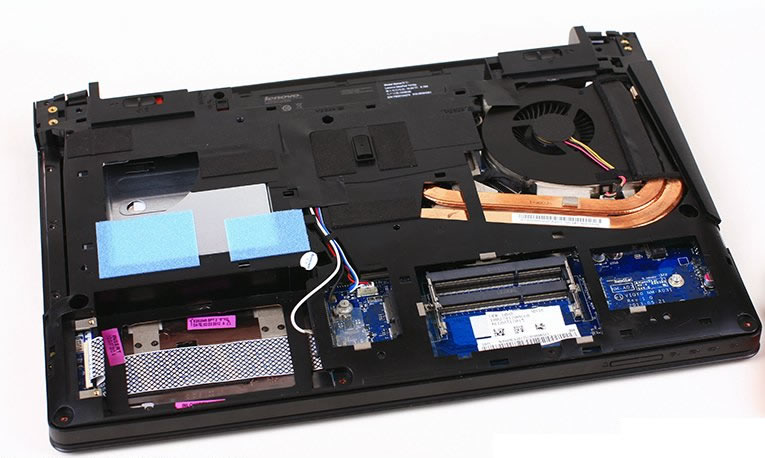
When the case is removed, you can access the RAM, hard drive, and wireless card.
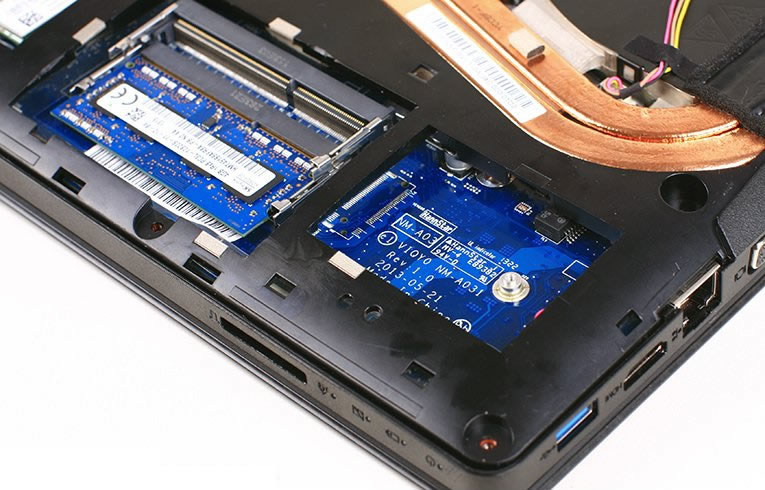
Use your nails to separate the clips on both sides of the memory module, and it will pop out automatically. This laptop has two memory slots, but only one memory module is installed. You can add another memory module to upgrade the memory.
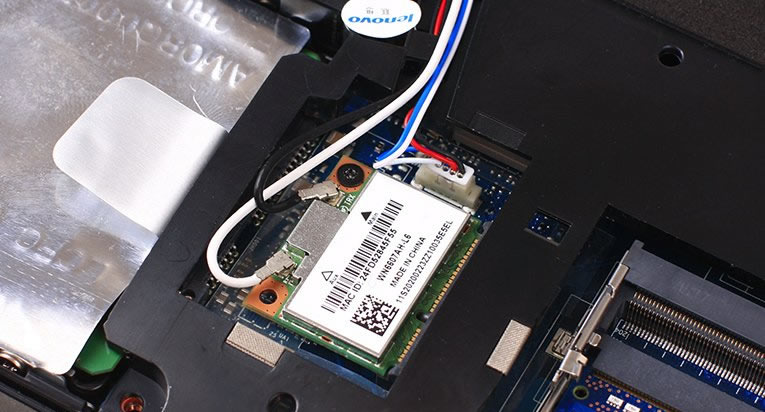
Disconnect the two antenna cables and remove the screw. You can remove the wireless card.
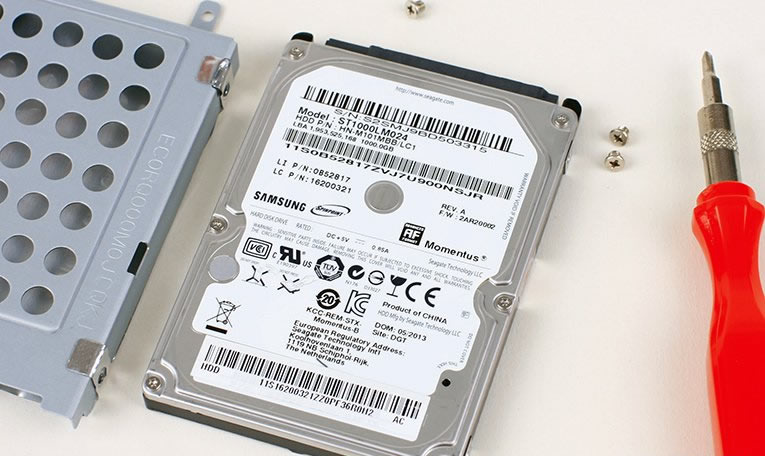
Remove the screws securing the hard drive. Slide the hard drive to the left. Disconnect it from the motherboard.

RAM, hard drive, and wireless card
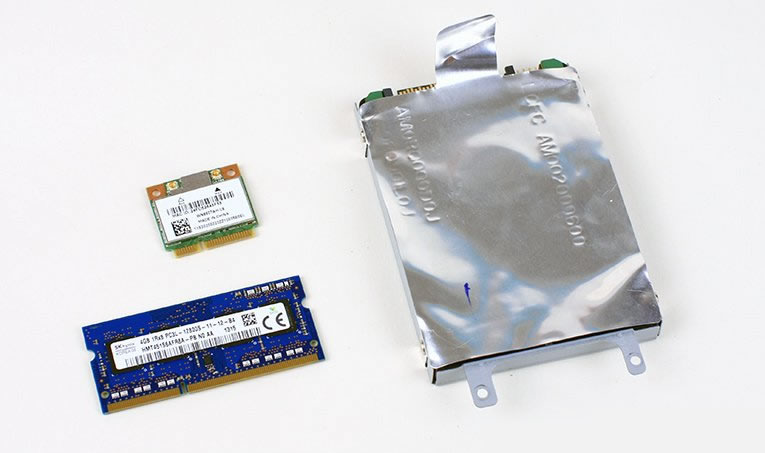
This hard drive is installed in an HDD caddy. If you need to replace the hard drive, you need to remove the HDD caddy and install it in the new hard drive.
In the next step, we will remove the keyboard.
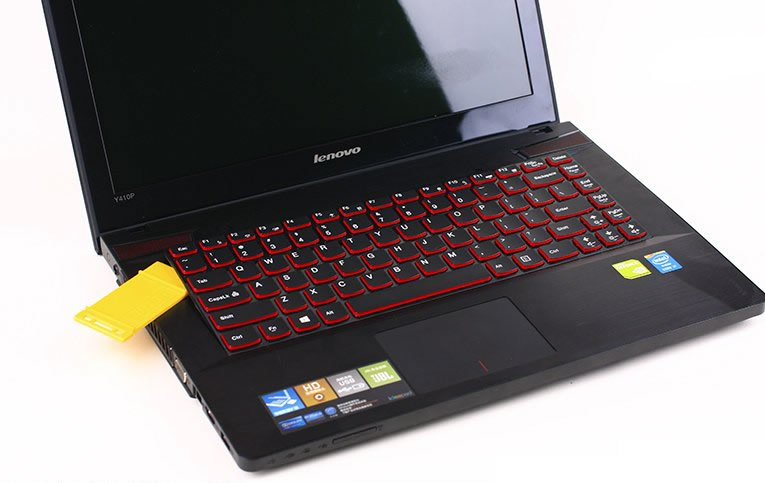
Turn over your laptop. Pry up the keyboard with a guitar pick.
Place your keyboard on the palm rest. You can get access to the keyboard cable. Unlock and pull out the cable. You can remove the keyboard.

Insert a plastic pry tool near the hinge between the bottom cover and palm rest. Slide the pry tool to completely separate the palm rest from the laptop.
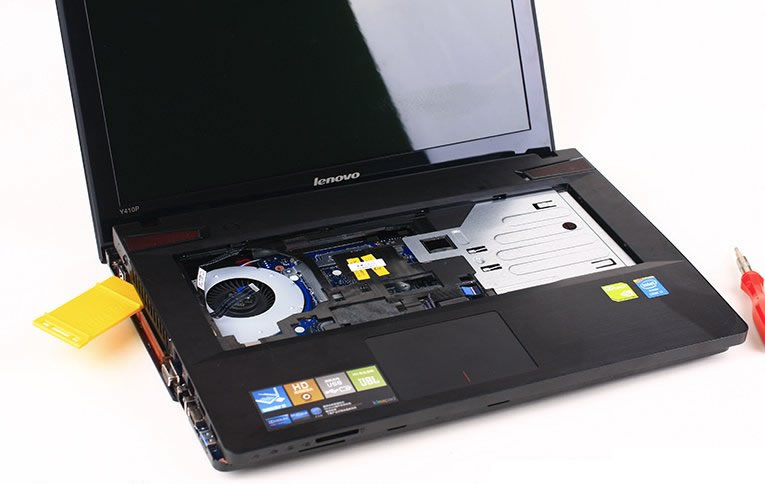
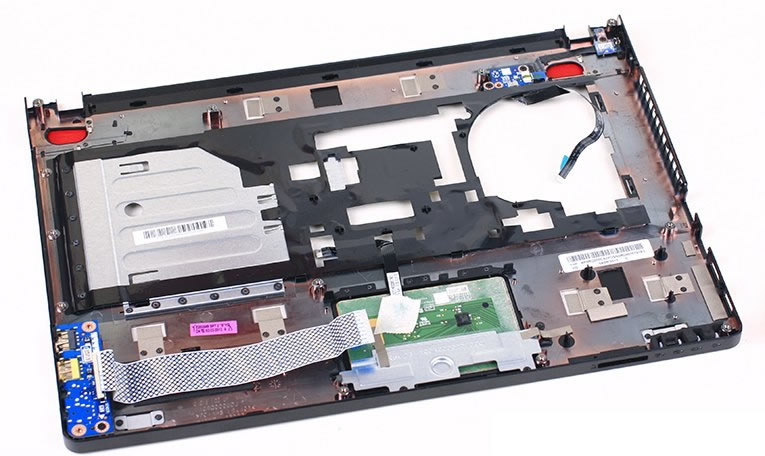
You can access the touchpad and three small boards on the back of the palm rest.
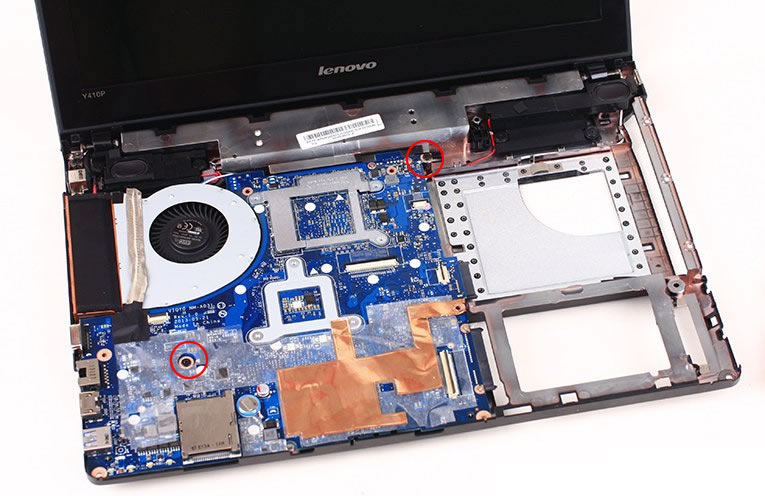
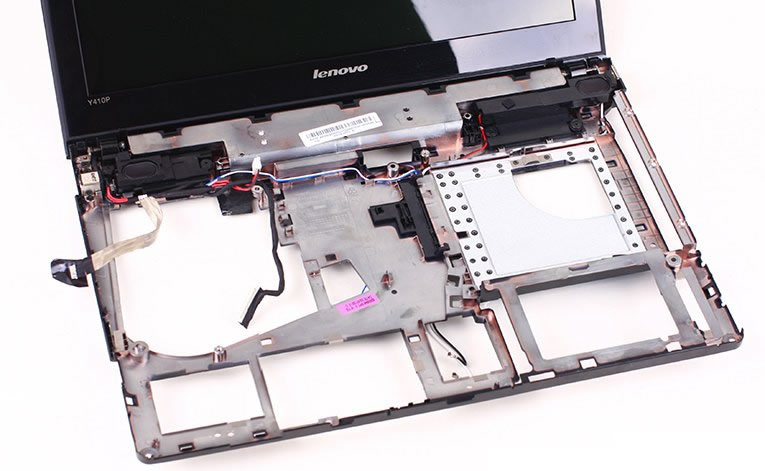
Remove the two screws securing the motherboard. Disconnect the LCD cable, the two speaker cables, and the DC jack cable. Lift the motherboard from the right side and wiggle it until it is completely detached from the laptop.
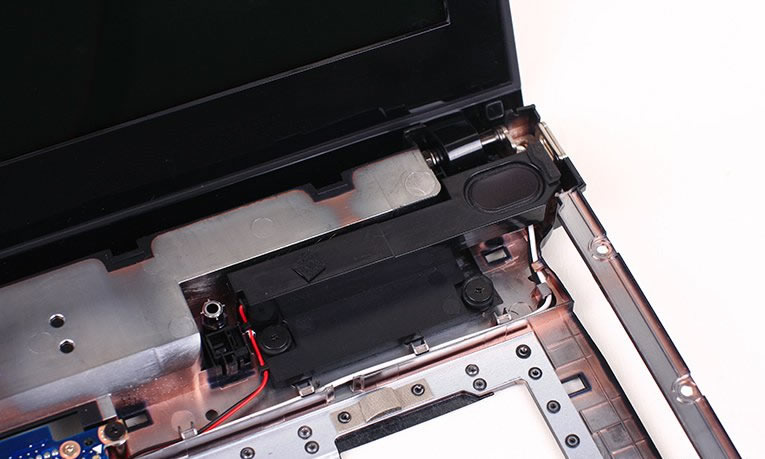
Remove the two screws securing the left speaker.
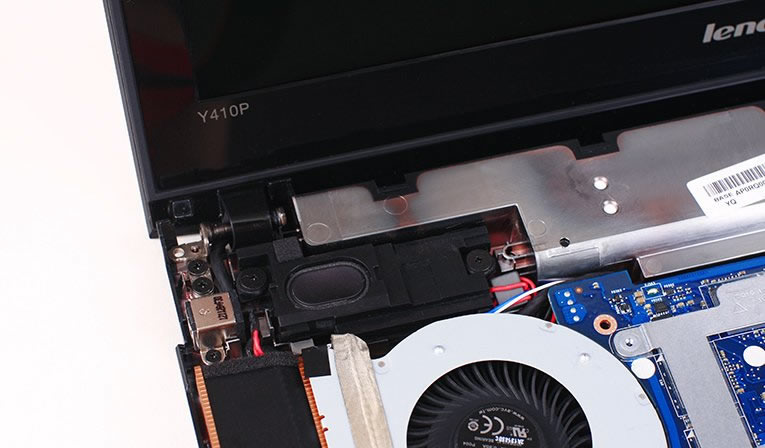
Remove the two screws securing the right speaker.
Close-up of the bottom cover after removing the motherboard
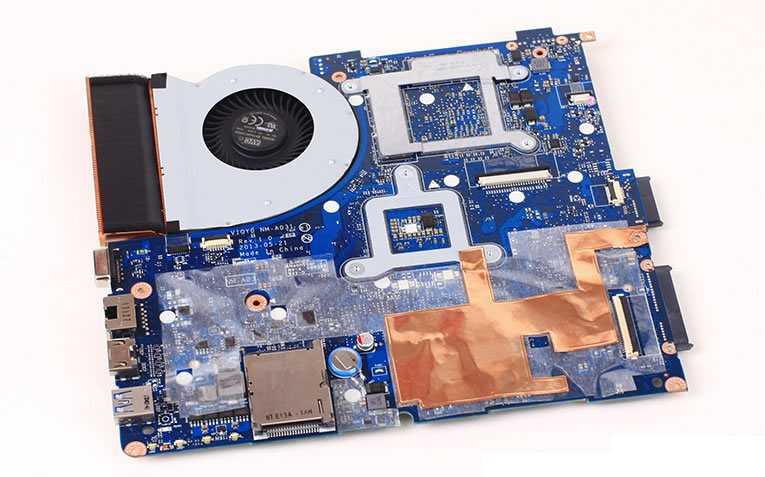
The back of the motherboard
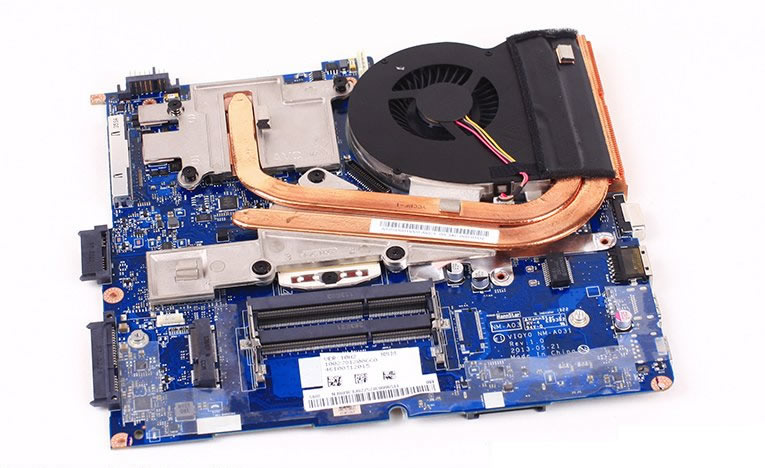
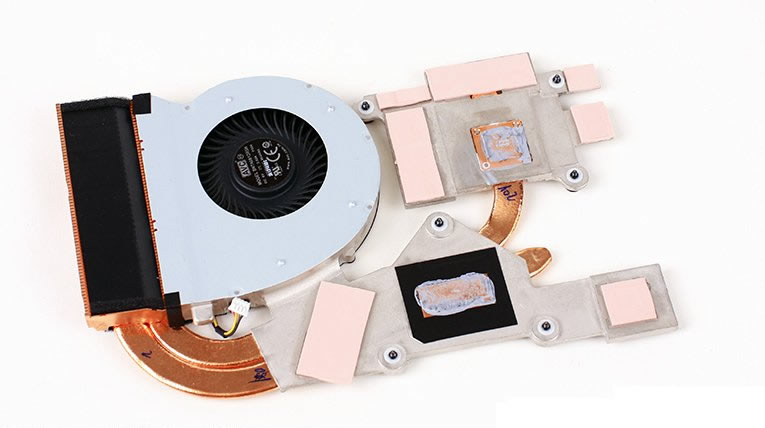
Loosen the six screws securing the heat sink and unplug the fan cable. You can remove it from the motherboard.
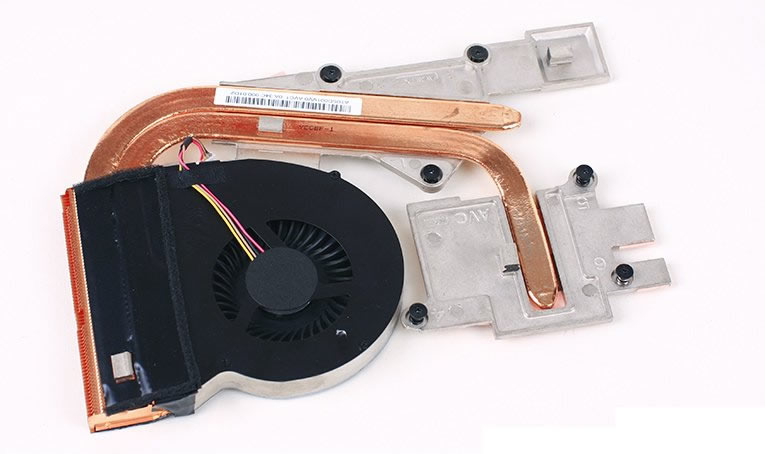
Heat sink and cooling fan
Do I need to remove the back panel to access the palm rest?