
In this guide, I will explain how to disassemble the Lenovo Tab S8-50 to remove the back cover, battery, speaker, rear camera, front camera, and motherboard.
Want to keep in touch with us? Follow us on Facebook for more repair news.
Insert a plastic pick under the bottom cover and slide the pick along the edge of the back cover.
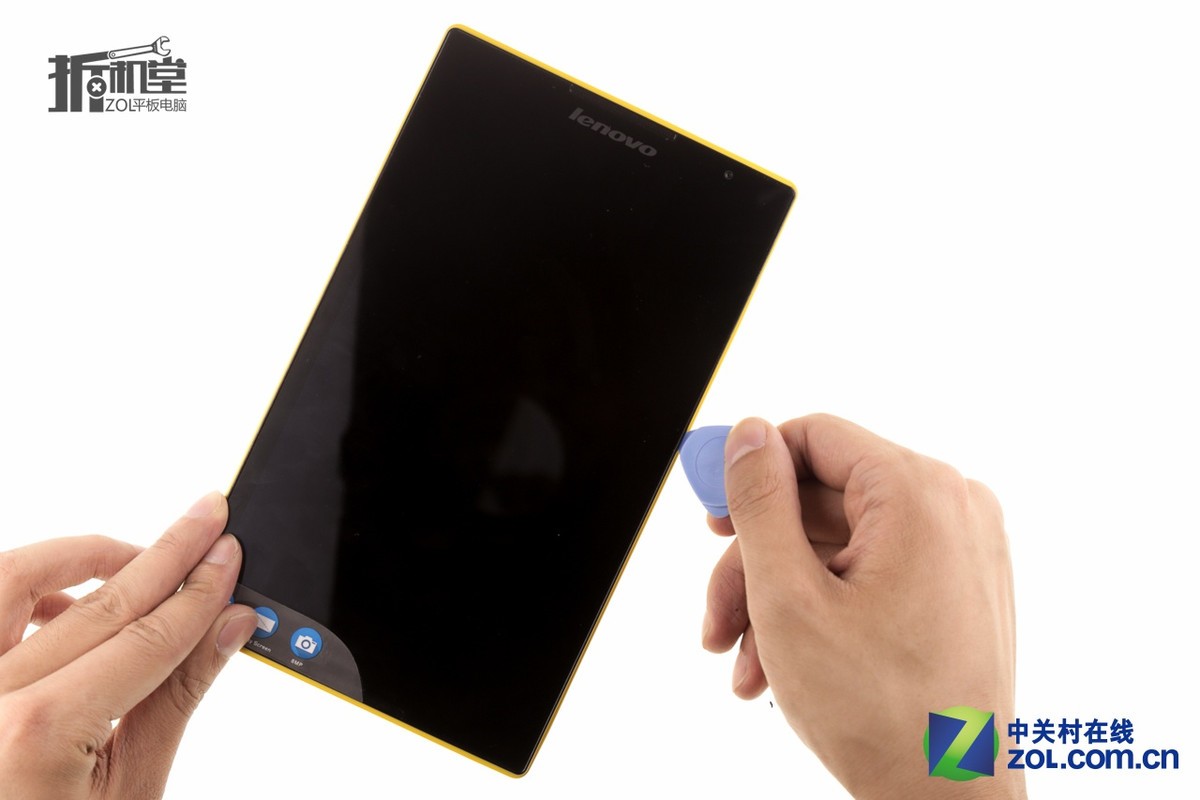
After opening a gap, continue to separate the back cover with your hands.

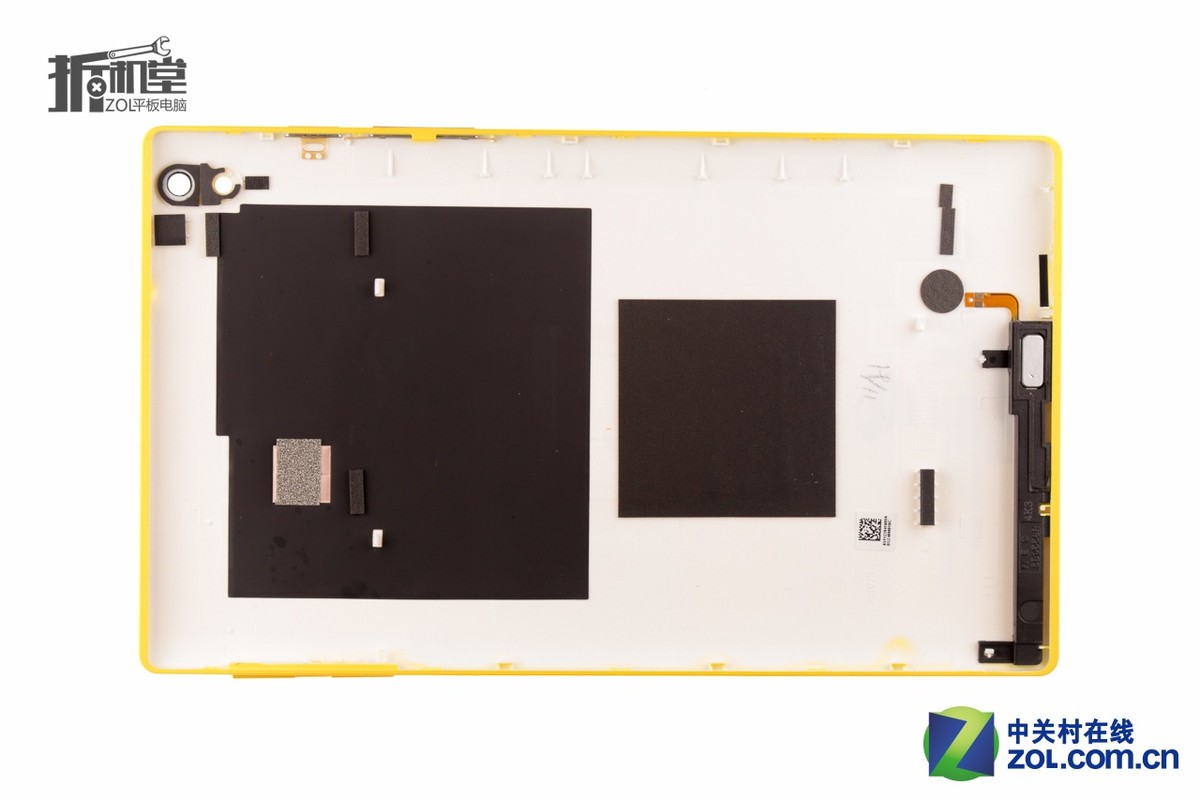
The back cover is connected to the body by thirteen clips.
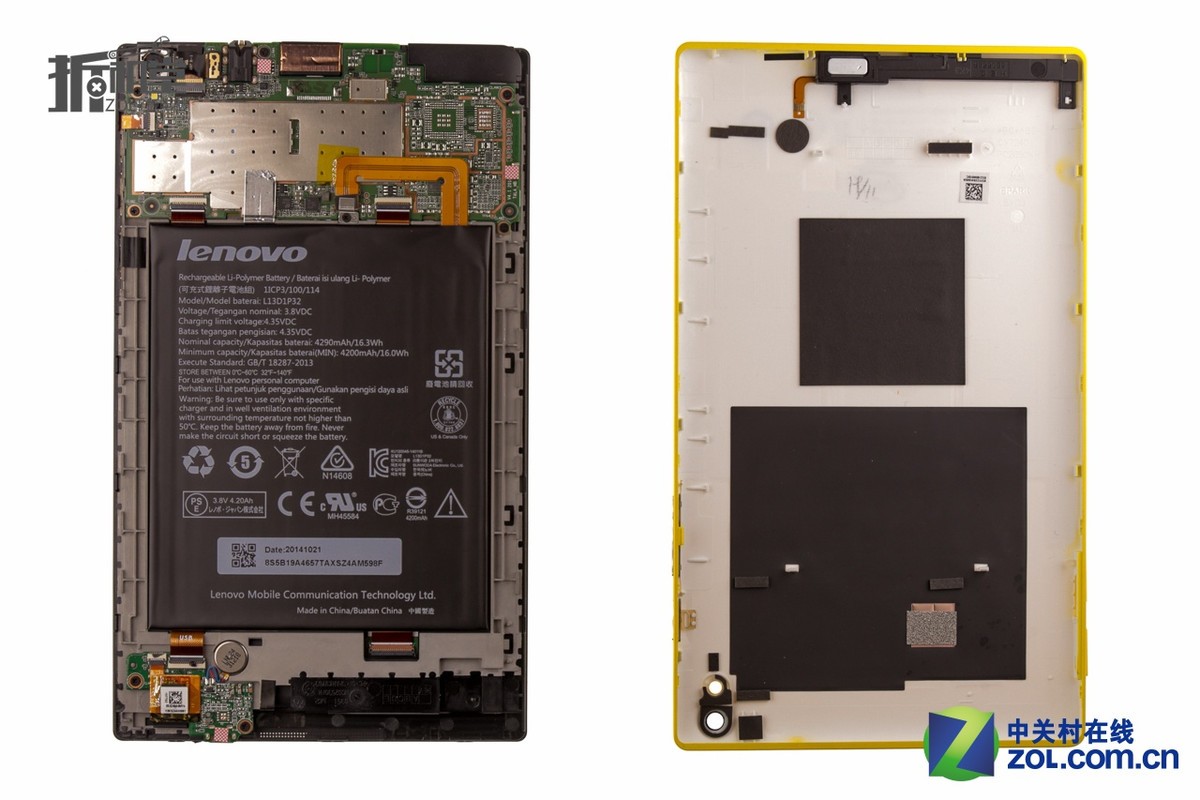
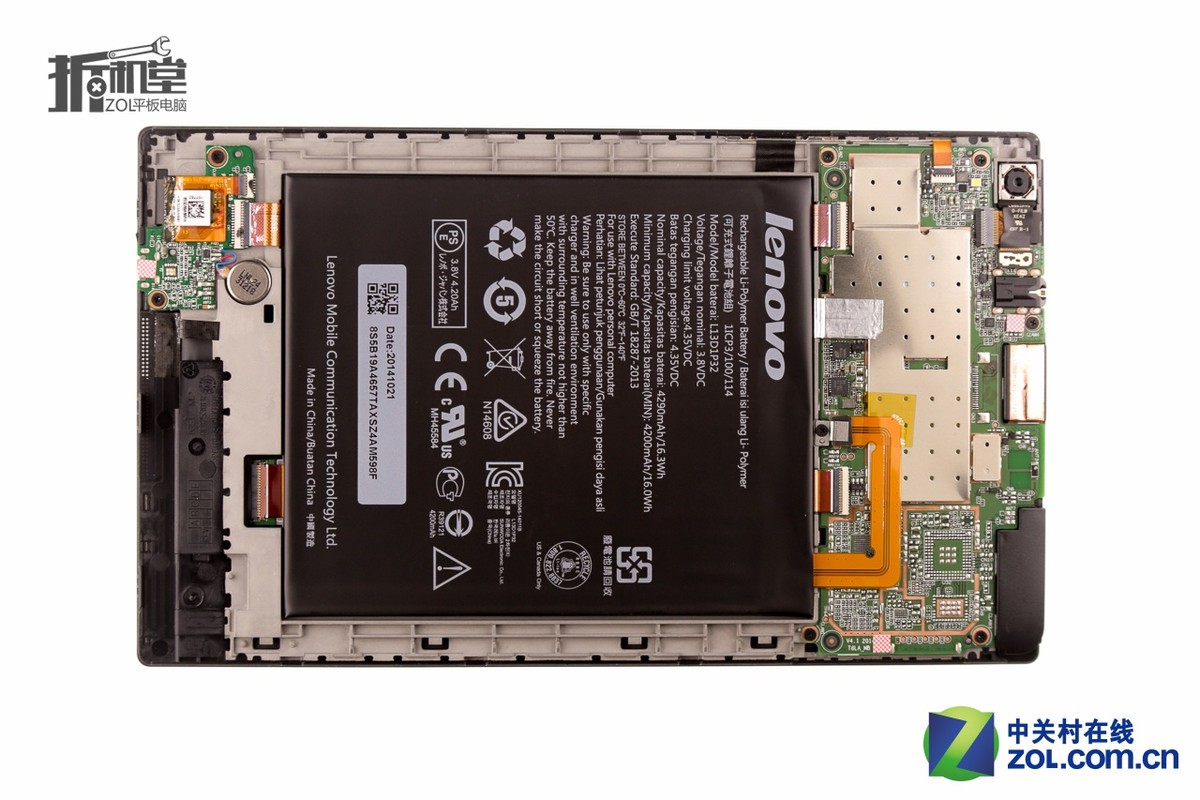
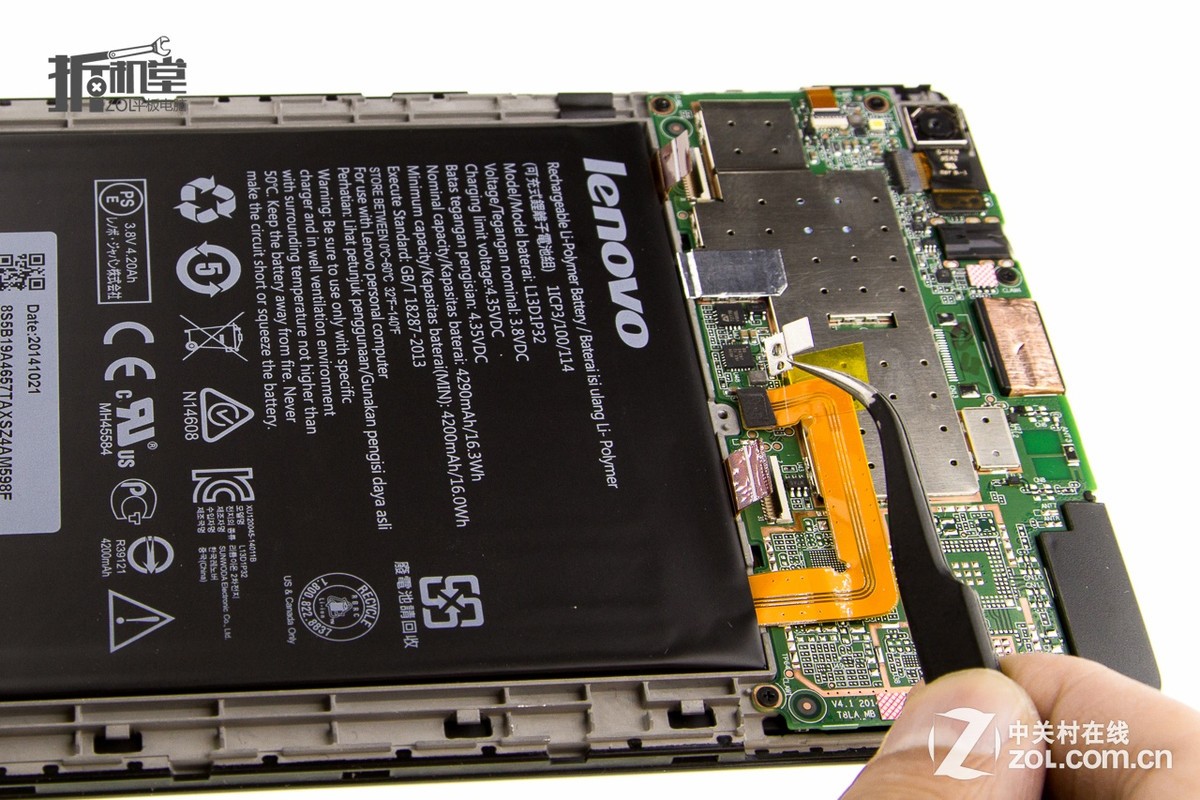
Under the back cover, you can access the internal components, including the battery, motherboard, speakers, cameras, and more.
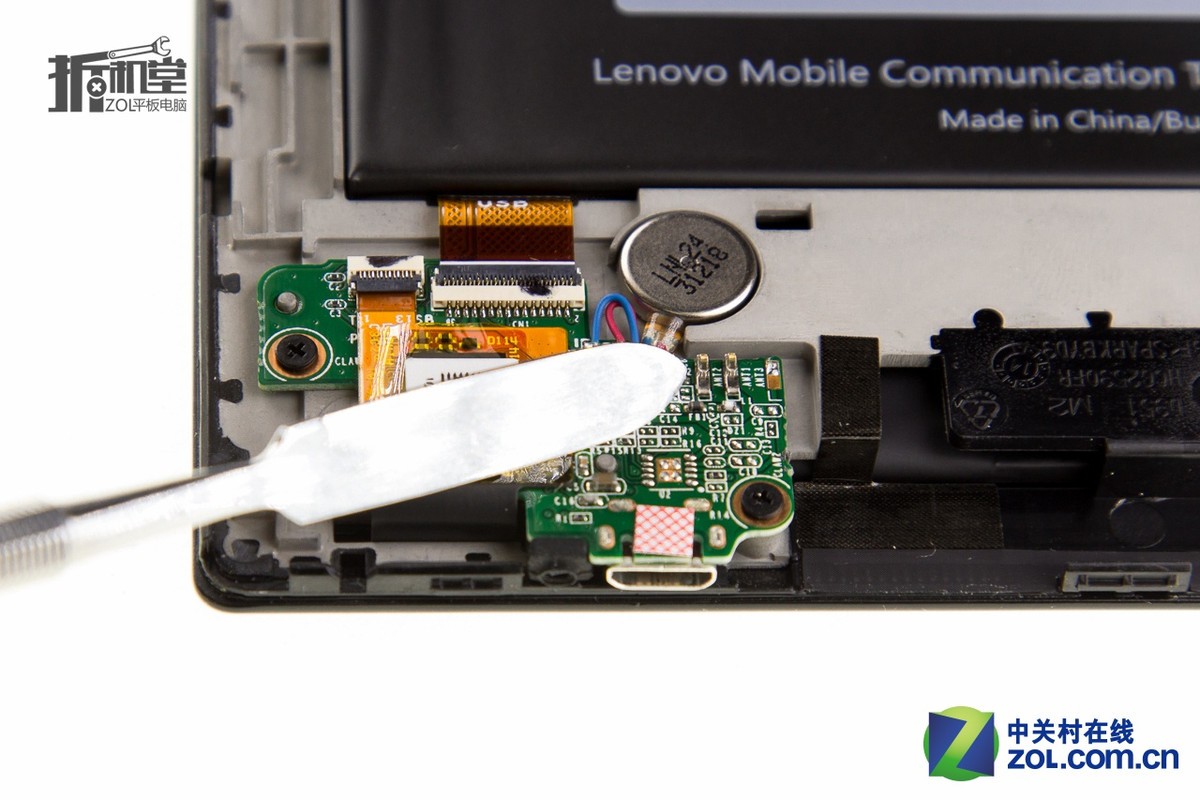
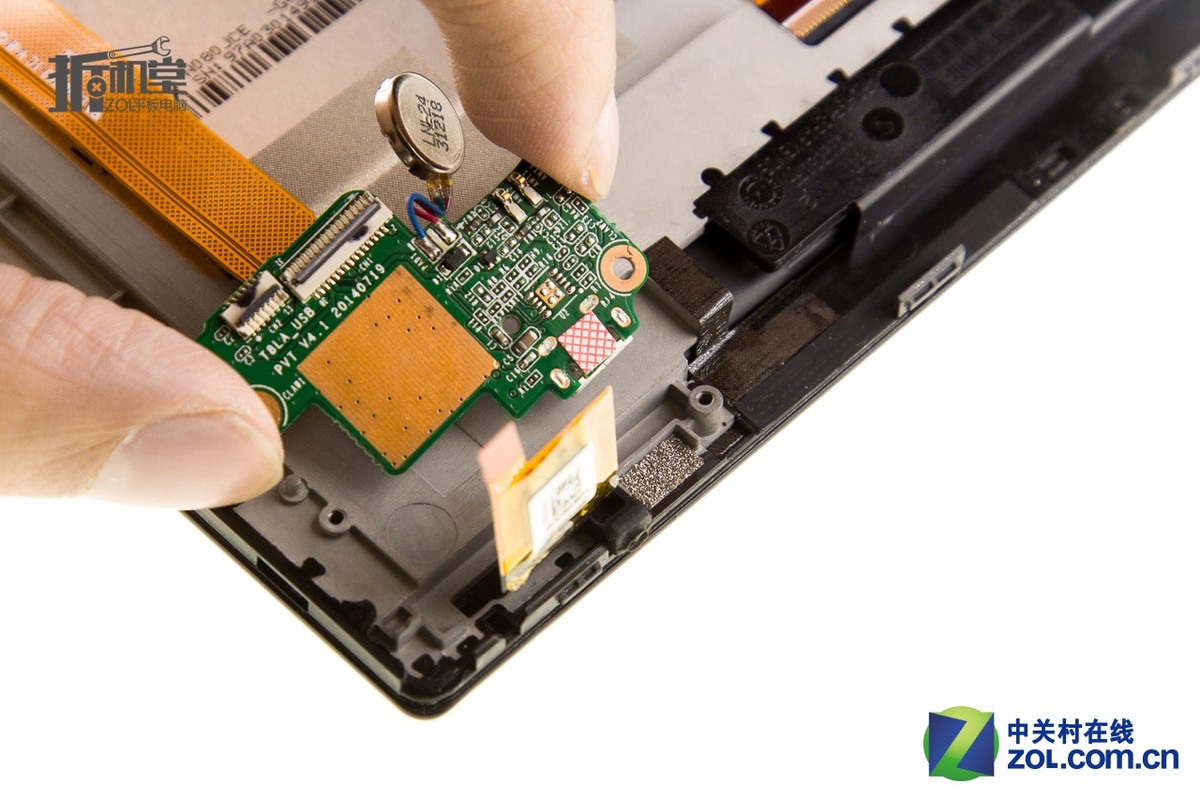
Disconnect the CMOS battery ribbon cable from the motherboard and remove the CMOS battery from the motherboard using a prying tool.
Disconnect the battery cable from the motherboard.
Disconnect the cable from the motherboard.
Remove the screw.
Remove the metal sheet.
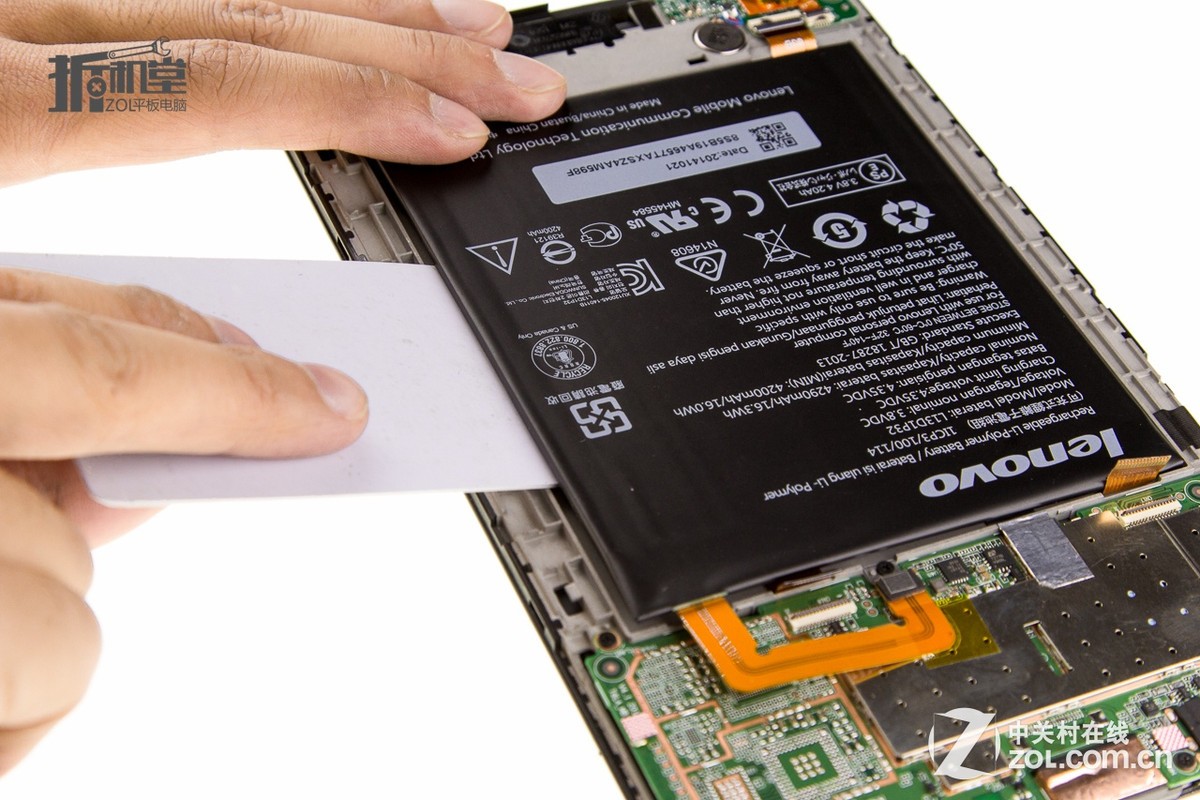
Insert an old card under the battery, then pry it up with slight force to remove the battery.
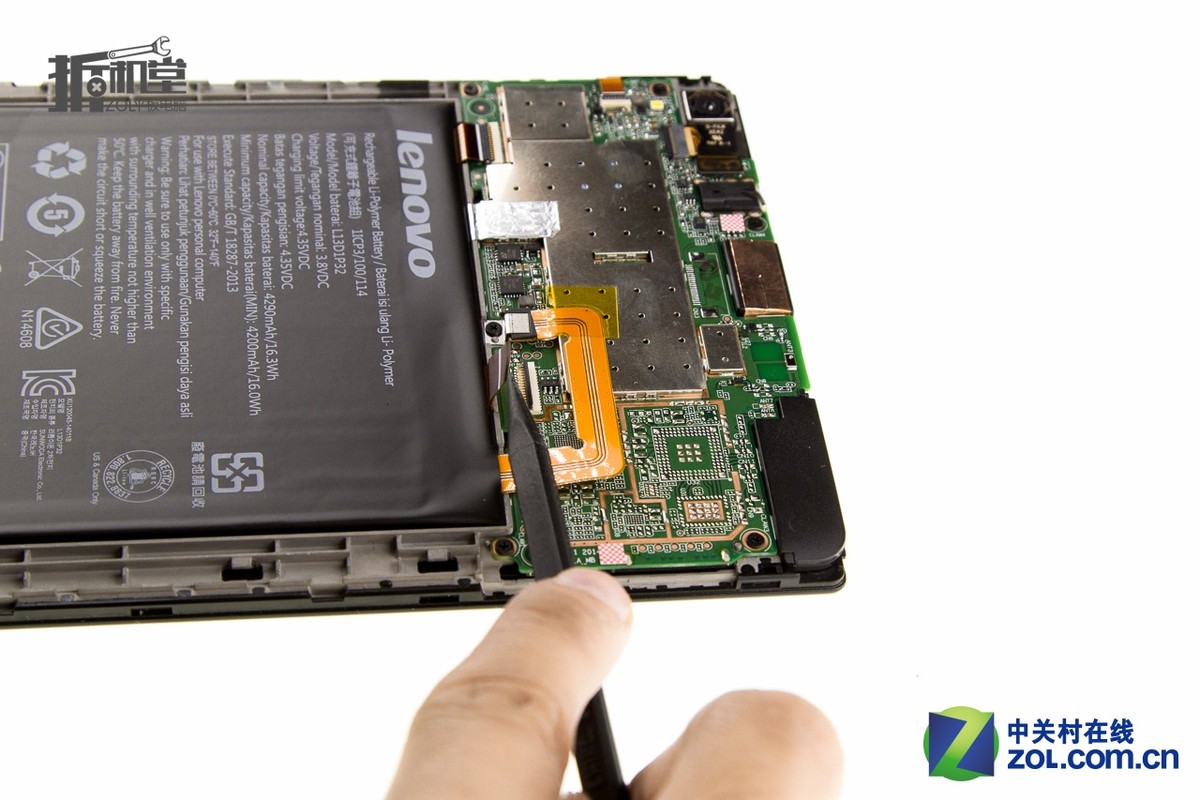
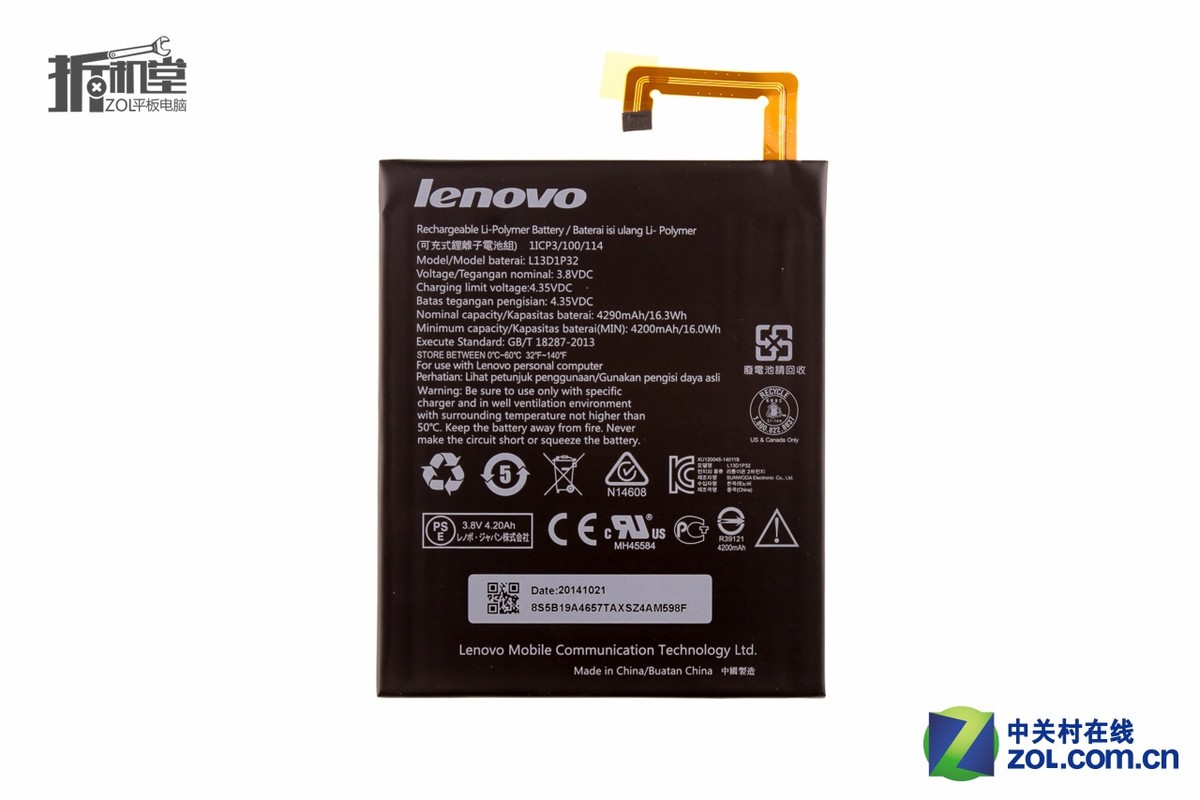
The Lenovo Tab S8-50 comes with a 4200mAh Li-polymer battery, and the Lenovo part number is L13D1P32.
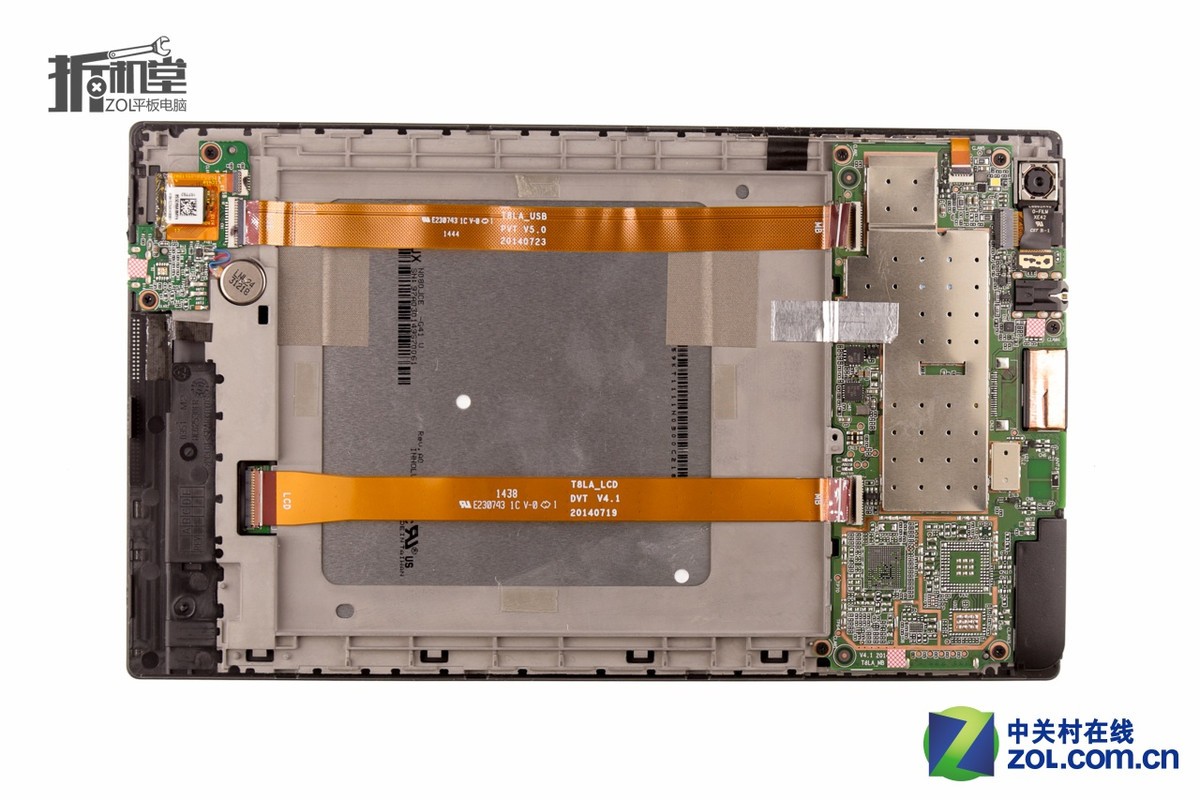
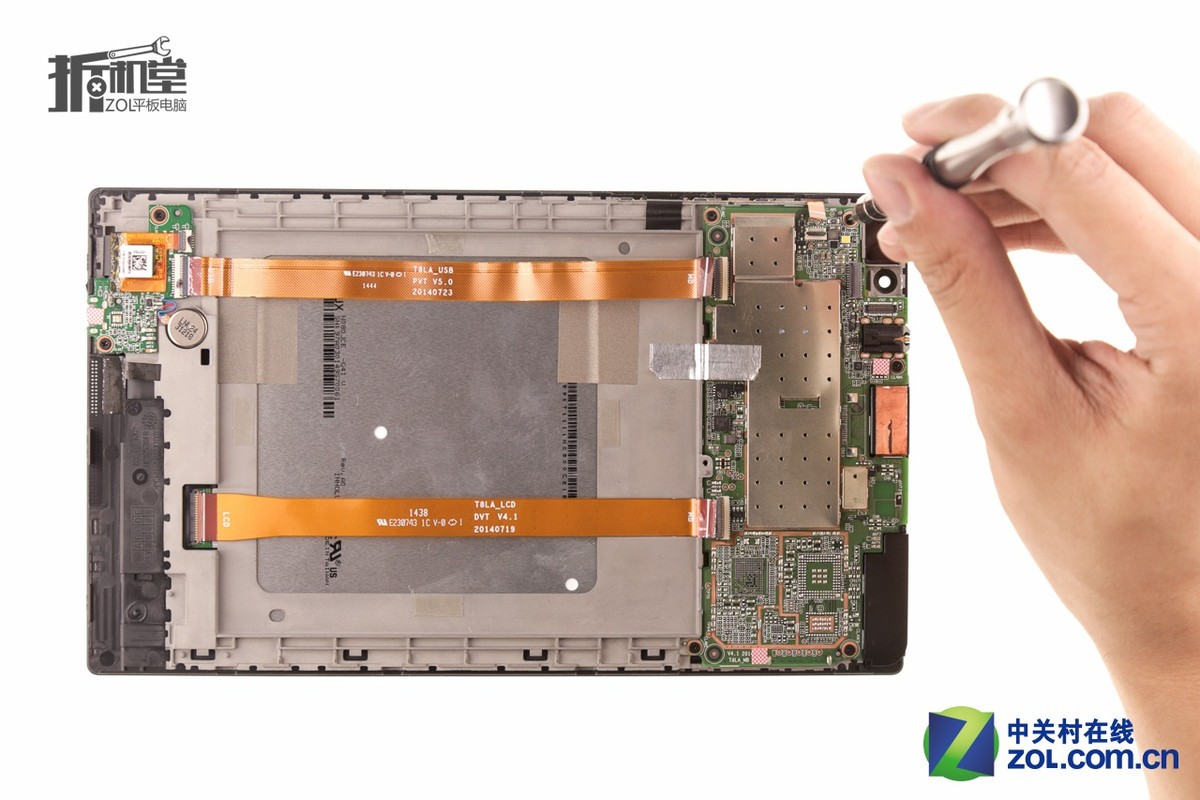
Under the battery, there is a metal roll cage and two PCB cables. One is a data transmission cable, while the other is an LCD cable.
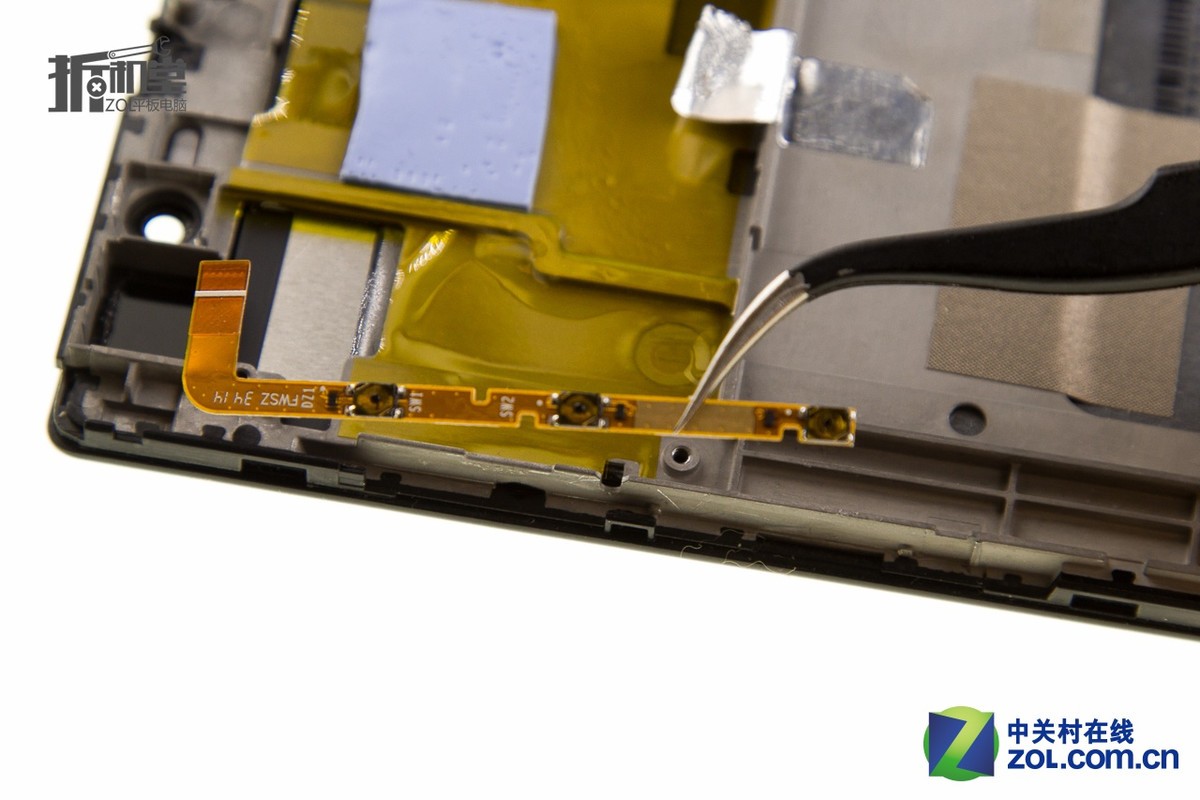
Disconnect the button cable.

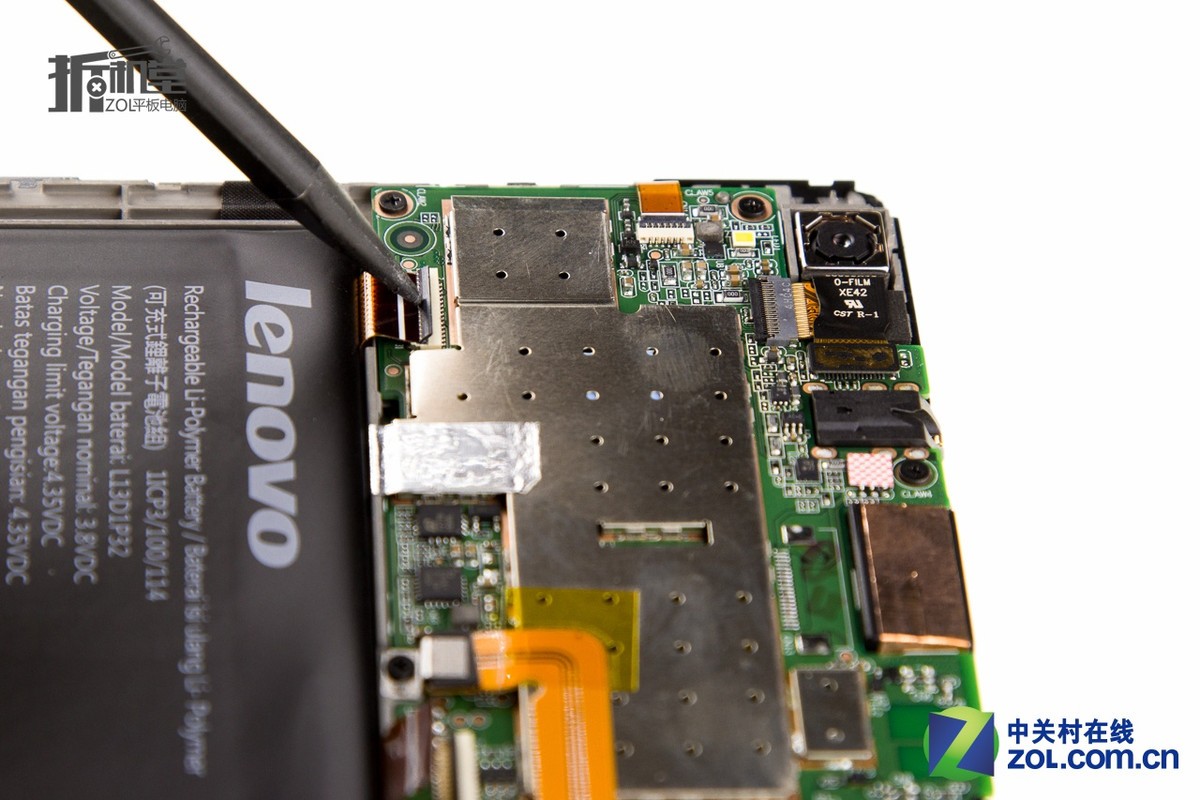
Disconnect the rear camera cable.
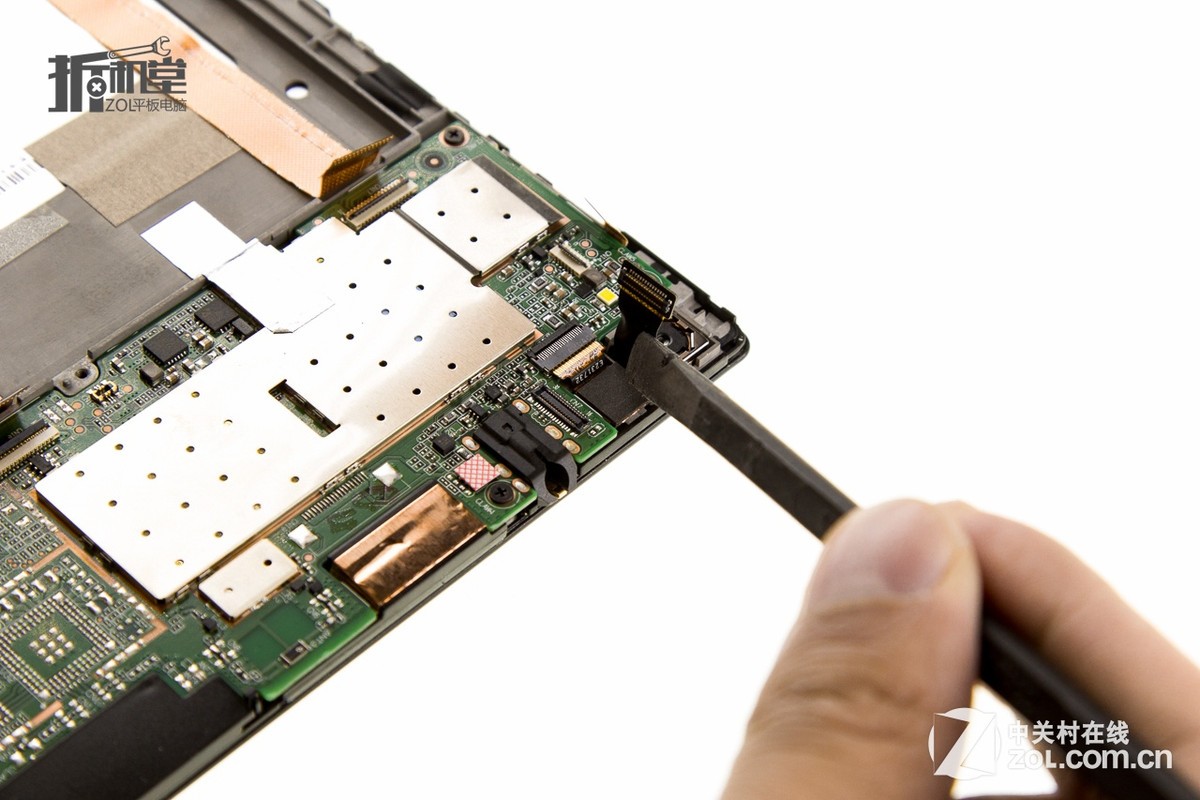
Disconnect the front camera cable.

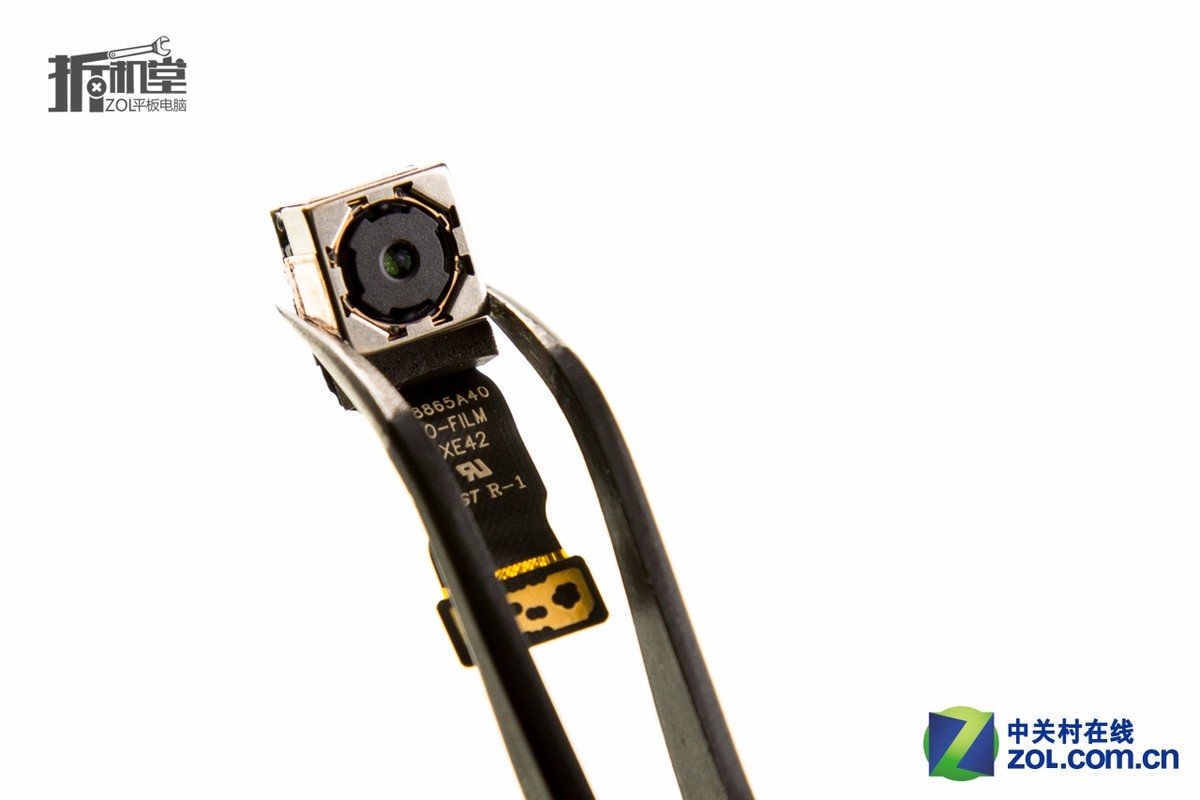
The Lenovo Tab S8-50 features an 8MP rear camera.
Close-up of the 1.6MP front camera

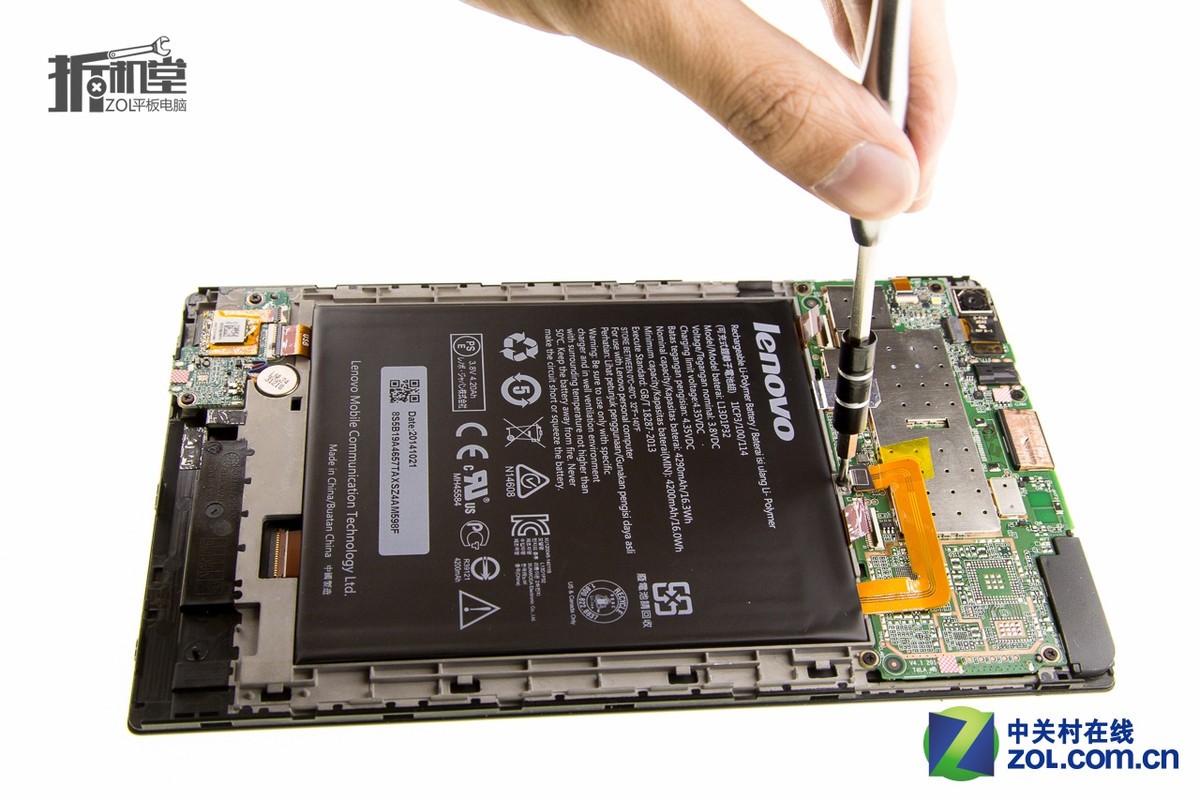
Remove the five screws securing the motherboard.
Remove the motherboard from the tablet body.
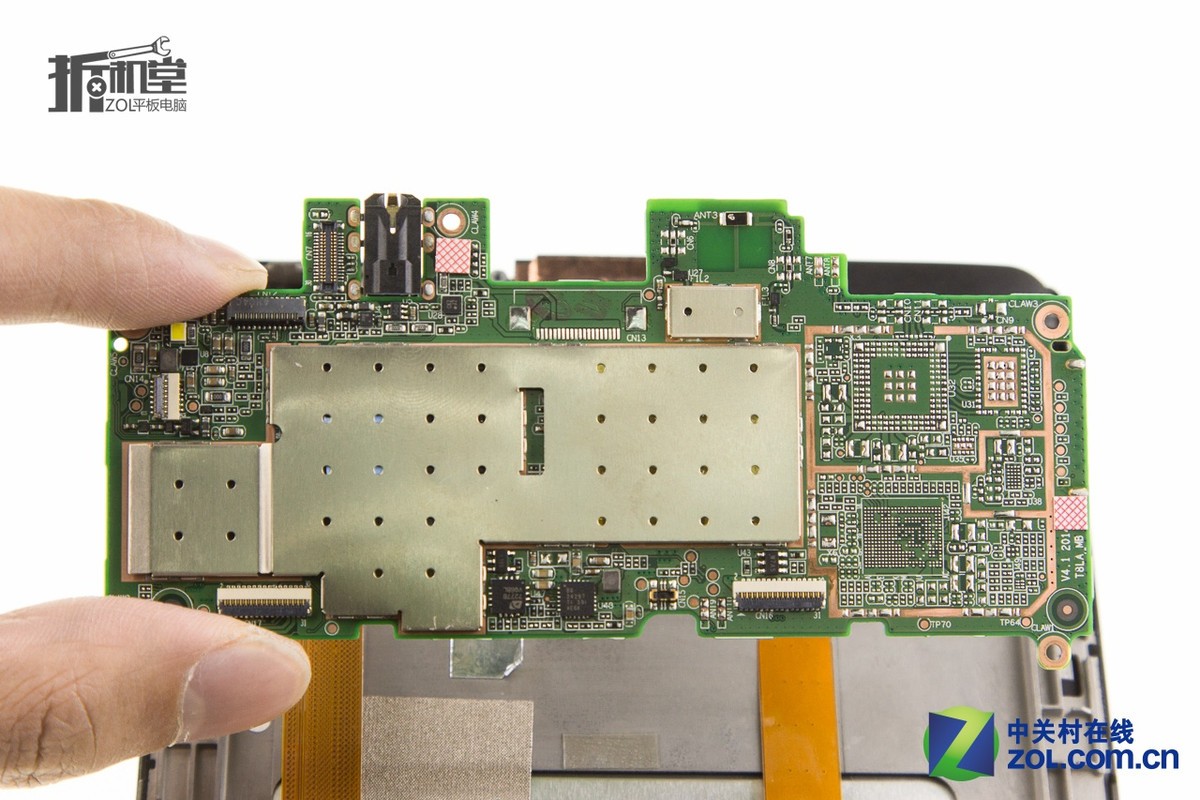
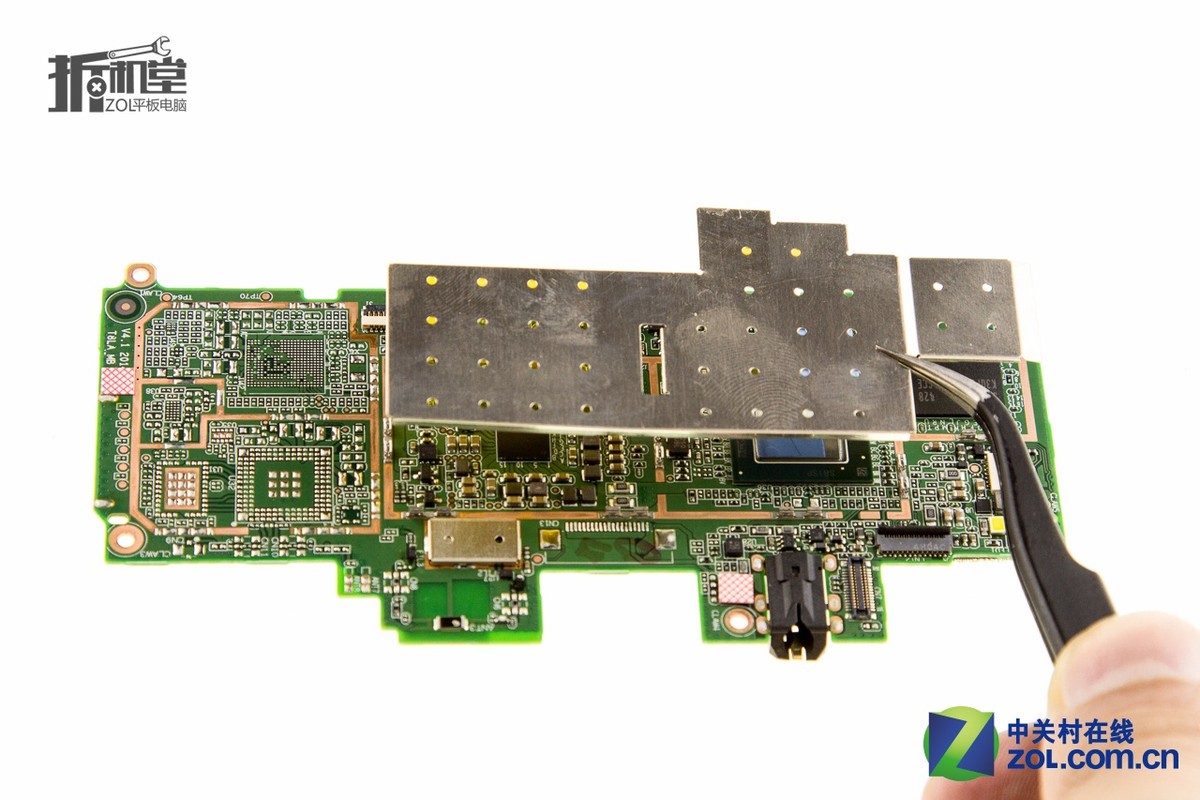
The chips on the motherboard are covered with metal shields. To access the chips, we need to remove the metal shields.
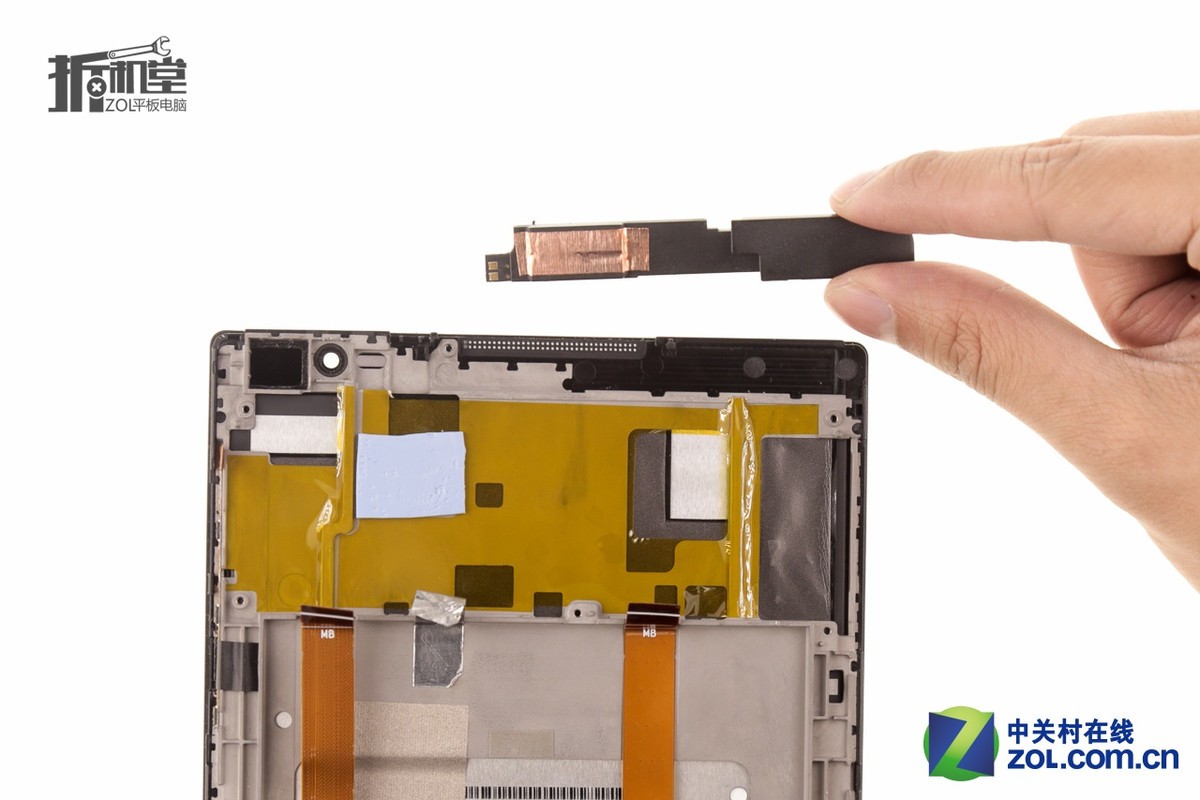
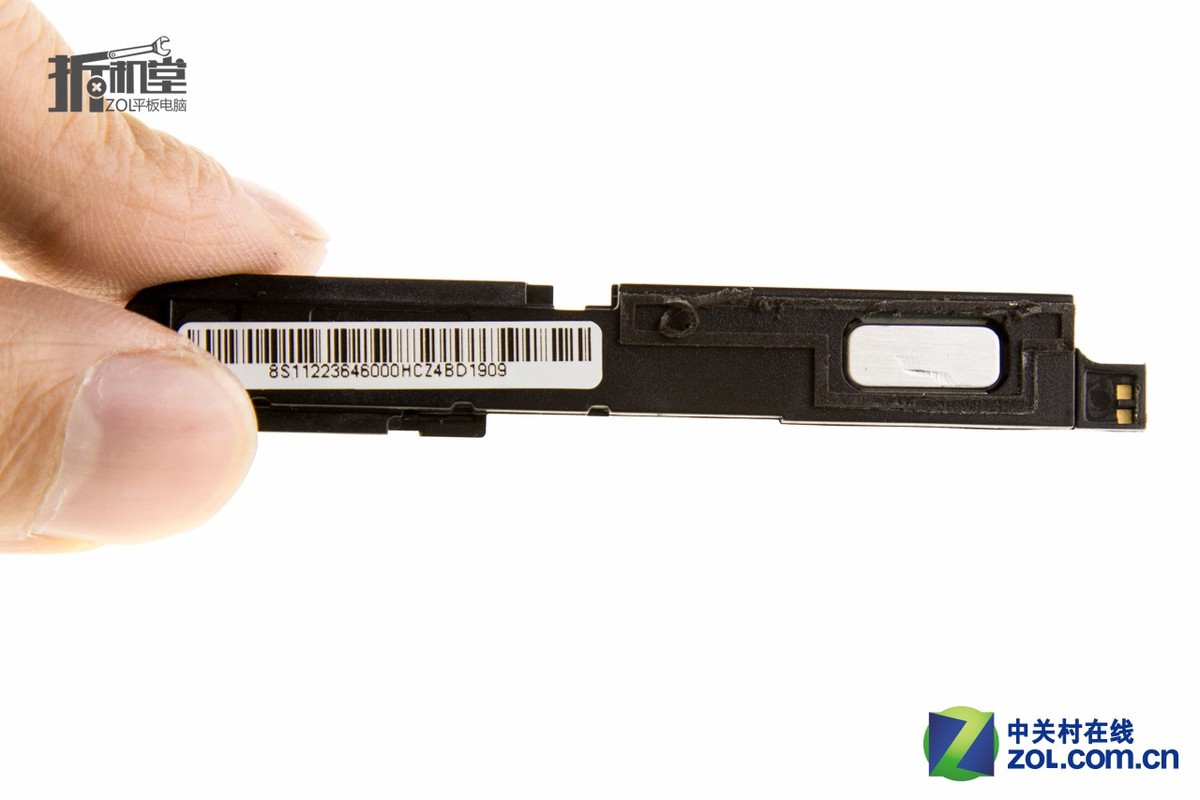
Remove the top speaker.
Remove the two screws securing the small circuit board.
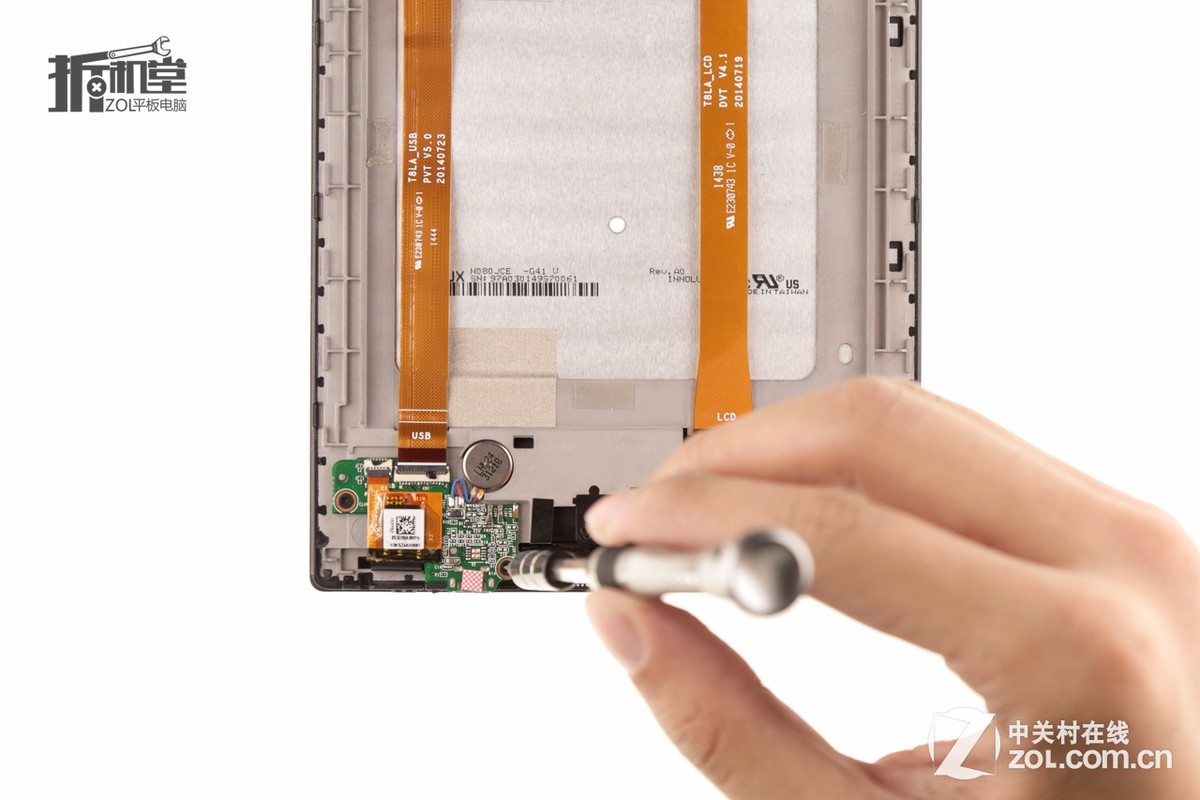
Disconnect the touch cable and then remove the small circuit board.
Remove the button board.
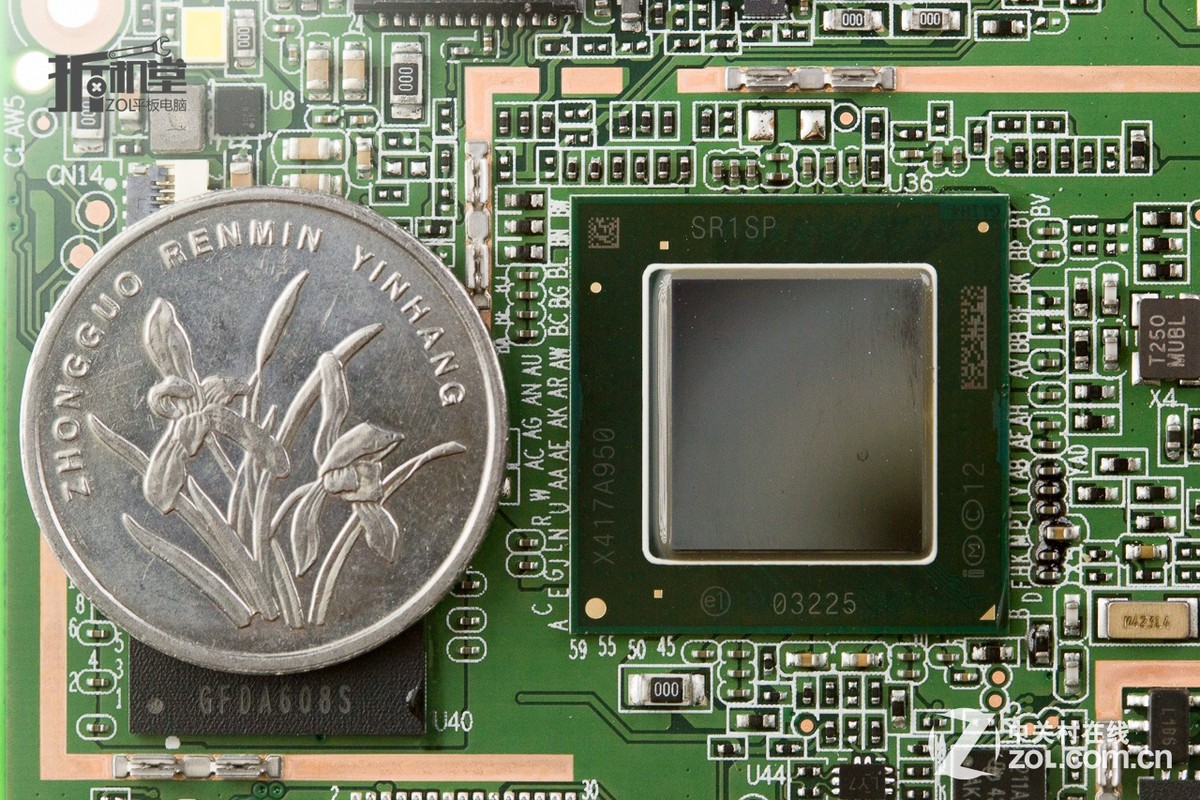
The Lenovo Tab S8-50 is powered by an Intel Z3745 processor.
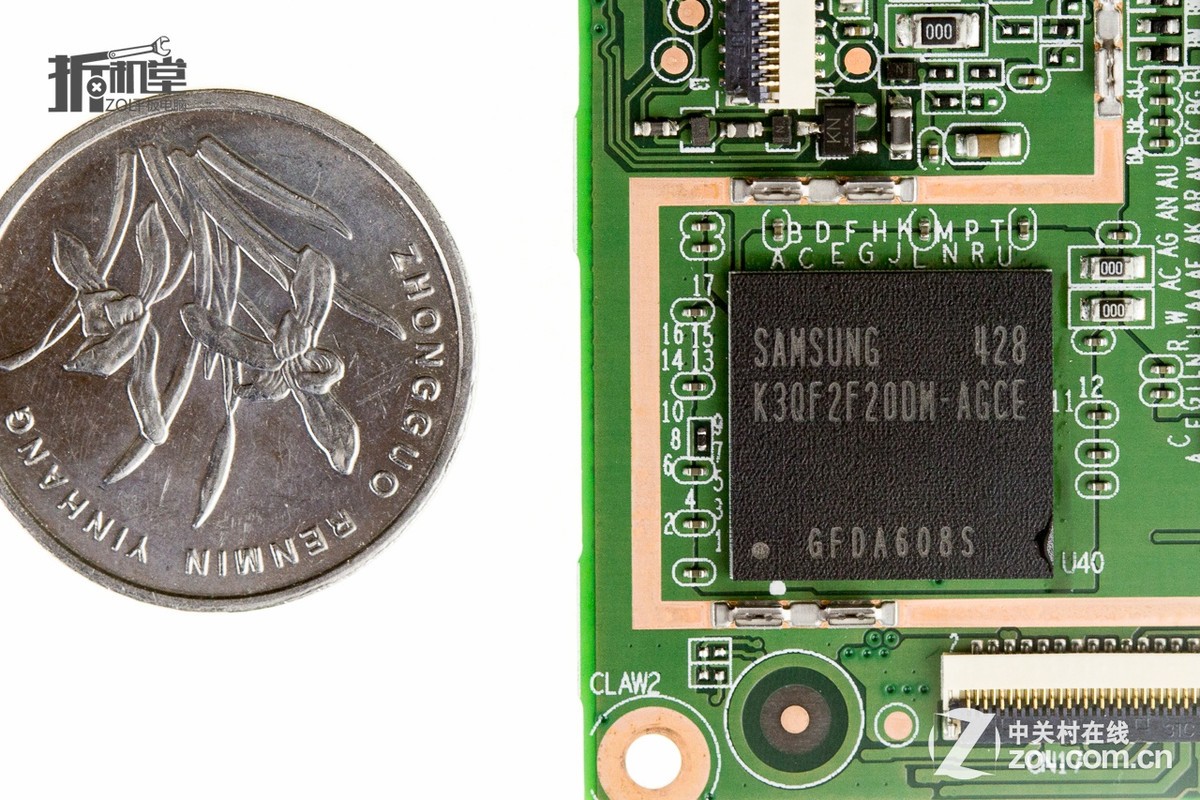
Samsung K3QF2F20DM-AGCE 2GB RAM
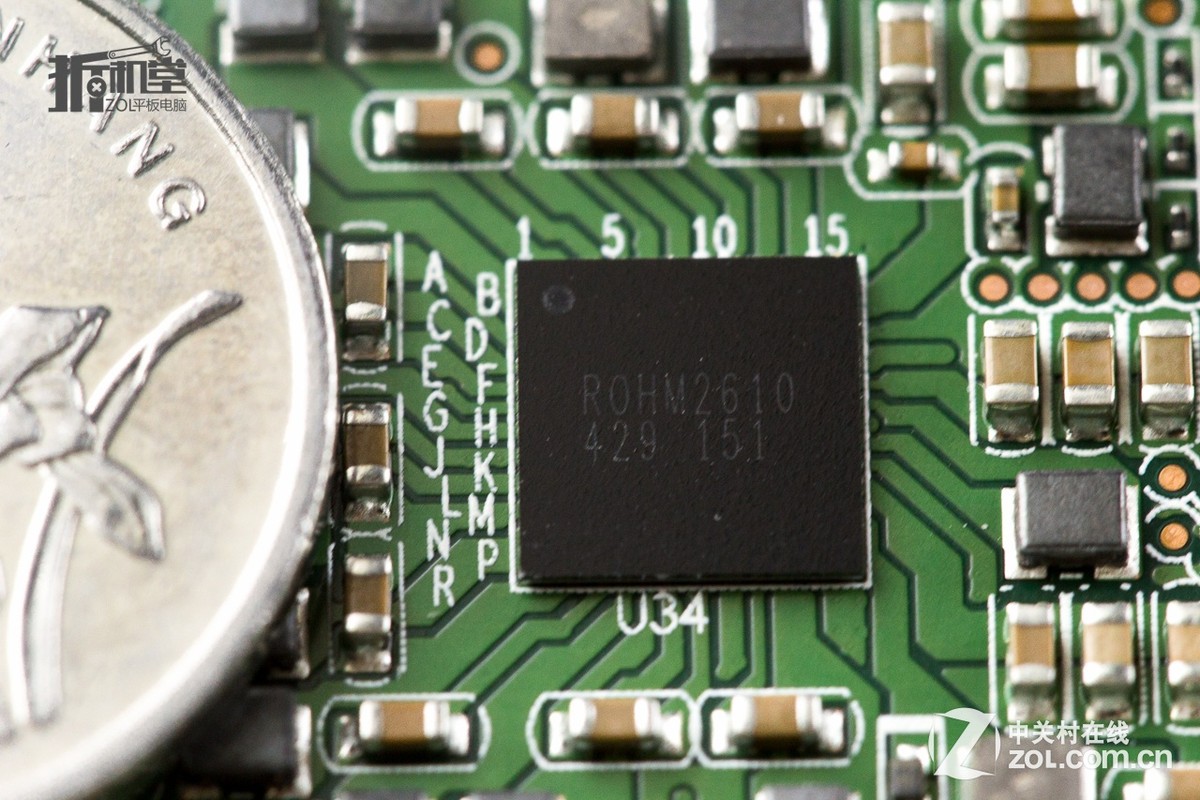
ROHM2610 power management chip
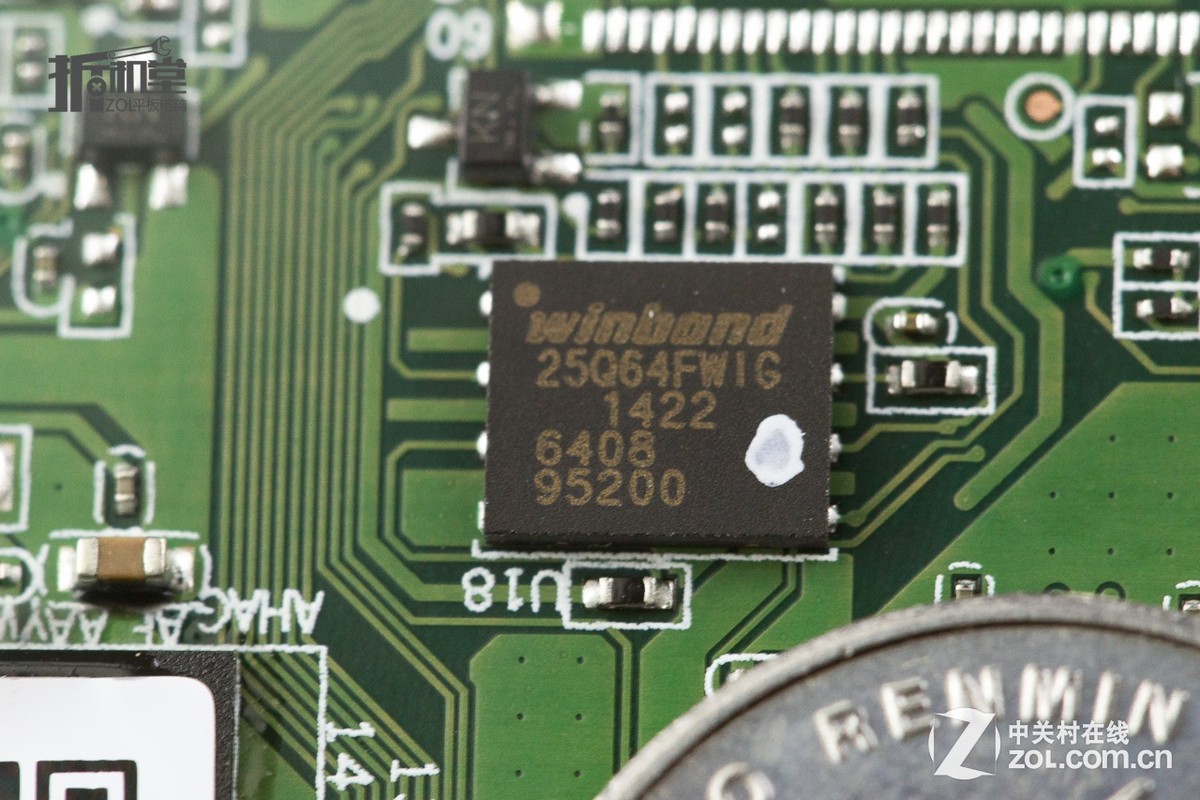
Winbond 25Q64FWIG audio decoder chip
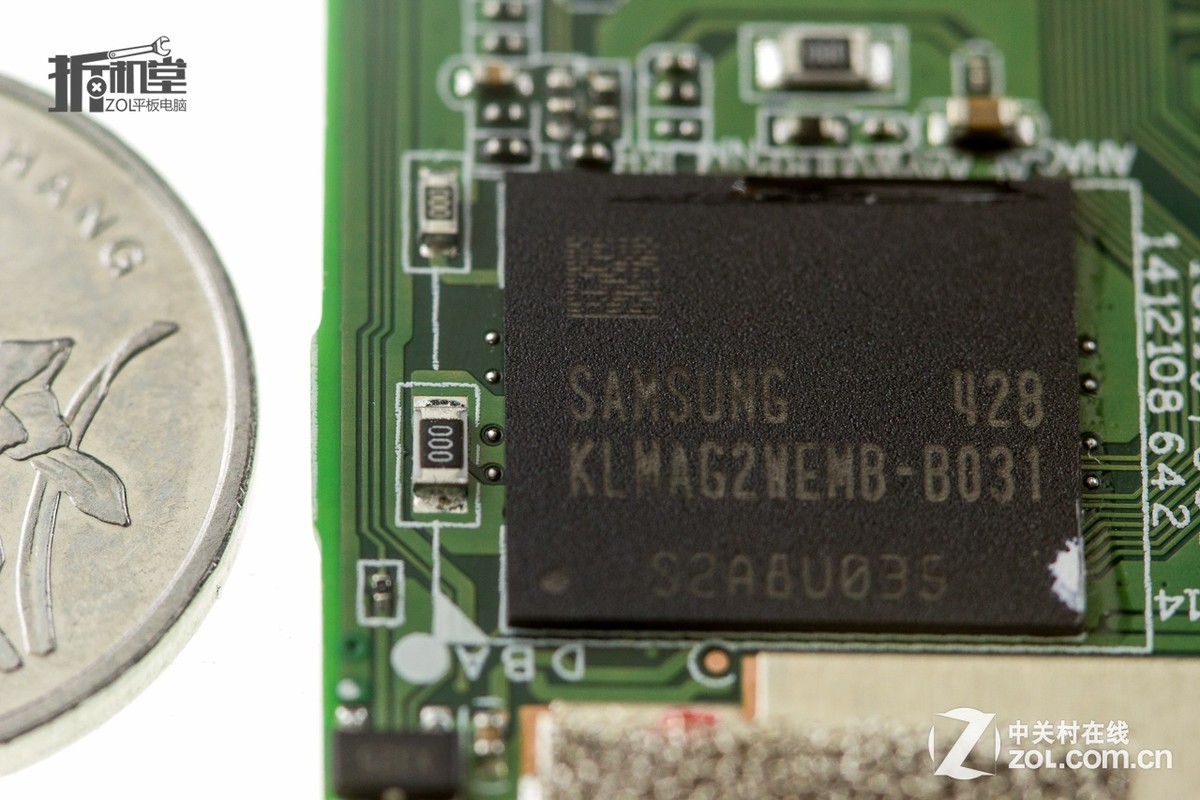
Samsung 16GB eMMC chip
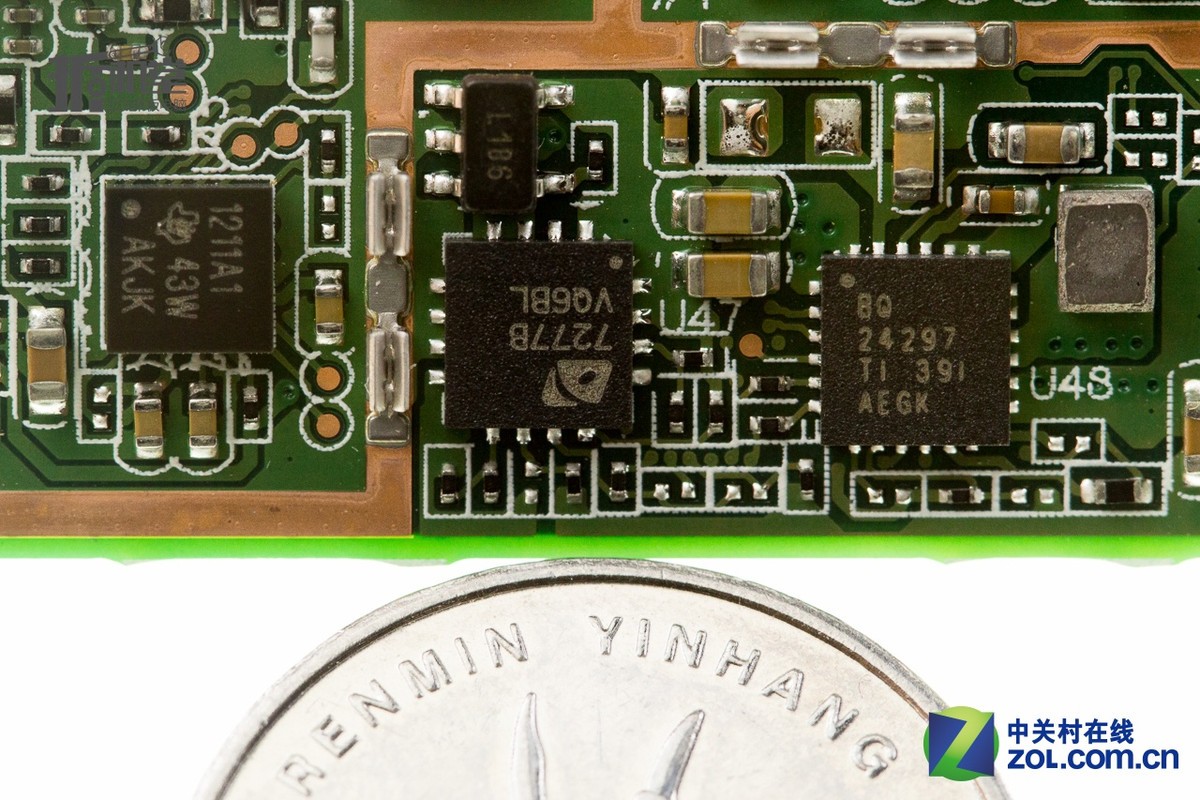
TI BQ24297 charge management chip
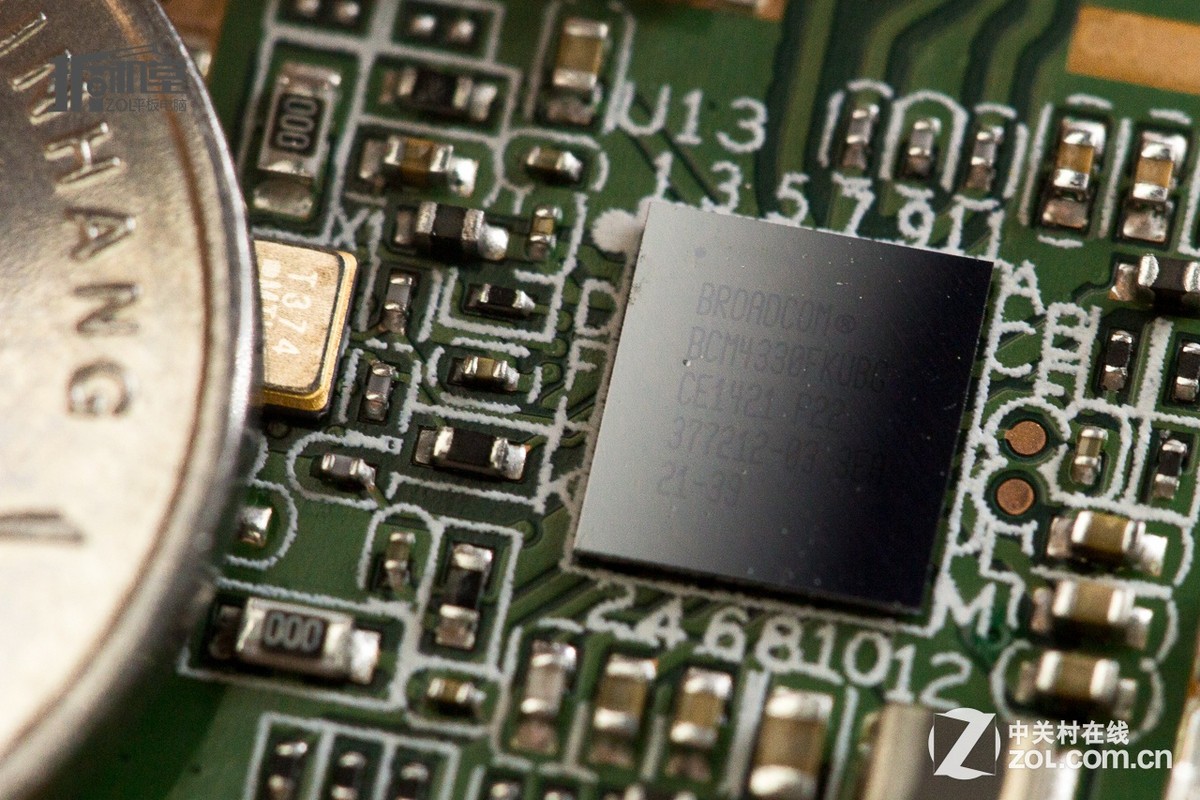
Broadcom BMC4330 wireless module
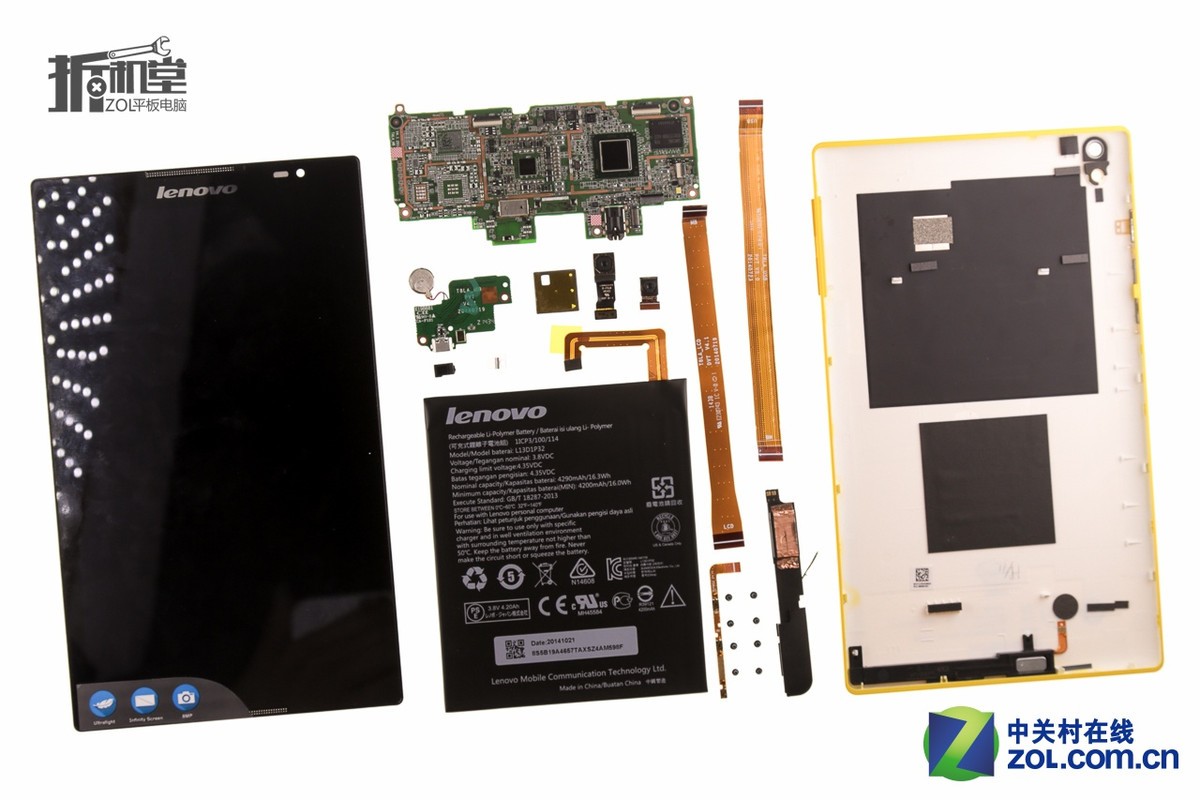
Lenovo Tab S8-50 internal parts
Source: zol.com.cn

Do I have to tear it down to replace the digitizer completely? Either way, how do you remove the digitizer from the screen?
You can buy it on eBay for $19. You do not need to tear it down completely! Check some videos on YouTube about replacing digitizers for popular phones, etc. You will learn how it works.
Could you please tell me all the numbers and letters on the camera module?
Any idea where to get a replacement screen for this tablet?
You have to replace the Digitiser and LCD as one unit. The 2 parts are bonded together.
Shame this teardown doesn’t go all the way to removing all parts.
This is the only guide I could find for this tablet on how to replace the USB port. This has been super helpful. Thanks!
Where can I find the GPS antenna?
Very very good.
Thank you