
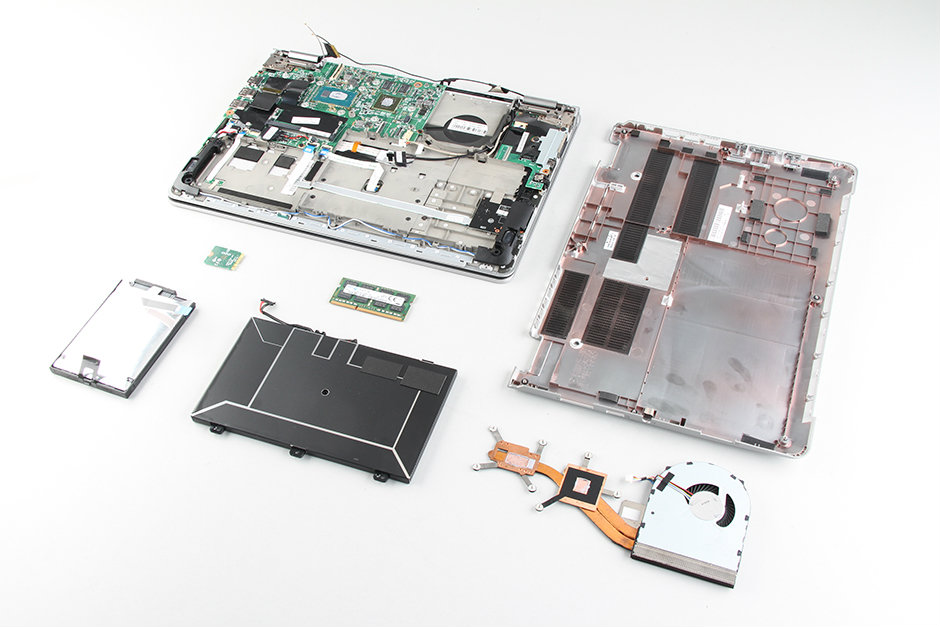
In this guide, I will explain how to disassemble the Lenovo ThinkPad Yoga 14 to remove the bottom case, battery, SSD, RAM, wireless card, heat sink, cooling fan, and motherboard.
Want to keep in touch with us? Follow us on Facebook for more repair news.
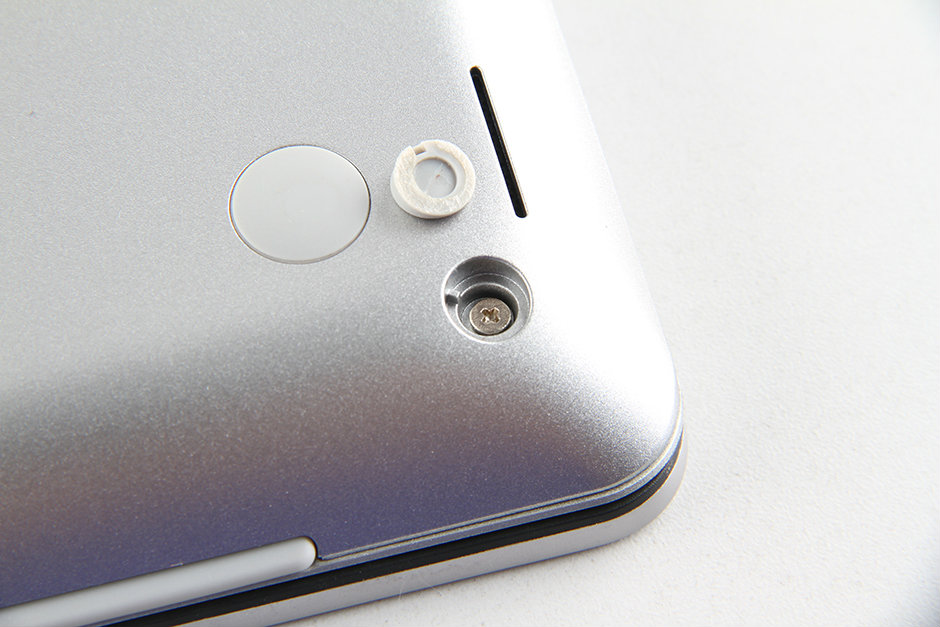
Remove all screws securing the bottom cover, including the hidden screws beneath the two rubber pads.
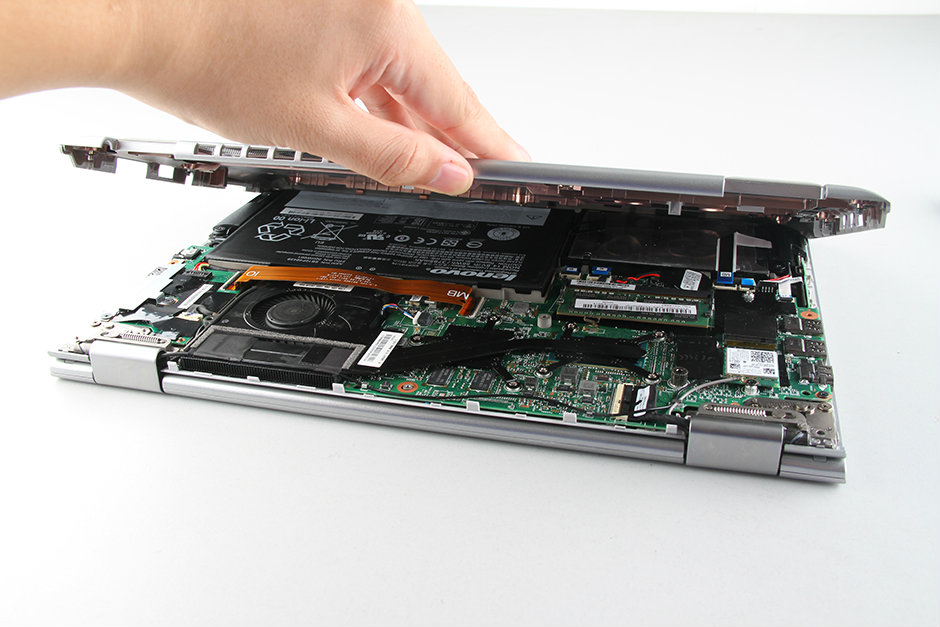
Insert a plastic pry tool between the bottom cover and palm rest. There are several clips on the bottom cover that secure it to the palm rest. Slide the pry tool to release all the clips to remove the bottom cover completely.
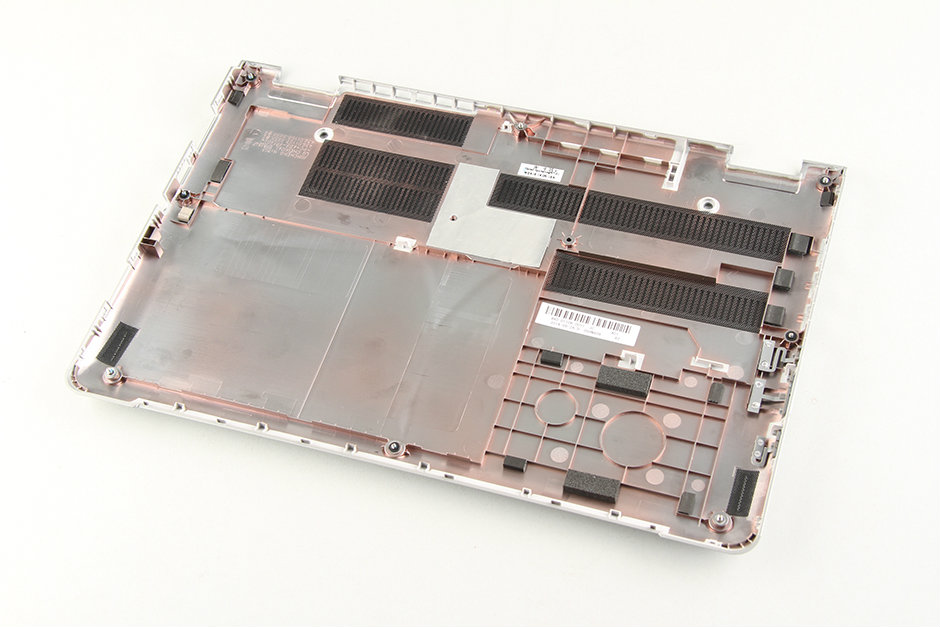
Close-up of the bottom cover. There are no other parts on the bottom cover, only a few sponge pieces at the hard drive position to prevent the hard drive from being shaken.
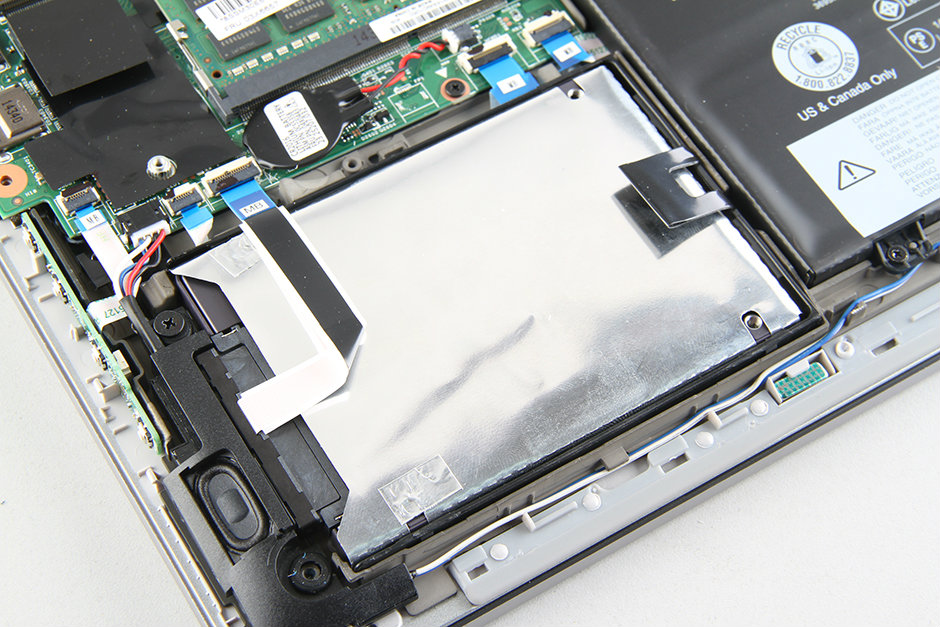
When the bottom case is removed, you can access the battery, SSD, RAM, wireless card, heat sink, and cooling fan.
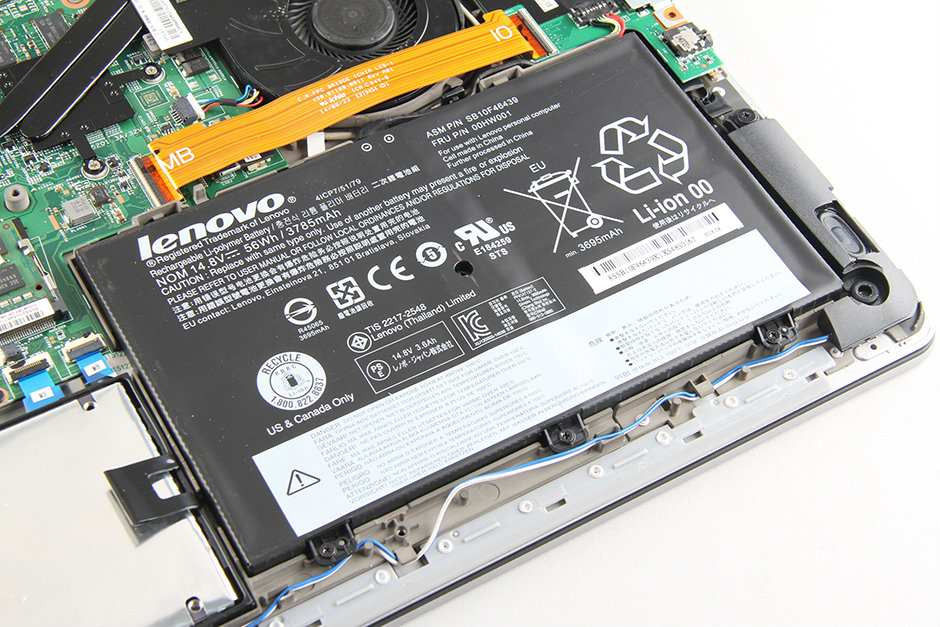
Remove the screws securing the battery and disconnect the battery power cable from the motherboard.
Lift and remove the battery.
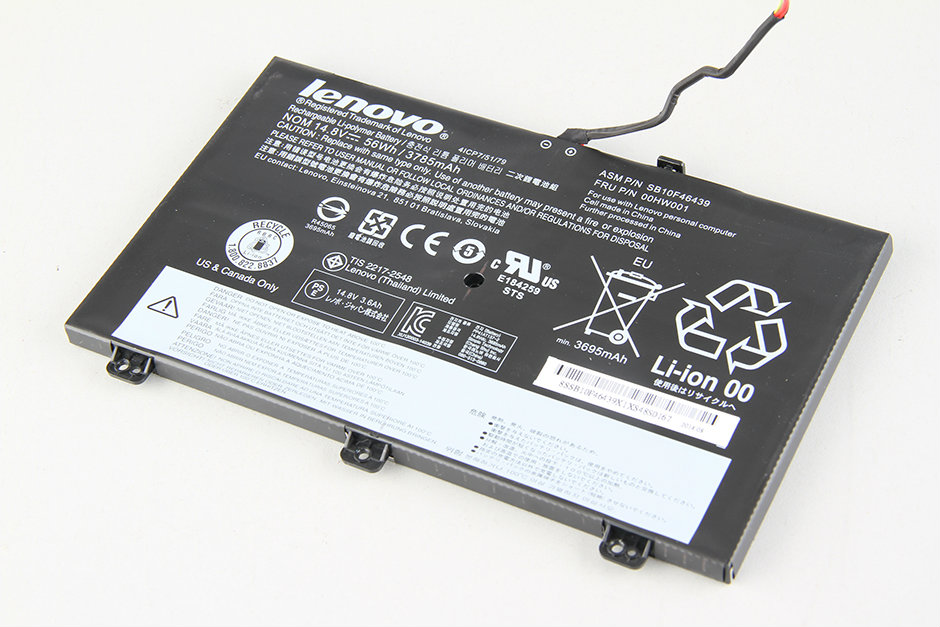
The Lenovo ThinkPad Yoga 14 has a 56Wh, 3785mAh Li-polymer battery, and the Lenovo part numbers are SB10F46439 and 00HW001.

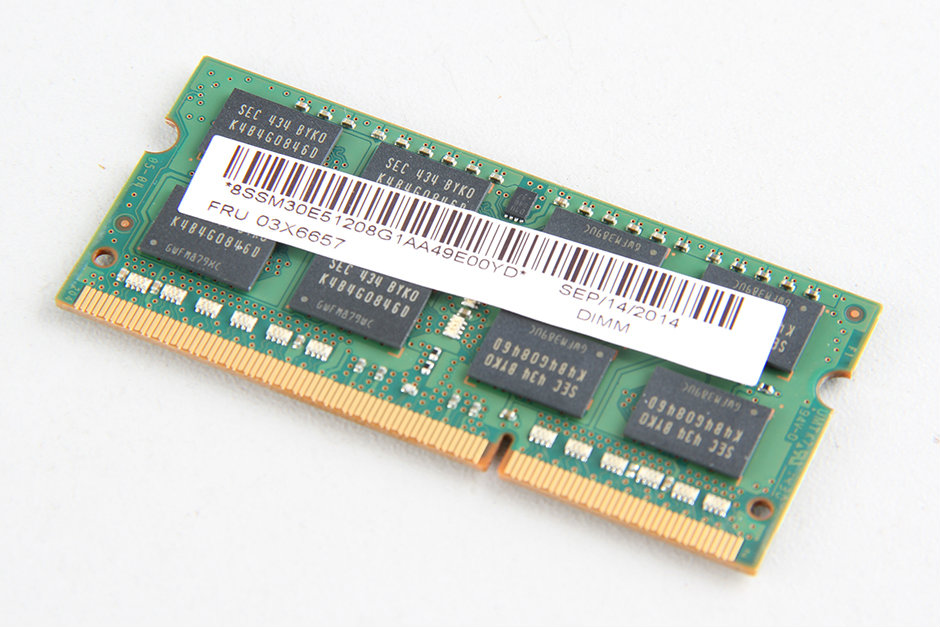
Use your nails to separate the clips from both sides, and the memory module will pop out automatically.
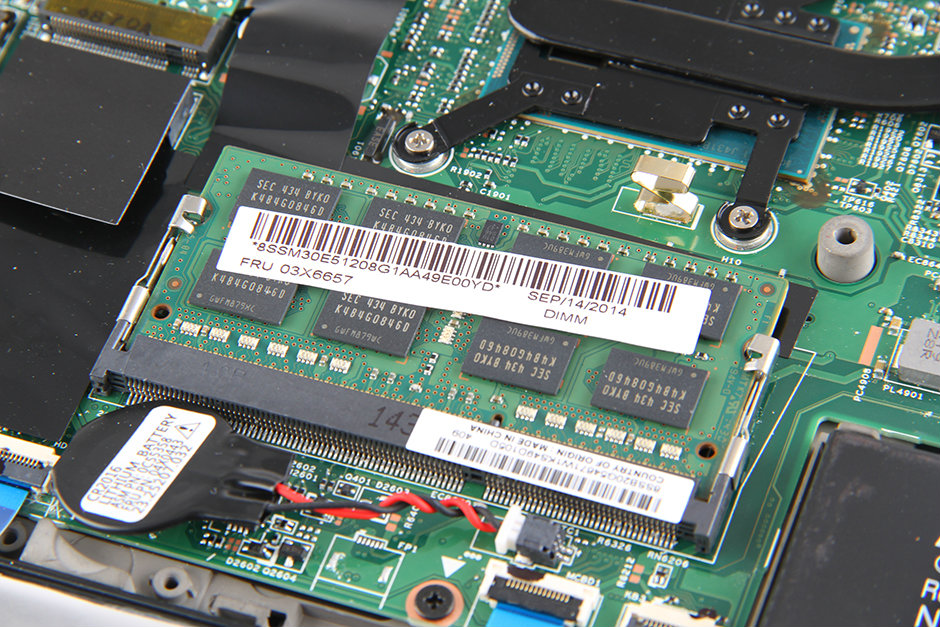
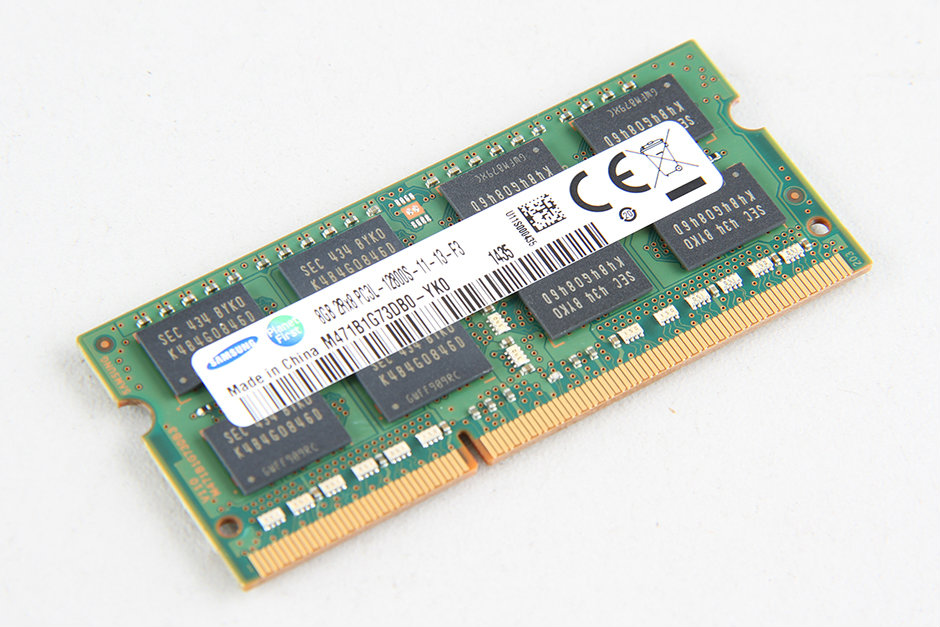
The ThinkPad Yoga 14 comes with a Samsung 8GB PC3L-12800S RAM module. This laptop has only one memory slot, and if you need to upgrade the memory, you will have to replace the existing memory module.
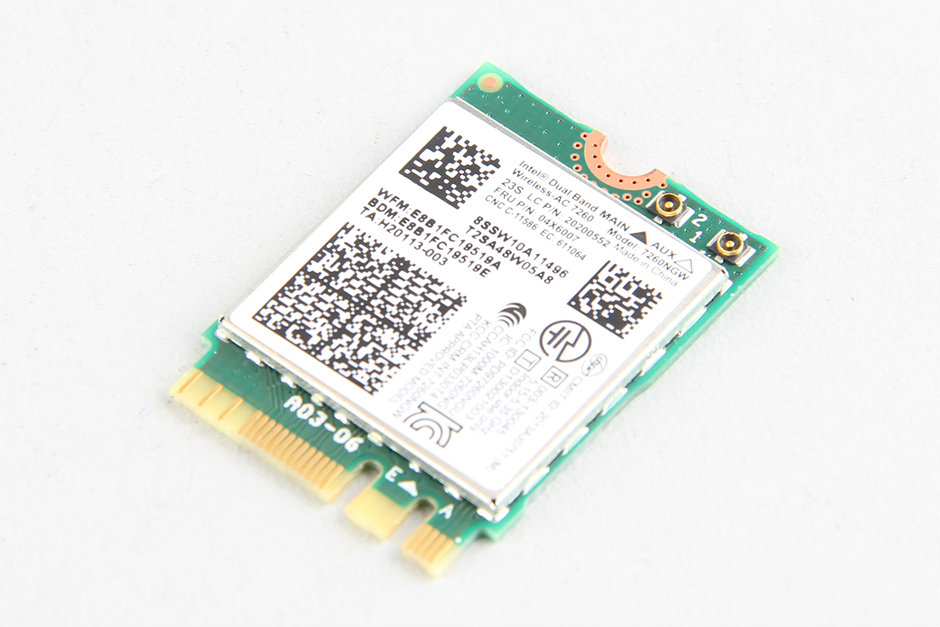
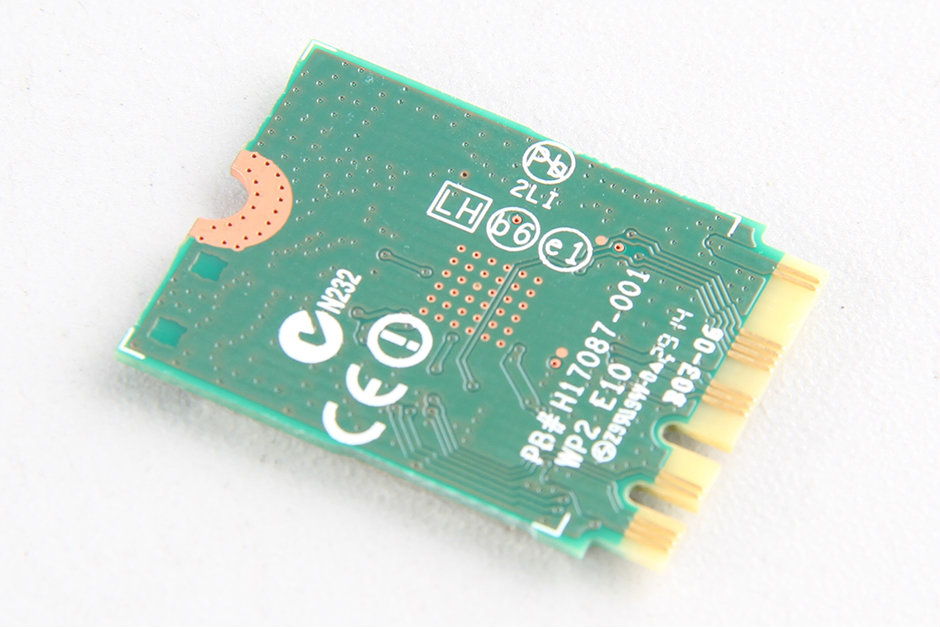
Disconnect the two antennas and remove one screw. You can remove the wireless card.
There is also an empty M.2 slot next to the wireless network card, where you can add an SSD.
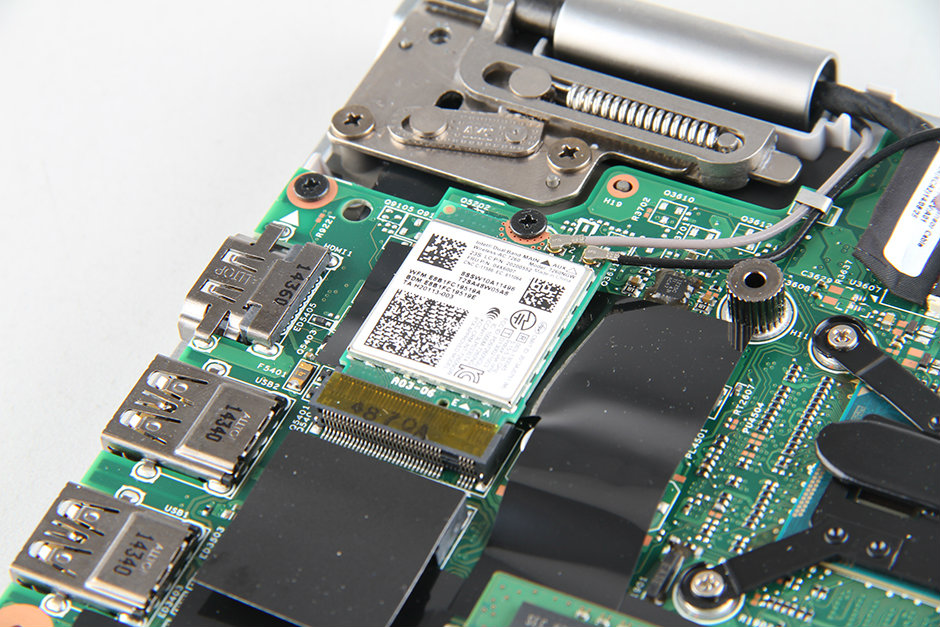
The ThinkPad Yoga 14 comes with an Intel Dual Band Wireless-AC 7260 wireless card, and the Lenovo part number is 04X6007.
Disconnect the cable from the motherboard. Lift the black tape and slide it to the right, then disconnect it from the motherboard.
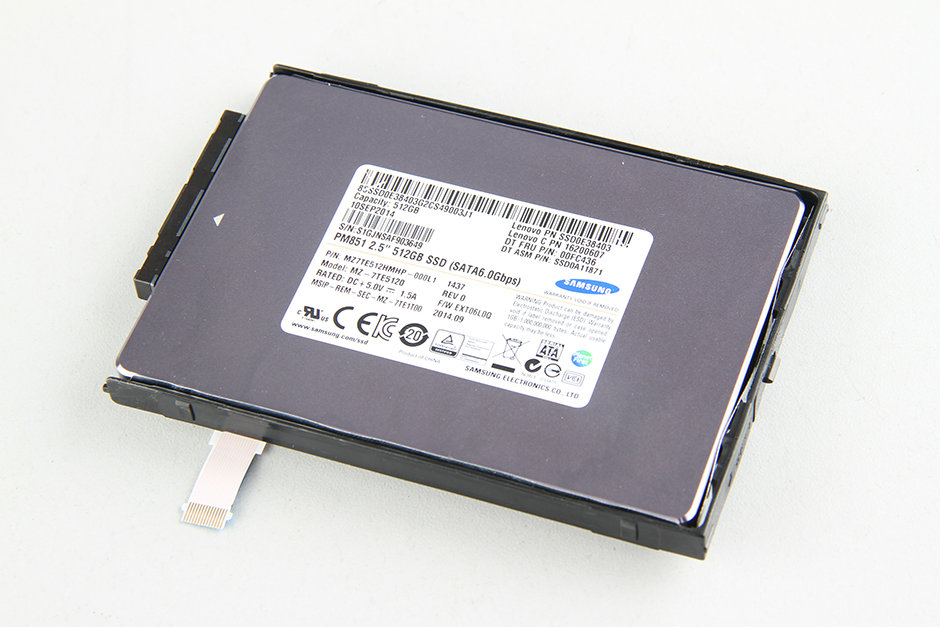
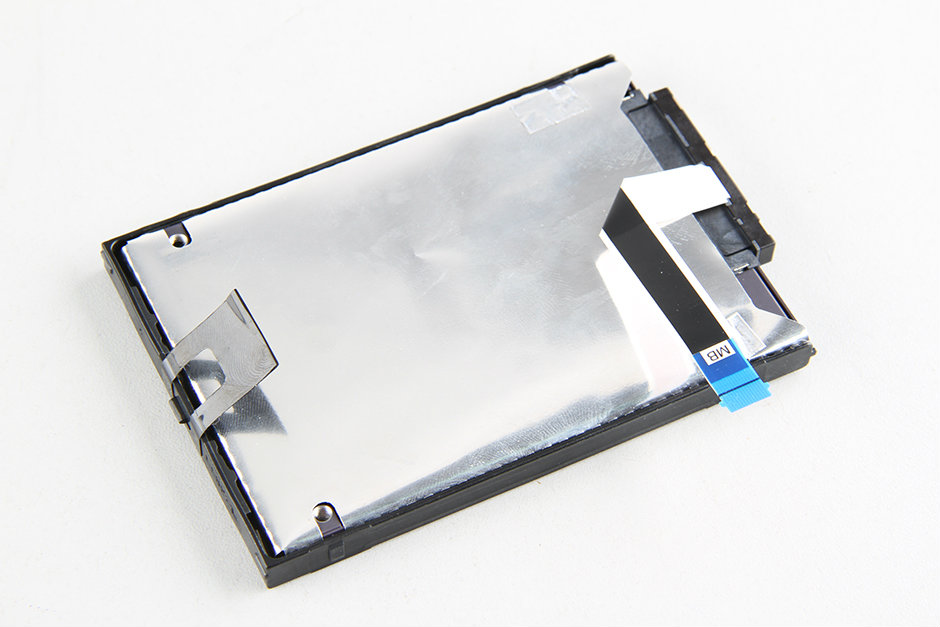
The ThinkPad Yoga 14 features a Samsung PM851 2.5″ 512GB SSD. This SSD is installed in a bracket. If you need to replace the SSD, you must remove the bracket and install it on the new SSD.
Disconnect the yellow cable and the cooling fan cable from the motherboard.
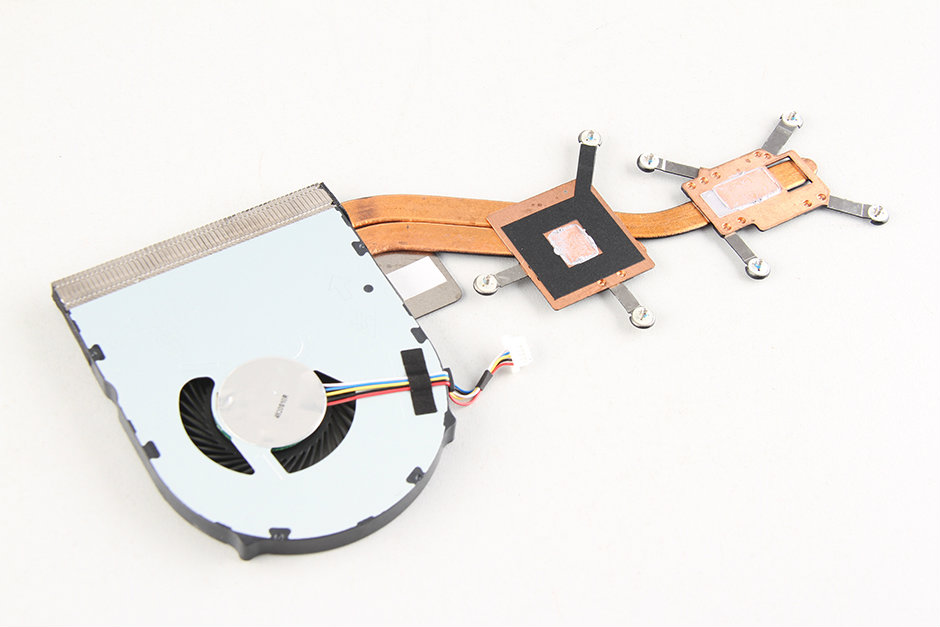
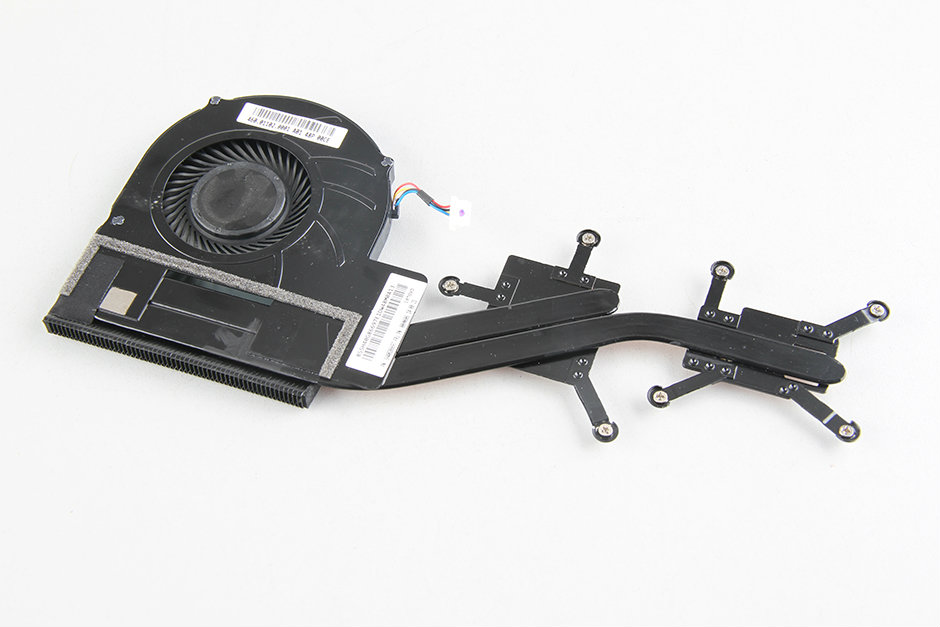
Loosen all the screws securing the heat sink.
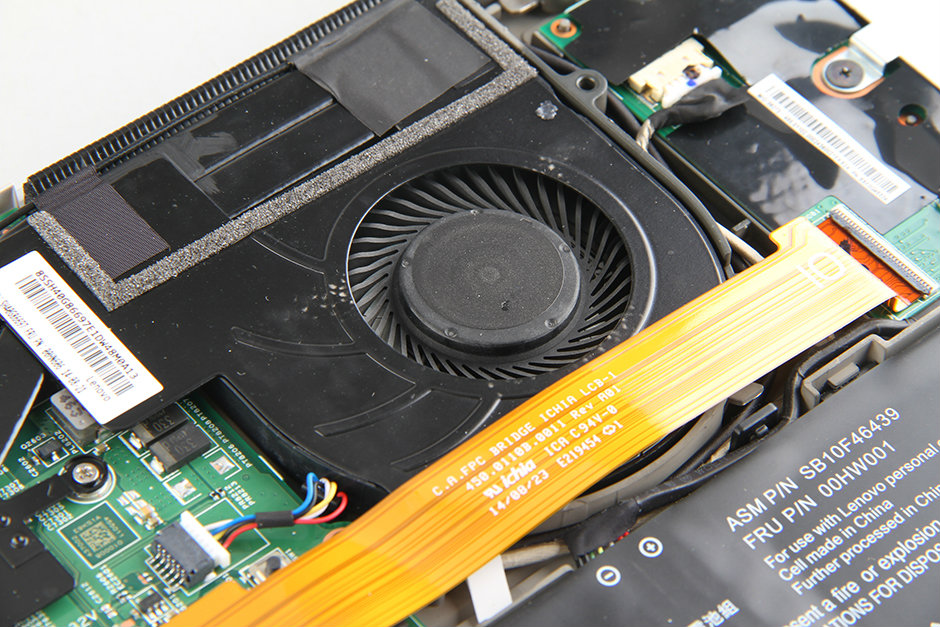
Close-up of the heat sink and cooling fan
Now, only the motherboard, speaker, and USB board are left on the palm rest.

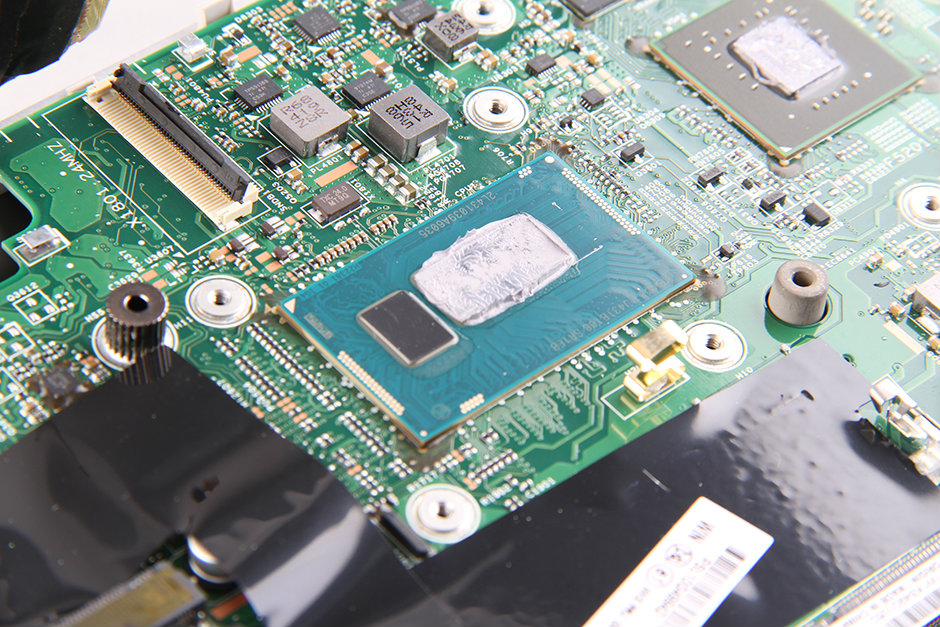
Close-up of the graphics card

The processor of the Lenovo ThinkPad Yoga 14 is soldered to the motherboard, so it cannot be upgraded.
Close-up of the ports on the motherboard
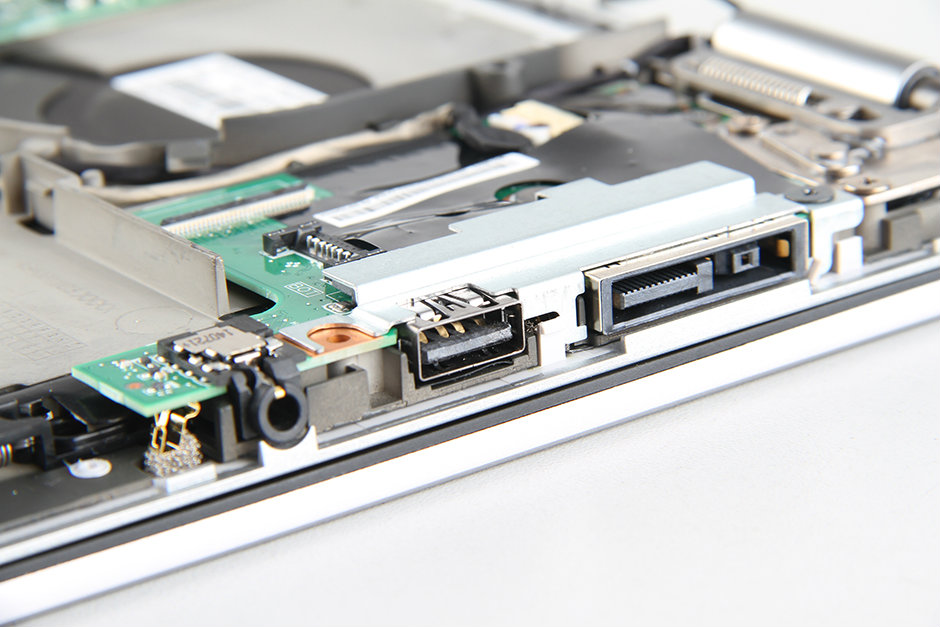
Close-up of the ports on the motherboard

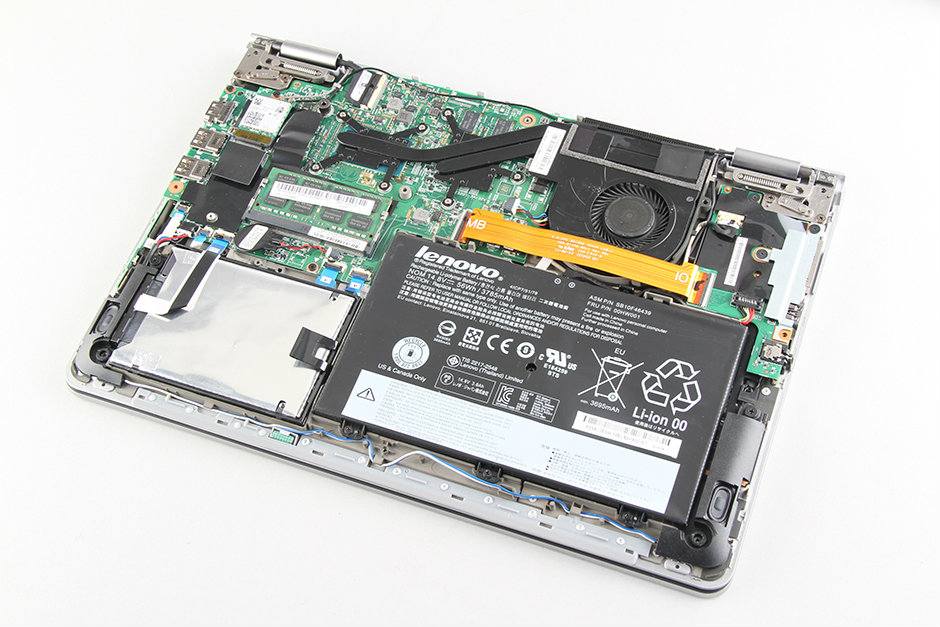
Lenovo ThinkPad Yoga 14 internal parts
Hey, do you know from which point I can replace the screen, and how that is done?
Thanks a lot