
In this guide, I will explain how to disassemble the Lenovo Yoga 3 Pro. I will remove the battery, SSD, wireless card, keyboard, heat sink, USB board, cooling fan, and motherboard.
Looking for more funny teardowns? Follow us on Facebook for all the latest repair news.
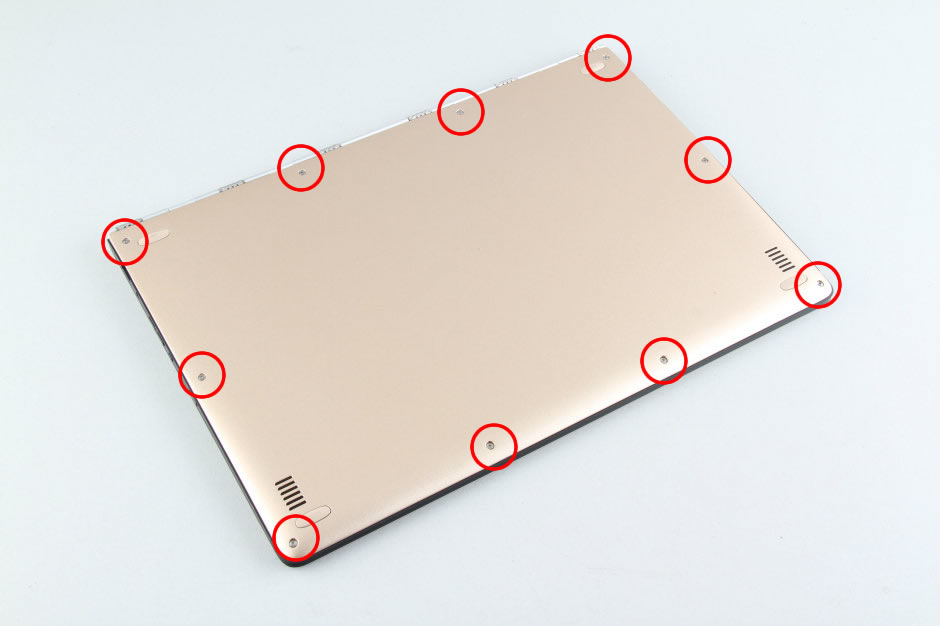
Remove the ten screws from the bottom cover.
Insert a plastic pry tool between the bottom cover and palm rest. Slide the pry tool to separate the bottom cover from the laptop. Since there are no latches on the bottom cover, you can easily remove it.
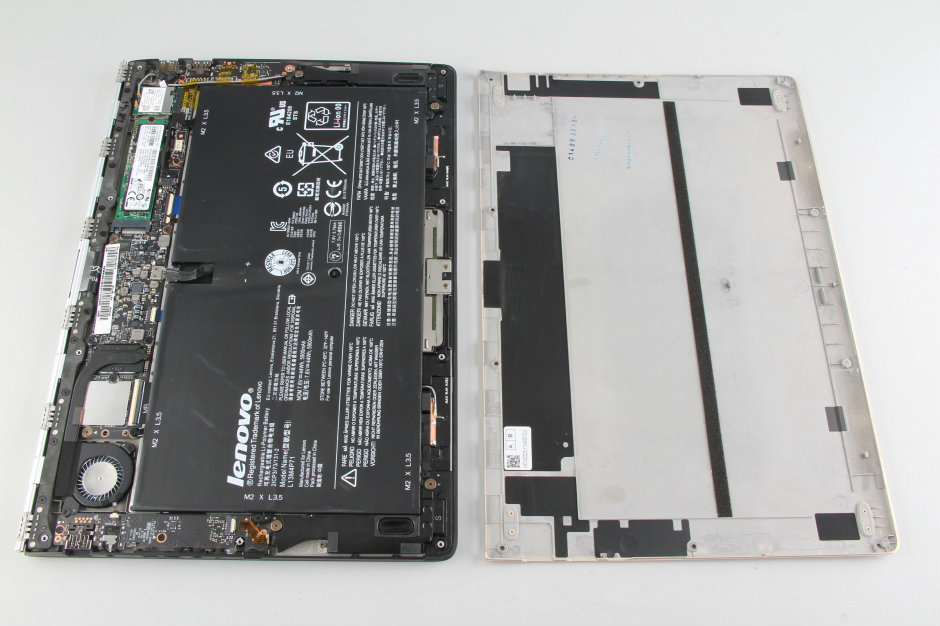
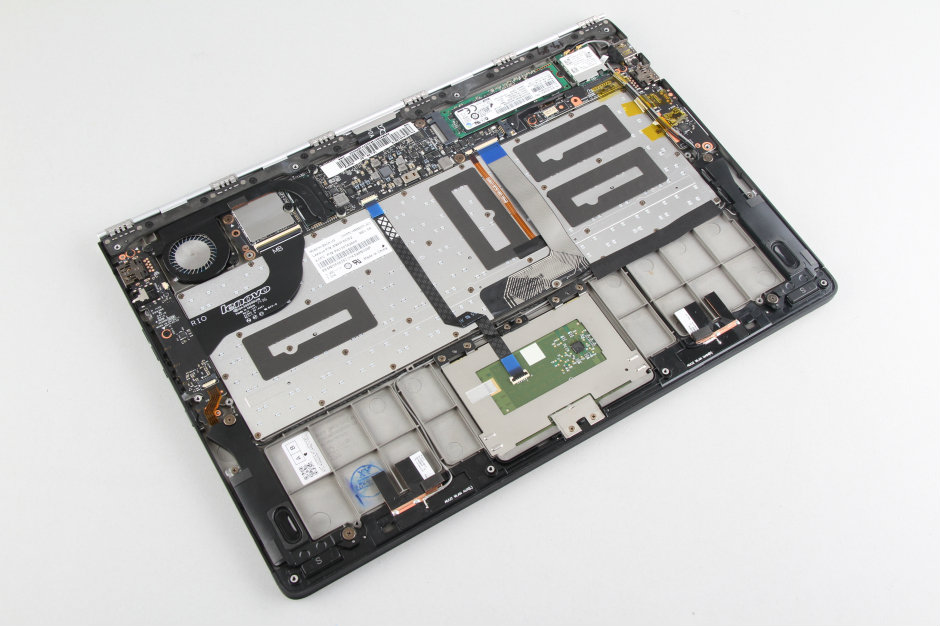
Under the bottom cover, you can get access to the battery, SSD, speakers, wireless card, heat sink, and cooling fan.
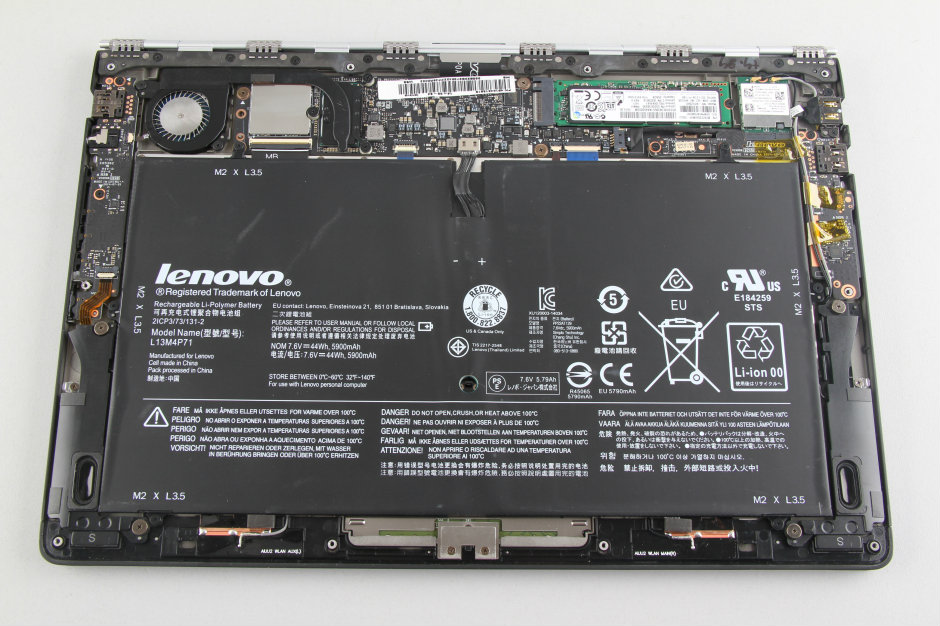
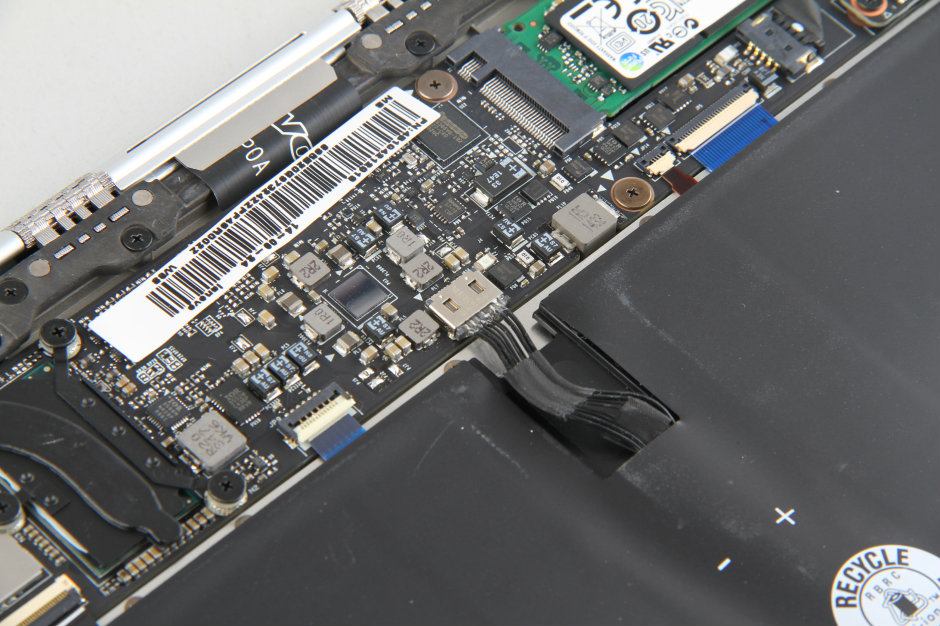
Disconnect the battery power cable from the motherboard.
Remove the screws securing the battery and remove the battery.
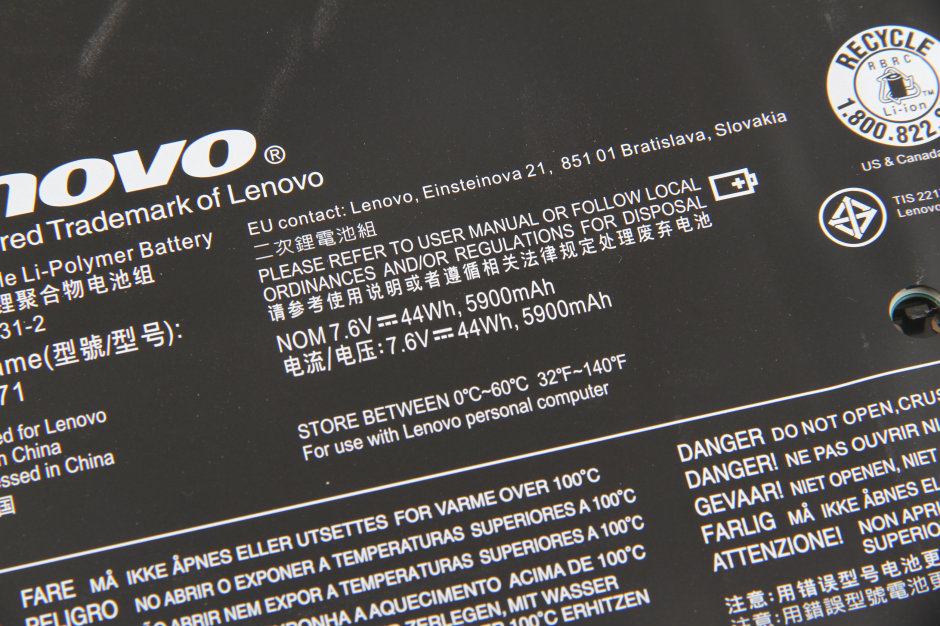
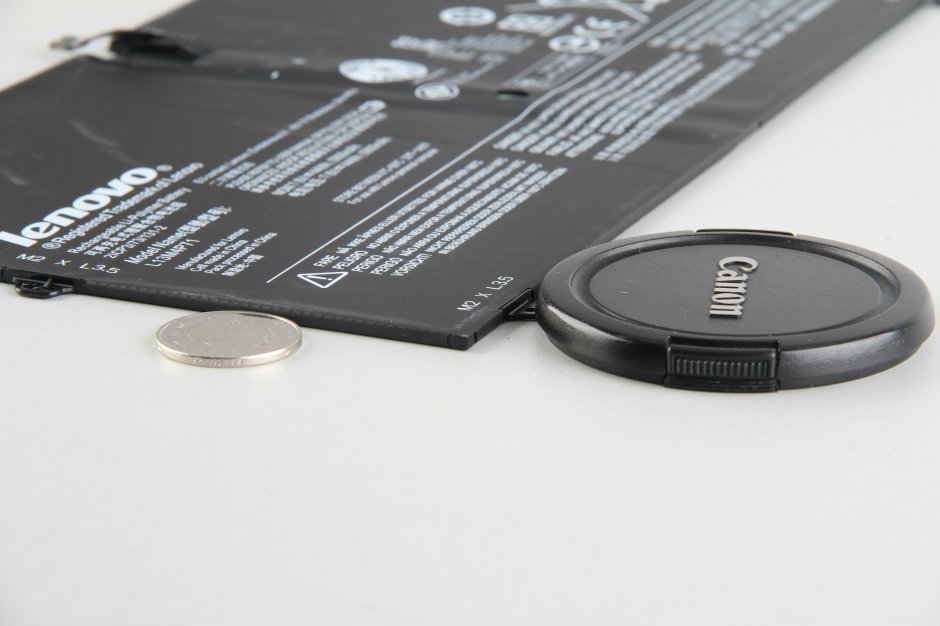
The Lenovo Yoga 3 Pro comes with a Li-polymer battery; its Lenovo part number is L13M4P71.
Its battery is very thin, just slightly thicker than a coin.
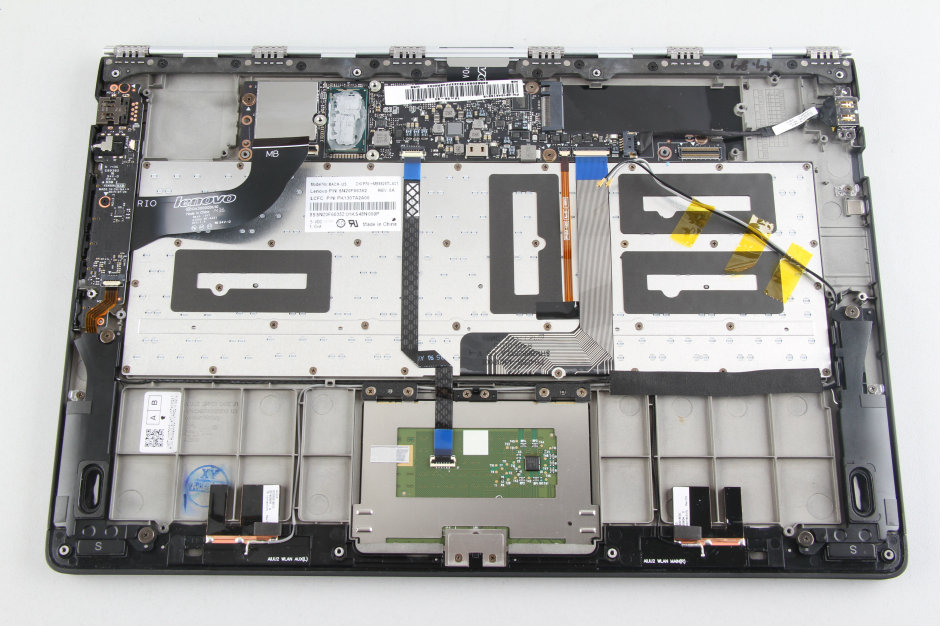
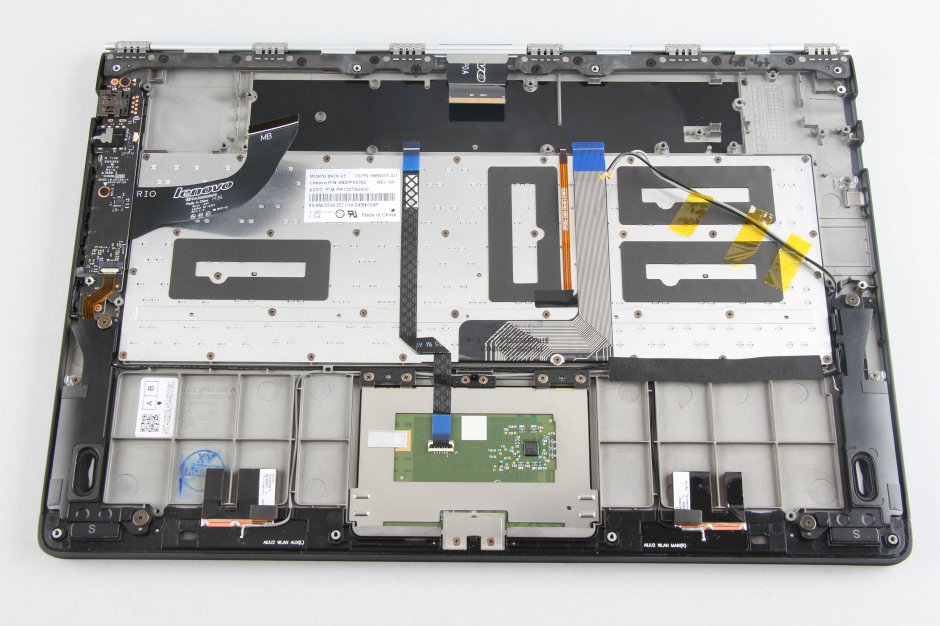
After the battery is removed, you can access the keyboard and touchpad. At this step, you still cannot fully access the keyboard. If you need to replace it, you will also need to remove the motherboard.
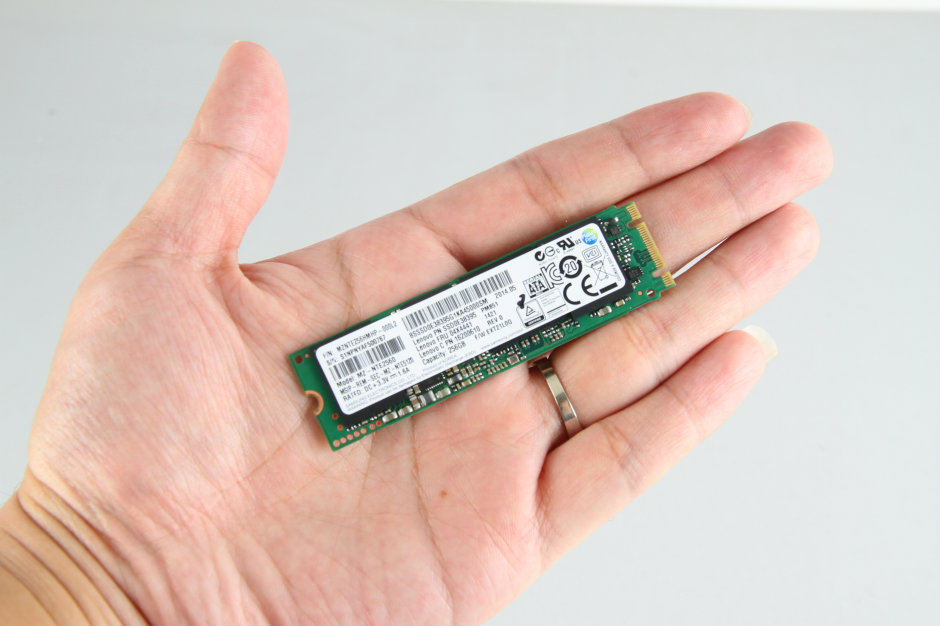
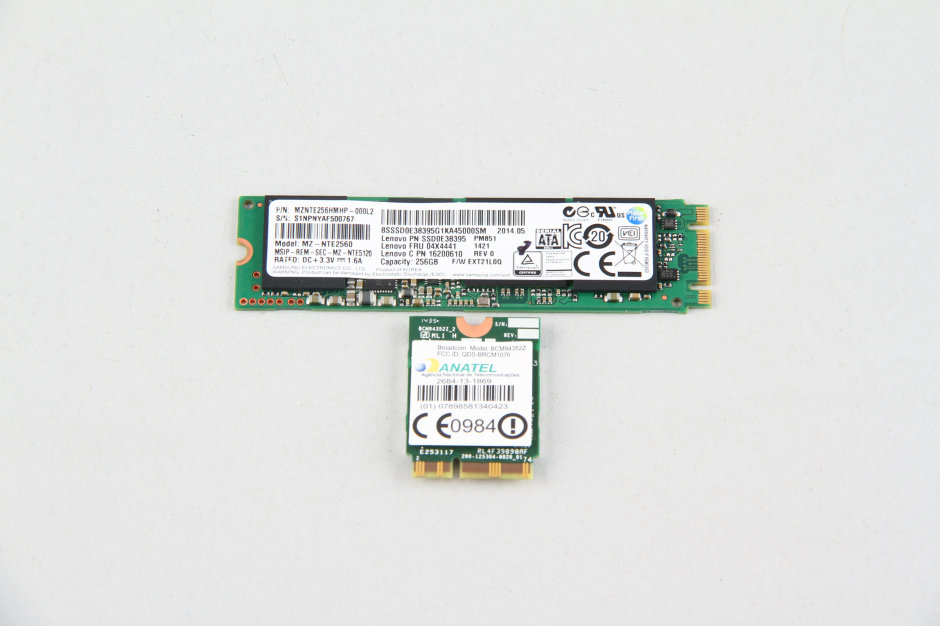
Remove the screw securing the SSD and remove the SSD.
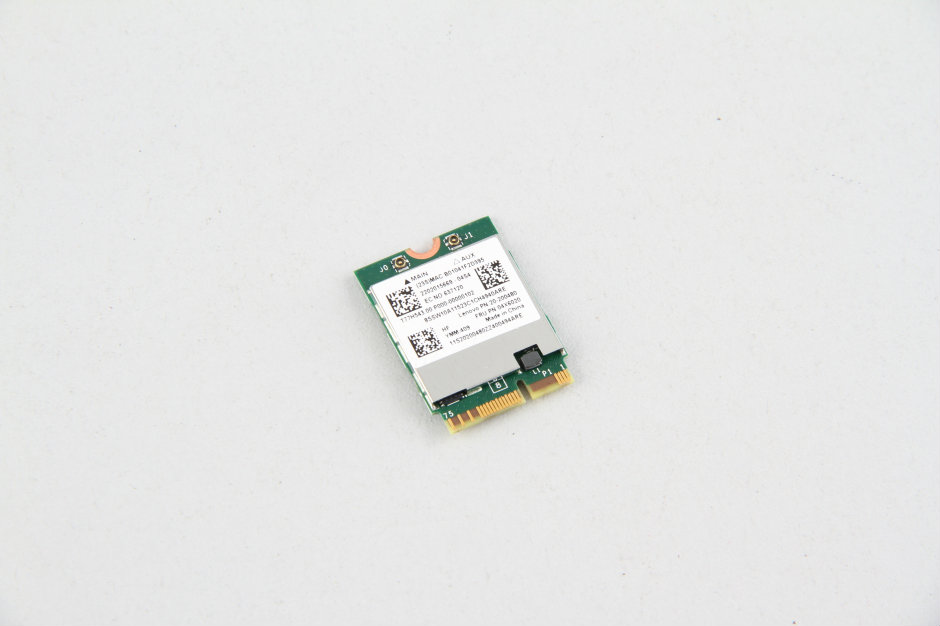
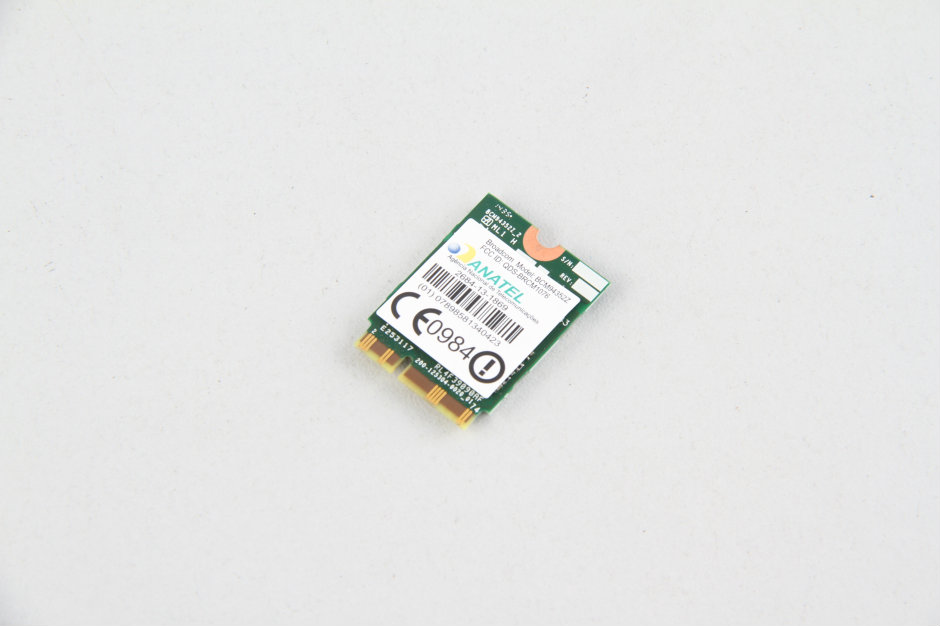
Remove the screw and disconnect the two antennas. The wireless card can be removed.
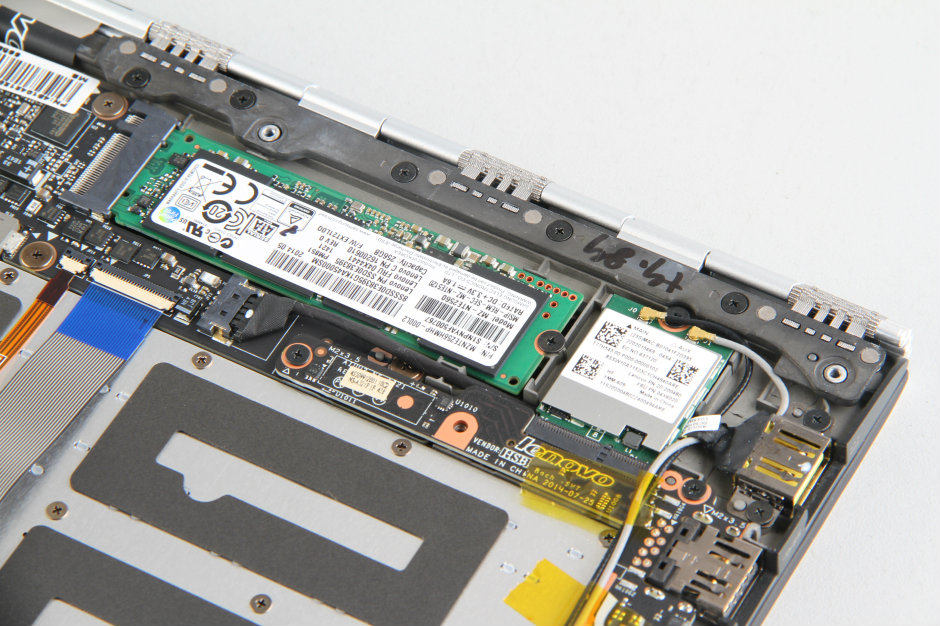
The Lenovo Yoga 3 Pro comes with a Samsung 256GB M.2 NGFF SSD. Its Lenovo part number is 04X4441.
The laptop features a T77H543.00 wireless card, which supports 802.11AC, 802.11N, and Bluetooth 4.0.
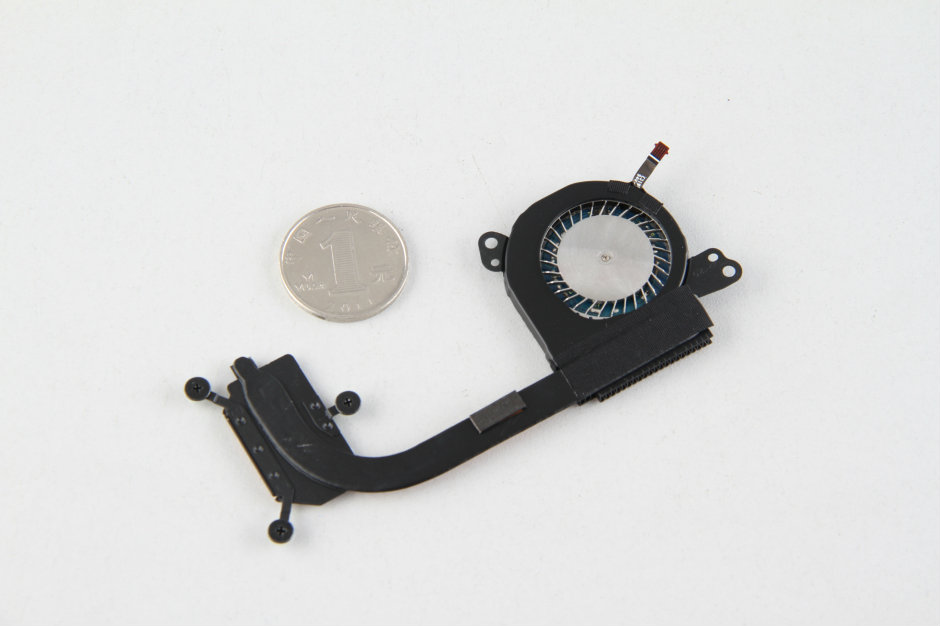
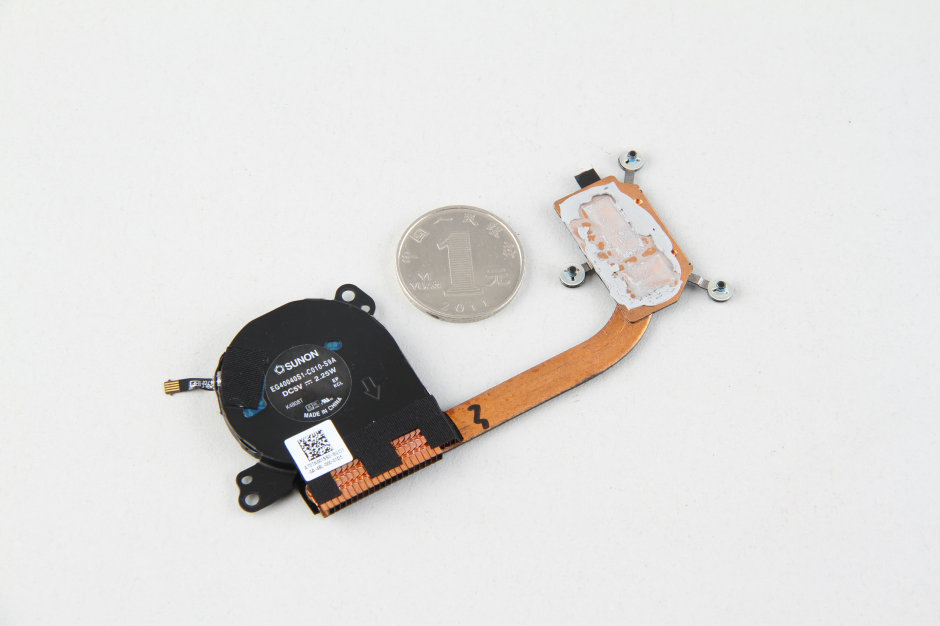
Remove the two screws securing the cooling fan and loosen the three screws securing the heat sink.
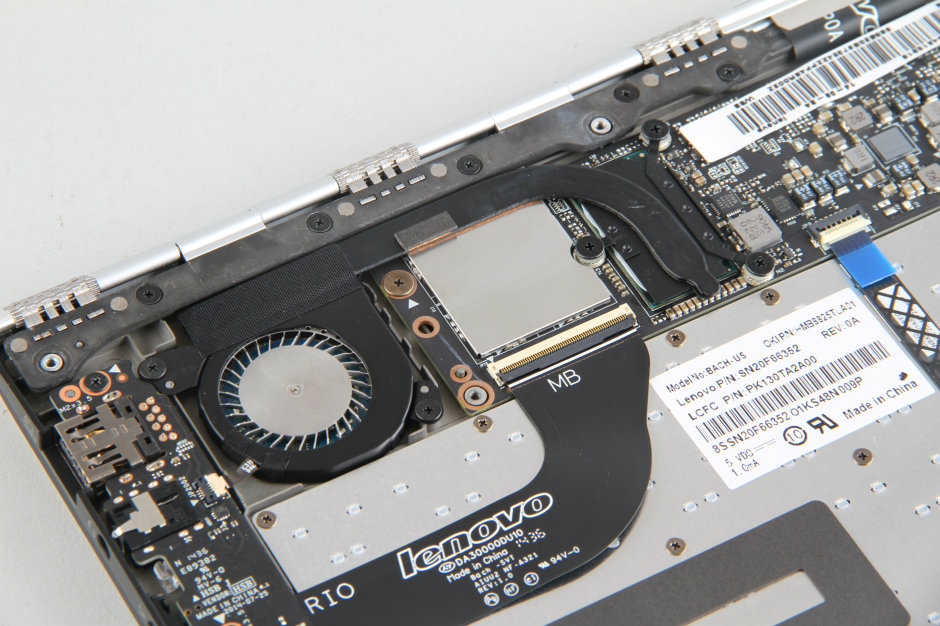
Disconnect the cooling fan cable from the motherboard, and then remove the heat sink and cooling fan.
Lenovo Yoga 3 Pro heat sink and cooling fan
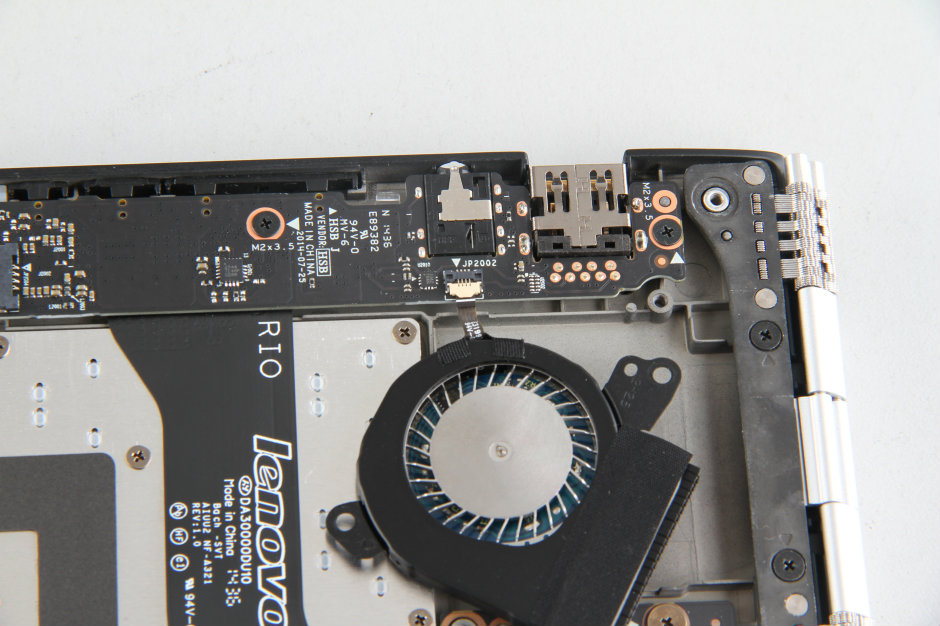
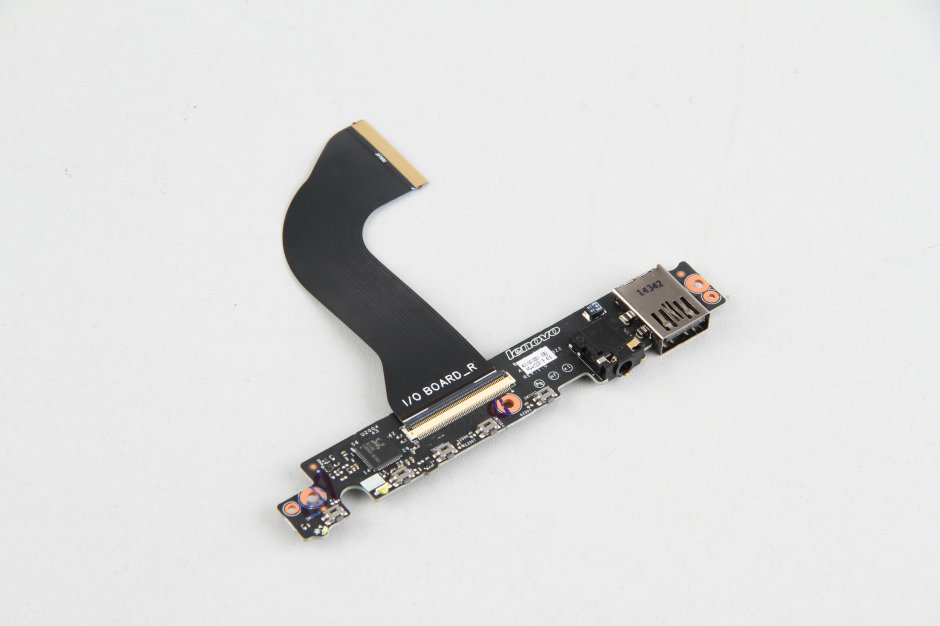
Remove the screws securing the right USB board.
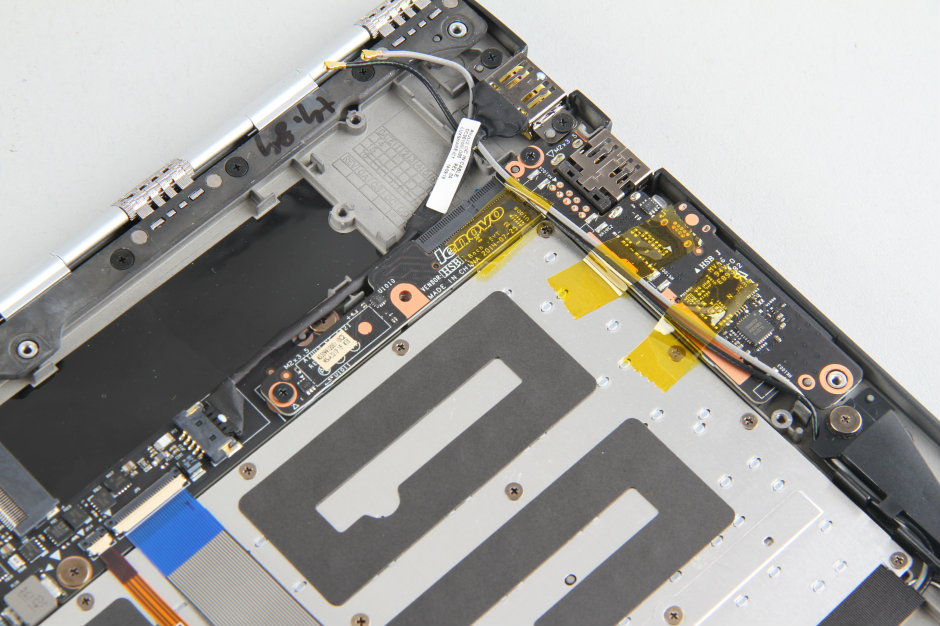
Close-up of the USB board
In the next step, we will remove the motherboard.
Remove the screws securing the motherboard. Lift the motherboard from one side with your hand and disconnect the LCD cable from the motherboard.
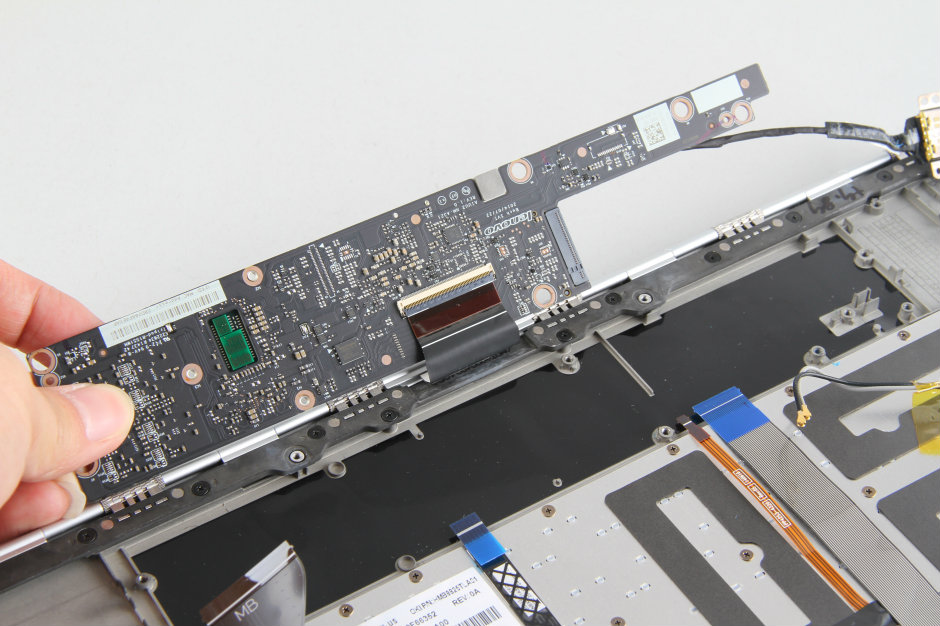
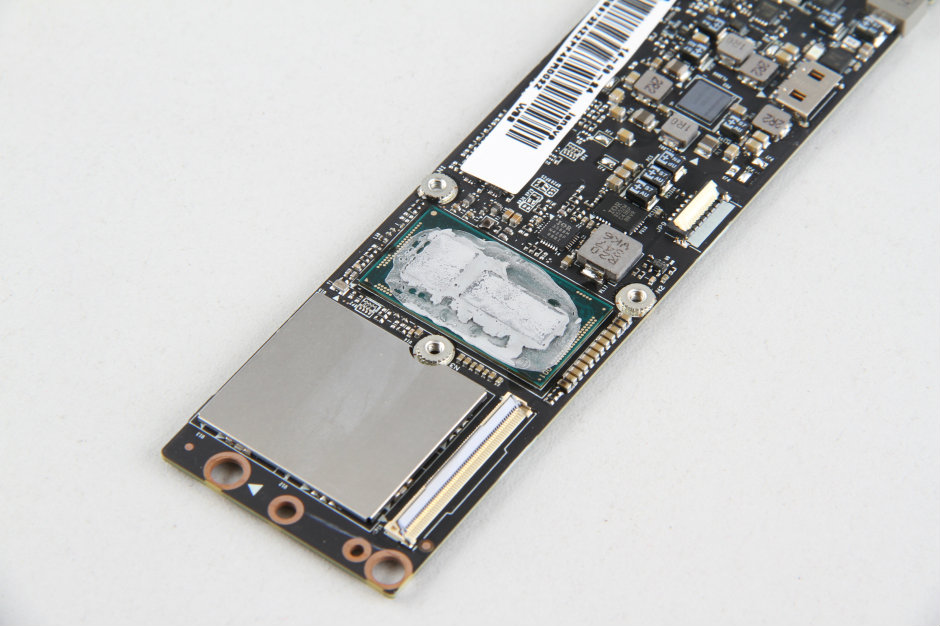
Close-up of the Yoga 3 Pro motherboard
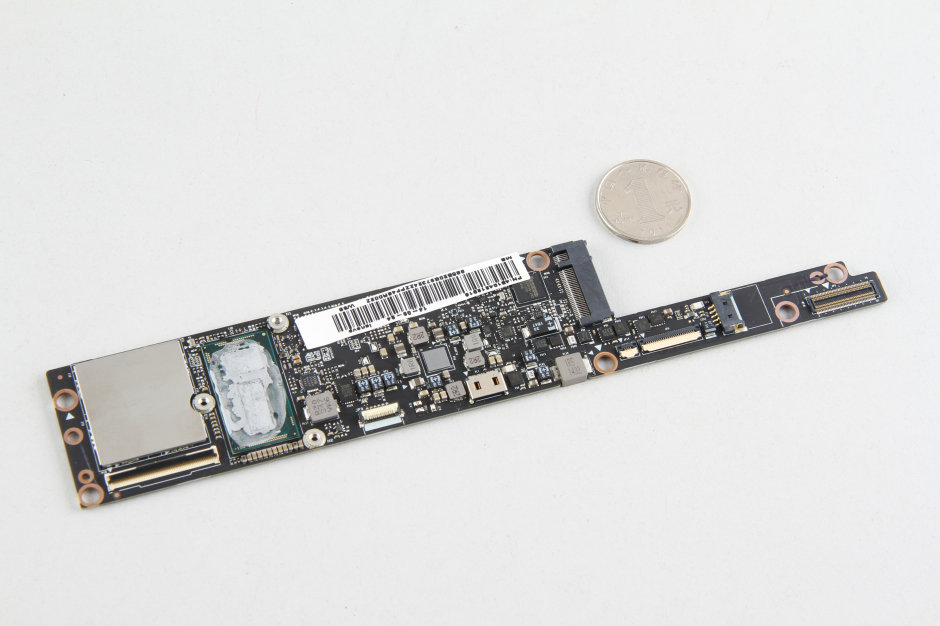
The processor of the Lenovo Yoga 3 Pro is soldered to the motherboard, so its processor cannot be upgraded.
The back of the motherboard.

Now you can fully access the keyboard, but the keyboard is soldered to the palm rest. To replace the keyboard, you need to melt the plastic anchors with a soldering iron, which is not user-friendly for those without repair experience.
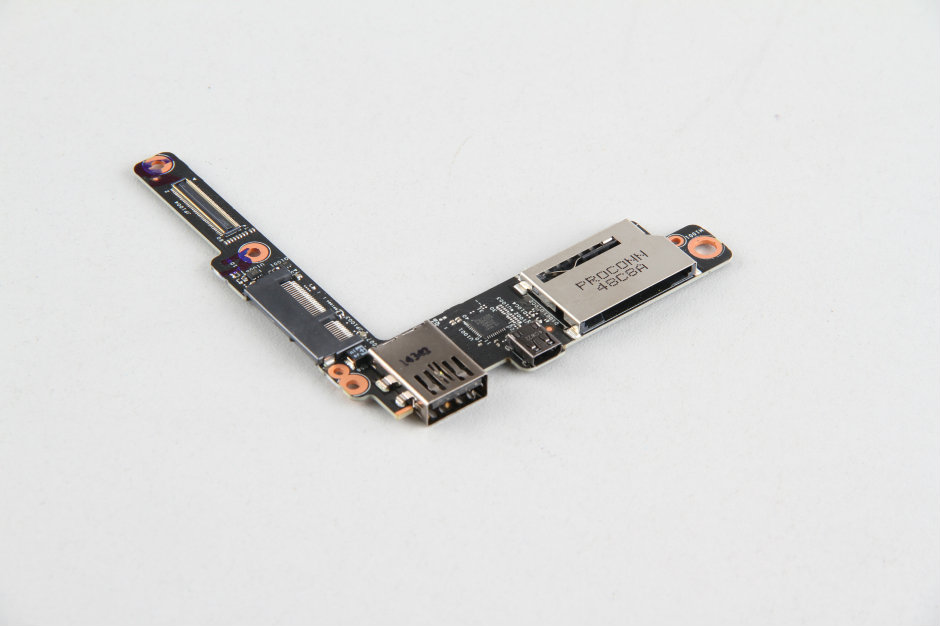
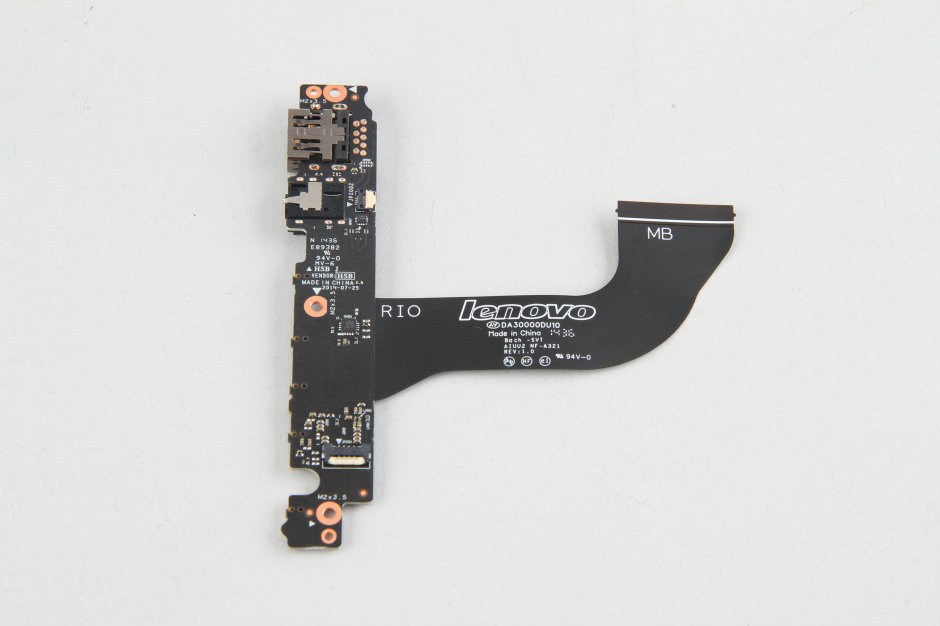
Remove the screws securing the left board and disconnect the speaker cable from the board.
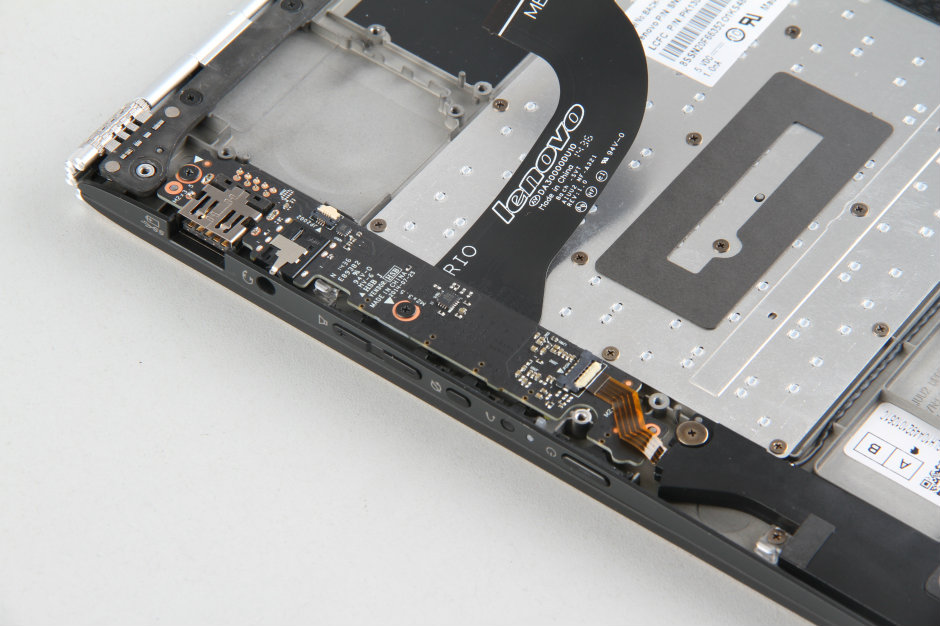
The left USB board
Close-up of the palm rest
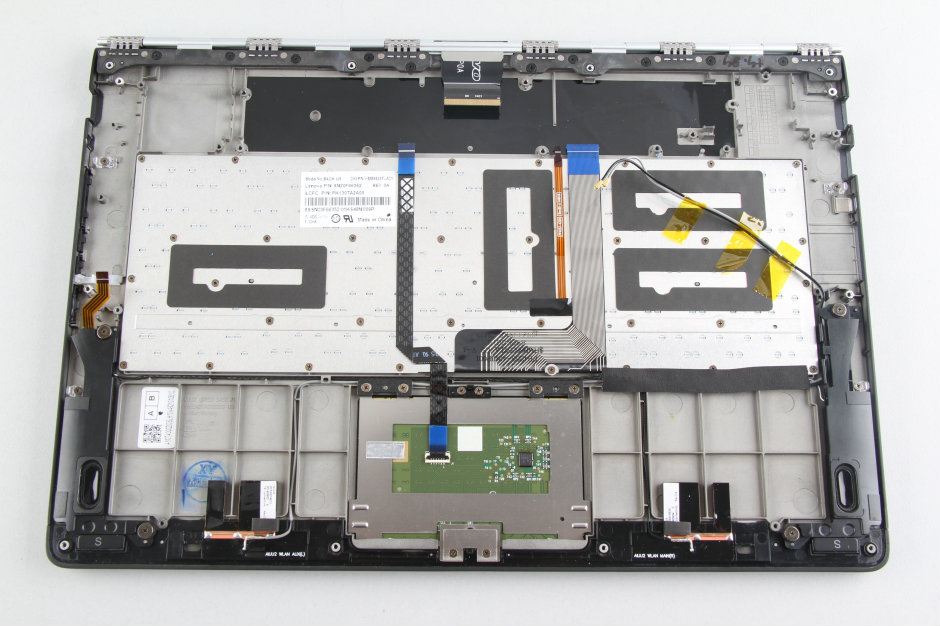
Lenovo Yoga 3 Pro internal components

Do you have any advice for cleaning the keyboard on the Lenovo Yoga 3 Pro? One of my keys isn’t travelling as far as it should be; I believe there’s something tiny blocking its path. I have a good feeling that I’m not meant to rip the keys straight up and out. So it’s really unfortunate if I have to completely tear down the entire machine just to clean out the keyboard. Thank you if you have any advice on this.
Does anybody know where I can get a replacement fan for this? Everywhere I’ve looked, they only seem to stock fans for other models.
How did you disconnect the screen? Thanks in advance.
My Lenovo Yoga Pro 1370 stopped working, and I was told it’s the motherboard that needs to be replaced. Do you know how to replace it? Is it ok to do it, or is that the end of my laptop? Thanks
Is there a CMOS battery at all? I cannot locate it and am having to reset the whole battery to reset the BIOS. I hope this works. I cannot remember the Windows password or the system password, so I can not log in at all.