
In this guide, I will explain how to disassemble the Nokia Lumia 630 to remove the back cover, battery, rear camera, speaker, screen, and motherboard.
Looking for more funny teardowns? Follow us on Facebook for all the latest repair news.
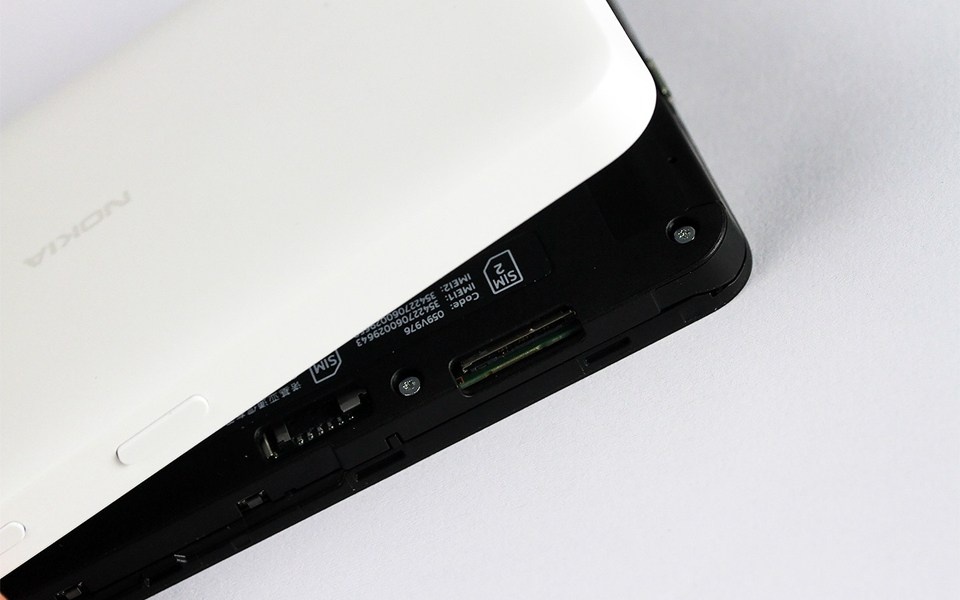
Remove the back cover with your fingernails, starting from the SIM card slot.
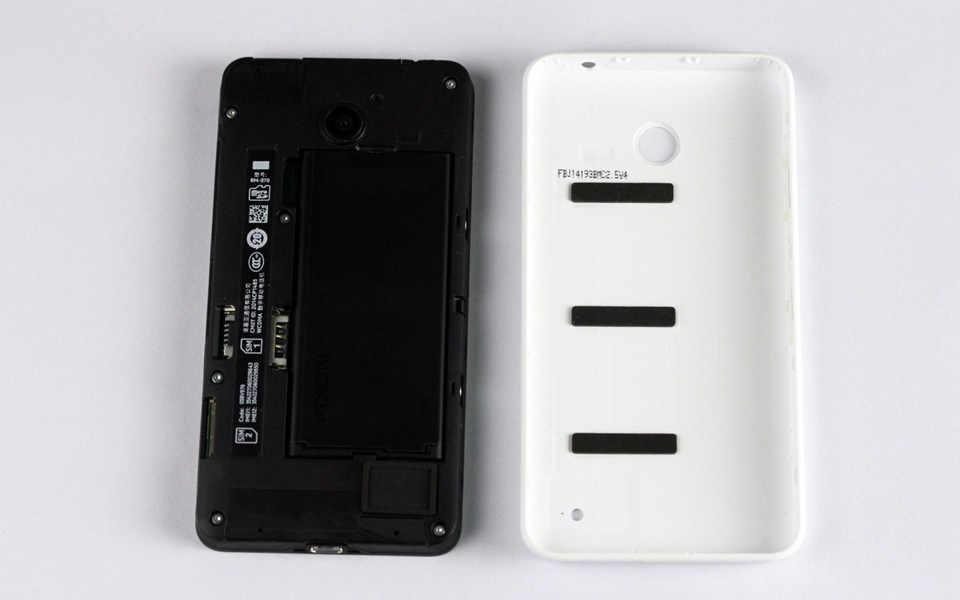
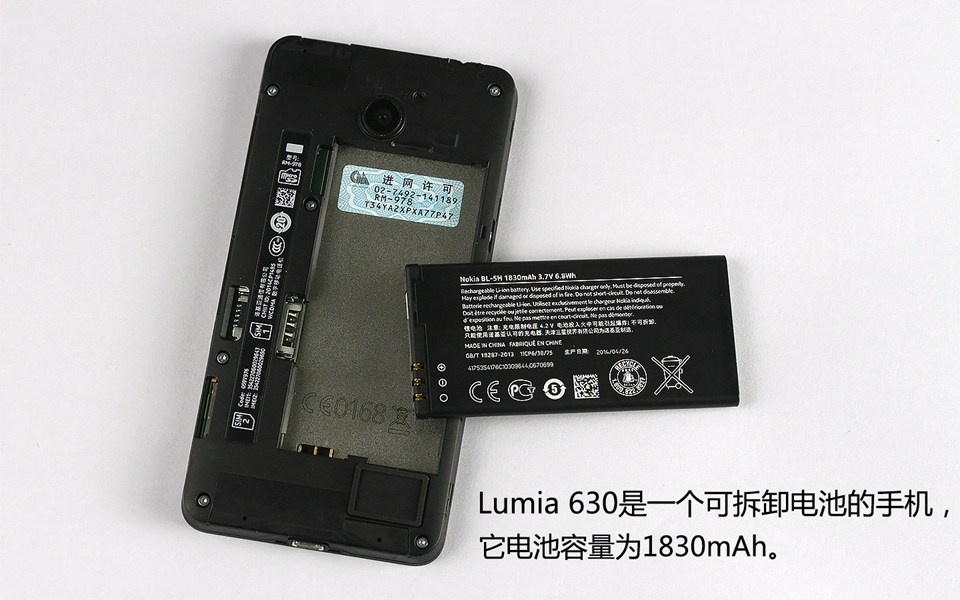
After removing the back cover, you can access the battery and the middle frame.
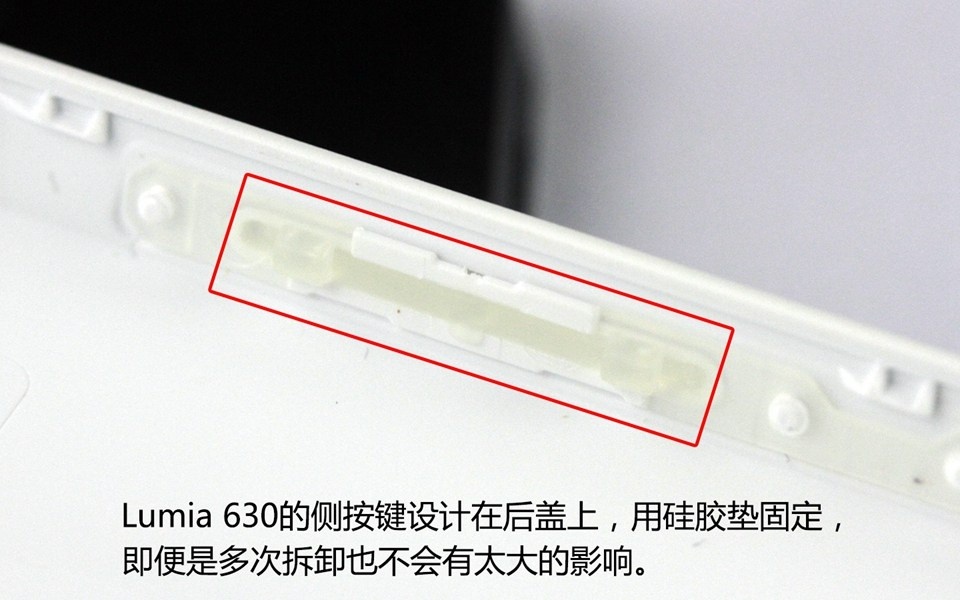
The Lumia 630 button keys are located on the back cover and secured by a silicone pad.
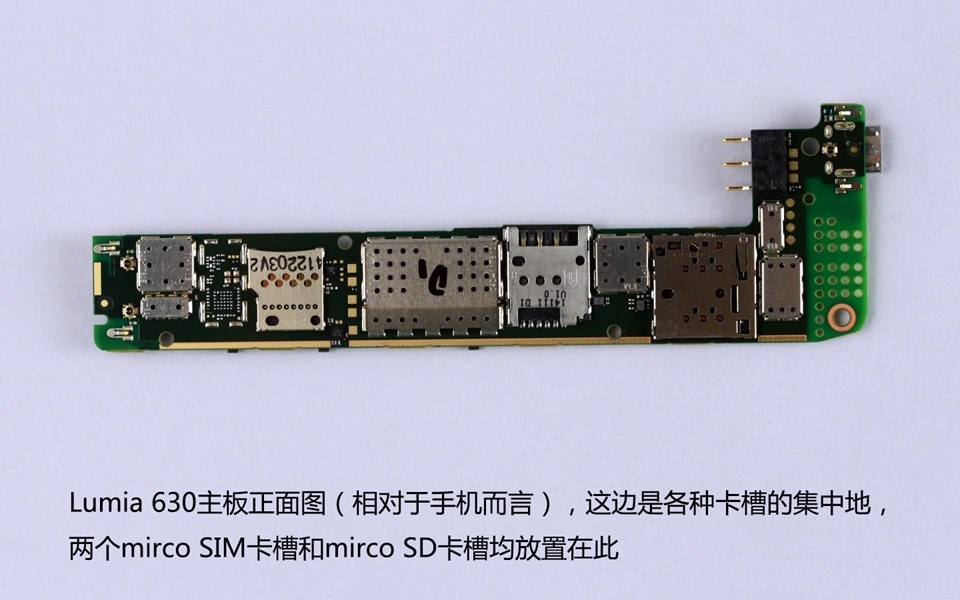
Two SIM card slots
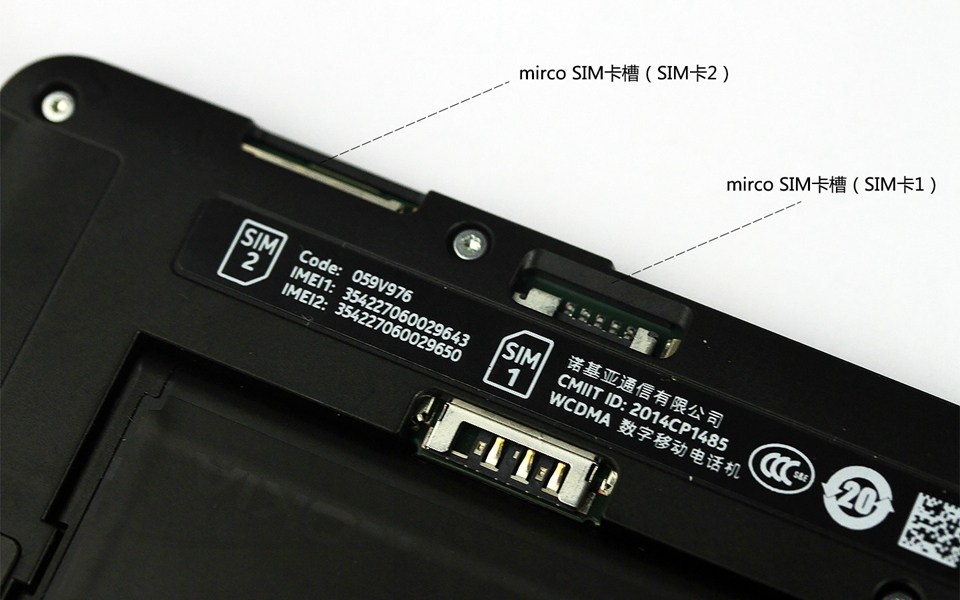
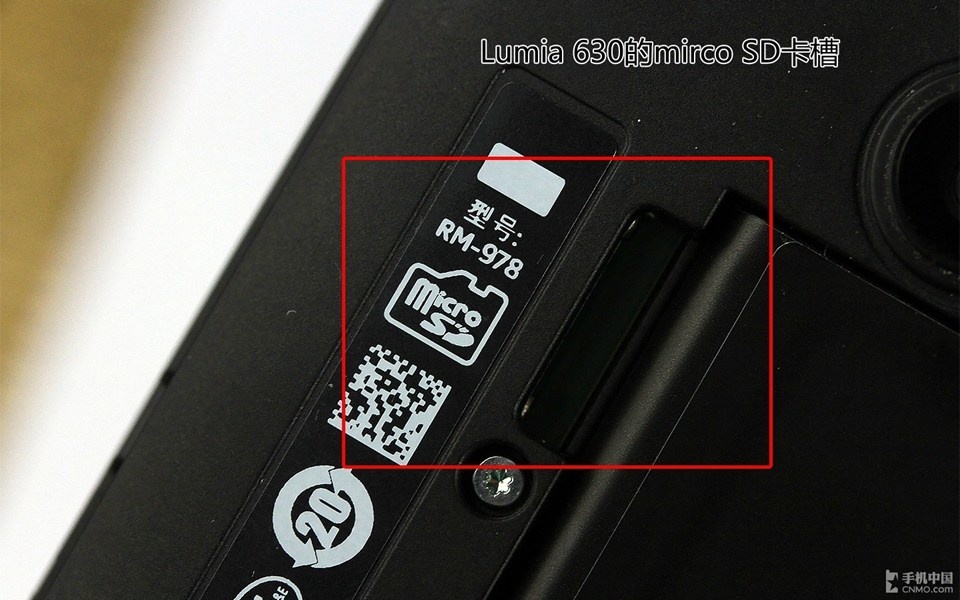
Micro SD card slot
The Lumia 630 features a 3.7V, 1830mAh Li-ion battery, and the Nokia part number is BL-5H.
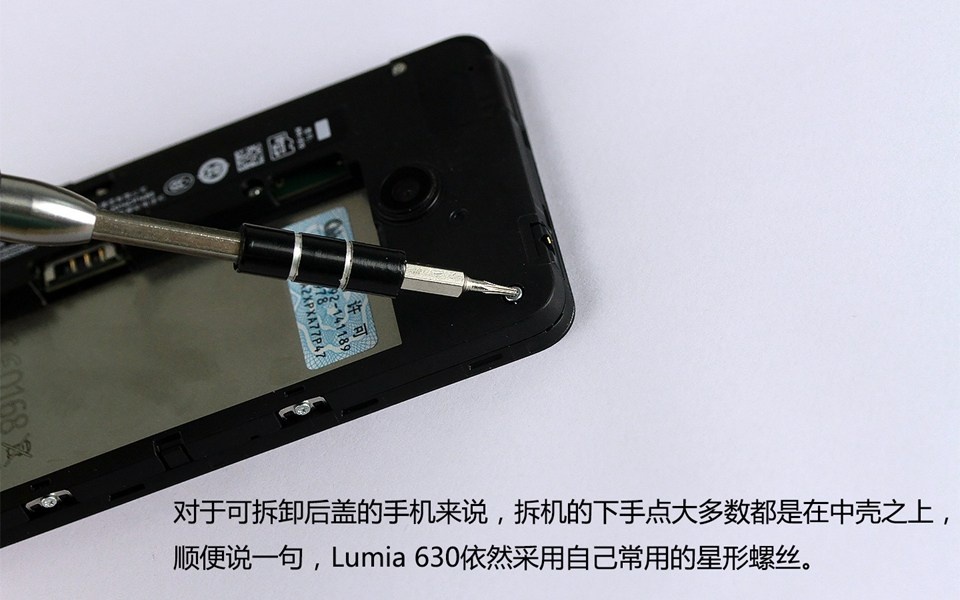
Remove all screws securing the middle frame.
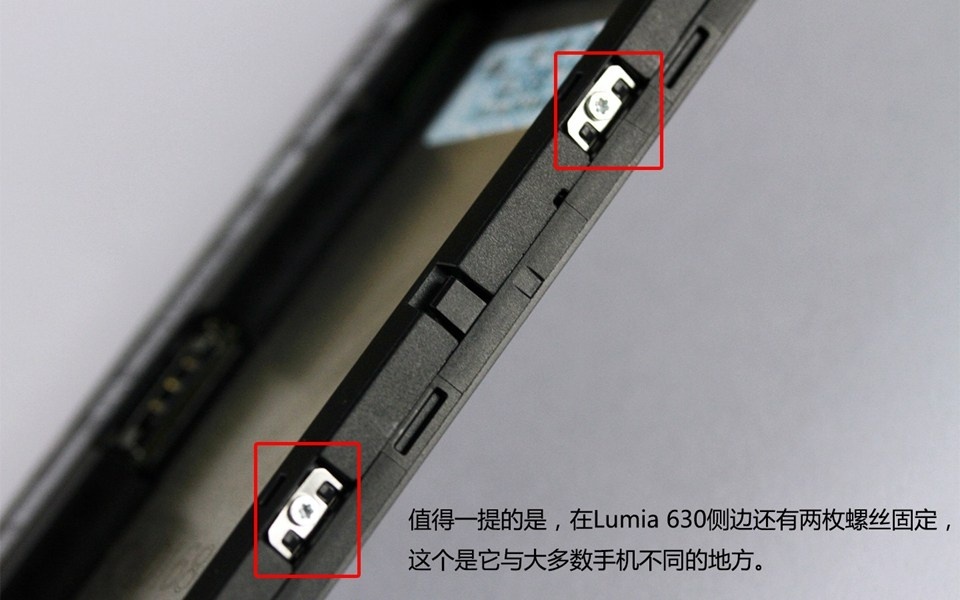
Remove the two screws on the right side.
This screw is covered by a black sticker. It should be the warranty sticker.

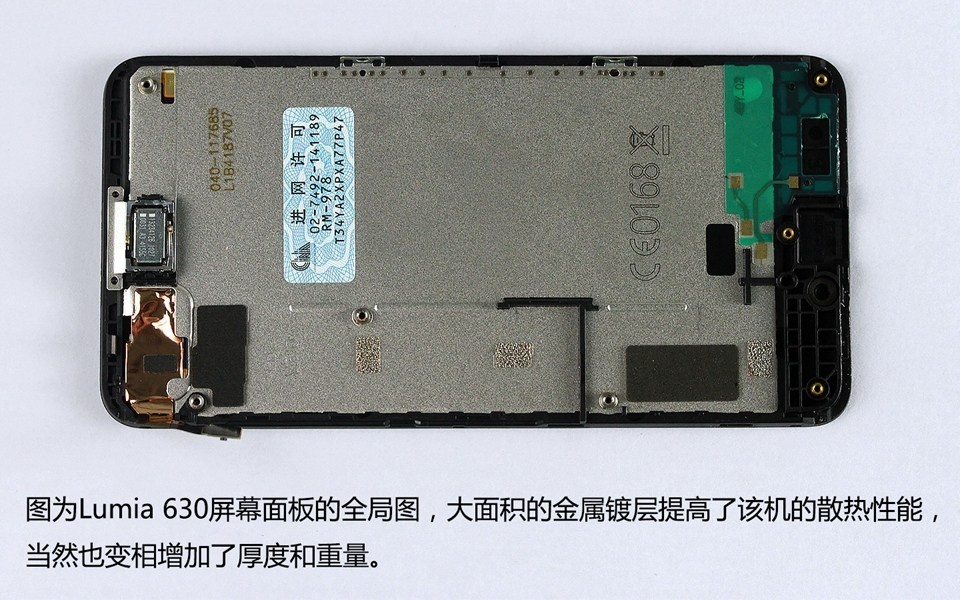
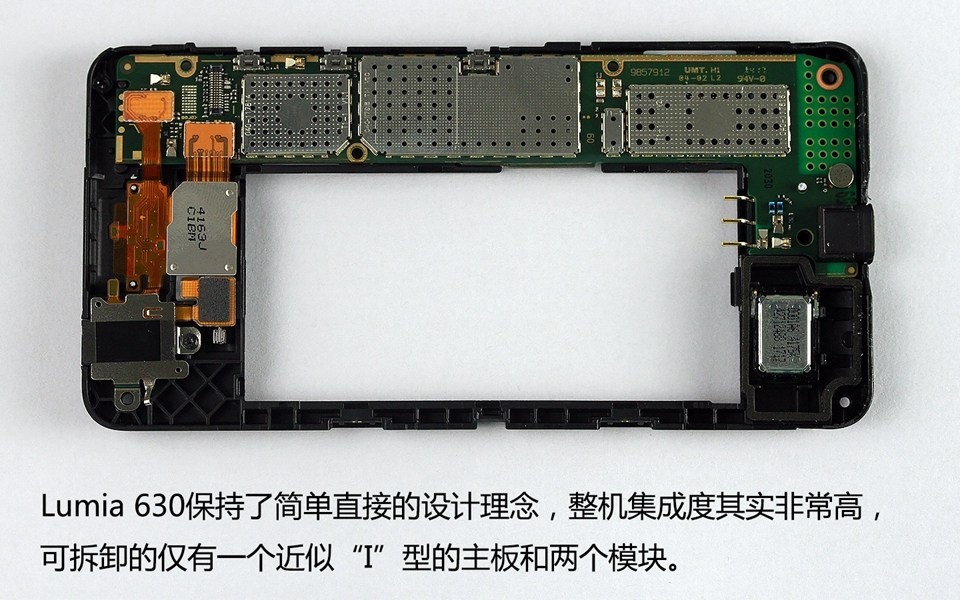
The Lumia 630 motherboard is secured to the middle frame, so after removing the middle frame, you can access the display panel.
Lumia 630 handset
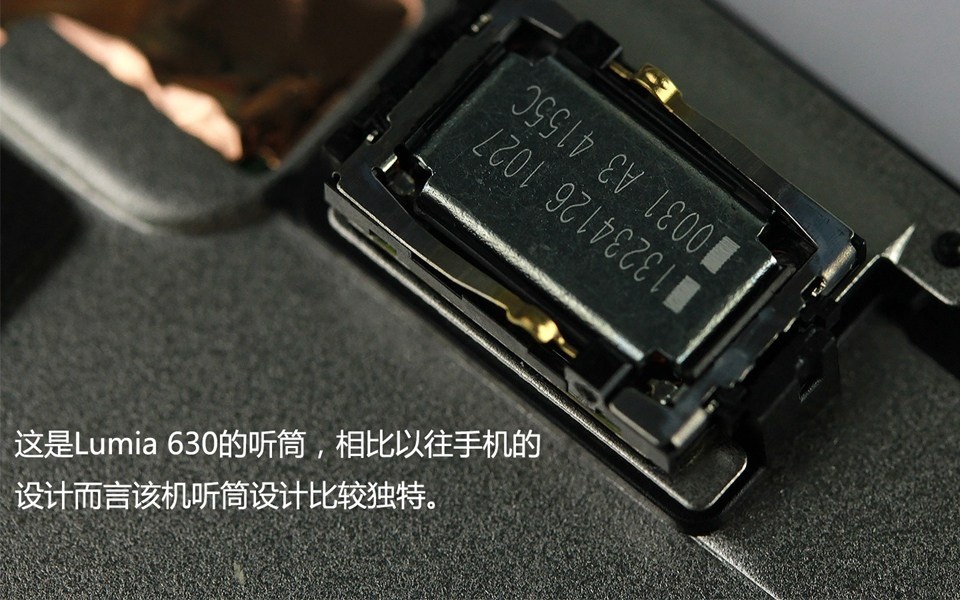
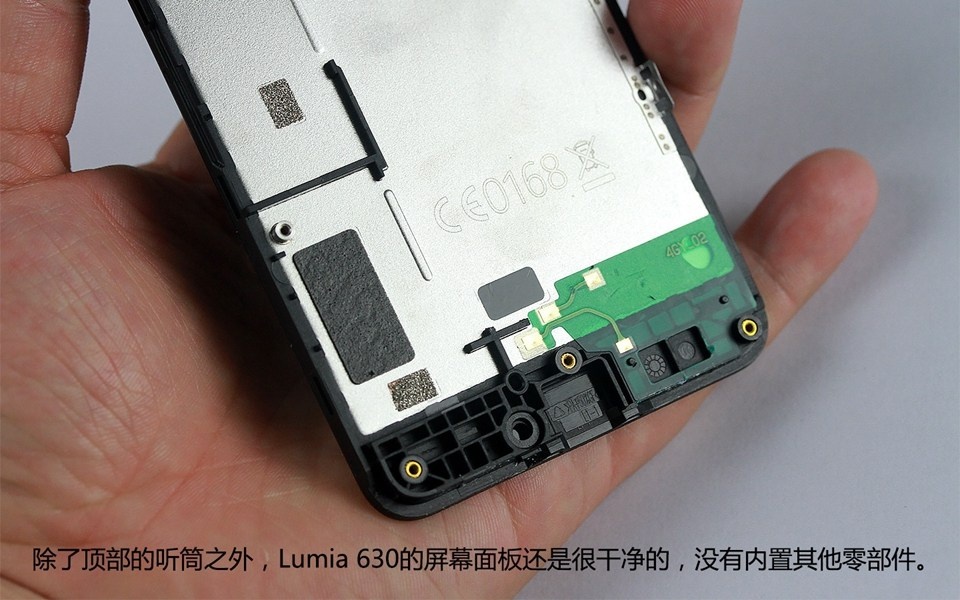
Apart from the earpiece at the top, there are no other small components on the screen assembly.
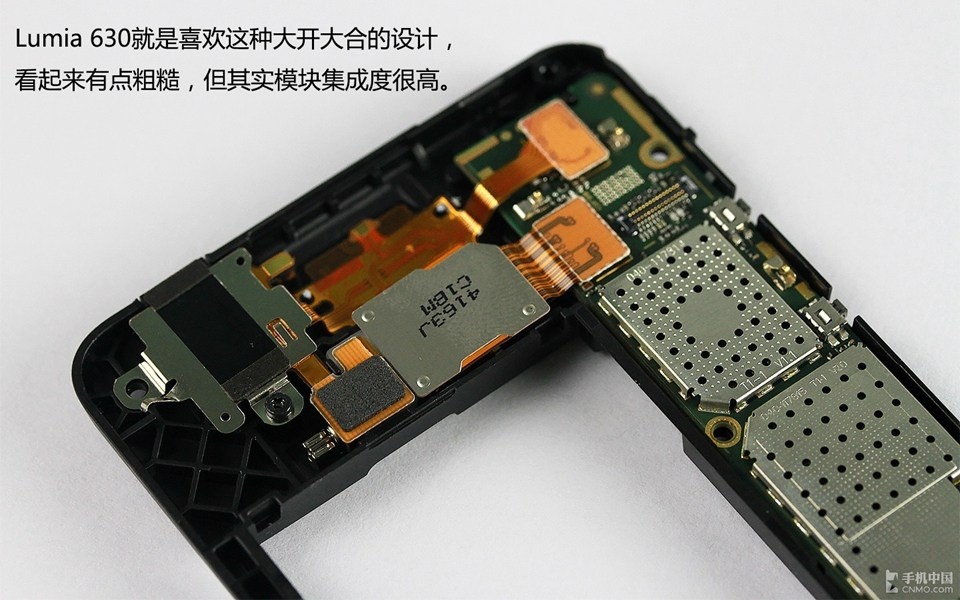
Lumia 630 middle frame
It looks a little rough.
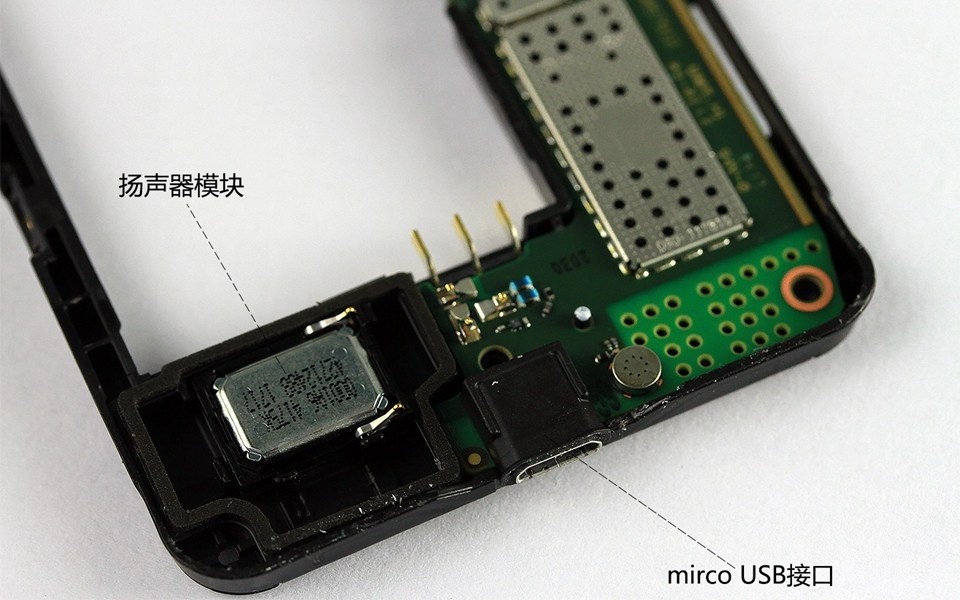
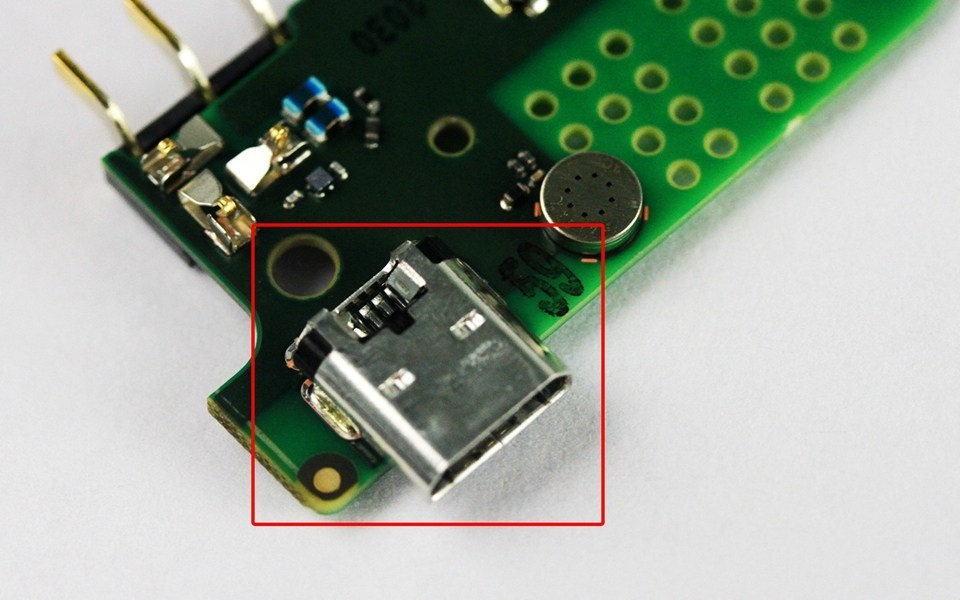
Speaker and micro USB port
Remove the screw.
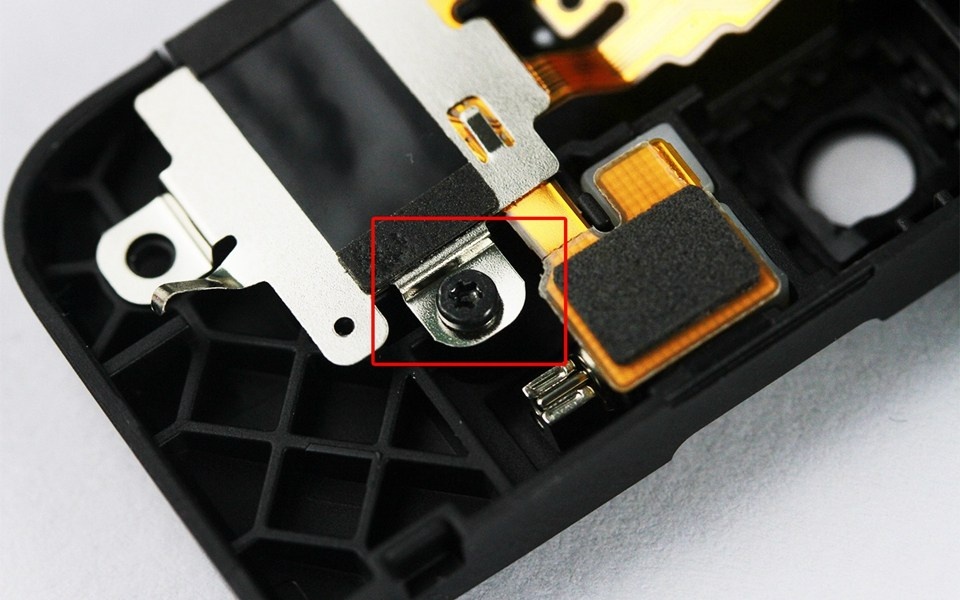
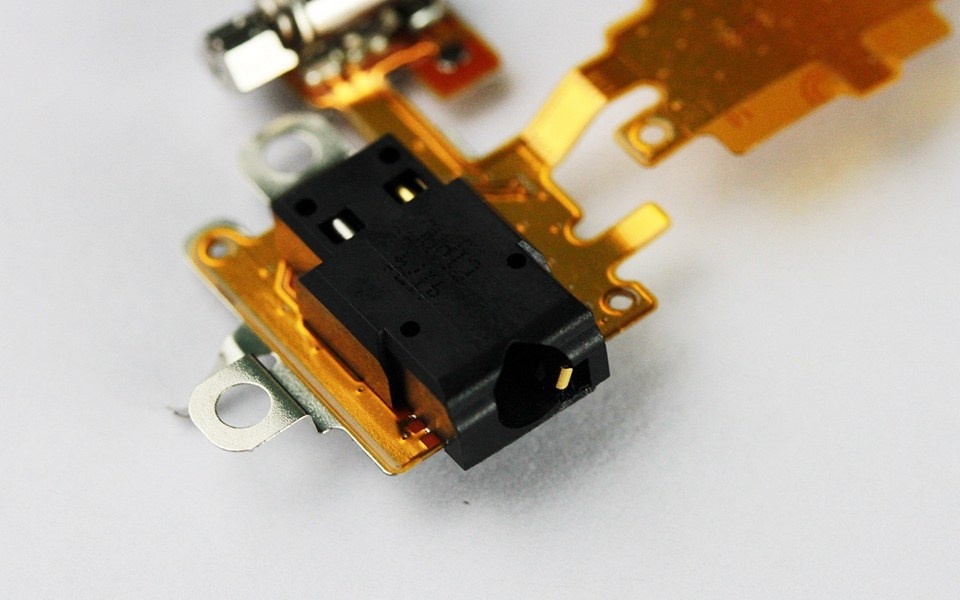
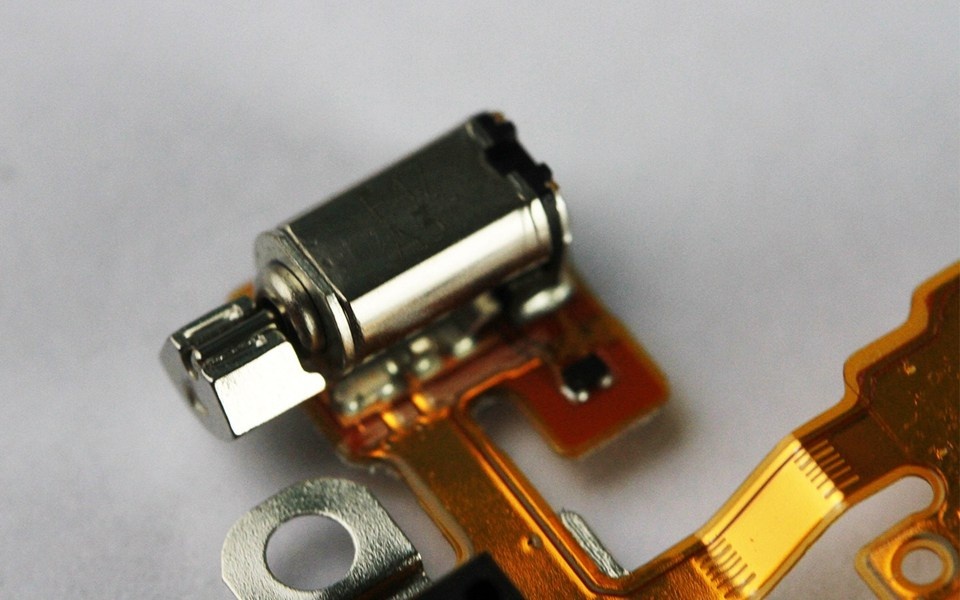
Remove the soft board. This board integrates the headphone jack and vibrator.
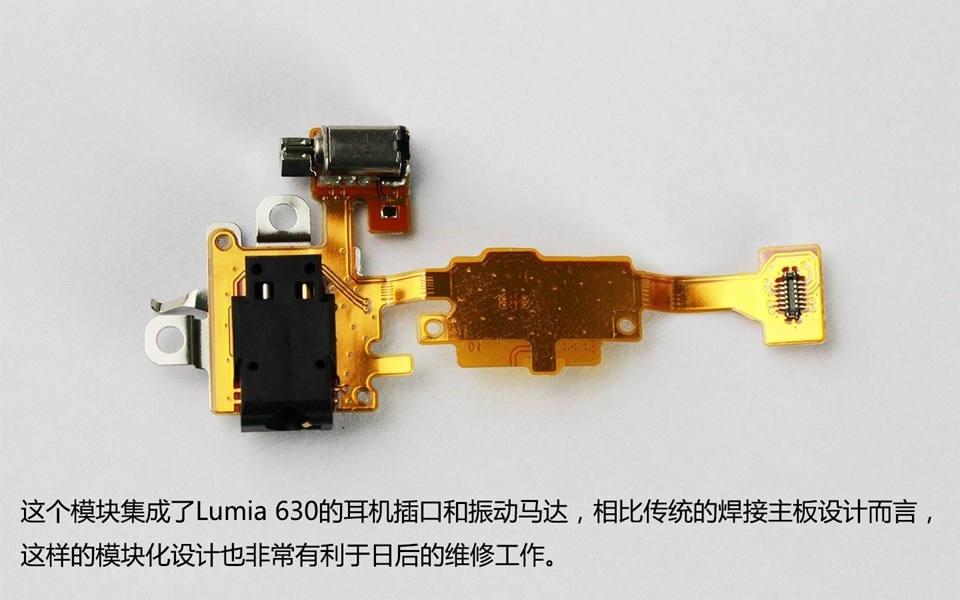
Headphone jack
Vibrator
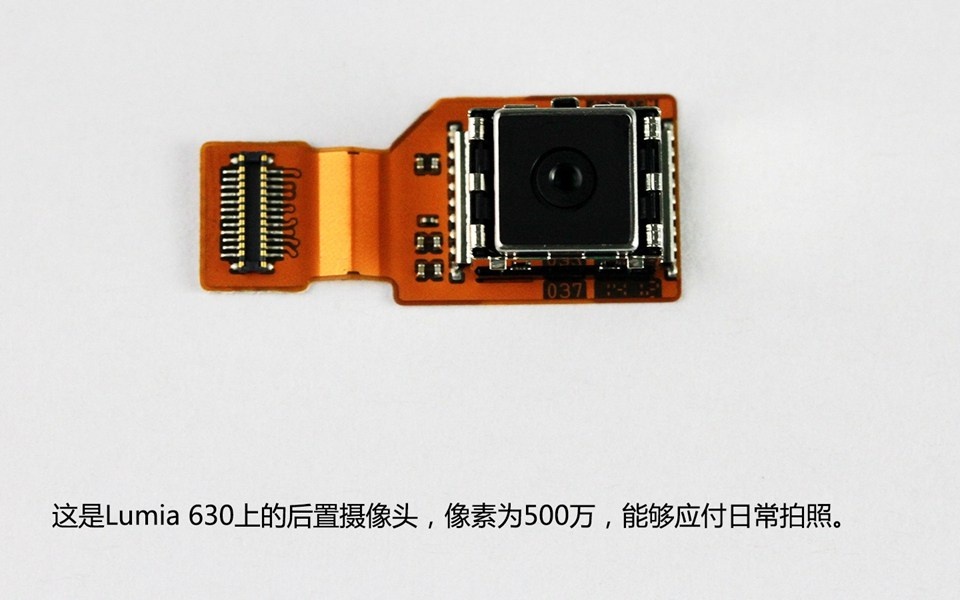
Close-up of the rear camera, which features a 50 MP sensor.
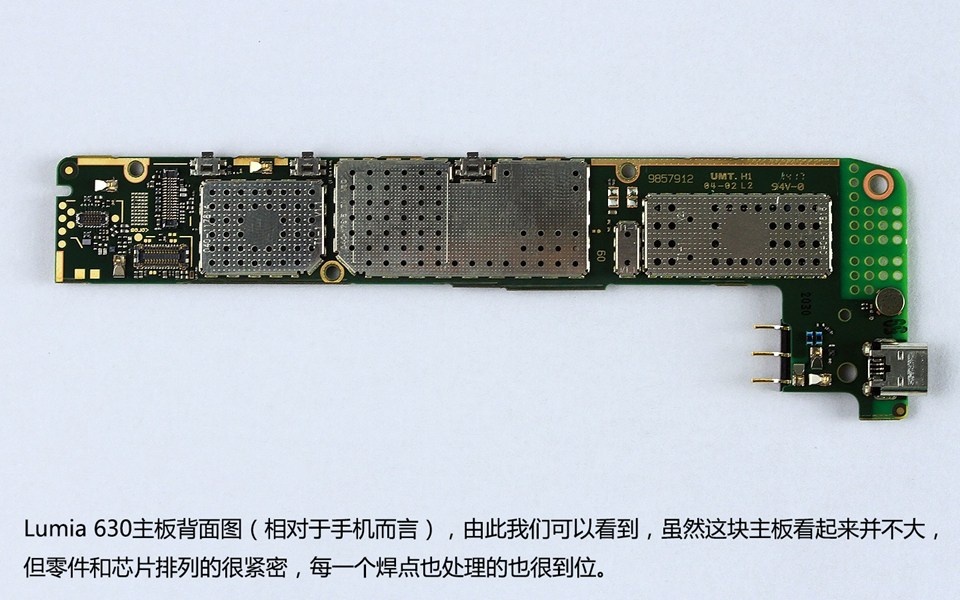
The chips on the motherboard are covered by metal shields, so we cannot access them.
Micro USB port
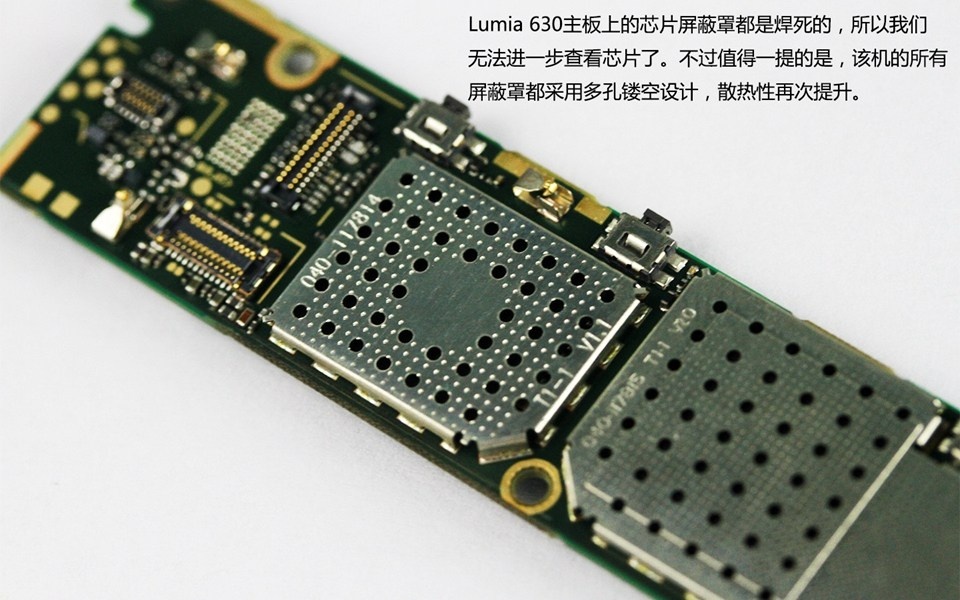
Because the metal shield of the chip in the Lumia 630 is soldered onto the motherboard and cannot be removed, the chip cannot be viewed.
What tools are required, like what type of screwdriver?
Screwdriver type of Philips 1.2mm! 😉
Excuse me, not Philips, Allen screwdriver striated 1.2 mm or approximated! 😉
Thanks for your support! 🙂