
In this guide, I will explain how to disassemble the Samsung Ativ Book 915S3G to remove the bottom cover, SSD, heat sink, cooling fan, card reader, and motherboard.
Want to stay connected to MyFixGuide.com? Follow us on Facebook to check out the latest teardowns.
Remove all screws from the bottom cover.
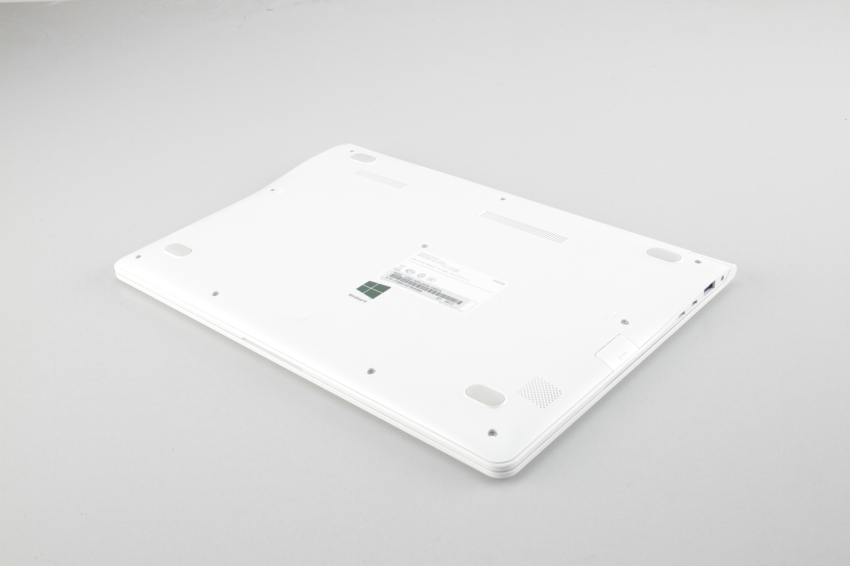
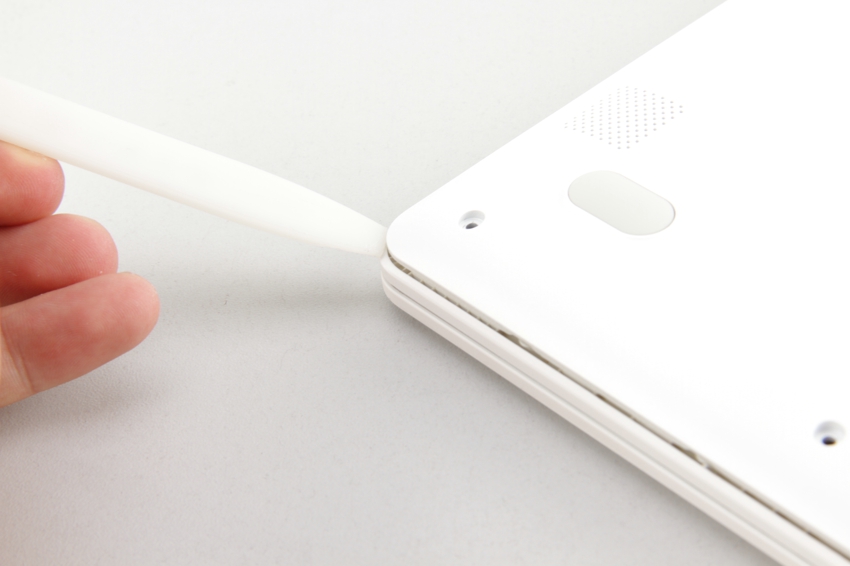
Insert a plastic pry tool between the bottom cover and palm rest. Slide the pry tool to detach the bottom cover from the laptop.
Since there are no clips on the bottom cover, you can easily separate it from the laptop.
Remove the bottom cover.
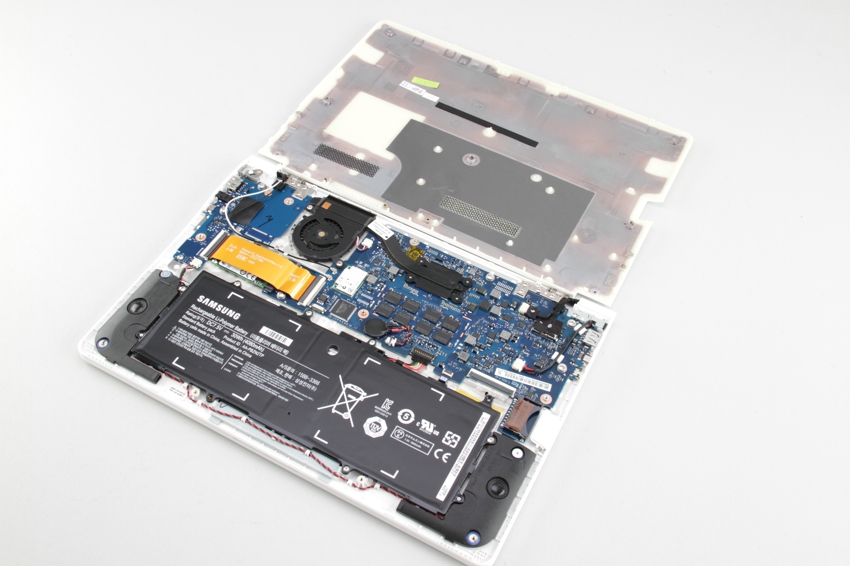
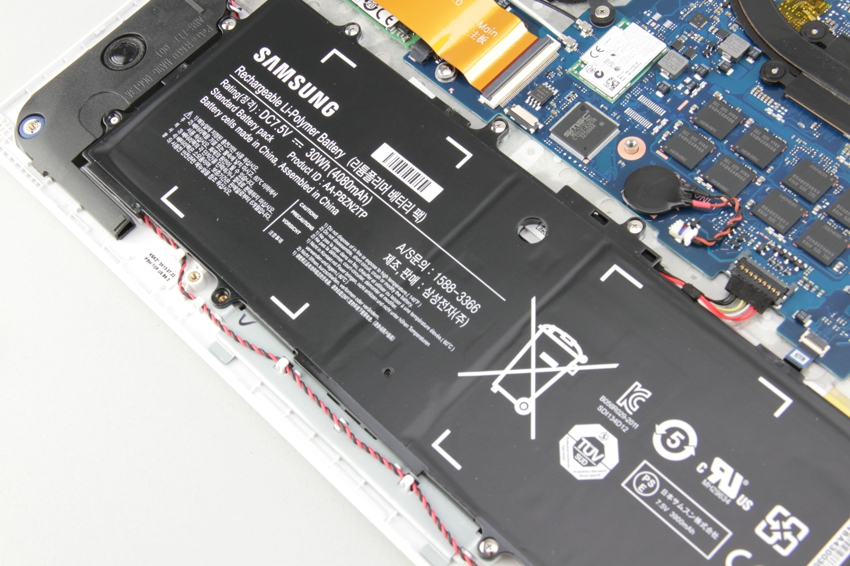
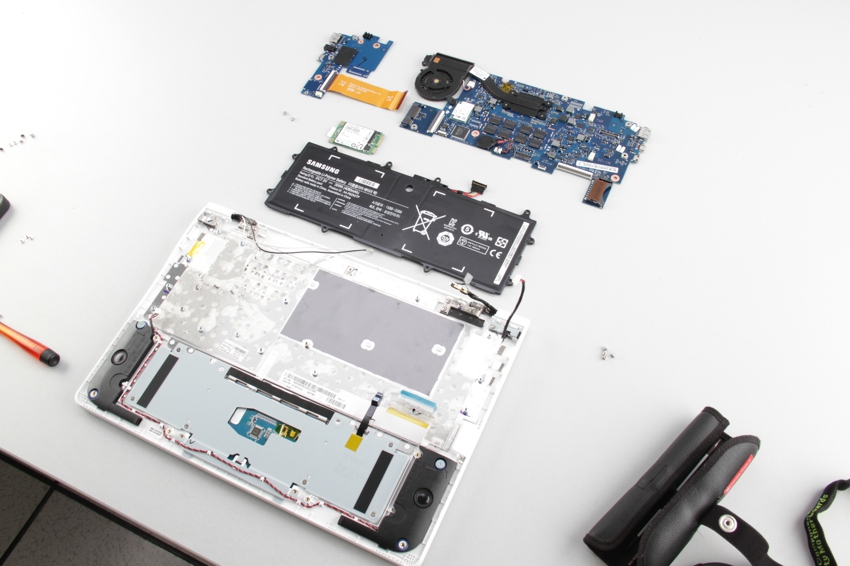
Under the bottom cover, you can access the battery, SSD, speakers, heat sink, cooling fan, and motherboard.
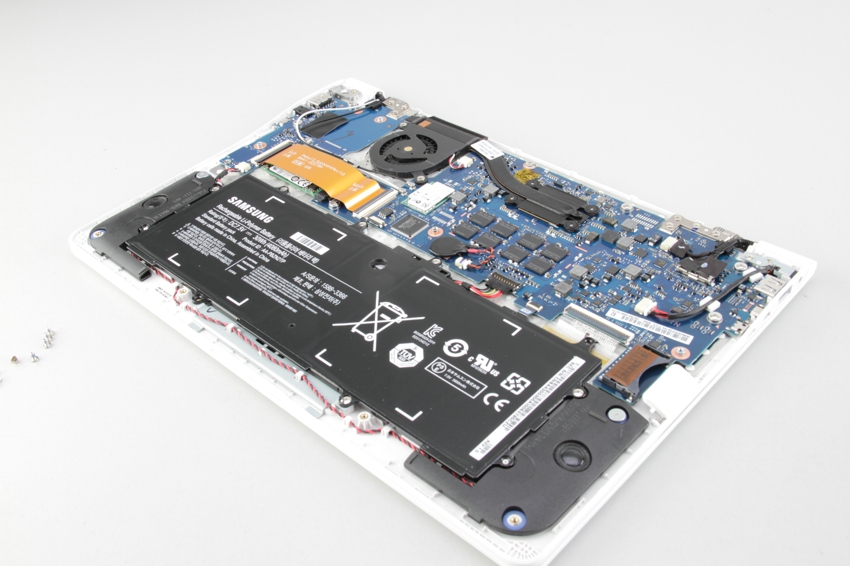
The Samsung Ativ Book 915S3G comes with a 4080mAh Li-polymer battery. The Samsung part number is AA-PB2N2TP.
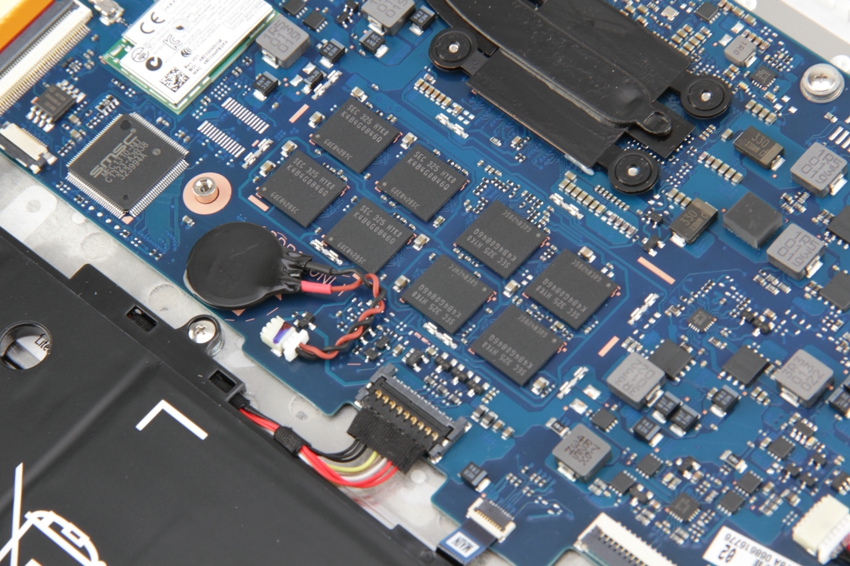
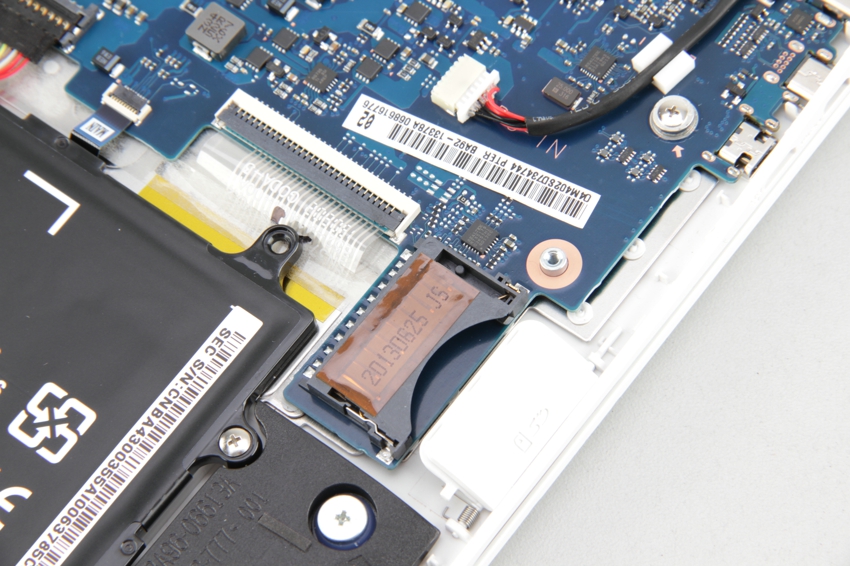
Remove the screws securing the battery and disconnect the battery connector from the motherboard. You can remove the battery.
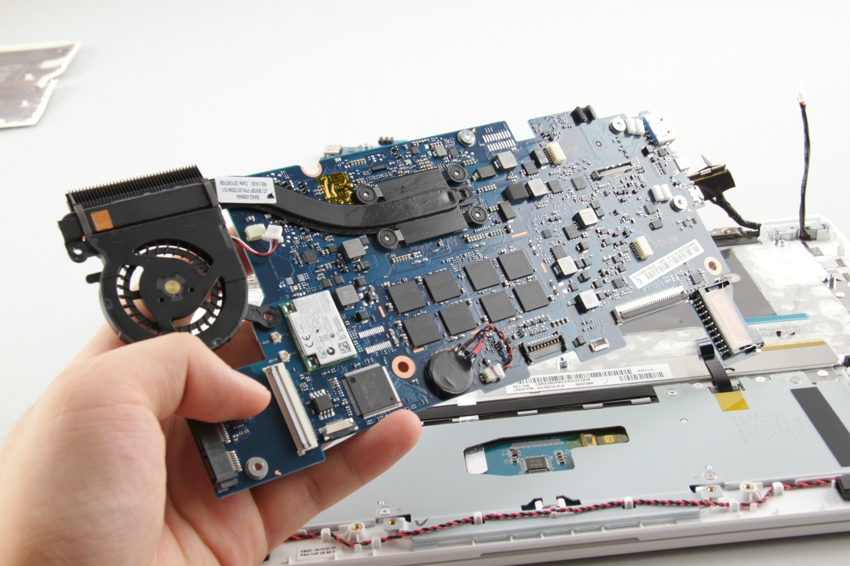
The memory chips on this laptop are soldered directly onto the motherboard, so its memory cannot be upgraded.
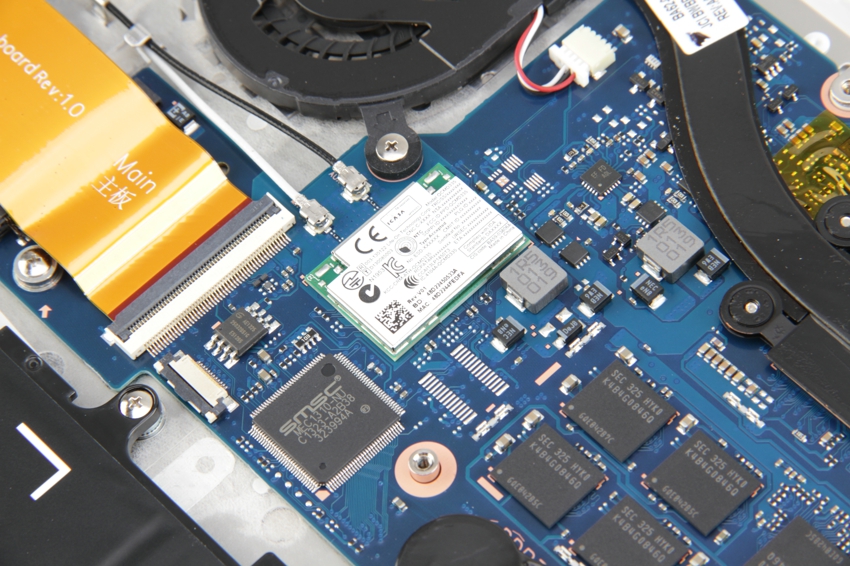
The wireless network card on this laptop is also soldered onto the motherboard, so it cannot be upgraded either.
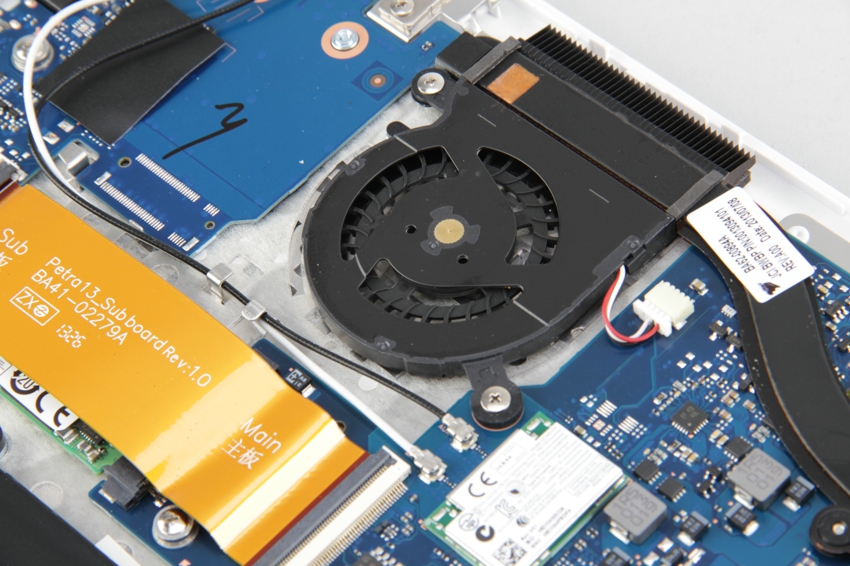
Remove the two screws securing the cooling fan and disconnect the cooling fan cable. You can remove the cooling fan.
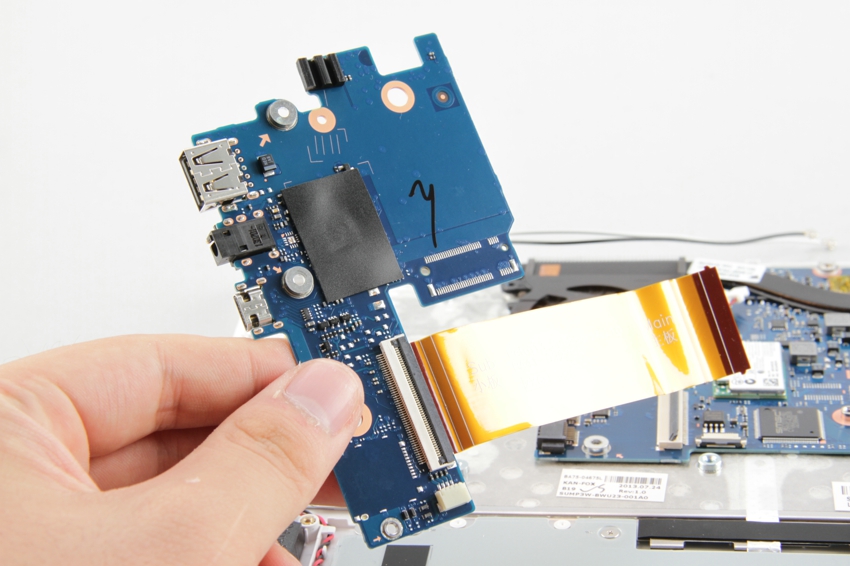
Card reader
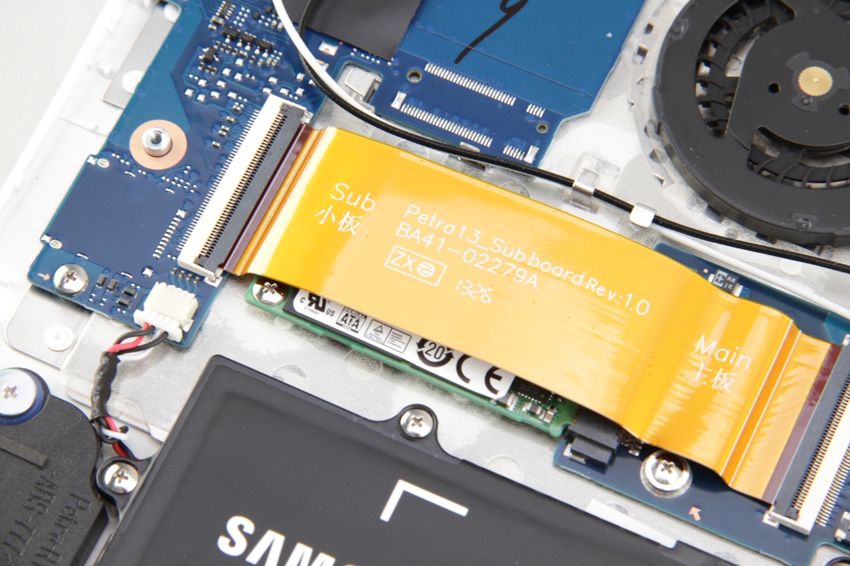
Disconnect the yellow cable. You can find the SSD.
Remove the two screws securing the SSD and remove it.
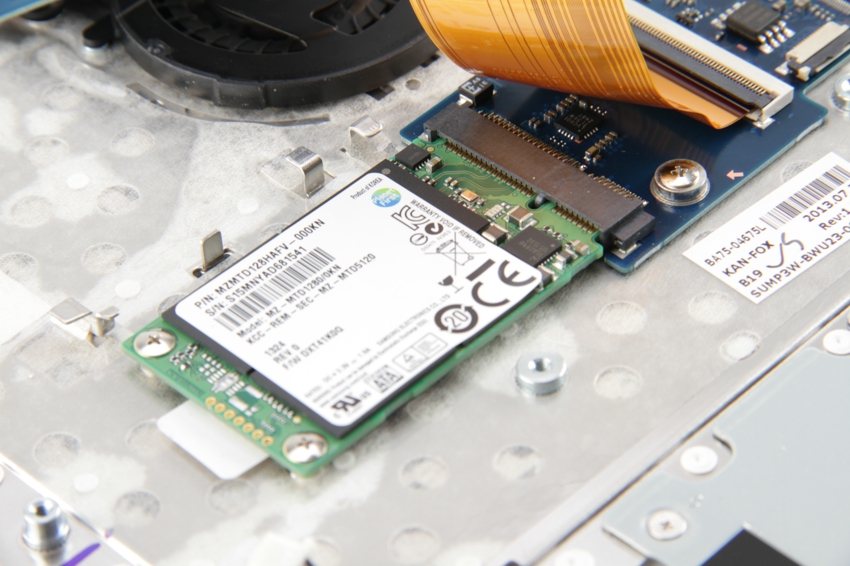
The laptop comes with a Samsung 128GB SSD. If you need to upgrade the SSD, you will need to replace the existing SSD.

Speaker module

USB and HDMI ports
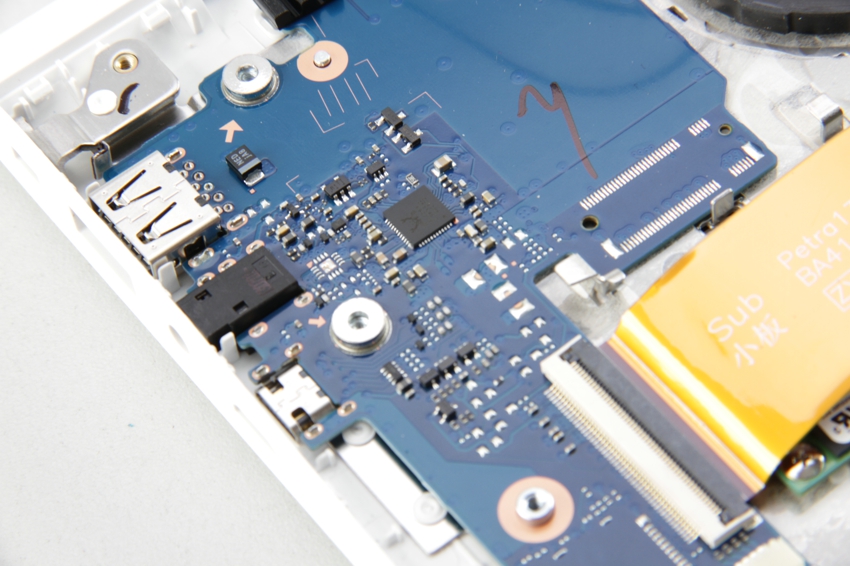
USB board
Remove all screws securing the motherboard and disconnect all cables connected to it. Lift the motherboard from one side and wiggle it until it detaches from the laptop.
Samsung Ativ Book 915S3G internal parts

Hi.
The hardest part is step 2 above: ‘pry up the bottom case.’ I haven’t had any luck. What is that white thing that you use? I tried an old credit card, but it seems too thick. I may need something thinner.
You can use guitar picks.
Hi David, many thanks for posting this guide. I’m trying to replace the battery on my Ativ Book 9 Lite. The connector is the same as shown above, but I can’t see how to remove the plug from the socket. It doesn’t seem possible to move the two pins on either side of the plug (if they are indeed pins). I’d be very grateful if you could let me know how to do this. I’m sure I’m missing something obvious. I’ve tried moving it upwards as advised by someone on Twitter, but this obviously isn’t right; please refer to this YouTube link: https://www.youtube.com/watch?v=VAiX6lr_bTI. It doesn’t want to budge, and I obviously don’t want to break it.
Good info
Hi.
I have a problem with this model; my laptop doesn’t turn on.
The battery does not charge when I insert the charger, and the light on the laptop is flashing.
If you know the solution, I will be happy to know.
Shlomi.
Hi, is the memory upgradable? I’m planning to upgrade the memory to 500GB SSD. Thanks