
In this guide, I will explain how to disassemble the Sony Duo 13 to remove the battery, SSD, card reader, heat sink, cooling fan, and motherboard.
Want to keep in touch with us? Follow us on Facebook for more repair news.
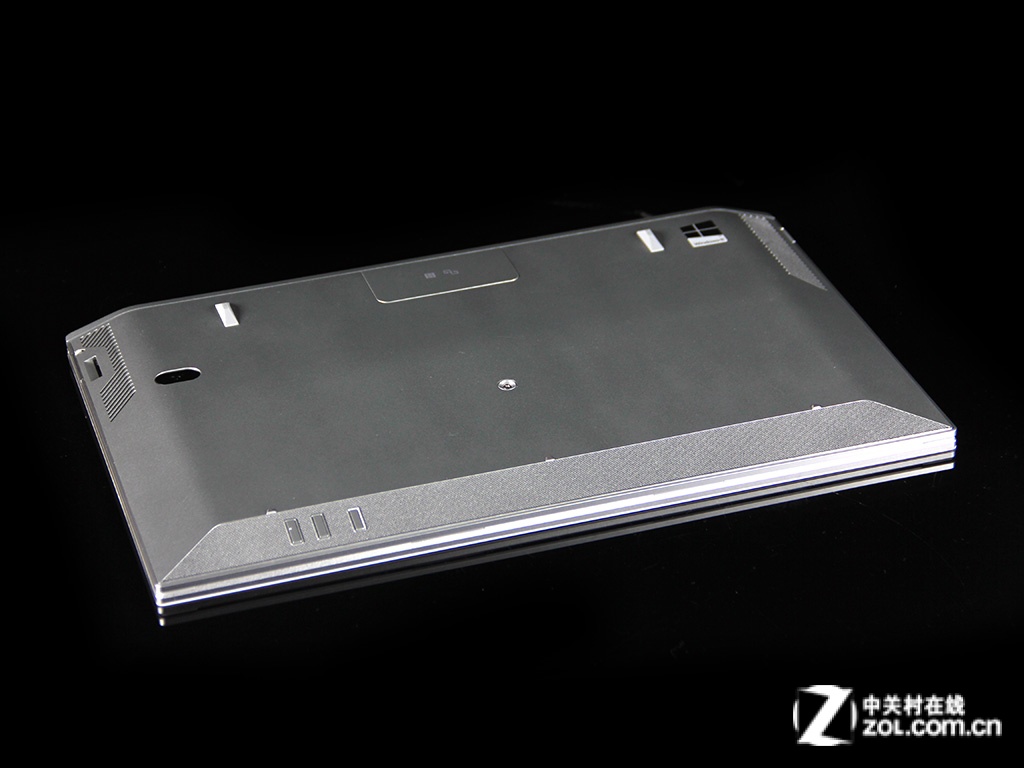
There is only one visible screw on the bottom cover. Remove this screw.
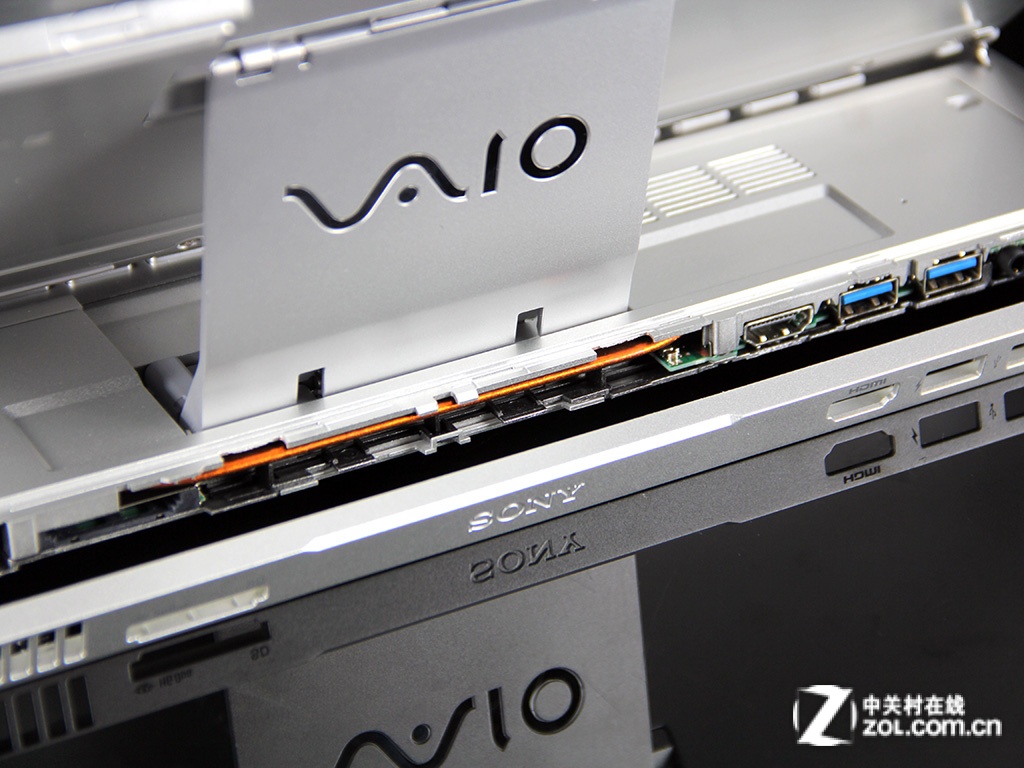
There are two screws on the bottom of the screen.
The rear cover is fixed by clips.
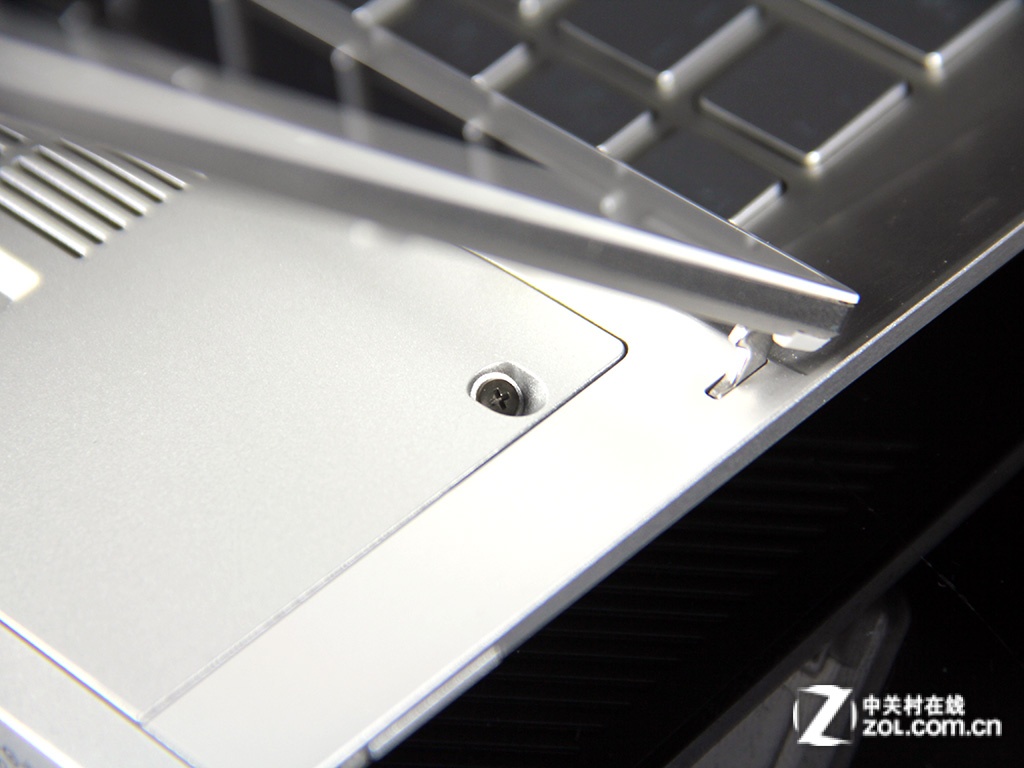
Remove this screw.
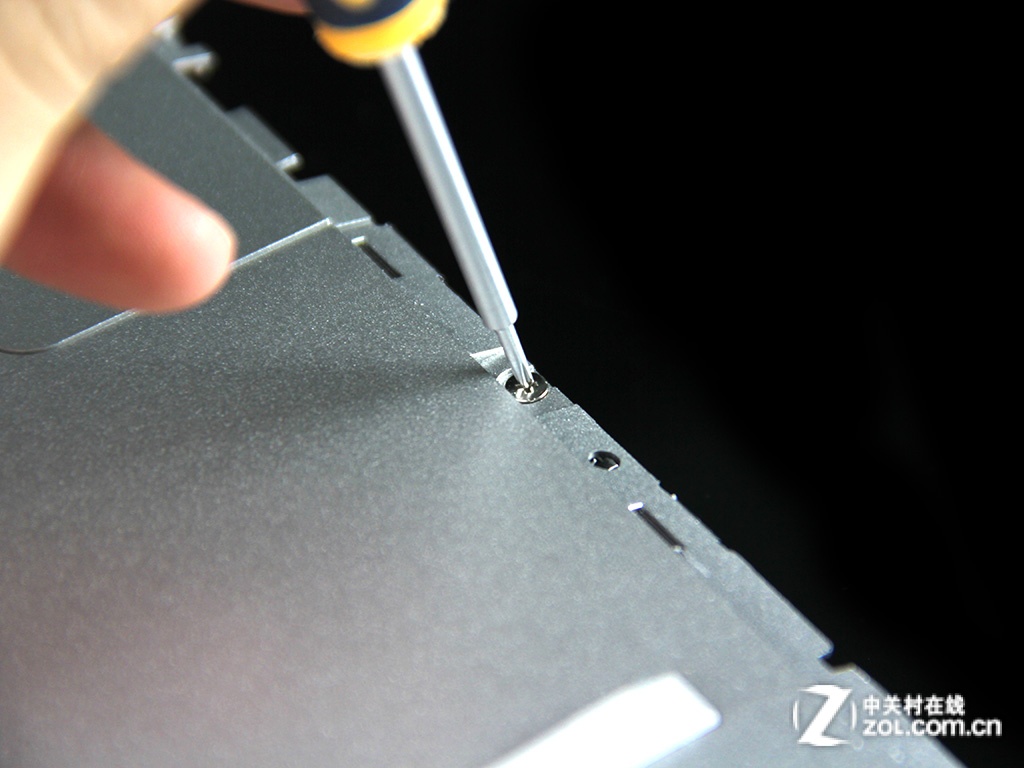
Remove the cover. You can find four screws. Remove these screws.
Hidden screws

Once all screws were removed, insert a plastic pry tool under the bottom cover. Slide the pry tool along the bottom cover to separate it from the laptop.

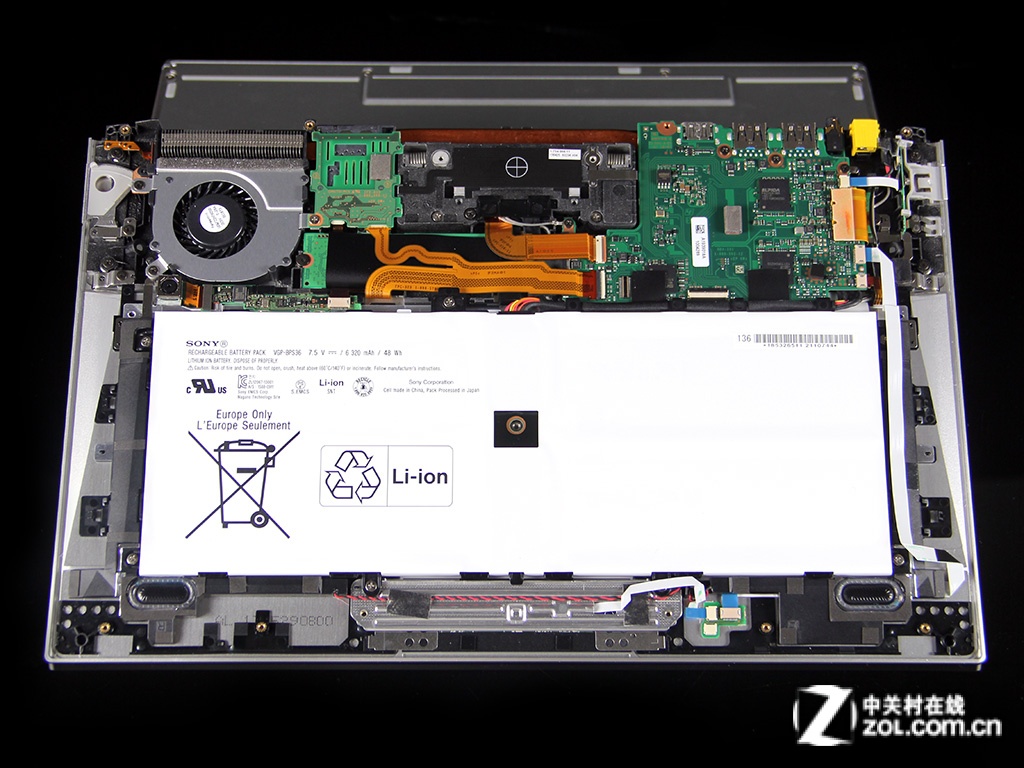
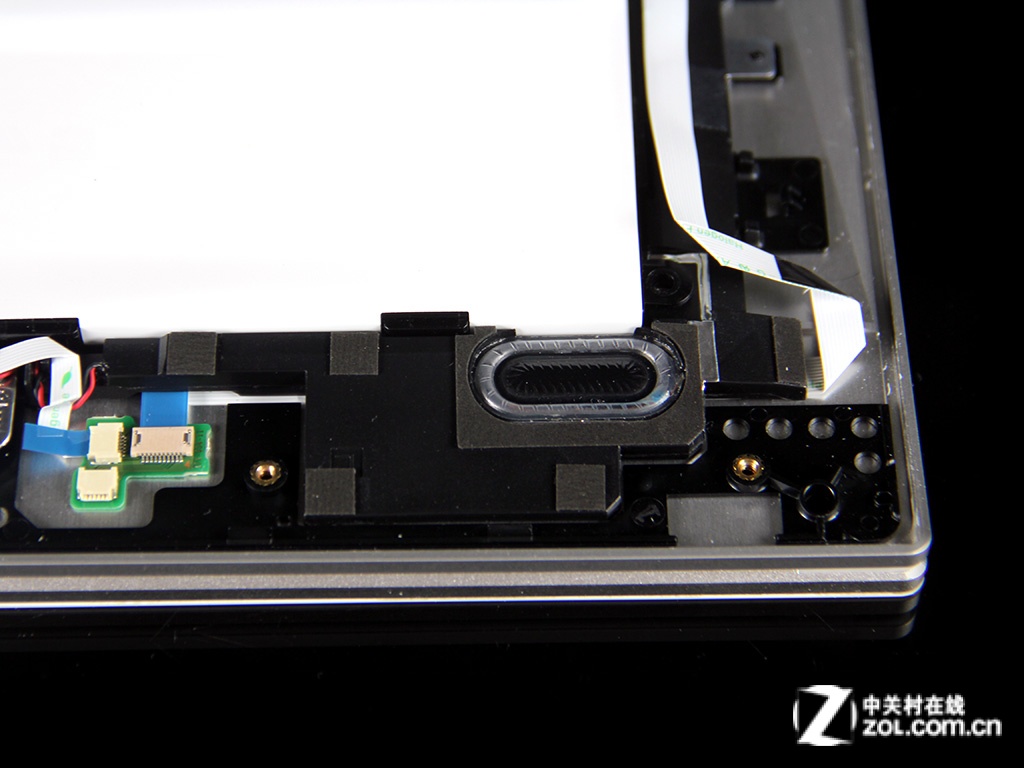
After removing the bottom cover, you can access the battery, cooling fan, speakers, SSD, and motherboard.
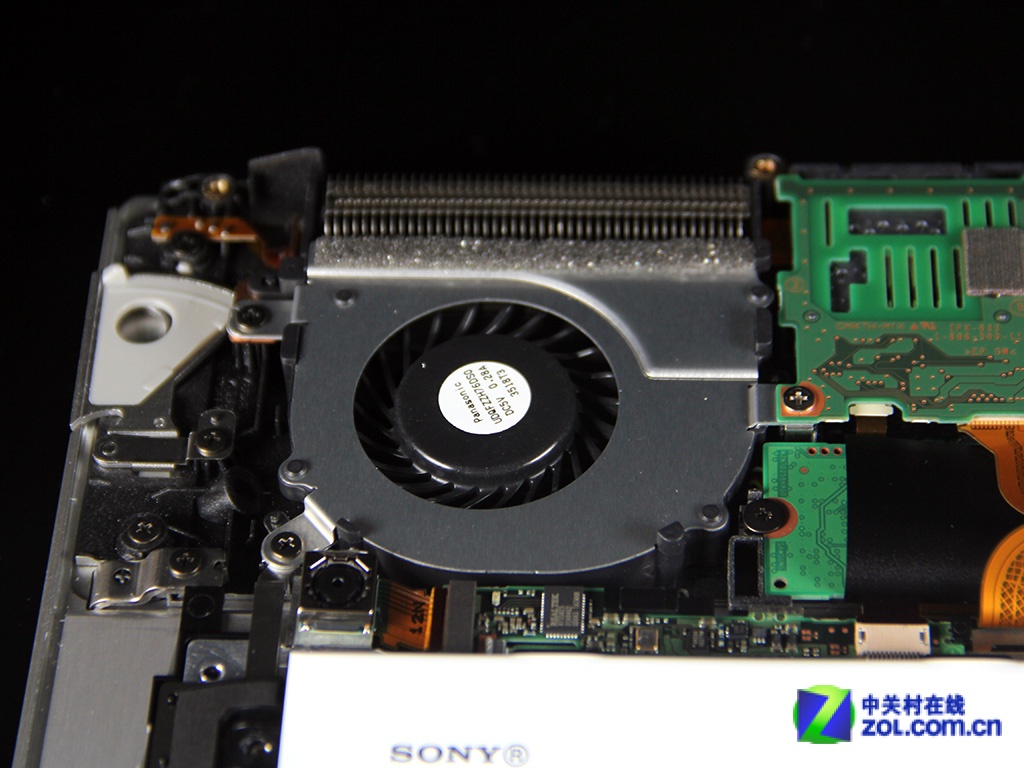
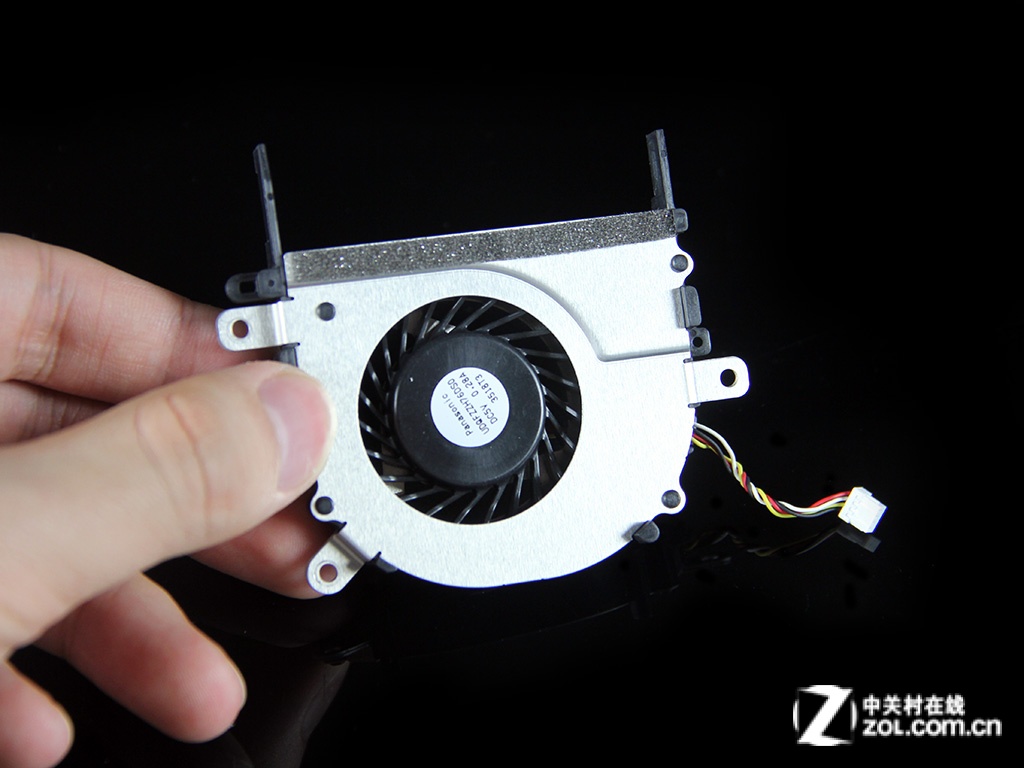
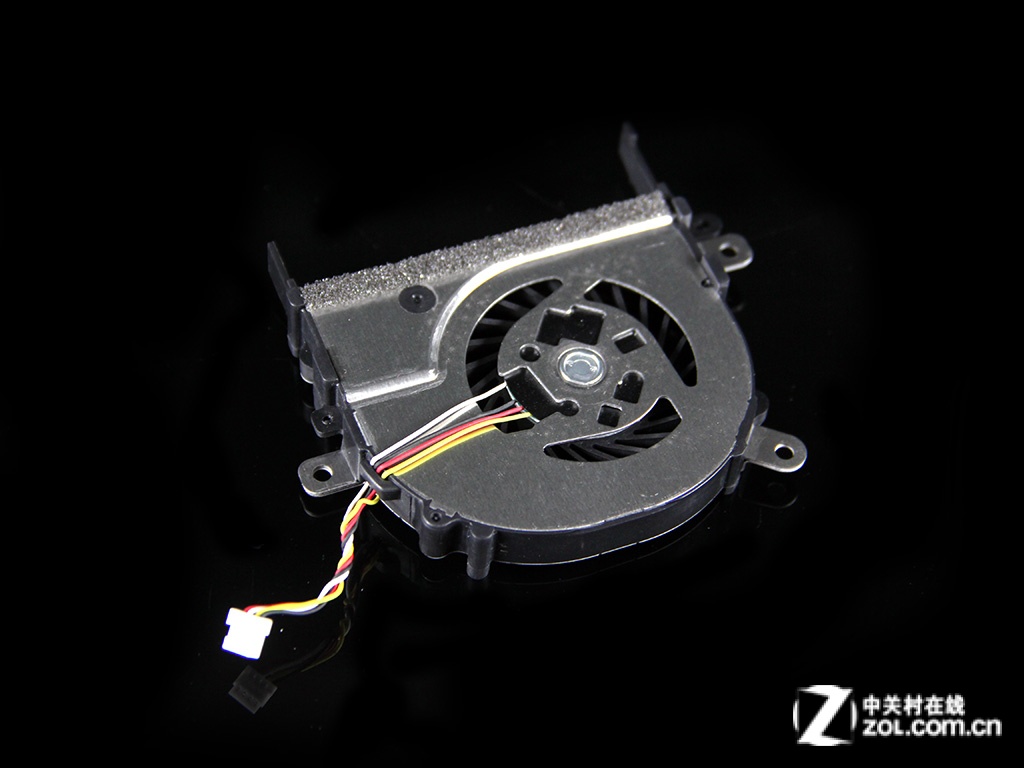
Sony Duo 13 cooling fan
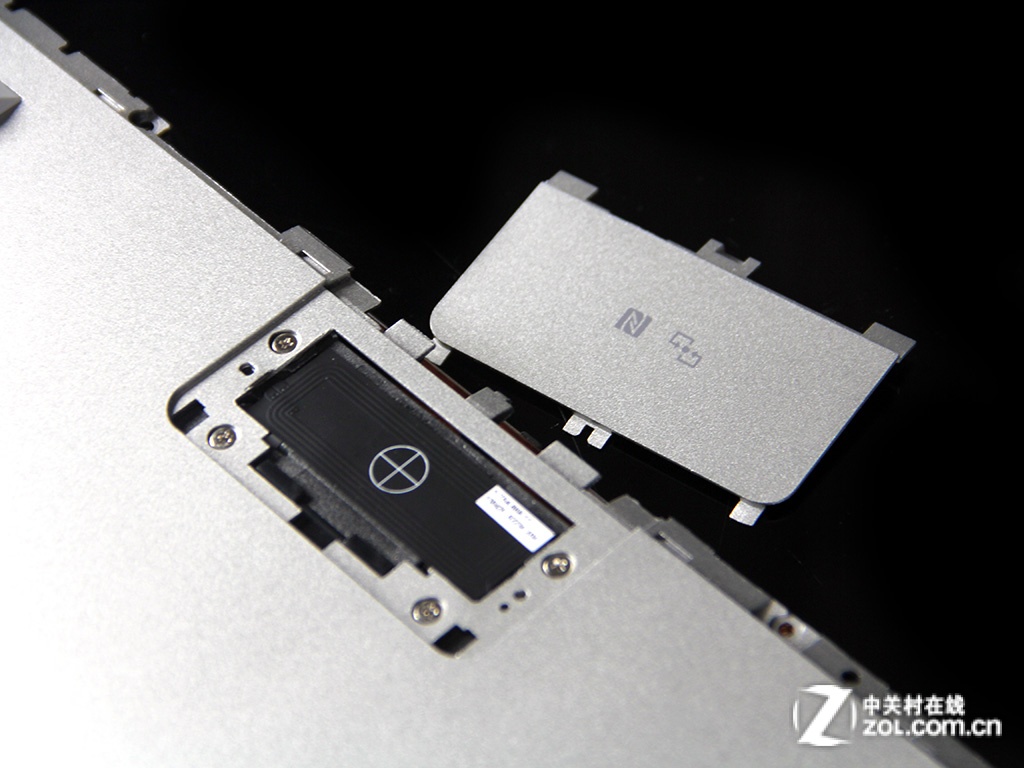
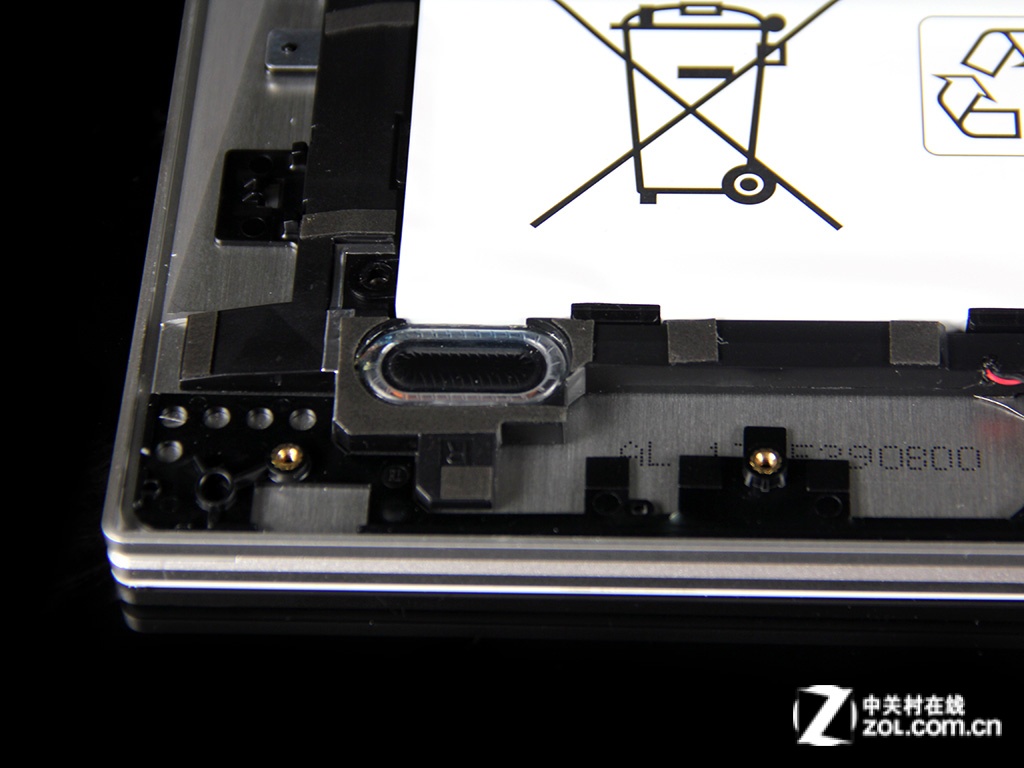
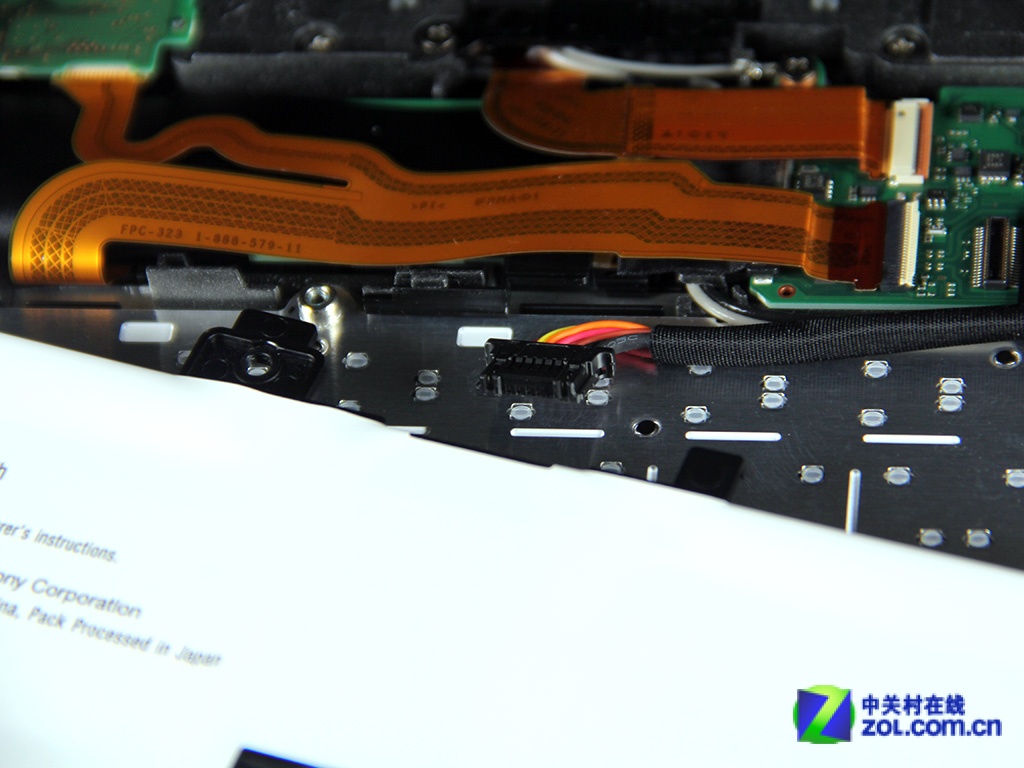
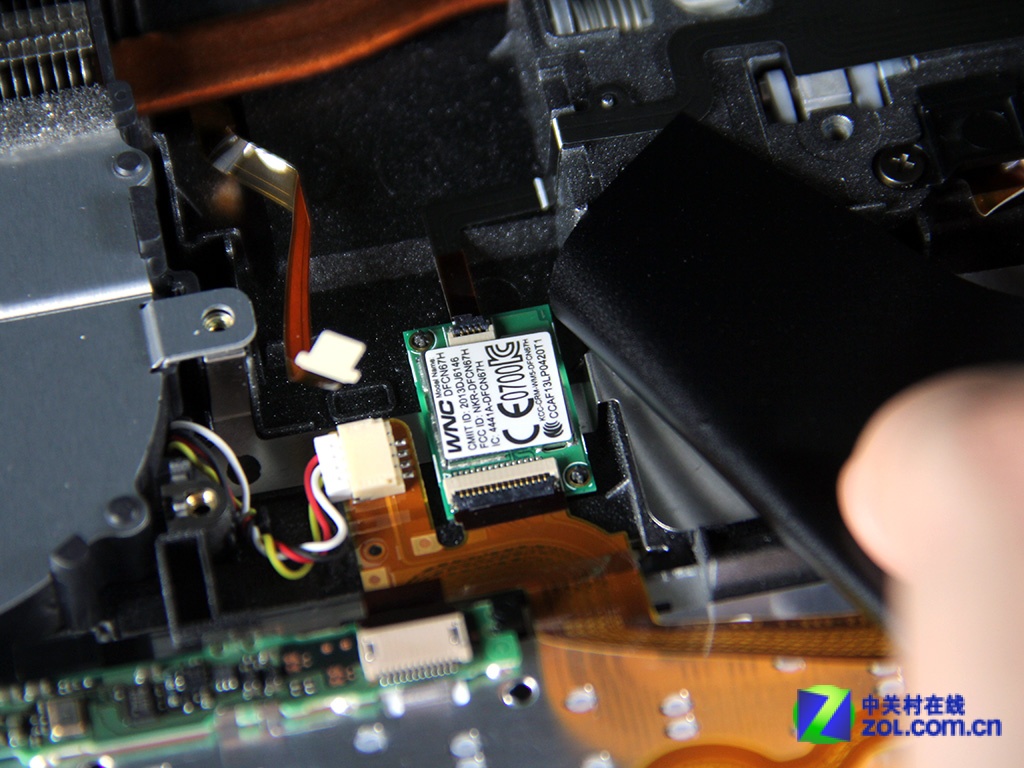
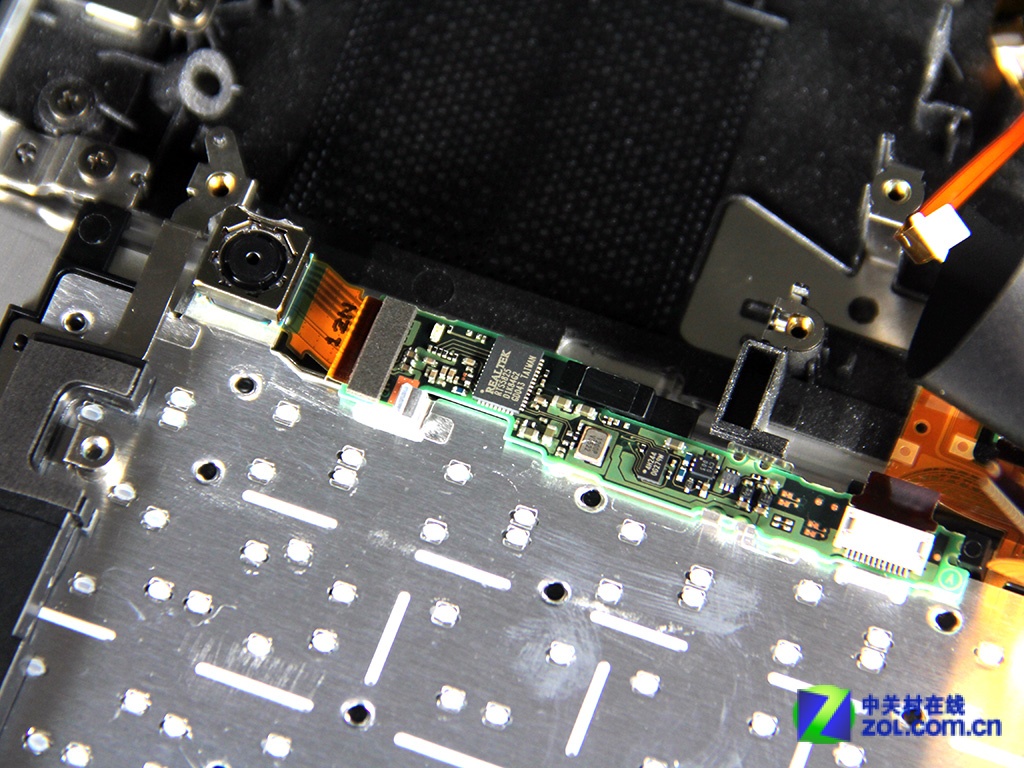
NFC sensor area
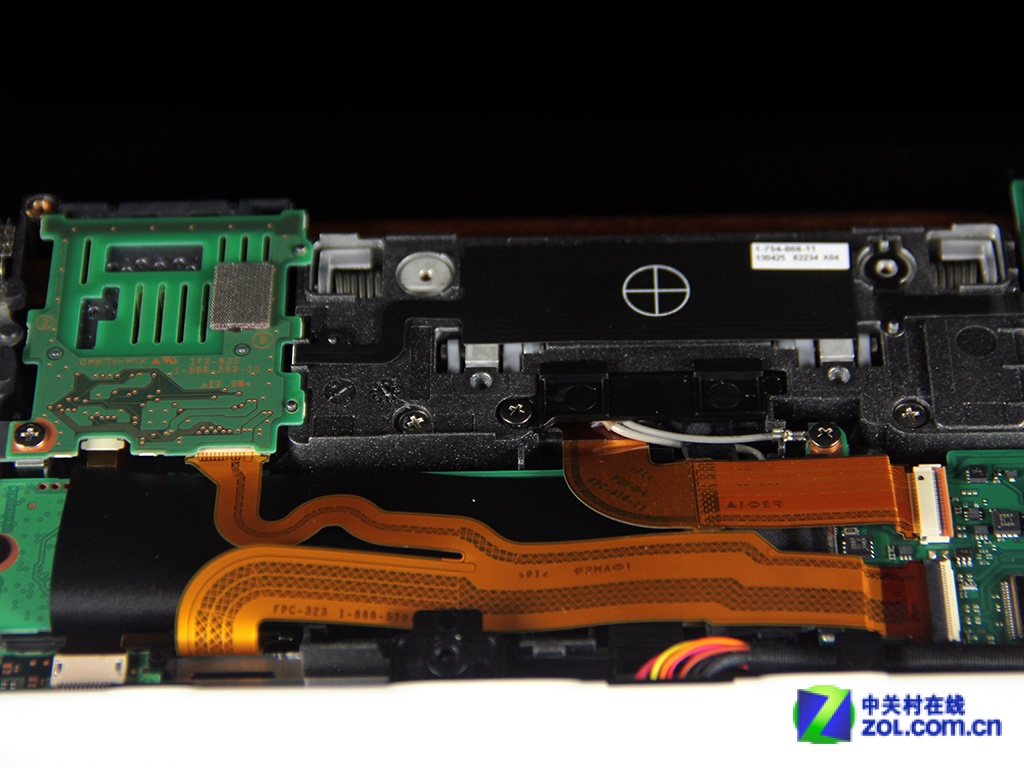
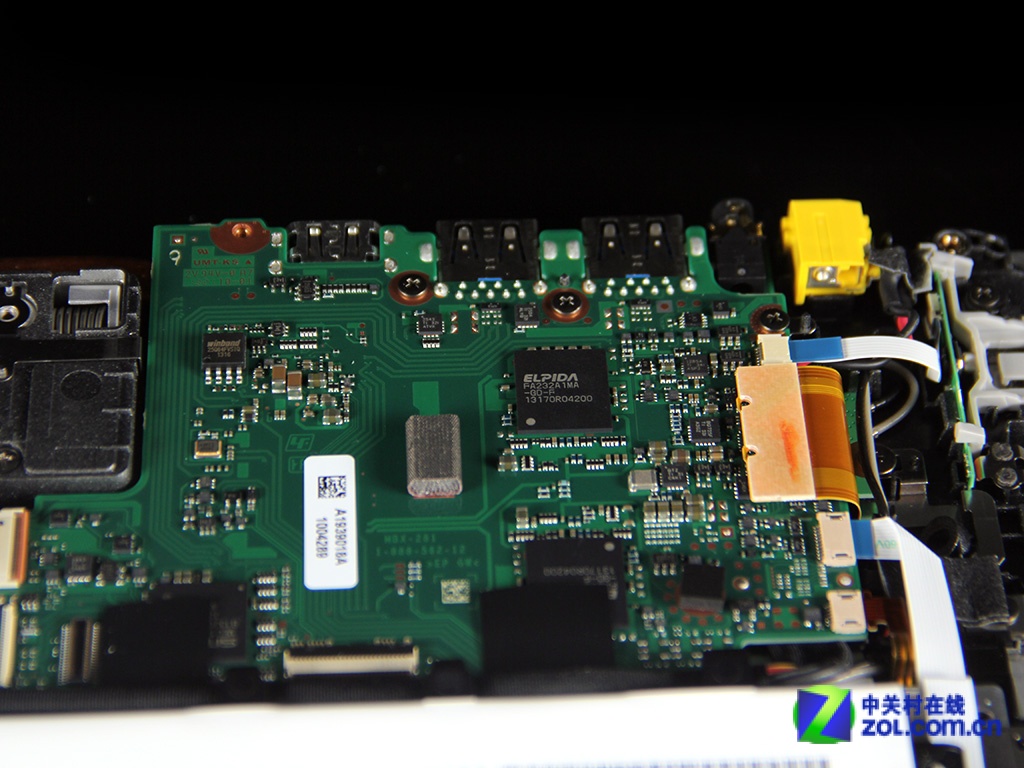
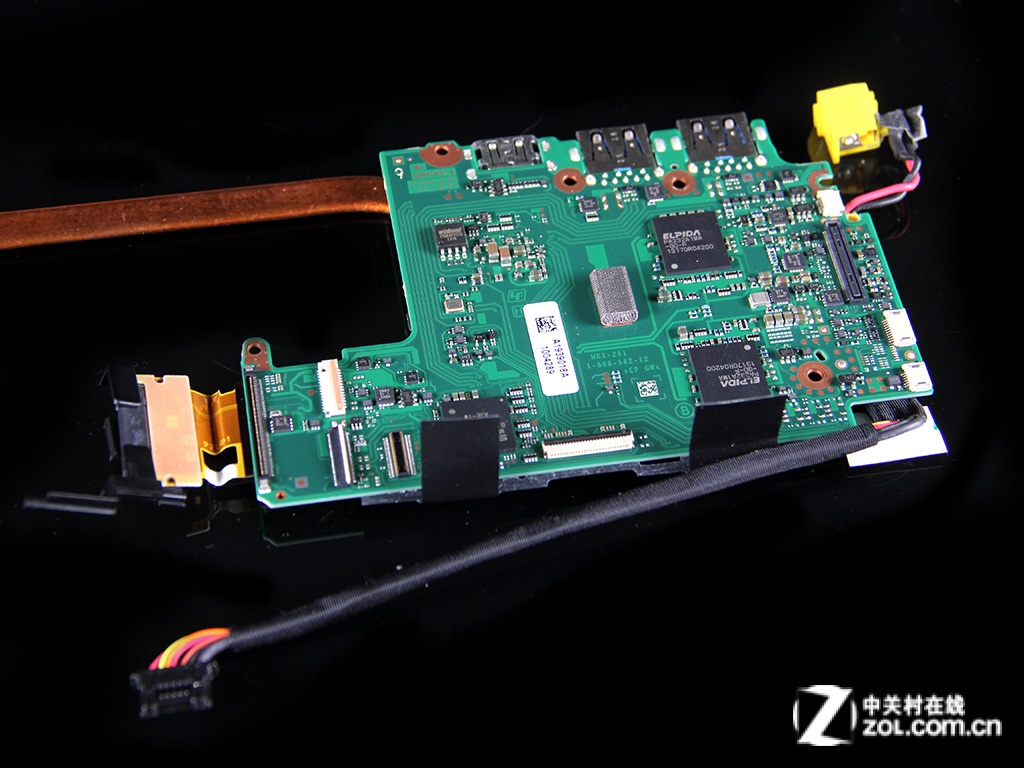
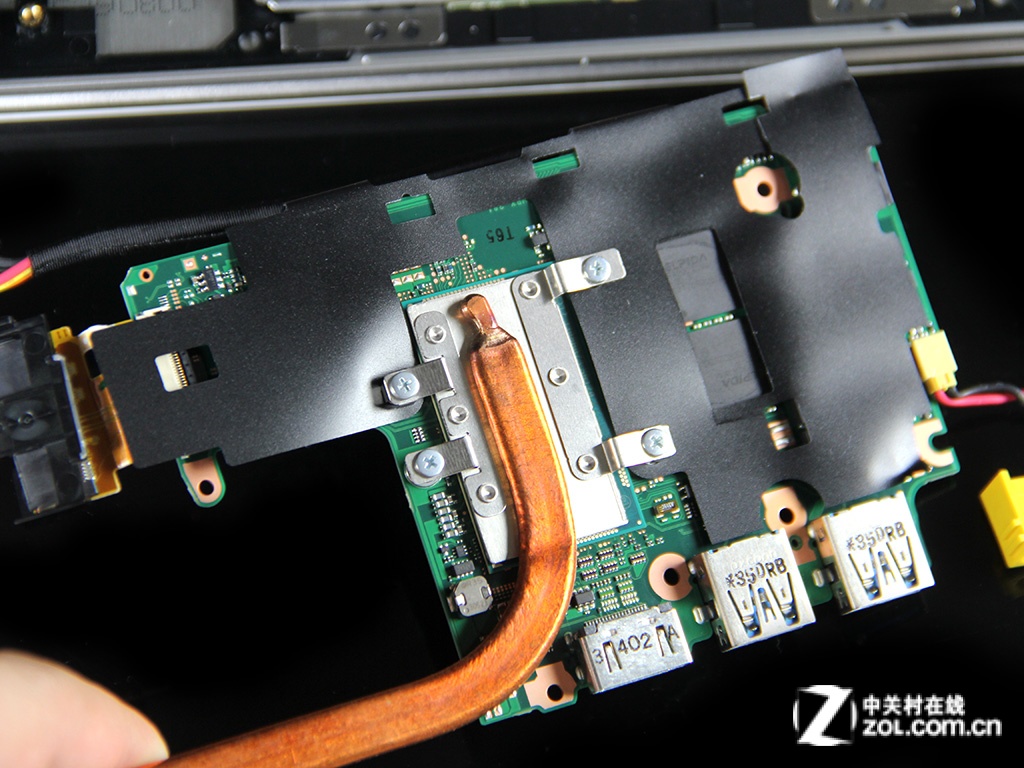
Motherboard
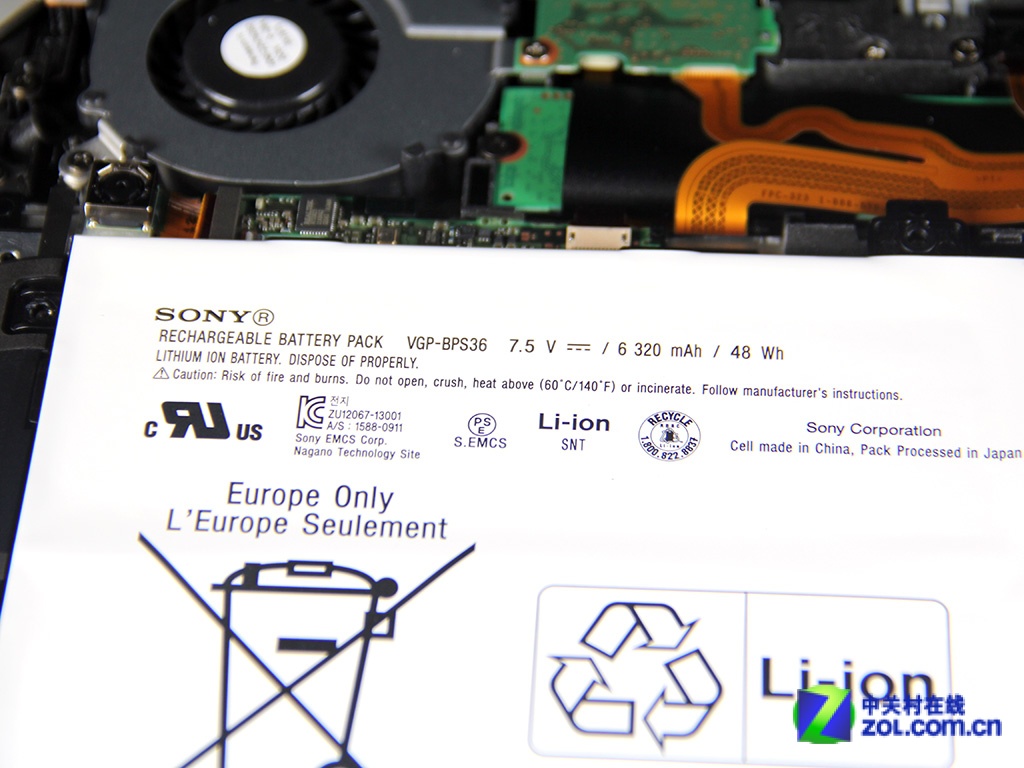
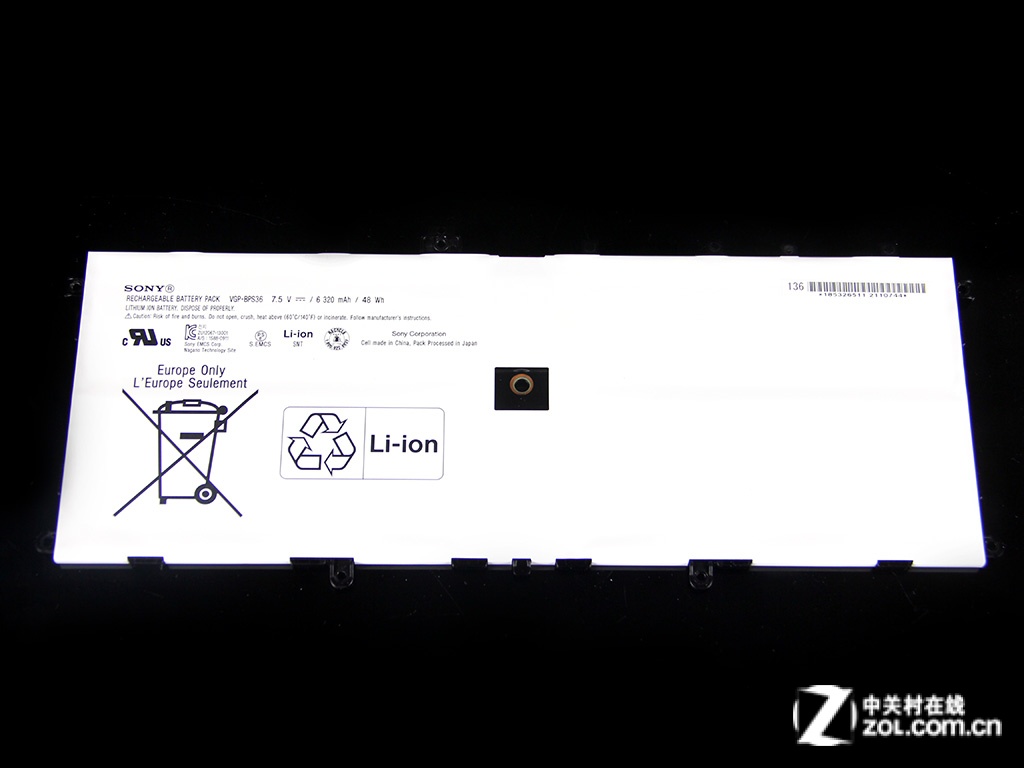
The Sony Duo 13 comes with a 7.5V, 48Wh Li-ion battery, and the Sony part number is VGP-BPS36.
Left speaker
Touchpad module
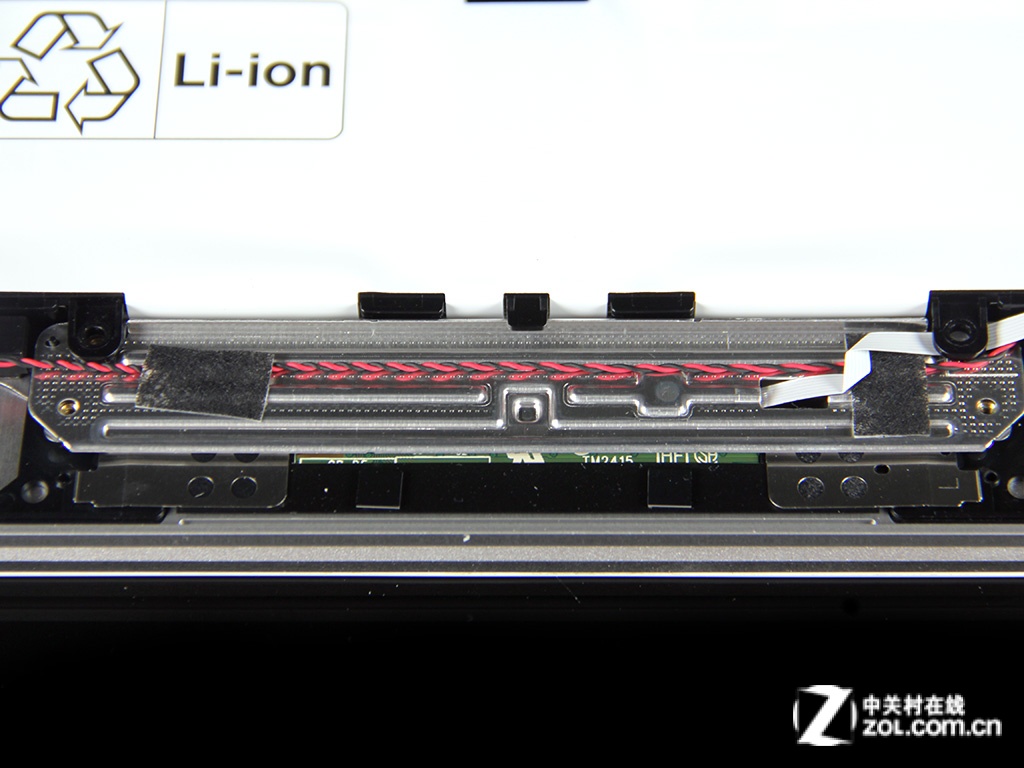
Right speaker
Remove the screws securing the battery and disconnect the battery power cable from the motherboard.
Close-up of the Li-ion battery
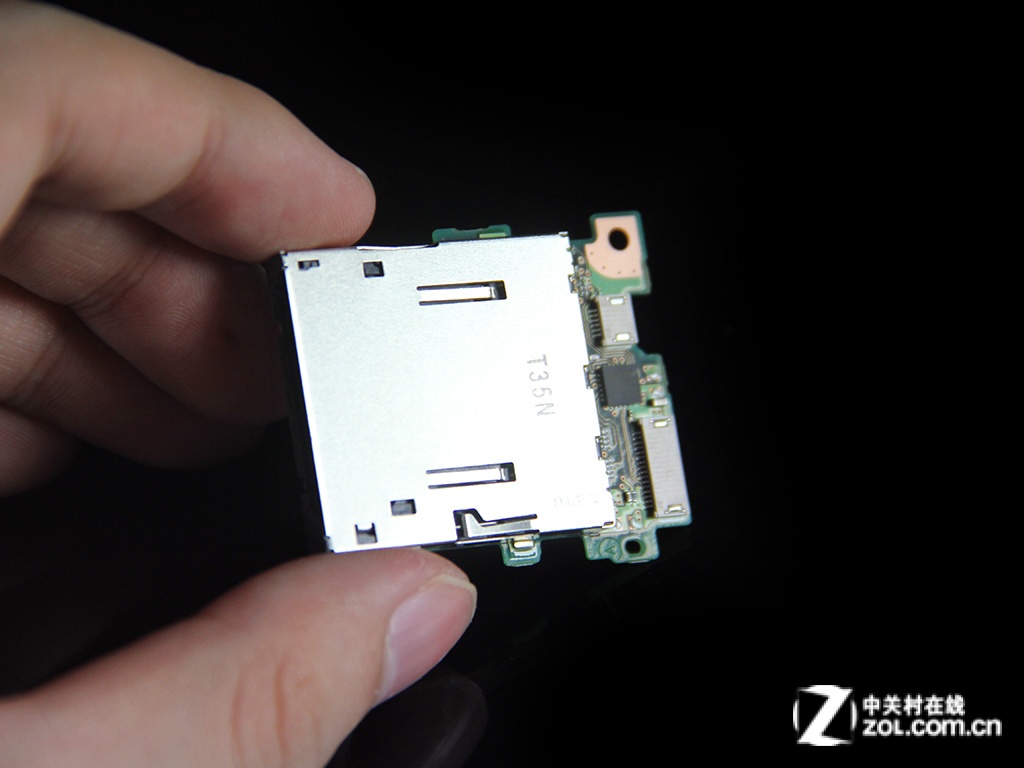
Remove the screws securing the card reader.
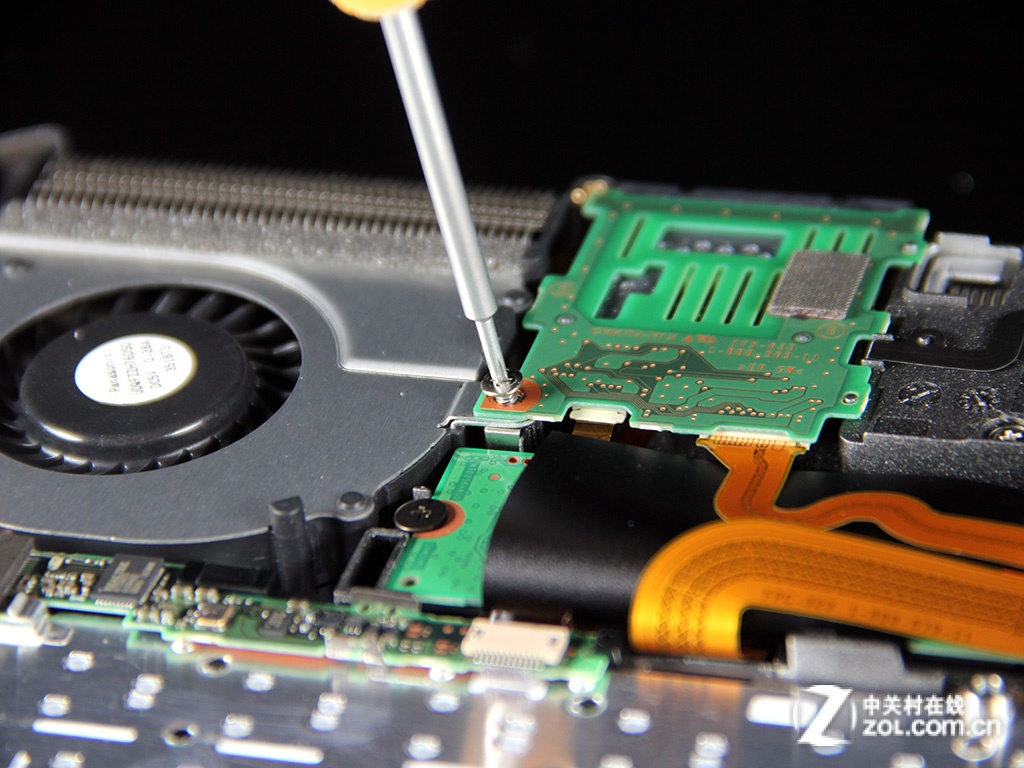
SD card reader module
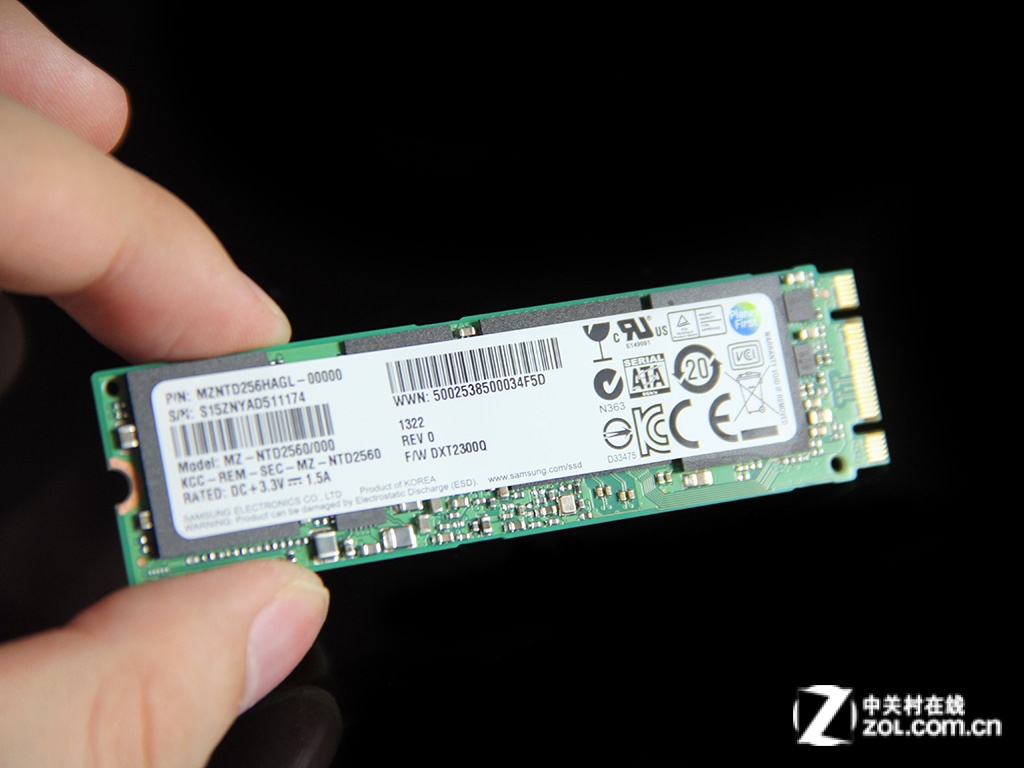
Remove the screw securing the SSD.
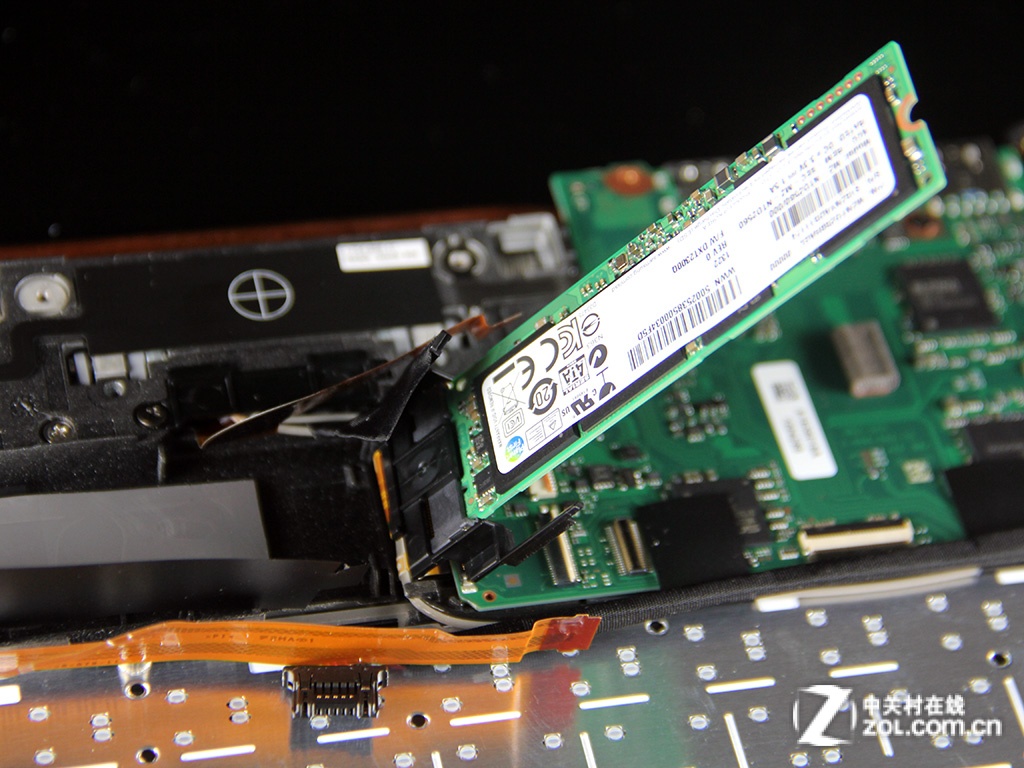
The Sony Duo 13 features a Samsung 256GB NGFF SSD.
NFC chip
The cooling fan is coming from Panasonic.
The camera module
Sony Duo 13 heat sink
Source: zol.com.cn
I am having Wi-Fi problems after upgrading to Windows 8.1, and suggestions to replace the Wi-Fi card. Do you have a vendor for the mesh screen? Everyone says that mesh screens are unusable once they fall off. I called Sony and they really don’t help at all since they now don’t sell PCs anymore. I have a USB Wi-Fi installed now, which is OK, but the PC won’t go into sleep mode at all. I don’t really want to take apart the PC if this won’t be easily fixed. Thanks!
Where is the RAM? Is it part of the motherboard? I would like to upgrade it.
The RAM is soldered onto the board and cannot be upgraded.
How do I remove the power on/off board?
Thank you
My Sony Vaio Duo 13 is not turning on, it is not charging, and the green light is turning on. What can I do?
Thank you.
Where can I find the CMOS battery?