
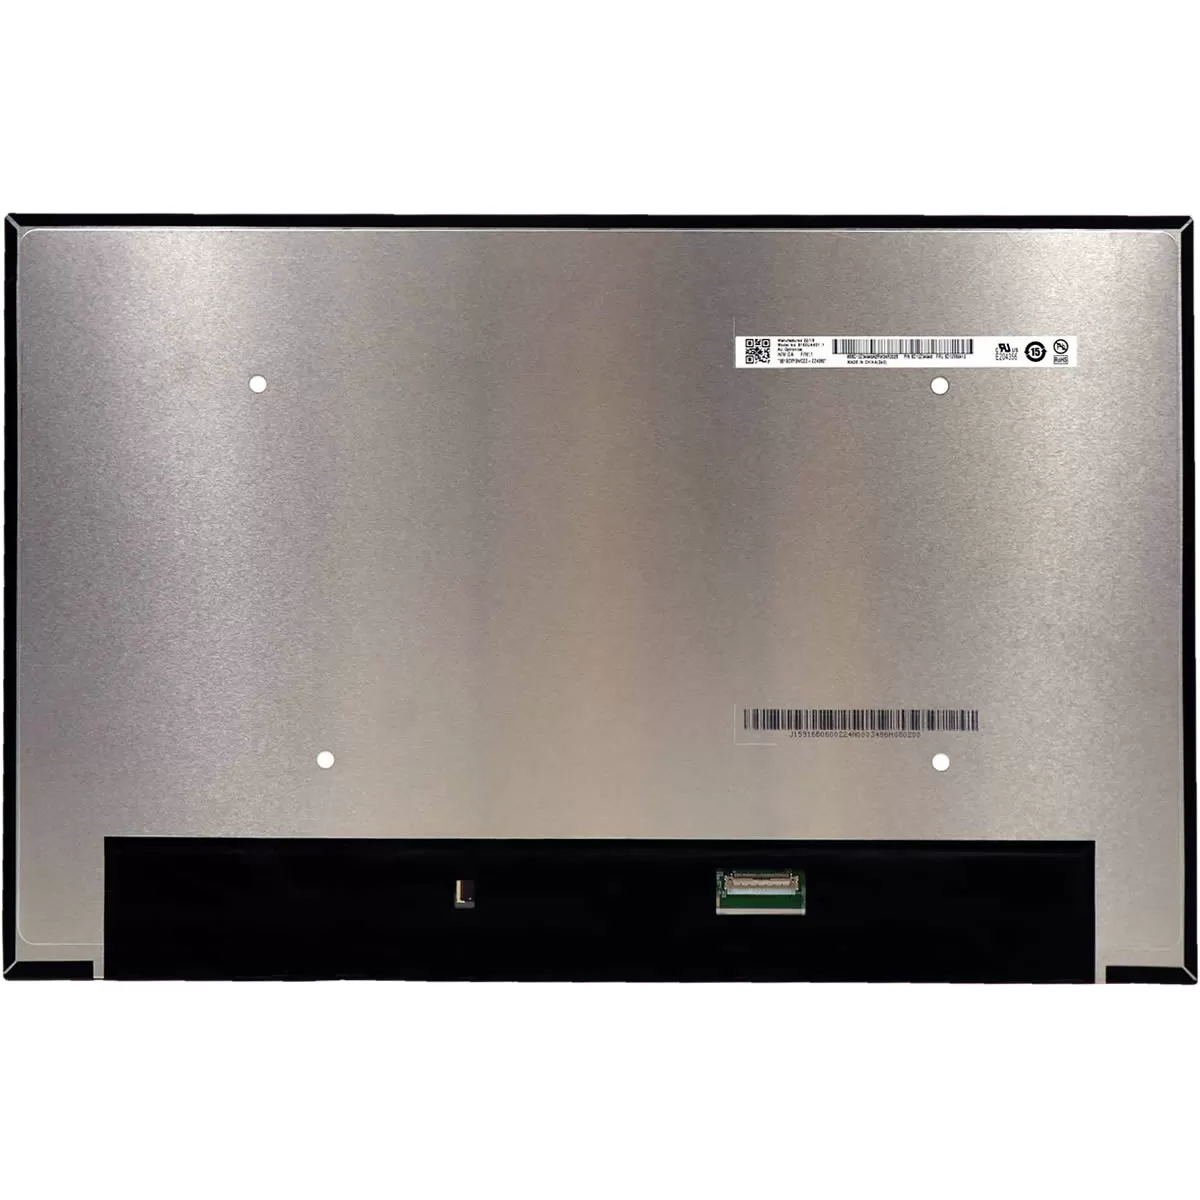
This is a new screen for MSI Vector GP68HX 12VH, 12VI, 13VF, 13VG, and 13VH gaming laptops. There are two screen specifications for this laptop: FHD+ (1920×1200), 144Hz; QHD+ (2560×1600), 240Hz. Please select the same specification as your original screen from the drop-down menu.
The laptop model can be found on the bottom cover of your laptop.
If you don’t know the specifications of your screen, please take a photo of the bottom cover of your laptop and send it to service@myfixguide.com, and we will identify your screen specification.
Features:
1. It is a 100% new screen. It has the same specifications as your original screen.
2. Each screen is rigorously tested to ensure that it has no dead pixels.
Compatible Laptops:
16″ 1920×1200 IPS 144Hz 45% NTSC Anti-Glare, fit below models
Vector GP68HX 12VH (001UK, 002UK, 006US, 007FR, 012CA, 026PL, 028AU, 036IT, 048SG, 050FR, 058IT)
Vector GP68HX 12VI (062TAA, 248IT)
Vector GP68HX 13VH (054US, 075FR, 085UK, 086UK, 094SG, 098US, 206IT, 212IT, 220IT, 225FR, 242AU, 245FR, 246IT, 251IT, 256US, 269PH)
and more models with a 1920×1200 144Hz screen
16″ 2560×1600 IPS 240Hz 100% DCI-P3 Anti-Glare, fit below models
Vector GP68HX 12VH (008ES, 009XES, 010XES, 046XCZ, 211PL, 3203JP, 779JP)
Vector GP68HX 13VG (005FR, 009FR, 086NL, 087BE, 203AU, 204UK, 216AU, 217AU)
Vector GP68HX 13VH (061AU, 065AU, 237AU, 272PL, 273PL, 274PL)
Vector GP68HX 13VI (236AU, 255US, 266FR)
and more models with a 2560×1600 240Hz screen
Specifications:
16″ 1920×1200 IPS 144Hz 45% NTSC Anti-Glare
16″ 2560×1600 IPS 240Hz 100% DCI-P3 Anti-Glare
Aspect Ratio: 16:10
Surface Type: Matte, Anti-Glare
Condition: New
Dead Pixel Policy: No Dead Pixel
Warranty: One (1) Year
Replacement Tips:
1. Make sure the part number, description, and image match the original screen on your laptop.
2. To replace your screen, you have to remove the battery or disconnect the battery cable from the motherboard. This is to protect your laptop from being damaged by static electricity.
3. The LCD bezel is fixed on the LCD back cover with easy-stretch adhesive. Slowly pull out the adhesive, and you can easily remove the screen.
4. Place the LCD screen on the keyboard, disconnect the display cable from the LCD screen to remove the old LCD screen, and then you can install the new screen on your laptop.
5. You can first connect the LCD cable to your screen, then start the laptop to check that your LCD screen is working properly, then fix the screen on the back cover, and install the LCD bezel on your laptop.

Reviews
There are no reviews yet