
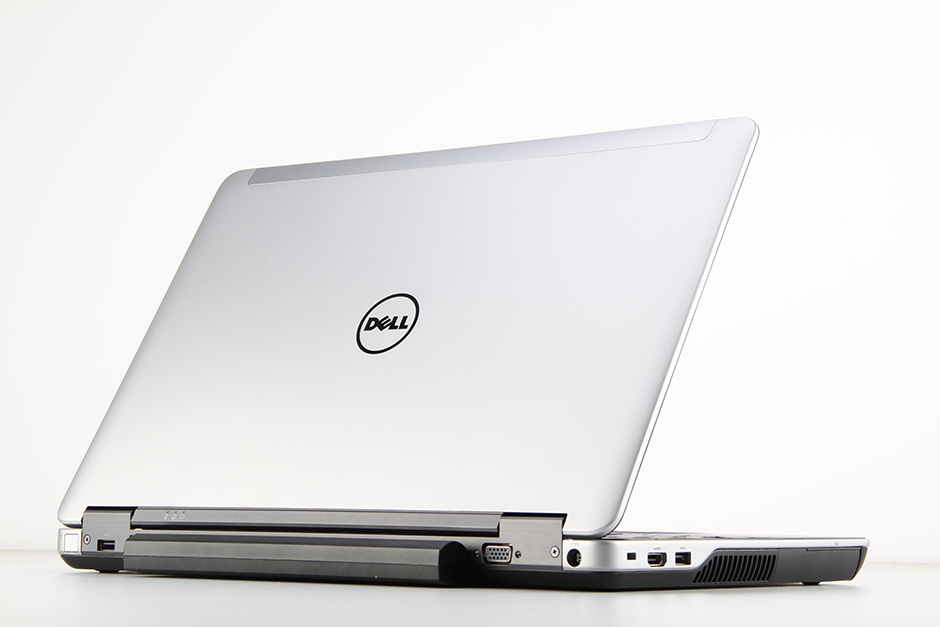
In this guide, I will explain how to disassemble a Dell Latitude E6540 laptop in order to remove the hard drive, optical drive, palm rest, keyboard, memory, wireless card, cooling fan, and motherboard.
Want to be the first to see the latest smartphone and laptop inside? Follow us on Facebook for the latest teardown news.
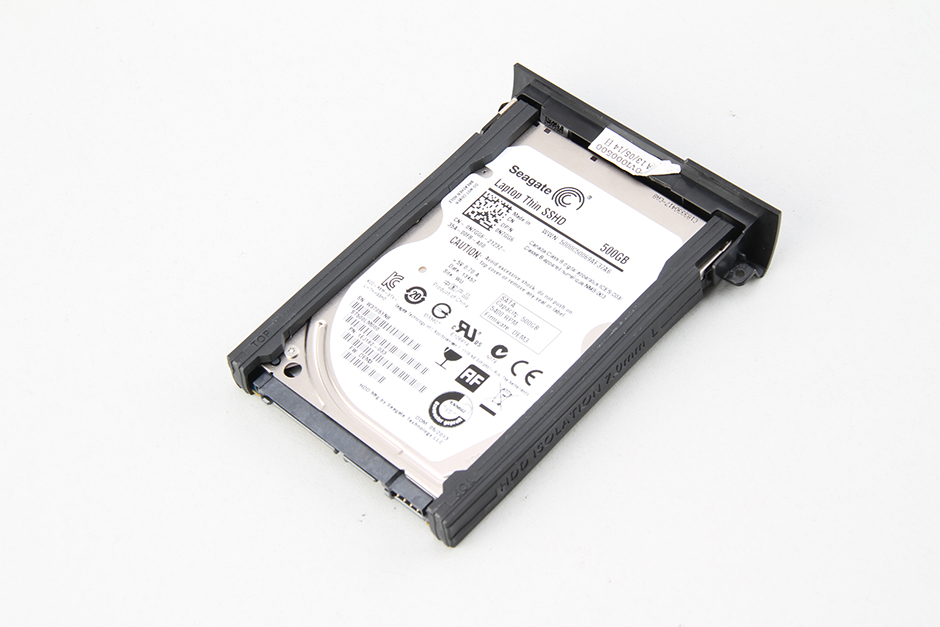
Remove the two screws securing the hard drive, then remove the hard drive.
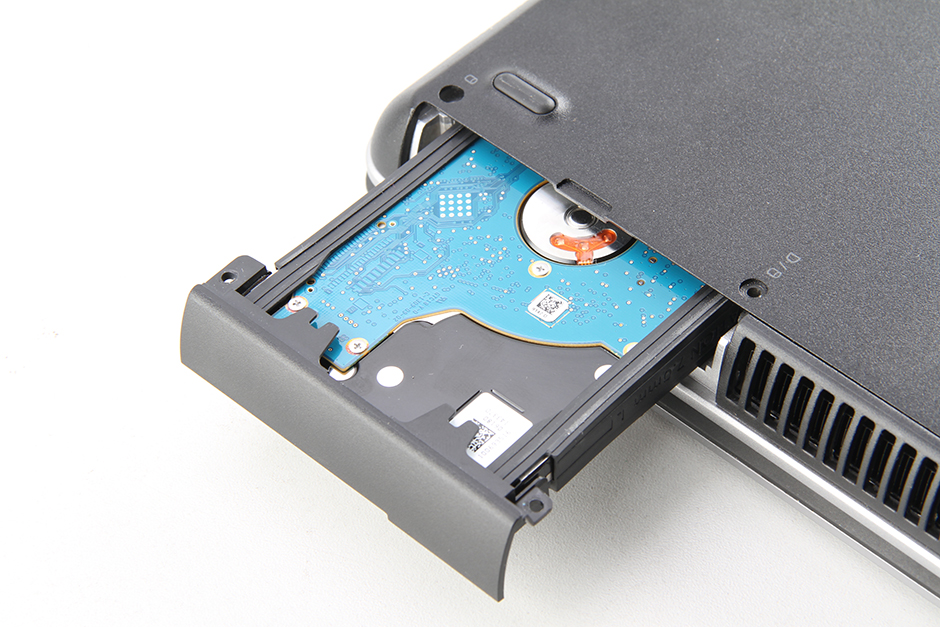
The Dell Latitude E6540 features a Seagate 500GB SSHD hard drive.
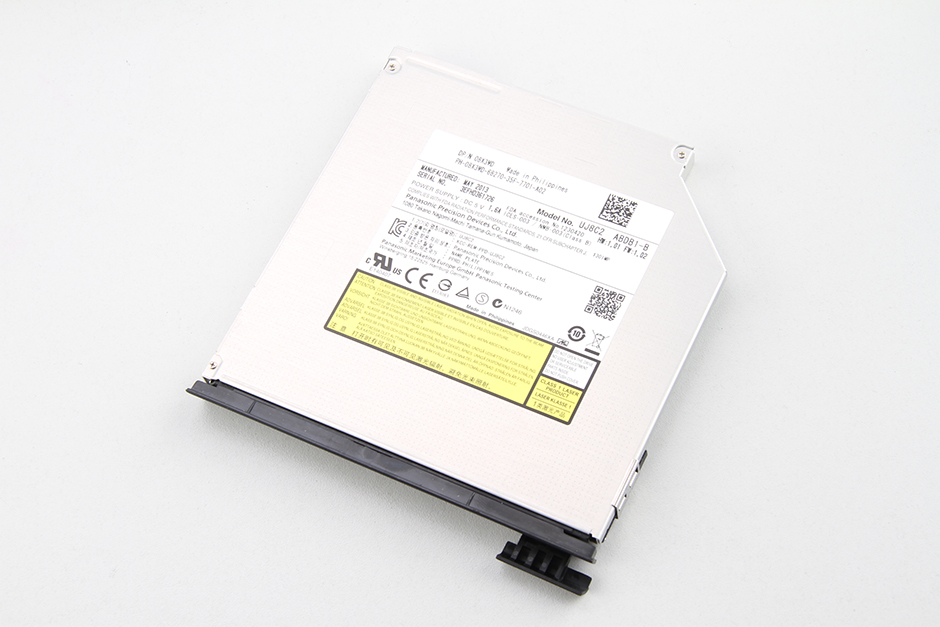
Unlock and pull out the optical drive.
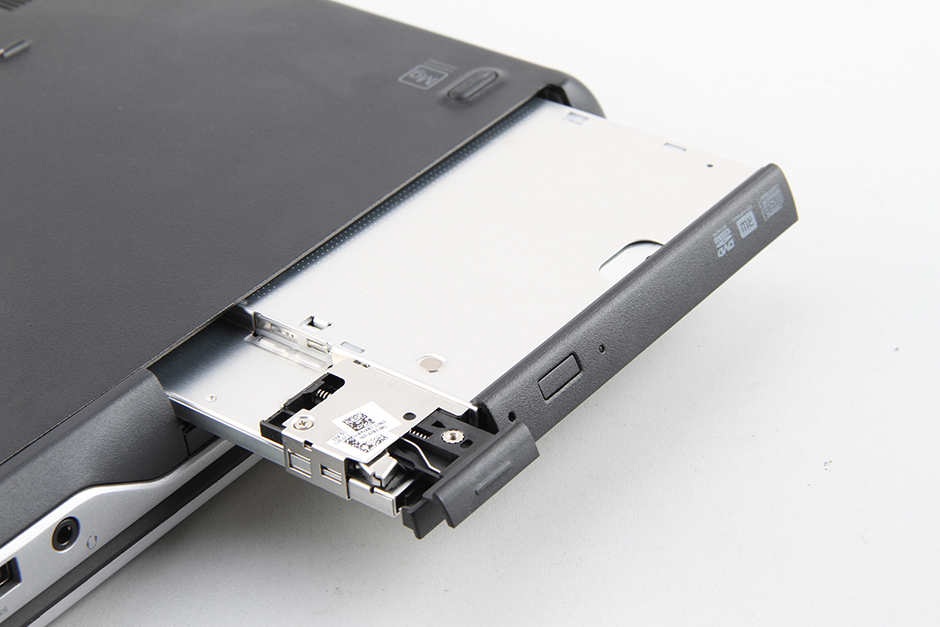
The Dell Latitude E6540 comes with a Matshita UJ8C2 SATA optical drive.
Remove all screws from the bottom case.
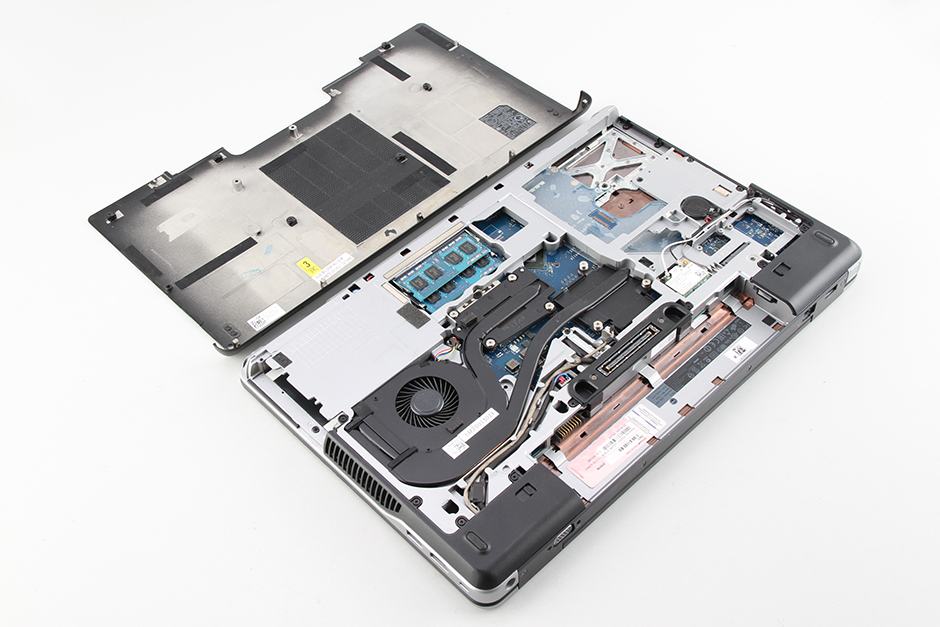
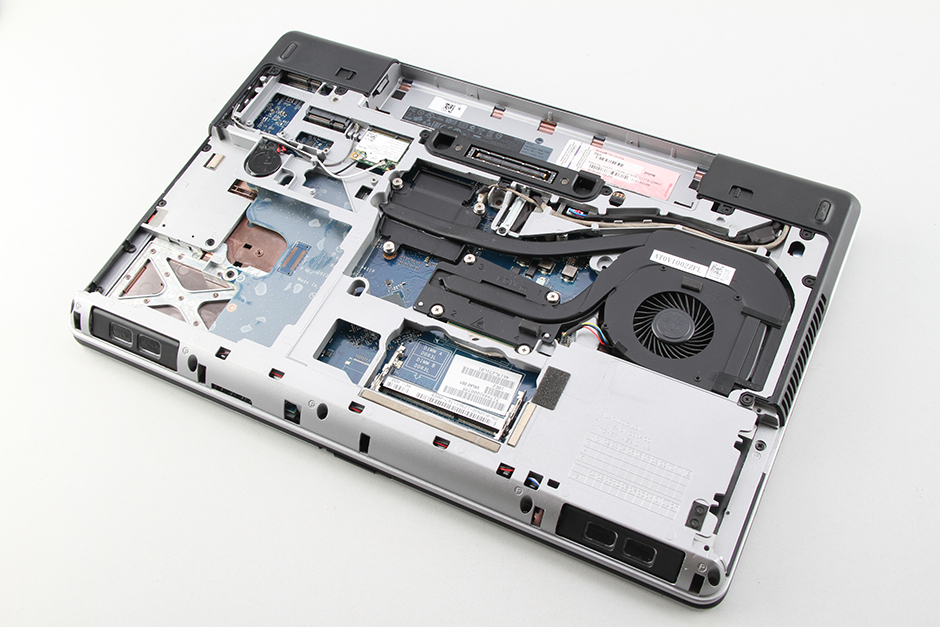
Insert a pry tool under the bottom cover, then slide the pry tool to release the latches on the bottom cover from the palm rest until the bottom cover is completely detached.
Under the bottom case, you can get access to the RAM, CMOS battery, wireless card, and cooling fan.
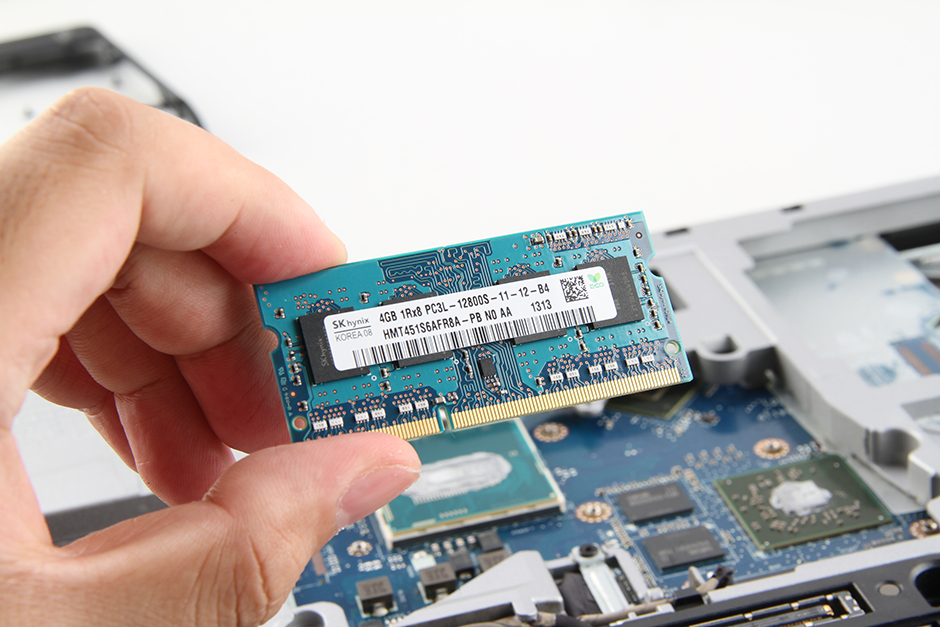
Use your fingernails to separate the clips on both sides, and the memory module will pop out automatically.
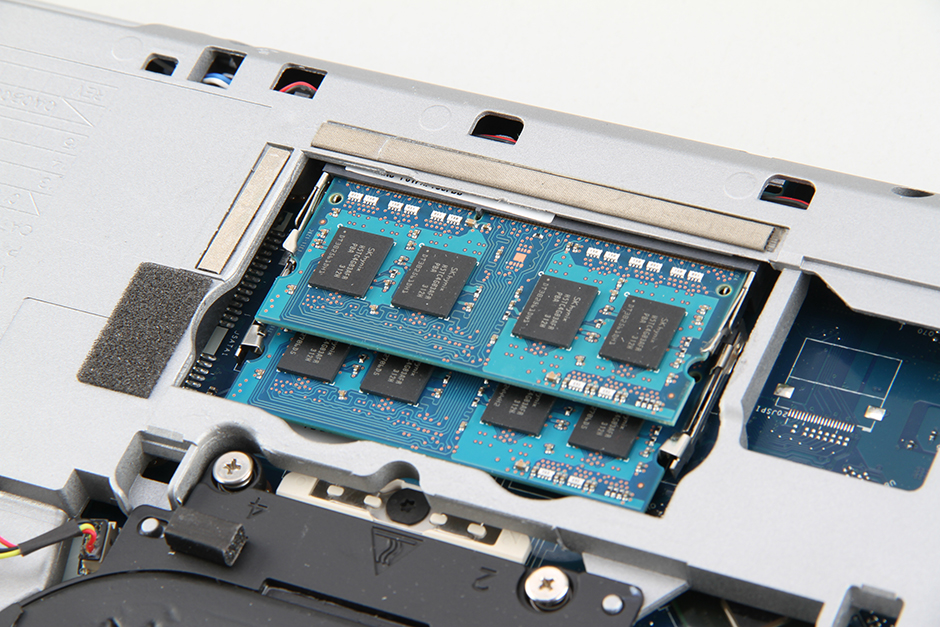
The Dell Latitude E6540 comes with two SK Hynix 4GB DDR3L-12800S memory modules.
Remove the screw securing the wireless network card and disconnect the two antenna cables. You can remove the wireless network card.
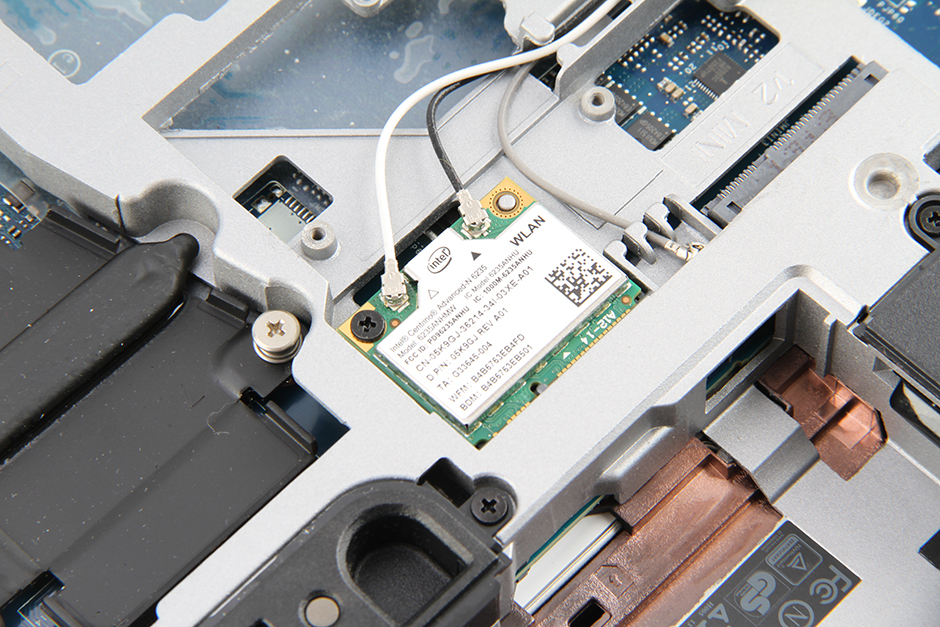
The laptop features an Intel Centrino Advanced-N 6235 wireless card, Dell part number: 05K9GJ.

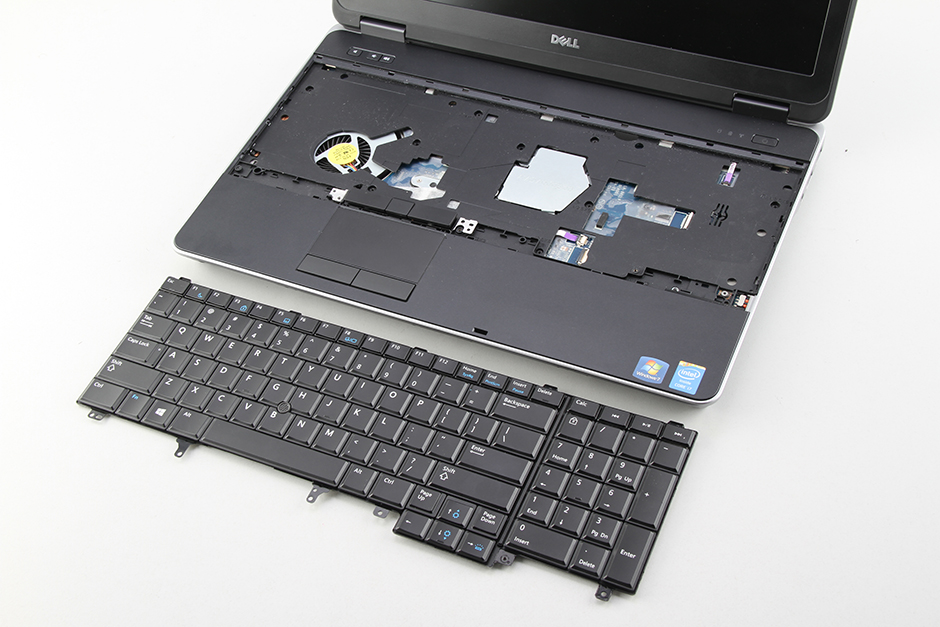
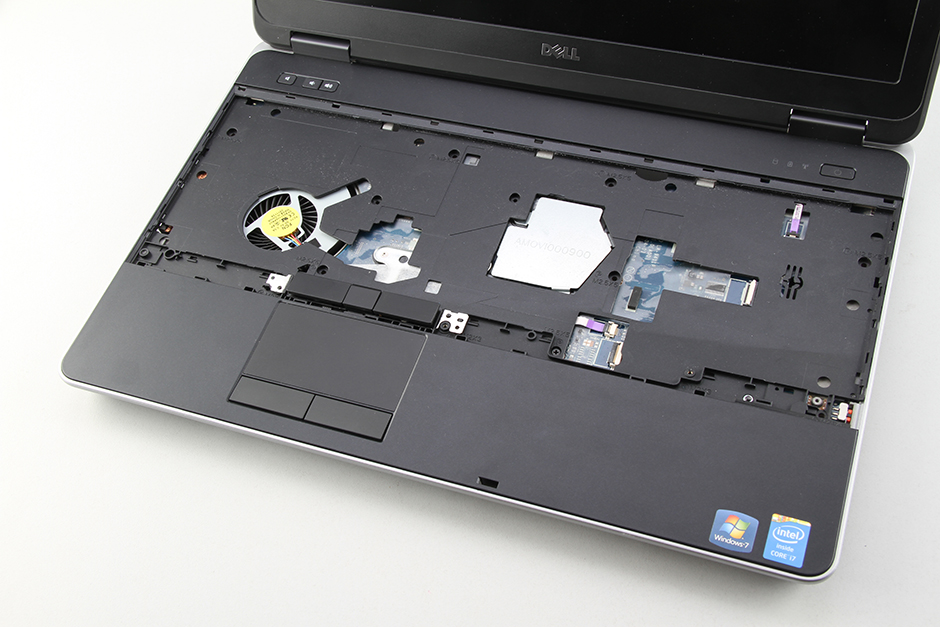
Turn over the laptop. Remove all screws securing the keyboard, lift up the keyboard, and disconnect the keyboard cable. You can remove the keyboard.
In the next step, we will remove the heat sink and cooling fan.
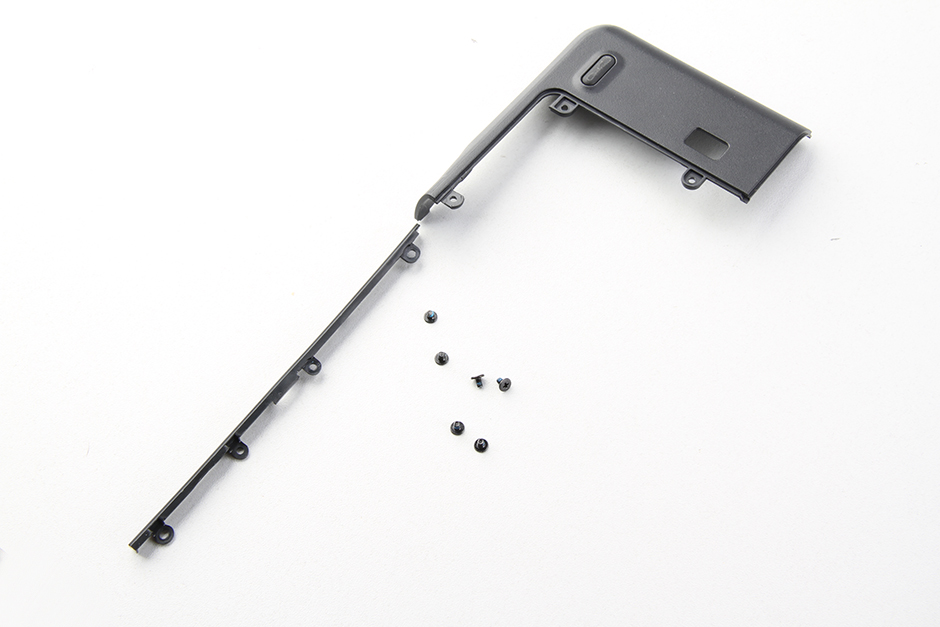
Remove all screws securing the cover and bezel, then remove the cover and bezel on the right side.
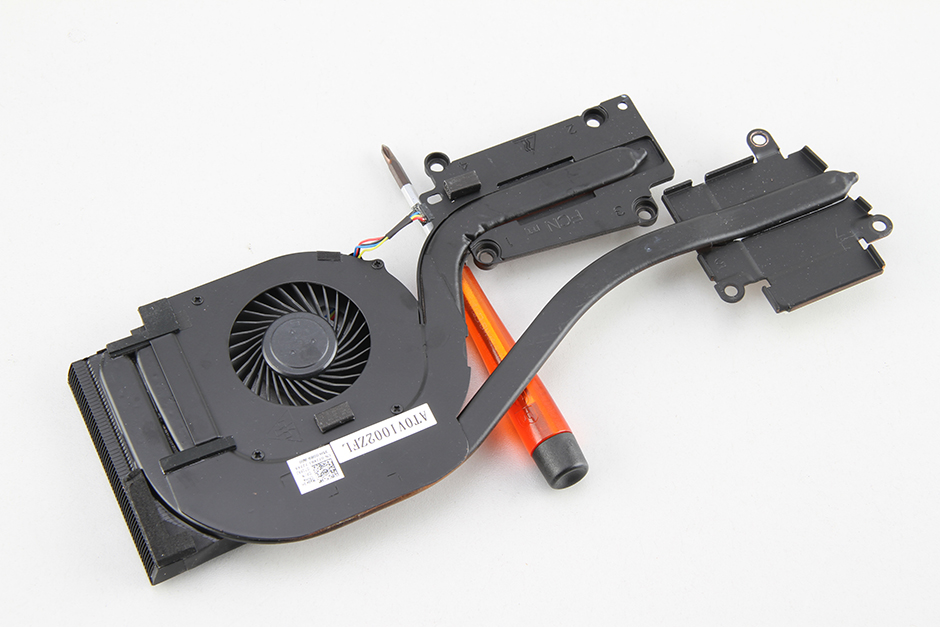
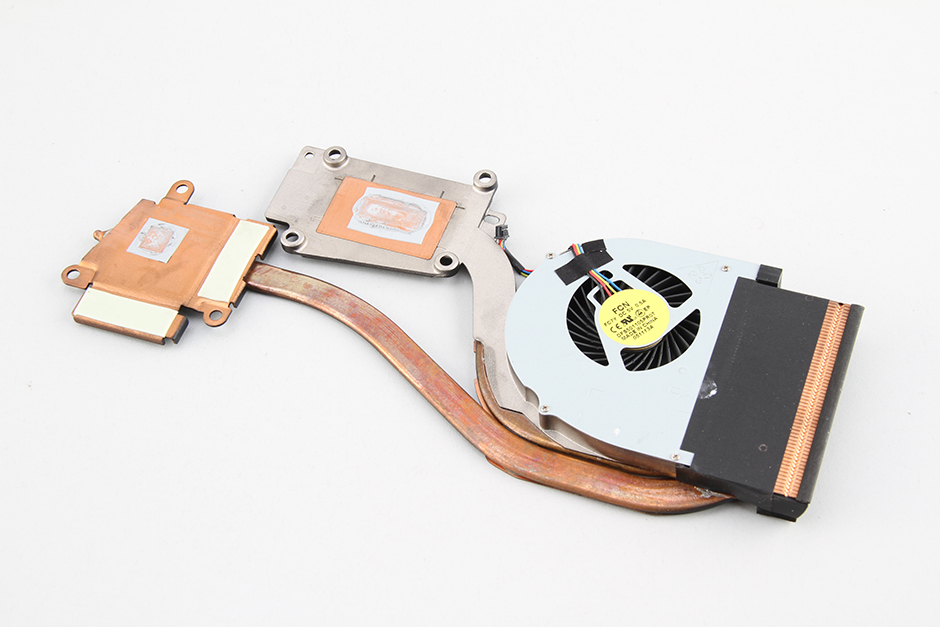
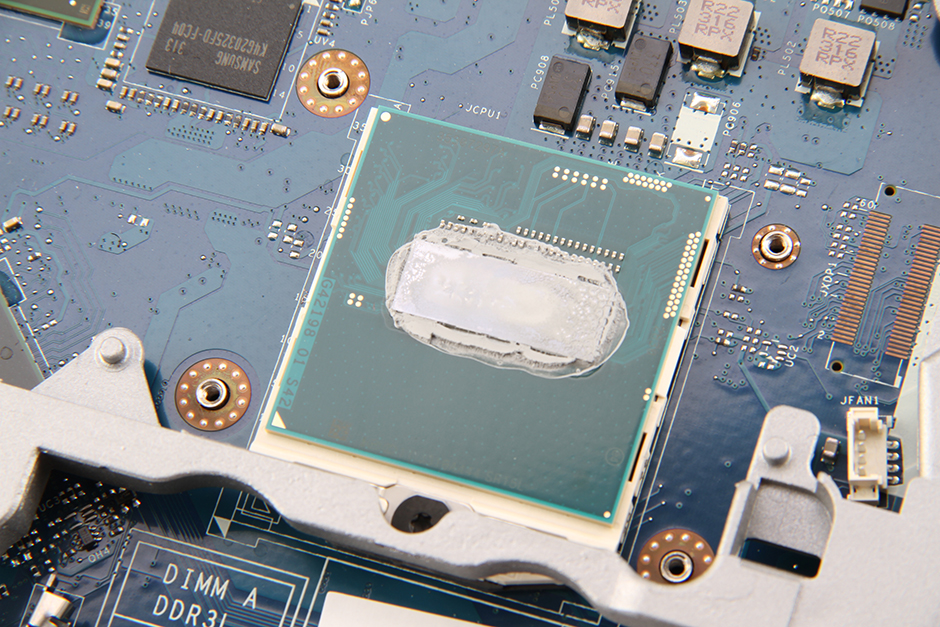
Remove the seven screws securing the heat sink and disconnect the fan cable from the motherboard. You can remove the cooling system.
The graphics card chip in this laptop is directly soldered to the motherboard, so it cannot be upgraded.
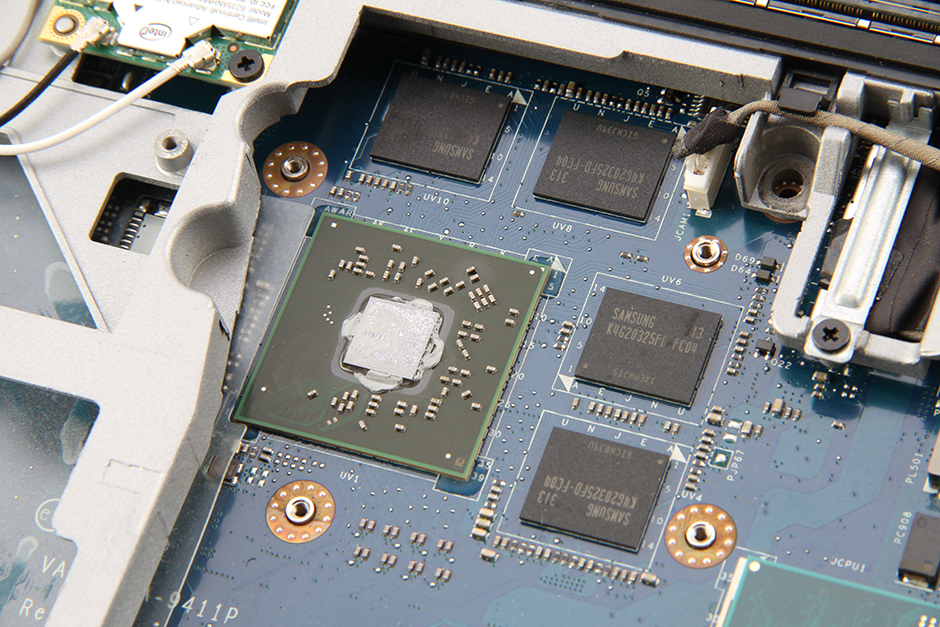
Fortunately, its processor is not soldered onto the motherboard, so you can upgrade the processor if necessary.
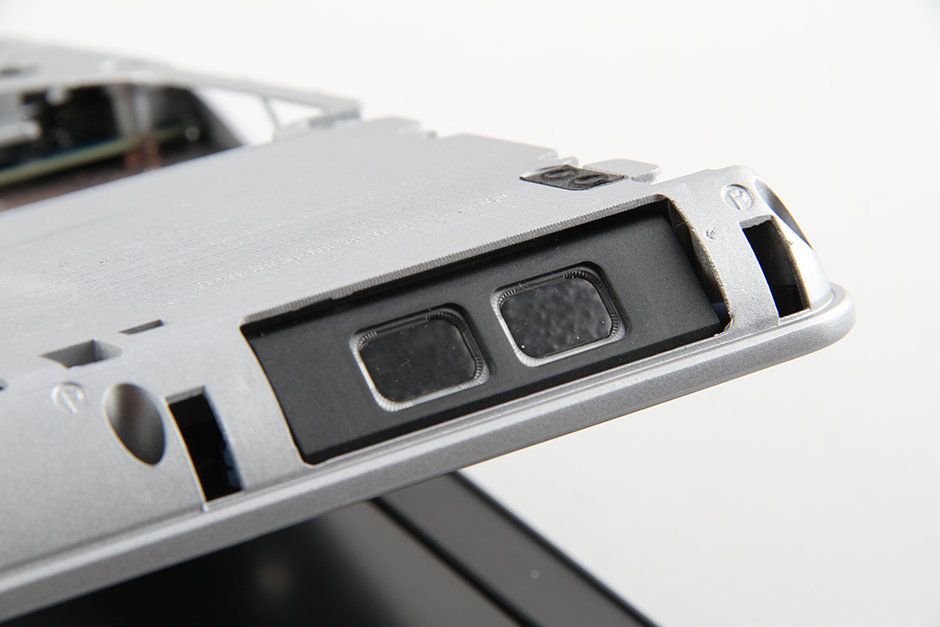
Speaker module
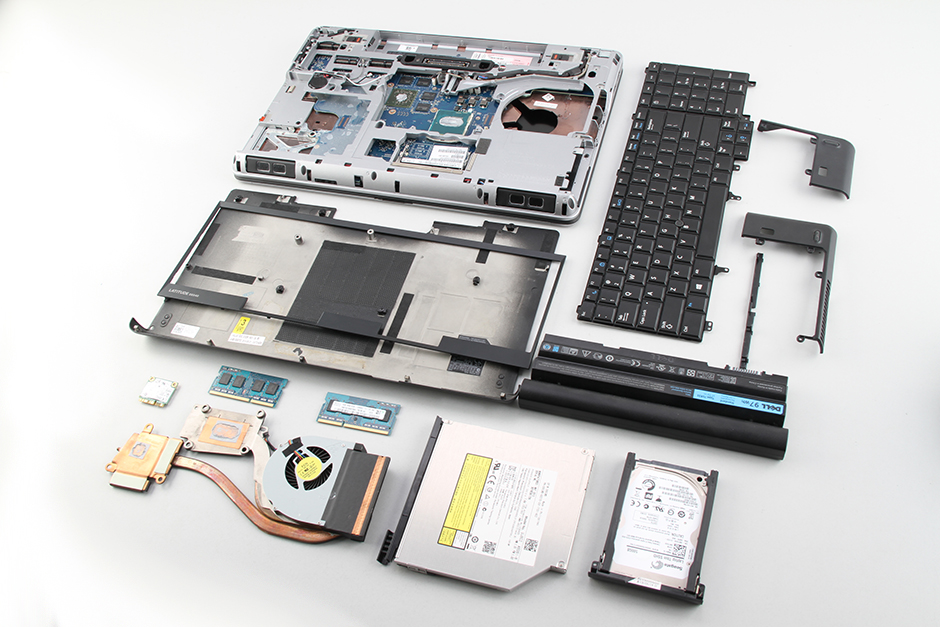
Dell Latitude E6540 internal parts
Nice guide, but it doesn’t show how to remove the part above the keyboard. My power button was pressed in, not forced in; I just pressed it one day, and it stayed down. I’m not sure how to open it to fix just that problem.
Hey, I have the same problem with the Latitude E6540 Power button. It has been pressed down and stayed down. Just wondering if you ever found a fix for it. I would really appreciate it.
Thx
I discovered that it is connected to the motherboard, so the solution is to get another motherboard and replace it, which is a great disadvantage.
I am looking for a solution to this exact problem as well.
Has anyone ever figured out how to disassemble the area where the power button is located?
You forgot to include the screen disassembly. There are no external screws on the display bezel of this model, so removing the screen can be a bit tricky.
Can you write the remove screen process and publish it on our website?
How do you remove the bottom cover?
And must you remove the DVD drive first? (IT installed the screw in the DVD drive’s eject button, thus not allowing the entire drive to be removed.)
My laptop doesn’t have an AMD graphics card (only Intel).
Can I upgrade to an AMD Radeon 8790M graphics card?
The graphics can not be upgraded.
Thank you