In this guide, I will explain how to disassemble the HP Envy 14-U000 to remove the DVD drive, hard drive, RAM, keyboard, palm rest, touchpad, wireless card, heat sink, cooling fan, speakers, and motherboard.
Step 1: Remove the battery
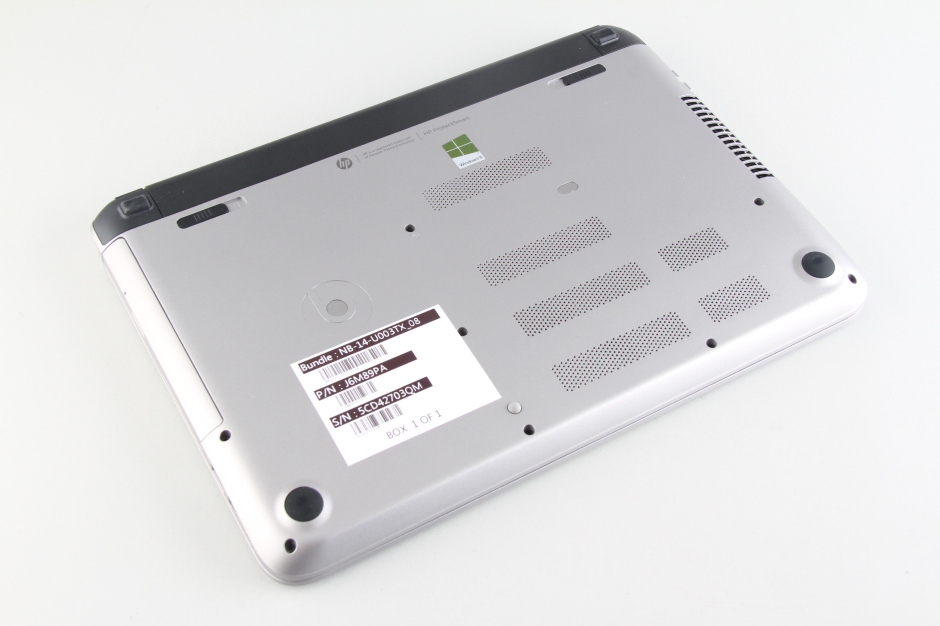
As can be seen from the white sticker, the laptop model is HP Envy 14-U003tx.
Slide the battery switch to the right, then slide the battery down and remove it.
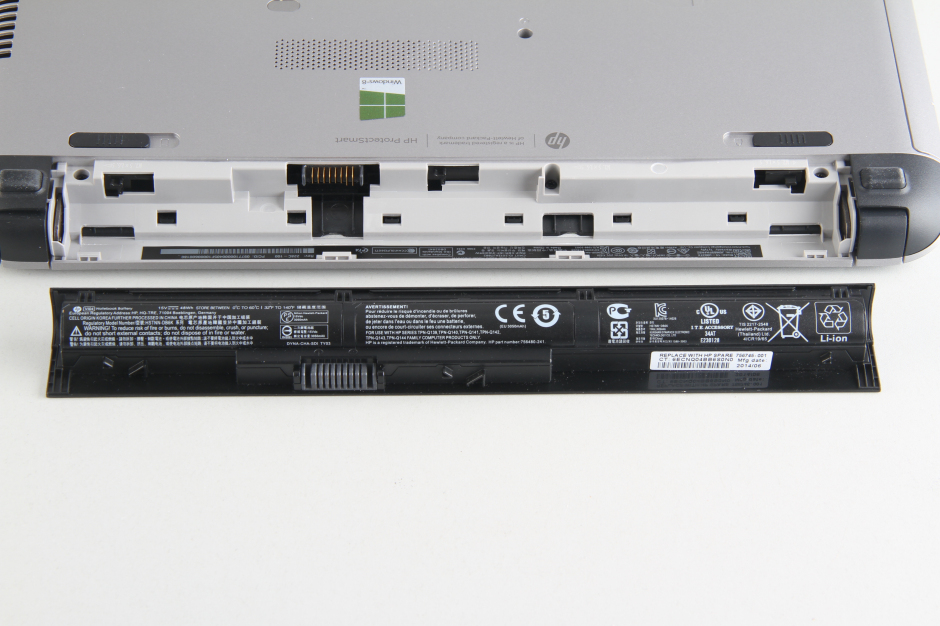
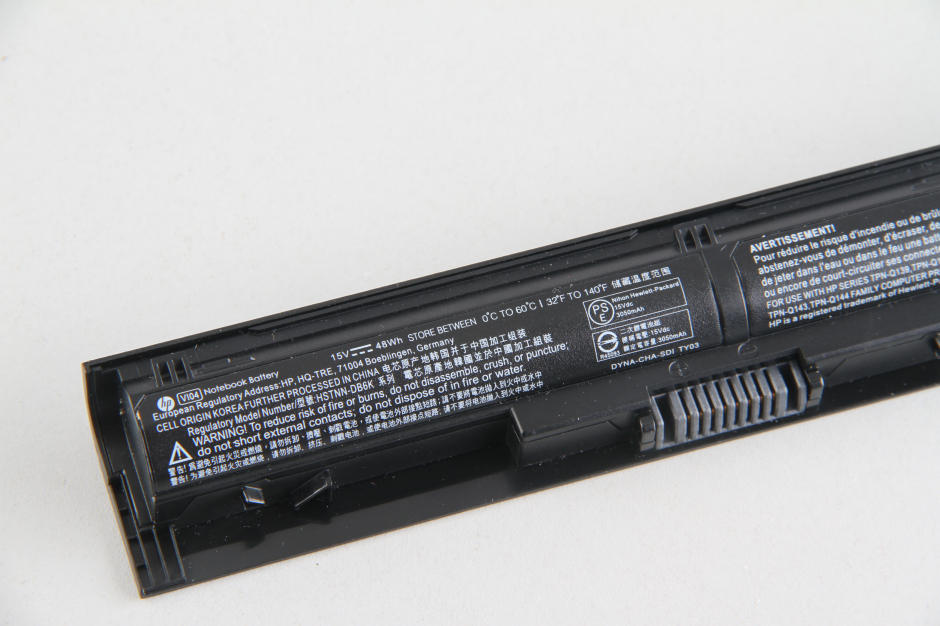
The laptop comes with a 48Wh Li-ion battery. The HP part number is HSTNN-DB6K, and the cells are made in Korea, maybe by Samsung or LG.
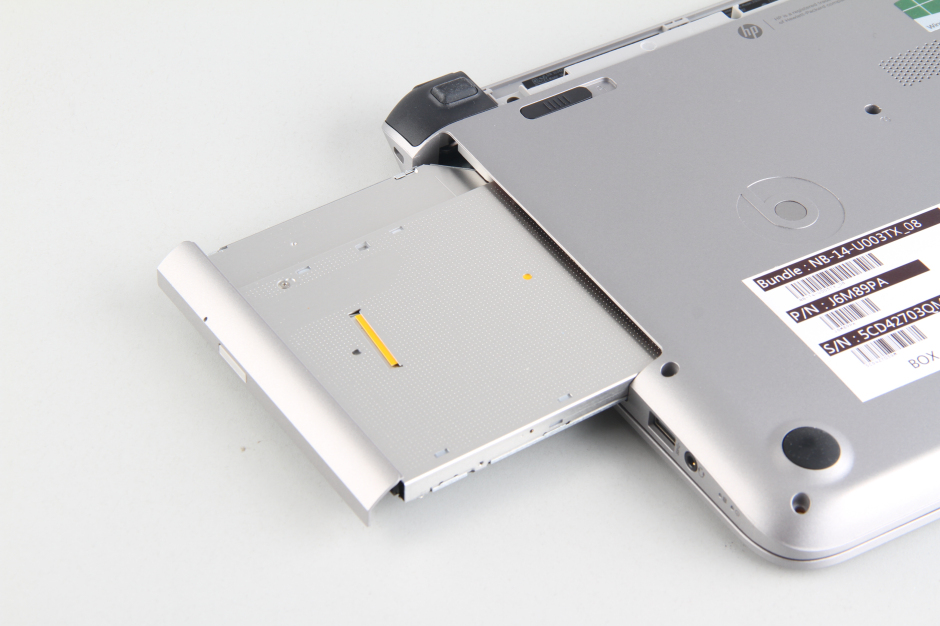
Step 2: Remove the DVD drive
Remove the screw securing the DVD drive.
Pull out the DVD drive.
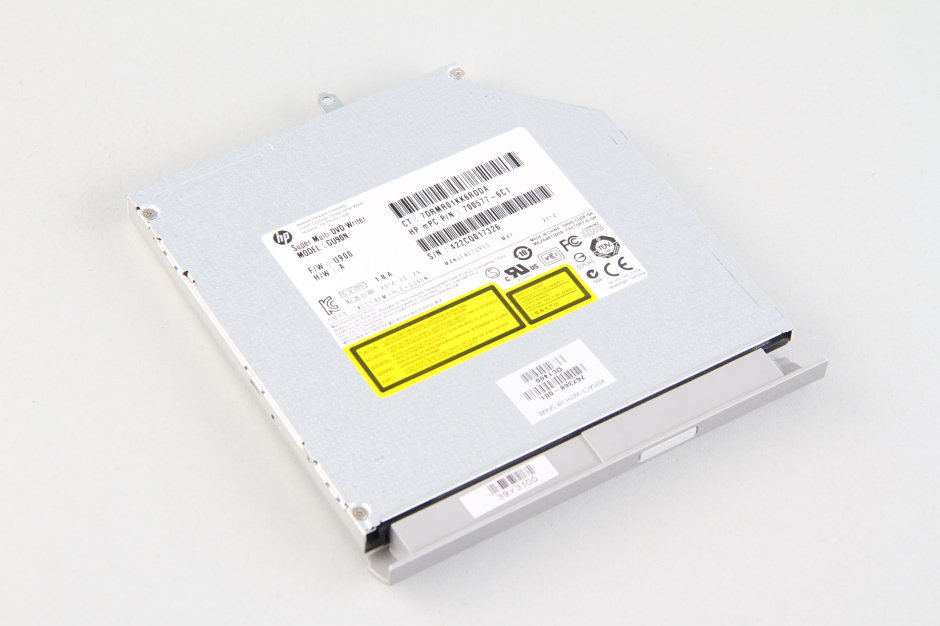
The HP Envy 14-U000 comes with an HL-DT-ST GU90N 9.5mm DVD burner.
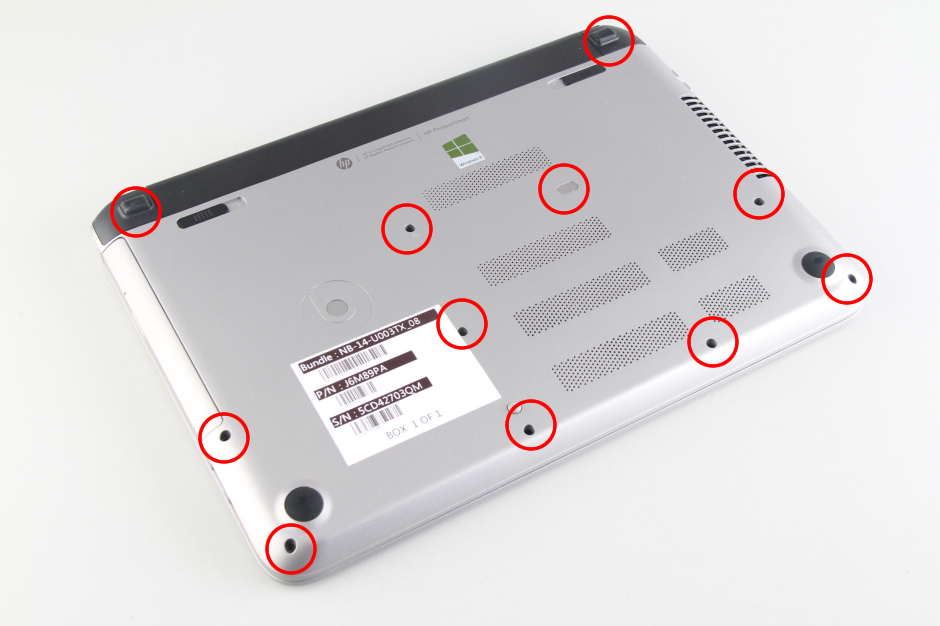
Step 3: Remove the hidden screws
Remove all screws from the bottom cover.
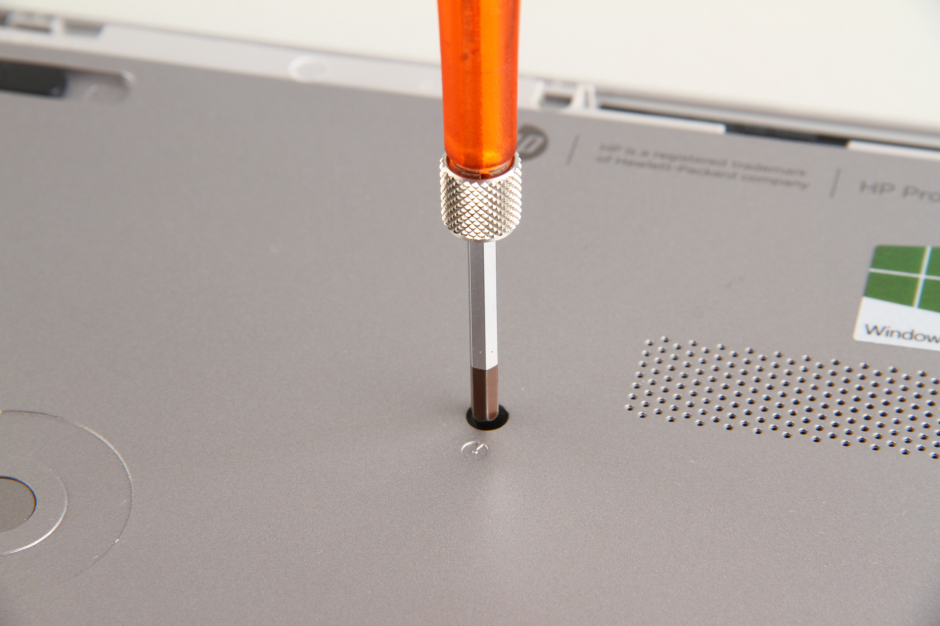
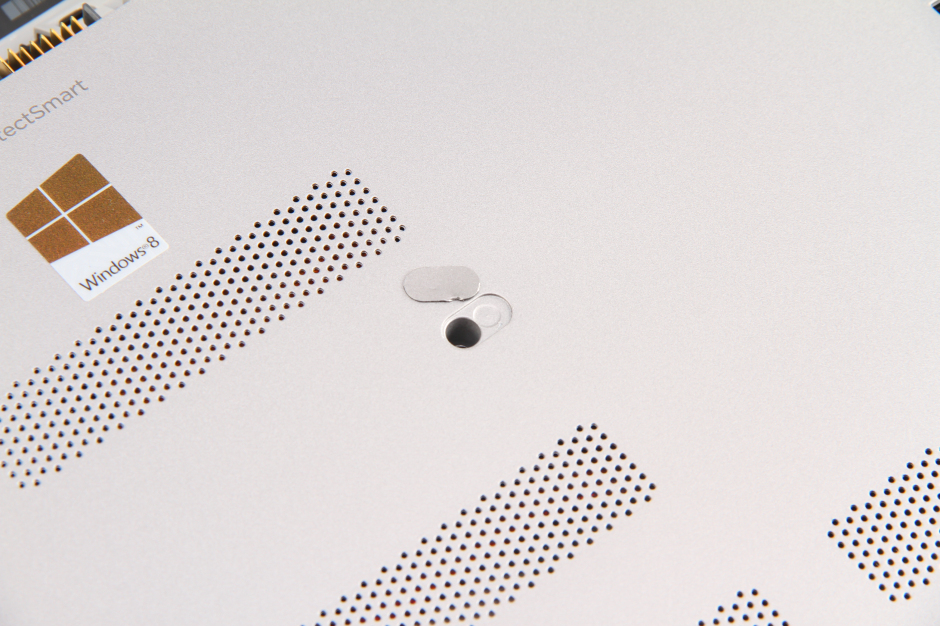
Remove the rubber pad.
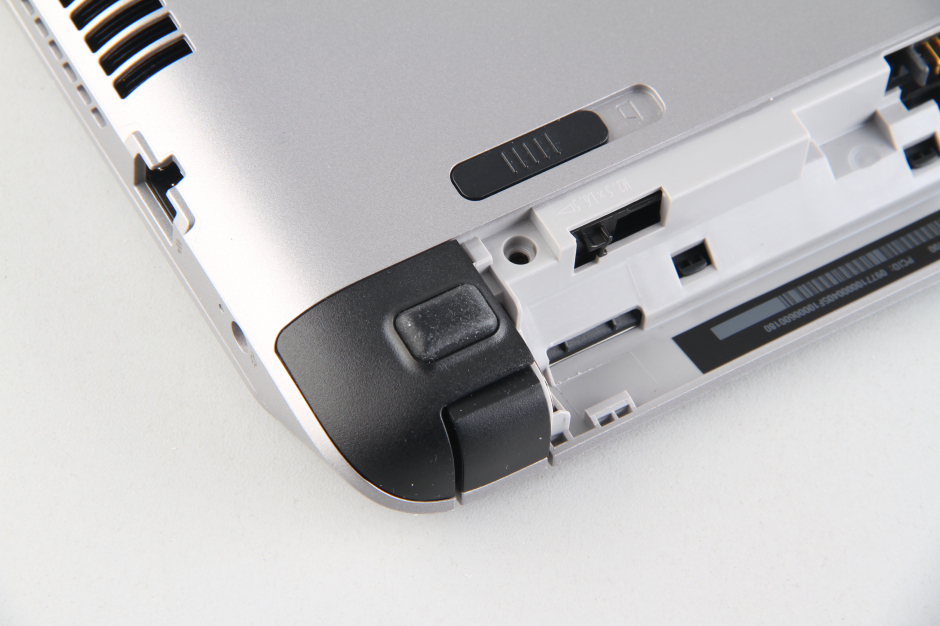
Under the rubber pad, you can find a hidden screw.
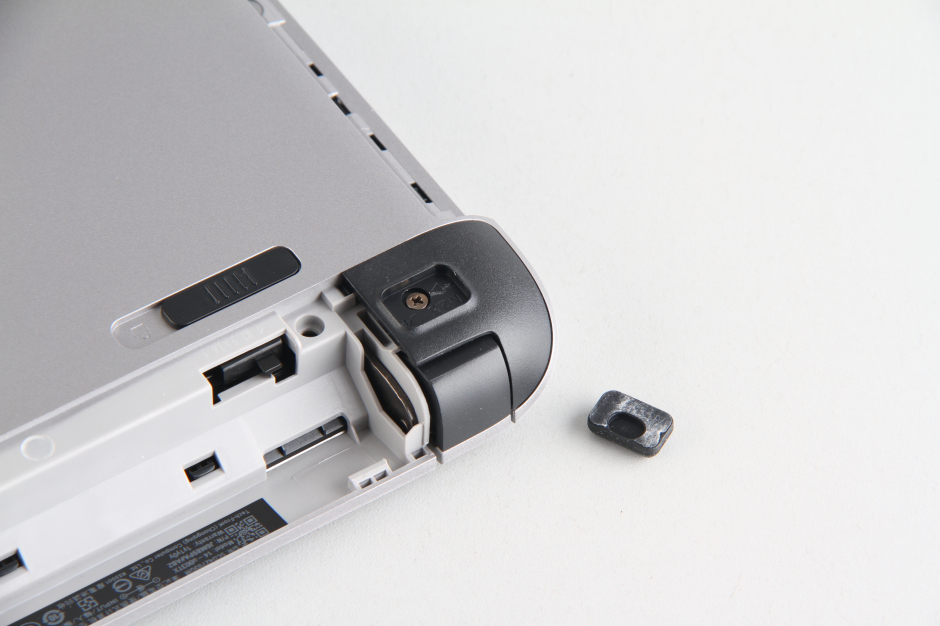
Remove the plastic cap. You can find another screw and remove it.
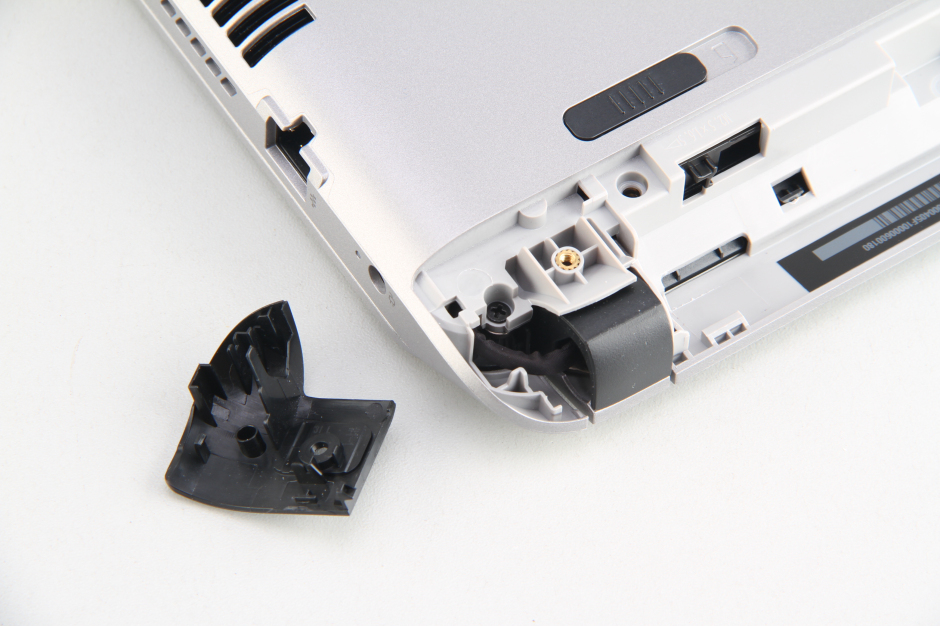
Remove this hidden screw.
Step 4: Remove the palm rest
Insert a plastic pry tool between the bottom cover and the palm rest. The palm rest has many clips, and you need to slide the pry tool to release the clips in order to fully detach the palm rest from the laptop.
The palm rest has been removed, and you can remove and replace the keyboard and touchpad on the back of the palm rest.
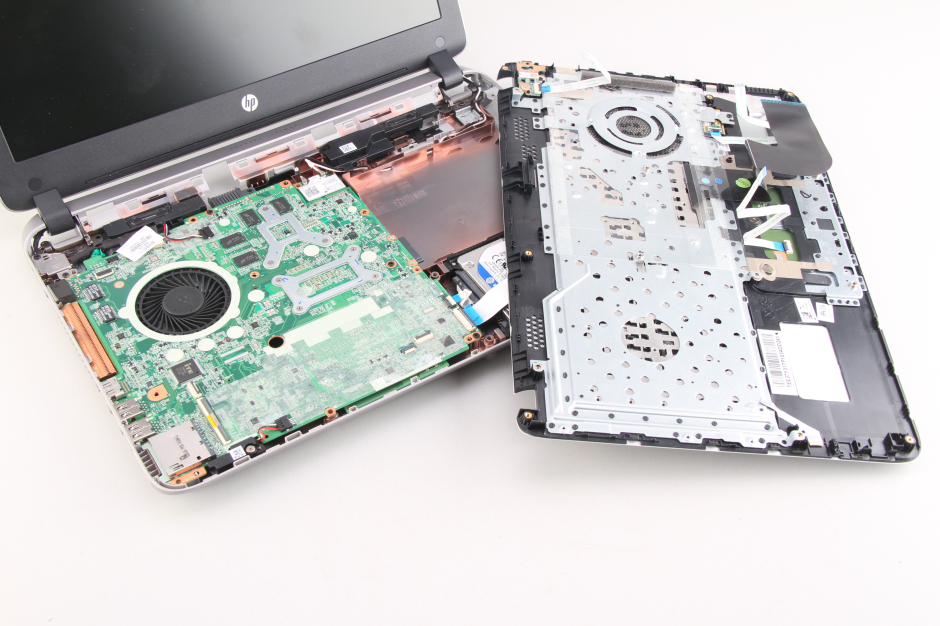
Under the palm rest, you can access the hard drive, speakers, and motherboard.
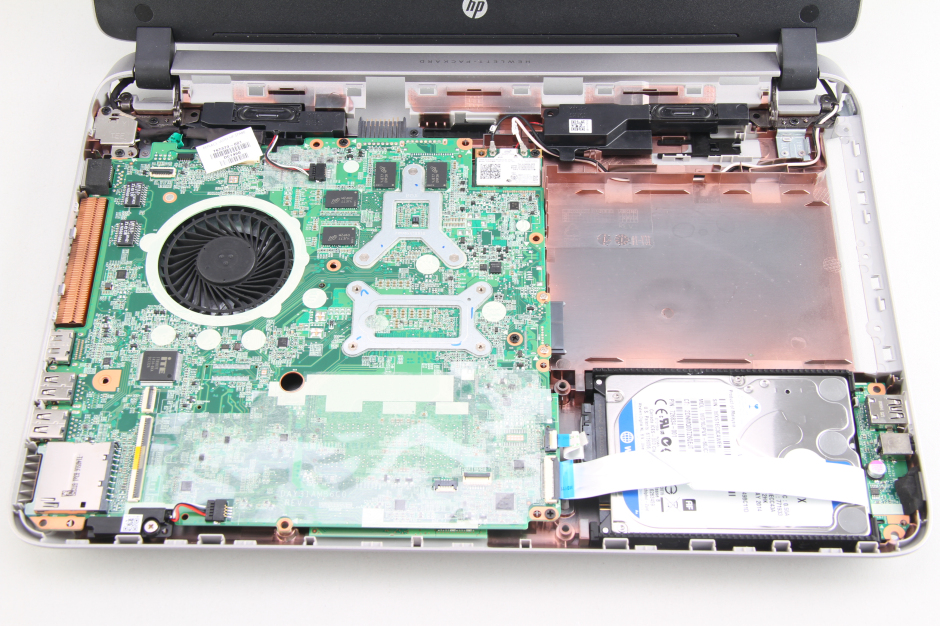
Step 5: Remove the hard drive
Disconnect the white cable that covers the hard drive.
Disconnect the HDD cable from the motherboard and remove the hard drive module.
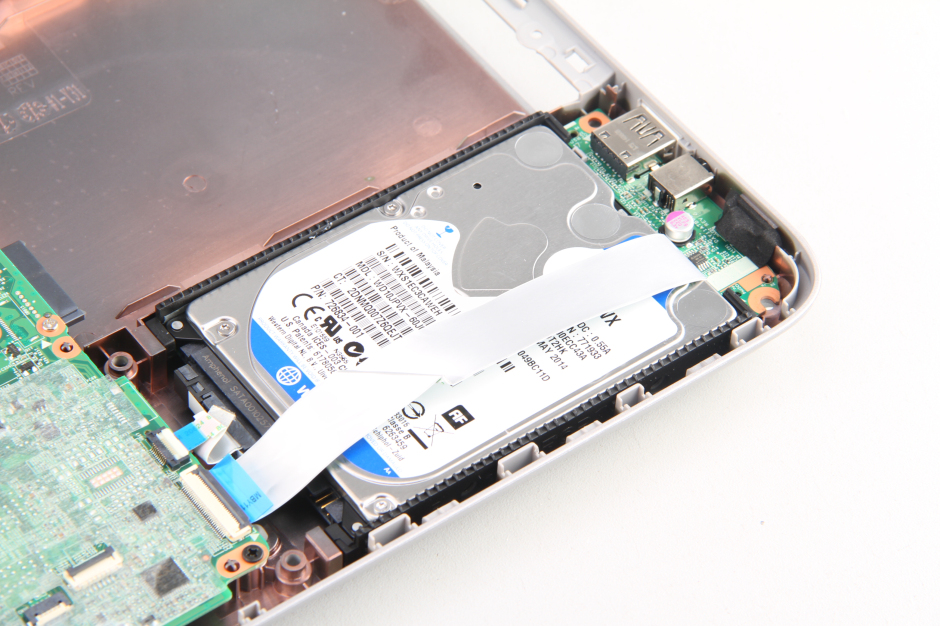
The HP Envy 14-U000 comes with a Western Digital 1TB hard drive.

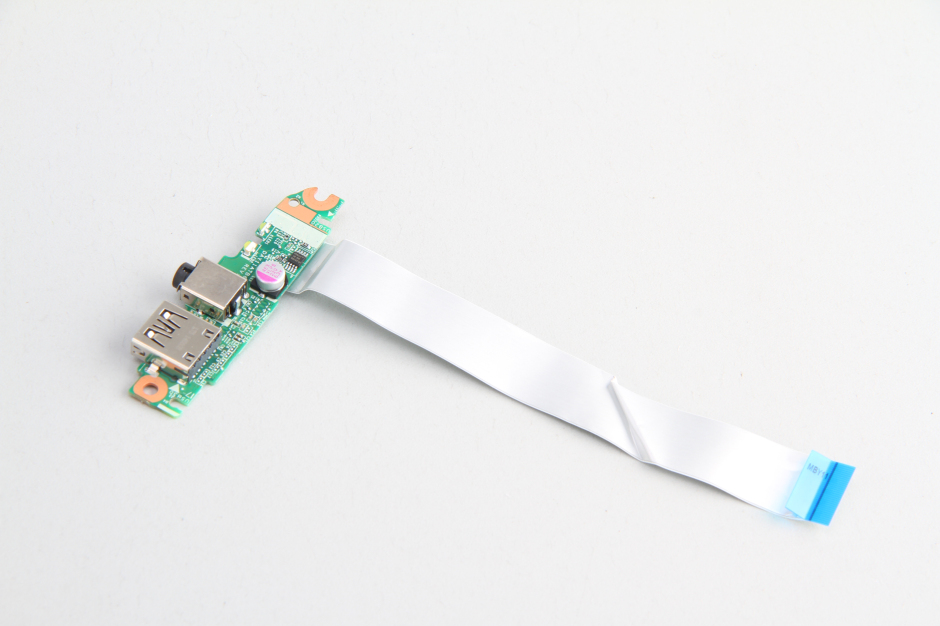
USB board.
Step 6: Remove the wireless card
Disconnect the two antennas and remove the screw securing the wireless card. Take it away from its slot.
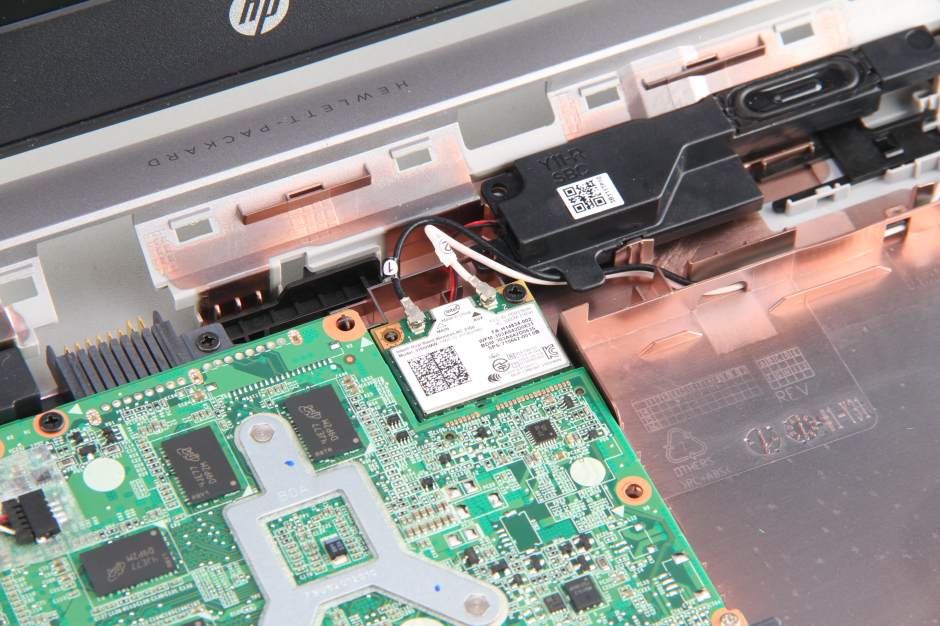
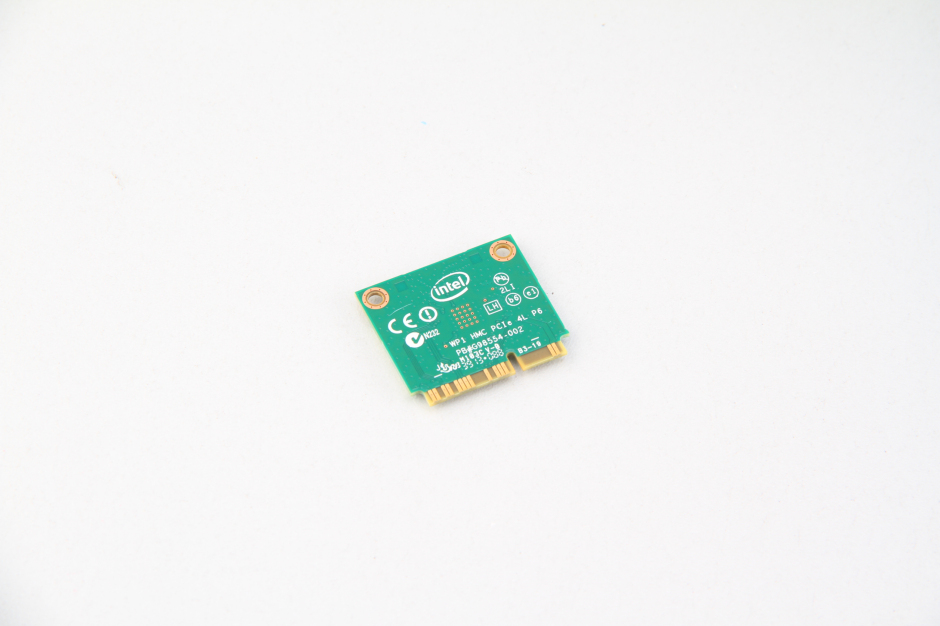
Intel wireless card.
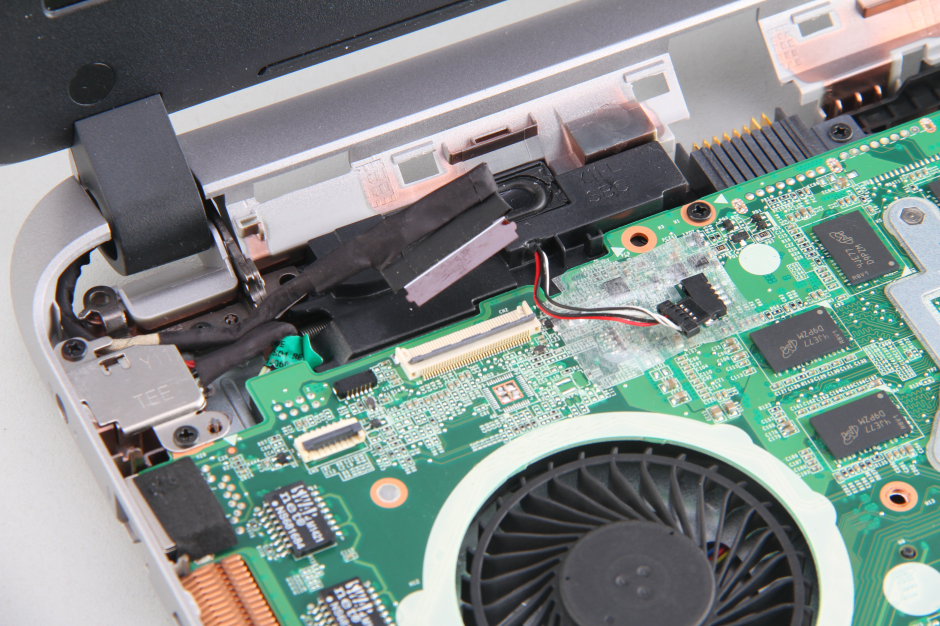
Step 7: Remove the motherboard
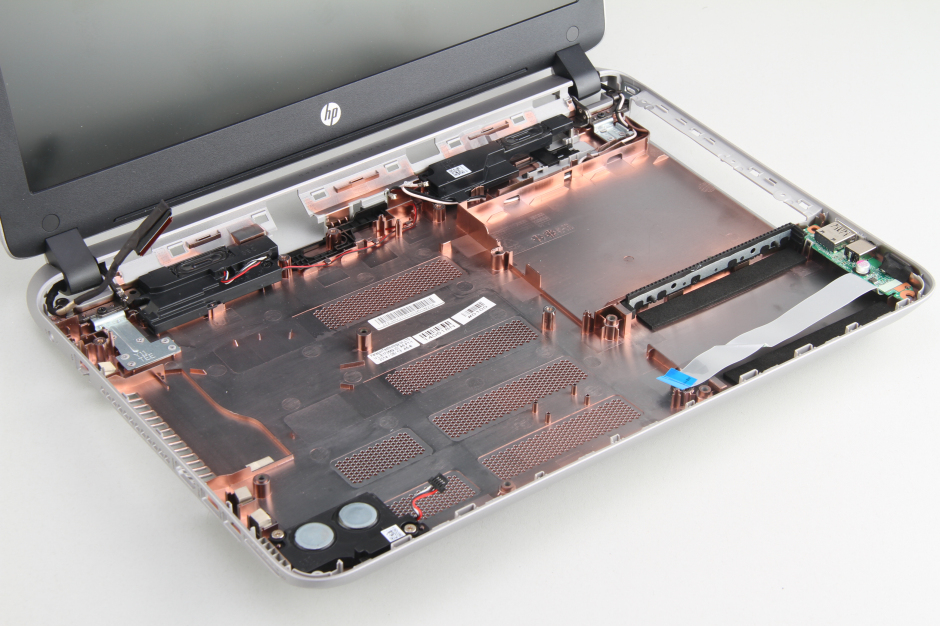
Disconnect the LCD cable and speaker cables. Remove the five screws securing the motherboard. You can remove the motherboard.
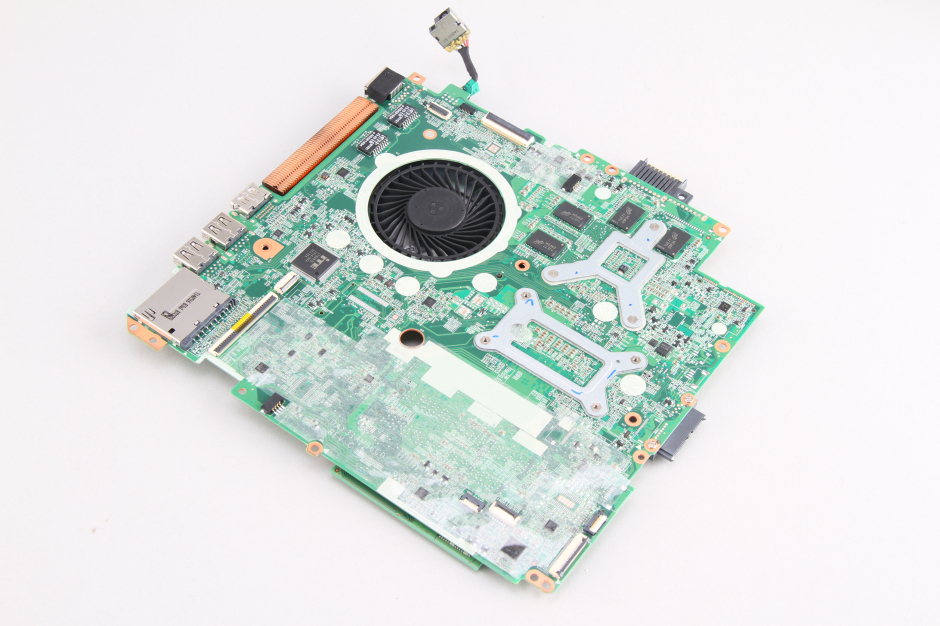
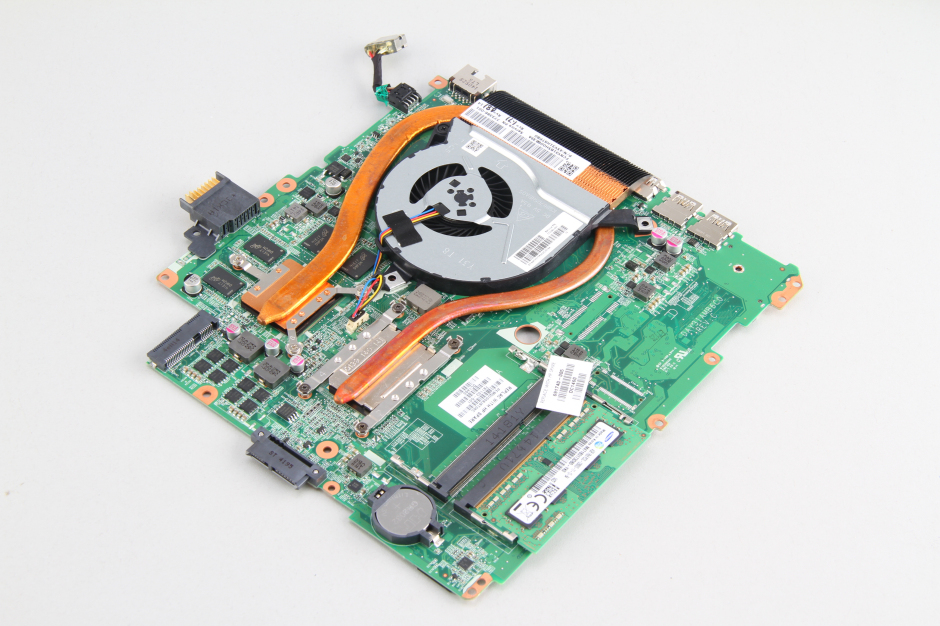
The motherboard has been removed.
Step 8: Remove the RAM
Use your nails to pry the clips apart on both sides of the memory module, and the memory module will pop out automatically.
The memory has been removed.

Step 9: Remove the heat sink and cooling fan
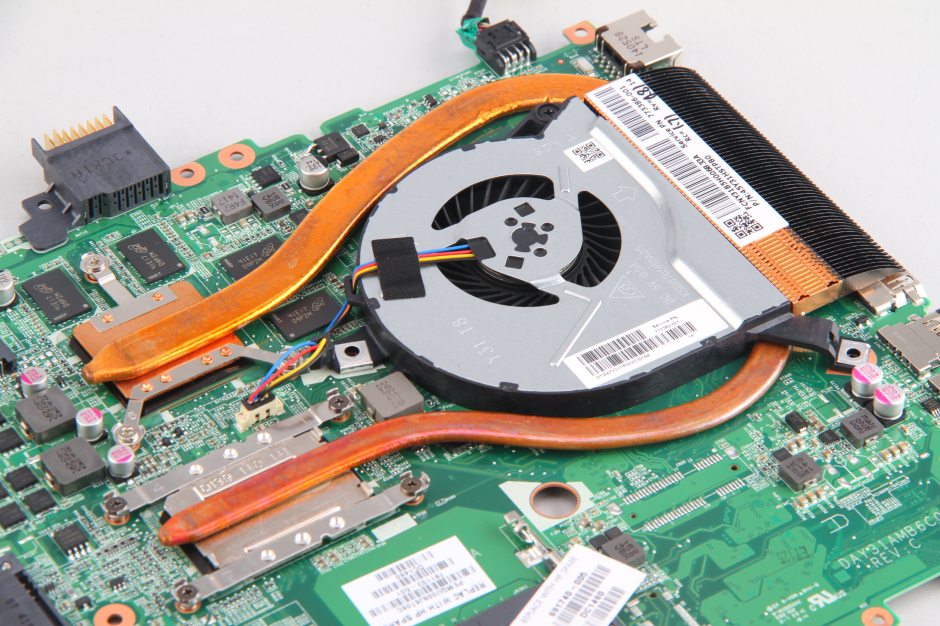
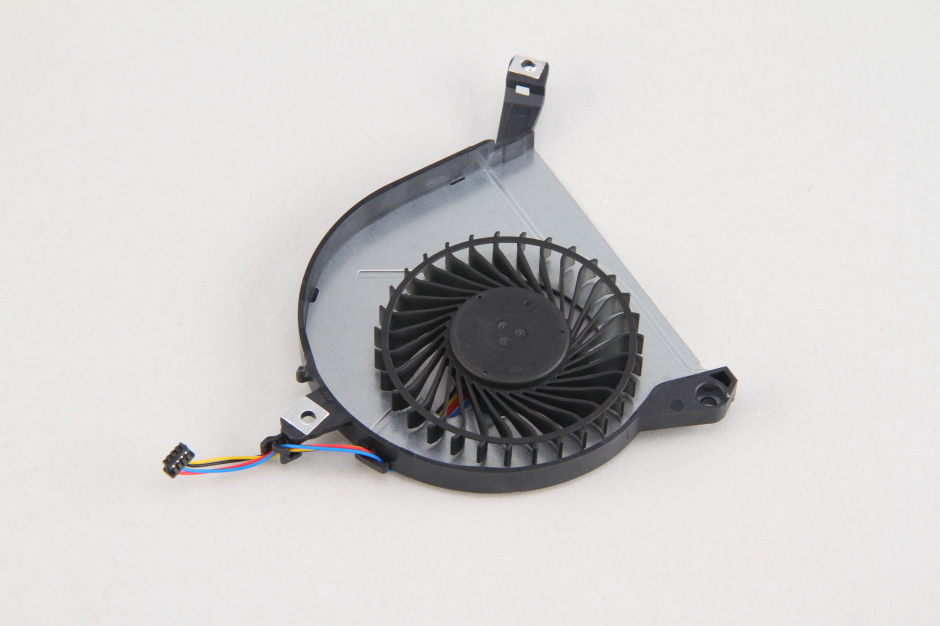
Disconnect the cooling fan cable from the motherboard and remove the screws securing the cooling fan.
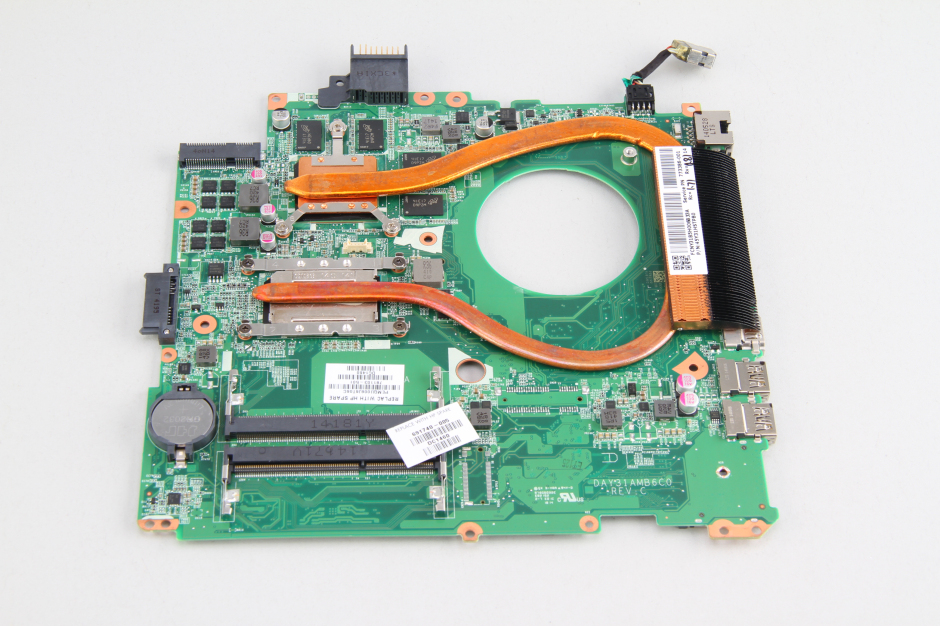
The cooling fan has been removed.
Loosen the seven screws securing the heat sink, then remove it.
Heat sink
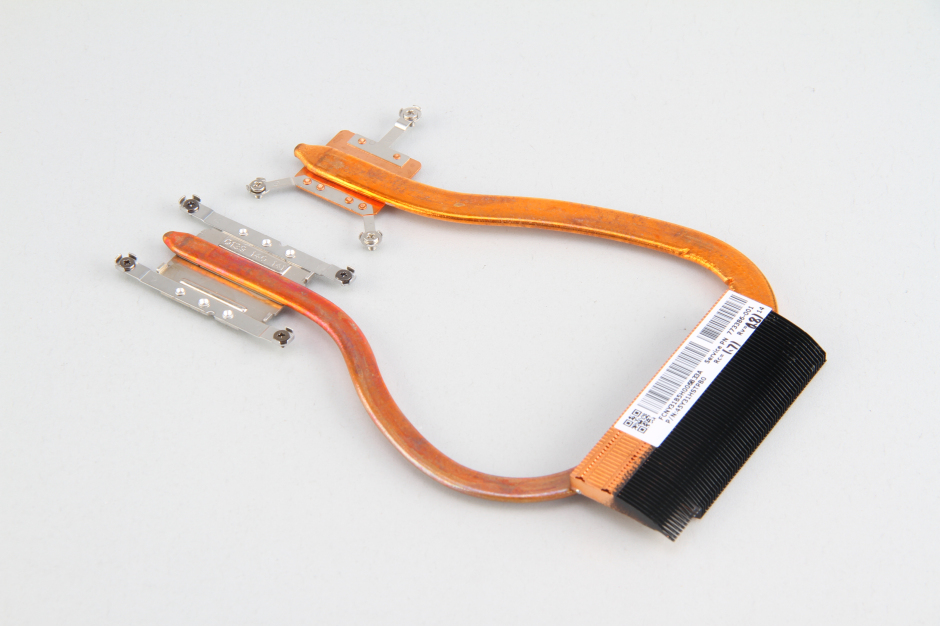
Heat sink
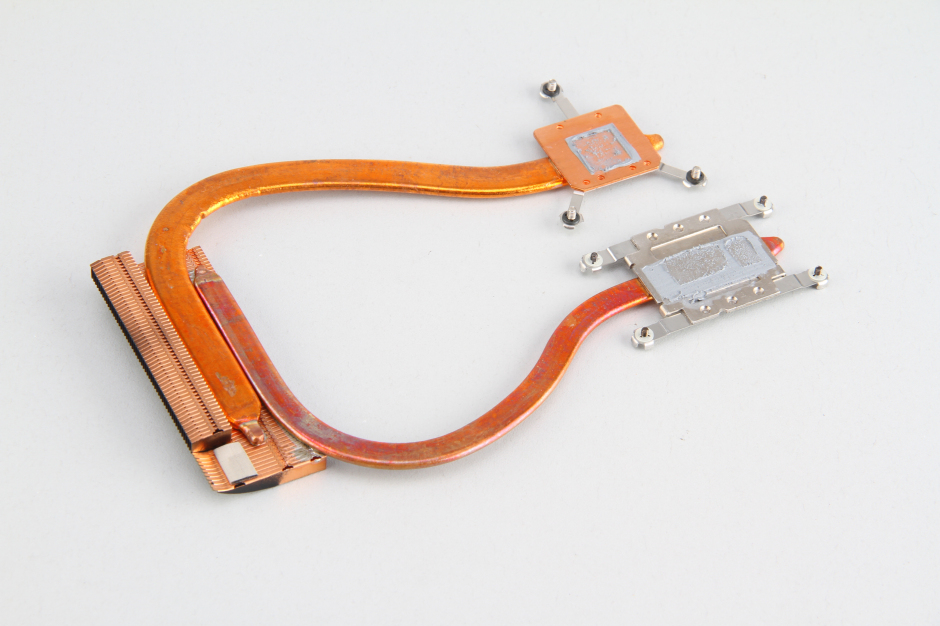
The heat sink and cooling fan have been removed.
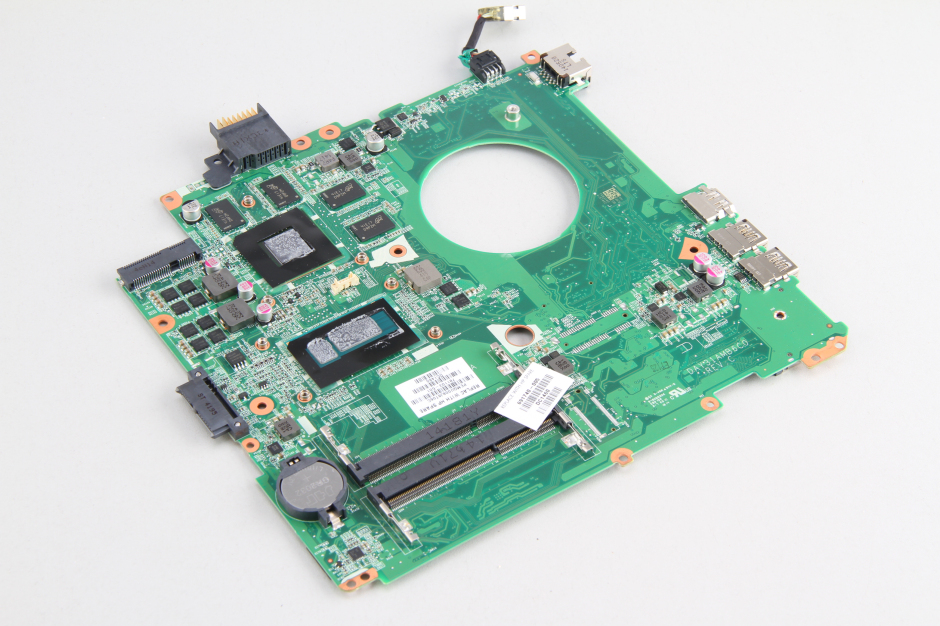
Step 10: Motherboard details
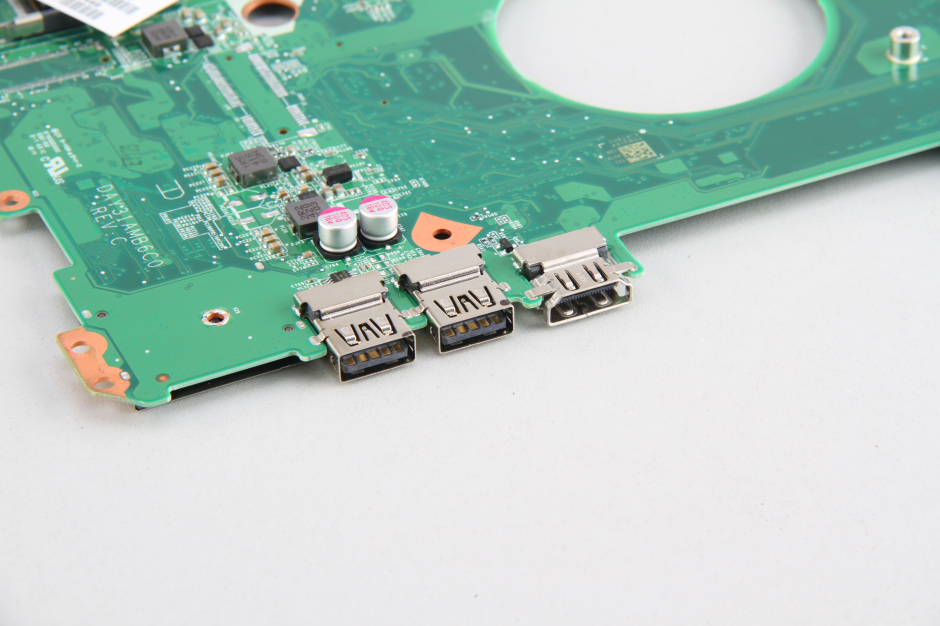
USB ports
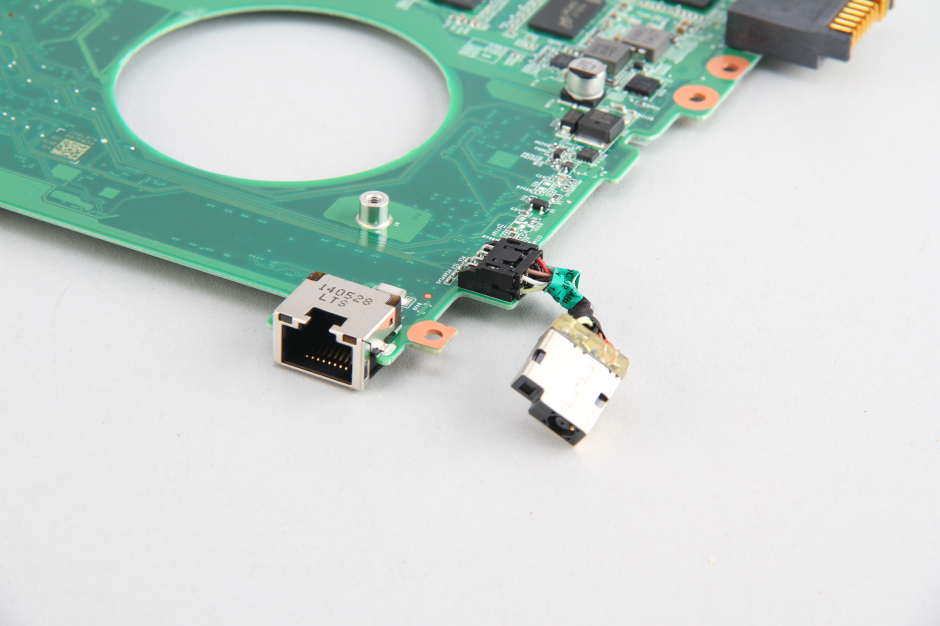
RJ45 port and DC power jack cable
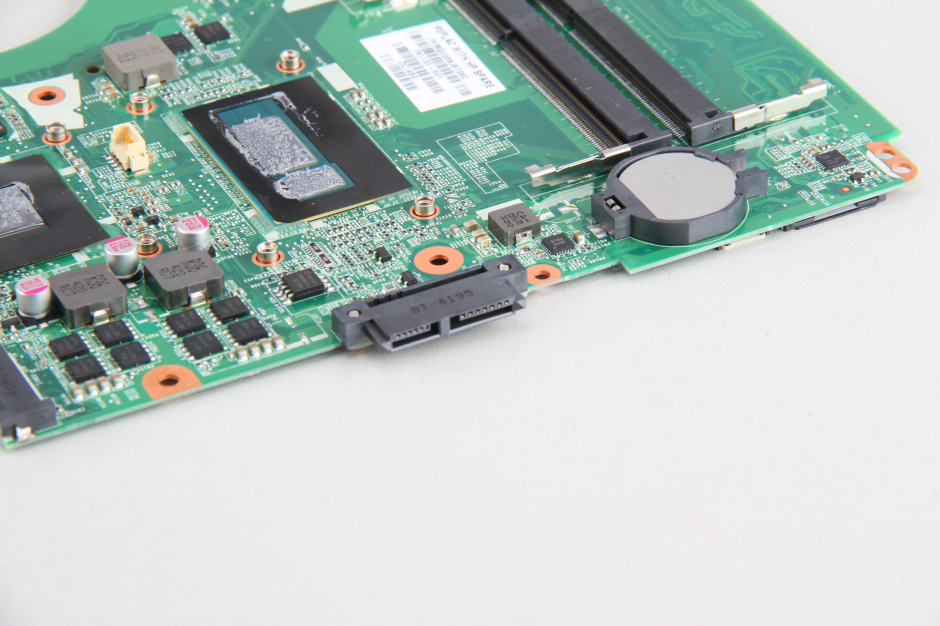
SATA port
Two speakers
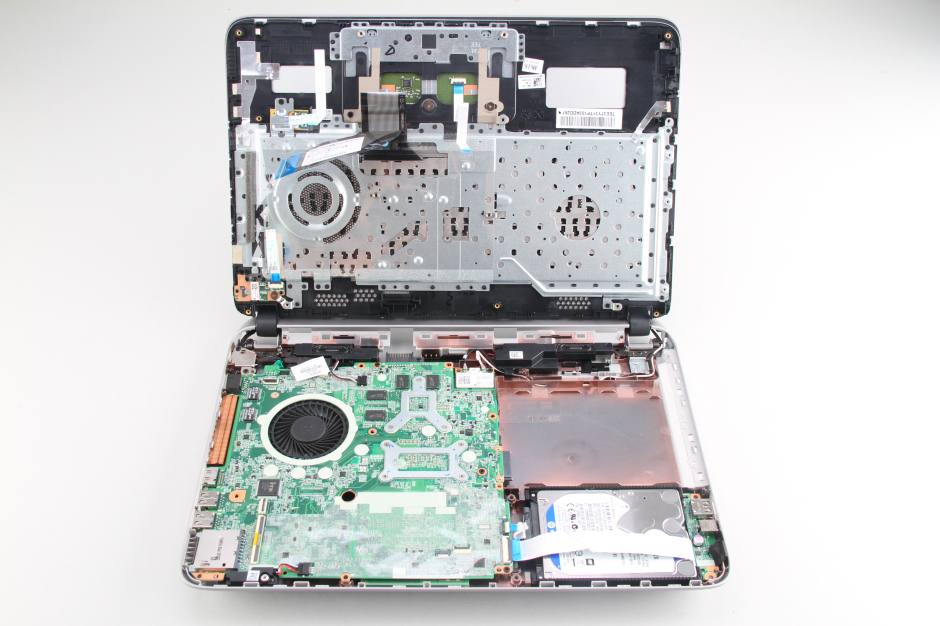
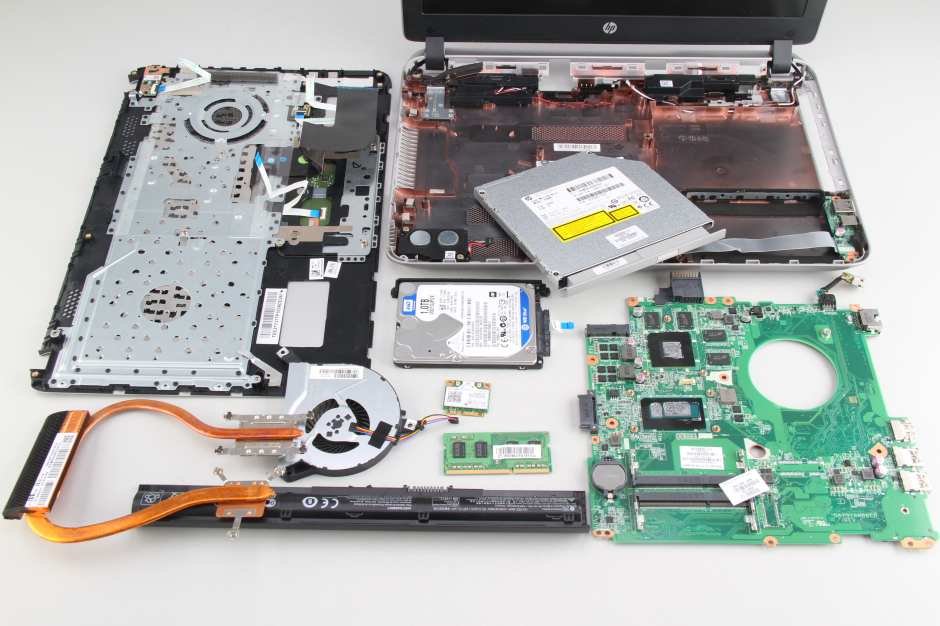
HP Envy 14-U000 internal parts
I really appreciate your takedown. Well done. In the first picture of Step 9, am I looking at the CPU and a discrete GPU (possibly an 840M or something else) attached to the two heat pipes?
-Saint Alfrond de Medici