
HP Laptop
HP Pavilion DV6 Disassembly (Remove Keyboard, Clean Cooling Fan)
In this guide, I will explain how to disassemble the HP Pavilion DV6 to remove the RAM, hard drive, wireless card, keyboard, palm rest, cooling fan, and motherboard.
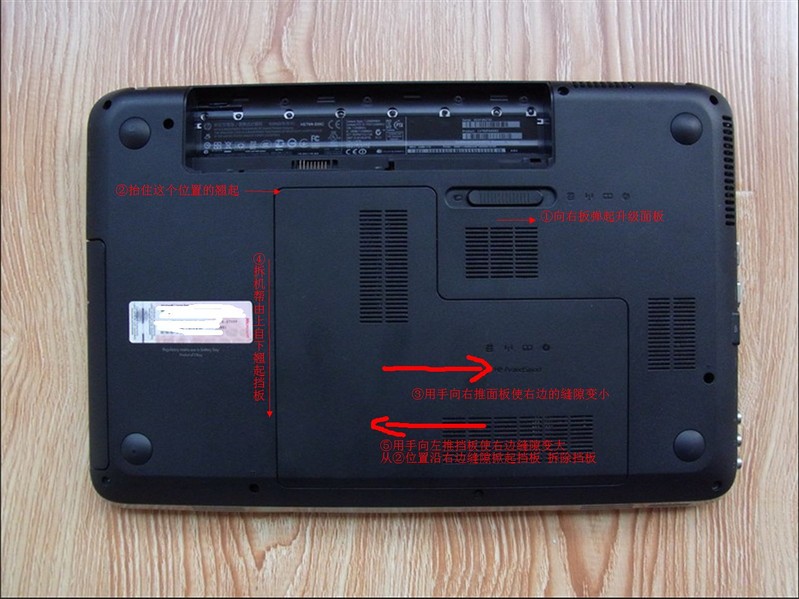
Turn off your laptop. Unlock and remove the battery.
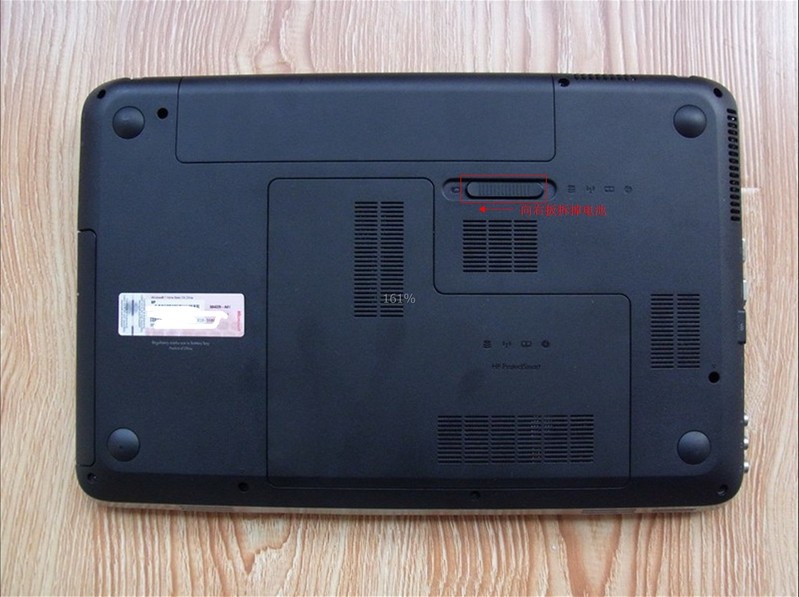
Slide the service cover switch to the left to lift and remove the service cover.
After removing the service cover, you can access the hard drive, RAM, and wireless card.
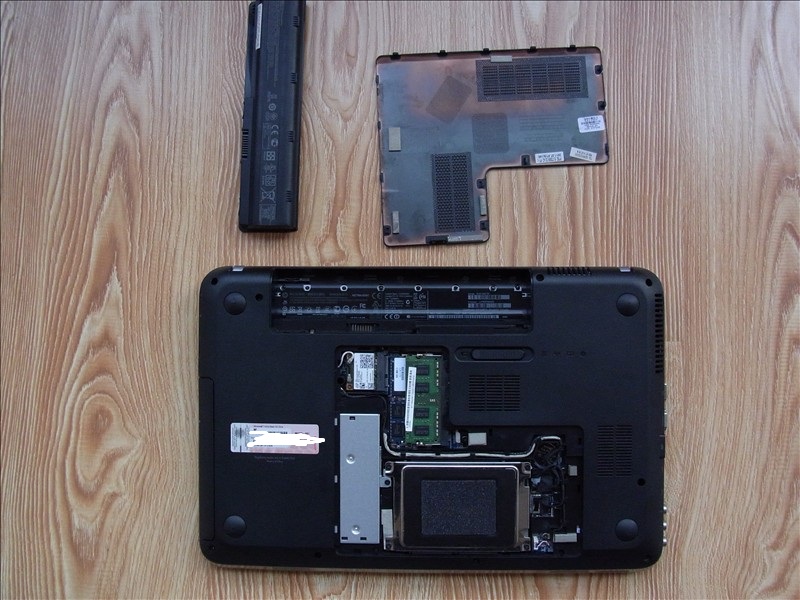
Remove the RAM, hard drive, and DVD drive.
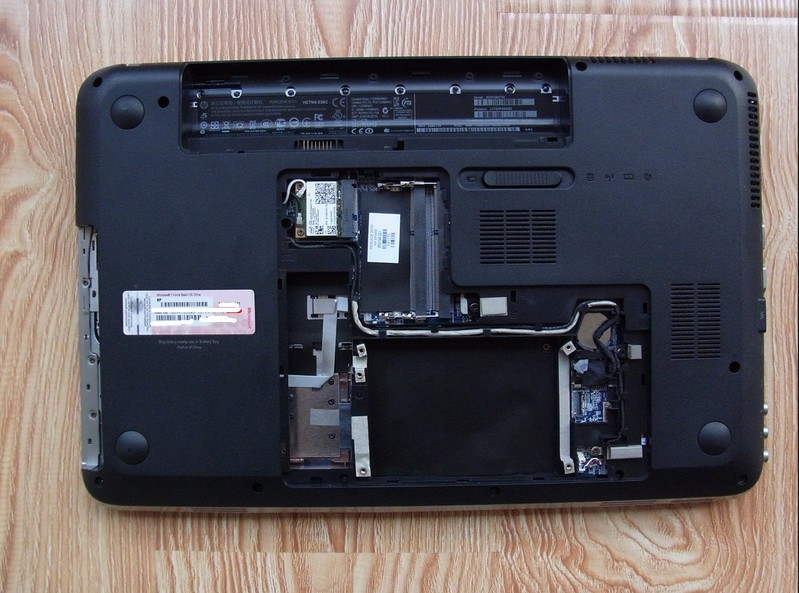
Disconnect the two antenna cables, remove the two screws, and then remove the wireless card.
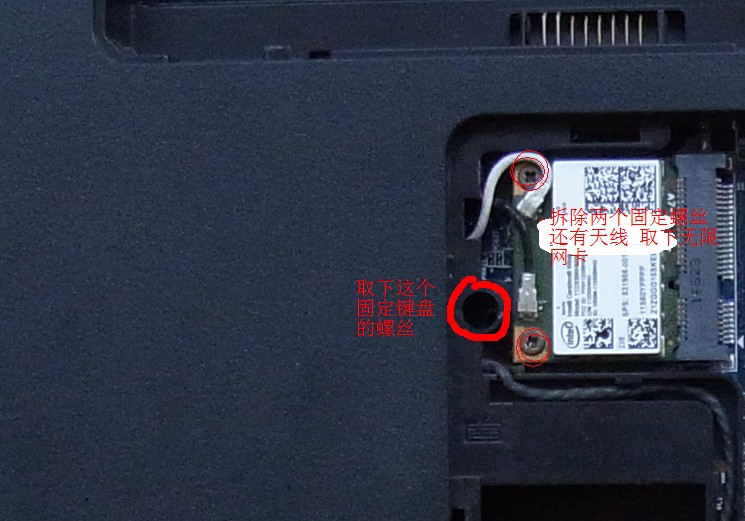
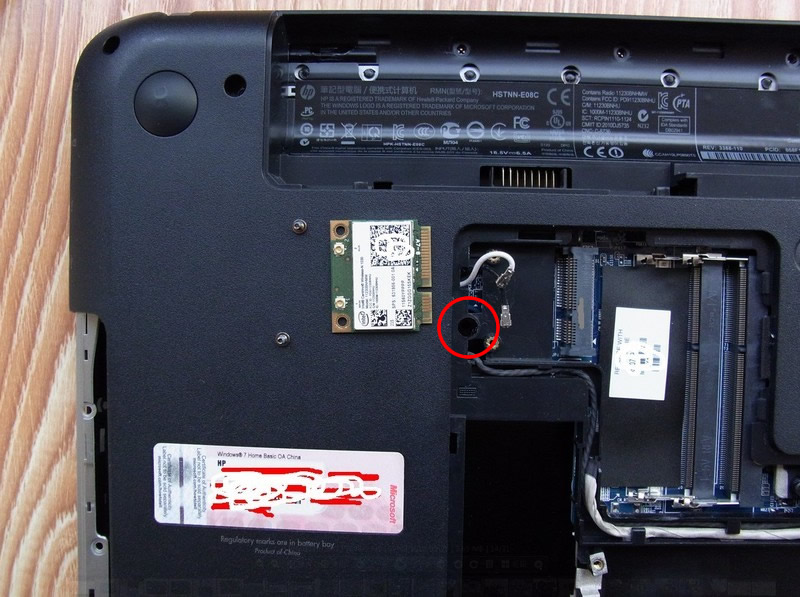
Remove the screw securing the keyboard.
Flip and open the laptop. Insert a pry tool from the top of the keyboard under the keyboard, lift the keyboard, and place it on the palm rest. Then, disconnect the keyboard cable from the motherboard.

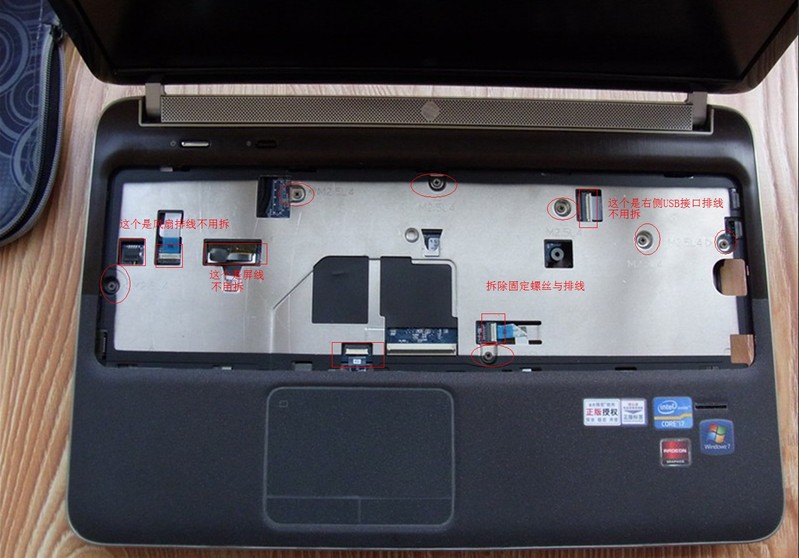
Remove the seven screws securing the palm rest and disconnect all the cables.
Remove all screws from the bottom cover.

Insert a plastic pry tool between the palm rest and the bottom cover. The palm rest has several clips that secure it to the bottom cover. Move the pry tool to release all the clips until the palm rest is completely detached from the laptop.
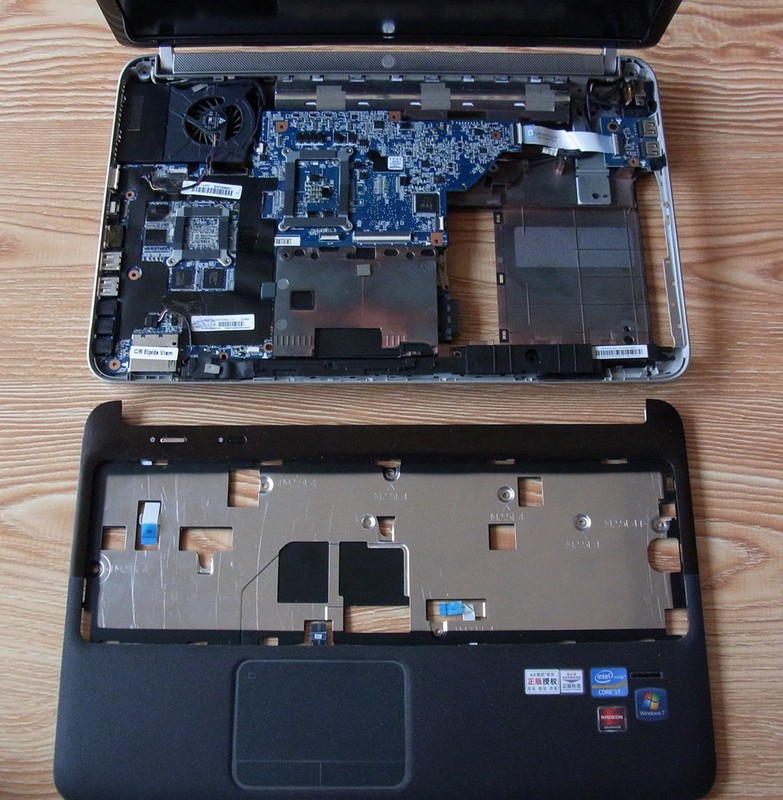
Disconnect the speaker cable, DC jack cable, LCD cable, and USB board cable. Remove the screws securing the motherboard.
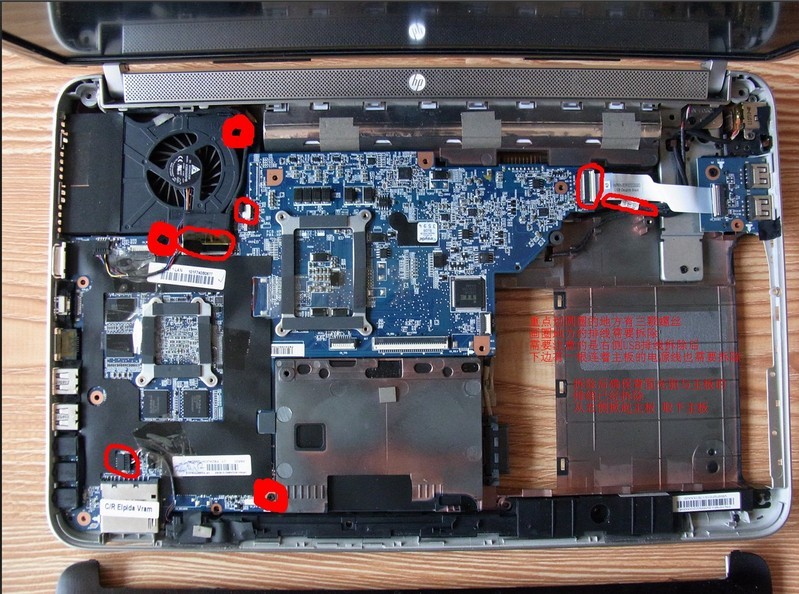
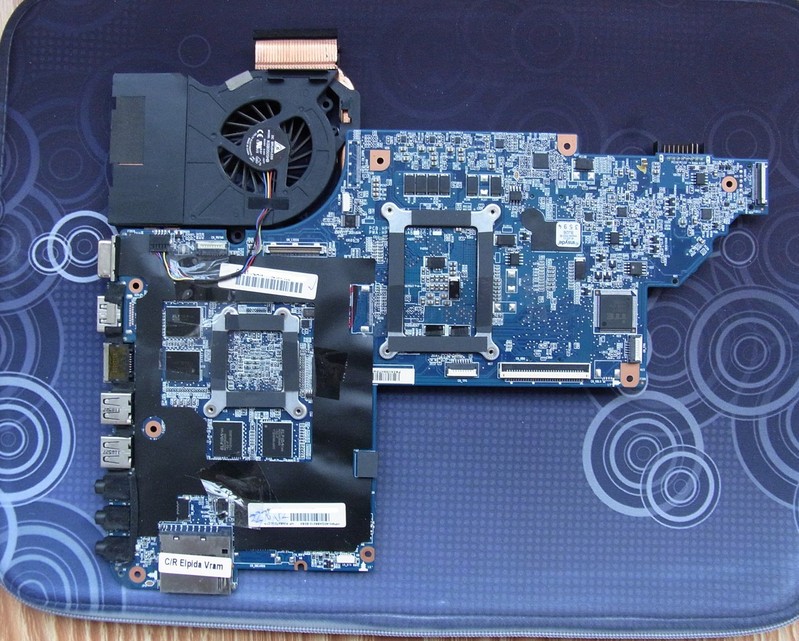
Lift the motherboard from one side with your hand, then wiggle it until it separates from the bottom cover.
Remove the eight screws securing the heat sink.
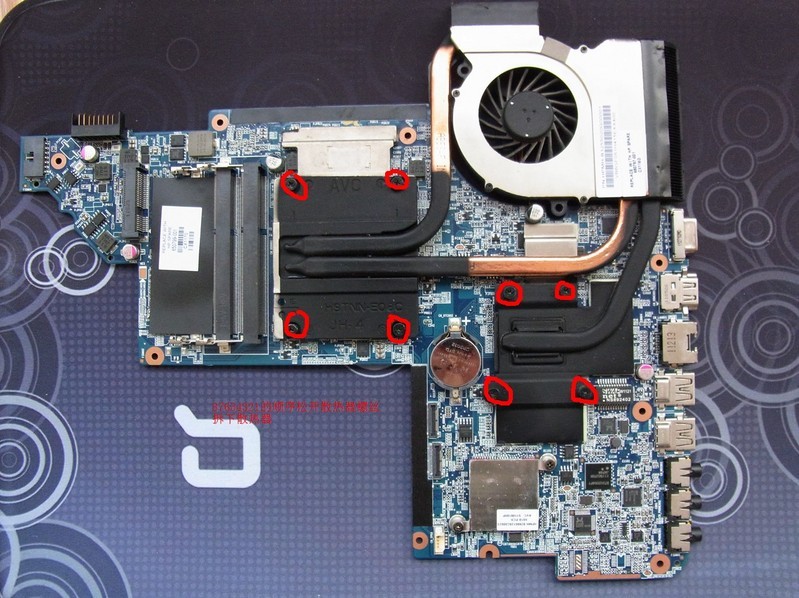
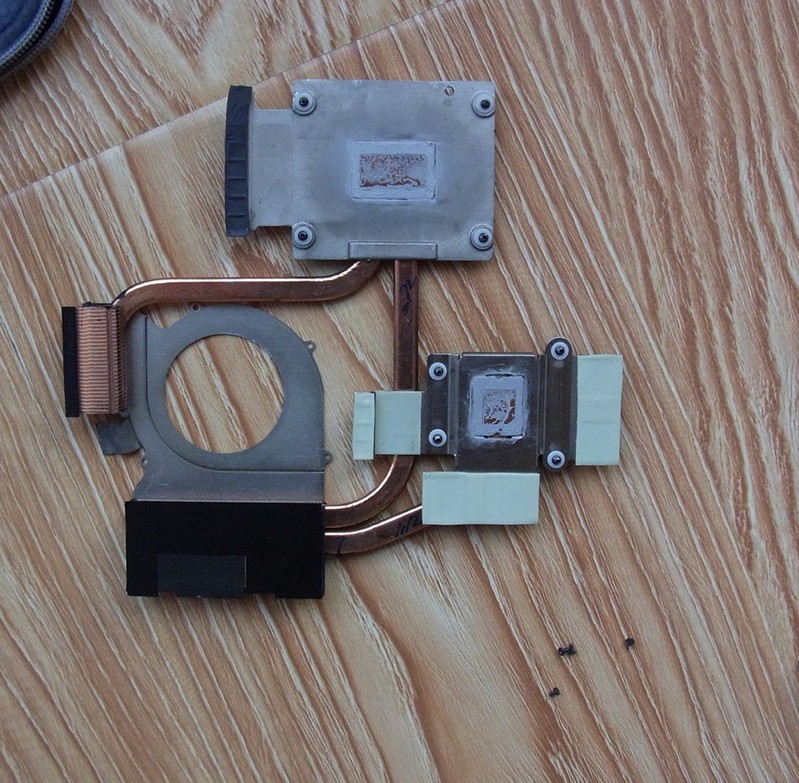
Heat sink and cooling fan
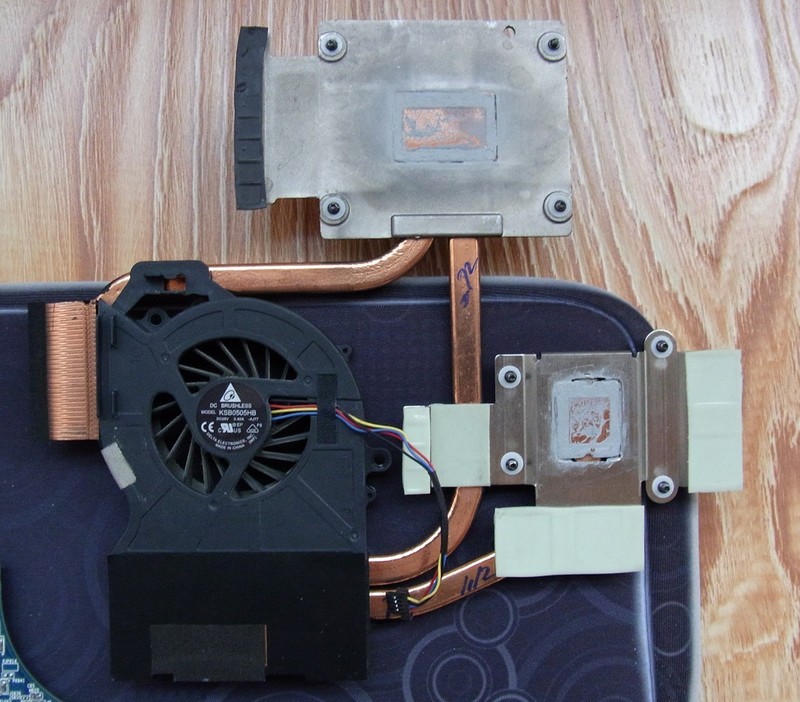
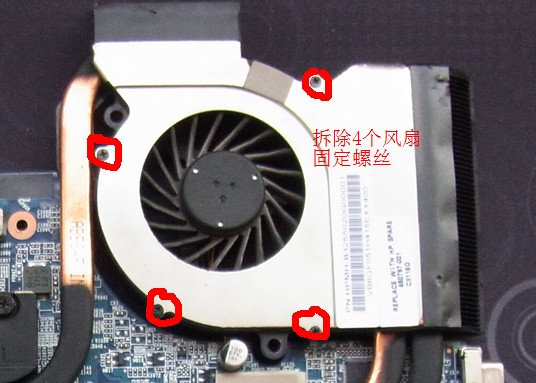
Remove the four screws securing the CPU fan.
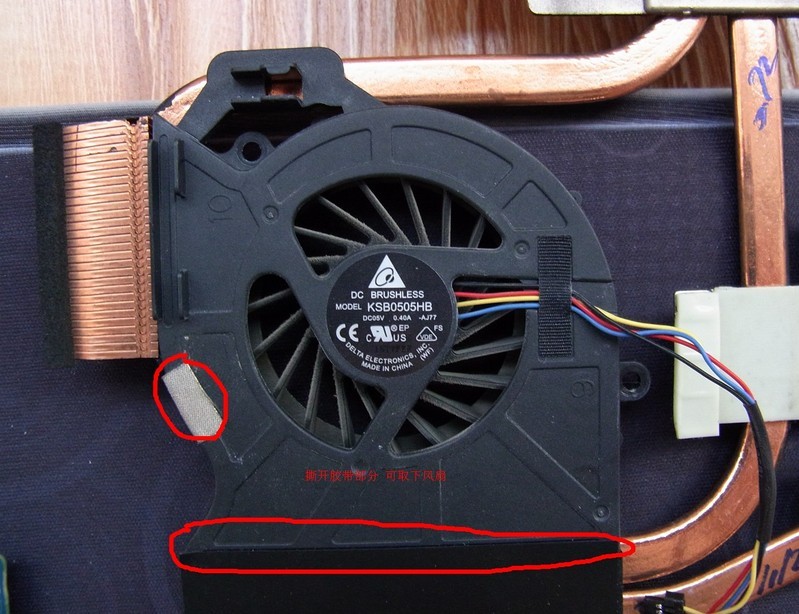
Uncover the tapes that secure the cooling fan. You can clean the fan with a brush.
Heat sink

Omg! It’s too difficult. Need details.
Hello, Rokas. You don’t need to remove all those screws. I watched a video on YouTube without removing the whole heatsink from the board. Just remove the screw on the fan, and you can clean it without any issues.
What tools are required to do this process? Do I need replacement tape for any of the parts?
Just a question: I previously had overheating issues with HP Pavilion laptops. As a tech, I narrowed down the issue to a flaw in the design of the cooling system whereby the heatsink had only one copper tube serving both the GPU and the processor, so processors like AMD tend to overheat and damage the GPU as well. in the case of the above machine what is the experience as I can see HP has introduced two copper tubes .kindly keep me informed as I had actually kept off buying or recommending pavilion laptops. Again, what is the normal temperature on this machine when it is idle?
A treat. Clear and concise. Thanks much.
I disassembled and reassembled it, but it will not turn on, and I have no idea what I’m missing or why it did not reconnect.