
In this guide, I will explain how to disassemble the Asus R553LN to remove the battery, DVD drive, hard drive, keyboard, touchpad, wireless card, heat sink, cooling fan, speakers, and motherboard.
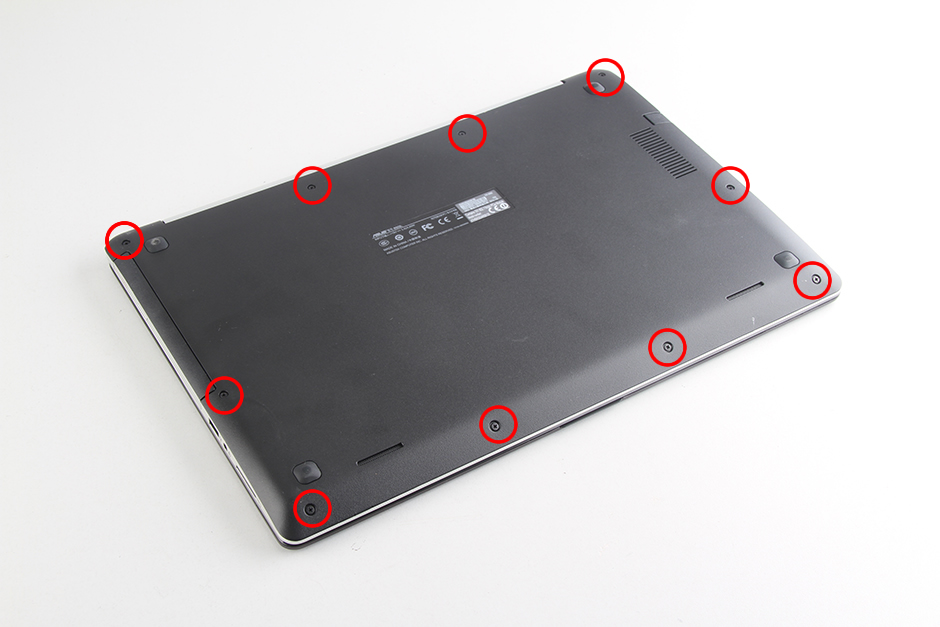
Remove the ten screws from the bottom cover.
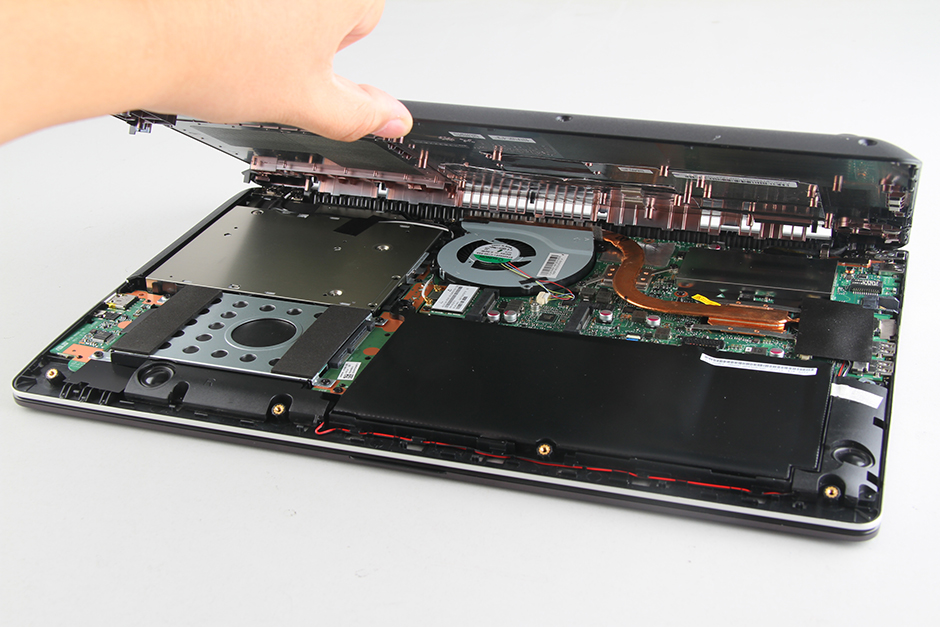
Insert a plastic pry tool between the bottom cover and palm rest. Slide the pry tool until the bottom cover is completely detached from the laptop.
The bottom case has been removed.
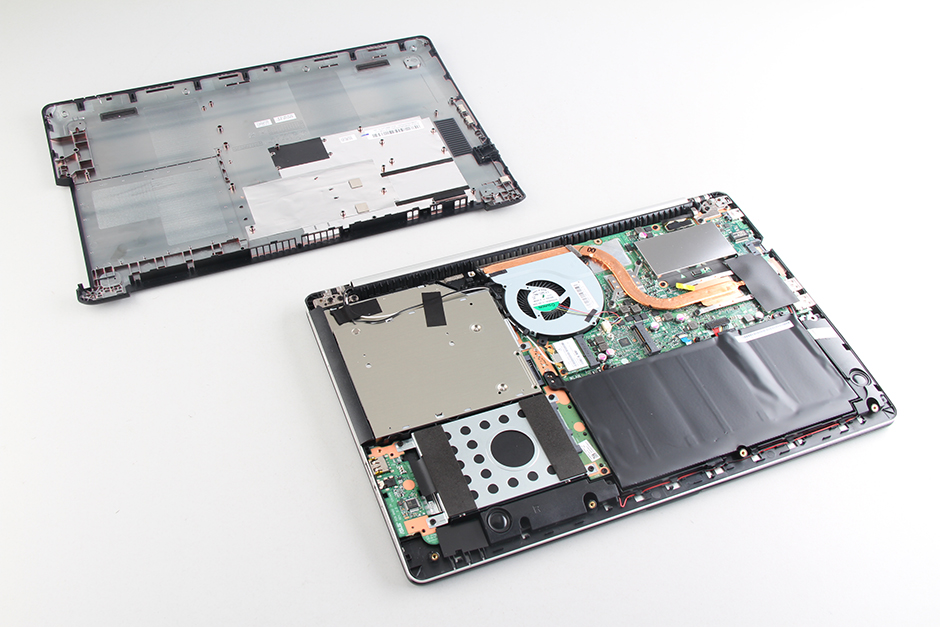
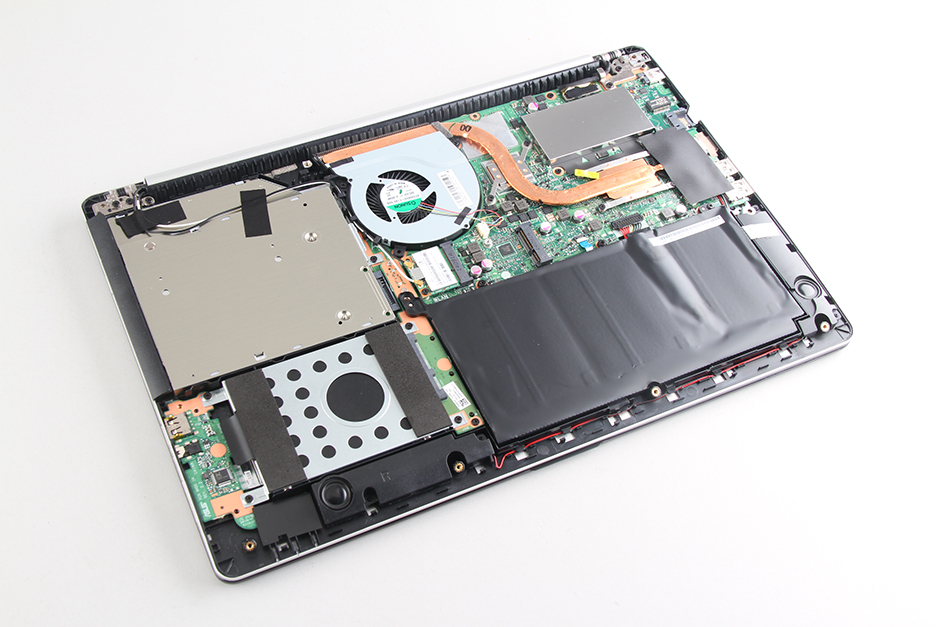
Under the bottom cover, you can access the hard drive, DVD drive, battery, wireless card, speakers, heat sink, and cooling fan.
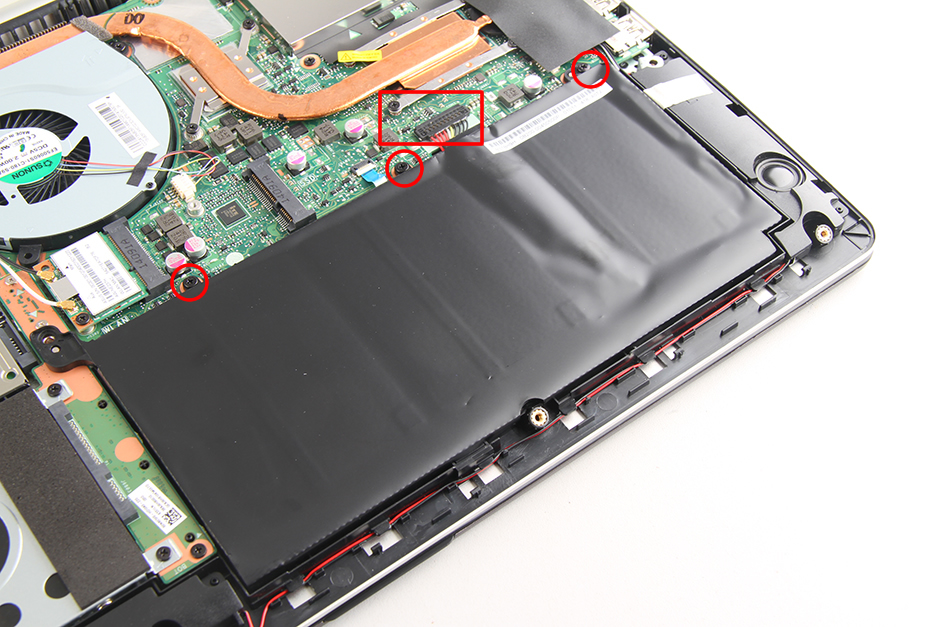
Remove the three screws securing the battery and disconnect the battery power cable from the motherboard. You can remove the battery.
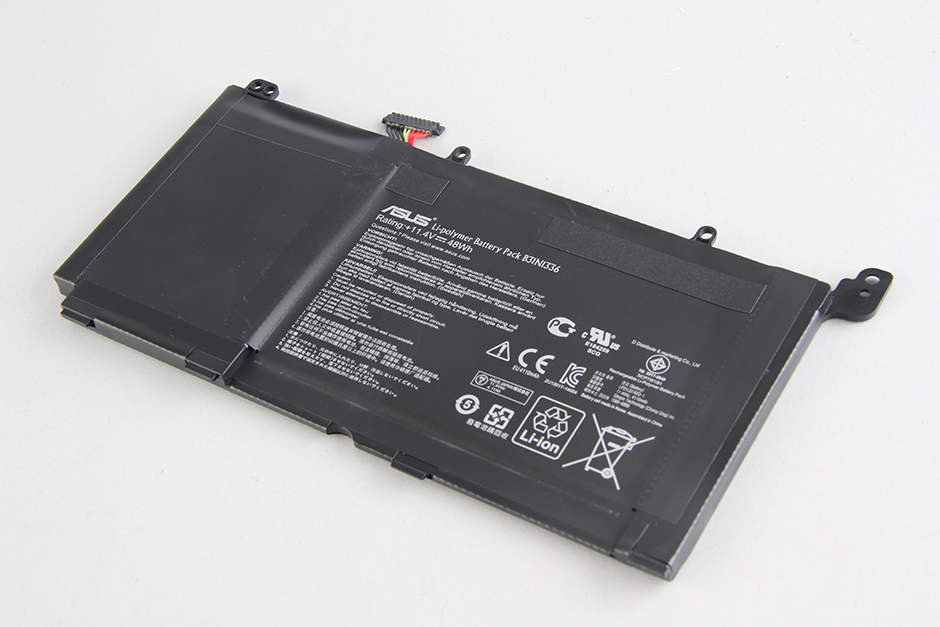
The Asus R553LN comes with a 48Wh Li-polymer battery. The Asus part number is B31N1336.
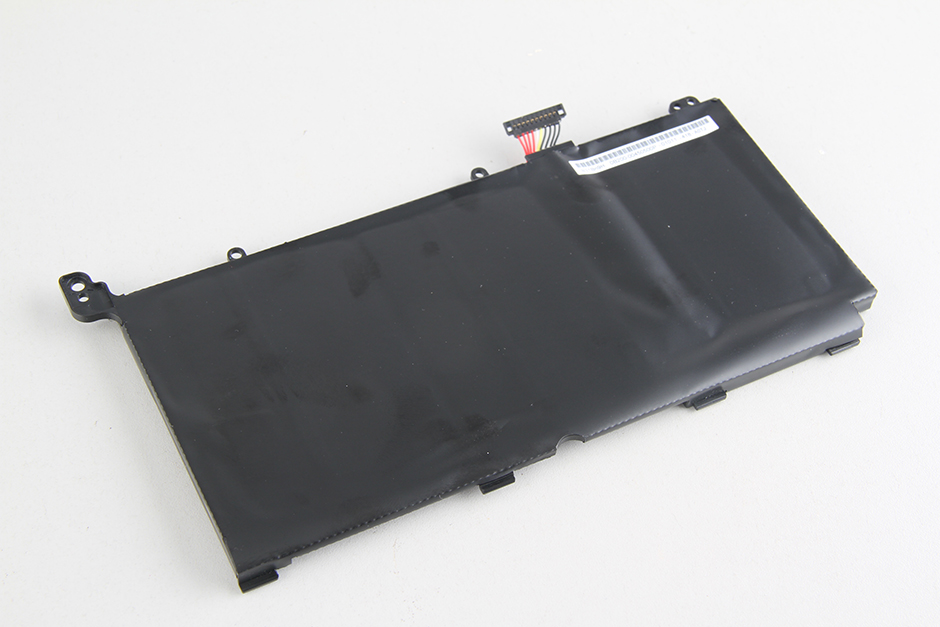
The back of the battery
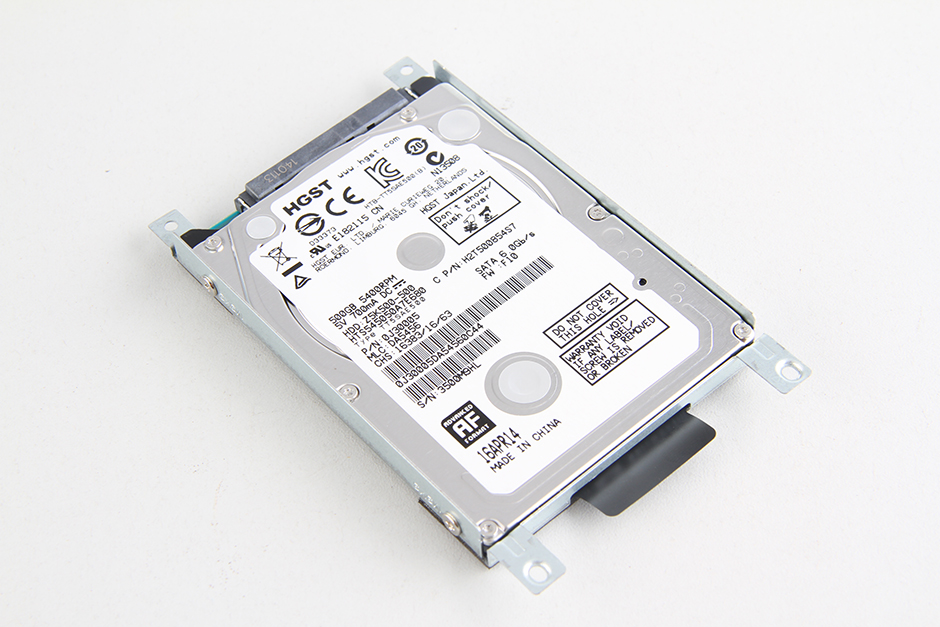
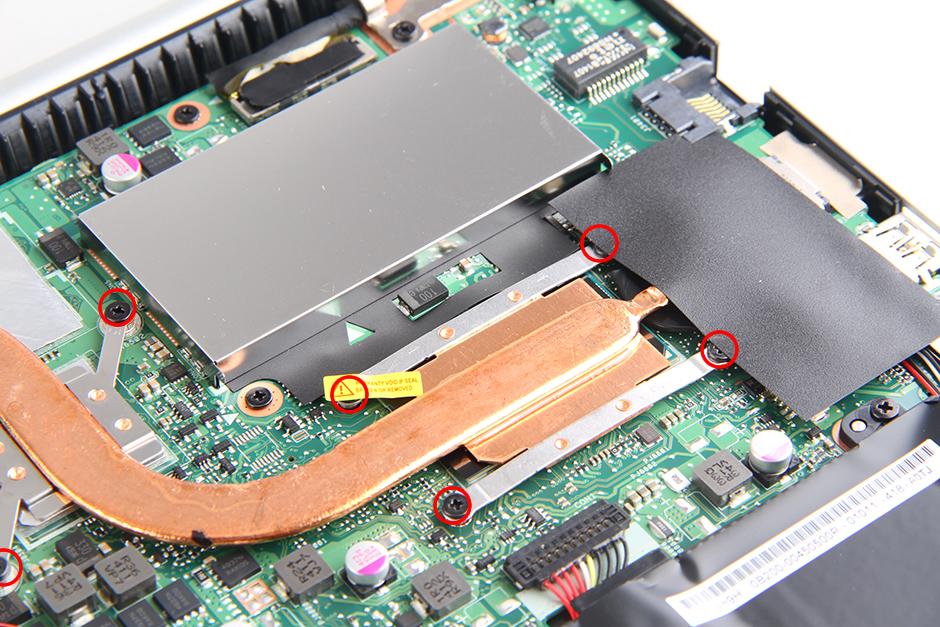
Remove the four screws securing the hard drive module. Lift the black tape and pull the hard drive out to the left.
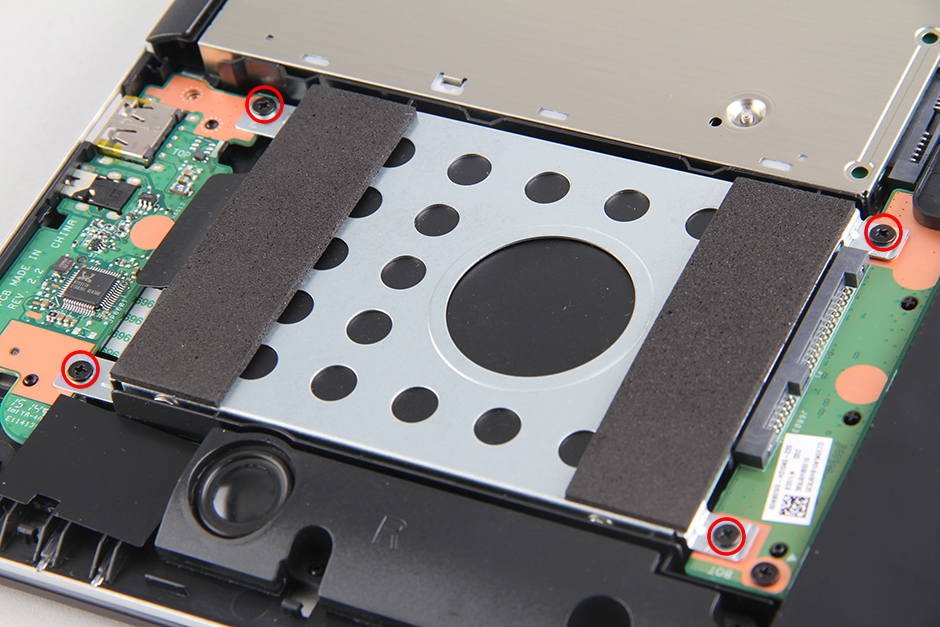
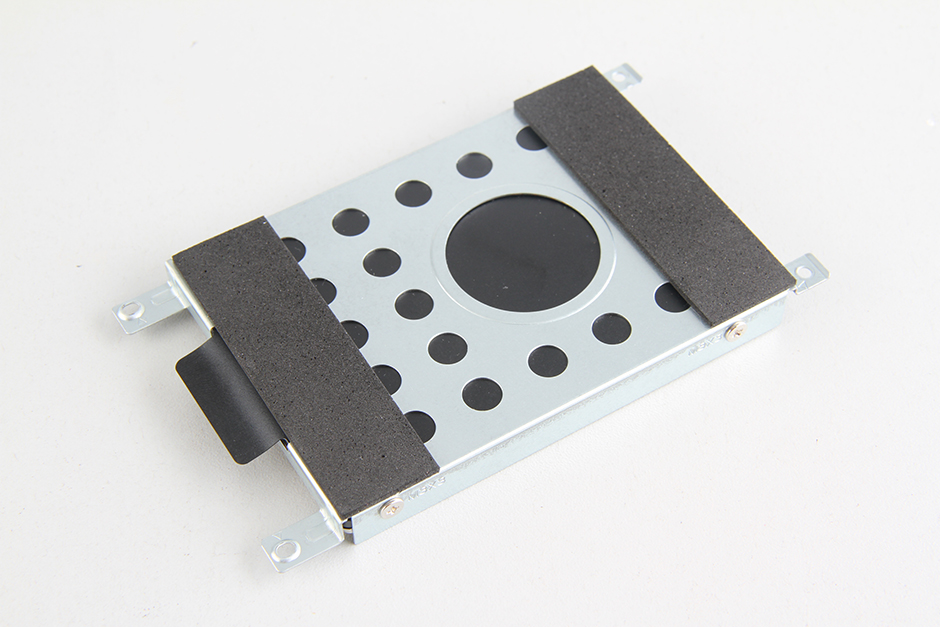
This hard drive is installed in an HDD caddy. If you need to replace the keyboard, you need to remove the HDD caddy and install it on the new hard drive.
The Asus R553LN features a 500GB 5400 RPM HGST hard drive.
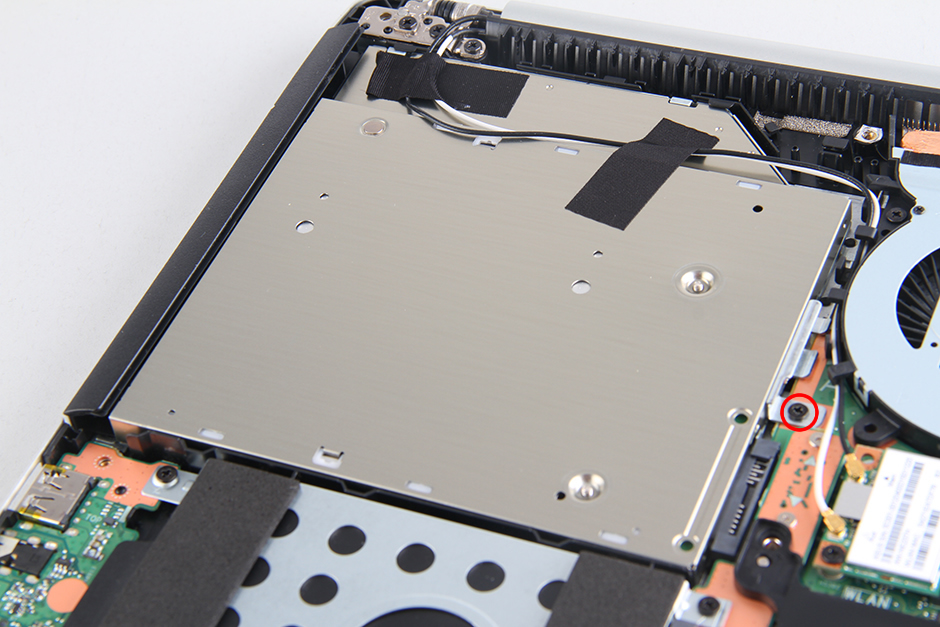
Remove the screw securing the DVD drive. You can remove the DVD drive.
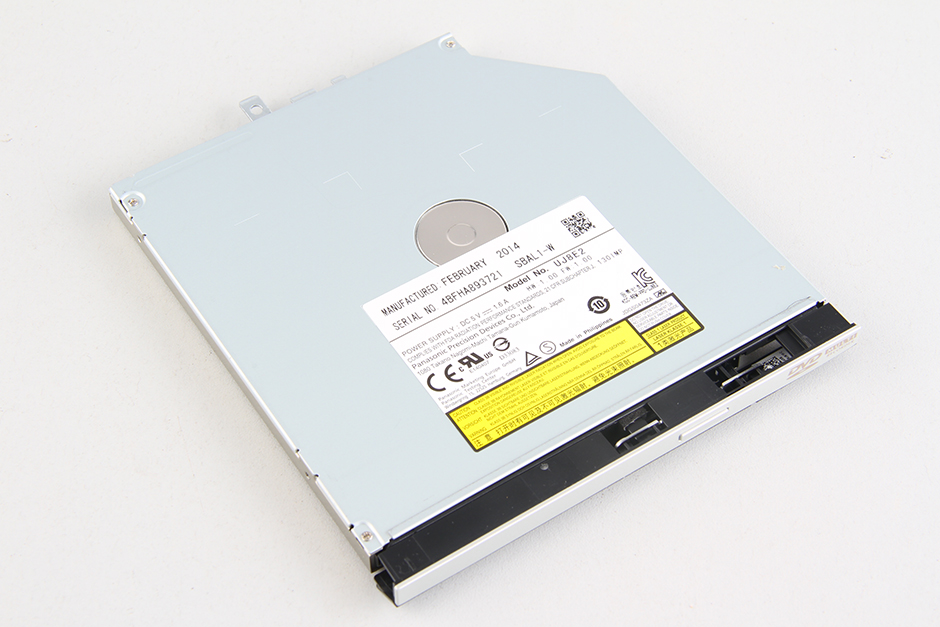
The laptop comes with a Panasonic UJ8E2 Slim 9.5mm SATA DVD Burner.

Disconnect the two antennas and remove the screw securing the wireless card. Pull out the card from its slot.
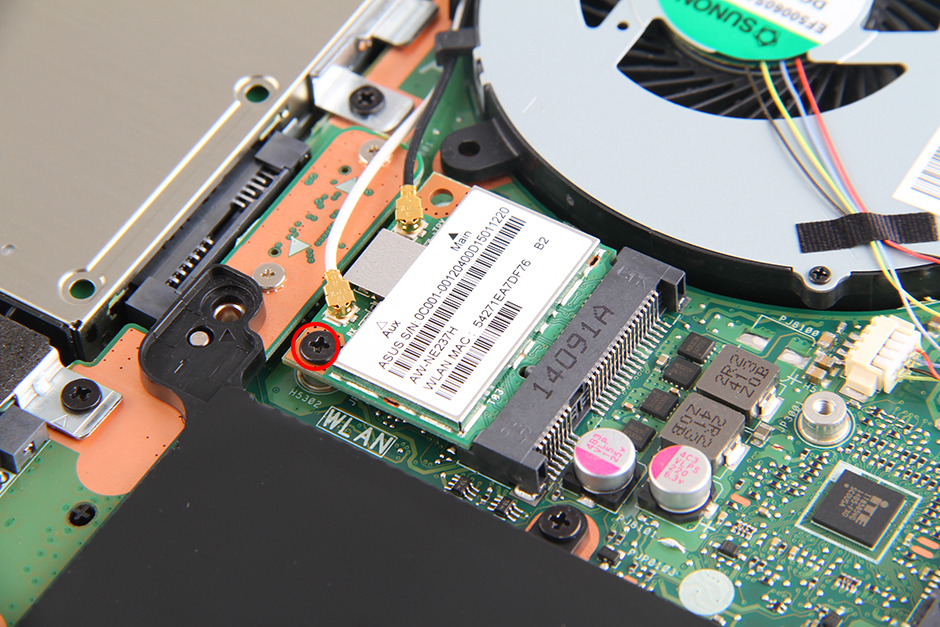
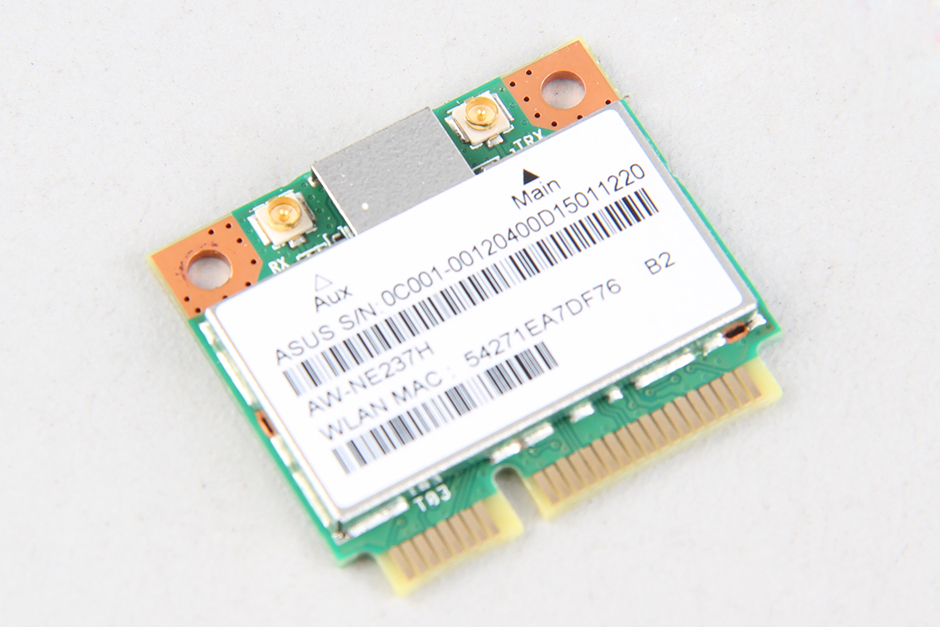
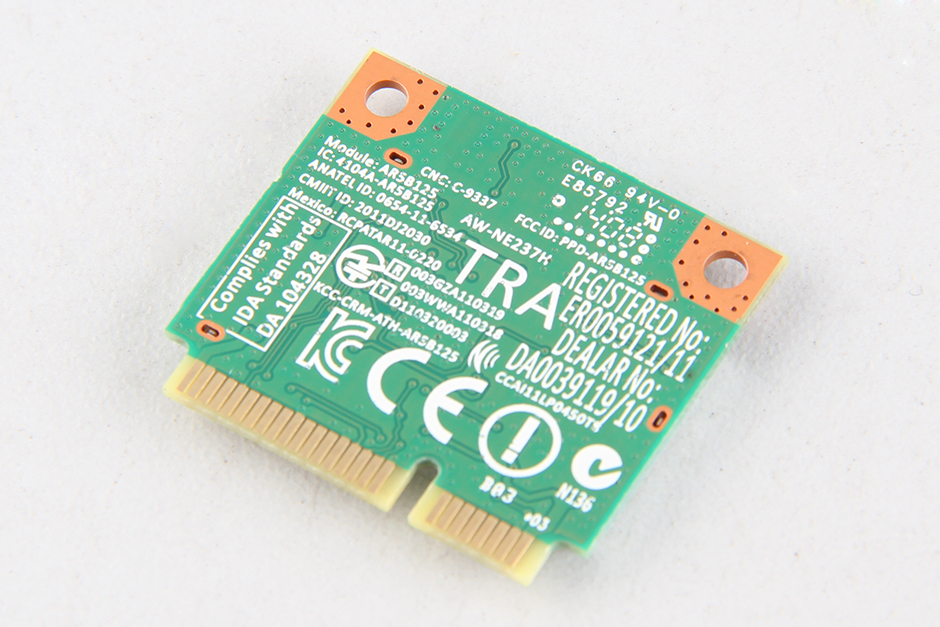
The laptop features an Atheros AR5B125 wireless card.
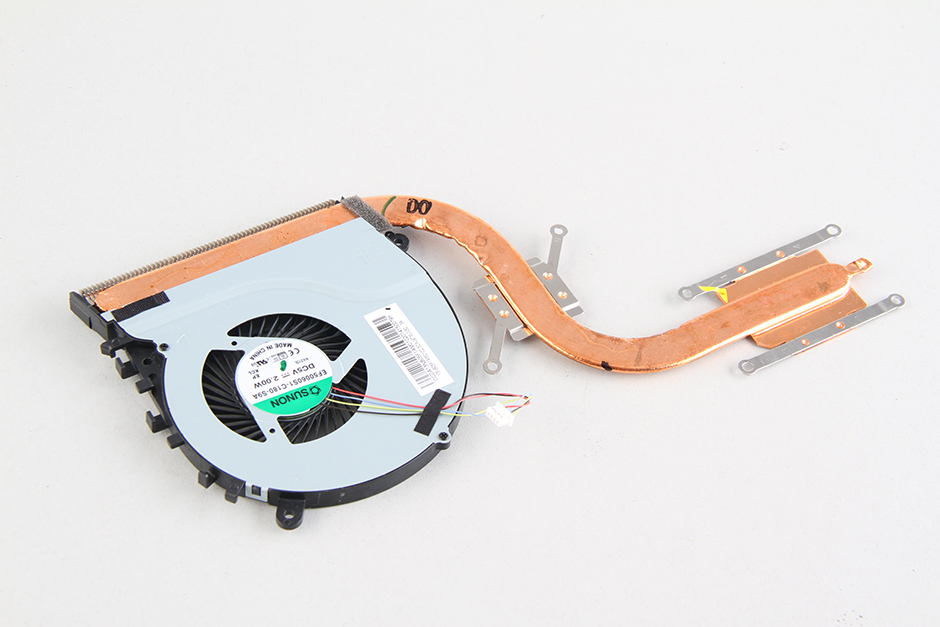
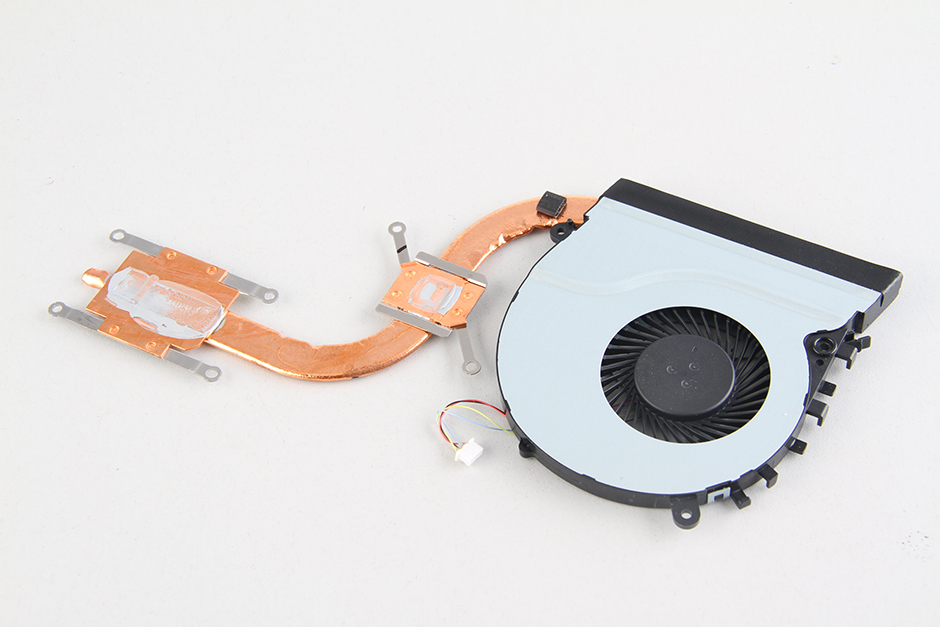
Remove the two screws securing the cooling fan and disconnect the cooling fan cable from the motherboard.

Remove the six screws securing the heat sink. You can remove the heat sink and cooling fan module.
The cooling fan comes from SUNON.
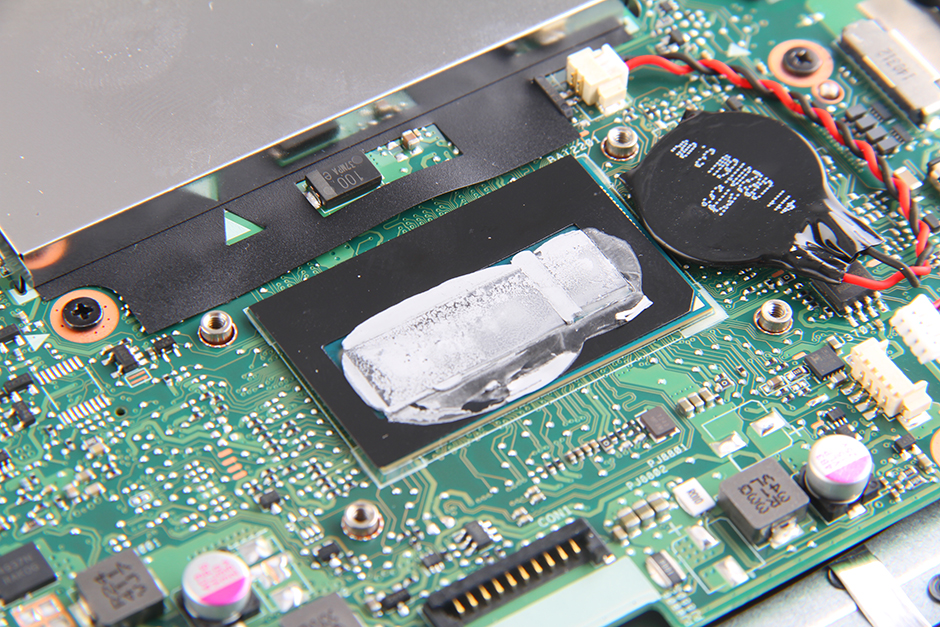
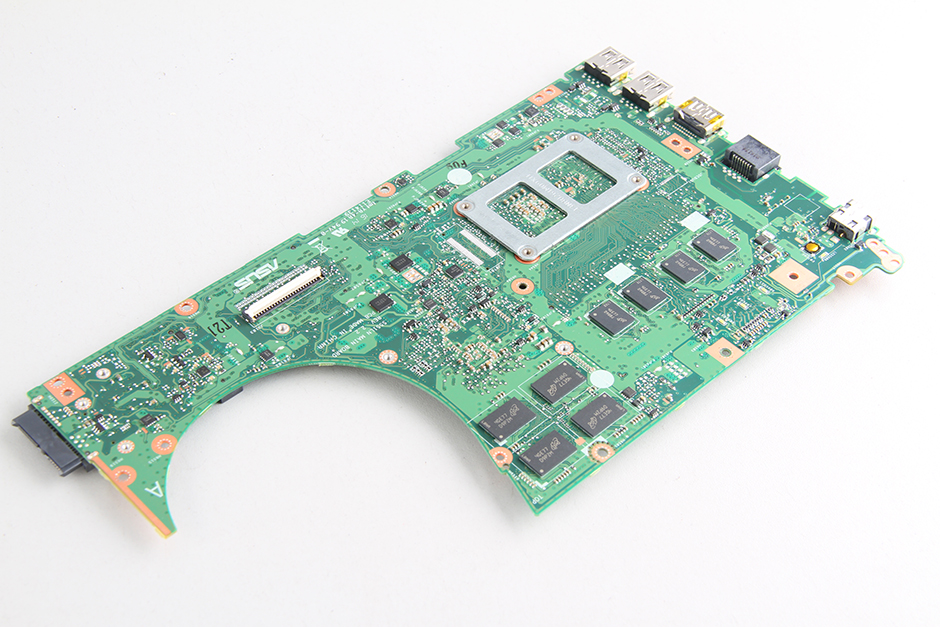
The processor of the Asus R553LN is soldered directly to the motherboard, so it cannot be upgraded or replaced.
The motherboard has been removed.
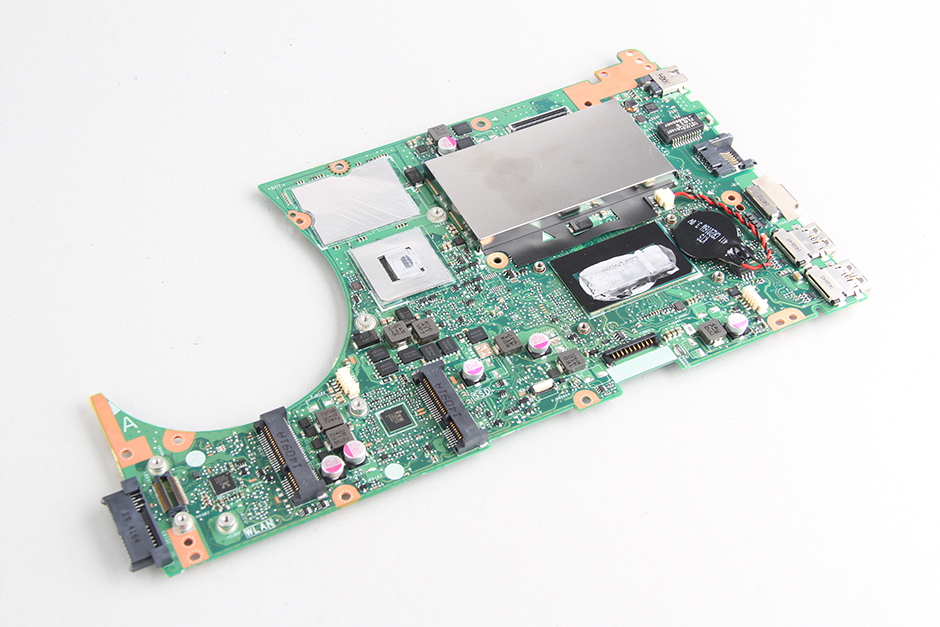
The back of the motherboard
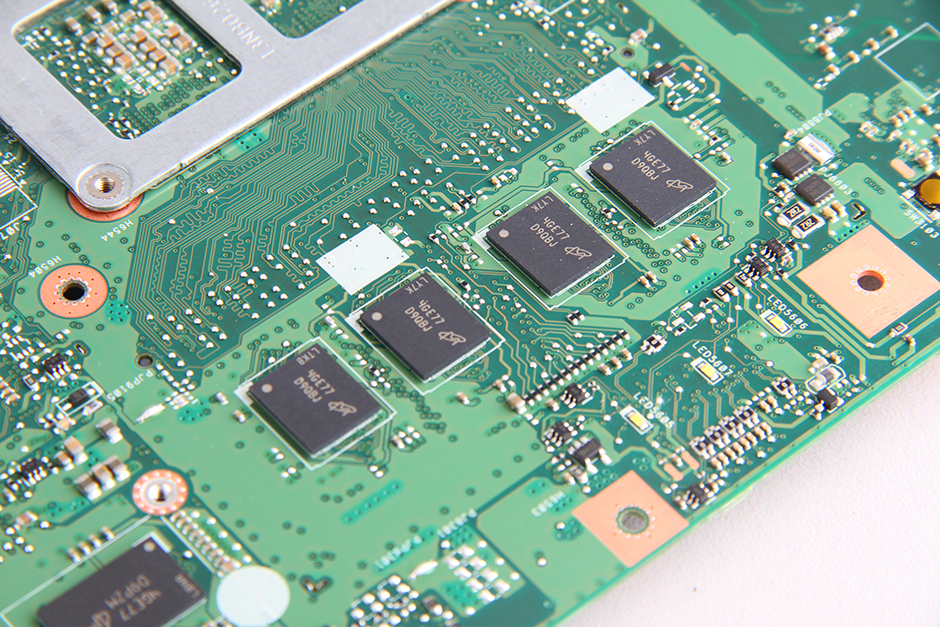
The memory chips of this laptop are soldered onto the motherboard, so its memory cannot be upgraded.

After removing the motherboard, you can access the keyboard, touchpad, and two small circuit boards. At this step, you can replace the keyboard. Additionally, the keyboard is soldered onto the palm rest, making it not easy to replace.

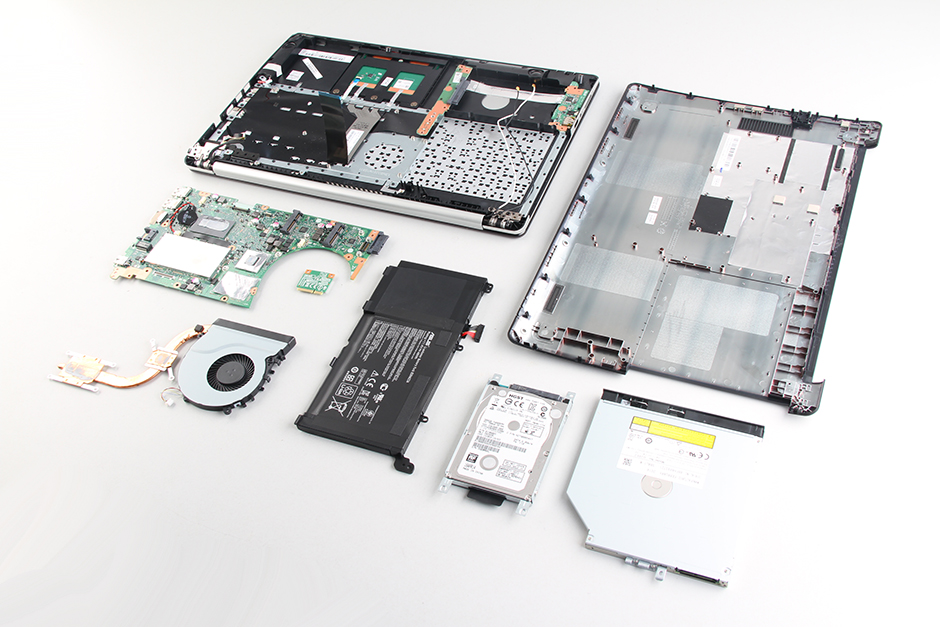
Asus R553LN internal parts
Thank you, it helped me a lot since I’m new to this shit.