
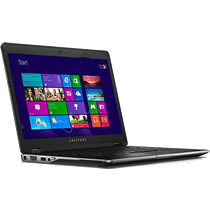
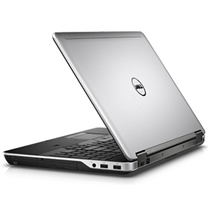
In this guide, I will show you how to disassemble the Dell Inspiron M301z laptop, and you will learn how to remove and replace the keyboard, hard drive, palm rest, RAM module, wireless card, cooling fan, and motherboard of the Dell Inspiron 13z M301z.
Join us on the social network! Follow us on Facebook for all the latest repair news.
Remove the battery.
Remove all screws securing the bottom cover.
Flip the laptop over to remove the keyboard.
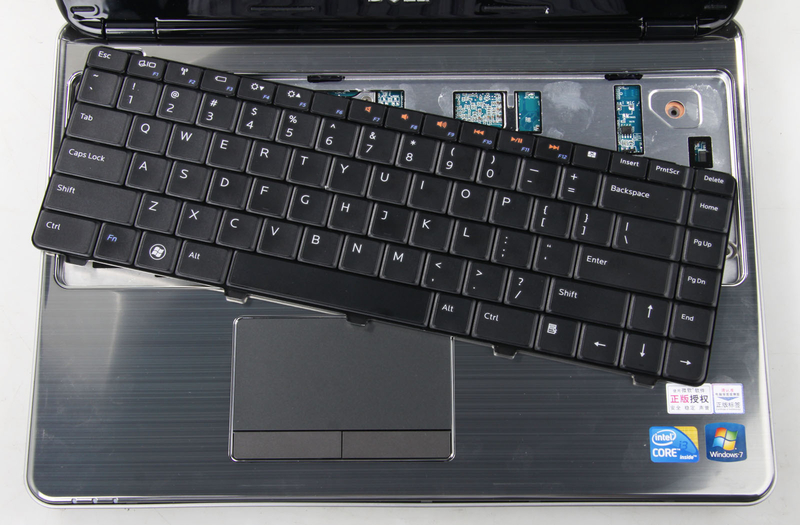
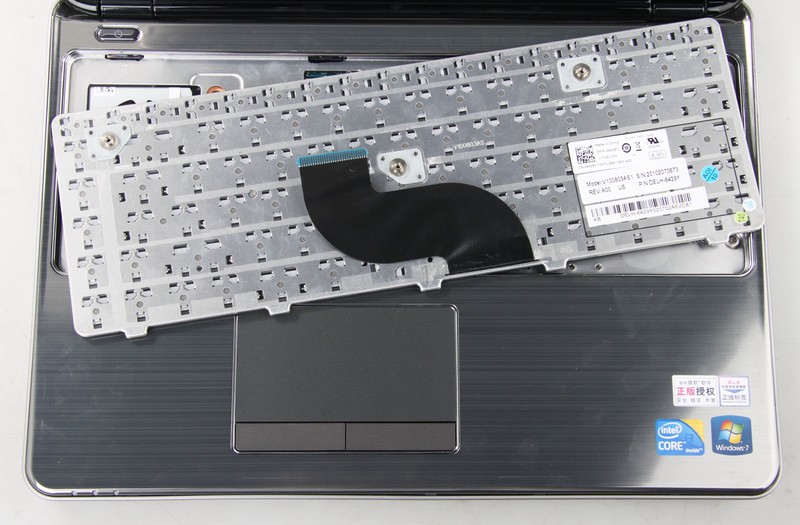
Lift up the keyboard and disconnect the keyboard cable to remove it.
Disconnect the cables and unscrew the screws on the palm rest.
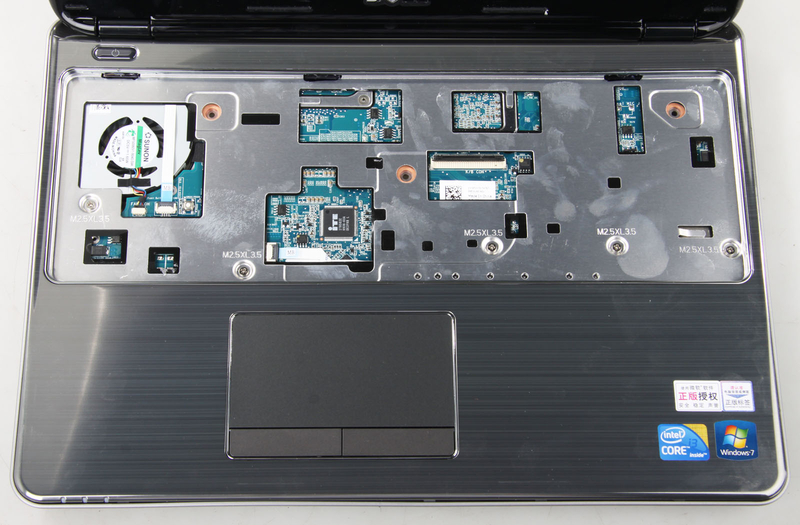
Insert a pry tool between the palm rest and the bottom cover, and slide it to remove the palm rest.
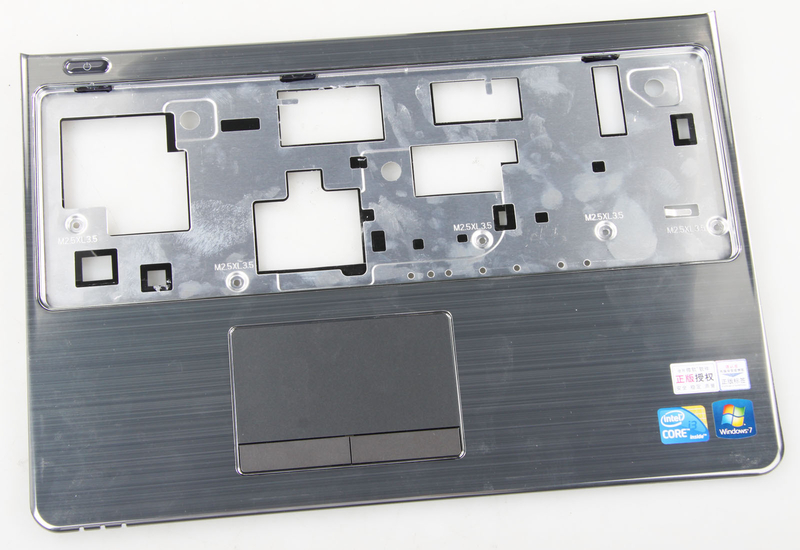
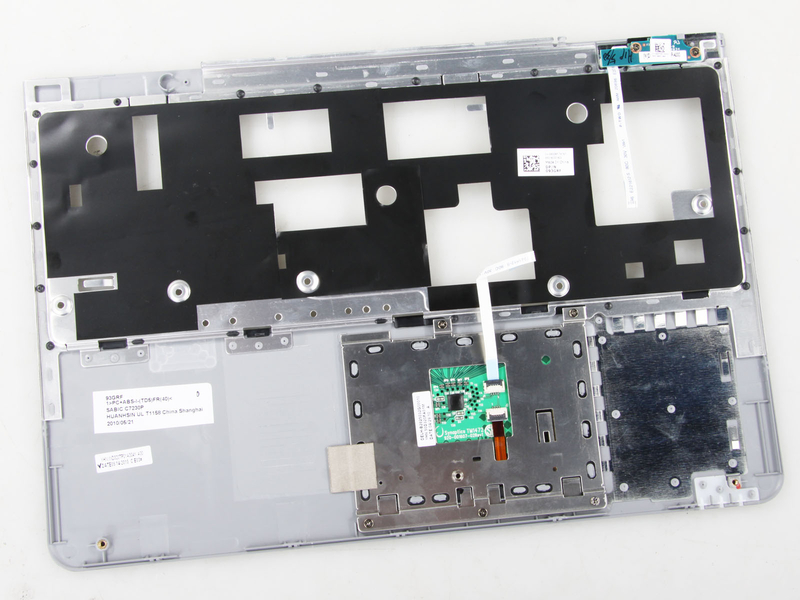
Close-up of the back of the palm rest.
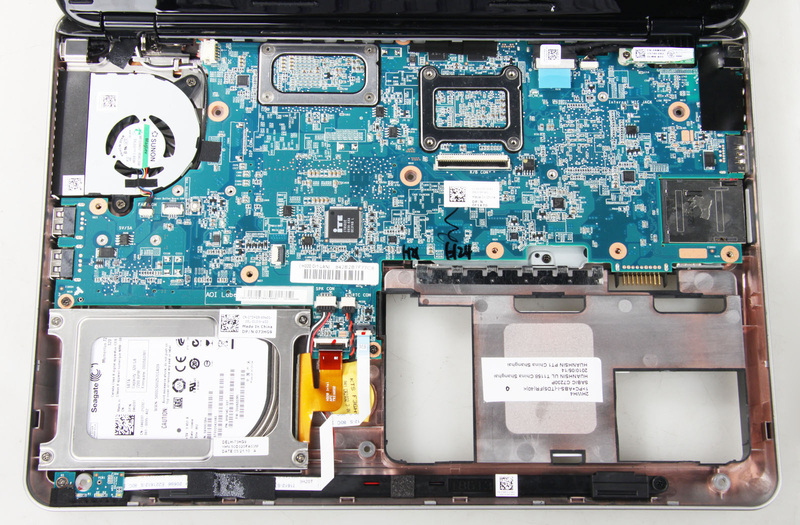
Close-up of the laptop after removing the palm rest, the bottom right corner is where the battery is placed.
Now we begin to remove the screen assembly. Simply unplug the screen cable and two wireless antennas, then unscrew the screws securing the screen hinges.
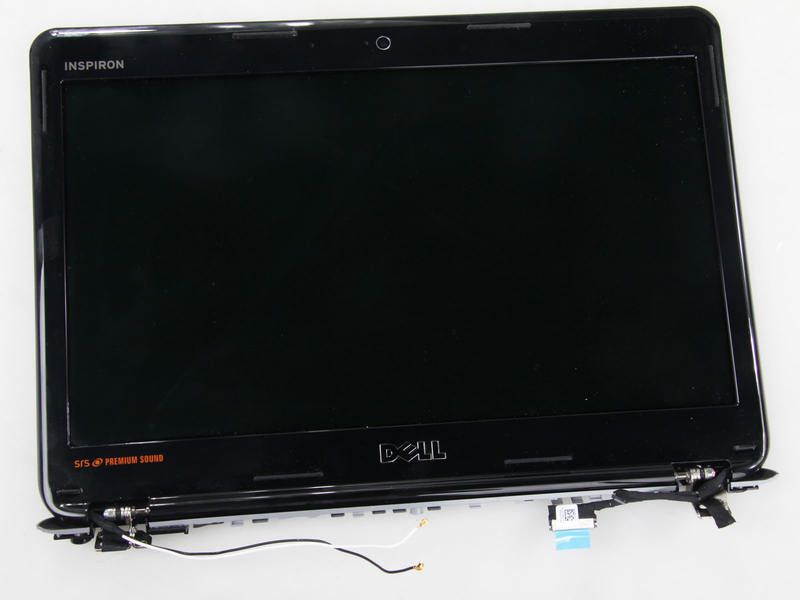
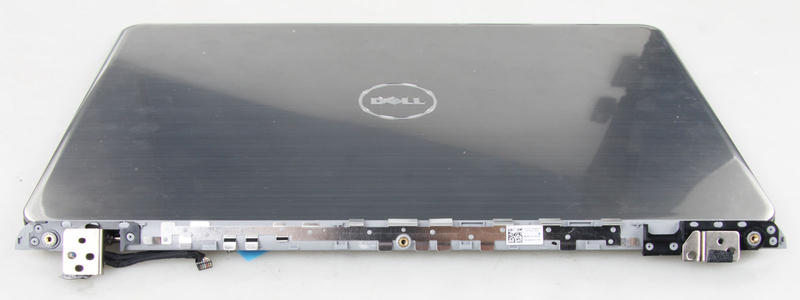
The screen is connected to the bottom via the two brackets.
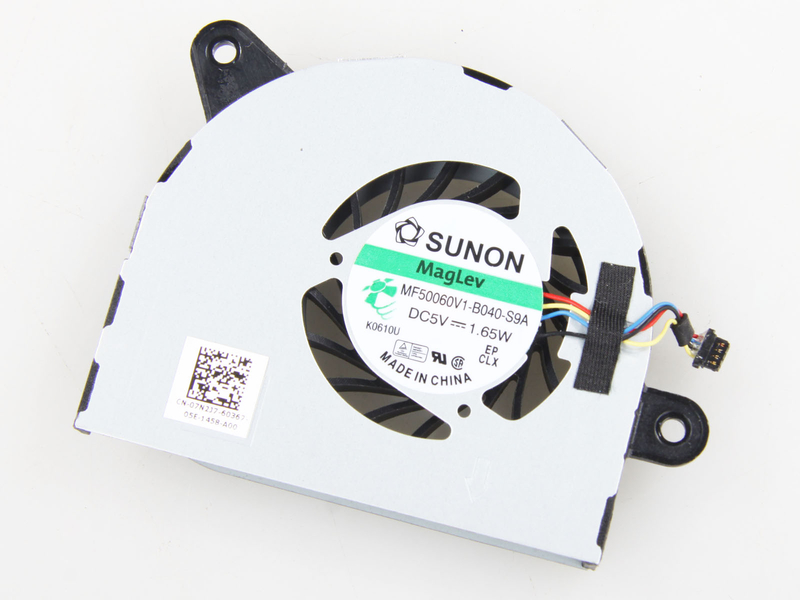
Unplug the fan cable from the motherboard, remove the screws securing it, and then remove the cooling fan.
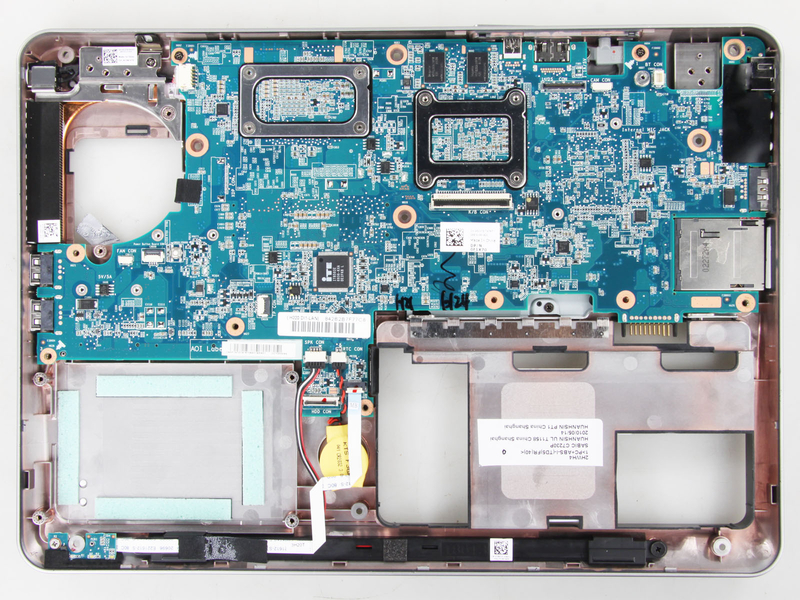
Close-up of the remaining parts.
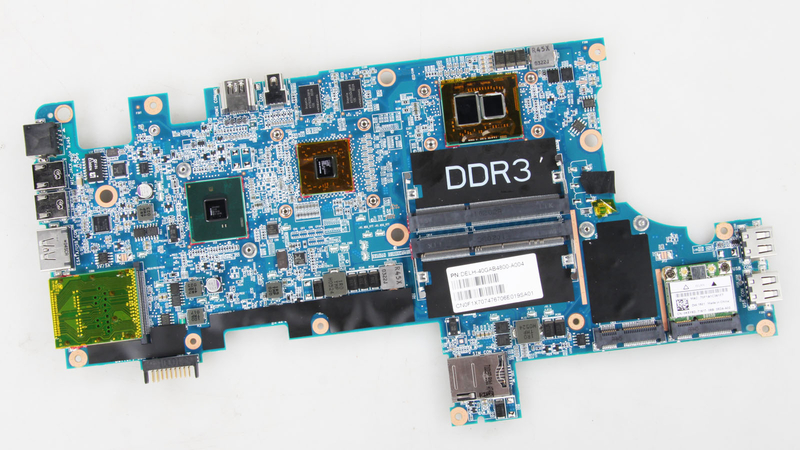
Disconnect the cables and unscrew the screws on the motherboard to remove the motherboard.
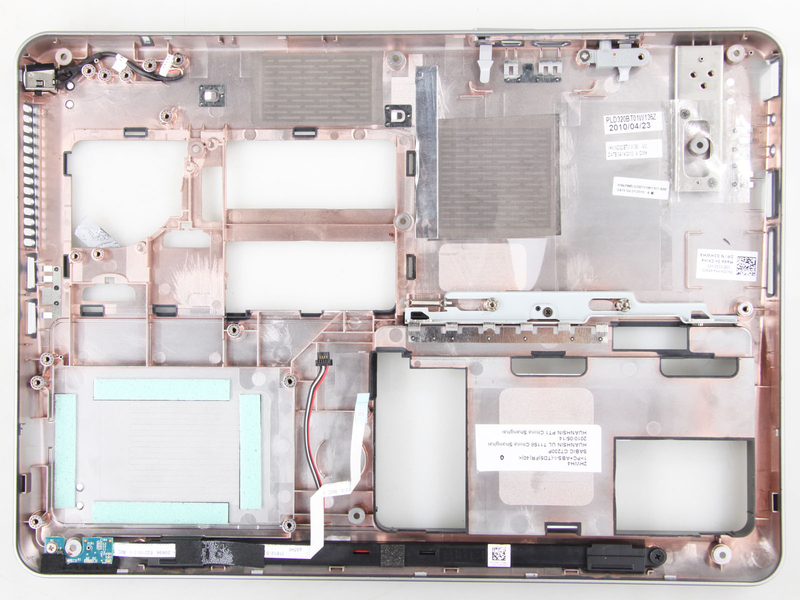
Close-up of the bottom case.
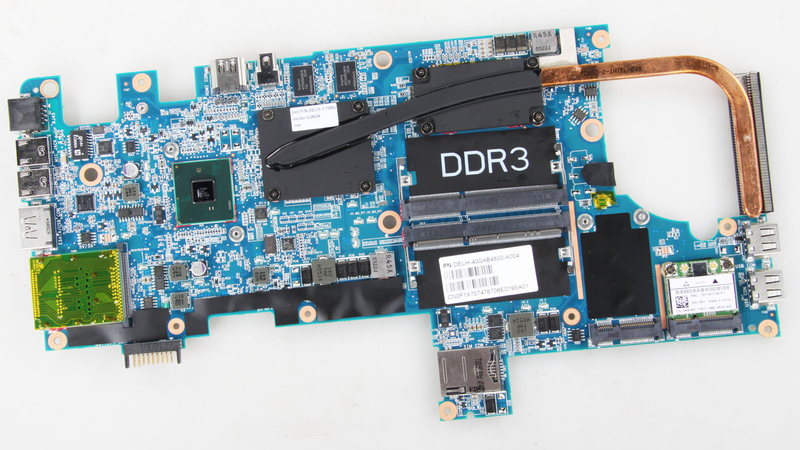
Unscrew the screws on the heat sink to remove it.
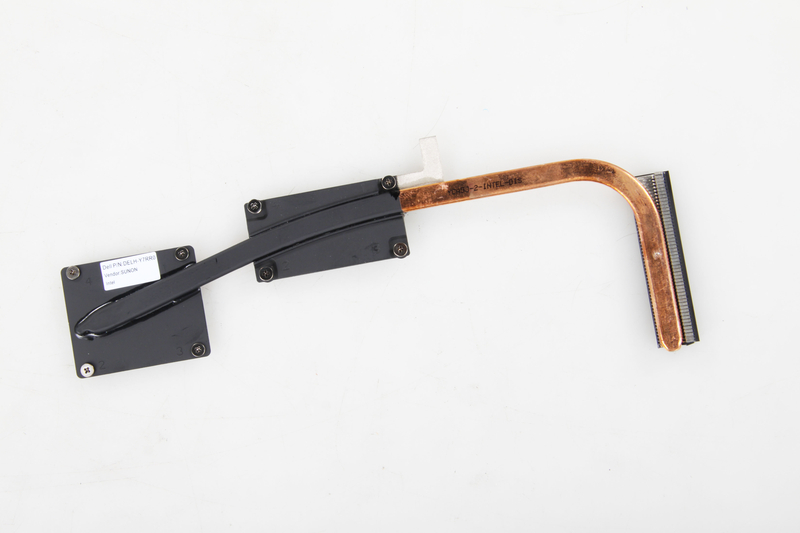
After removing the heatsink, you can access the CPU and GPU chips. They are soldered onto the motherboard, so they cannot be upgraded.
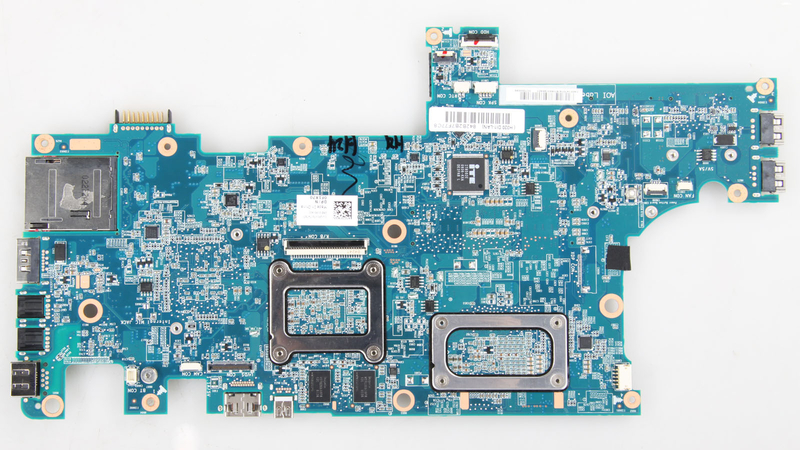
The back of the motherboard.
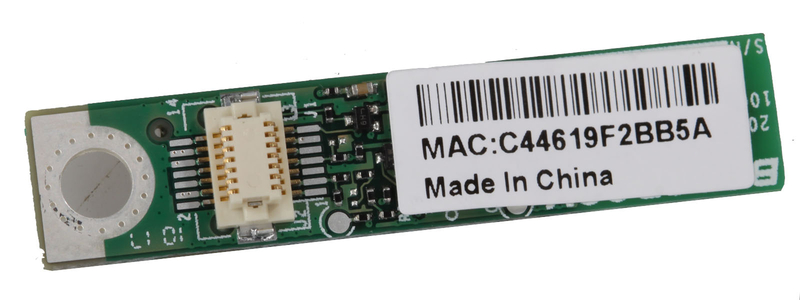
Close-up of the Bluetooth module.
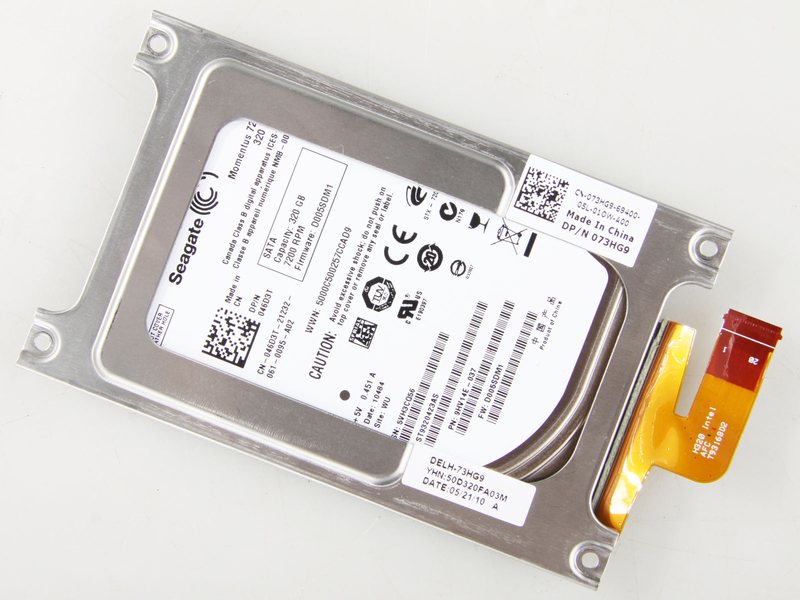
Remove the screws securing the hard drive, then remove the hard drive.
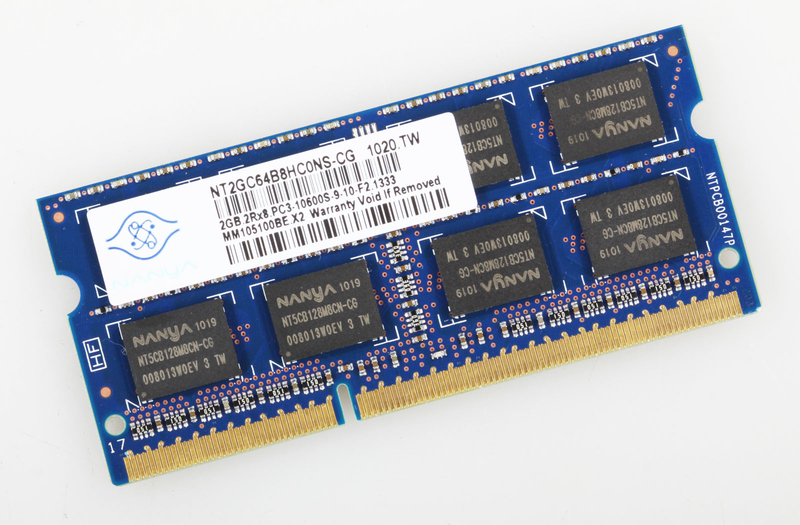
Close-up of the memory module.
Hello, I have a question. Can I replace the keyboard of my Dell M301z with the backlit keyboard version for the Dell 13z?
It seems there is no backlit keyboard available for the M301Z.