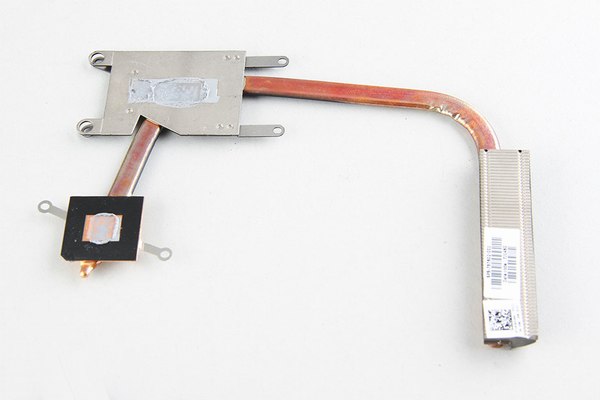
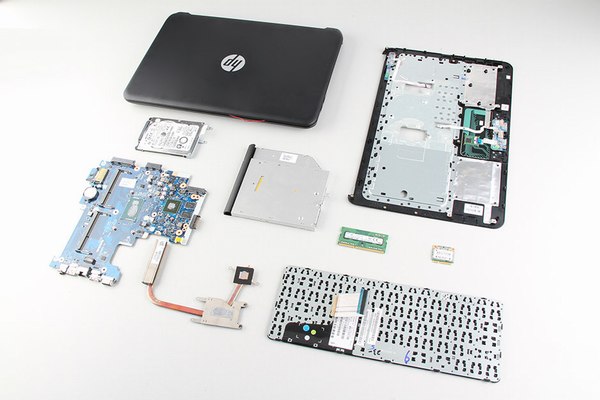
In this guide, I will explain how to disassemble the HP 240 G3 to remove the optical drive, RAM, hard drive, RAM, keyboard, palm rest, heat sink, cooling fan, and motherboard.
Want to stay connected to MyFixGuide.com? Follow us on Facebook to check out the latest teardowns.
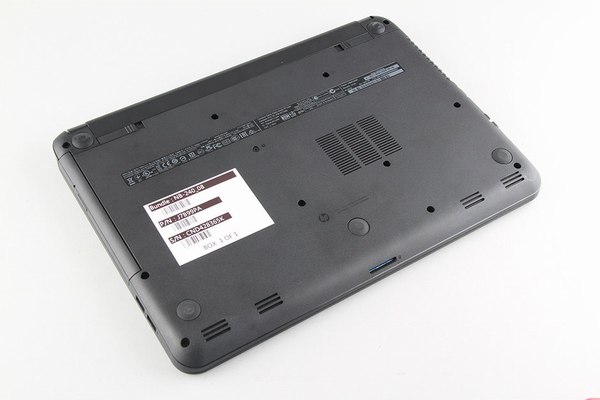
Remove all screws from the bottom case.
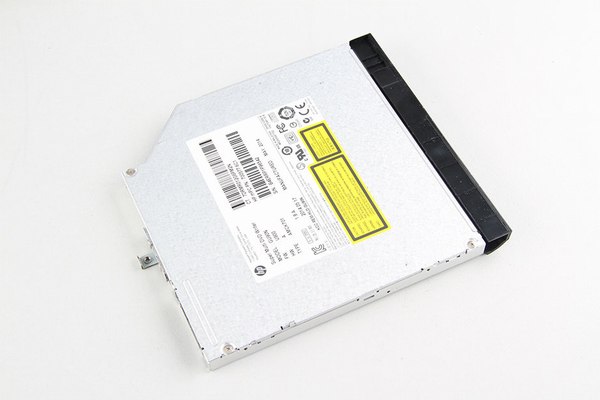
Pull out the optical drive.
The HP 240 G3 comes with a 9.5mm DVD drive.
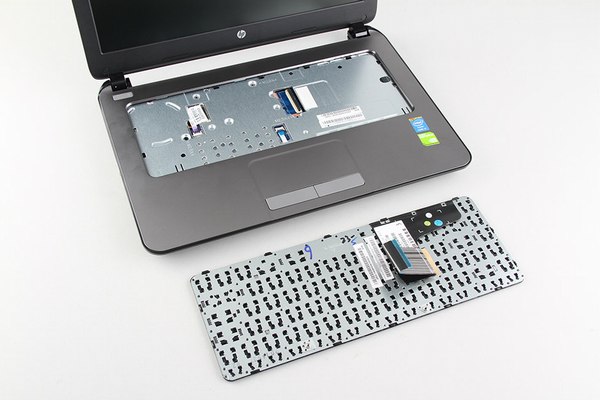
Open the laptop, insert a plastic pry tool under the top edge of the keyboard, lift the keyboard up, and place it on the palm rest.
Use your fingernails to lift the black part on the socket, and then you can pull out the keyboard ribbon cable.
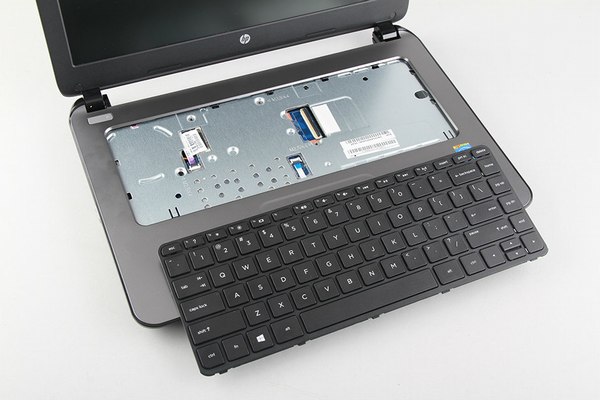
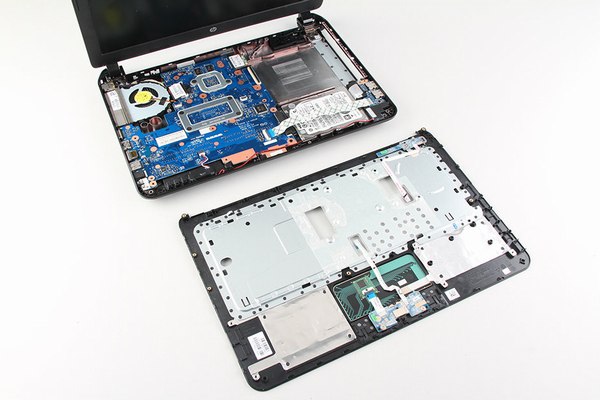
Remove the screws securing the palm rest. Disconnect two cables. Pry up and remove the palm rest.
After removing the keyboard, you will find two ribbon cables under it. Disconnect them from the motherboard.
Insert a plastic pry tool between the palm rest and the bottom cover. Slide the pry tool to unlock the clips on the palm rest. You need to unlock all clips to remove the palm rest.
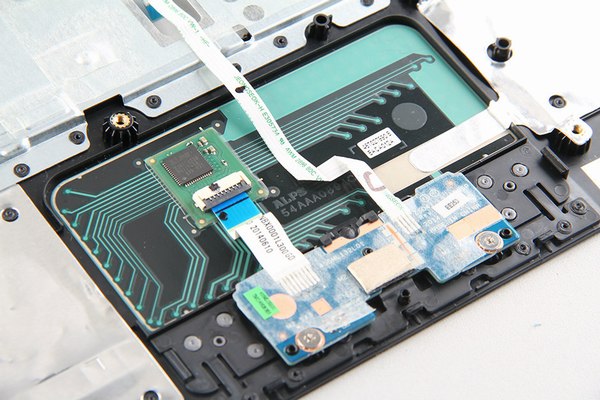
On the back of the palm rest, you can access the touchpad.
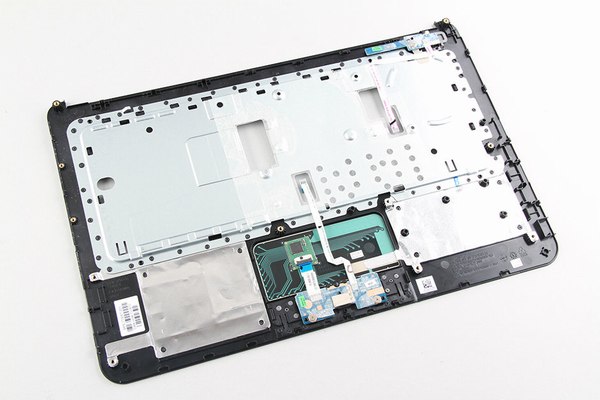
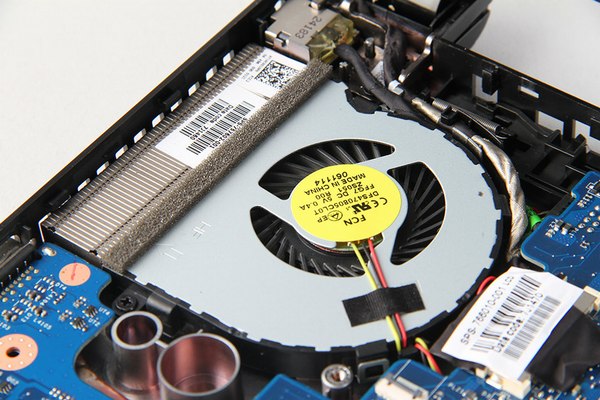
Under the palm rest, you can access the motherboard, hard drive, and cooling fan.
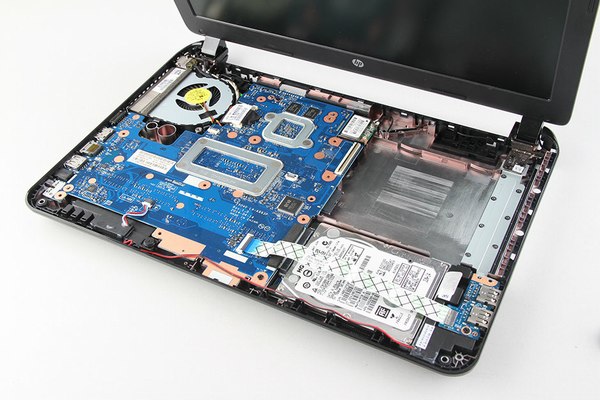
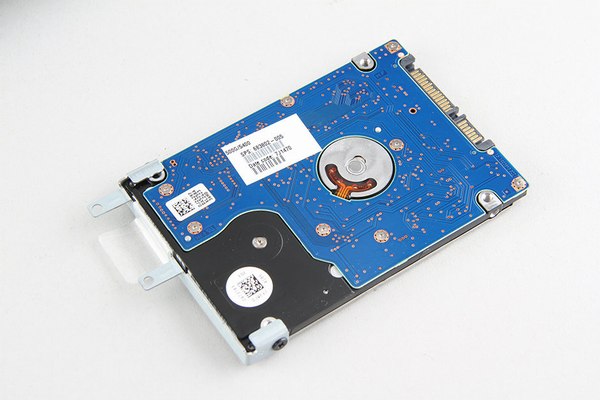
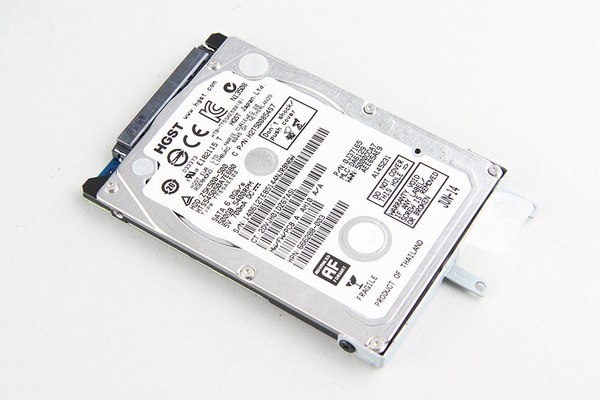
Disconnect the white cable. Remove the screws securing the hard drive.
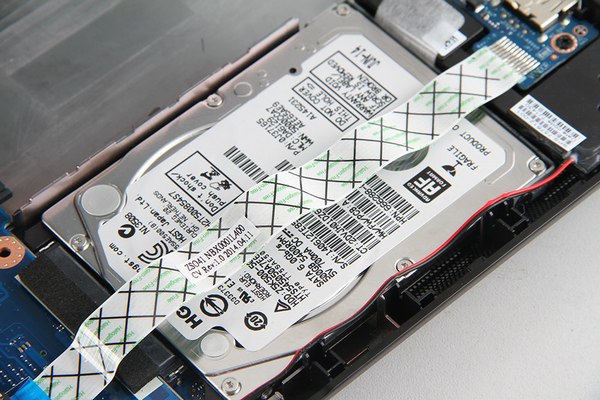
The HP 240 G3 features a 500GB HGST hard drive.
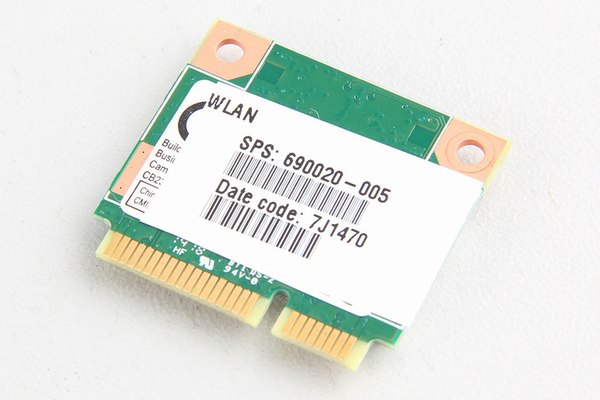
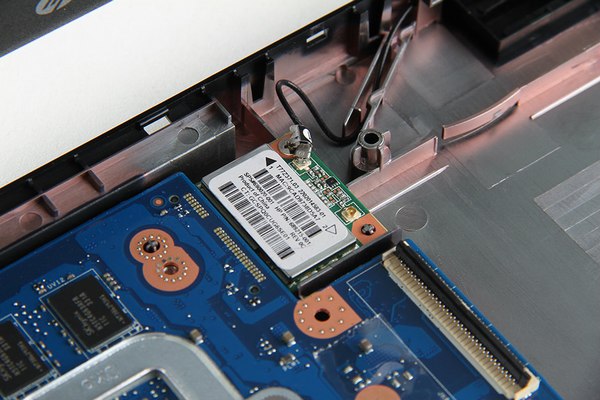
Disconnect the two wireless card antenna cables and remove the screw.
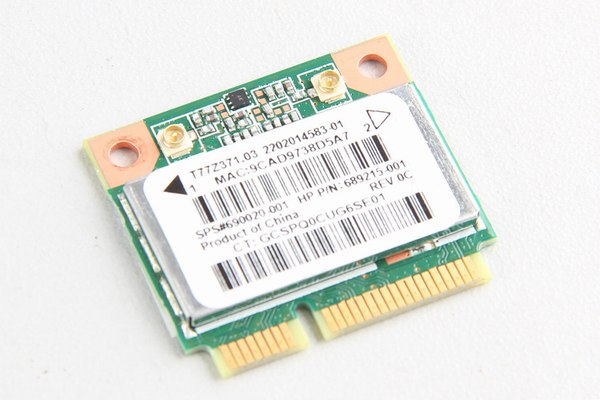
The HP 240 G3 comes with a T77Z371.03 wireless card. Its HP part number is 690020-001.
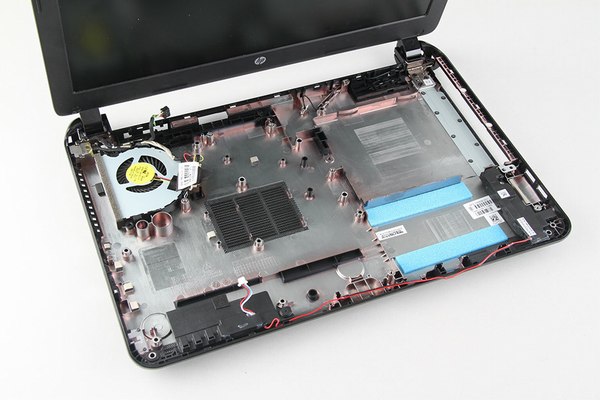
Lift the motherboard from the right side with your hand, then wiggle it until it separates from the bottom cover.
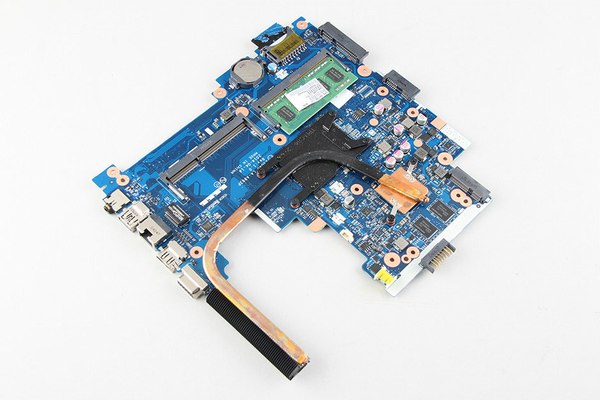
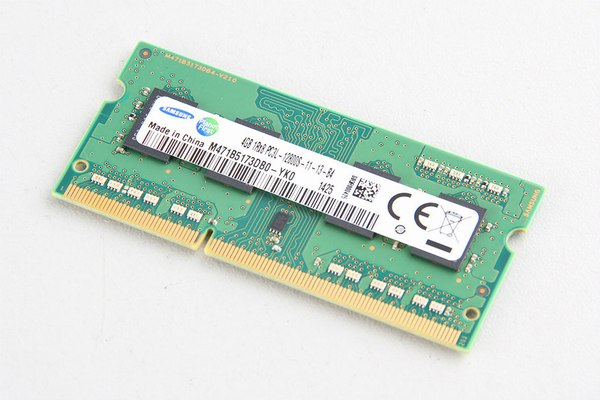
The HP 240 G3 comes with a Samsung 4GB PC3L-12800S RAM module. Because it only has one memory slot, if you need to upgrade the memory, you will have to replace the existing memory module.
