
In this guide, I will explain how to disassemble the HP Pavilion 15 laptop to remove and replace the hard drive, keyboard, palm rest, wireless network card, memory module, heat sink, cooling fan, speakers, and motherboard.
Join us on the social network! Follow us on Facebook for all the latest repair news.
Here’s other HP Pavilion 15 series laptop teardown:
- HP Pavilion 15-P000 Disassembly
- HP Pavilion 15-d000 Disassembly
- HP Pavilion 15-ab000 Disassembly
- HP Pavilion 15-ak000 Gaming Laptop Disassembly
- HP Star Wars Special Edition 15-an000 Disassembly
HP Pavilion 15 Disassembly Step:
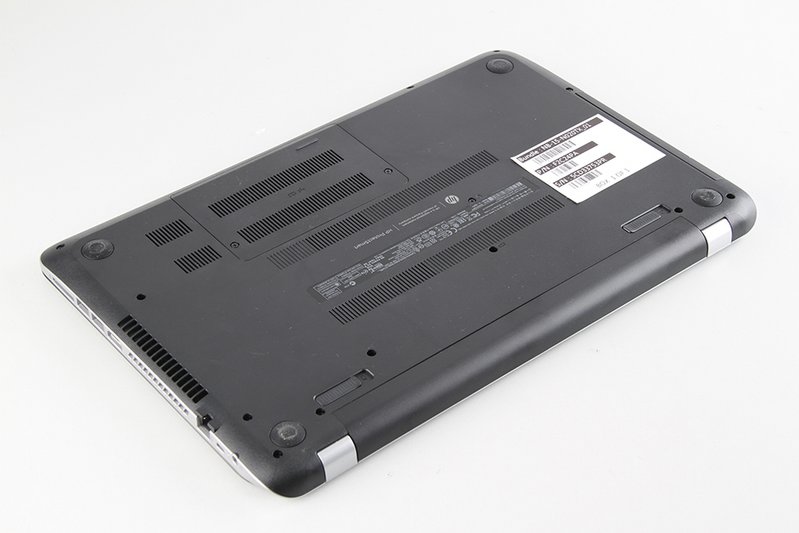
First, unlock and remove the battery, then unscrew all the screws on the service cover.
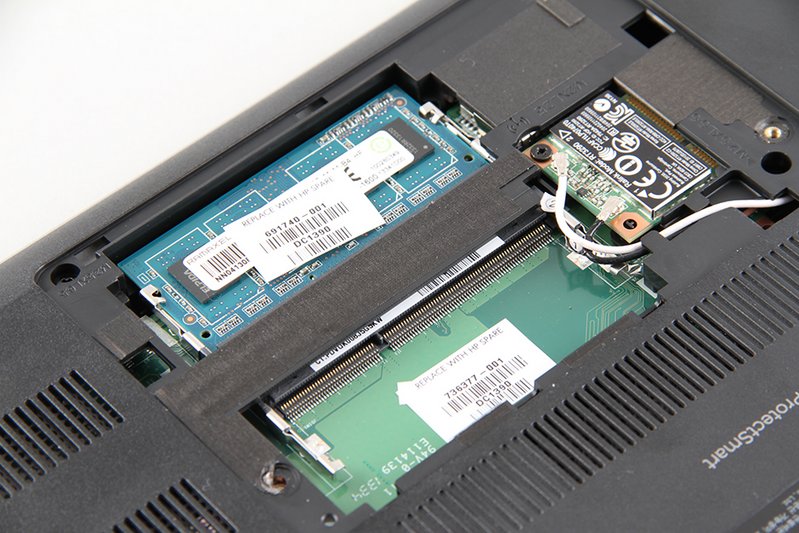
After removing the service cover, you can access the memory module and wireless card.
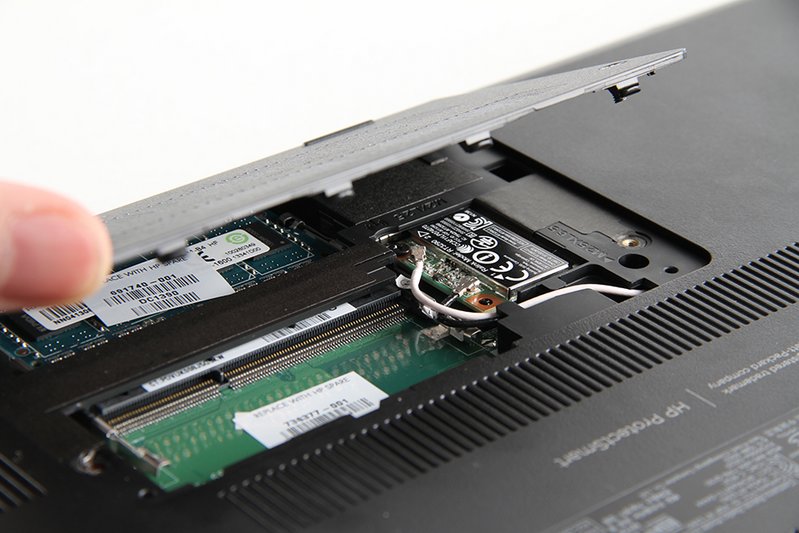
The HP Pavilion 15 laptop has two memory slots and comes with one memory module pre-installed, so you can upgrade the memory.
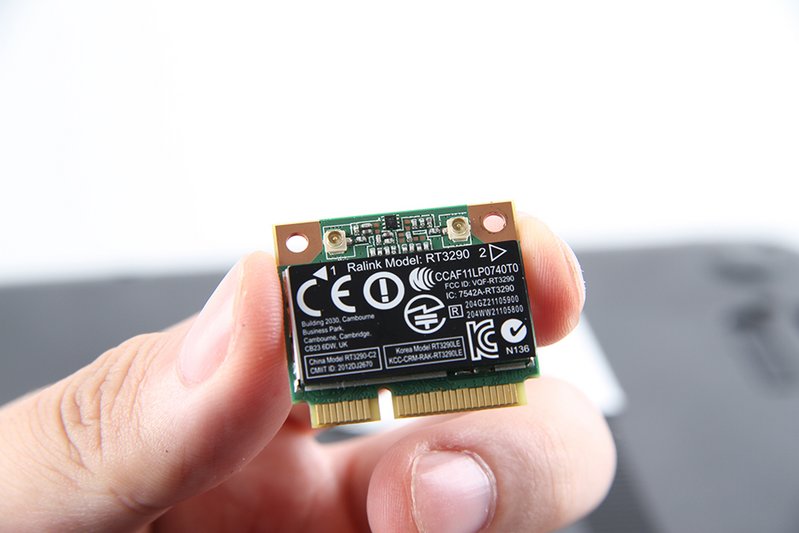
Remove the screw securing the wireless card.
Disconnect two antennas, and you can remove the wireless card.

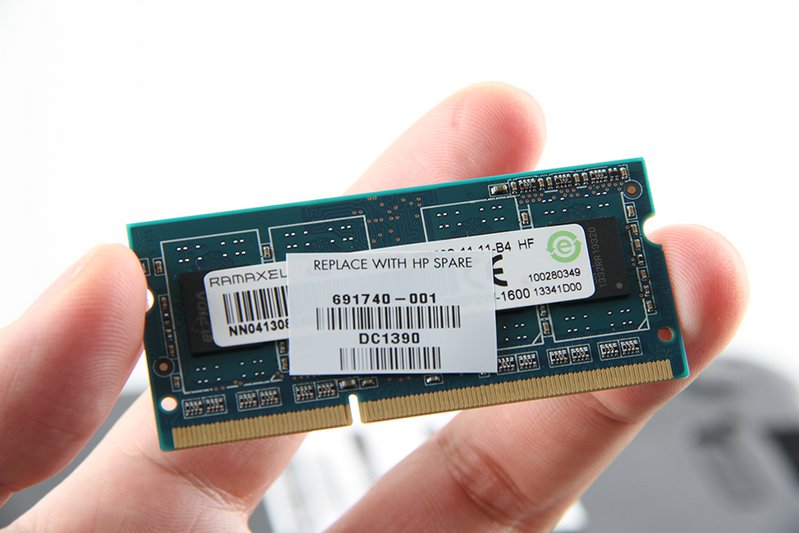
The laptop comes with 4GB RAM, HP part number: 691740-001.
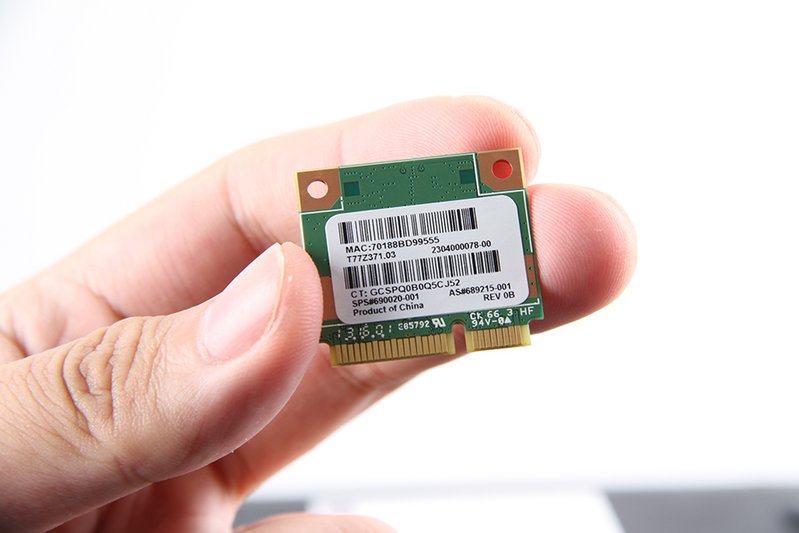
Close-up of the Ralink RT3290 wireless card, HP P/N: 690020-001.
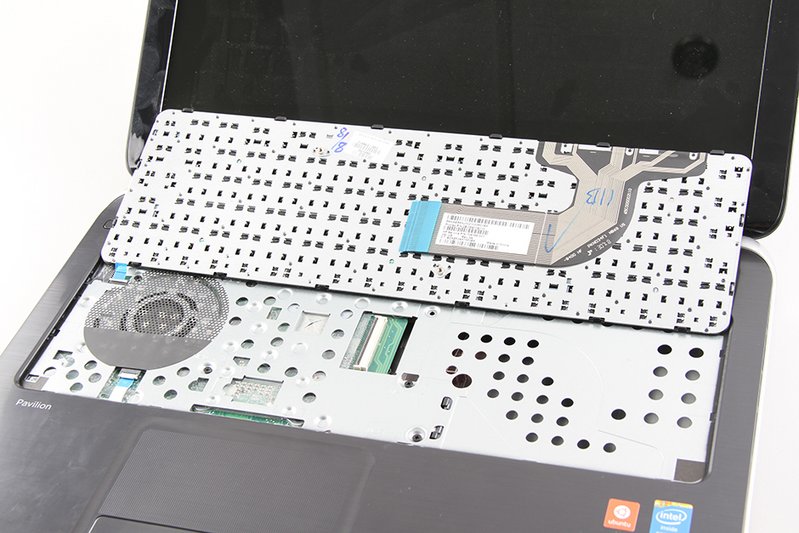
Turn over the laptop and open it up to remove the keyboard.
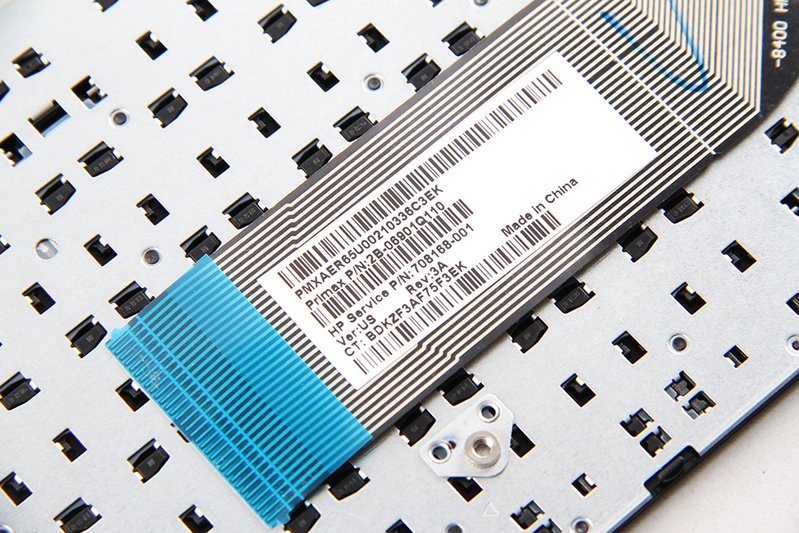
The part number of the keyboard is 708168-001.
The netty air outlet on the palm rest.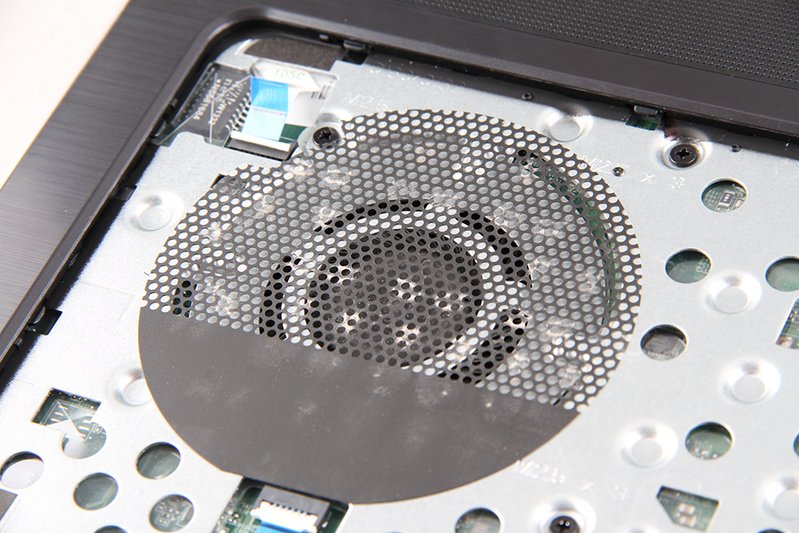
Unplug all the cables and remove the screws on the palm rest.
Pry up and remove the palm rest.
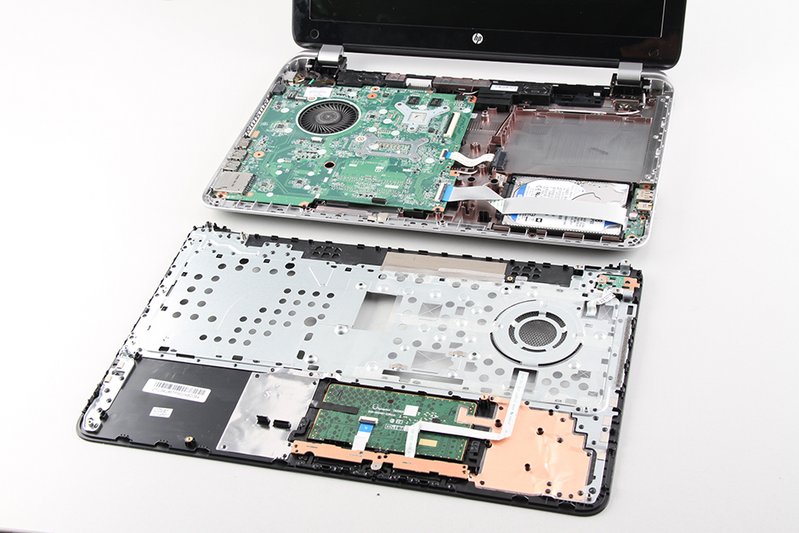
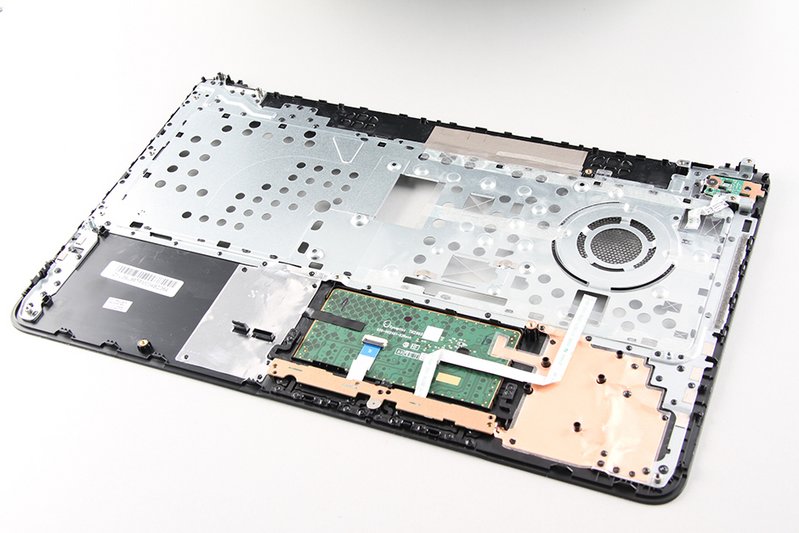
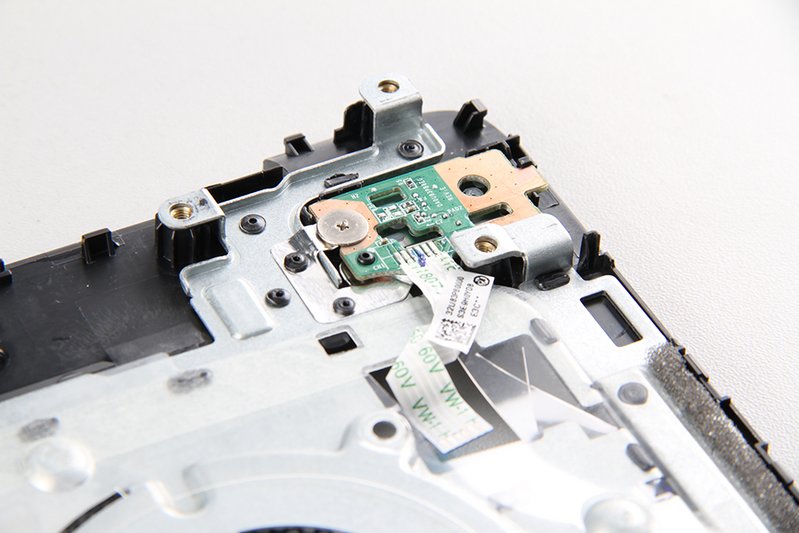
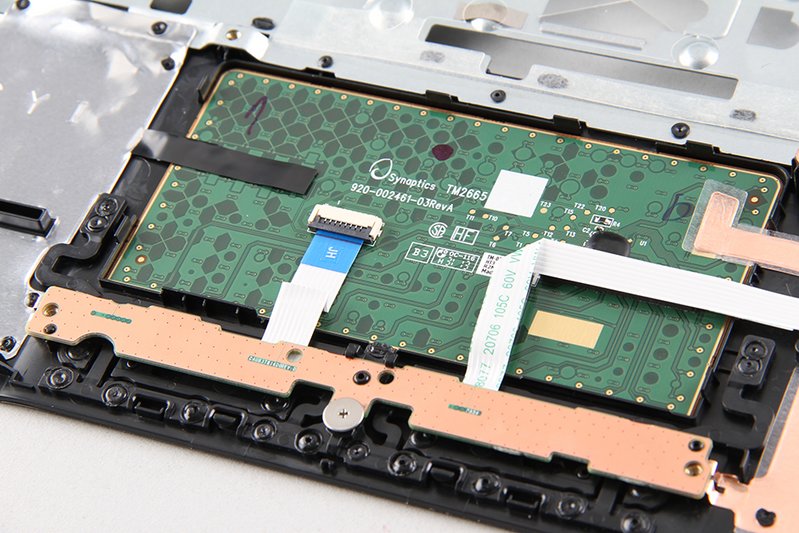
On the back of the palm rest, you can access the touchpad.
The CPU fan on the motherboard is related to the place mentioned above.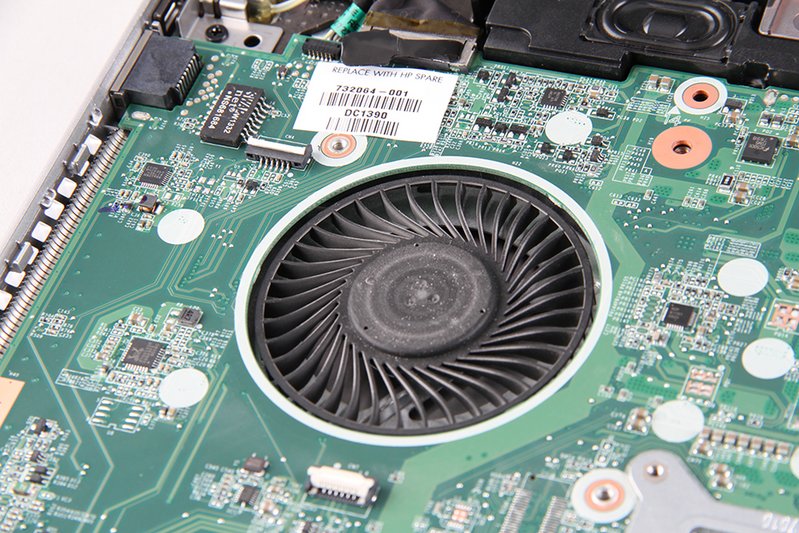
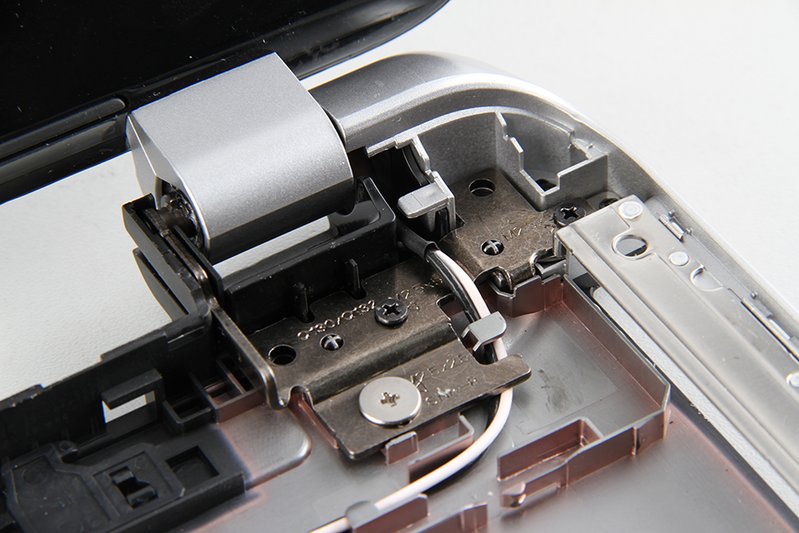
Remove the screws securing the screen hinges to remove the screen assembly. You also need to unplug the LCD cable.
Close-up of the power connector.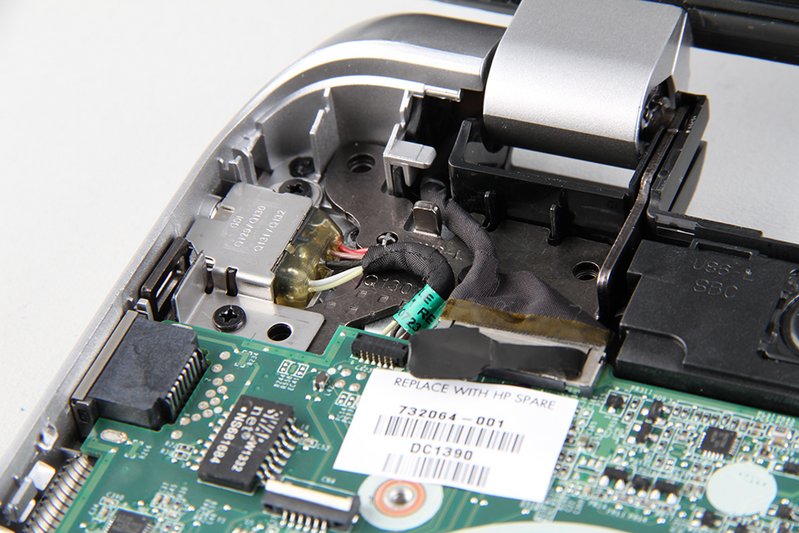
Close-up of the speakers.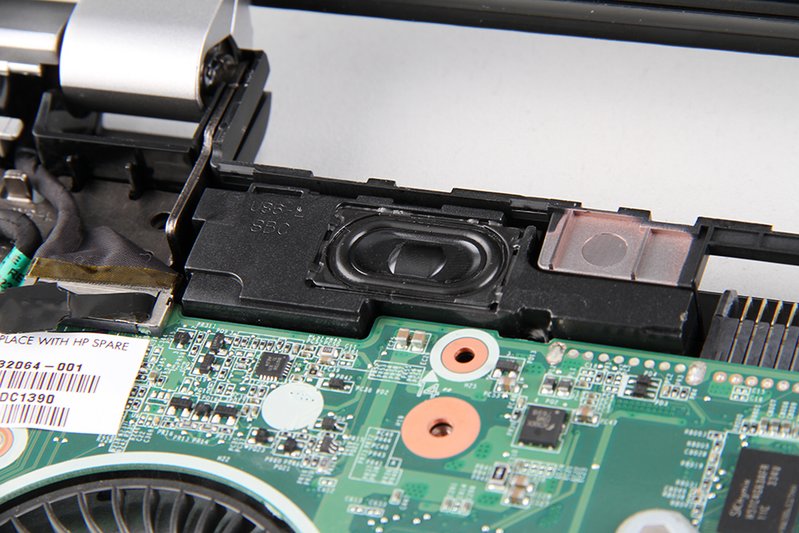
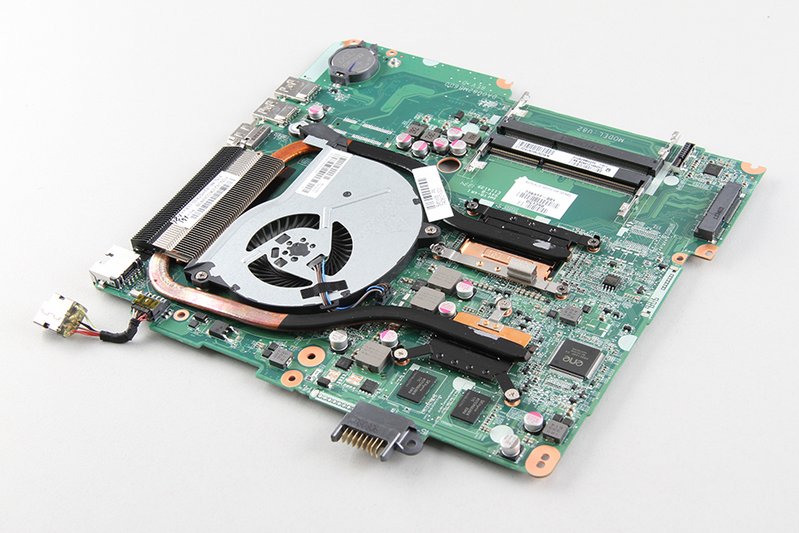
Unplug all cables, unscrew all screws on the motherboard, and then remove the motherboard.
Unplug the fan and remove the screws to remove the CPU fan.
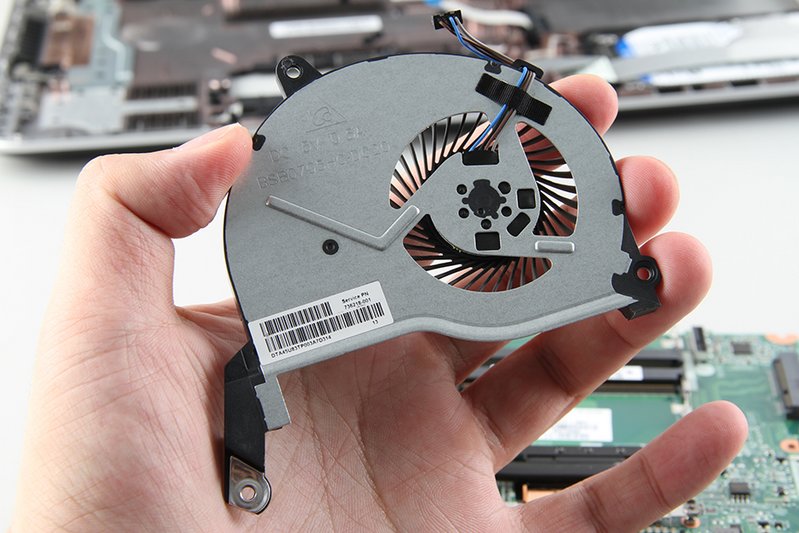
Close-up of the back of the fan.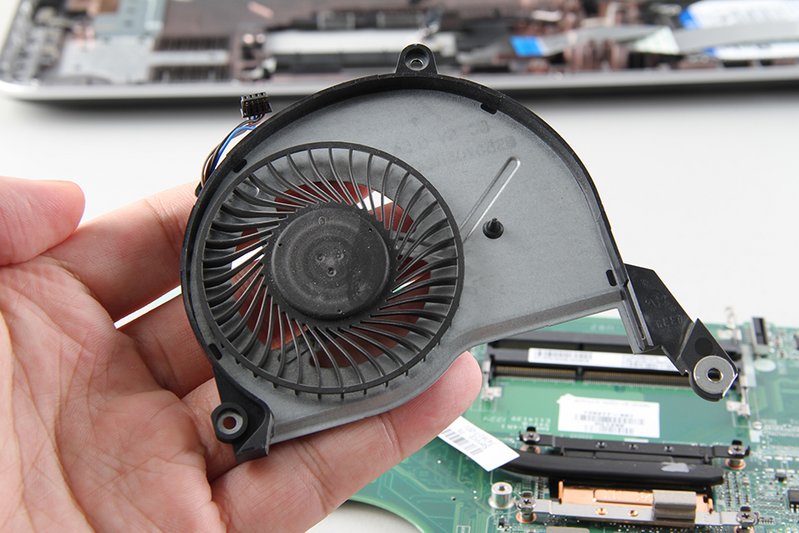
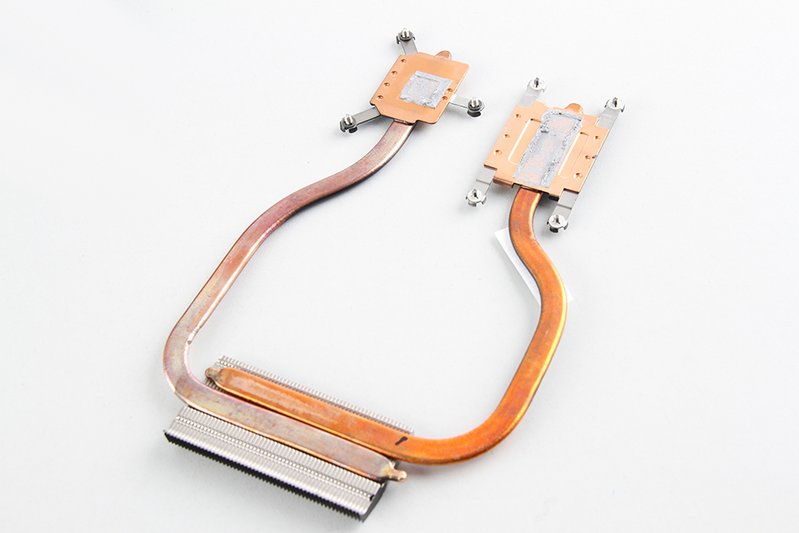
Loosen the screws in the order indicated on the heat sink, then remove the heat sink.
Close-up of the motherboard after removing the cooling system.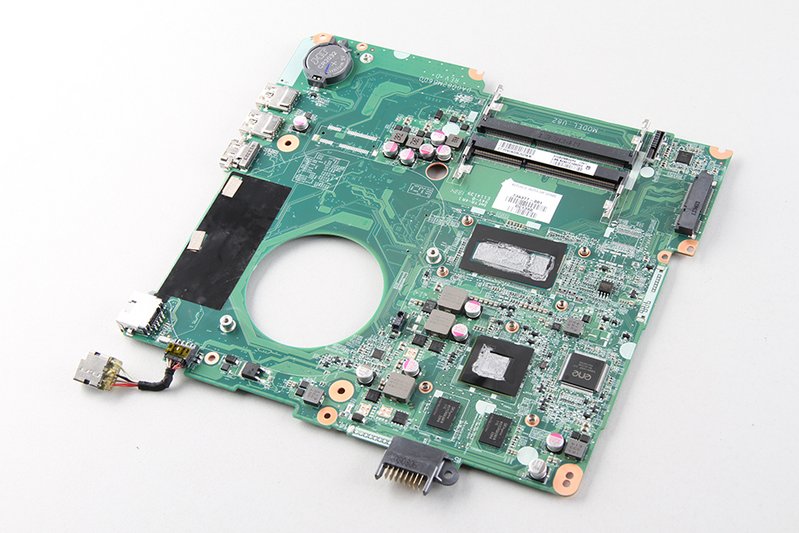
Close-up of the remaining parts of the bottom cover.
Close-up of the processor.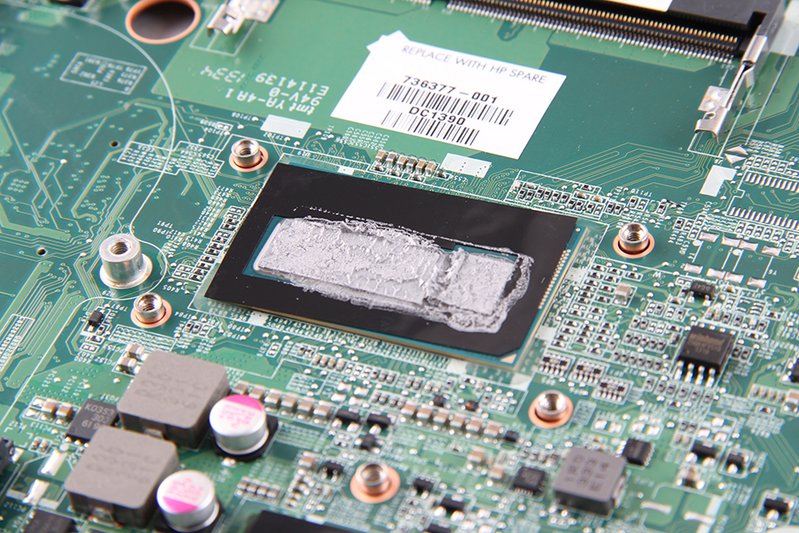
Close-up of the removed parts together.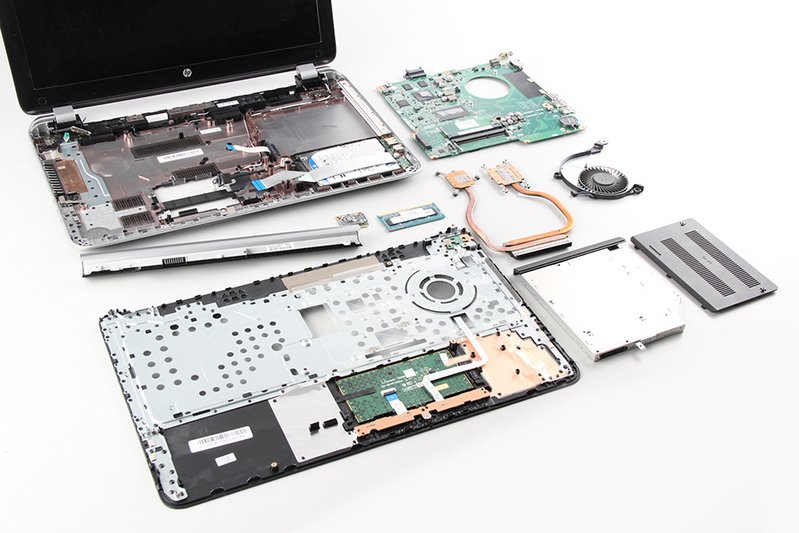
This is the complete disassembly process for the HP Pavilion 15 laptop. For the Pavilion 15 service manual, please visit hp.com to download.
What about the hard drive? Do we have to get to the last picture to replace it? And the optical drive?
Thanks!
Remove one screw on the bottom case, and then the optical drive can be removed. If you want to replace the hard drive, you should disassemble the whole laptop.
Thanks, this really helped me.
It’s one of the crappiest assemblies I have ever seen.
I tried to remove the small RAM cover, but I couldn’t do it. It was held in place by 2 screws. I unscrewed those, and then I tried to force the cover open using a plastic card, which is my usual method if I need a bit of leverage because it avoids damaging the plastic.
No movement, NADA. The thing is stuck there. Is there anything keeping the cover in place except the 2 screws on it?
I also tried the card on the panel edges, but nothing happened. Maybe I will try again.
But god, such a complicated and crappy design.
I wanted to replace the hard drive, but after successfully removing the keyboard, I am clueless about how to remove the palm rest/cover. “Pry open”? It seems impossible without breaking something.
Among many websites, there is one that shows how to do it. I cannot remember which one it is.
Start at the front and work to the sides. It’s a pity that I’m providing this information after two years. HP should be able to provide a sane website.
How do I add an Nvidia card to the display adapter and change the processor?
Would the laptop still work/open without connecting Ralink?