In this guide, I will disassemble the Lenovo ThinkPad X1 Carbon and remove the back cover, SSD, HDD, memory, keyboard, palm rest, screen, wireless card, battery, and other components.
Follow us on Facebook for the latest updates from MyFixGuide.com.
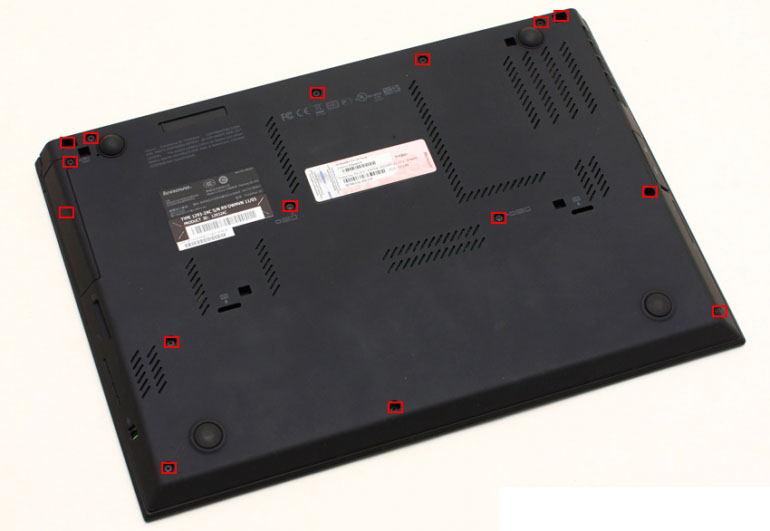
First, remove all the visible screws on the bottom cover.
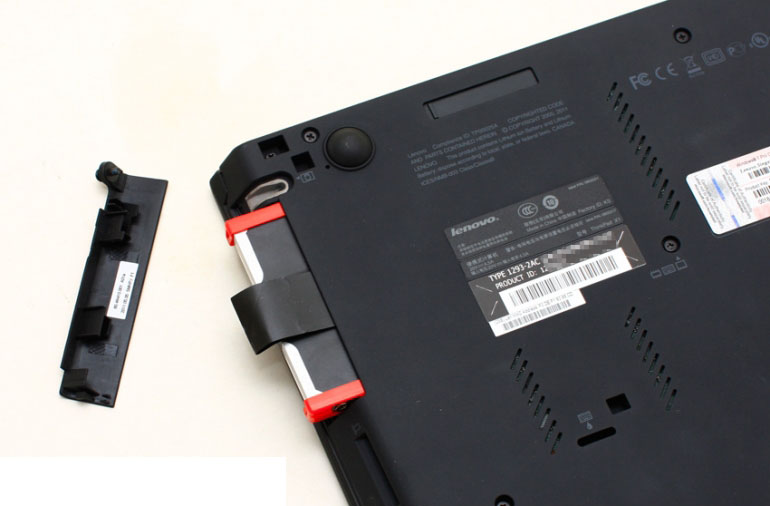
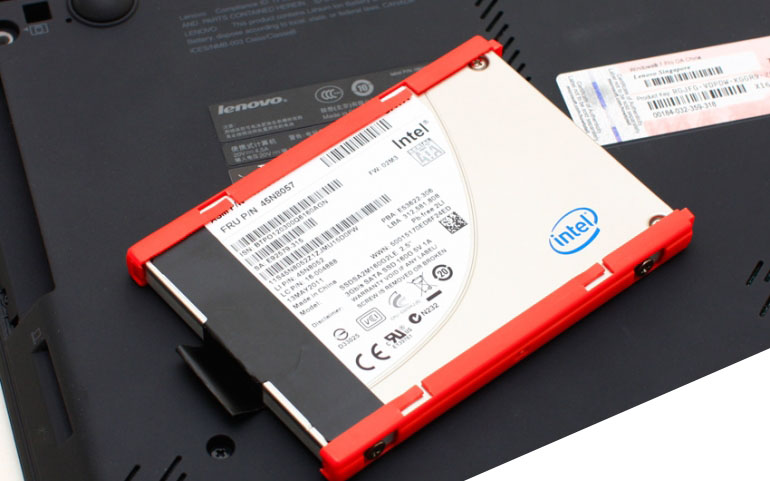
Remove the hard drive cover, lift the black tab, and pull out the hard drive with a little force.
It comes with an Intel X25-M G2 160GB SSD manufactured using a 34-nanometer process.
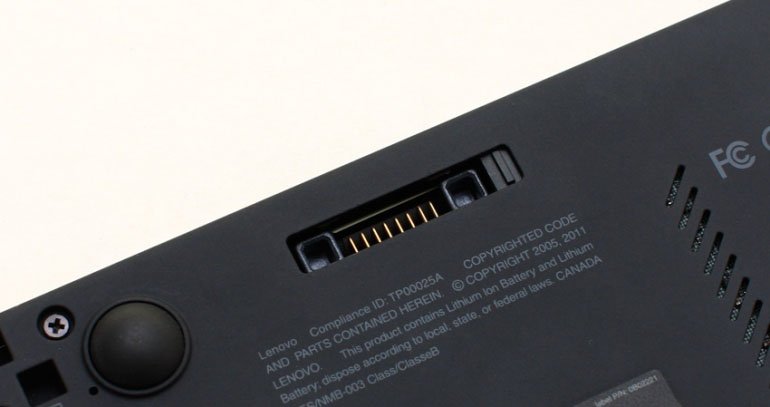
It does not support the port docking station, but it can connect to the battery base.
The keyboard split hole on the bottom cover is a notable feature of the ThinkPad.
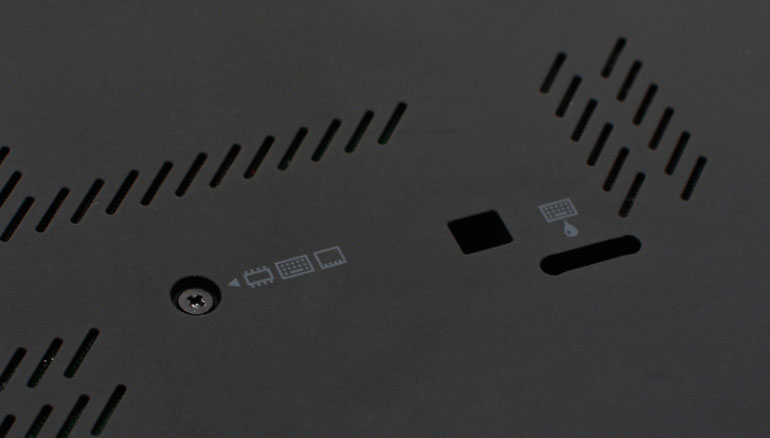
Unscrew all the screws on the bottom cover, and the keyboard can be removed.
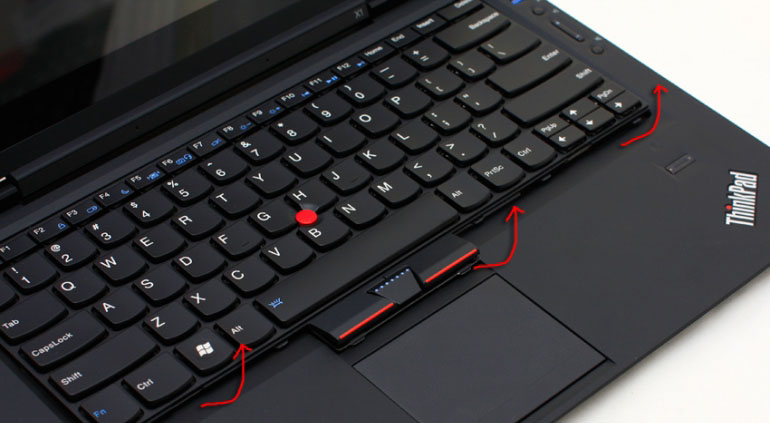
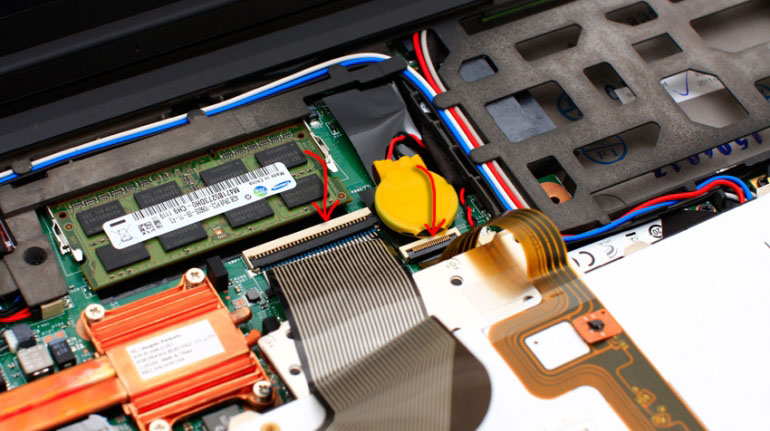
There are two cables connected to the motherboard. Before removing the keyboard, we need to disconnect it from the motherboard.
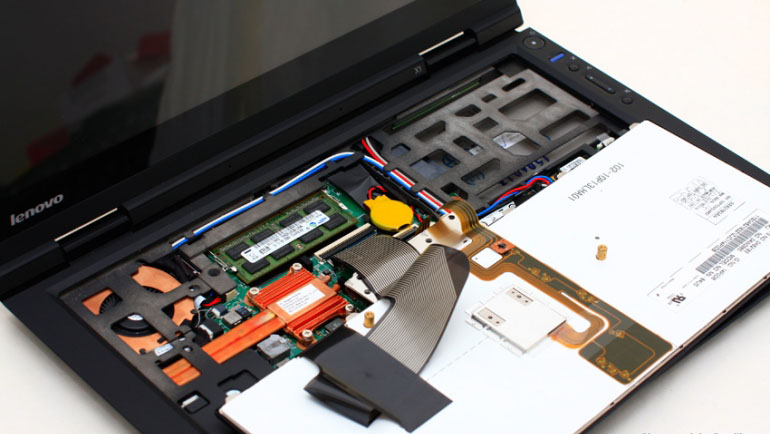
Disconnect the cable from the motherboard, as shown in the photo.
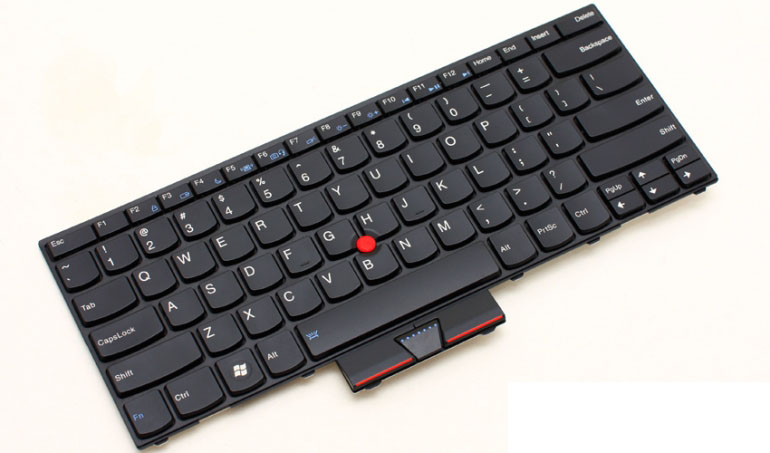
Close-up on the keyboard
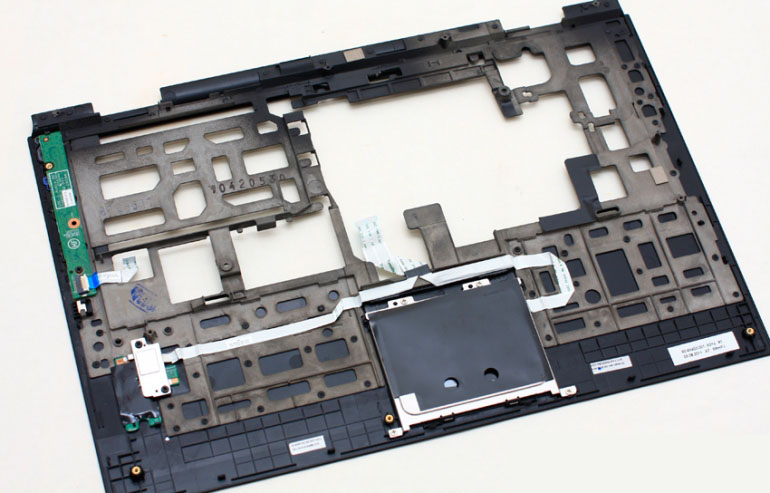
Close-up of the palm plate after removing the keyboard.
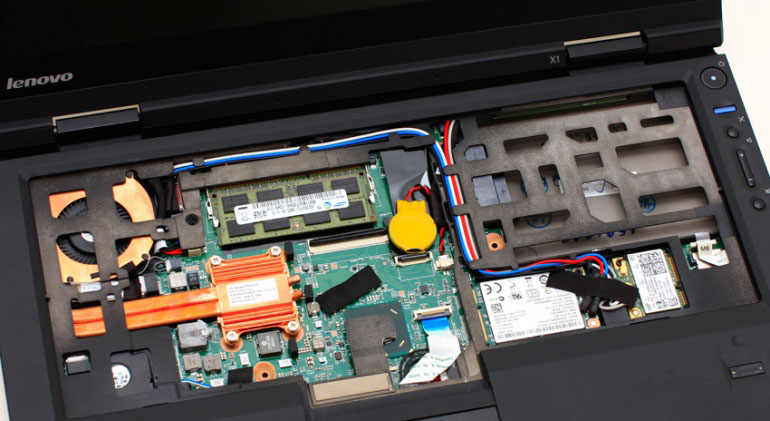
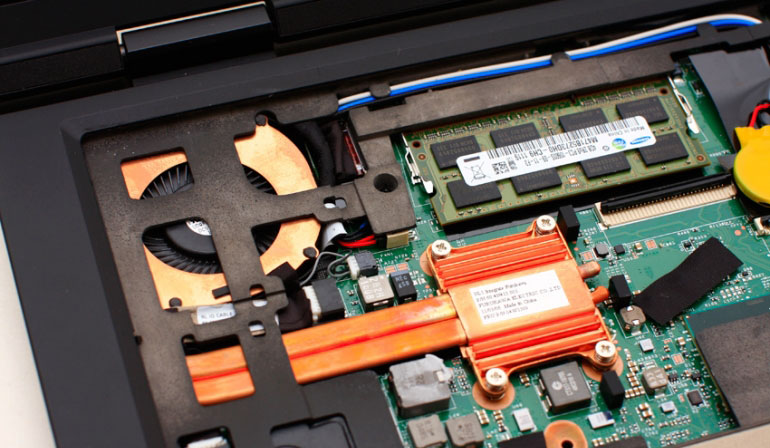
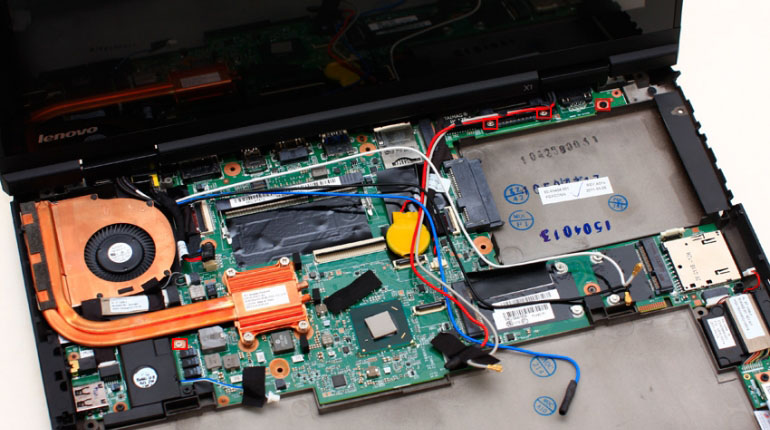
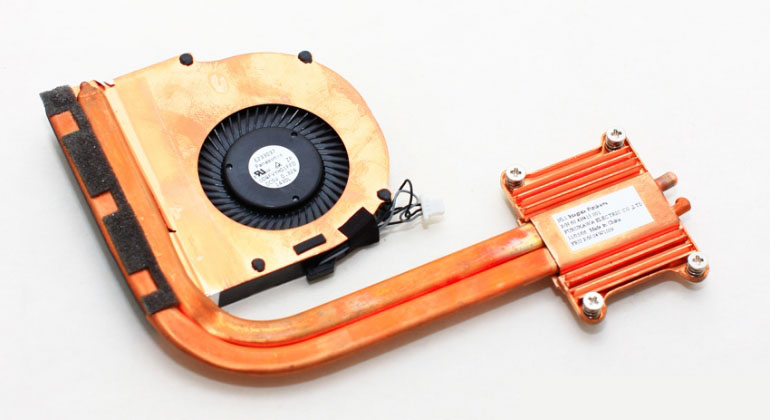
Its cooling system consists of a fan and dual heat pipes. This laptop has only one memory slot, so if you want to upgrade the memory, you will need to replace the existing memory module.
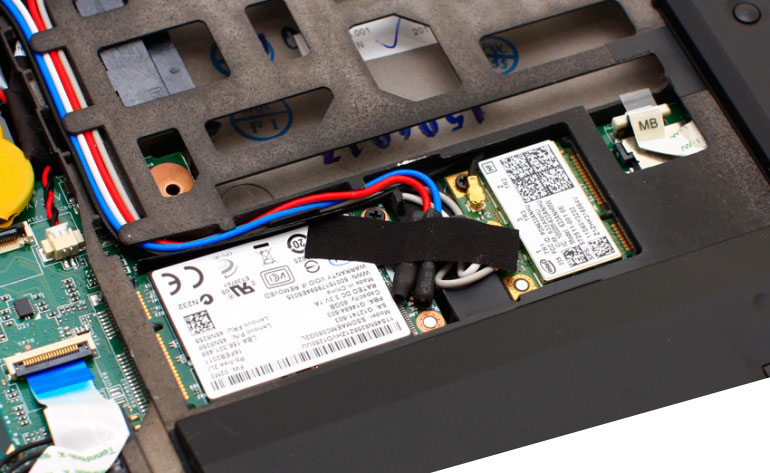
It has a reserved 3G network antenna, but it seems that there are not enough PCI-E slots.
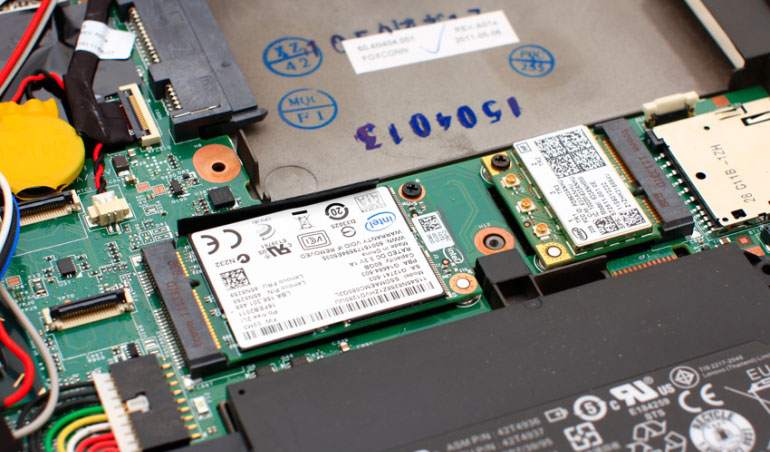
This laptop has one full-size PCI-E slot that is occupied by an mSATA SSD.
The palm rest adopts a composite structure of magnesium alloy and ABS plastic, and the plastic material of the palm rest can effectively block heat.
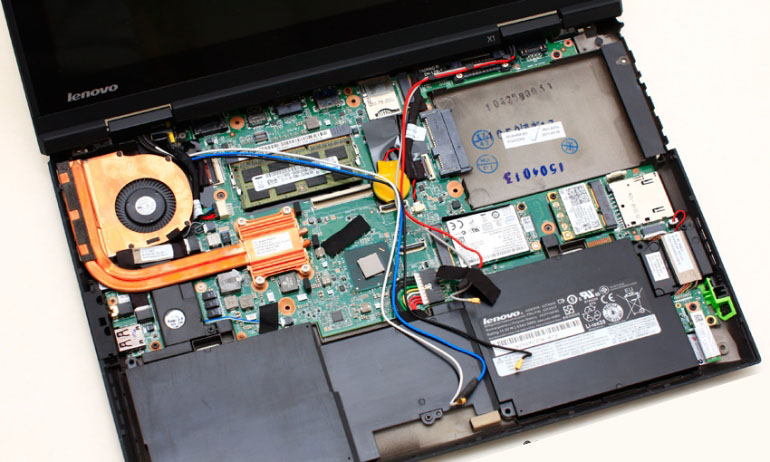
After removing the palm rest, you can access components such as the SSD, network card, fan, memory, battery, and motherboard.
The Lenovo ThinkPad X1 Carbon comes with an Intel 310 80GB mSATA SSD.
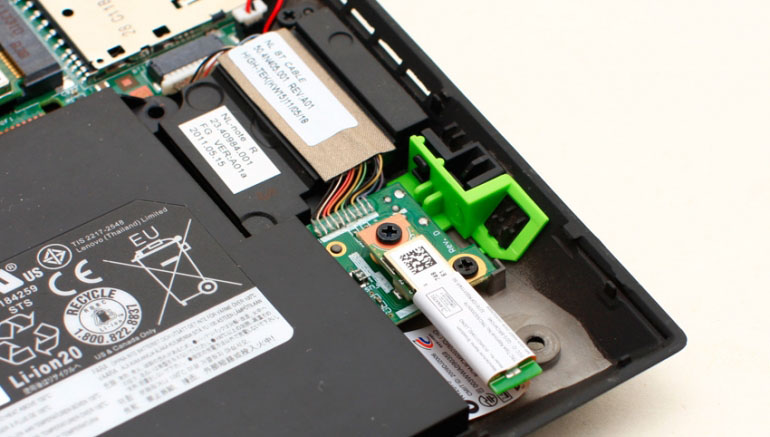
The Bluetooth module is located on the right side of the battery. To remove it, simply remove one of the screws that hold it in place.
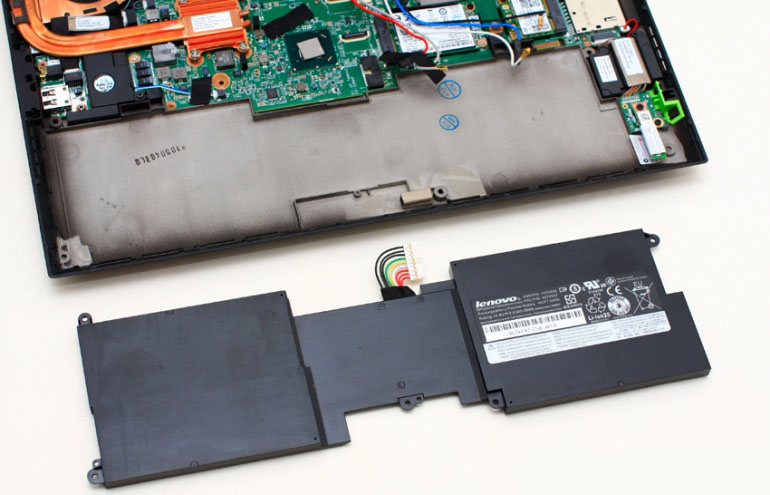
Remove the screws securing the battery and disconnect the cable from the motherboard to remove the battery.
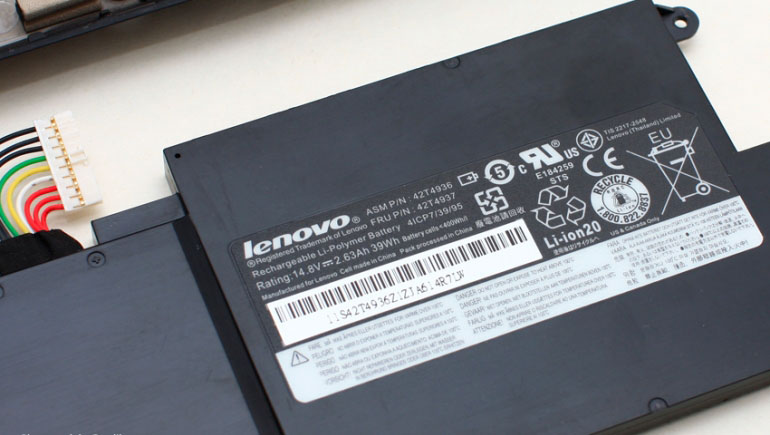
The battery capacity is 39Wh.
After removing the battery, you also need to remove the hinge.
On the back of the laptop, there are two screws on each side of the hinge. Simply unscrew them.
You also need to disconnect the screen cable and antenna from the motherboard.
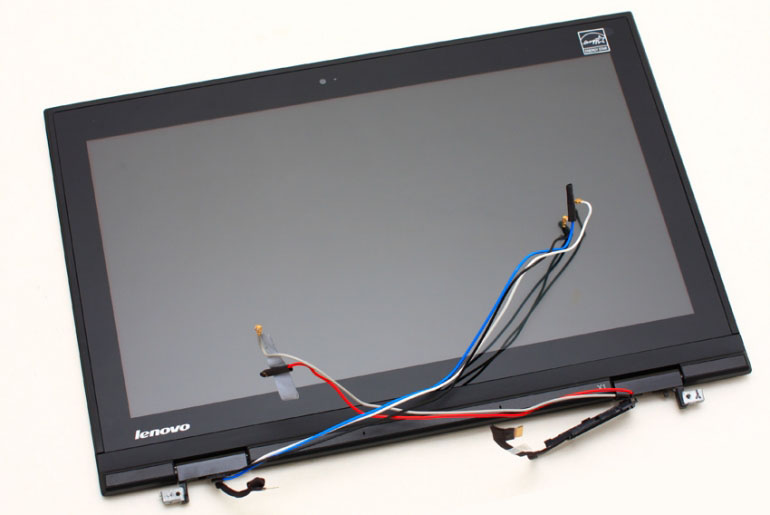
Close-up of the screen assembly.
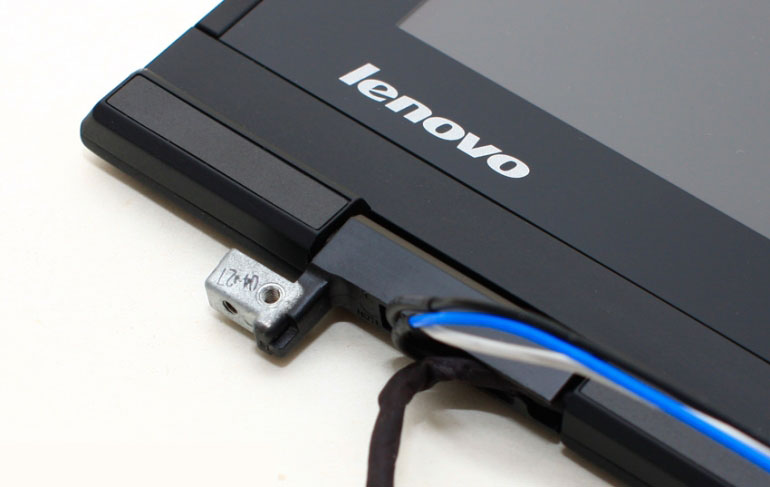
Close-up of the screen hinge.
Remove the screws securing the motherboard and disconnect all cables connected to the motherboard. Lift the motherboard from one side to remove it.
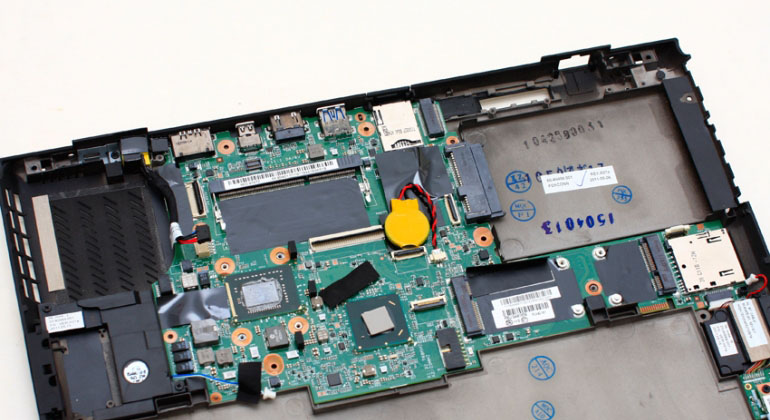
This is the back cover after removing the motherboard. It is made of magnesium alloy.
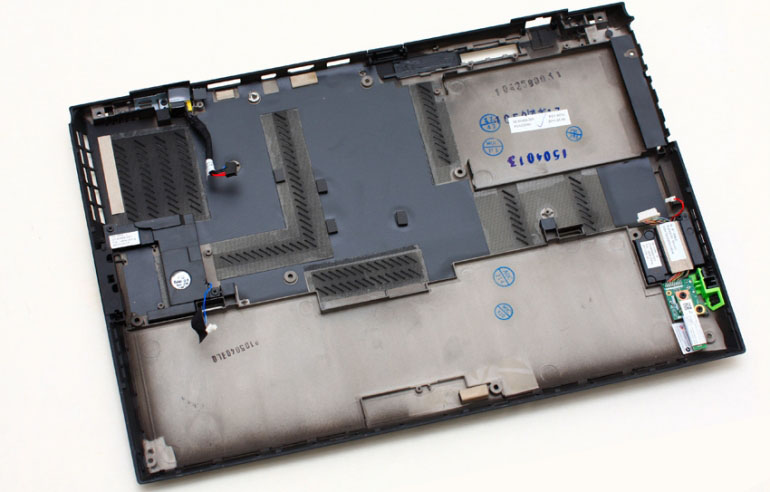
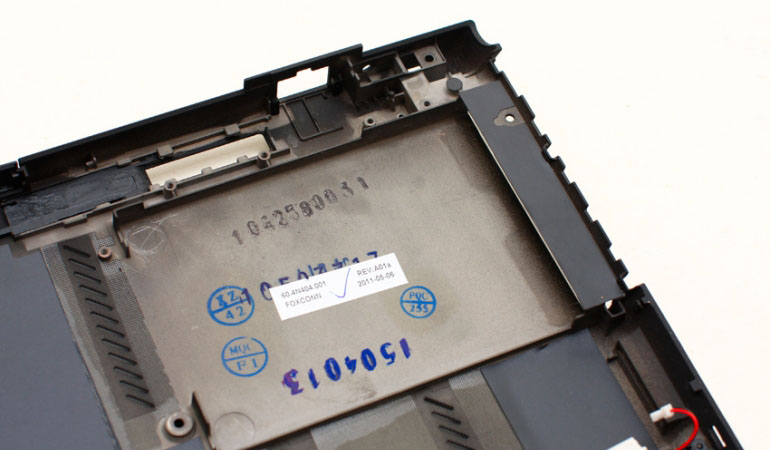
The label here indicates that the bottom cover was manufactured by Foxconn.
Although the cooling system uses dual heat pipes and copper materials, the X1 Carbon’s temperature control is not ideal due to the small size of the fan.
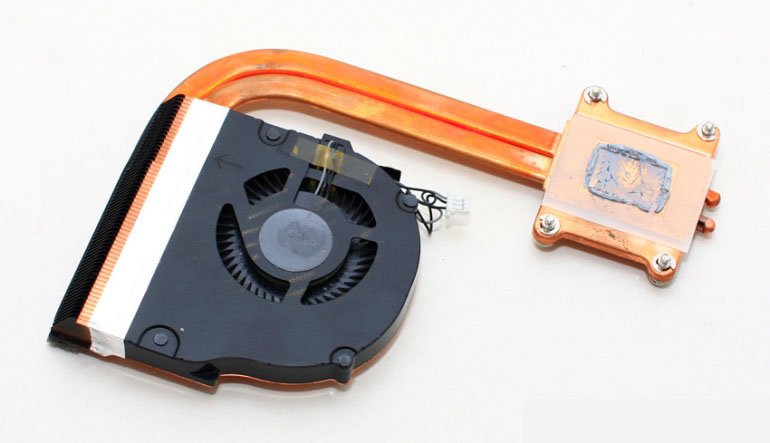
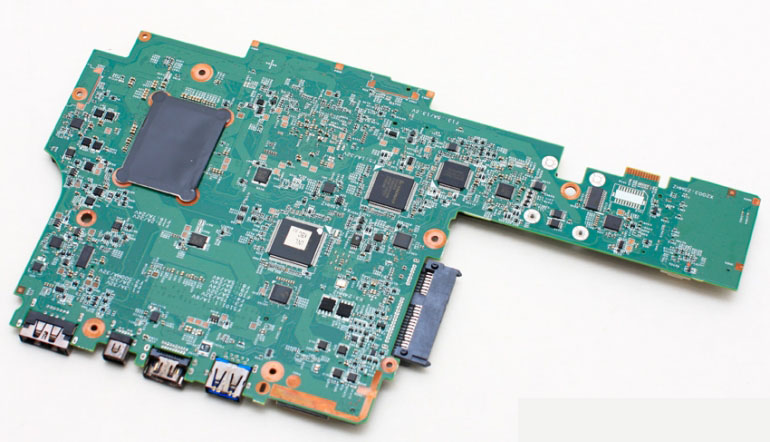
Close-up of the back of the heat dissipation module.
This is the front view of the motherboard. The i5-2520M is soldered directly to the motherboard. It cannot be replaced.
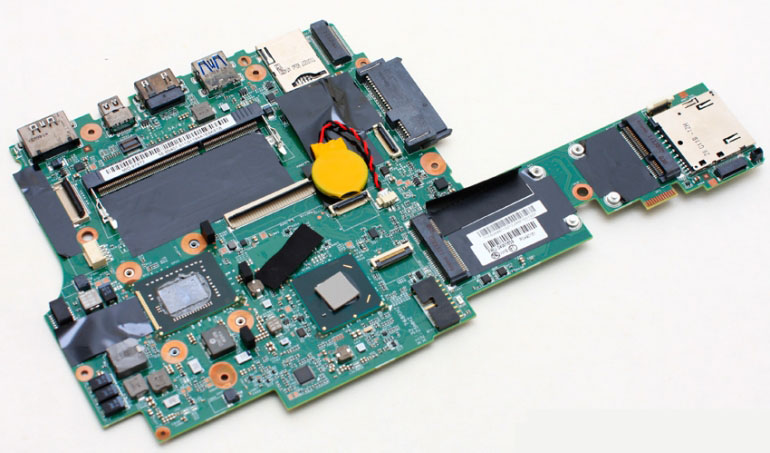
Close-up of the Lenovo Thinkpad X1 Carbon motherboard.
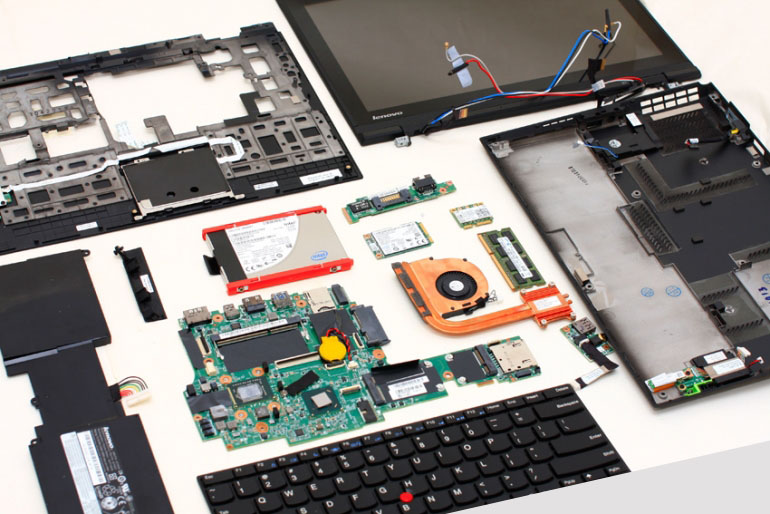
A group photo of the components. The wireless network card model for the ThinkPad X1 Carbon is 6300AGN.

At this point, the disassembly of the ThinkPad X1 Carbon is complete. This is a group photo of all the parts.