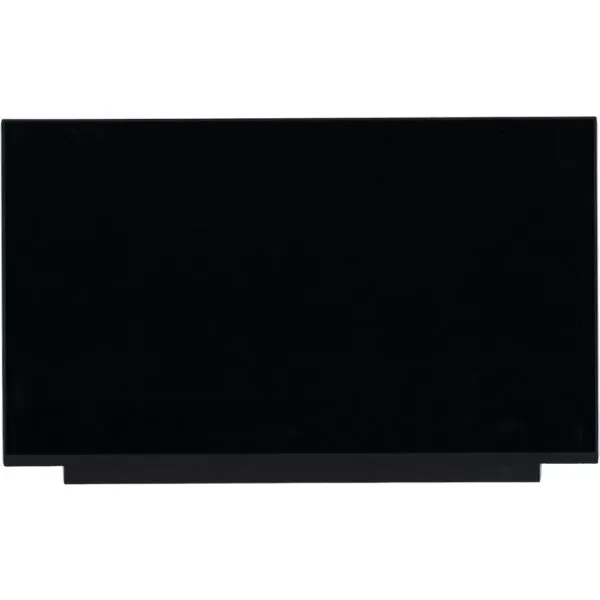
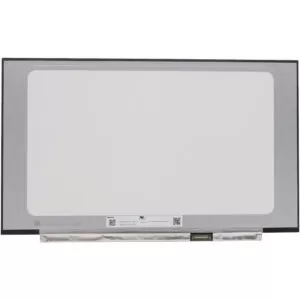
This is a new FHD WQHD screen for Asus ROG Strix SCAR 15 2021 G533QM G533QR G533QS and Asus ROG Strix SCAR 15 2022 G533ZX G533ZM G533ZW G533ZS gaming laptops.
The screen of the Asus G533 series has two resolutions: 1920×1080 and 2560×1440. Please select the correct resolution in the drop-down menu.
Make sure to choose the same resolution as your old screen. Otherwise, it won’t be compatible with your laptop.
We’re giving away 2 easy-stretch adhesives shipped with the screen.
Features:
1. The screen is a 100% new screen.
2. This screen has the same specifications as your original screen.
3. Each screen is rigorously tested to ensure that it has no dead pixels.
Specifications:
G533Q Series
15.6″, 1920×1080, IPS, 300nits, 300Hz, 100% sRGB, Anti-glare
15.6″, 2560×1440, IPS, 300nits, 165Hz, 100% DCI-P3, Anti-glare
G533Z Series
15.6″, 1920×1080, IPS, 300nits, 300Hz, 100% sRGB, Anti-glare
15.6″, 2560×1440, IPS, 300nits, 240Hz, 100% DCI-P3, Anti-glare
Touch: Non-Touch
Connector: 40 pins
Aspect Ratio: 16:9
Condition: New, No Dead Pixels
Warranty: One (1) Year
Compatible Laptops:
ROG Strix SCAR 15 2021
G533QR-DS76Q
G533QR-XS98Q
G533QS-DS98
G533QS-XS98Q
G533QS-DS94
G533QS-DS76
G533QS-DS96
G533QS-HQ Series
G533QS-HFSeries
G533QR-HF Series
G533QM-HQ Series
G533QM-HF Series
ROG Strix SCAR 15 2022
G533ZM-ES93
G533ZM-IS96
G533ZS-DS94
G533ZW-AS94
G533ZW-XS96
G533ZX-XS96
G533ZM-LN Series
G533ZS-HF Series
G533ZW-HF Series
G533ZX-HF Series
G533ZX-LN Series
G533ZW-LN Series
G533ZX-LN Series
Replacement Tips:
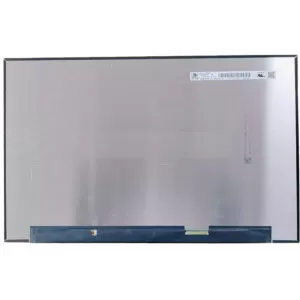
1. Please make sure the part number, specifications, and image match the original screen on your laptop.
2. To replace your screen, you have to remove the battery or disconnect the battery cable from the motherboard. This is to protect your laptop from being damaged by static electricity.
3. Insert the old card between the screen bezel and the display back cover. Pry up the screen bezel and start separating it from the back cover.
4. Slowly pull out the easy-stretch adhesive under the screen, and you can easily remove the screen.
5. Place the LCD screen on the keyboard, disconnect the display cable from the screen to remove the old screen, and then you can install the new screen on your laptop.
6. Glue the two easy-to-pull adhesives to the back cover, insert the screen cable into the screen connector, and then fix the screen on the LCD back cover.
7. You can first connect the LCD cable to your screen, then start the laptop to check that your screen is working properly, then fix the screen on the back cover and install the LCD bezel on your laptop.
Reviews
There are no reviews yet