
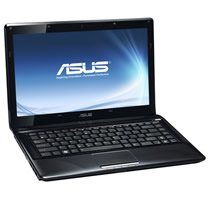
Asus LaptopAsus X401a
Asus X401a Disassembly and RAM, HDD Upgrade Options
In this guide, I’ll explain how to disassemble the Asus X401a to remove and replace the hard drive, SSD, keyboard, palm rest, wireless card, RAM, speakers, cooling fan, and motherboard.
Want to stay connected to MyFixGuide.com? Follow us on Facebook to check out the latest teardown news.
Unlock and remove the battery.
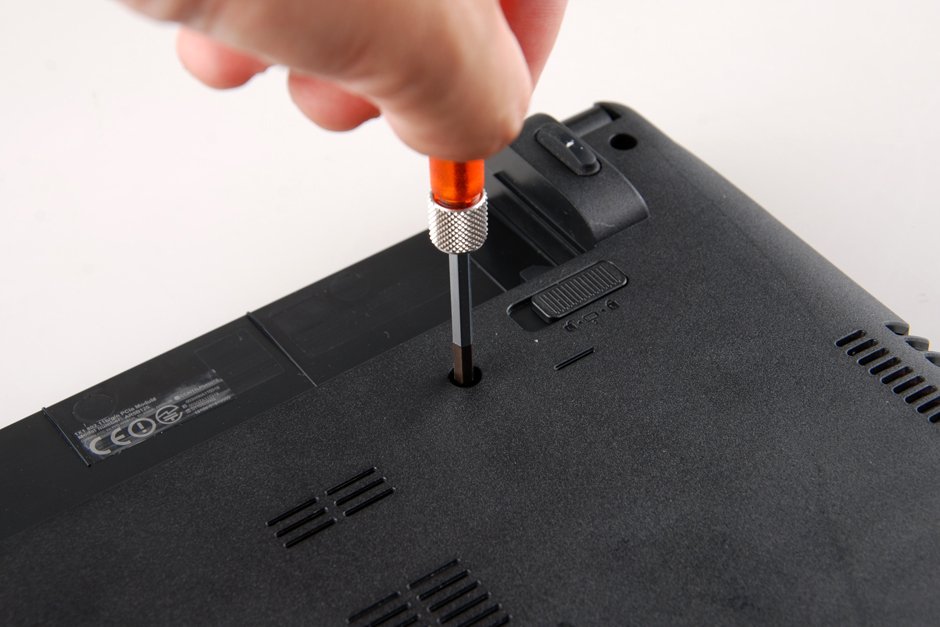
Remove all screws from the bottom case.
Turn over your laptop. Pry up the palm rest with a pay bar. Lift up the palm rest.
Be careful. There are two cables still connected to the motherboard.
Disconnect the keyboard cable and touchpad cable.
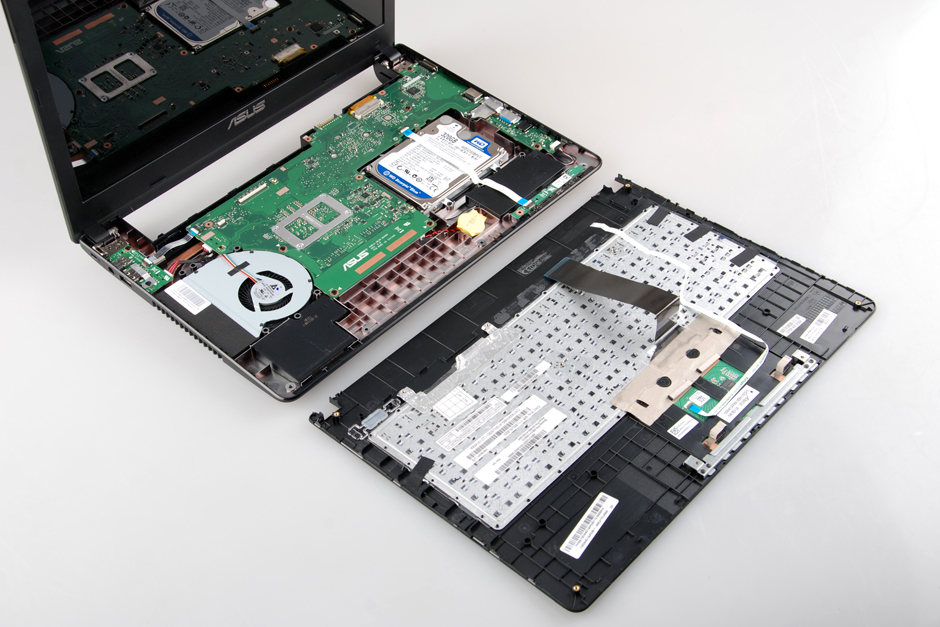
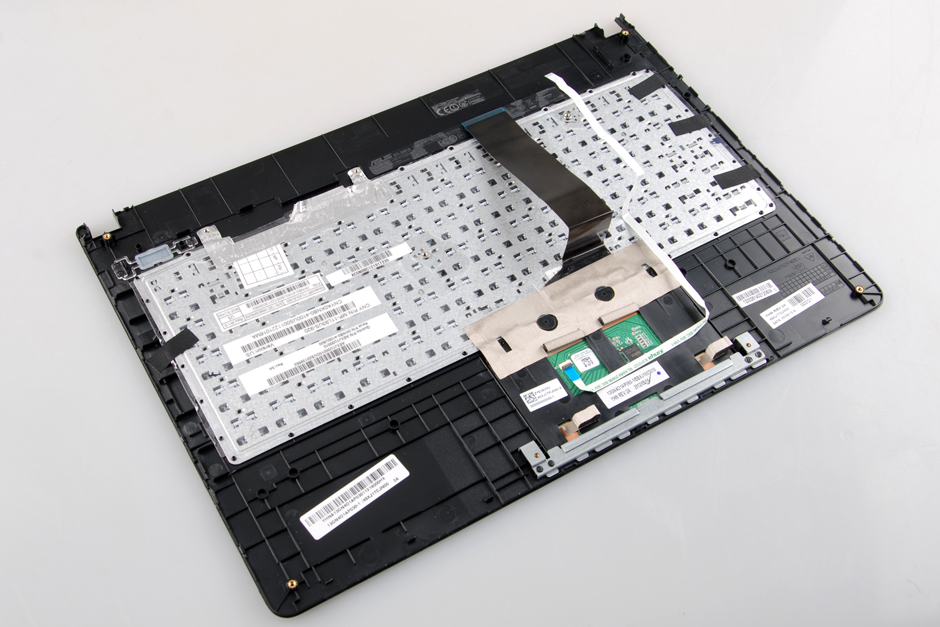
Now you can remove the keyboard and replace a new keyboard.
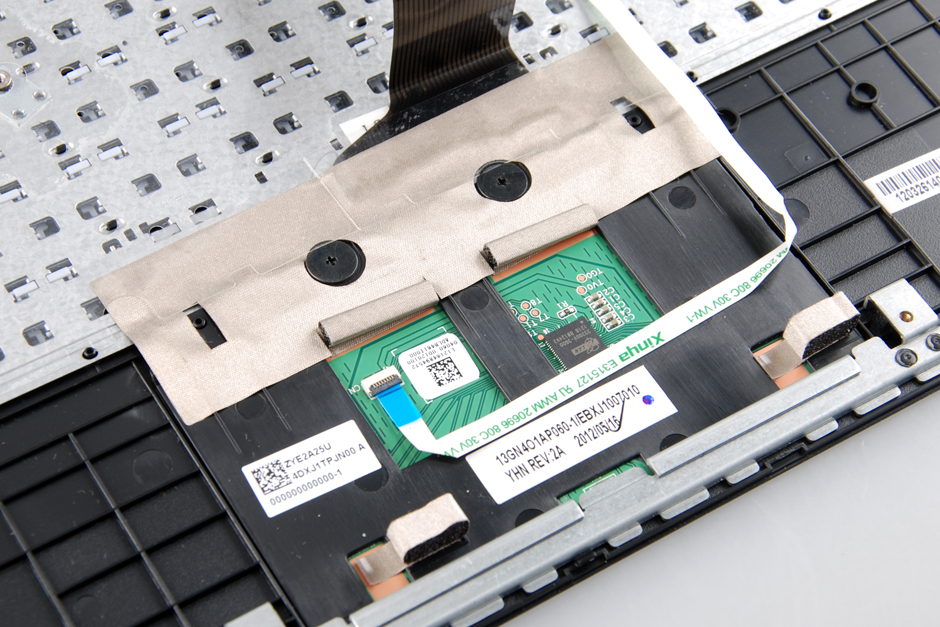
Touchpad
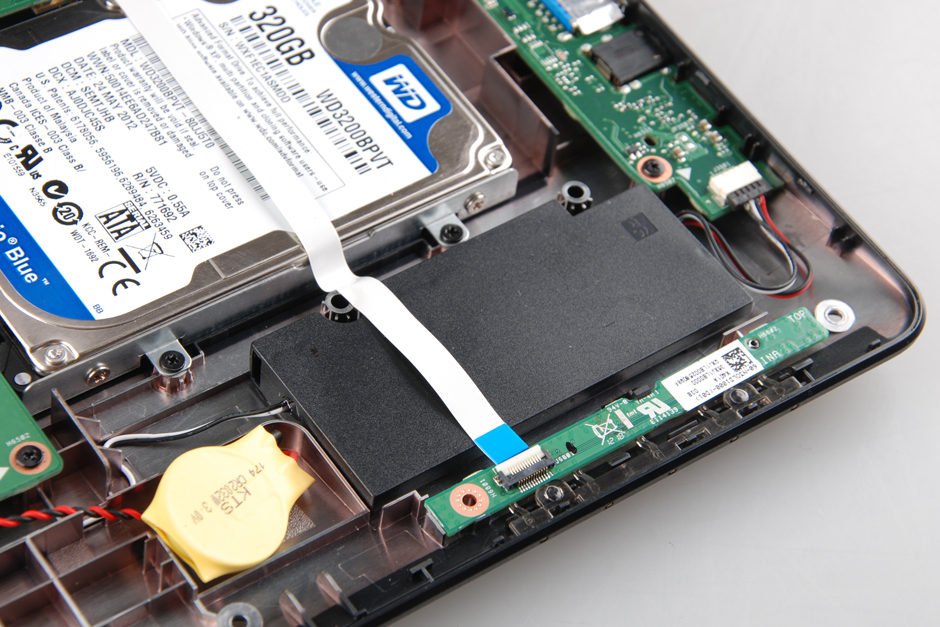
When the palm rest is removed, you can access the hard drive, cooling fan, speaker, and motherboard.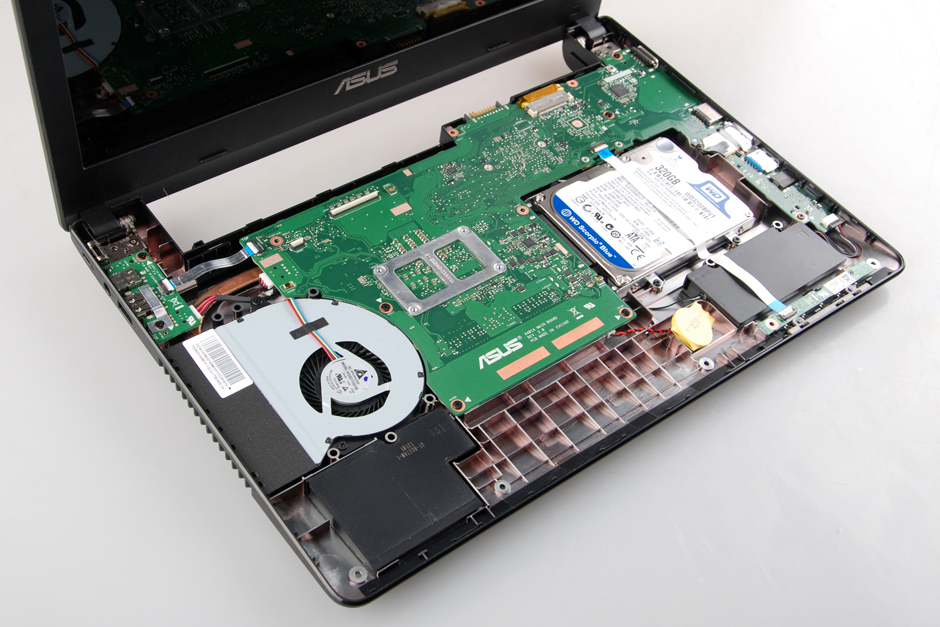
Disconnect the white cable covering the hard drive. Remove four screws securing the hard drive.
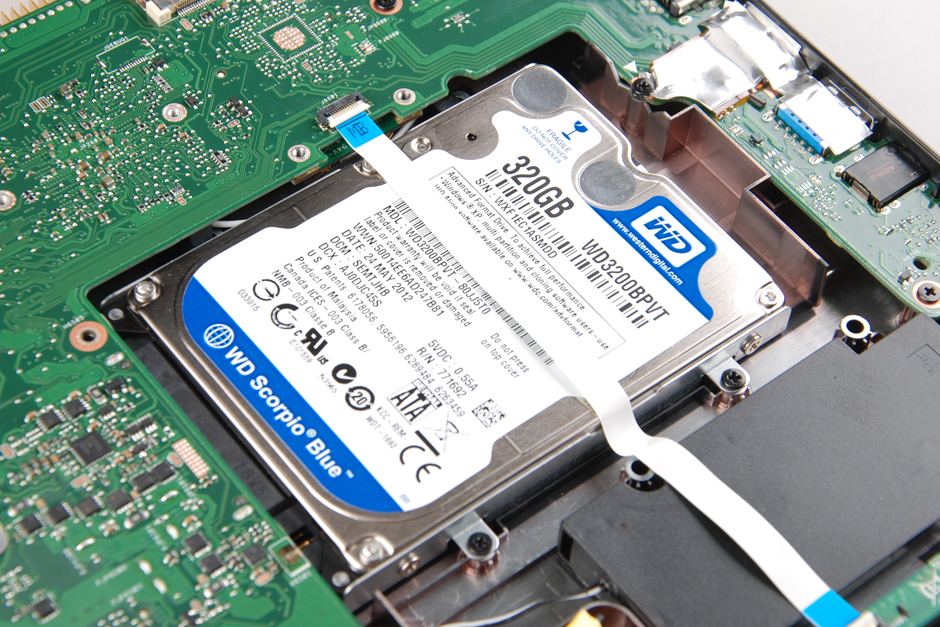
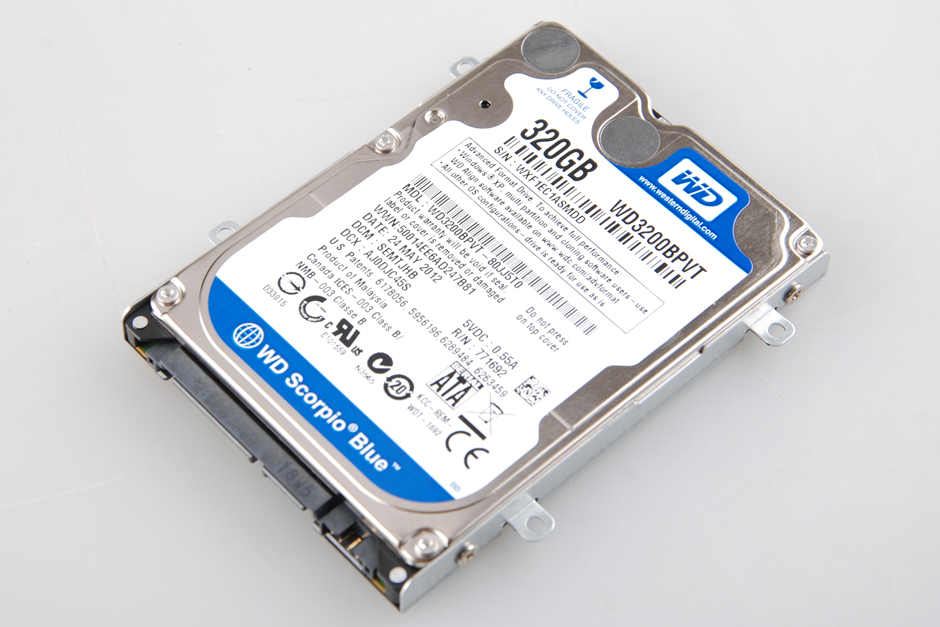
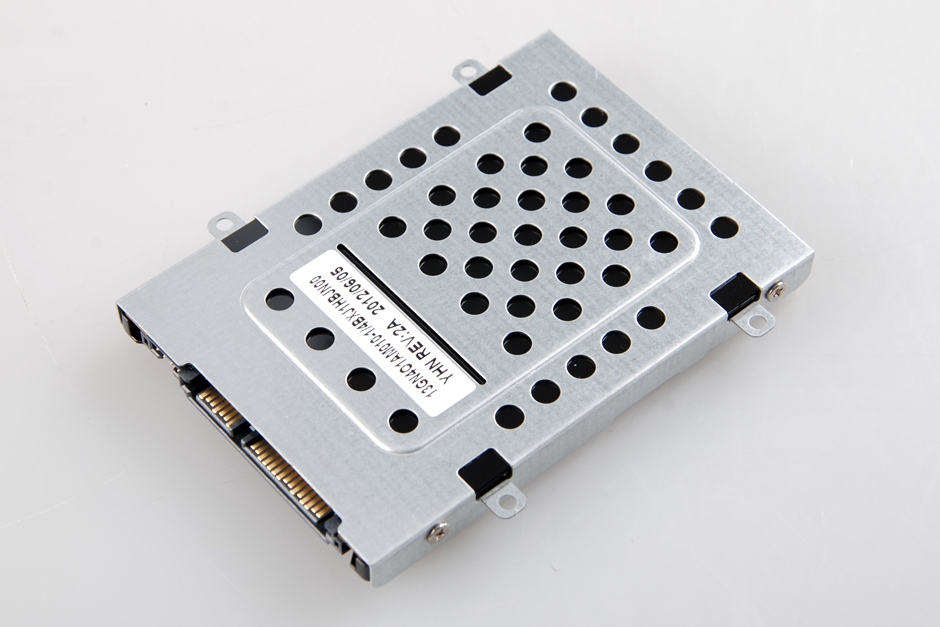
The laptop comes with a Western Digital 320GB 5400 RPM hard drive.
Asus X401a speaker
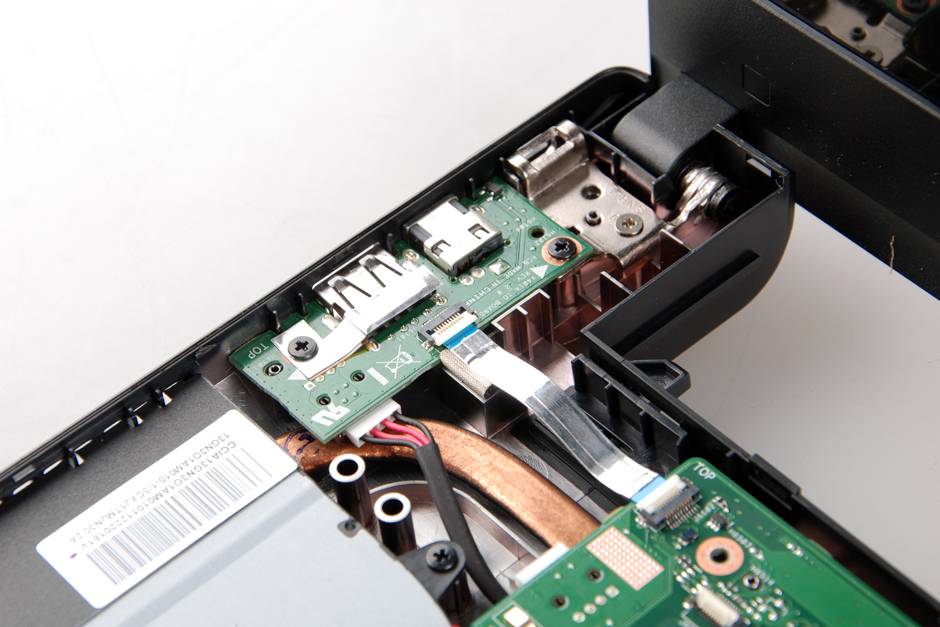
USB board.
Remove two screws and disconnect two cables. You can remove it.
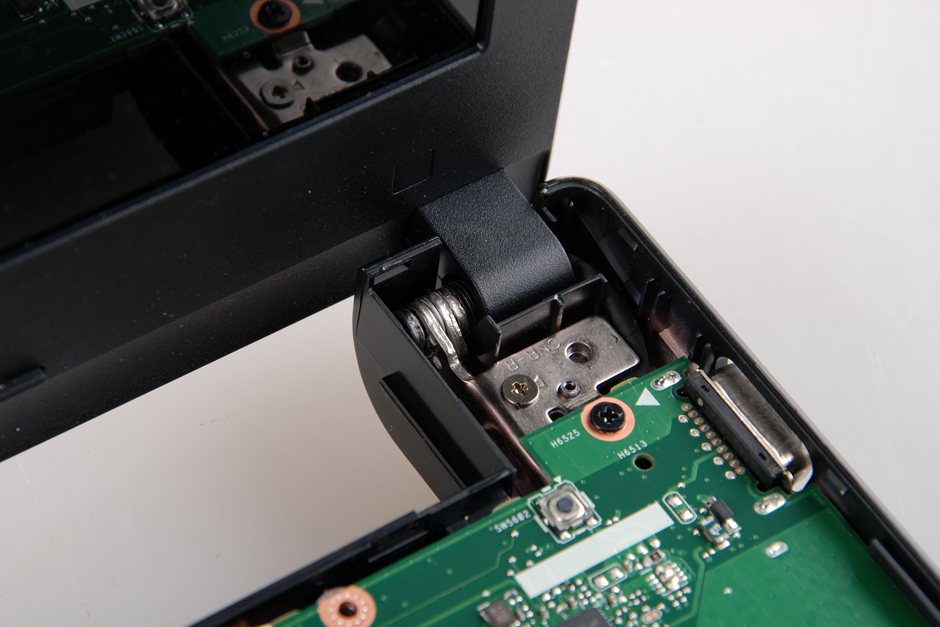
Asus X401a LCD hinge
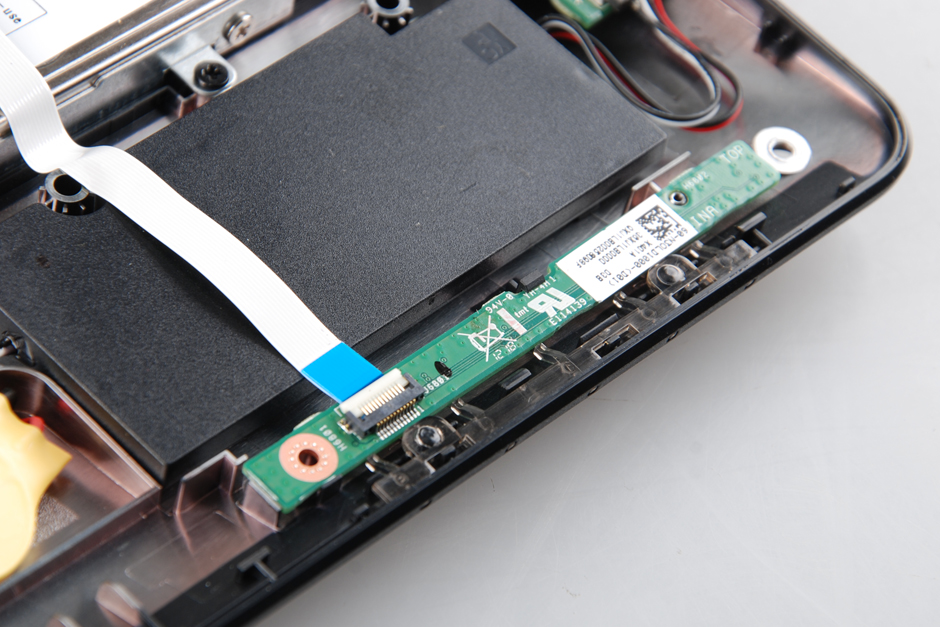
Indicator board
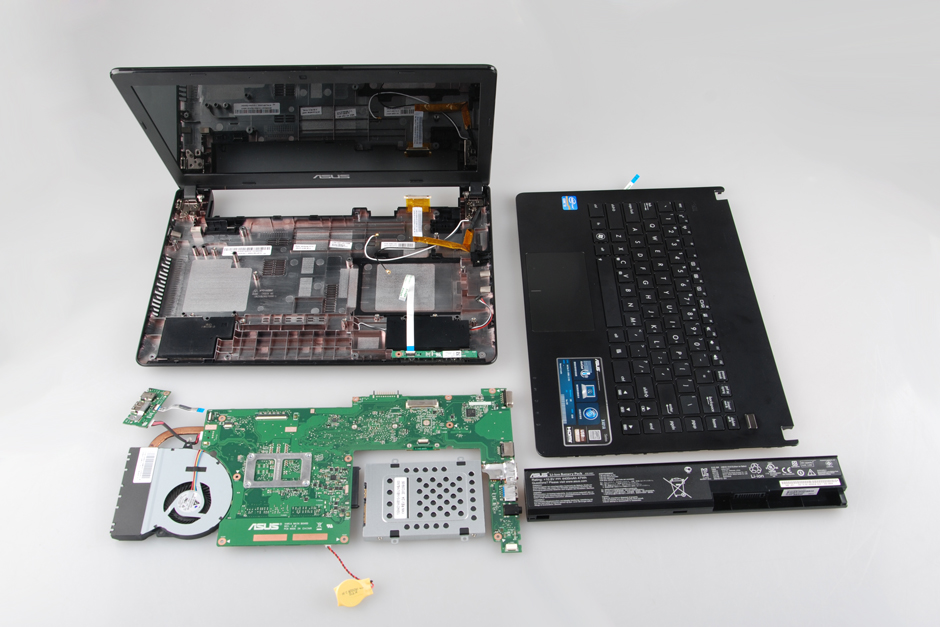
Remove all screws securing the motherboard. Disconnect all the cables connected to the motherboard. You can remove the motherboard.
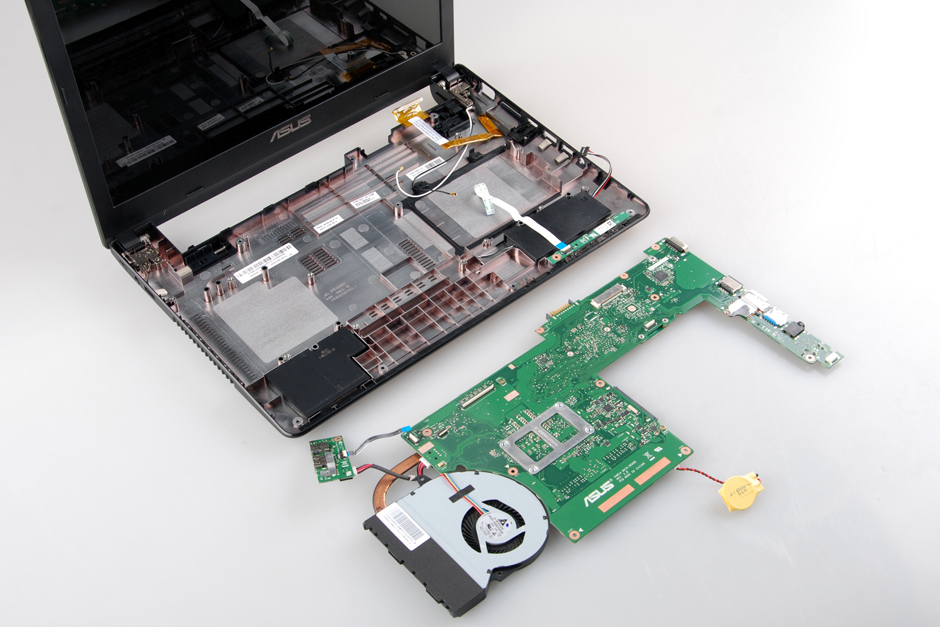
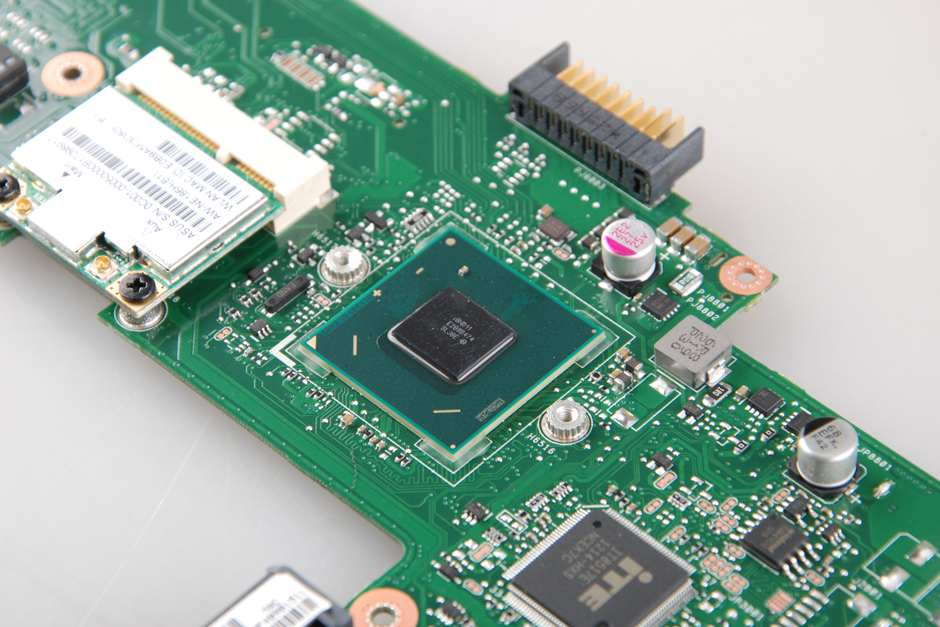
Asus X401a motherboard, you can access the RAM, wireless card, heat sink, and cooling fan.
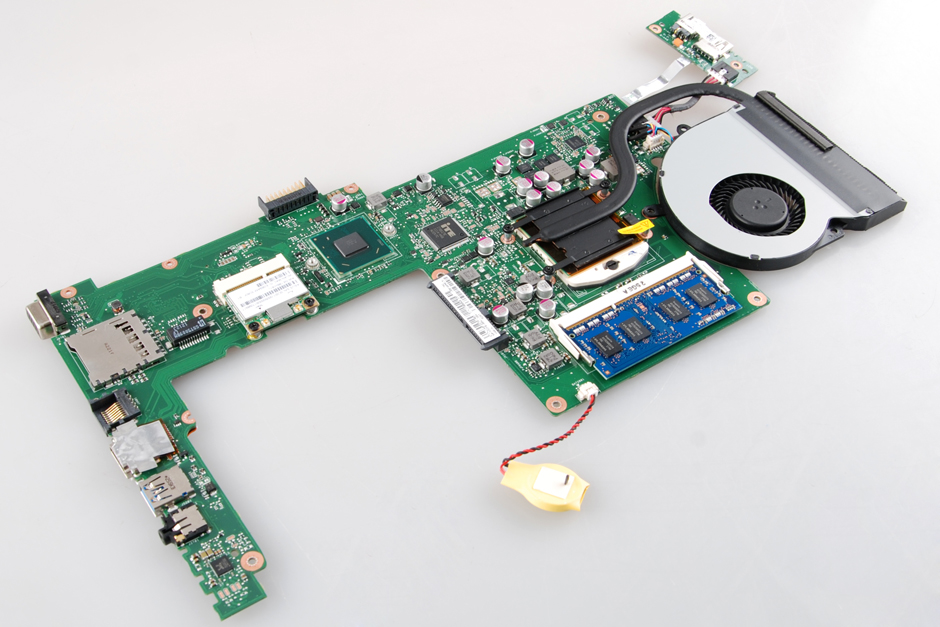
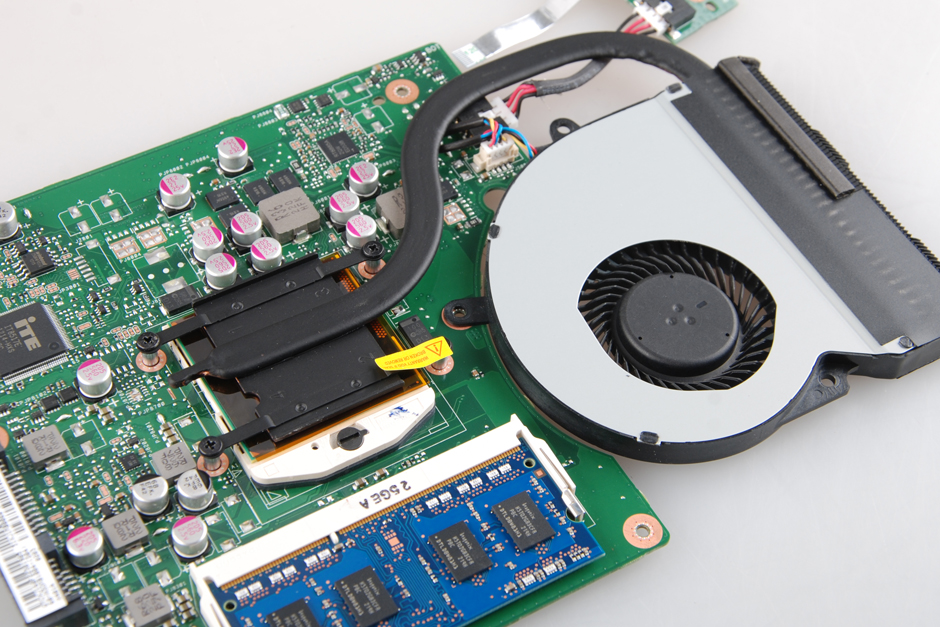
If you want to replace and clean the cooling fan, just remove the screws securing the heat sink and cooling fan. You can remove it from the motherboard.
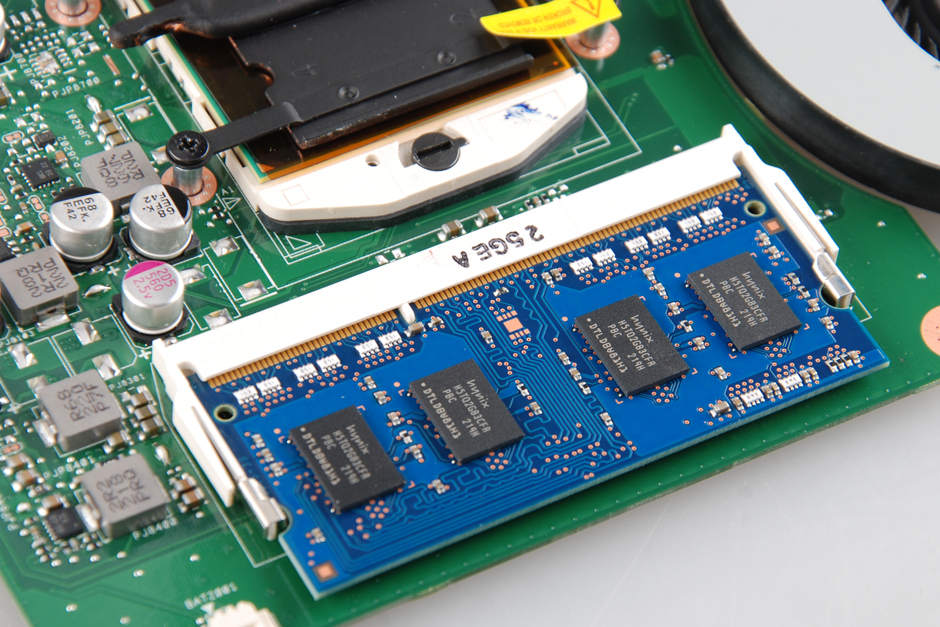
Asus X401a only has one RAM slot.
South Bridge
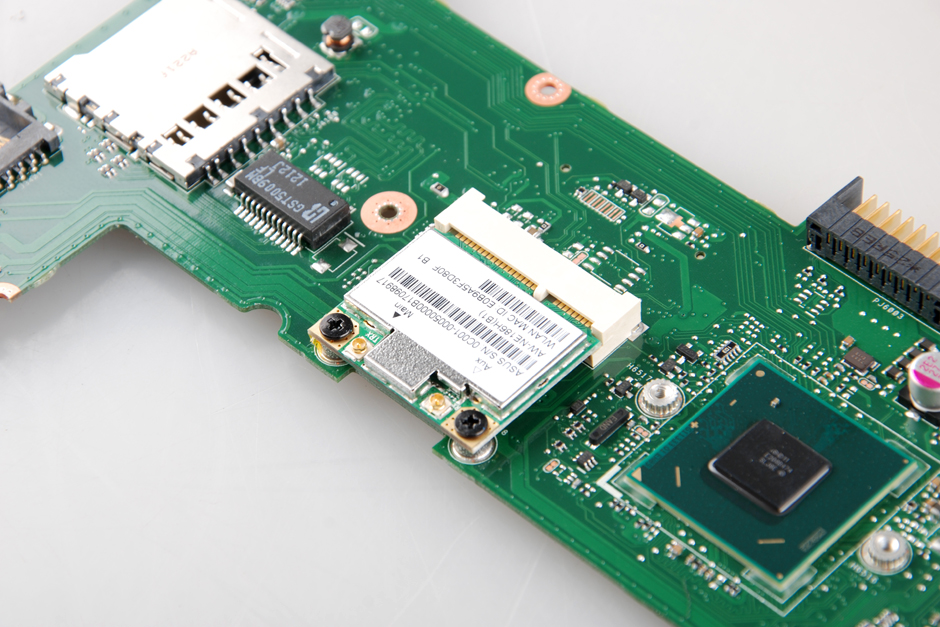
Asus X401a wireless card
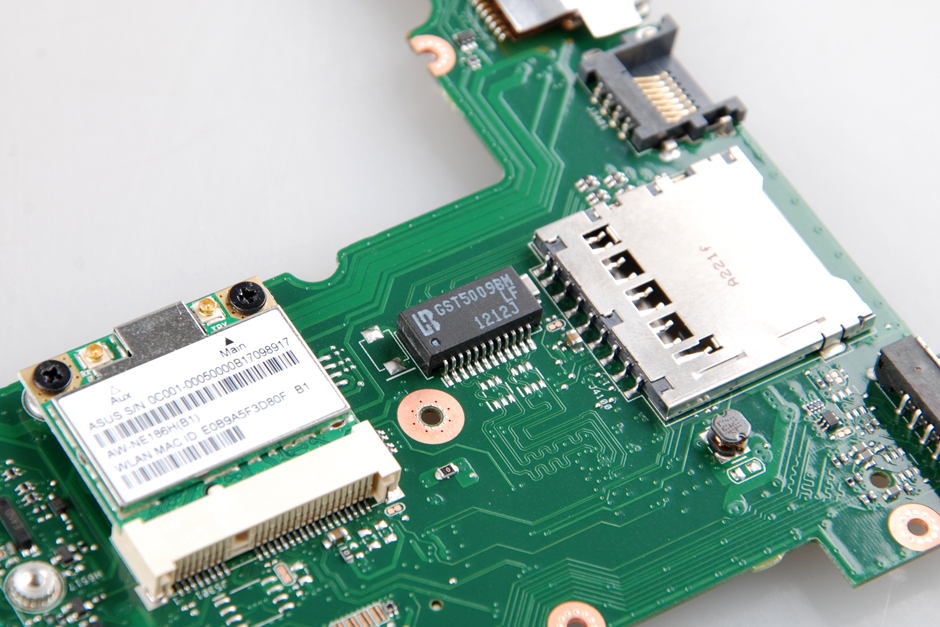
Card reader
For more guides, check out the Asus X401a device page.
Hi,
I have an X401A, and I need a keyboard to replace it. Can the keyboard be taken out from the top case, or does the whole assembly have to be replaced? Thanks
To replace the keyboard, you should remove the palm rest and remove the keyboard from the palm rest.
Hi, I have replaced the hard drive, but now I see two wires that don’t seem to attach to anything, one black and one white with gold tips. You can see it in picture 13 above. What are these wires supposed to attach to? Or are they just left there?
They are the Wi-Fi antenna leads.
How much memory can I add to this laptop?
Is it 8G? 16G? 32G?